- VMware
- 30 August 2024 at 11:33 UTC
-

- 1/2

On VMware vSphere 6.7, you can use local storage or network accessible storage (NAS).
To use NAS storage, you will generally use the iSCSI protocol which allows you to use remote storage in block mode.
- Install and configure an iSCSI server on Windows Server 2016
- Local storage of your VMware ESXi host
- Add and configure a software iSCSI adapter
- Configure CHAP authentication on the iSCSI initiator
- Create an iSCSI datastore
- Detect the iSCSI datastore from a 2nd VMware ESXi host
1. Install and configure an iSCSI server on Windows Server 2016
In business, you will use the iSCSI protocol to access storage on a NAS or storage bay.
However, in a test environment, you can create an iSCSI server on Windows Server.
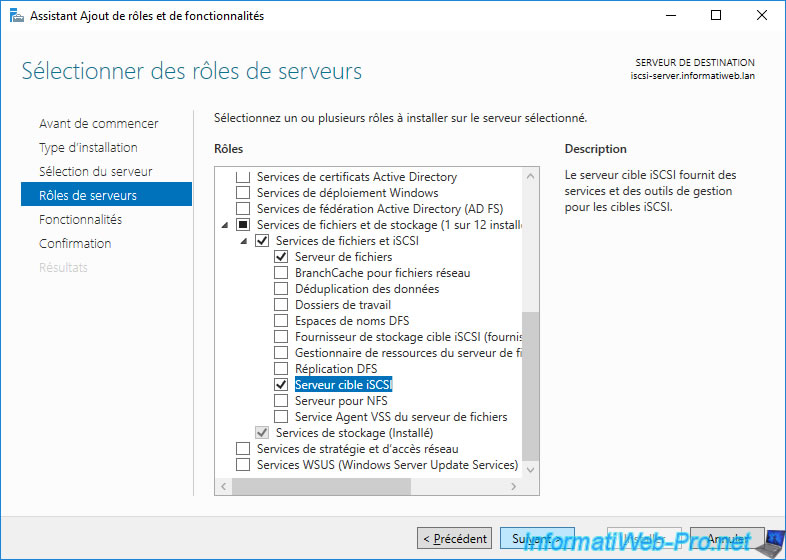
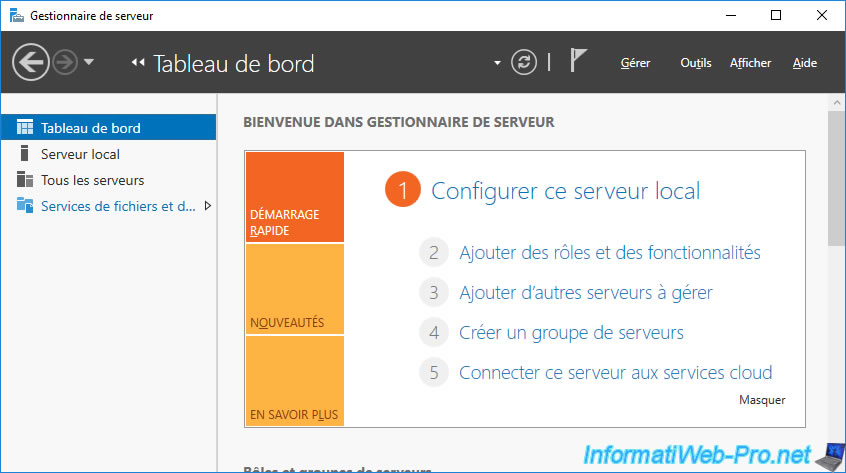
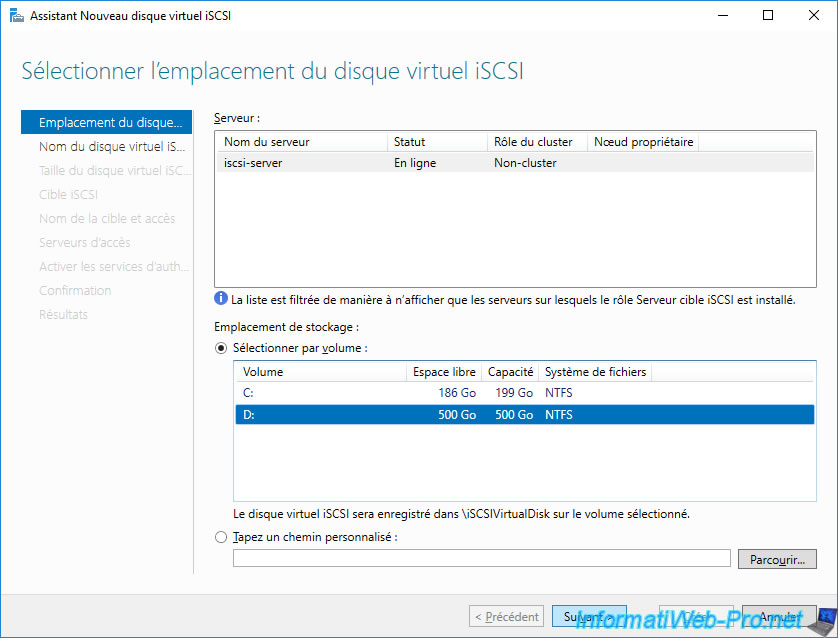
Once the iSCSI server is installed in Windows Server, go to the "File and Storage Services" section of the Server Manager.
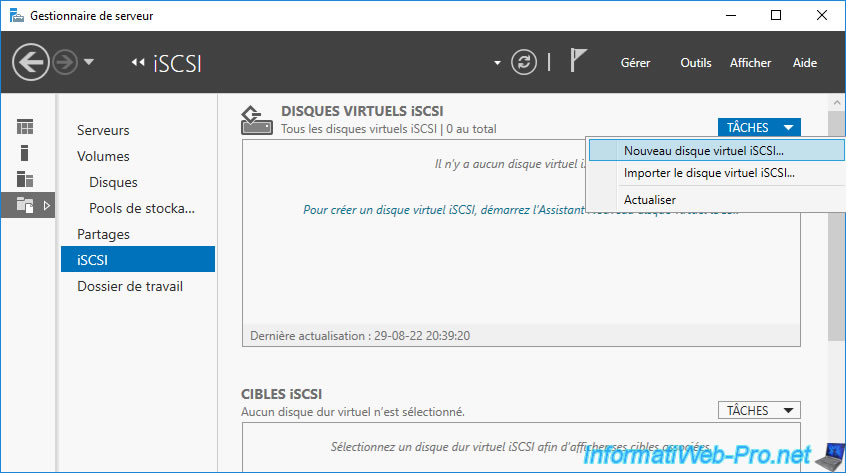
In the "iSCSI" section, click: Tasks -> New iSCSI Virtual Disk.
In the "New iSCSI Virtual Disk" wizard that appears, select the volume (partition) or folder where you want to store your new iSCSI virtual disk.
In our case, we select volume "D" which corresponds to a 500 GB hard drive in our case.
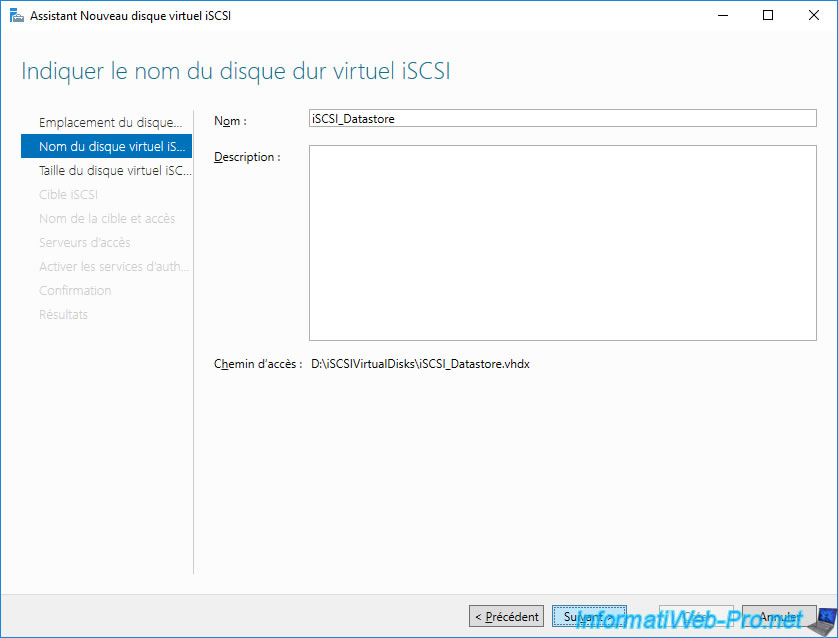
Specify a name for your iSCSI virtual disk.
In our case: iSCSI_Datastore.
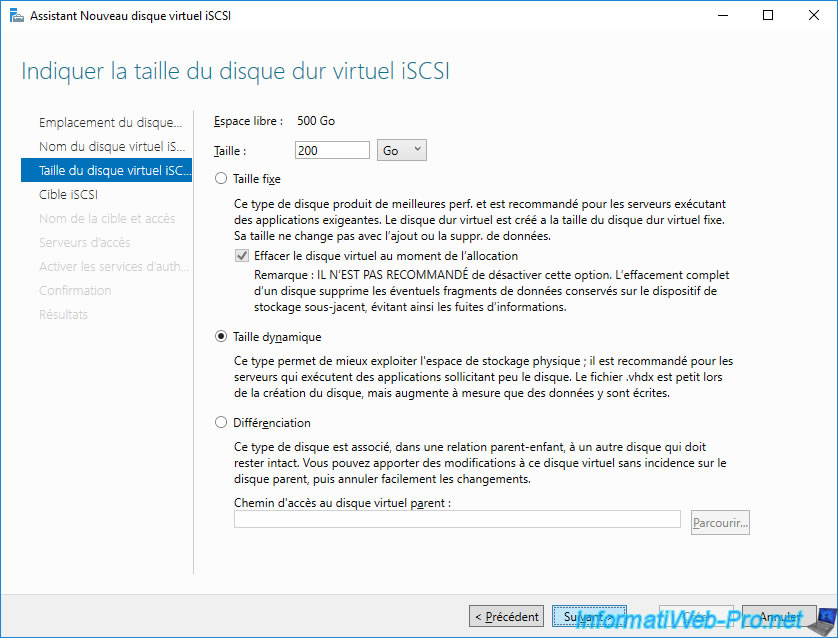
Specify a maximum size for your iSCSI virtual disk.
In our case: 200 GB.
Note: select "Dynamically expanding" to create a virtual disk that will only take up the space necessary for the data it contains.
Which corresponds to thin provision on VMware.
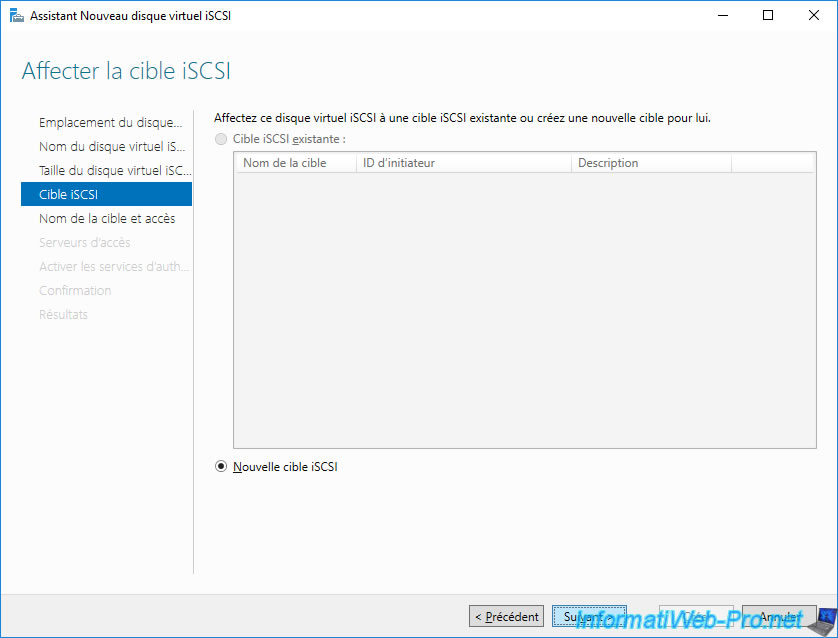
If you have never used your iSCSI server, you will need to create an iSCSI target.
For your future iSCSI virtual disks, simply select the existing one.
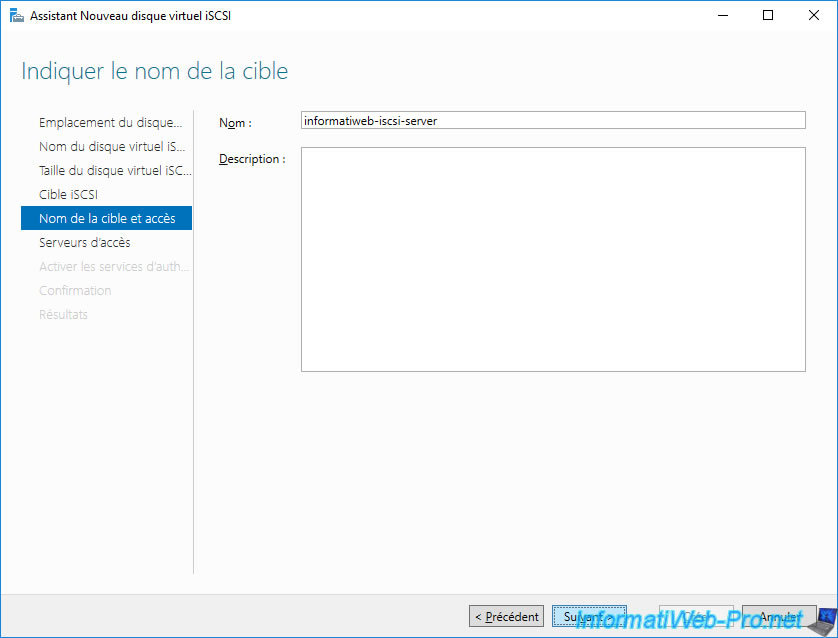
Provide a name for your iSCSI target.
In our case: informatiweb-iscsi-server.
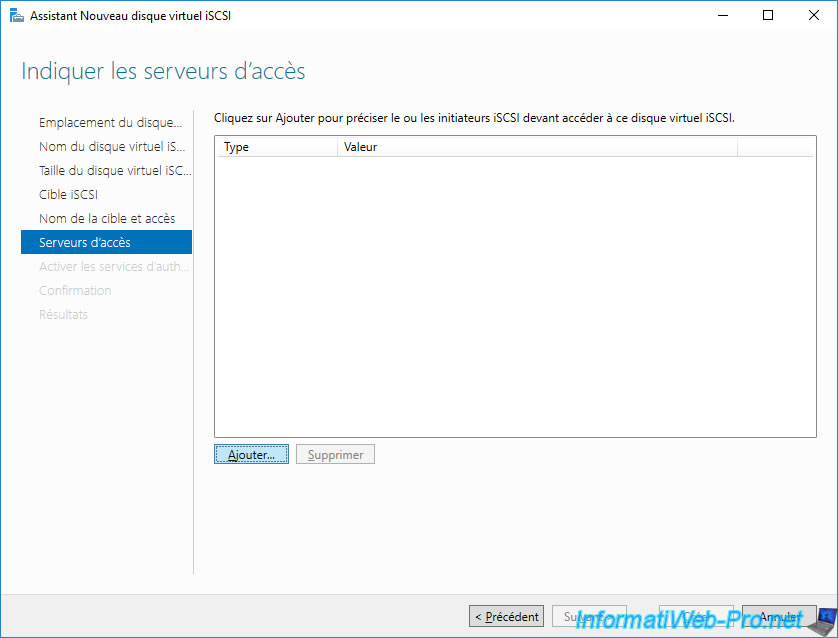
For your VMware ESXi hosts to access your iSCSI server (iSCSI target), you need to add them here.
To do this, click: Add.
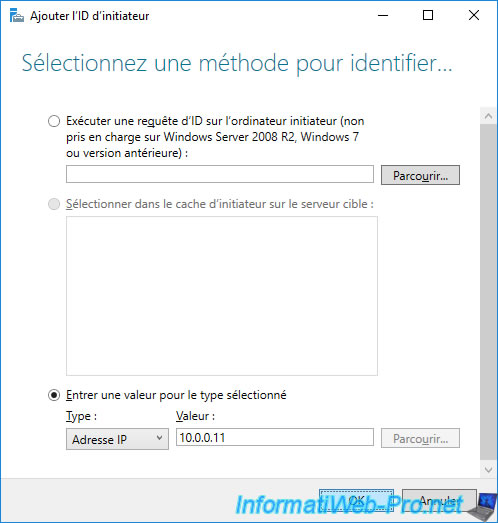
In the "Add initiator ID" window that appears, select "Enter a value for the selected type: IP Address" and provide the IP address of your 1st host.
Then click OK.
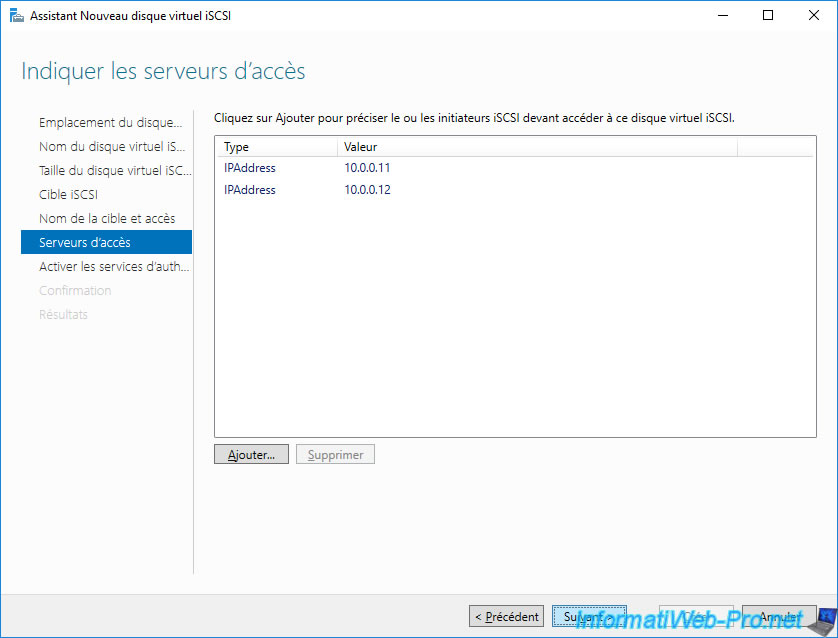
Also add the IP address of your 2nd VMware ESXi host, if applicable.
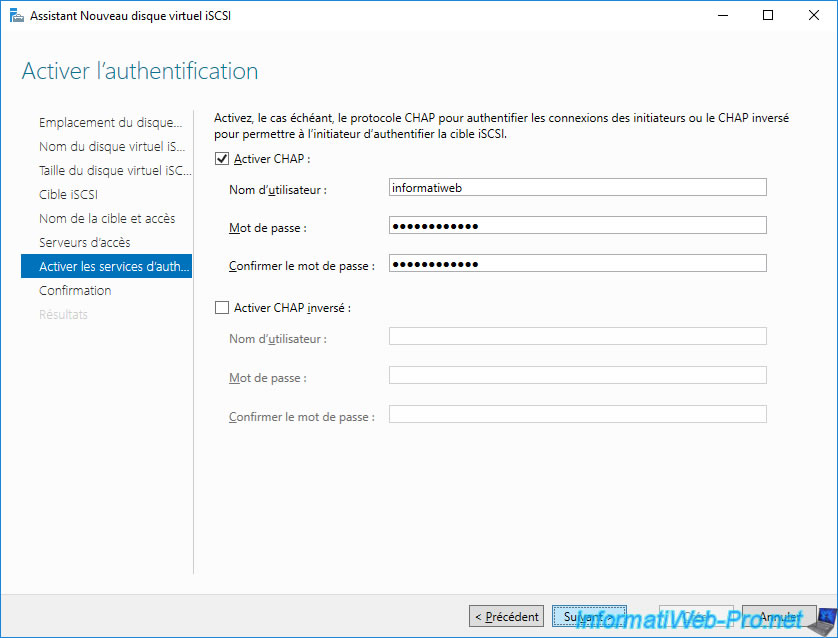
To protect access to your iSCSI server (iSCSI target), you can use CHAP and/or reverse CHAP authentication.
For the example, we have enabled "CHAP" authentication and we have defined a username and password.
As stated by this wizard:
- CHAP allows authenticating initiator (client) connections
- Reverse CHAP allows initiators to authenticate the iSCSCI target (iSCSI server)
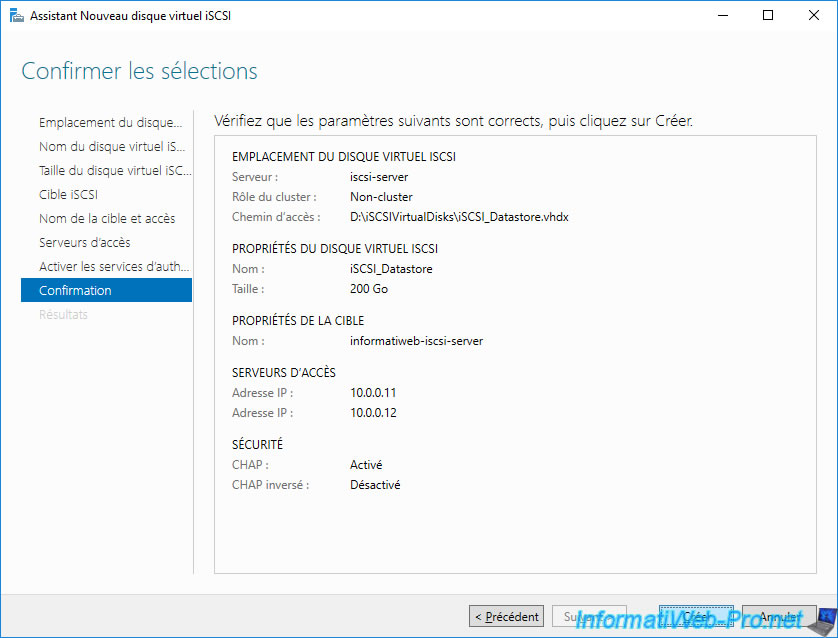
A summary of your iSCSI virtual disk configuration appears.
Click Create.
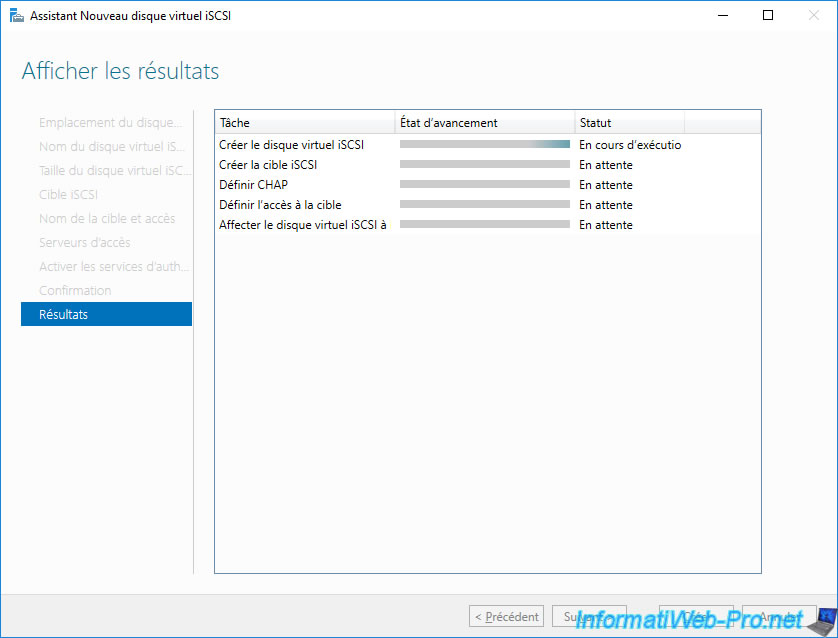
Wait while your iSCSI target and iSCSI virtual disk are created and configured.
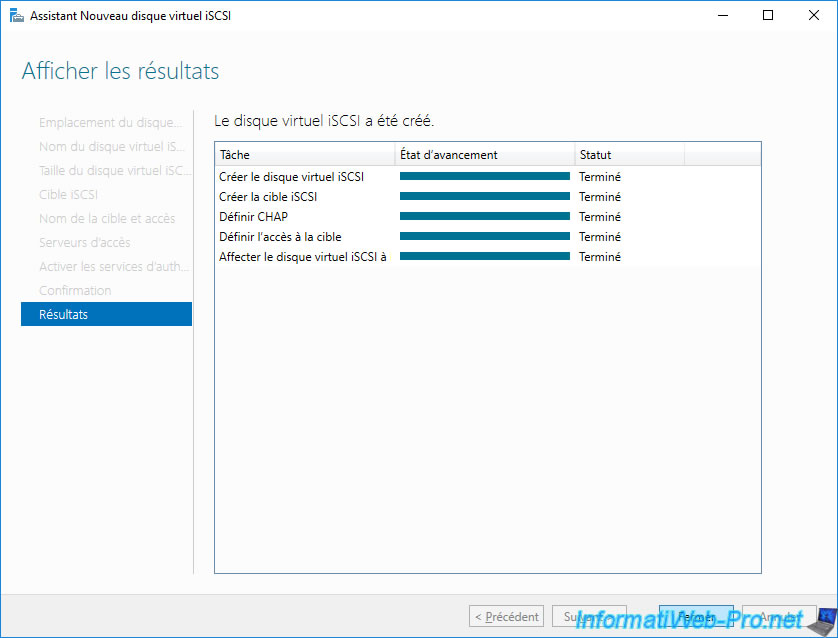
Once the iSCSI virtual disk is created, click Close.
Your iSCSI virtual disk appears.

On your hard drive you will only see a ".vhdx" file.

2. Local storage of your VMware ESXi host
Select your VMware ESXi host and go to: Configure -> Storage -> Storage Adapters.
Several storage adapters will appear.
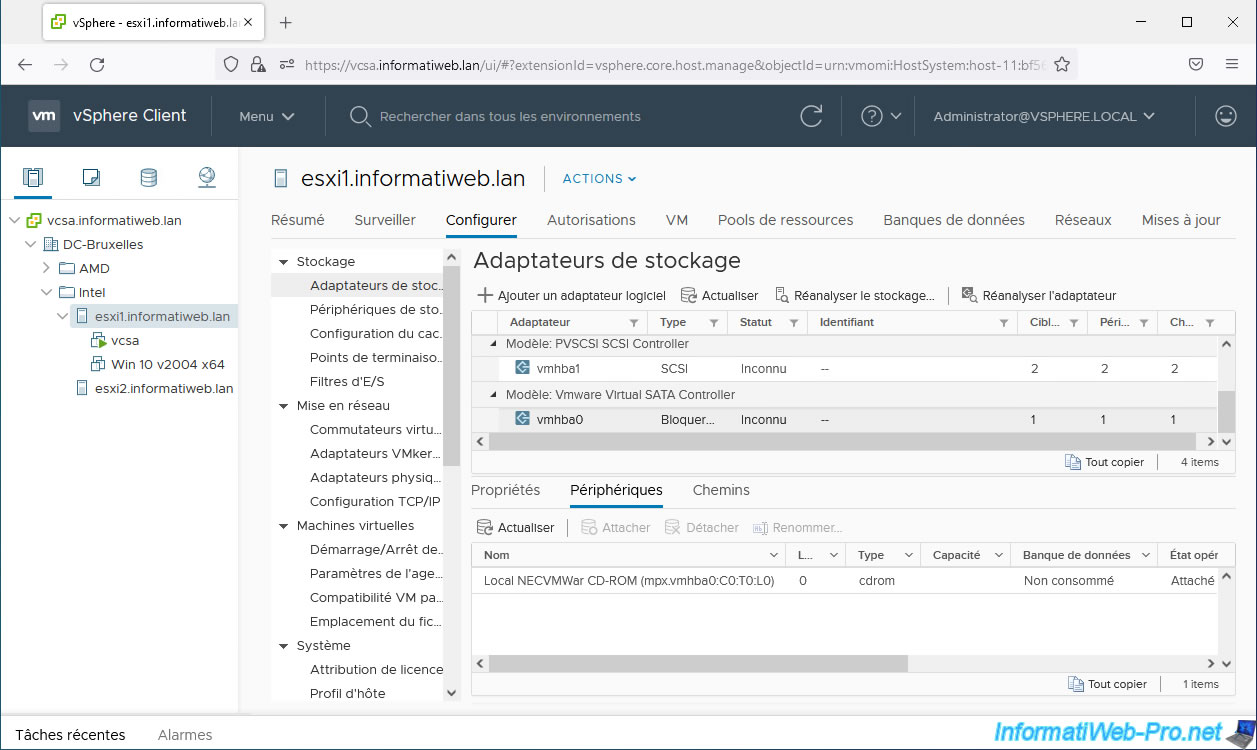
In our case, since we are using virtualized VMware ESXi hosts, we have a "PVSCSI SCSI Controller" storage controller to which the SCSI hard drives of this host are connected.
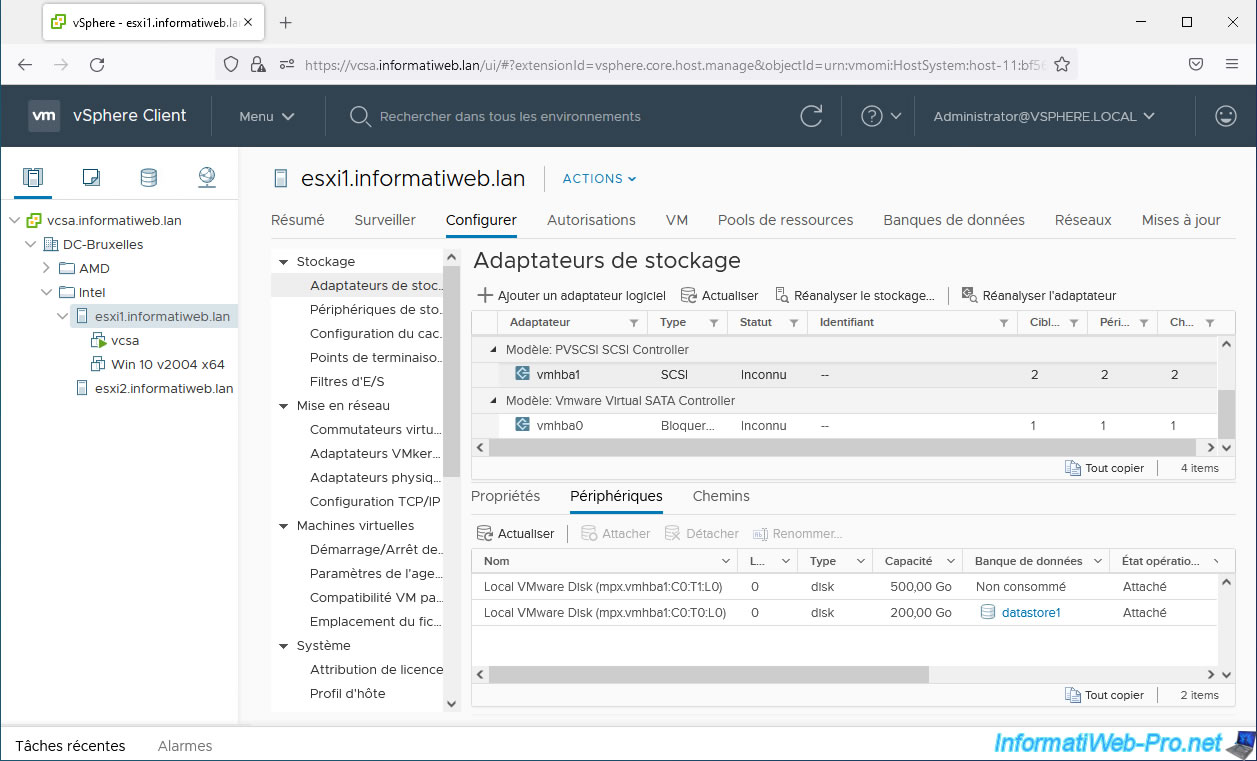
We also have a "Vmware Virtual SATA Controller" controller to which the CD-ROM drive is connected.
Share this tutorial
To see also
-

VMware 5/15/2024
VMware vSphere 6.7 - Add a physical disk to host
-

VMware 9/27/2024
VMware vSphere 6.7 - Array integration APIs (VAAI)
-

VMware 9/6/2024
VMware vSphere 6.7 - Configure port binding (iSCSI traffic)
-

VMware 6/13/2024
VMware vSphere 6.7 - Configure Virtual Flash (SSD cache)
You must be logged in to post a comment