- Windows Server
- iSCSI
- 29 April 2017 at 11:28 UTC
-

- 1/2

When you have multiple servers in an organization, it may be interesting to be able to store the data on a dedicated server.
For example : a server that supports the iSCSI protocol.
With the iSCSI protocol, it's possible to create virtual disks that can be used over the network as if they were real local hard disks.
To summarize, iSCSI is the SCSI over the TCP/IP network.
1. Install and configure the iSCSI server (iSCSI target)
1.1. Installation
To install the Windows Server native iSCSI server, open the Add Roles and Features Wizard and select "Role-based or Feature-based installation".
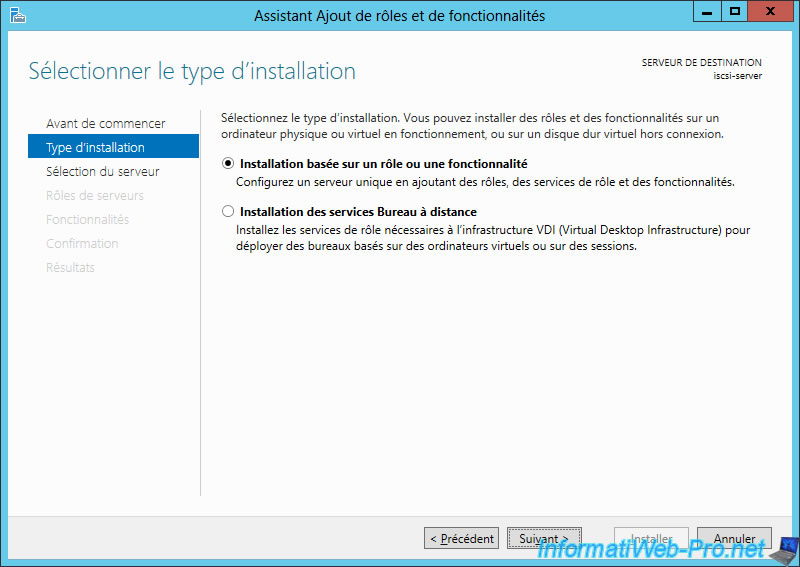
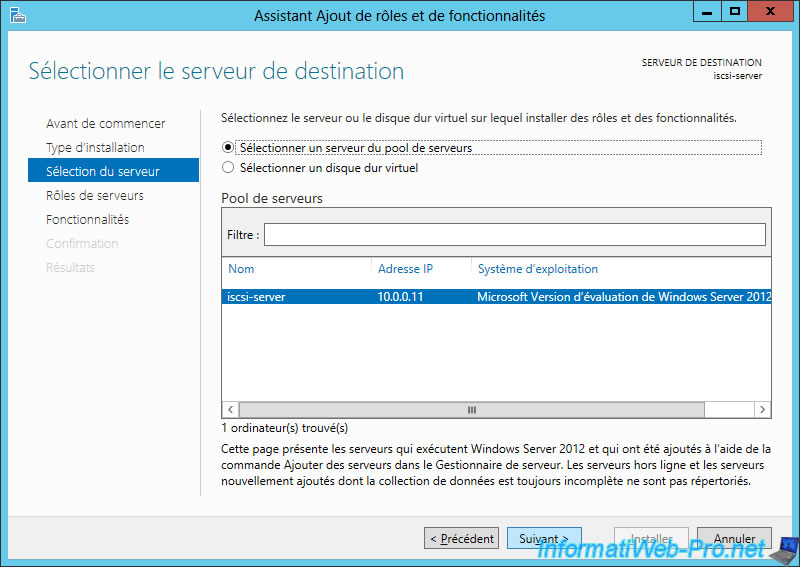
Click Next.
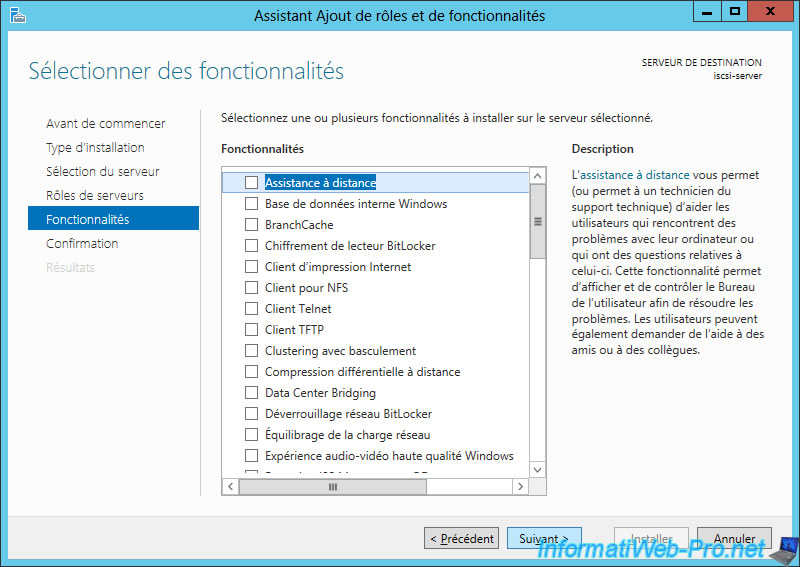
In "File and Storage Services -> File Services", select the "iSCSI Target Server" checkbox and click Next.
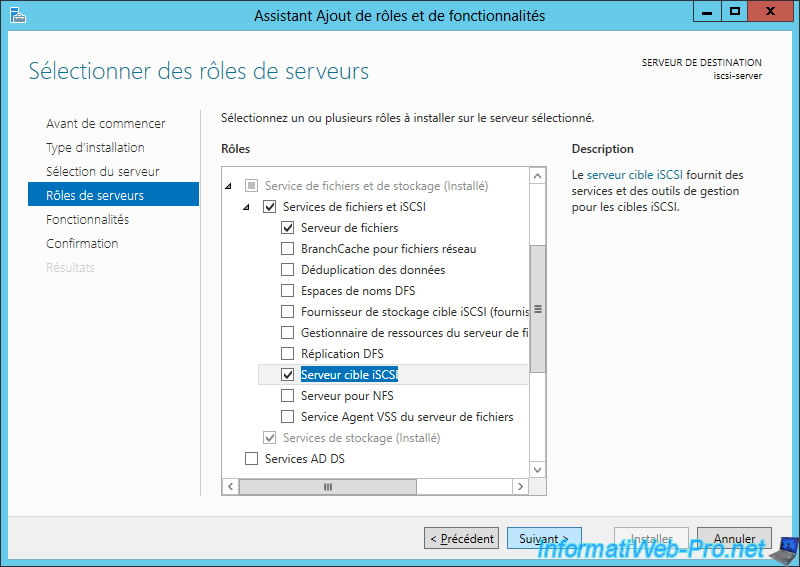
No feature required.
Click Install.
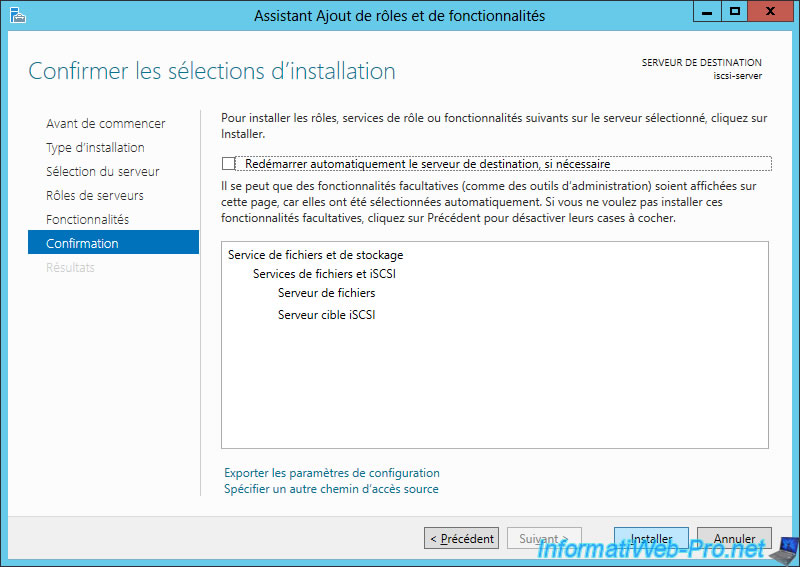
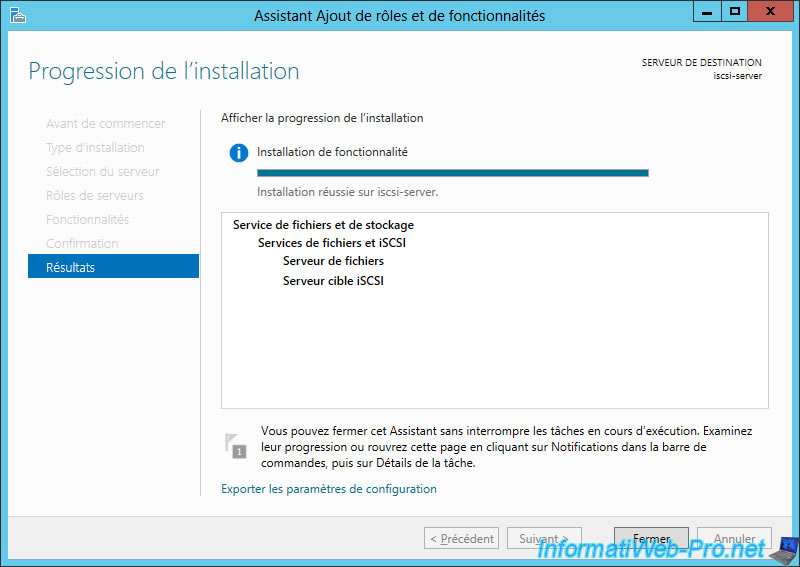
The iSCSI server is installed.
1.2. Configuration
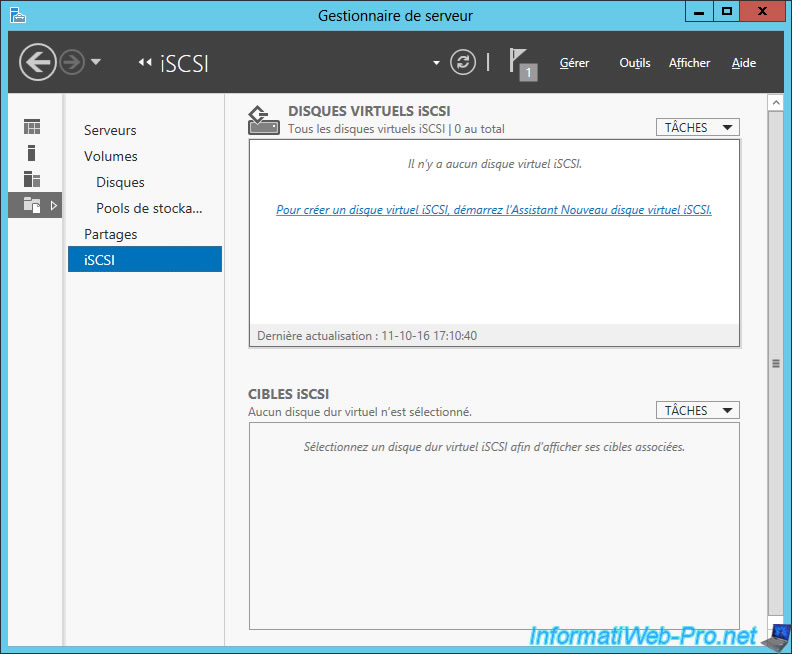
In the Server Manager, go to the "File and Storage Services" tab (on the left) and click "iSCSI".
Then, click on the "To create an iSCSI virtual disk, start the New iSCSI Virtual Disk Wizard" link.
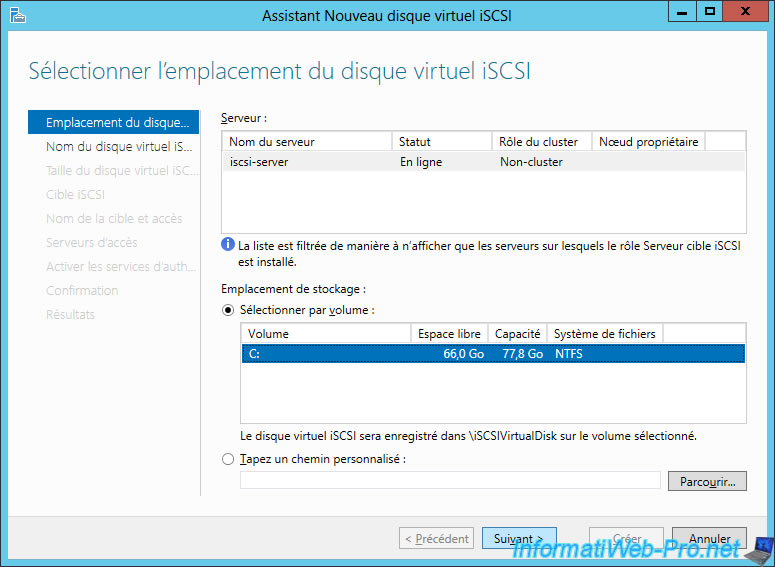
Select the location where the iSCSI virtual disk will be stored, and then click Next.
Enter a name and a description for this virtual disk.
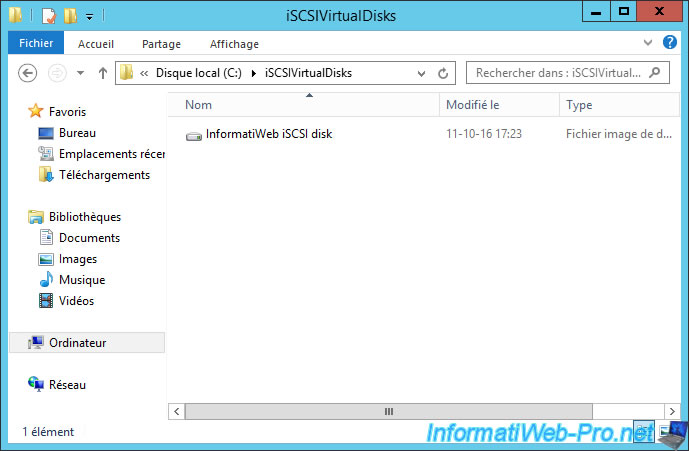
As you can see, the virtual disk will be created in this folder : C:\iSCSIVirtualDisks

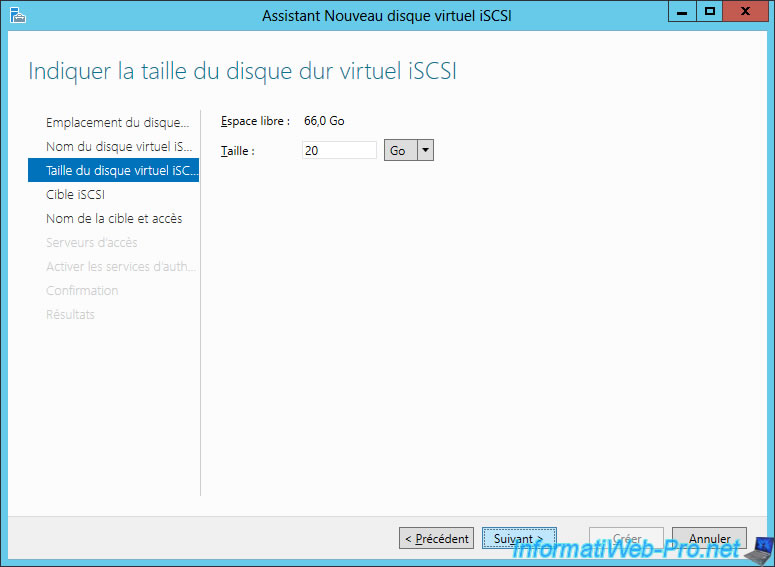
Specify the maximum size that your virtual disk can take on the hard disk.
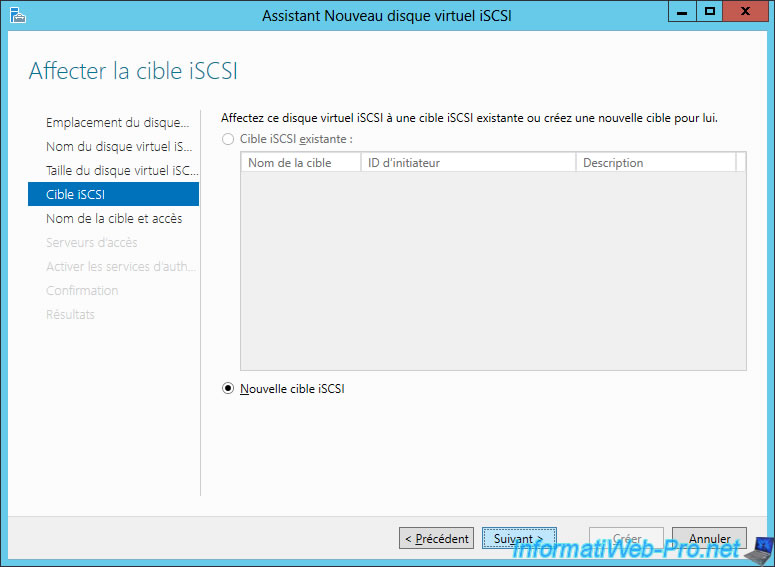
Select "New iSCSI target" to add a new iSCSI target (iSCSI server) to the list of existing iSCSI servers.
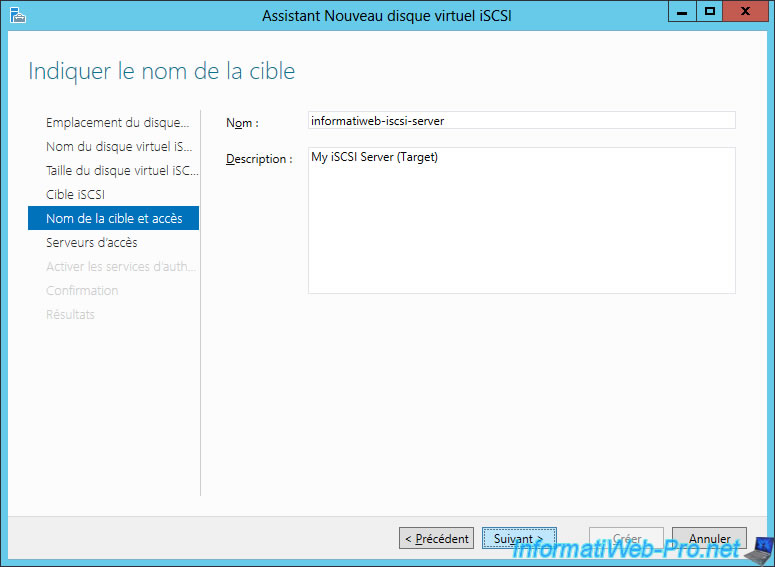
Specify a name and a description for your iSCSI server.
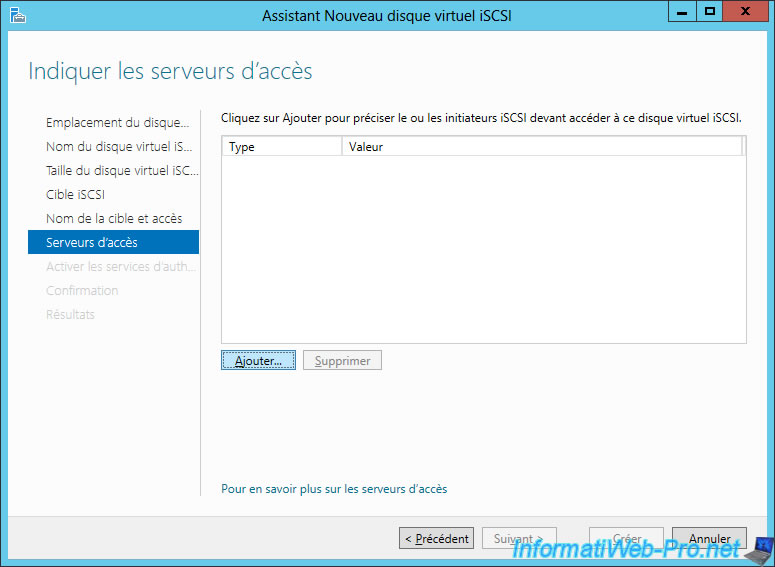
Now, the wizard asks you to specify which clients will connect to your iSCSI server.
To do this, click Add.
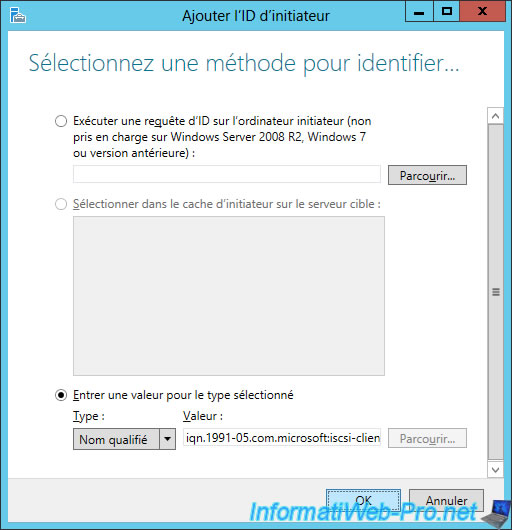
Select "Enter a value for the selected type" and "Type : Qualified name".
Then, paste "iqn.1991-05.com.microsoft:iscsi-client", and then click OK.
Note : with Windows Server, all iSCSI clients have, by default, an iqn starting with "iqn.1991-05.com.microsoft:" which is followed by the client machine name (iscsi-client in our case).
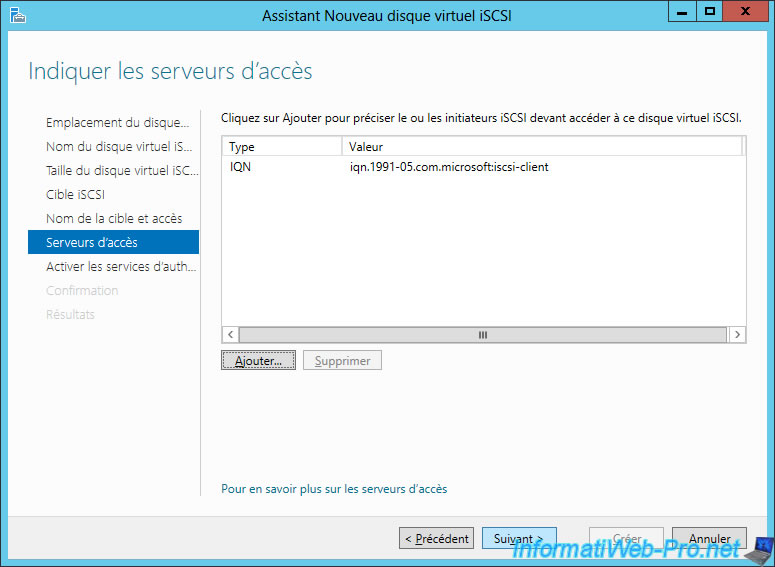
Now, click Next.
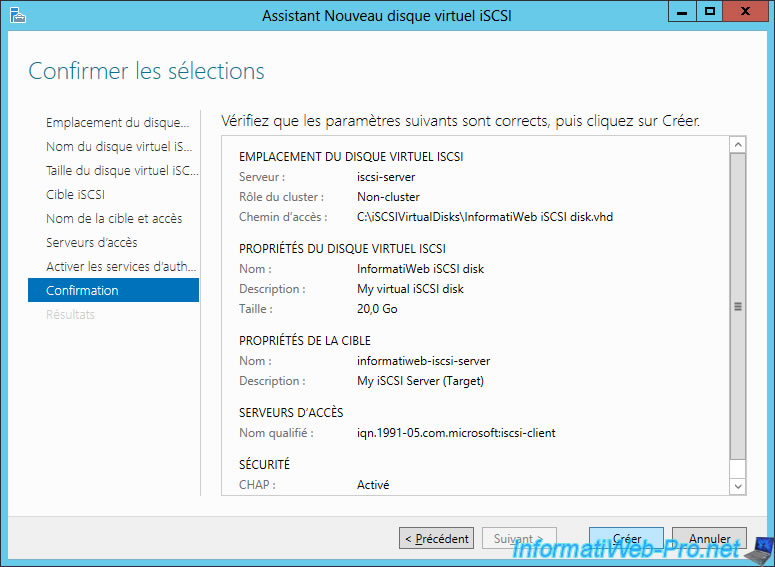
To secure access to your iSCSI server, it's best to enable at least CHAP authentication.
To do this, select the "Enable CHAP" checkbox and enter a user name and password.
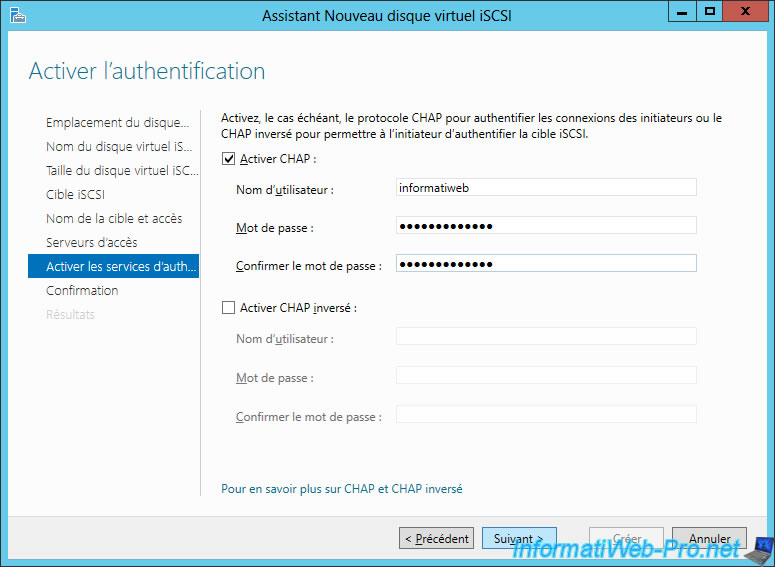
Finally, click Create.
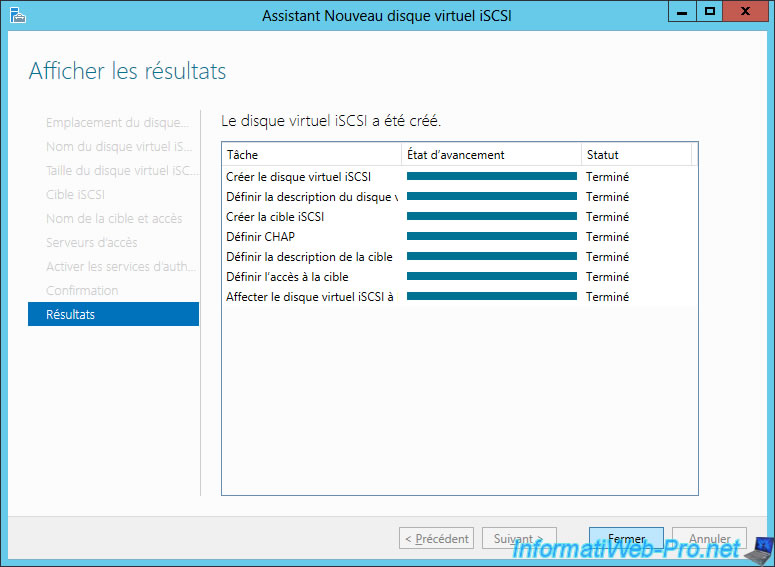
The wizard creates the virtual hard disk and configures your iSCSI share.
Click Close.
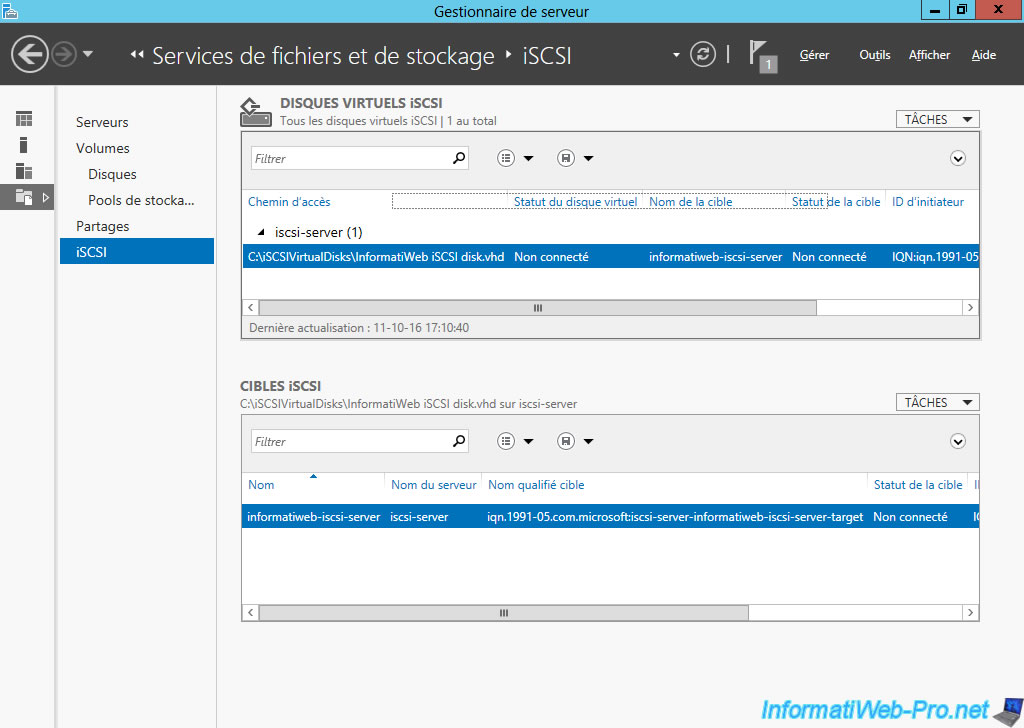
Now, you have a virtual hard disk on your iSCSI server.
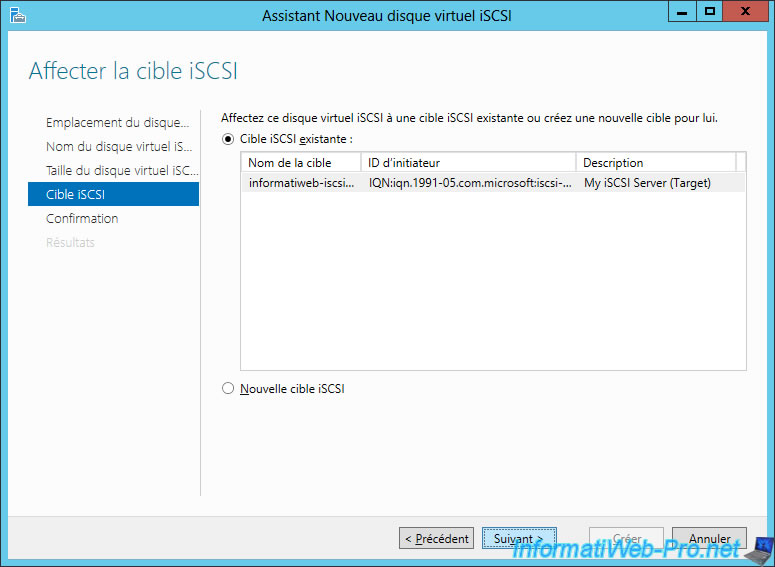
If you want to create a new iSCSI virtual disk, simply choose the iSCSI server (iSCSI target) to which you want to link it.
As indicated at the beginning of the wizard, virtual hard disks are stored in the folder : C:\iSCSIVirtualDisks
As you can see in the image below.
Share this tutorial
To see also
-
Windows Server 5/7/2017
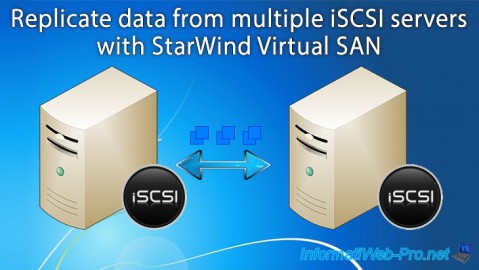
WS 2012 - Replicate data iSCSI data with StarWind Virtual SAN
-
Windows Server 6/28/2019
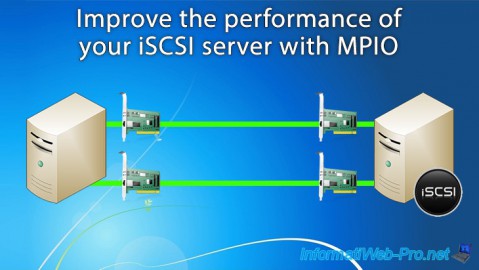
WS 2012 / 2012 R2 - Improve the performance of your iSCSI server with MPIO
You must be logged in to post a comment