- VMware
- 13 September 2024 at 11:30 UTC
-

- 1/2

On VMware vSphere 6.7, you can use NFS datastores shared with multiple VMware ESXi 6.7 hosts if desired.
For this, you can use version 3 (not secure) or version 4.1 (which notably supports Kerberos authentication and multipathing).
In this tutorial, you will use NFS 3 which is simpler to configure.
- Install an NFS server
- Create an NFS share
- Create an NFSv3 datastore from the VMware vSphere Client
- Mount an NFSv3 datastore on a 2nd VMware ESXi host
- Unmount an NFSv3 datastore from the VMware vSphere Client
1. Install an NFS server
In business, you will use the NFS protocol to access storage servers (NAS).
However, in a test environment, you can install an NFS server on Linux or on Windows Server.
In our case, we will use an NFS server on Windows Server 2016.
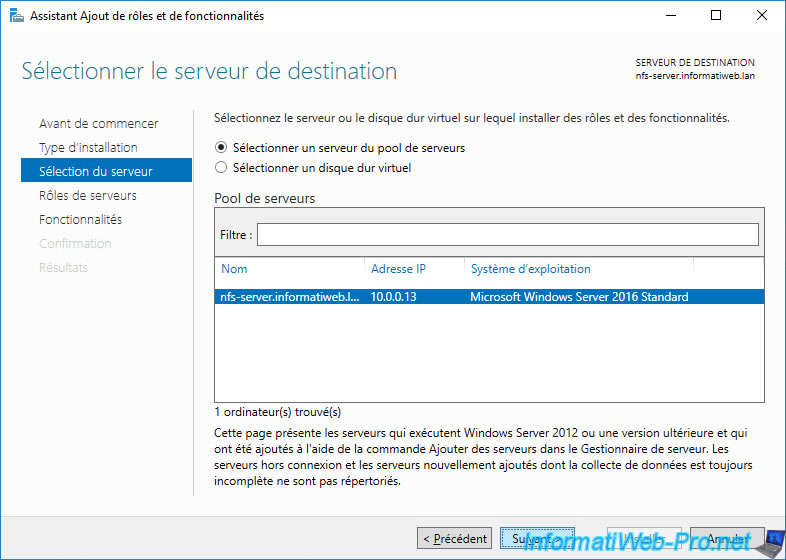
To do this, on this server, launch the Add Roles and Features Wizard and select your server on Windows Server as the destination.
As you can see, the IP address of our NFS server is: 10.0.0.13.
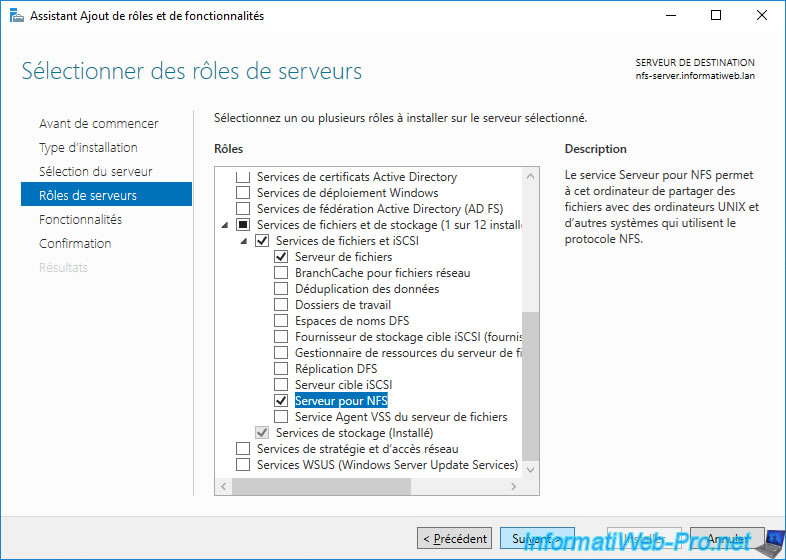
In the list of server roles that appears, go to "File and Storage Services -> File and iSCSI Services" and check the "Server for NFS" box.
Then click Next.
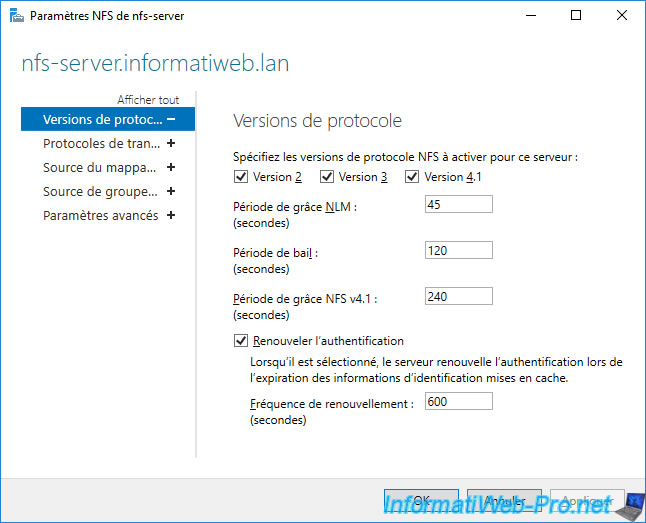
To find out which versions of NFS your server supports, go to the "File and Storage Services" section (on the left), then go to the "Servers" section.
Right-click on your NFS server name and click: NFS Settings.
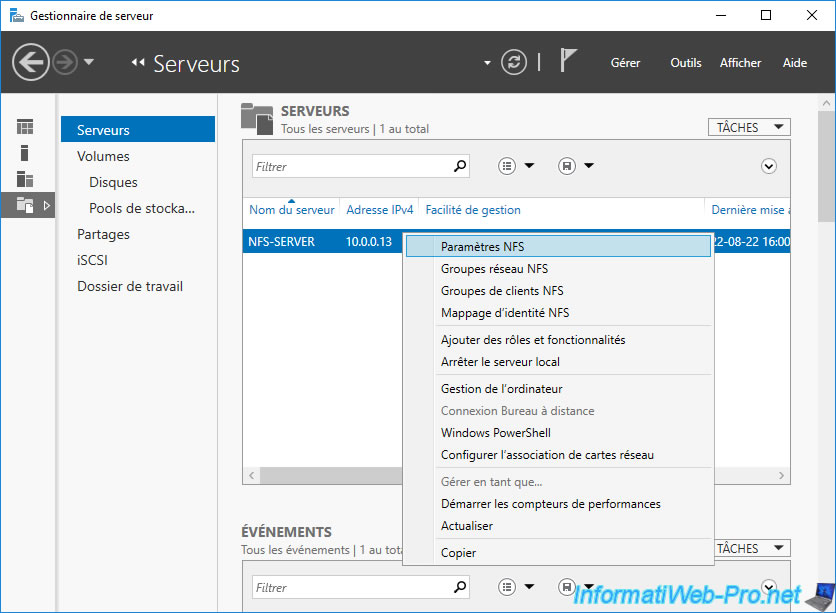
As you can see, Windows Server 2016 supports NFS versions 2, 3 and 4.1.
2. Create an NFS share
Creating an NFS share is also called an NFS export (a term you will find especially on Linux).
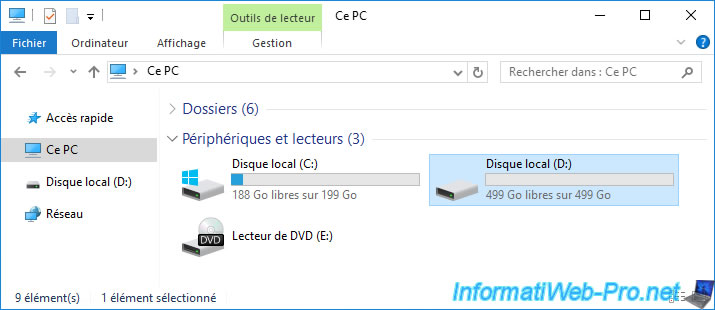
For this tutorial, we added an additional 500 GB hard drive to our server.
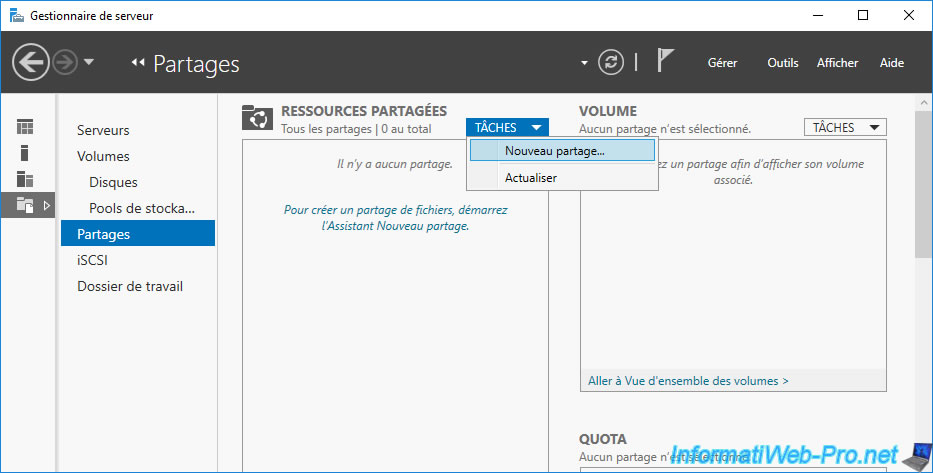
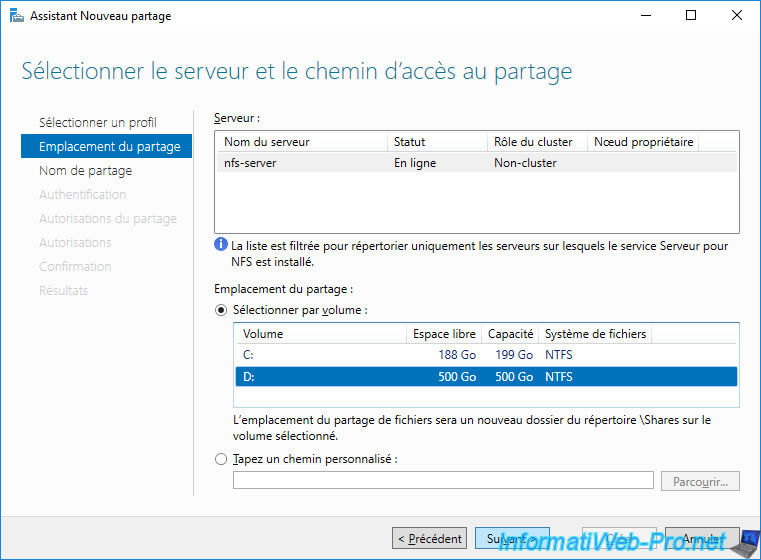
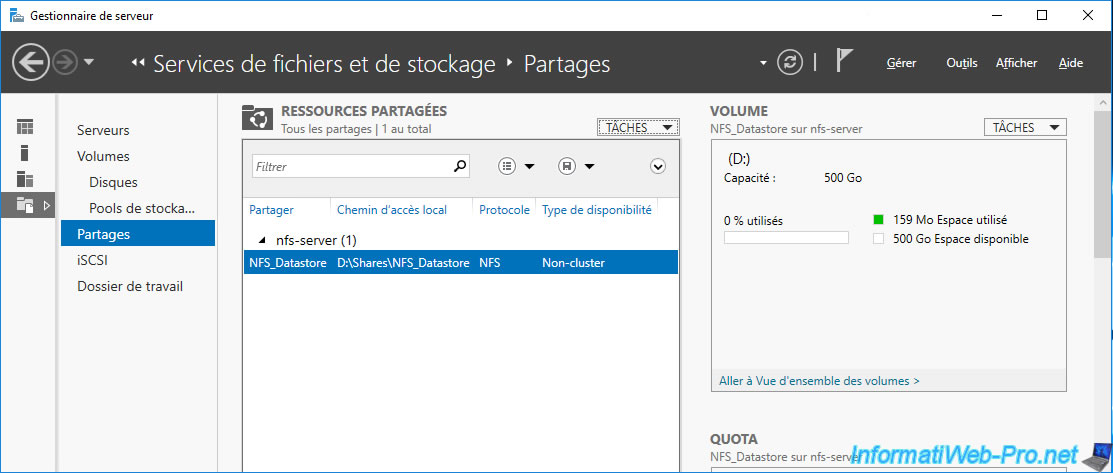
In Server Manager, go to "File and Storage Services -> Shares" and click "Tasks -> New Share" (next to "Shares").
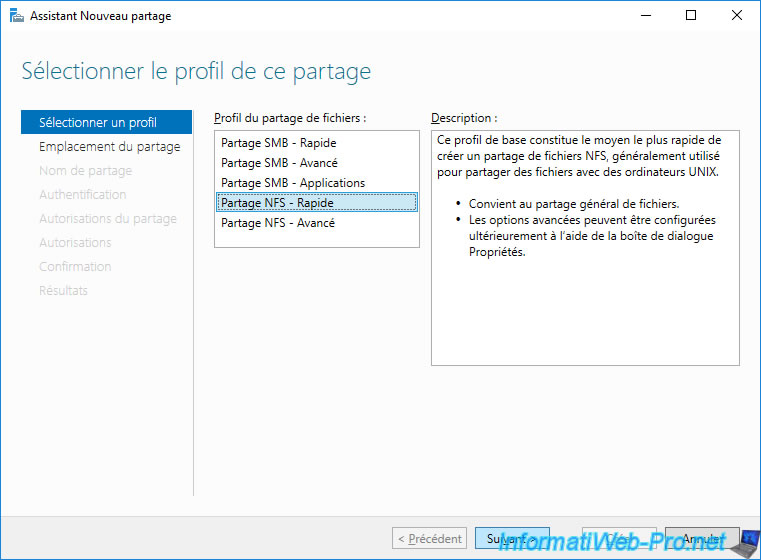
The wizard that appears, select: NFS Share - Quick.
Select the partition or folder you want to share via NFS.
In our case, we select the volume (partition) "D:" of 500 GB.
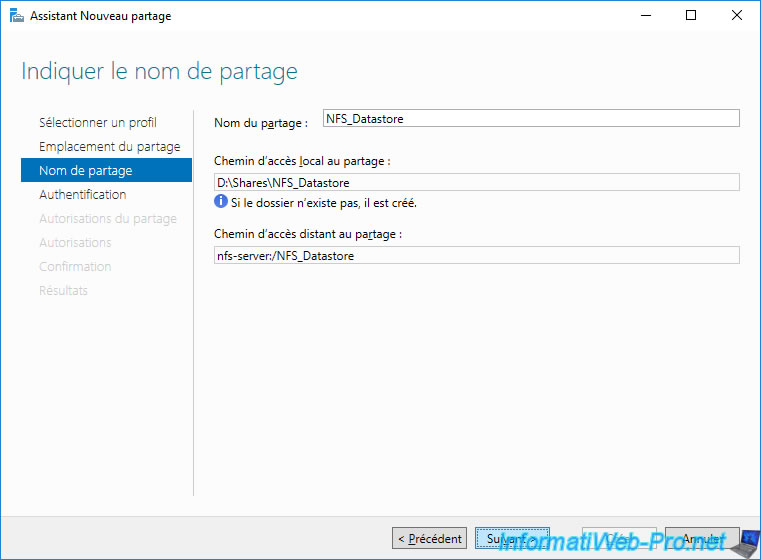
If you selected a custom path (folder), the NFS share name will default to the name of the selected folder on your hard drive.
Otherwise, you will need to provide a name for this share and a "Shares" folder will be created with the share name as a subfolder.
In our case, we specified "NFS_Datastore" for the share name.
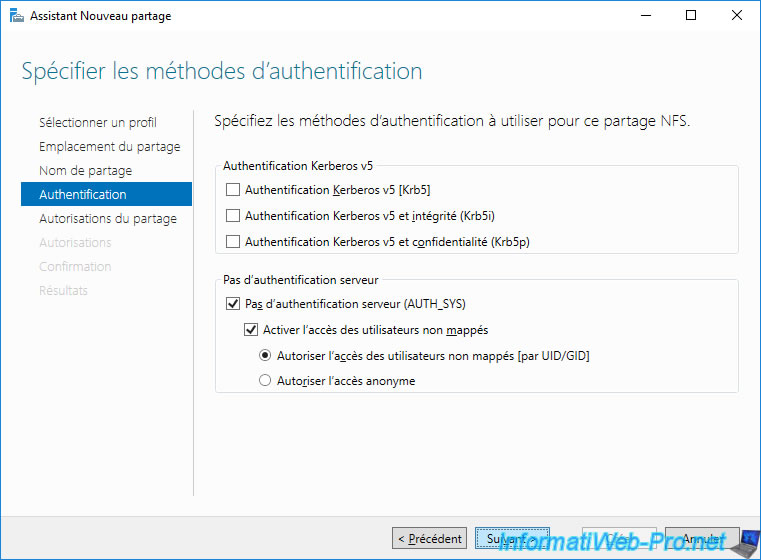
Under NFSv3, there is no server authentication. Which is therefore simpler to set up.
However, this requires using a secure or dedicated network to prevent unauthorized access to your NFS shares.
In short, to use NFSv3 under Windows Server, simply check/select the boxes:
- No server authentication (AUTH_SYS)
- Enable unmapped user access
- Allow unmapped user access by UID/GID
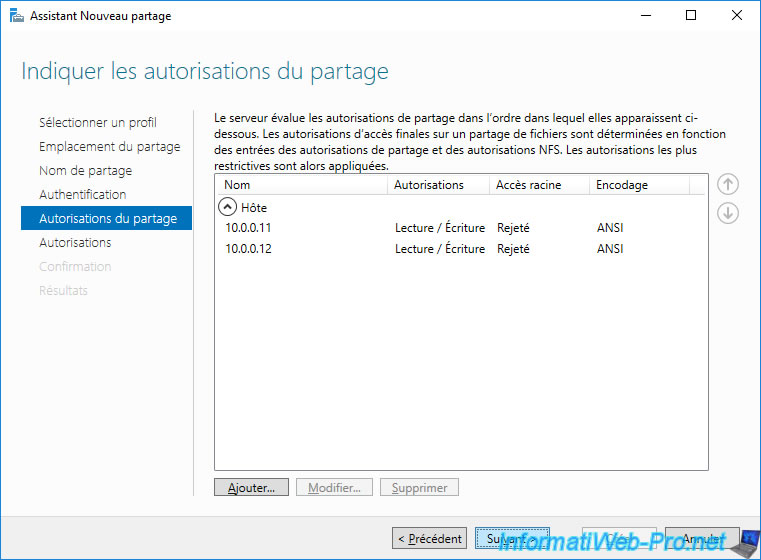
For your VMware ESXi hosts to access your NFS share, you must authorize them here.
To do this, click: Add.
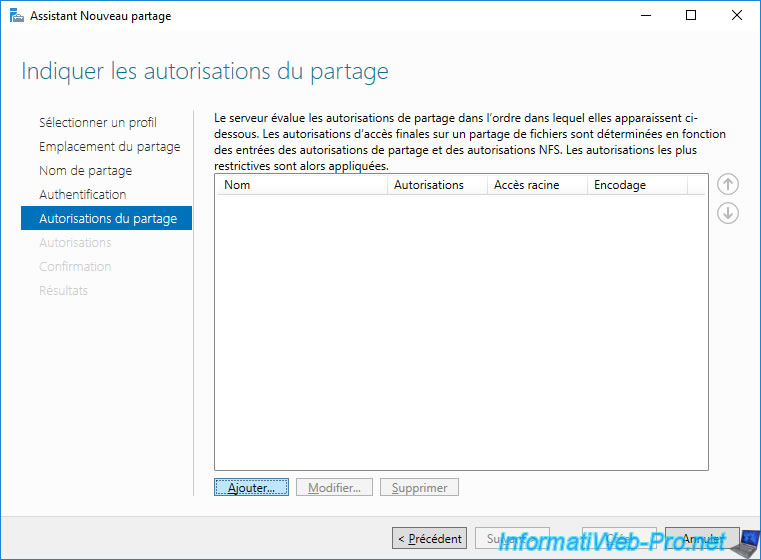
In the "Add Permissions" window that appears:
- select: Host
- provide the IP address of your VMware ESXi host
- select "Share permission: Read / Write"
- click: Add.

If you want to share your future NFS datastore with other VMware ESXi hosts, click "Add" again and provide their IP addresses one by one.
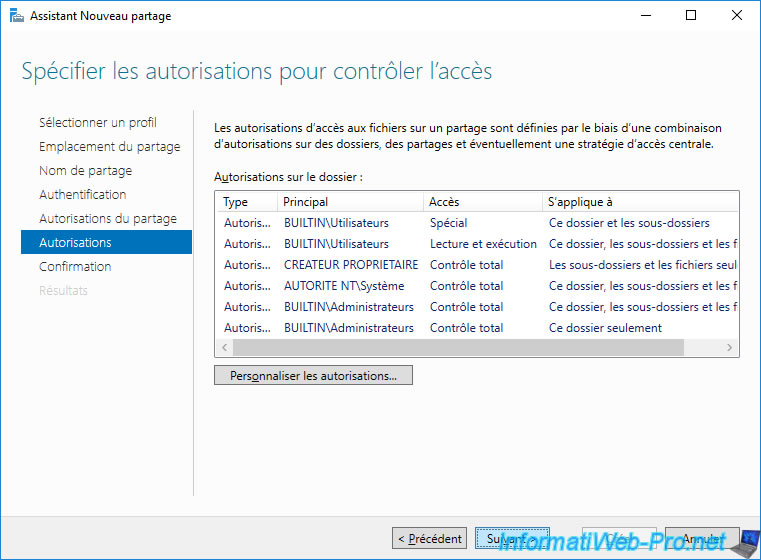
For the share's NTFS permissions, leave the default ones.
It will work.
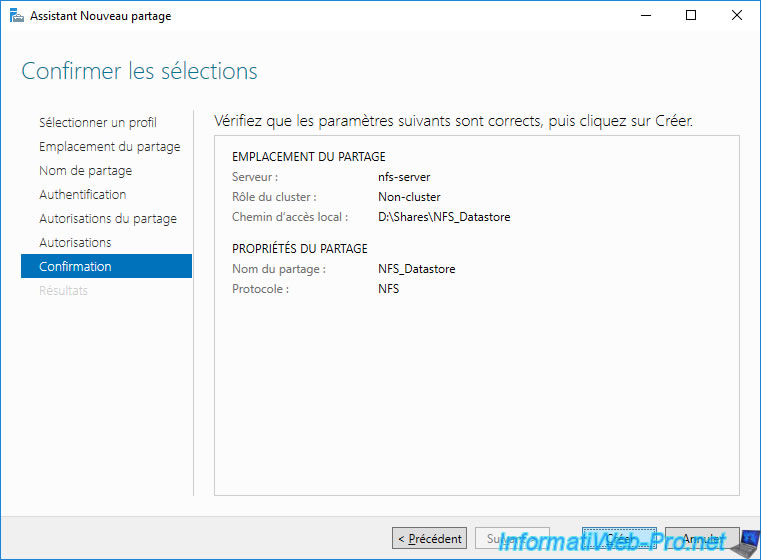
Click: Create.
After the NFS share is created and its NFS permissions are set, click Close.
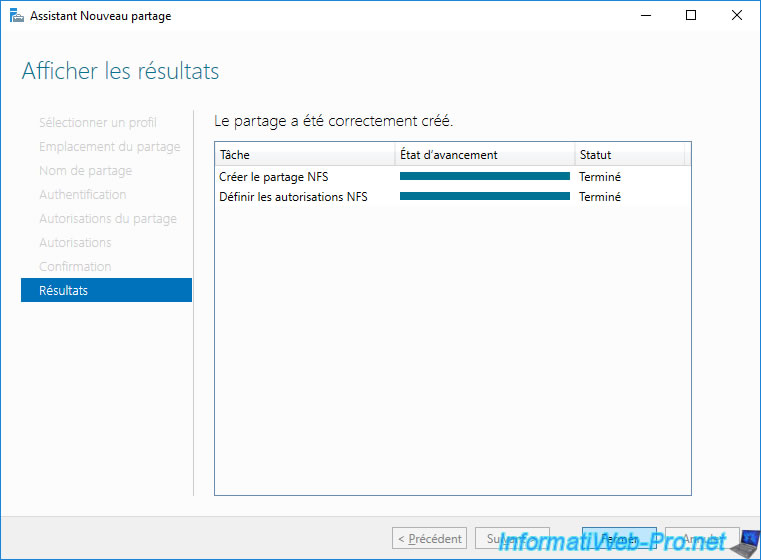
Your NFSv3 share appears.
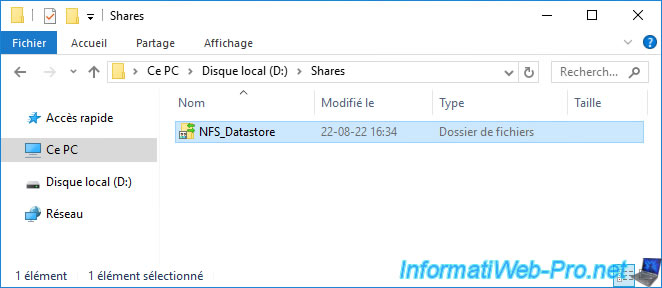
If you check the shared folder on your hard drive, you will see that its icon has changed.
Share this tutorial
To see also
-

VMware 5/15/2024
VMware vSphere 6.7 - Add a physical disk to host
-

VMware 9/27/2024
VMware vSphere 6.7 - Array integration APIs (VAAI)
-

VMware 9/6/2024
VMware vSphere 6.7 - Configure port binding (iSCSI traffic)
-

VMware 6/13/2024
VMware vSphere 6.7 - Configure Virtual Flash (SSD cache)
You must be logged in to post a comment