- Windows Server
- WS2016
- 04 August 2023 at 11:18 UTC
-

- 1/2

In business, the NFS (Network Filesystem Storage) protocol is mainly used to access the storage available on a NAS.
Moreover, this protocol is mainly used on Linux systems. However, you can also create an NFS server on Windows Server and easily create NFS shares.
For the NFS client, you'll see this is available as a feature on client versions of Windows.
- Install NFS Server
- Create an NFS share
- Install NFS Client on Windows 10
- Access an NFS share from a client PC on Windows 10
1. Install NFS Server
To install an NFS server, simply run the "Add Roles and Features" wizard and select "Role-based or feature-based installation".
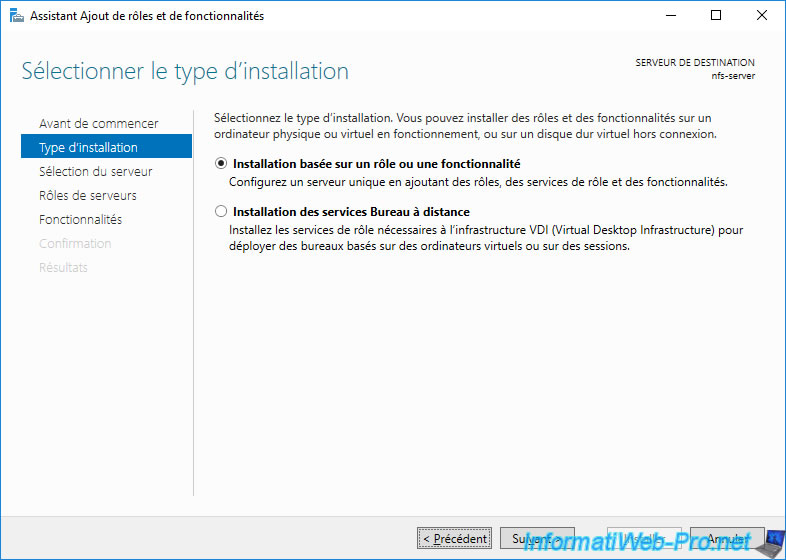
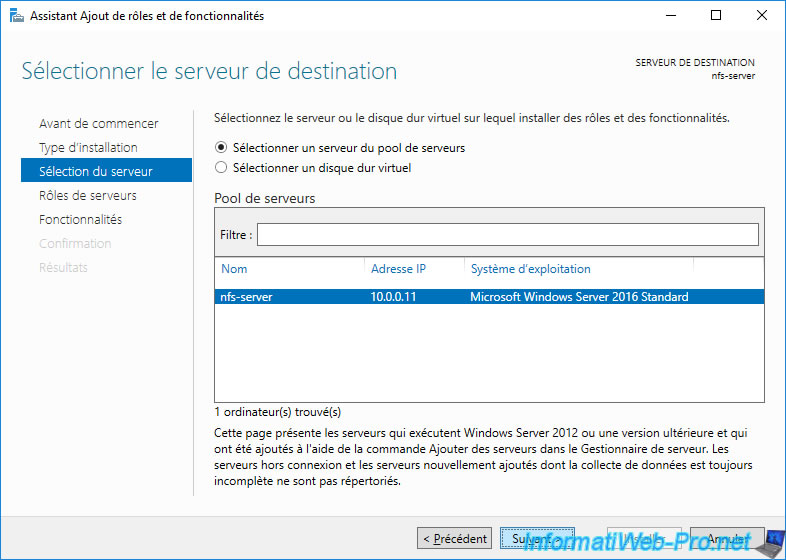
Select the server where you want to install it.
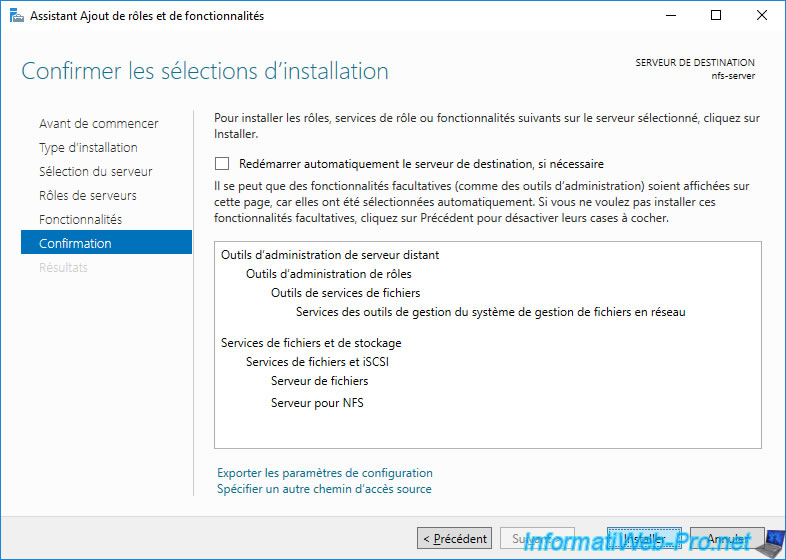
In the list of available roles, expand the "File and Storage Services" node and check the "Server for NFS" box found in : File and Storage Services -> File and iSCSI Services.
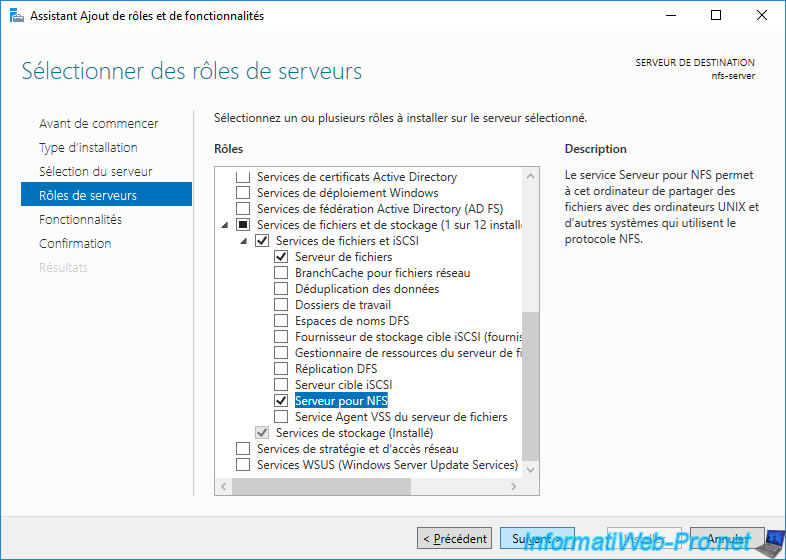
Click Install.
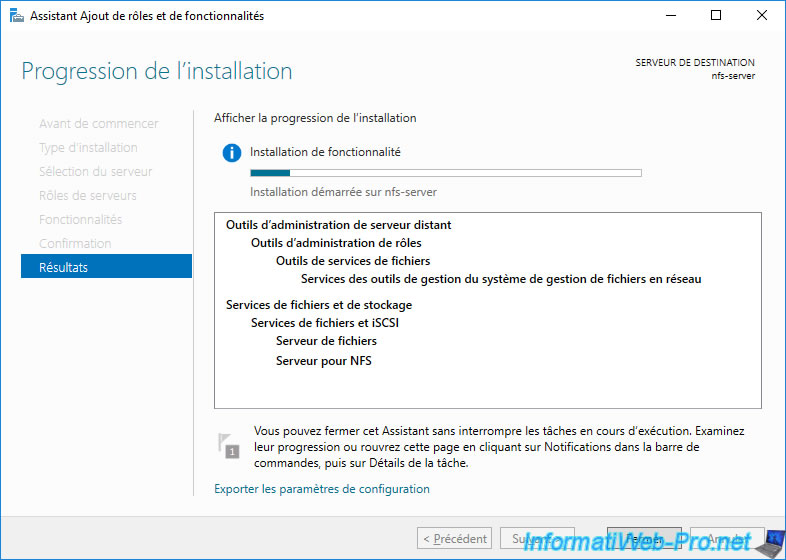
Wait while installing the NFS server.
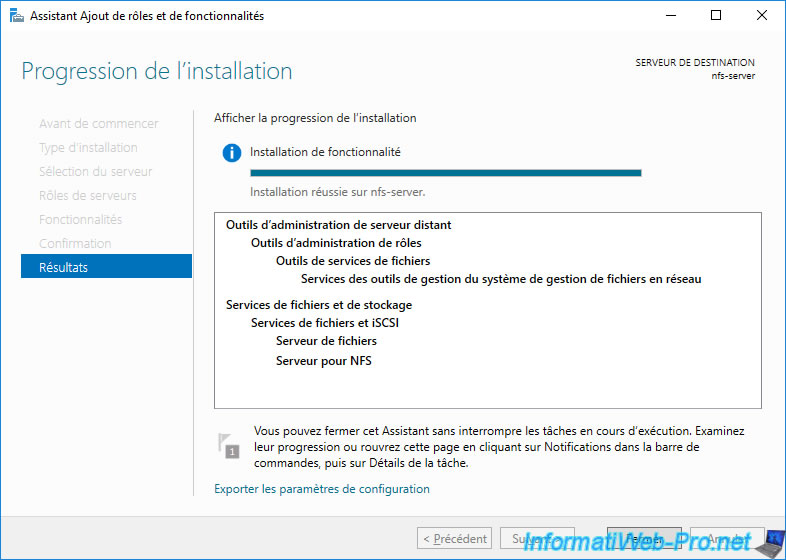
The NFS server is installed.
2. Create an NFS share
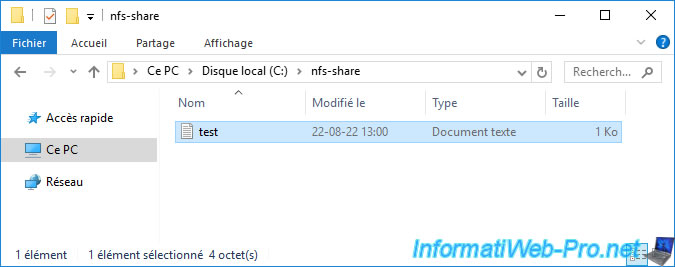
To get started, create a folder wherever you want on your server.
For example, at the root of the "C" partition to avoid rights issues.

Create a test file inside this folder.
Open the Server Manager and go to the "File and Storage Services" section.
In the "Shares" tab, click on the "Tasks" button in the "Shares" section.
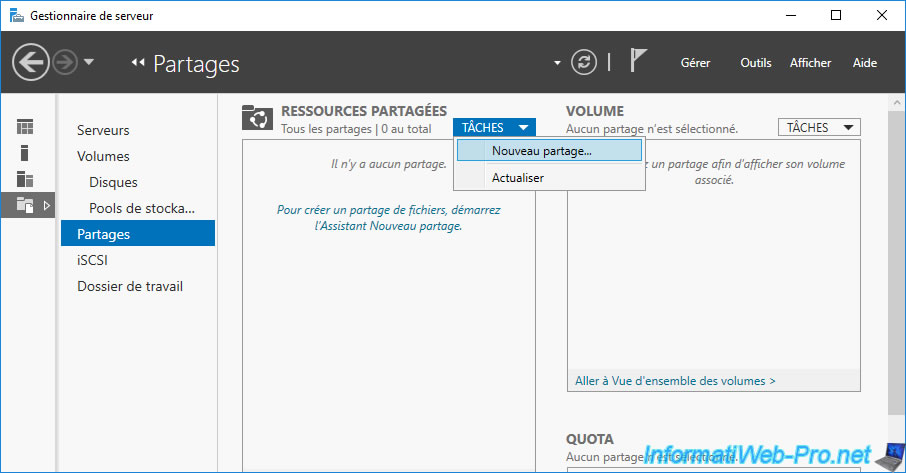
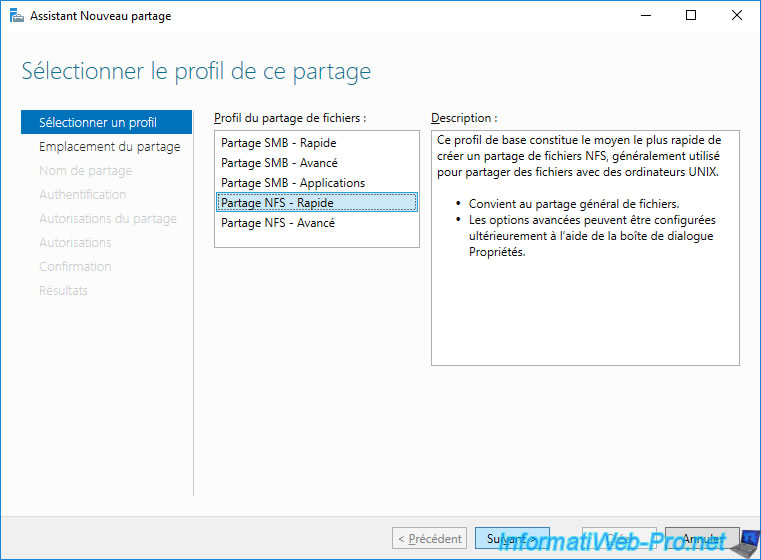
In the "New Share Wizard" window that appears, select "NFS Share - Quick" and click Next.
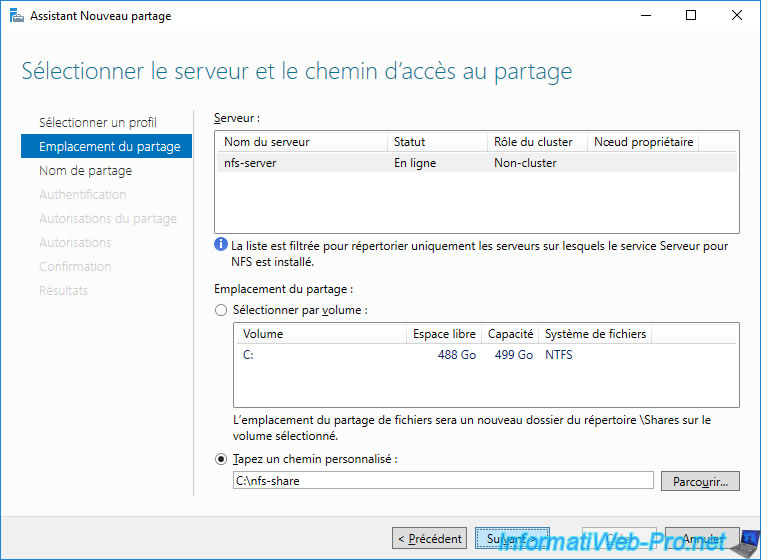
Select your NFS server (if needed), then select "Type a custom path" and click on : Browse.
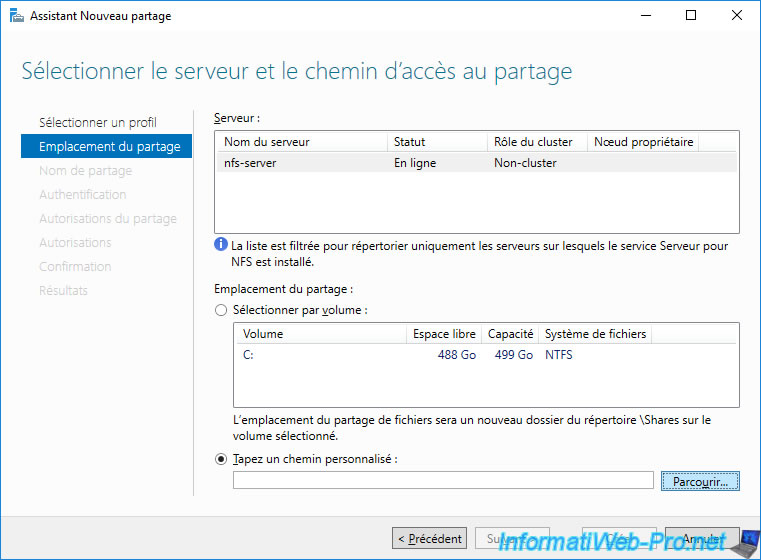
Select the folder created previously, then click on : Select a folder.
In our case, it is the "C:\nfs-share" folder.
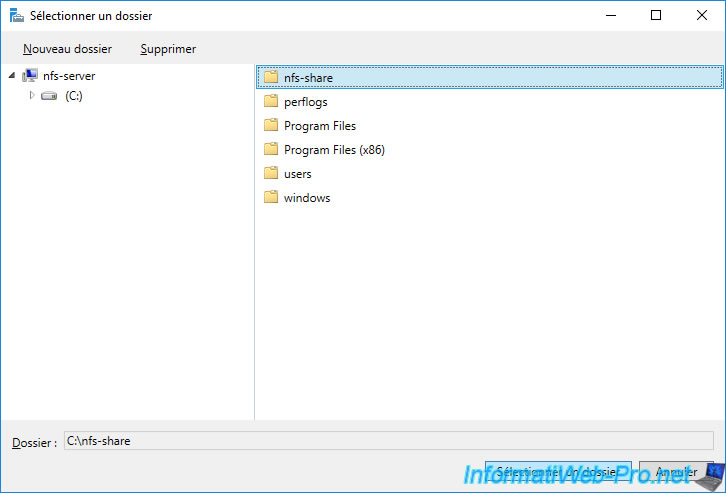
Once the path of the folder to be shared via NFS has been selected, click Next.
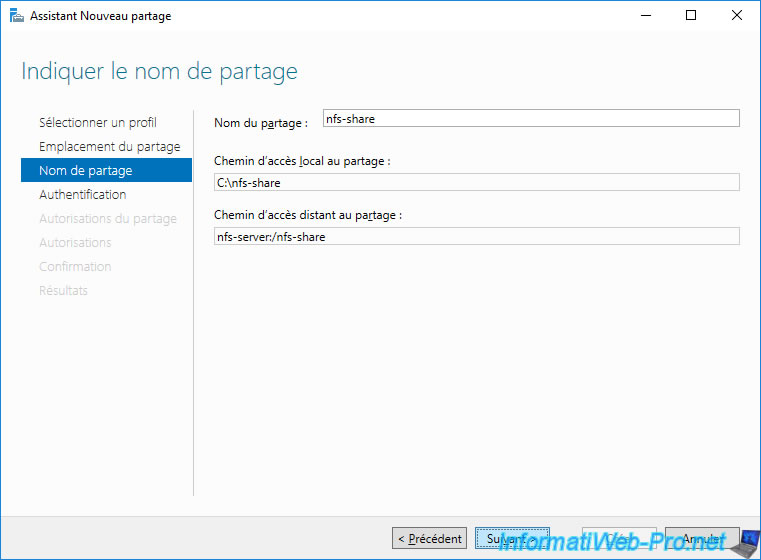
By default, the name of the share will correspond to the name of the folder selected previously.
Change this name if desired, then click Next.
- Local path to share : local path to access this folder on your NFS server.
- Remote path to share : network path to specify on the NFS client of a computer or server on your local network.
Since version 4.1 of NFS, you have the option of enabling Kerberos v5 authentication.
However, in this case, we will not use authentication to simplify this tutorial.
To do this, select the options :
- No server authentication (AUTH_SYS)
- Enable unmapped user access
- Allow unmapped user access by UID/GID

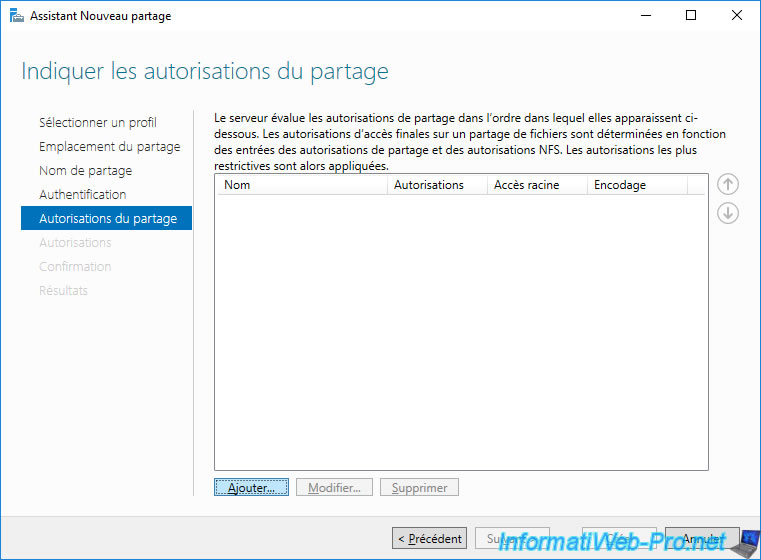
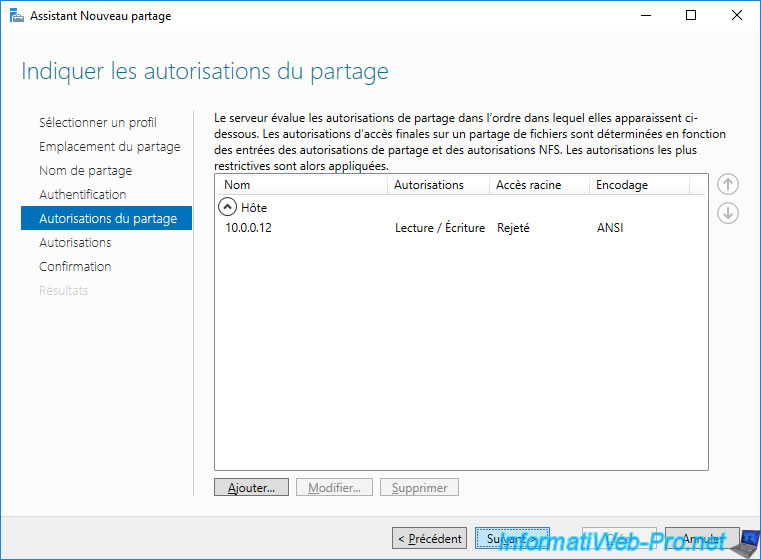
By default, no one can access an NFS share from the network.
To authorize specific computers, servers or users to access your share, you must click on : Add.
In our case, we authorize our client PC to read and write to this NFS share by specifying :
- Host: 10.0.0.12 (client PC IP address).
- Share permissions : Read / Write.
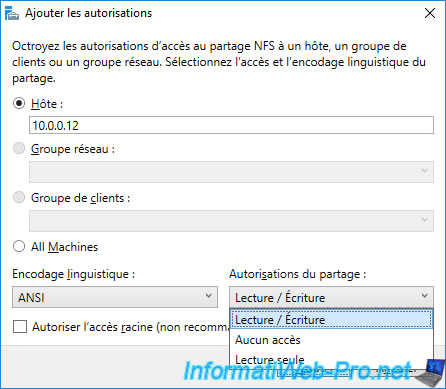
Once the desired permission has been added, click Next.
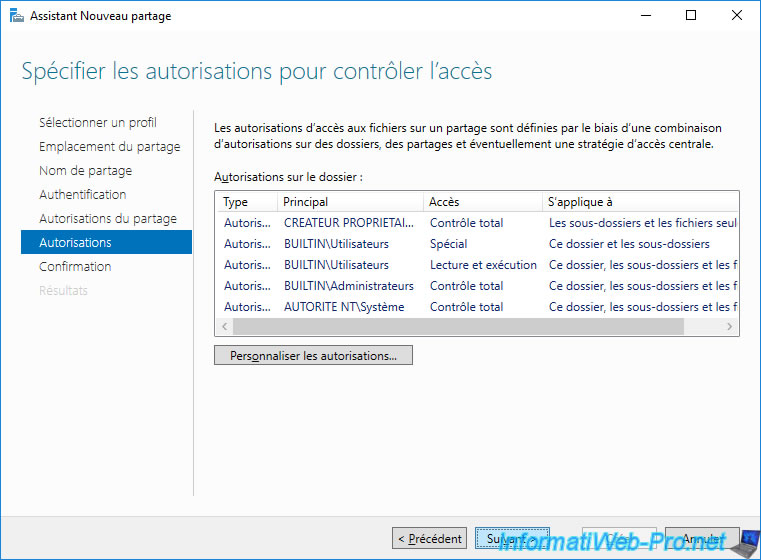
If desired, you can configure additional permissions on this NFS share.
However, in our case, we didn't change anything.
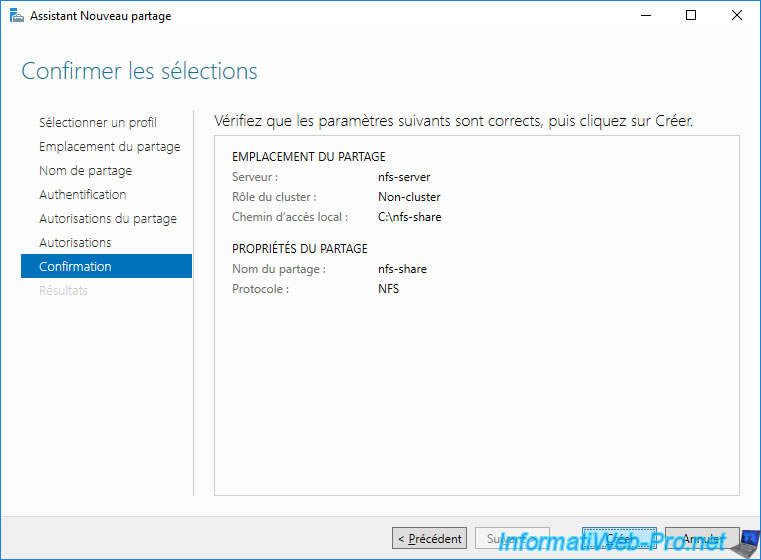
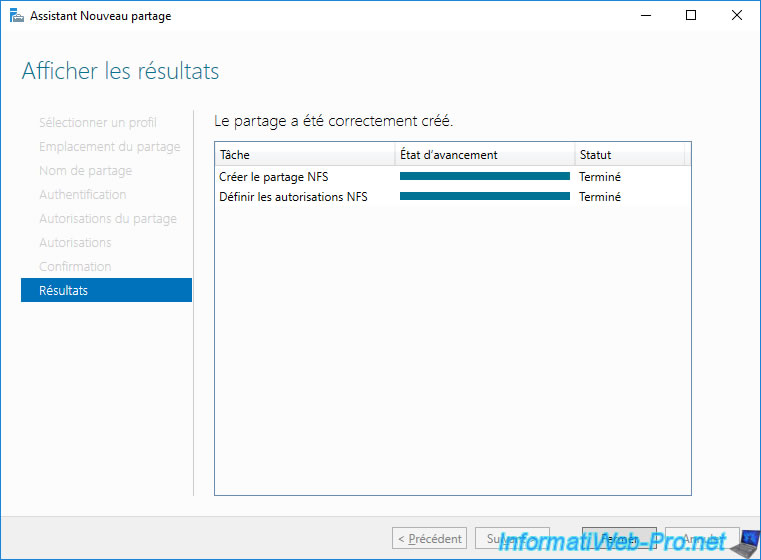
A summary of your NFS share configuration appears.
Click Create.
Once the NFS share has been created and the permissions set on it, click Close.
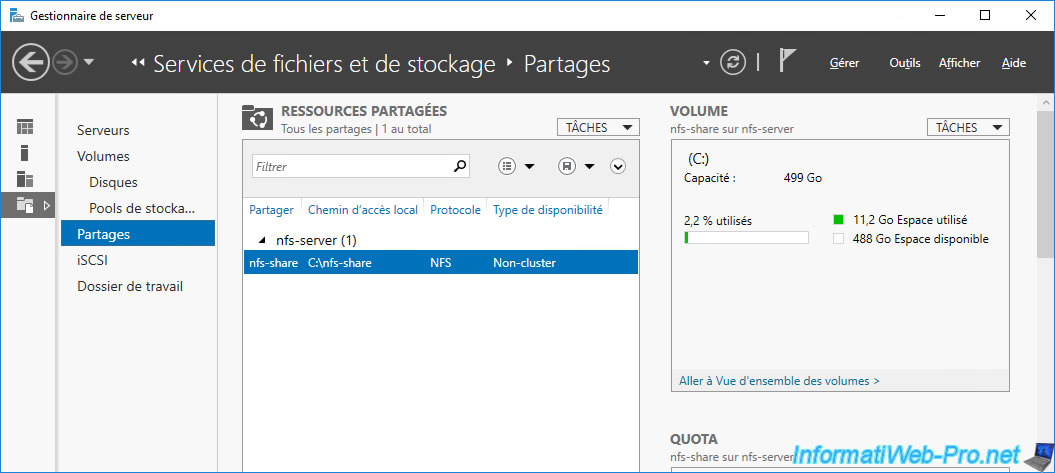
The created NFS share appears in the "Shares" list.
Share this tutorial
To see also
-

Windows Server 1/5/2024
WS 2016 - AD CS - Create a recovery agent to recover certificates
-

Windows Server 1/12/2024
WS 2016 - AD CS - Create an enrollment agent
-
Windows Server 7/31/2021
WS 2016 - AD DS - Generate RSoP data (on server side)
-

Windows Server 8/6/2021
WS 2016 - AD DS - Manage groups
You must be logged in to post a comment