Create a NFS datastore on VMware vSphere 6.7
- VMware
- 13 September 2024 at 11:30 UTC
-

- 2/2

3. Create an NFSv3 datastore from the VMware vSphere Client
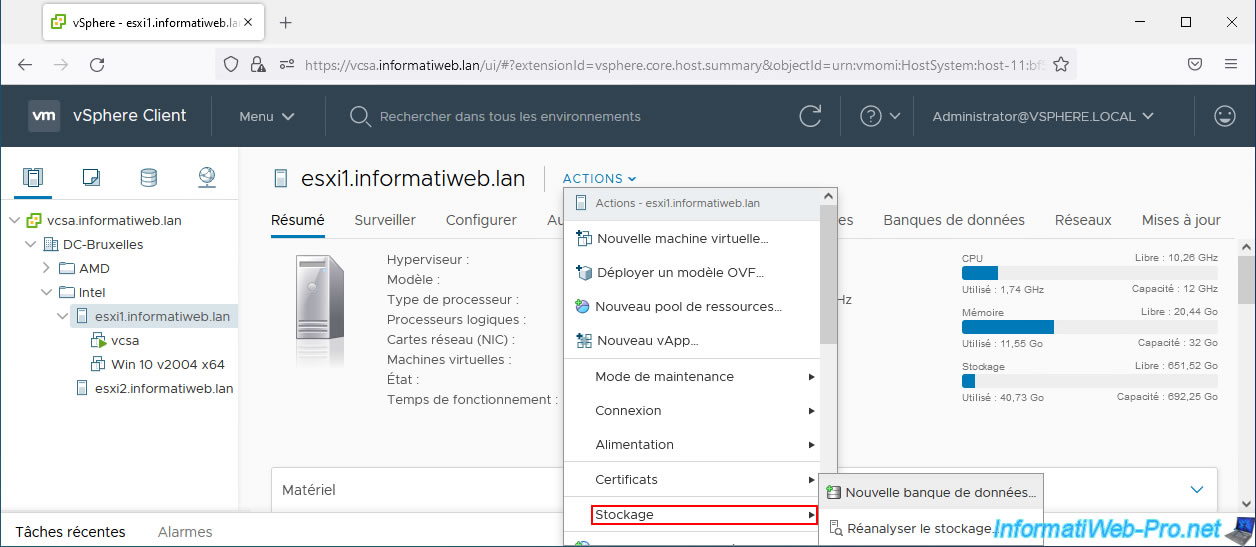
In the VMware vSphere Client, select your VMware ESXi host and click: Actions -> Storage -> New Datastore.
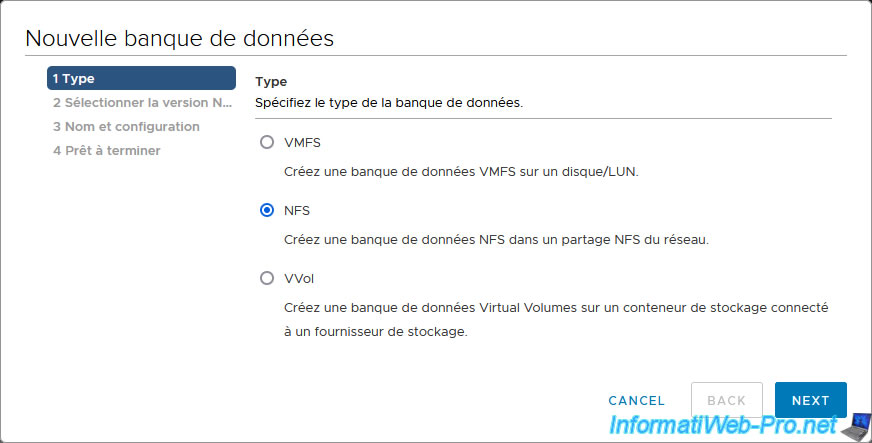
In the "New Datastore" wizard that appears, select "NFS" and click Next.
Select "NFS 3".

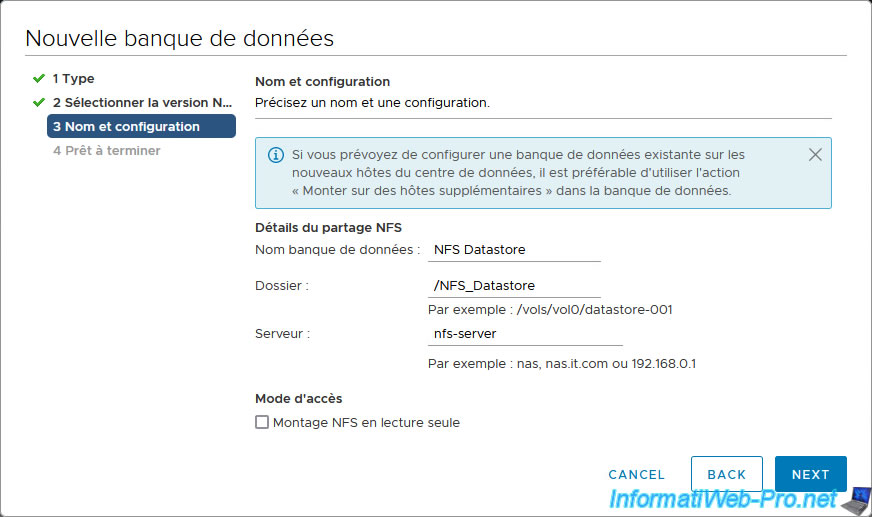
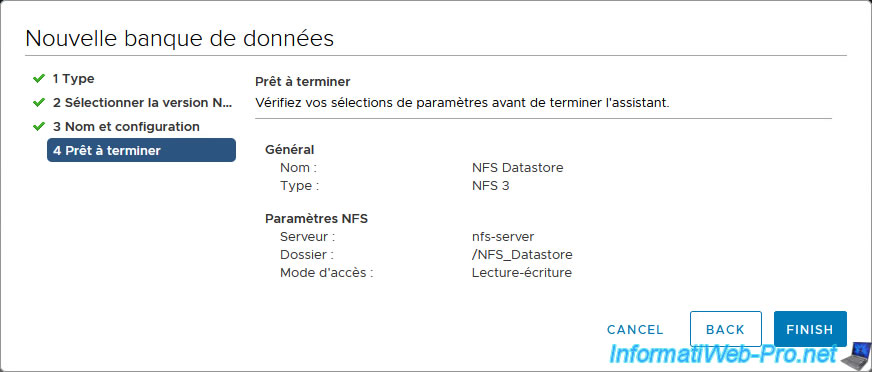
In the "Name and configuration" step, indicate:
- Datastore name: name under which your datastore will appear on VMware vSphere.
- Folder: the path to the NFS share (export). In our case: "/NFS_Datastore".
- Server: the NETBIOS name, DNS domain name or IP address of your NFS server.
In our case, we indicated its NETBIOS name: nfs-server.
If you want the datastore to be mounted as read-only to prevent its contents from being modified from your VMware infrastructure, check the "Mount NFS as read-only" box.
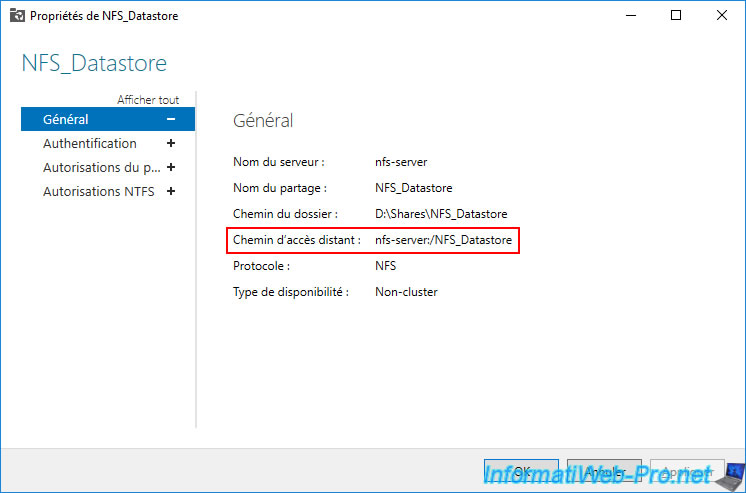
Note that you can find the server name and path of the NFS share from your NFS server.
In Windows Server, right-click "Properties" on your NFS share.
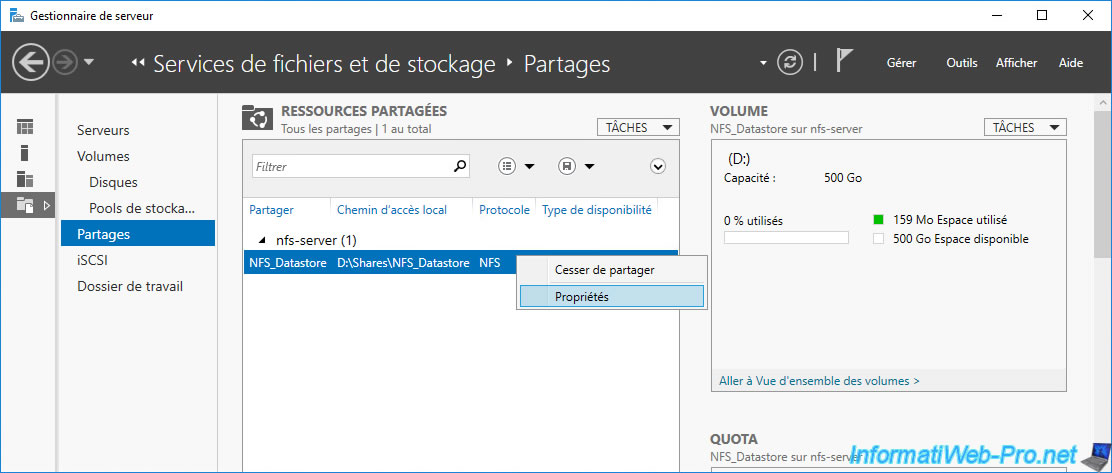
In the "Remote Path" line, you will be able to see the name of the NFS server and the path to this NFS share.
Click Finish.
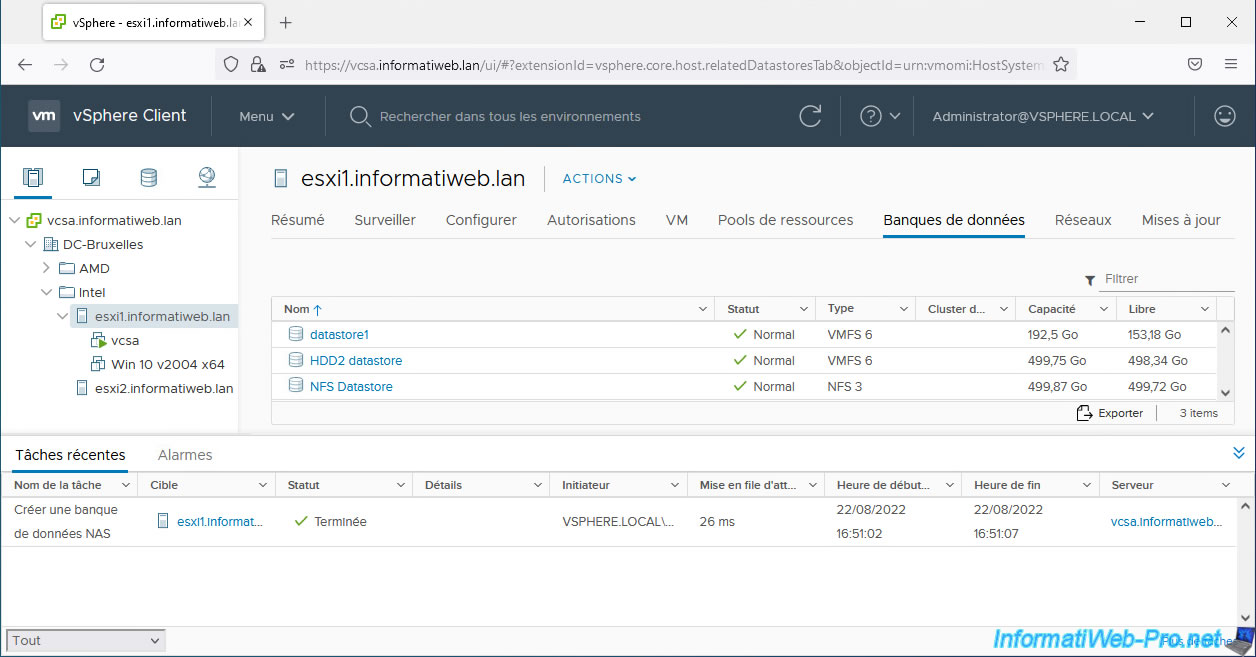
Your NFSv3 datastore appears.
In Recent Tasks, you will see a "Create NAS Datastore" task appear.
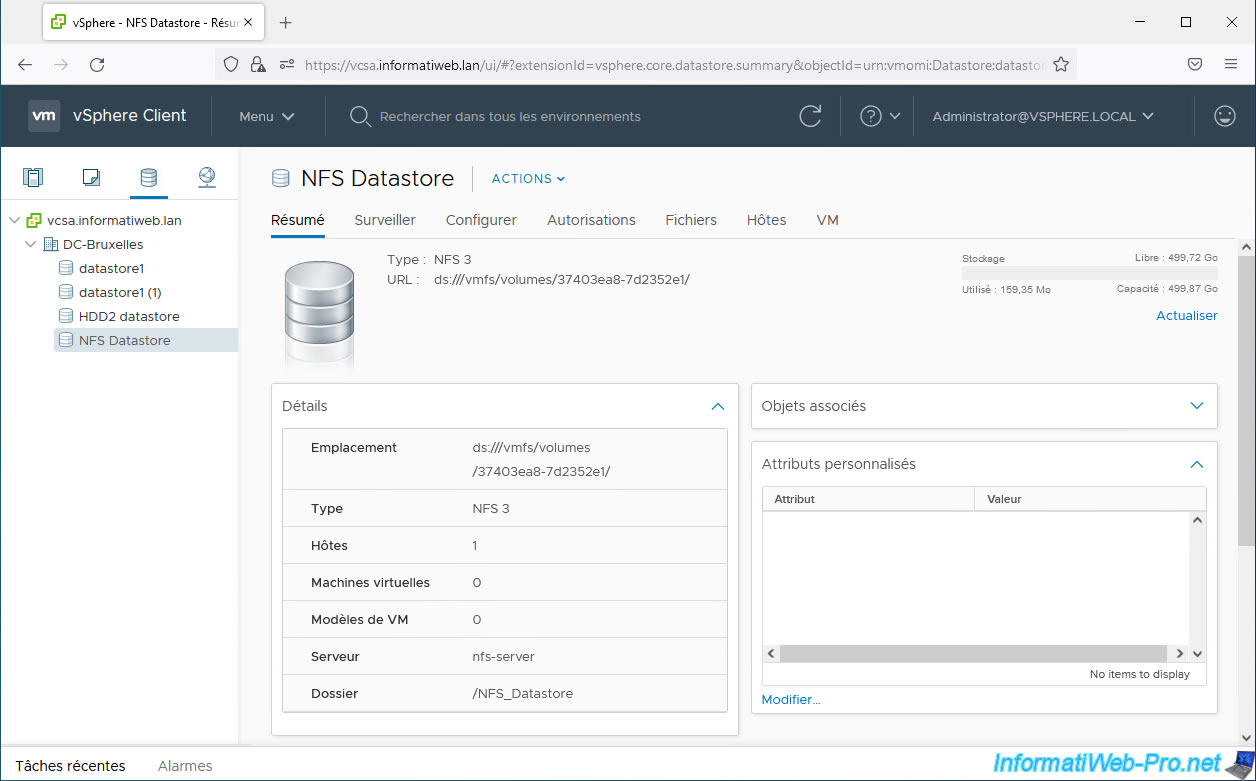
In the "Summary" tab of your NFS datastore, you will be able to see:
- Location: the system path used by VMware vSphere for this NFS datastore.
- Type: NFS 3.
- Hosts: the number of VMware ESXi hosts that have access to this datastore.
Currently 1 host. - Virtual machines: the number of virtual machines there.
- VM template: the number of virtual machine templates in it.
- Server: the name or IP address of the NFS server.
- Folder: the path to the NFS share used on the server shown above.
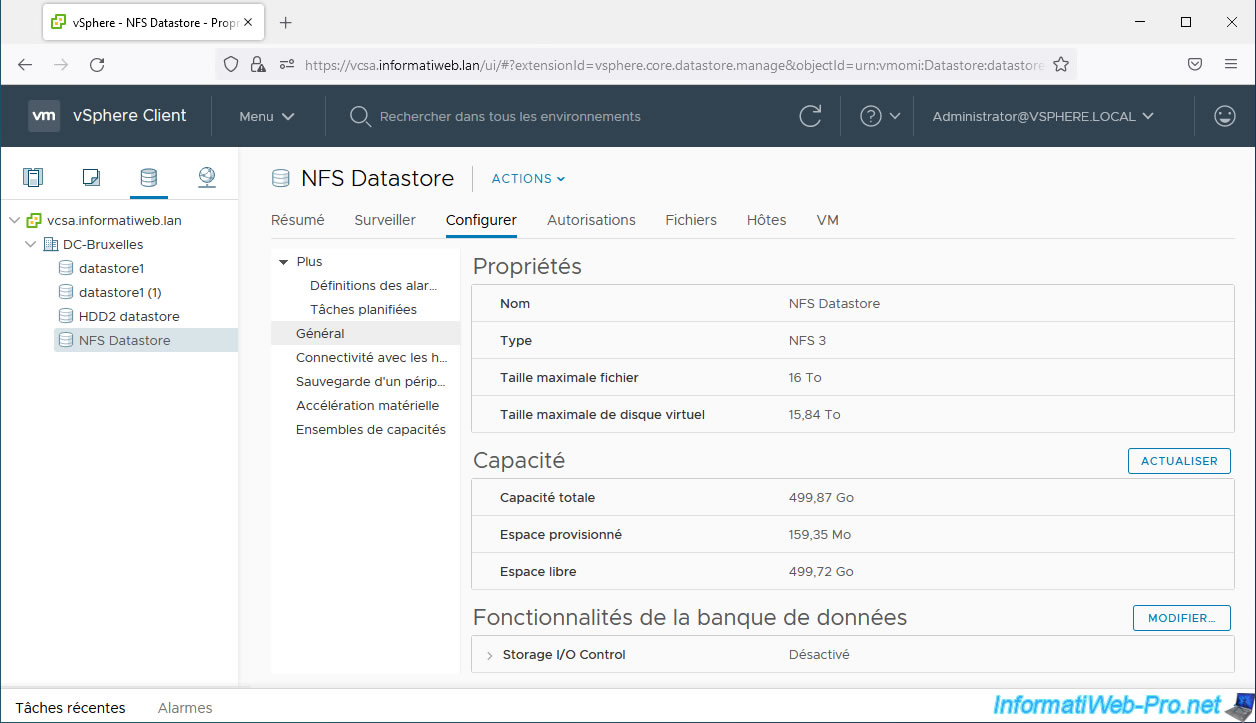
In the "Configure" tab, go to the "Properties" section to view the properties of your NFS datastore.
On this page, you will be able to see the total capacity, provisioned space and free space available on this NFS datastore.
Important : note that NFS 3 allows you to use certain features that are not supported by NFS 4.1.
For example, the Storage I/O Control (visible at the bottom of this page). This is disabled by default, but it can be enabled if you want only with an NFS 3 datastore (as is the case here).
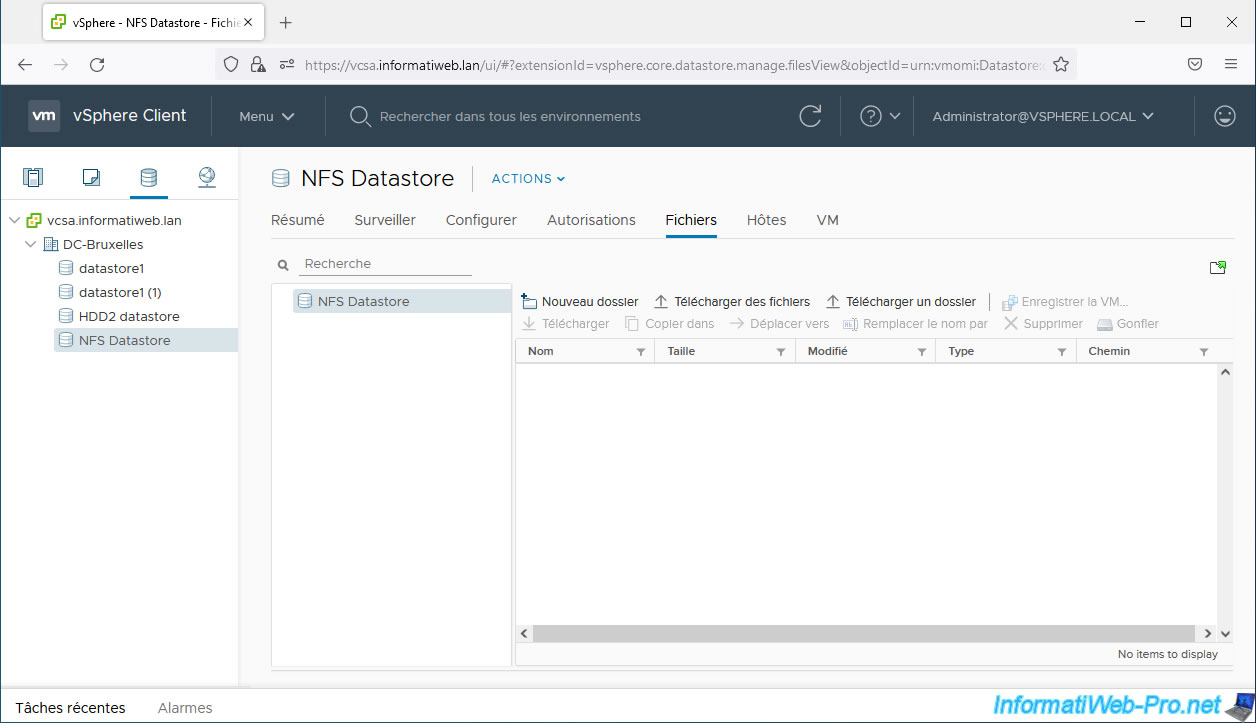
To view the contents of your NFS datastore, go to the "Files" tab.
As you can see, you have the same features for adding and removing files as if it were a local VMFS datastore.
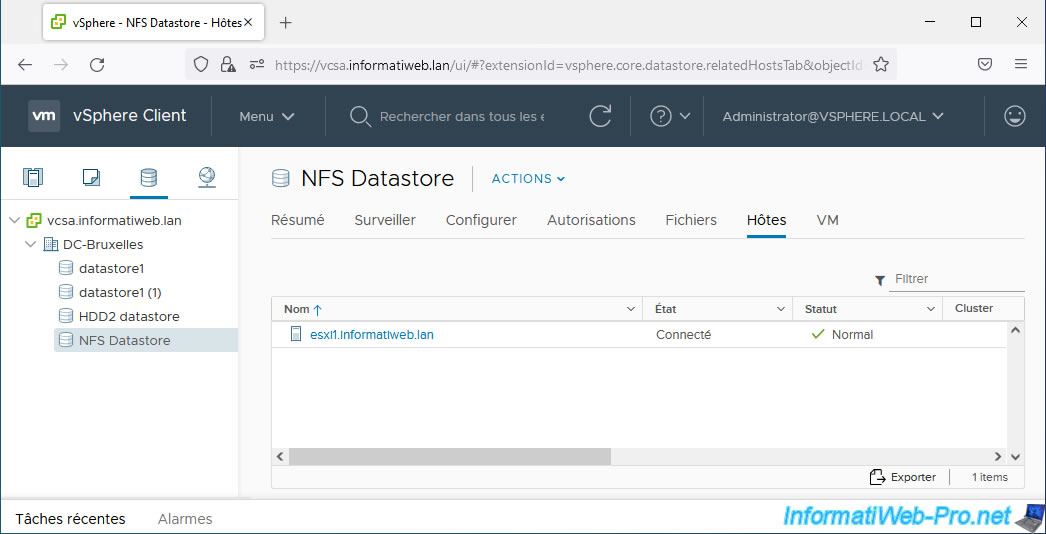
In the "Hosts" tab, you will see the list of hosts that have access to this NFS datastore.
4. Mount an NFSv3 datastore on a 2nd VMware ESXi host
One of the main advantages of an external datastore (NFS or iSCSI generally) is being able to benefit from storage shared by several VMware ESXi hosts.
Now that you have added your NFS datastore on one of your VMware ESXi hosts, you can very easily mount it on other VMware ESXi hosts linked to your VMware vCenter Server (VCSA).
To do this, select your NFS datastore and click: Actions -> Mount Datastore on Additional Hosts.

Select the desired additional host and click OK.
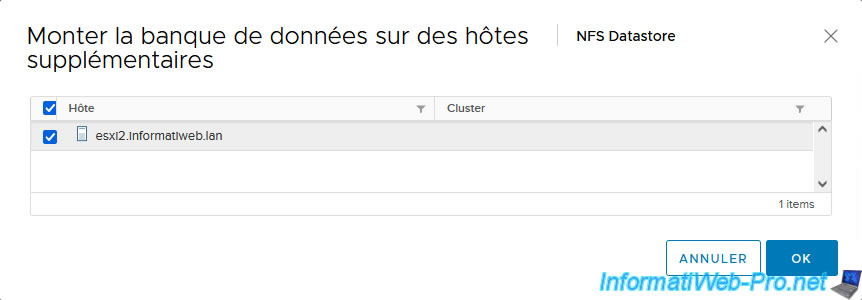
A new task "Create a NAS datastore" appears in the recent tasks and it is mounted on your 2nd VMware ESXi host.
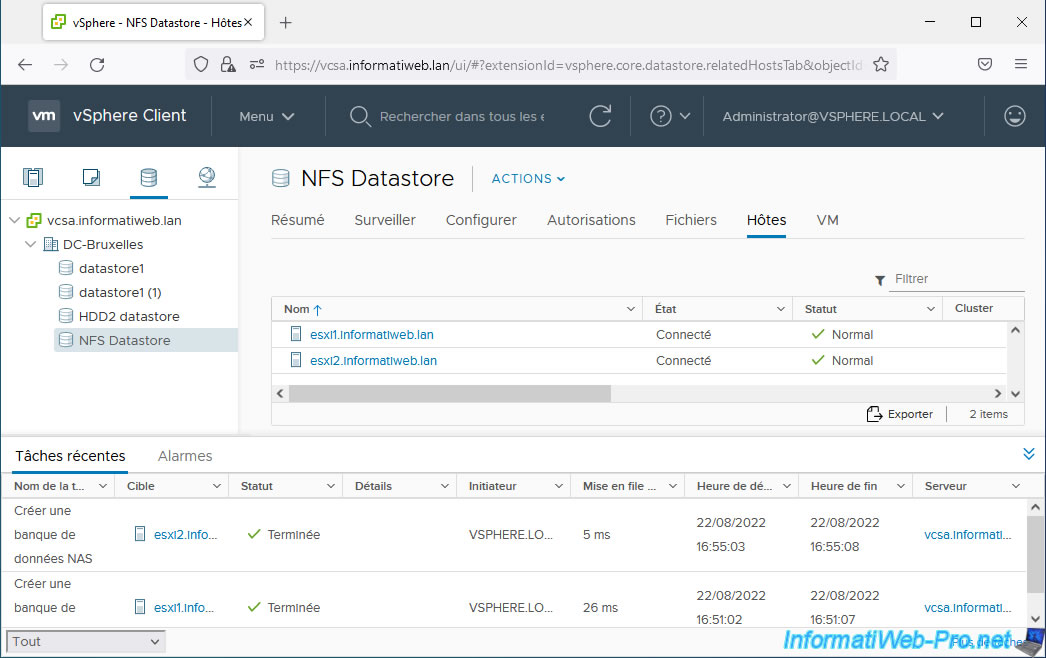
As you can see in the "Summary" tab of your NFS datastore, it is used by 2 hosts.

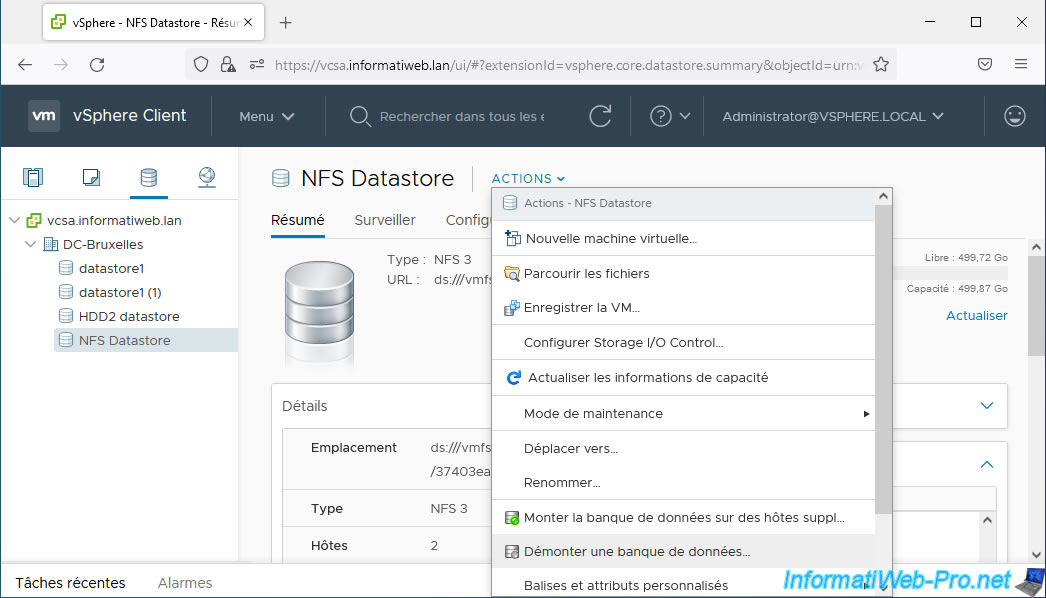
5. Unmount an NFSv3 datastore from the VMware vSphere Client
To unmount an NFS 3 datastore for multiple VMware ESXi hosts, select your NFS datastore and click: Actions -> Unmount Datastore.
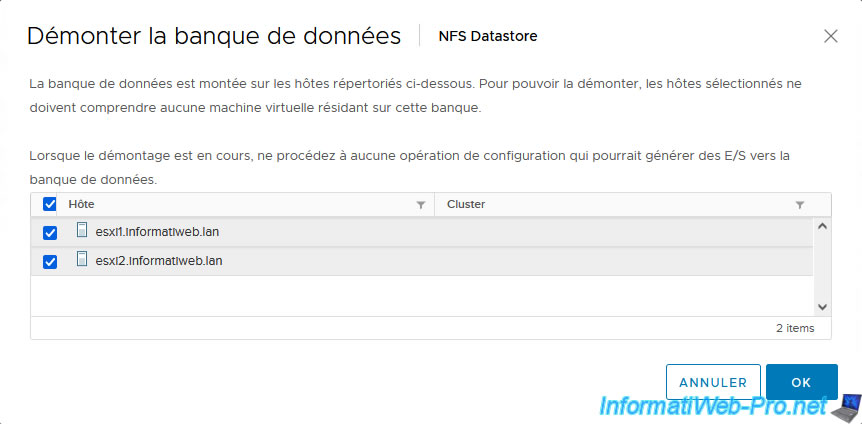
Select the hosts for which you want to unmount this NFS datastore and click OK.
Warning : if you select all the VMware ESXi hosts offered here, your NFS datastore will completely disappear from the VMware vSphere Client.
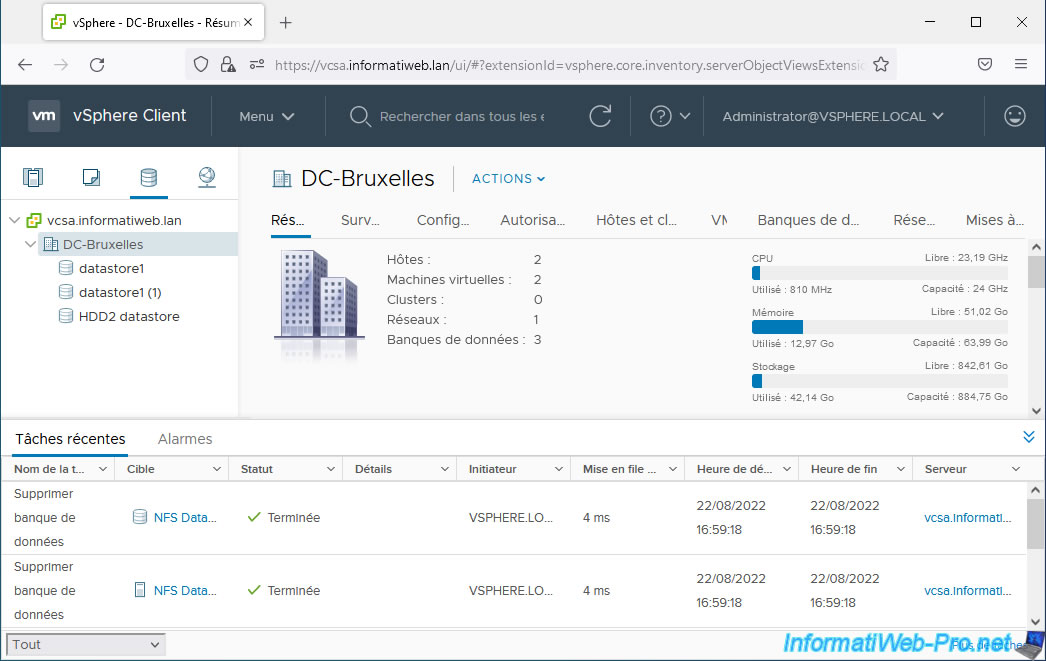
In recent tasks, you will see the "Delete Datastore" task as many times as there are hosts for which you have unmounted your NFS datastore.
As stated previously, if you have selected all the offered hosts, your NFS datastore will completely disappear from the VMware vSphere Client.
Share this tutorial
To see also
-

VMware 5/15/2024
VMware vSphere 6.7 - Add a physical disk to host
-

VMware 9/27/2024
VMware vSphere 6.7 - Array integration APIs (VAAI)
-

VMware 9/6/2024
VMware vSphere 6.7 - Configure port binding (iSCSI traffic)
-

VMware 6/13/2024
VMware vSphere 6.7 - Configure Virtual Flash (SSD cache)
No comment