Create a LACP link (LAG) on a vDS switch on VMware vSphere 6.7
- VMware
- 10 January 2025 at 09:13 UTC
-

- 2/4

3. Create a LACP link (LAG) on VMware vSphere
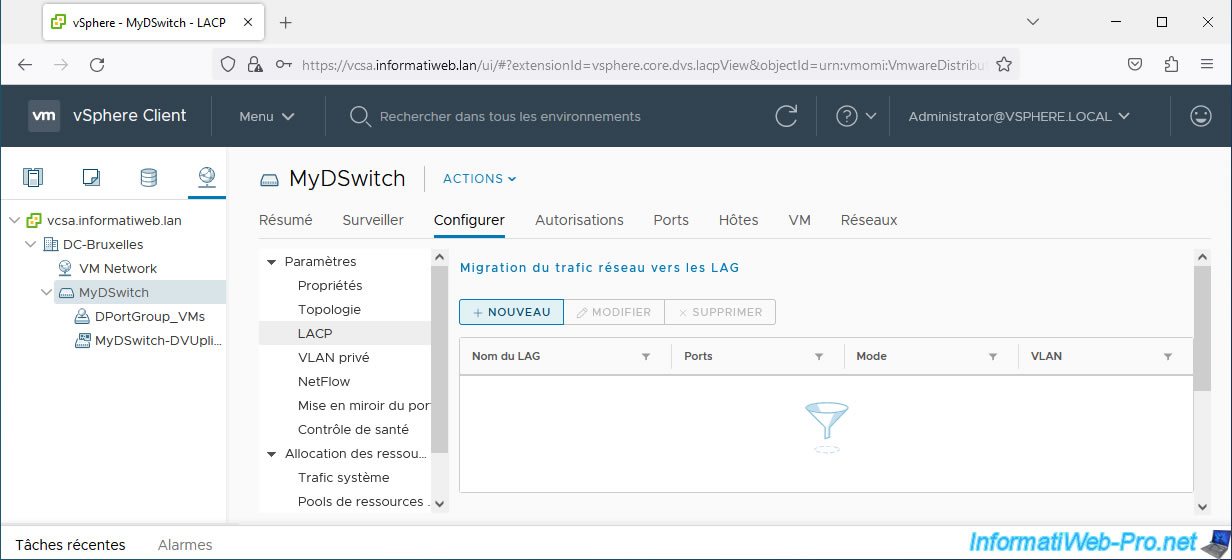
To create a LACP link (LAGG) via the vSphere Client, select your vDS virtual switch, then go to "Configure -> Settings -> LACP" and click the "NEW" button.
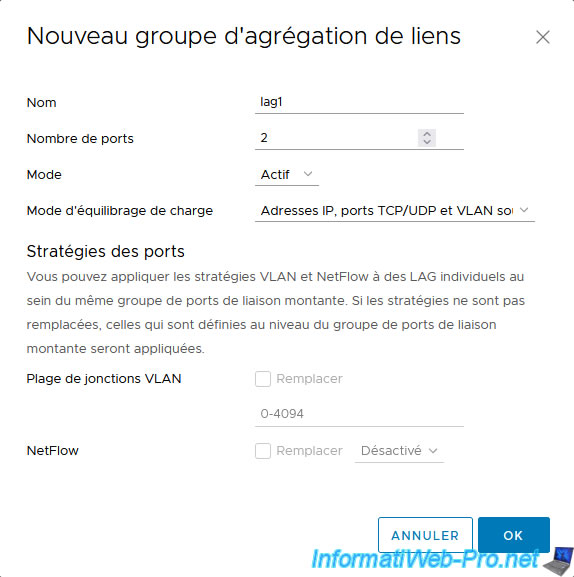
In the “New Link Aggregation Group” window that appears, indicate:
- Name: lag1 (default name).
- Number of ports: 2. In our case, we will create a LACP link using 2 physical network ports of our host.
- Mode: indicates whether your host should initiate LACP negotiations with your physical switch or vice versa.
It is necessary that at least one of the 2 devices (your host or your physical switch) be in "active" mode for the LACP link.- Active: your host will negotiate with the LACP channel of your physical switch by sending it LACP packets.
- Passive: your host will respond to LACP packets sent by your switch. Your host will therefore not initiate the LACP negotiation itself.
- Load balancing mode: choose the desired load balancing mode.
Default: Source and destination IP addresses, TCP/UDP ports, and VLANs. - Port policies: if policy override is enabled for VLAN trunks and for NetFlow on uplink ports, you will be able to populate the "VLAN trunk range" and "NetFlow" settings.
Values set here will override those set on the uplink port group.
Source : Create a Link Aggregation Group - VMware Docs.
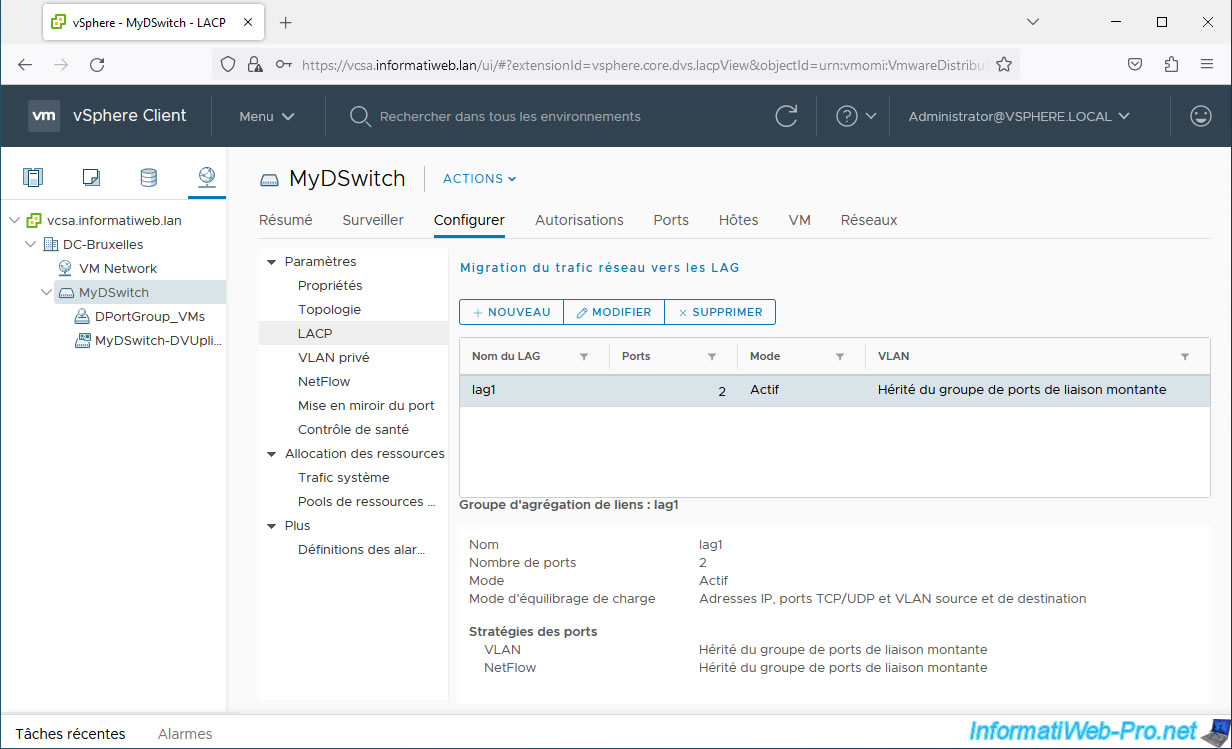
Your LACP (LAG) link has been created.
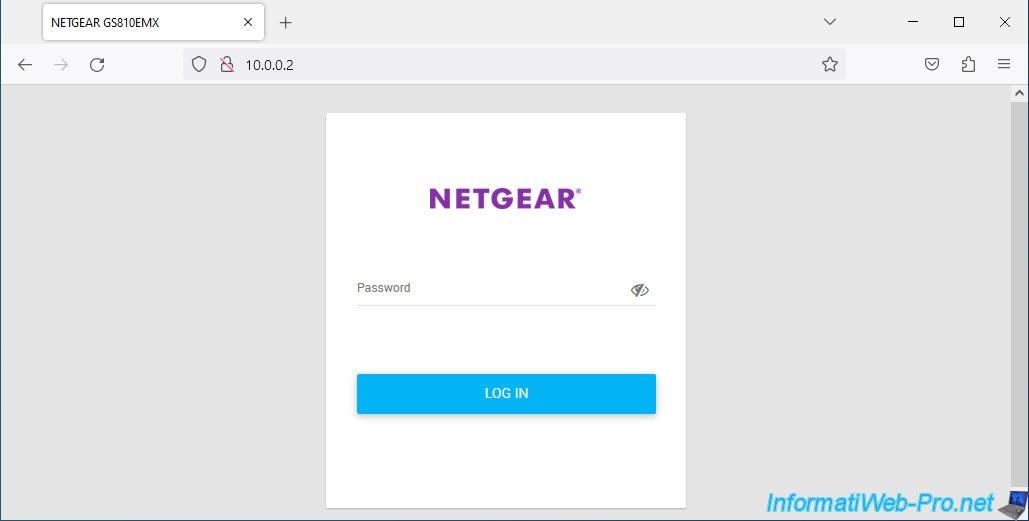
4. Create a LACP (LAG) link on a Netgear GS810EMX (Nighthawk SX10) switch
For this tutorial, we used a Netgear switch that supports LACP.
More precisely, it is the switch: Netgear GS810EMX (Nighthawk SX10).
Note: in business, you will mainly use Cisco switches.
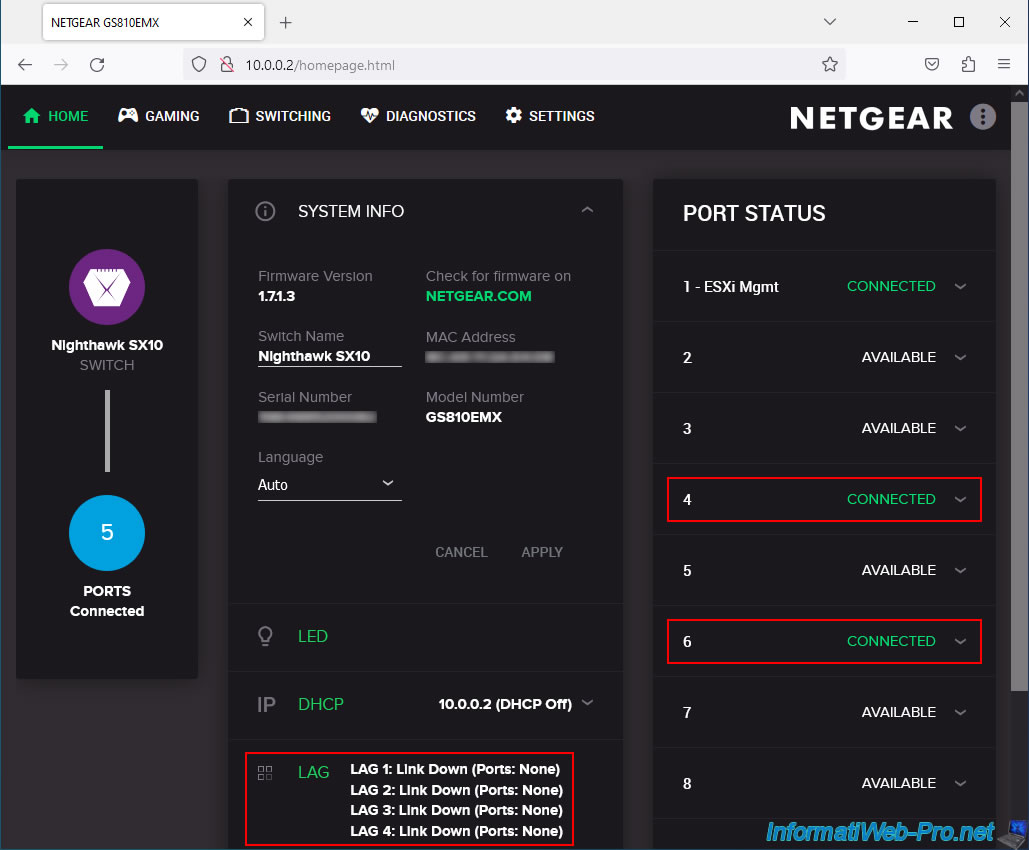
As you can see, for the LACP link (LAG), we will use ports 4 and 6 of our Netgear switch.
The 2 cables are currently connected between the Netgear switch and the VMware ESXi host, hence the "CONNECTED" status visible on the 2 ports (4 and 6).
The LACP link is currently not configured on our Netgear switch.
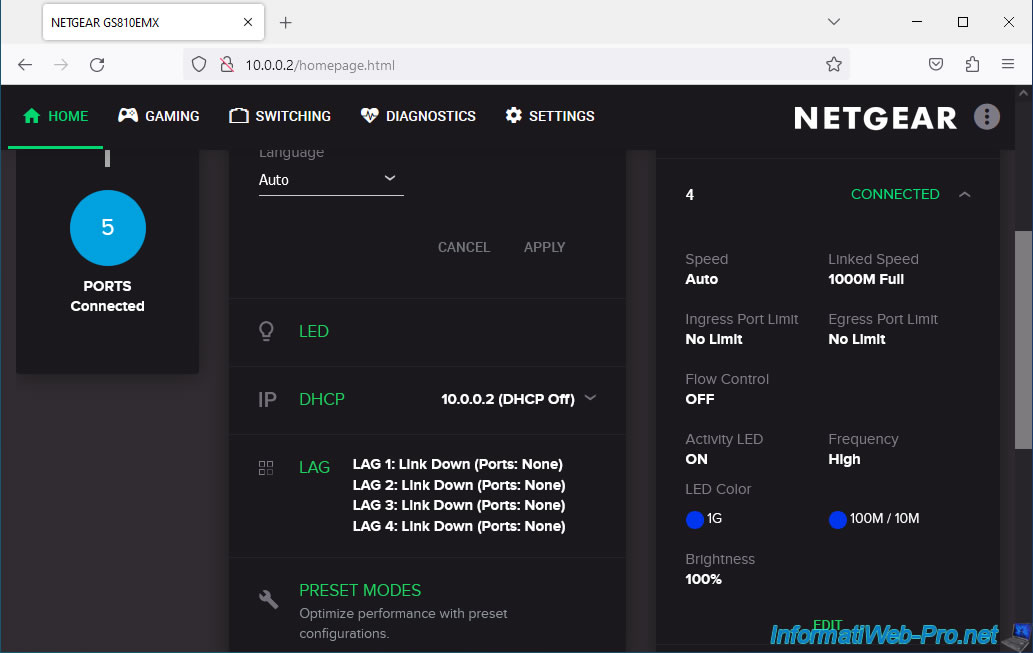
If you wish, you can rename a port on the Netgear switch by clicking on its number, then on: Edit.
Change the Port Name if desired, then click: Apply.
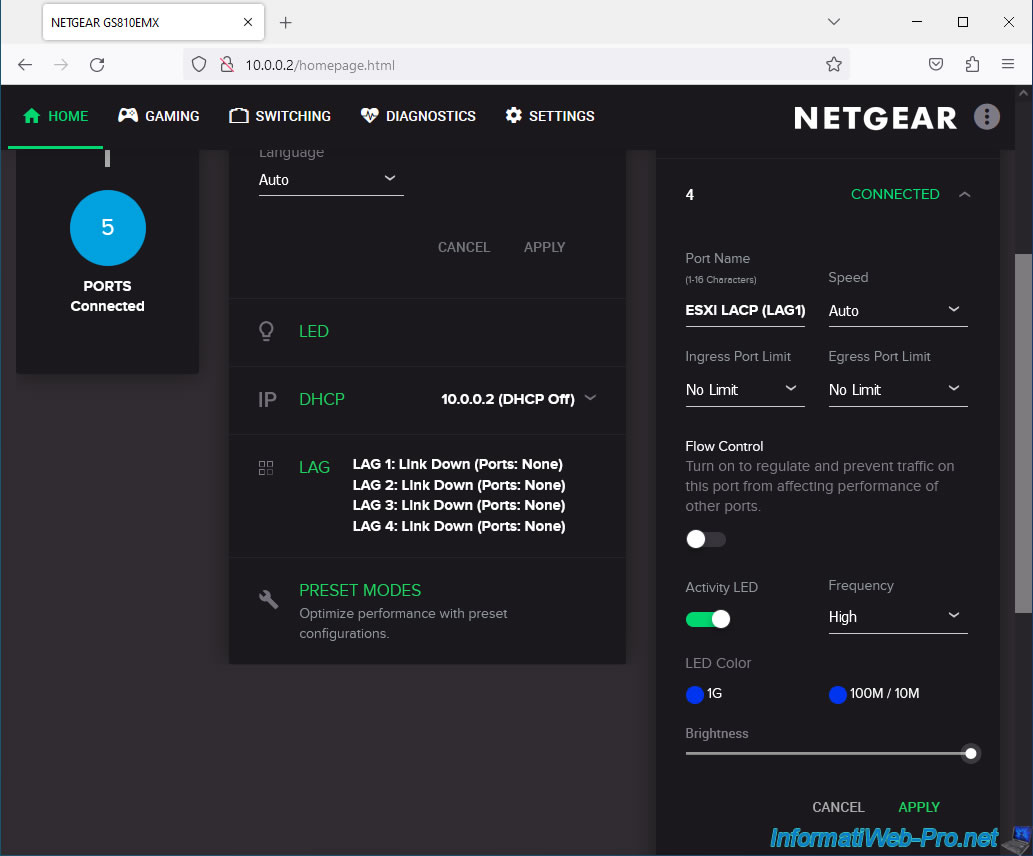
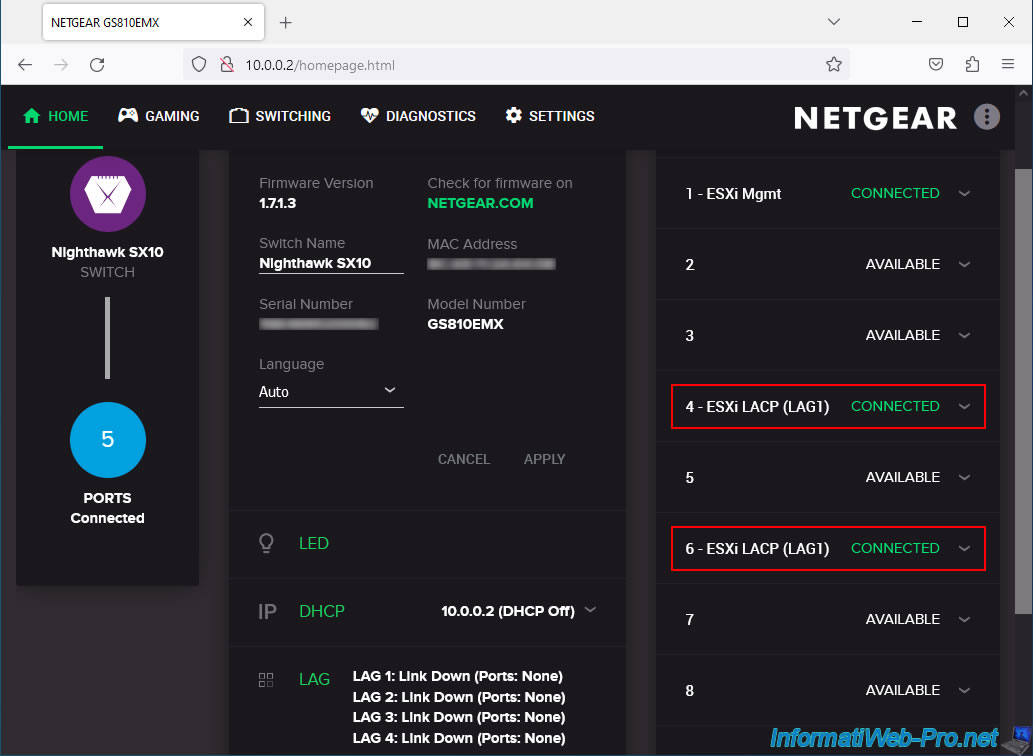
In our case, we renamed our ports 4 and 6 to: ESXi LACP (LAG1).
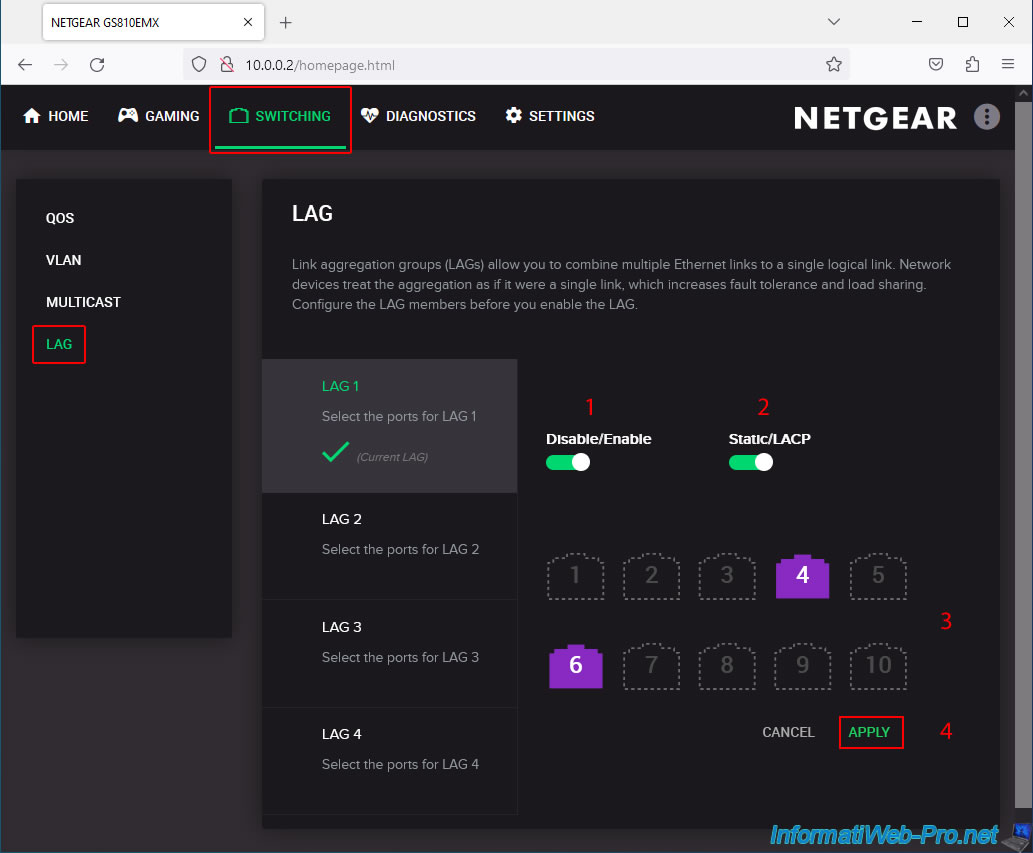
To configure the LACP link (LAG) on the Netgear GS810EMX (Nighthawk SX10) switch, go to "Switching -> LAG".
Choose "LAG 1" and configure this:
- enable LAG 1 by activating the “Disable/Enable” slider.
- use LACP mode by activating the “Static/LACP” slider.
- click on the port number to use for the LACP link (LAG).
In our case: 4 and 6. - click: Apply.
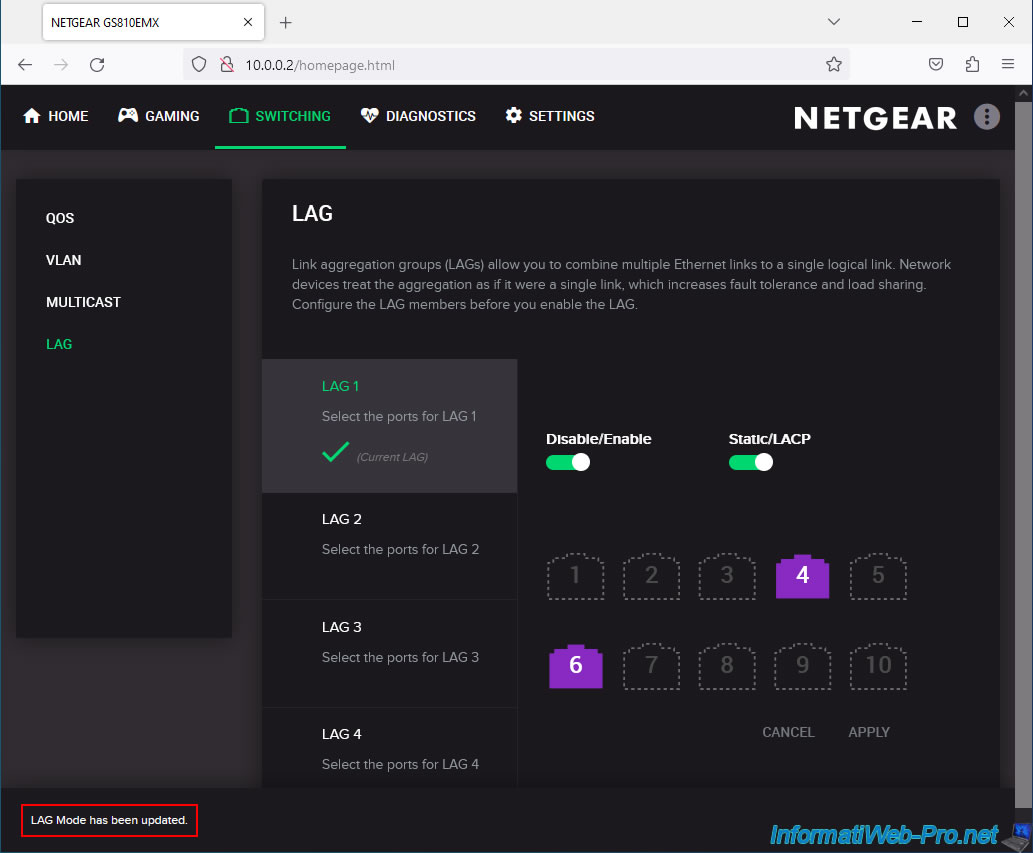
The message "LAG Mode has been updated" appears.
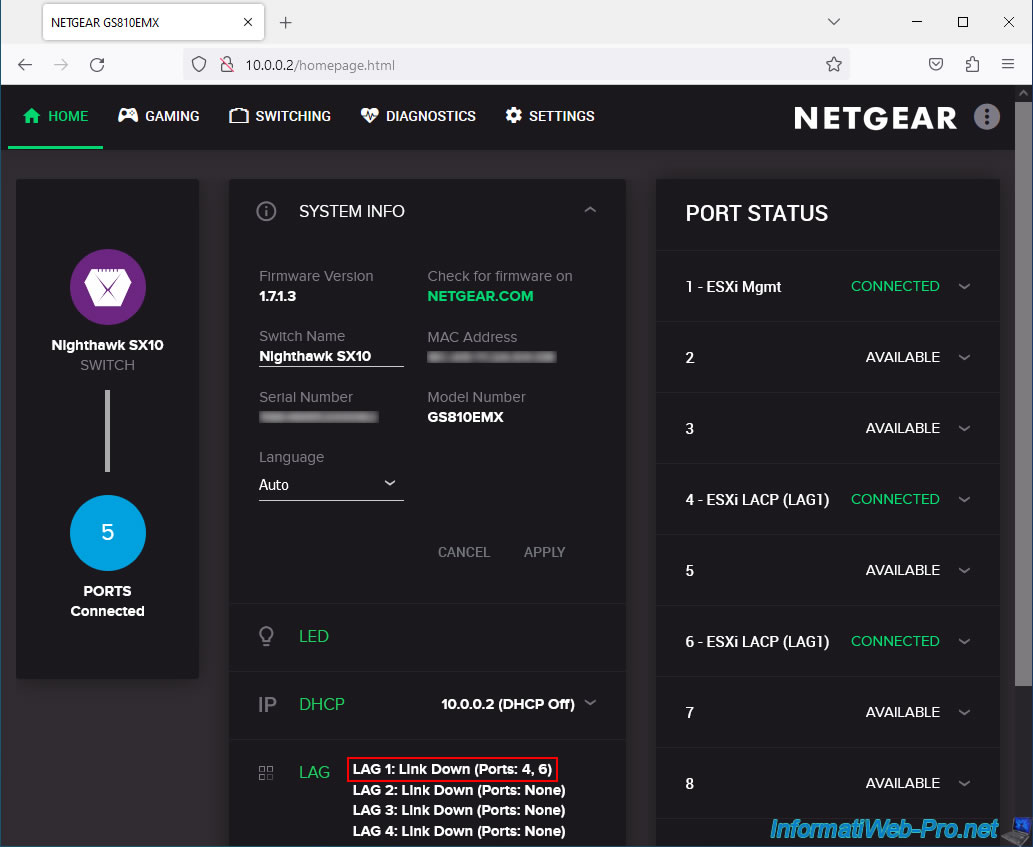
Once the LACP link (LAG) has been created, in the "Home" tab, you will see that LAG 1 is made up of ports 4 and 6 (in our case).
However, at the moment, the link is not established (Link Down) since the LACP configuration on VMware vSphere is not completed.
5. Migrate network traffic to LAGs (LACP links)
When you want to migrate network traffic (in our case, that of our virtual machines) to LACP links, you must do this in 3 steps.
5.1. Set LAG as reserve uplink on distributed port groups
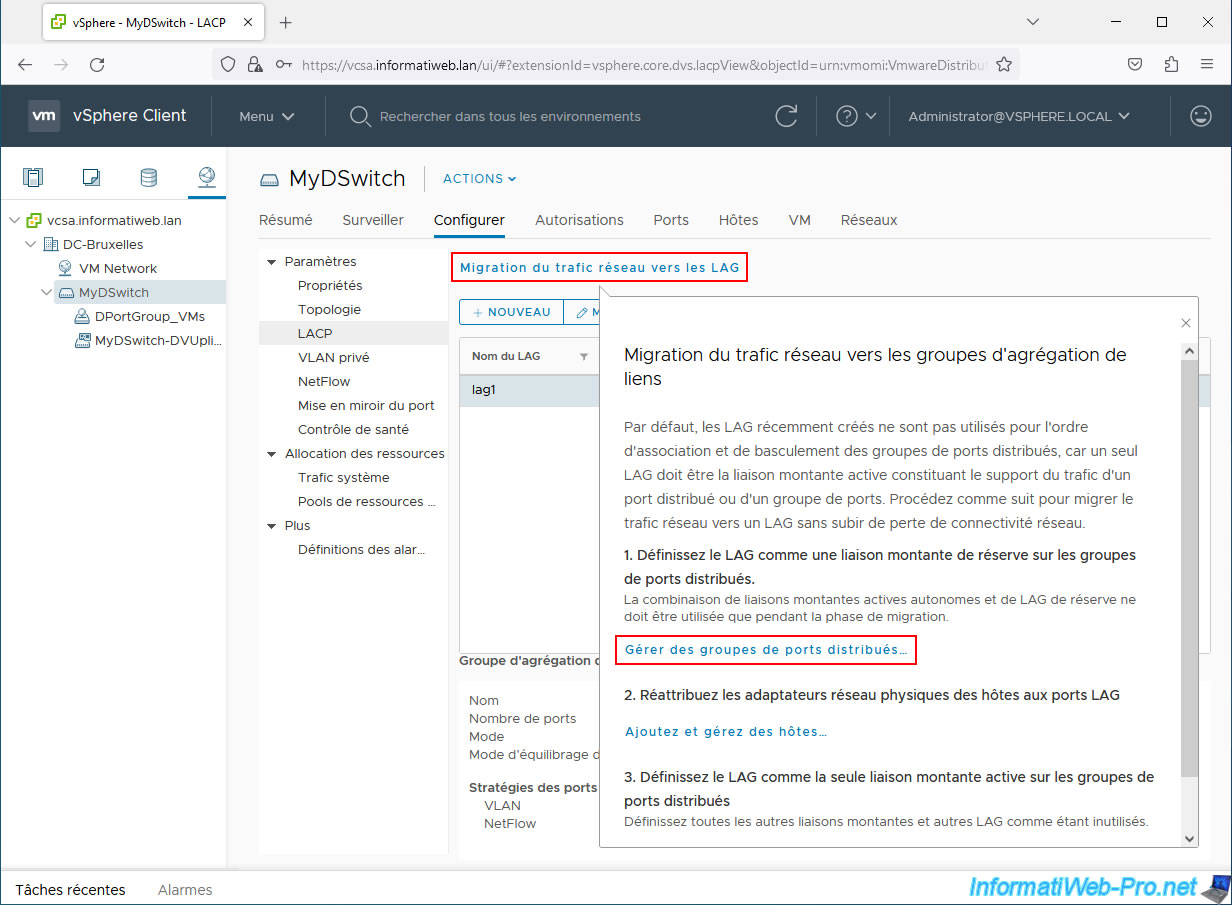
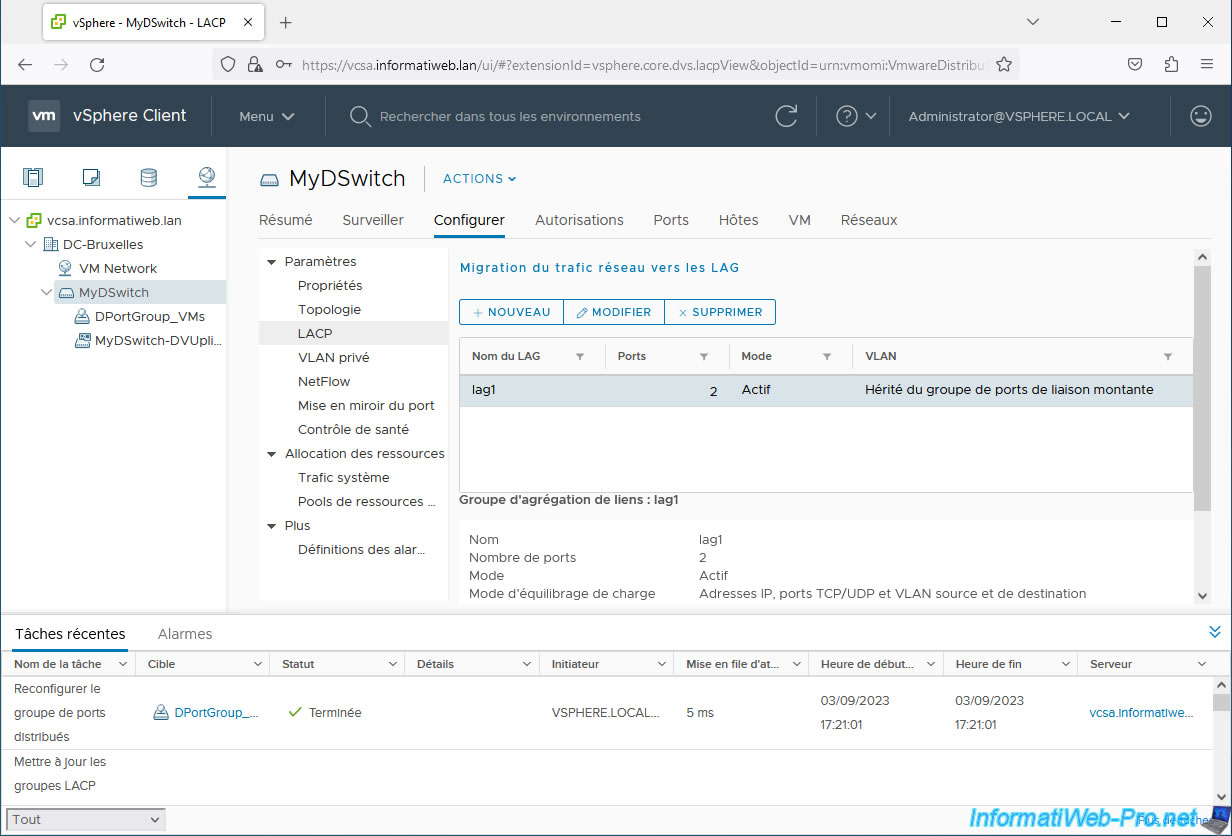
To get started, select your vDS virtual switch where you created your LAG (LACP link) and go to: Configure -> Settings -> LACP.
Next, click on the “Migrating network traffic to LAGs” link displayed.
The vSphere Client displays the 3 steps required for migrating network traffic to your LAGs.
Step 1: Click the “Manage Distributed Port Groups” link.
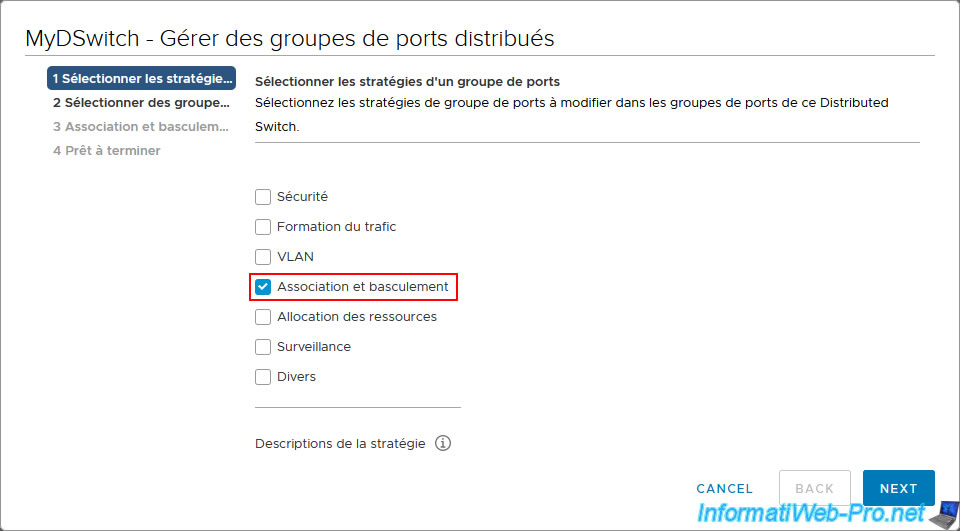
In the "[vDS switch name] - Manage Distributed Port Groups" wizard that appears, check the "Teaming and Failover" box and click Next.
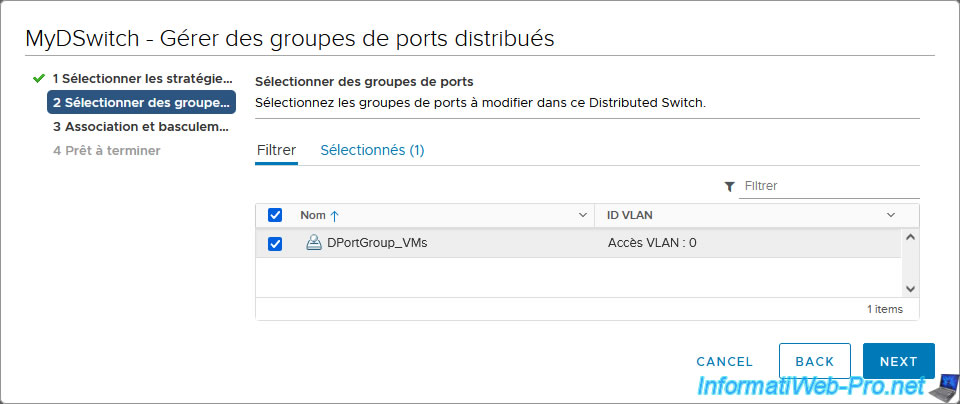
Select the port group you want to migrate to your LAG (LACP link) and click Next.
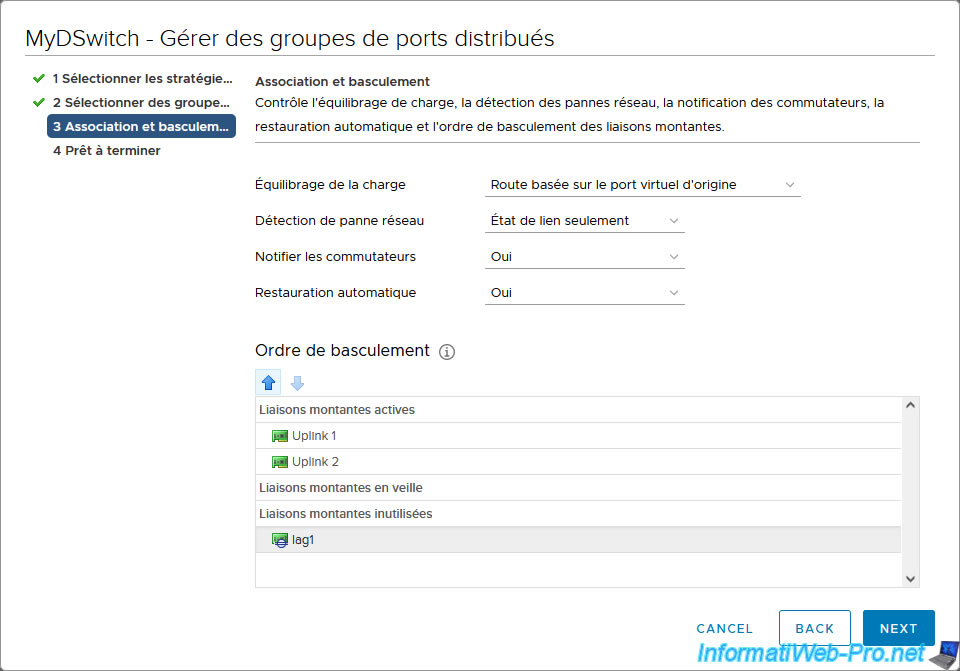
Select your LAG (default: lag1) and click on the "up" arrow to move it up to the "Standby uplinks" section.
As requested by the vSphere client, your LAG is now asleep for this distributed port group.
Currently, uplinks "Uplink 1" and "Uplink 2" are active for this distributed port group.
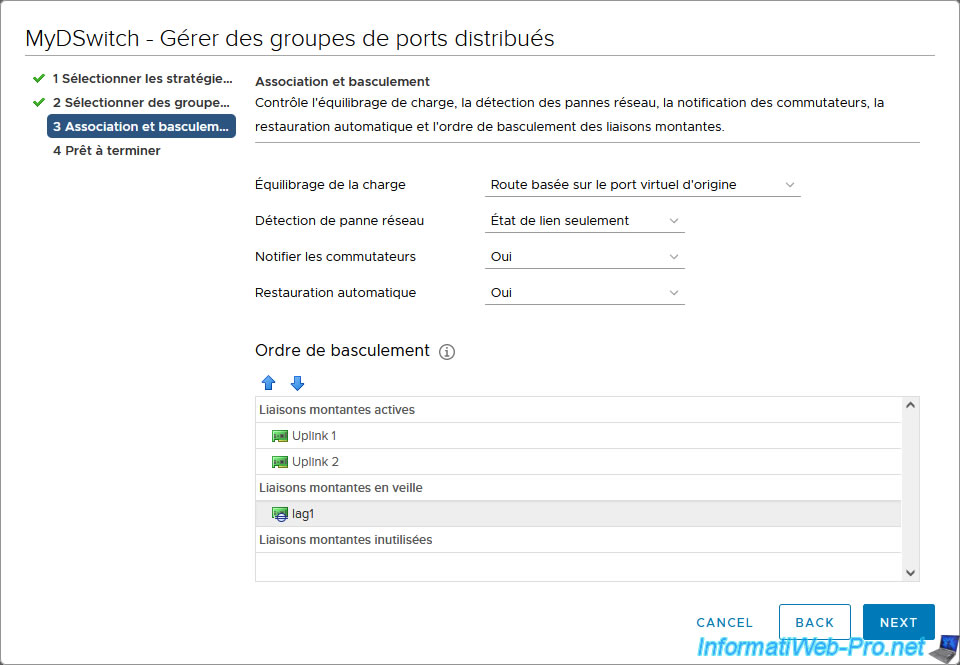
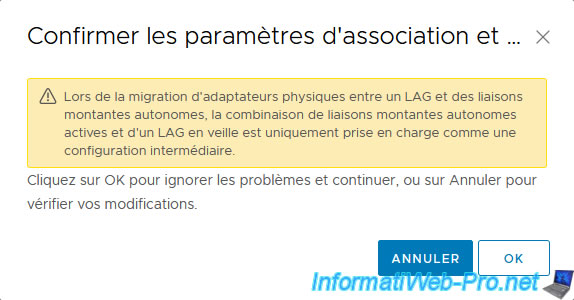
As the vSphere client warns you, this is a supported but temporary configuration.
Click OK.
Plain Text
When migrating physical adapters between a LAG and standalone uplinks, the combination of active standalone uplinks and a standby LAG is only supported as an intermediate configuration.
Click Finish.
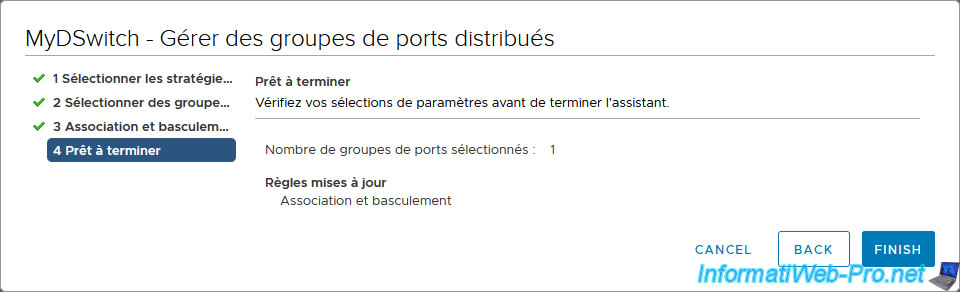
Your port group has been successfully migrated to your LAG (lag1 in our case).
In particular, you will see a “Reconfigure the distributed port group” task appear at the bottom of the page.
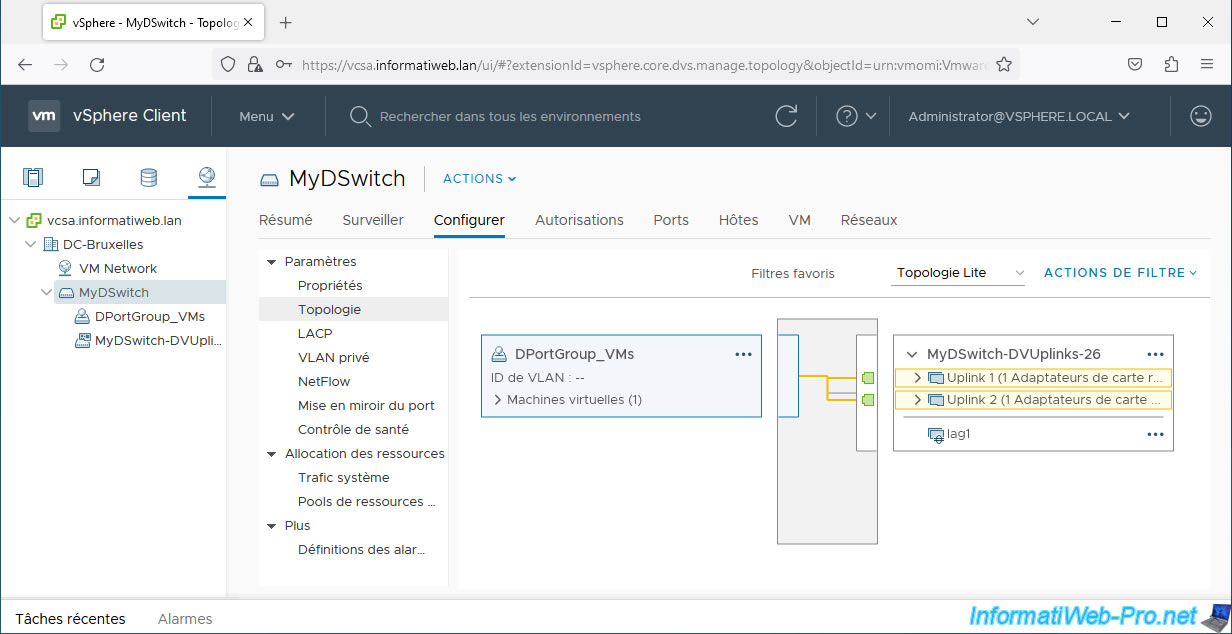
If you go to the "Configure -> Settings -> Topology" section of your vDS virtual switch and click on the name of the port group you just modified, you will see that VMware vSphere is currently using only uplinks (Uplink X).
This is because only the uplinks "Uplink 1" and "Uplink 2" are active on this port group.
Share this tutorial
To see also
-
VMware 8/21/2024
VMware vSphere 6.7 - Add a VMkernel interface
-
VMware 8/2/2024
VMware vSphere 6.7 - Collect logs with SexiLog
-
VMware 8/9/2024
VMware vSphere 6.7 - Collect logs with VMware Aria Operations for Logs
-
VMware 1/24/2025
VMware vSphere 6.7 - Create a network protocol profile
No comment