- VMware
- 26 May 2023 at 09:22 UTC
-

- 1/2

Although you can virtualize many operating systems (including older versions of Windows), sometimes the drivers (VMware Tools) are not available natively on VMware ESXi 6.7.
This is particularly the case for Windows XP which is supported as a guest operating system on VMware ESXi 6.7, but for which VMware Tools are not available by default.
Important : no longer use Windows XP in business. Indeed, since its support has been stopped since 2014, Windows XP is therefore vulnerable to hacker attacks.
So this should only be used at home if you absolutely need Windows XP to reinstall an old program.
- Create a Windows XP virtual machine
- Install Windows XP
- Unable to install VMware Tools on Windows XP
- Download VMware Tools for Windows XP
- Install VMware Tools on Windows XP
1. Create a Windows XP virtual machine
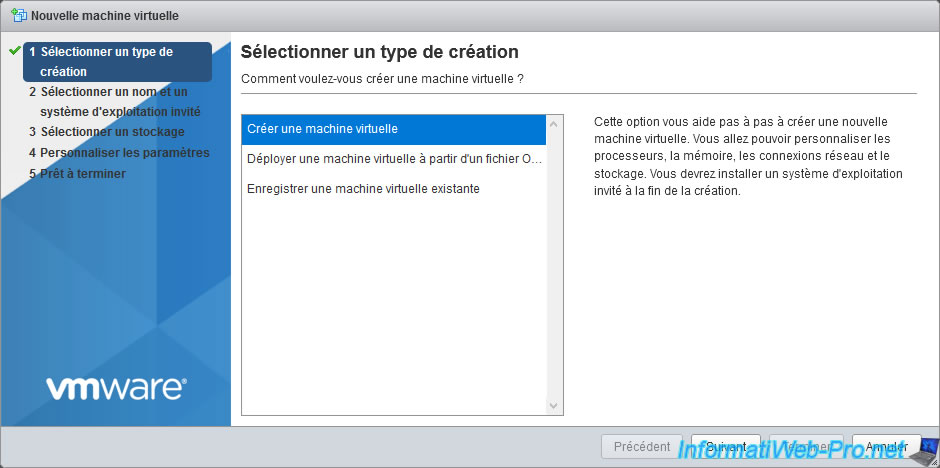
To start, go to "Virtual Machines" and click on : Create / Register VM.

Select "Create a new virtual machine" and click Next.
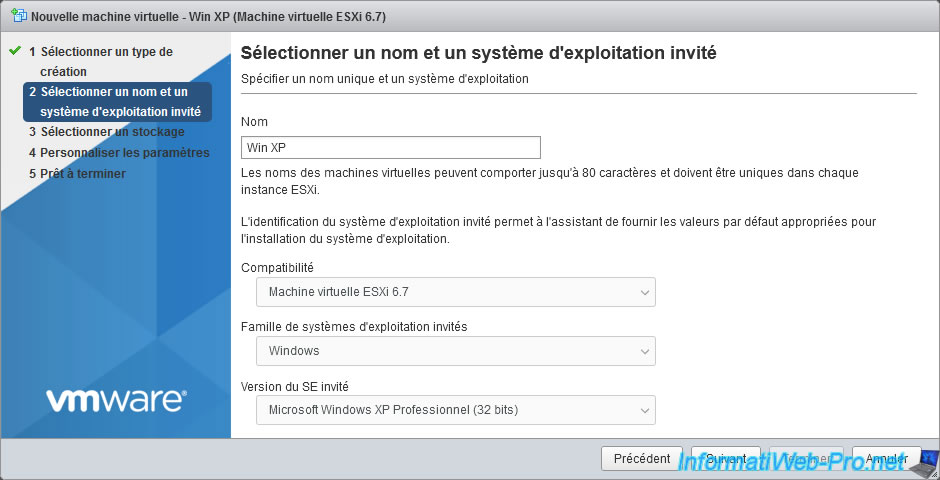
Provide a name for your virtual machine and select the guest operating system (guest OS) : Microsoft Windows XP Professional (32-bit).
Since it's offered, it proves that it's supported by this version of VMware ESXi.
For virtual hardware, there is nothing special to do.
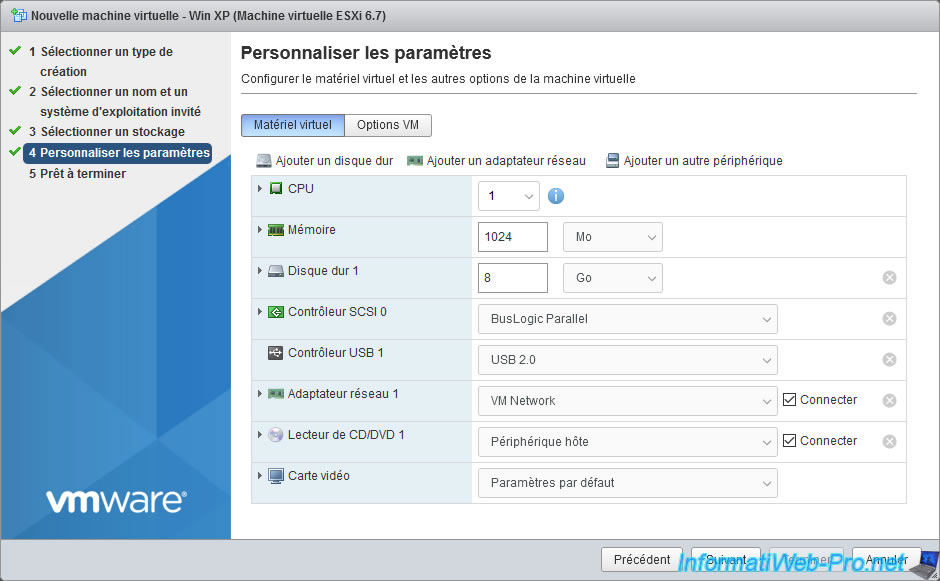
Simply insert the Windows XP installation CD ISO file into your virtual machine's CD/DVD drive and click Next.

Click Finish.
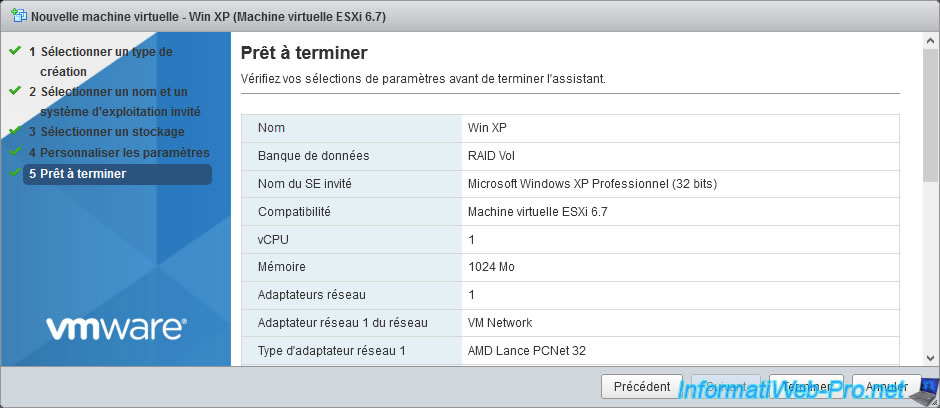
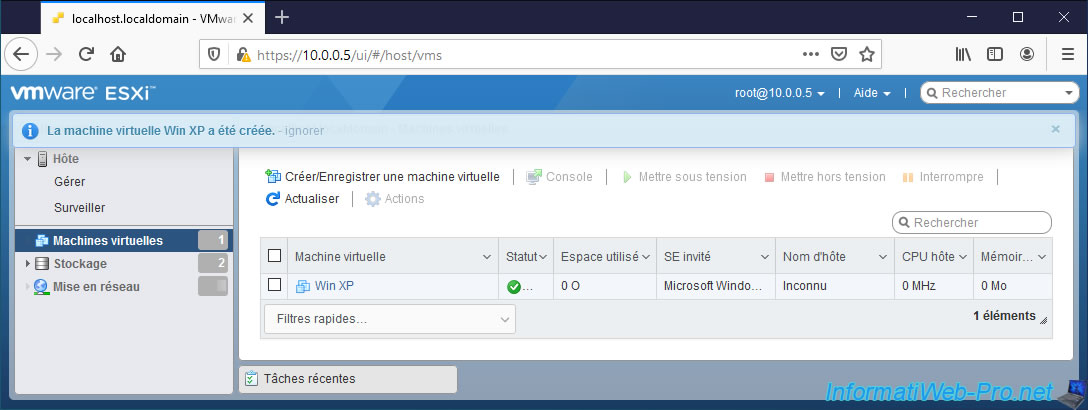
The "Windows XP" virtual machine has been created.
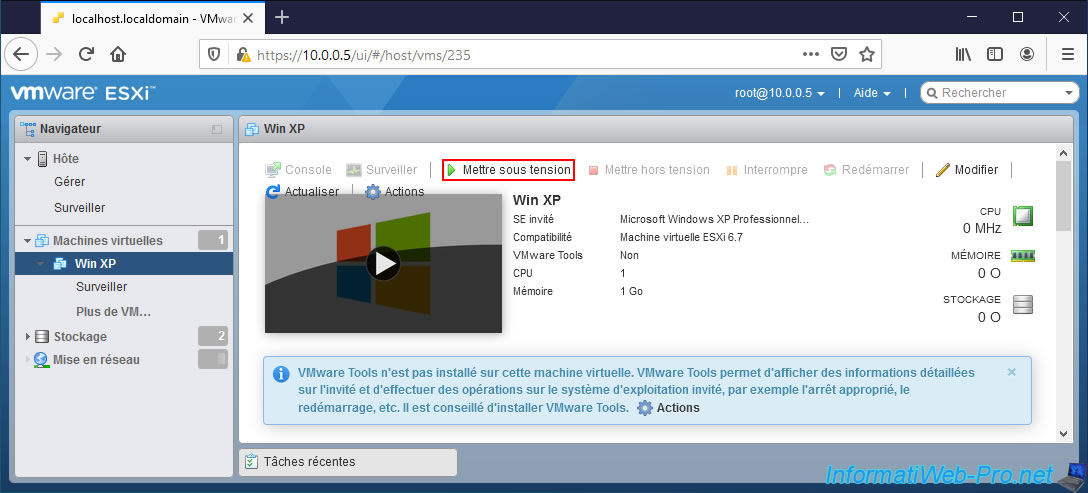
2. Install Windows XP
Start your virtual machine.
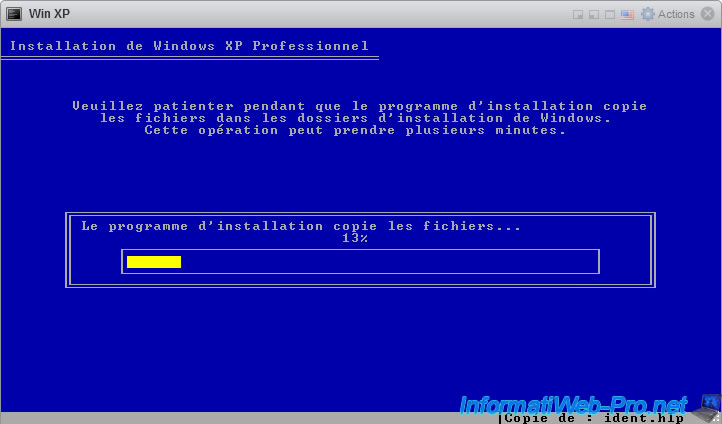
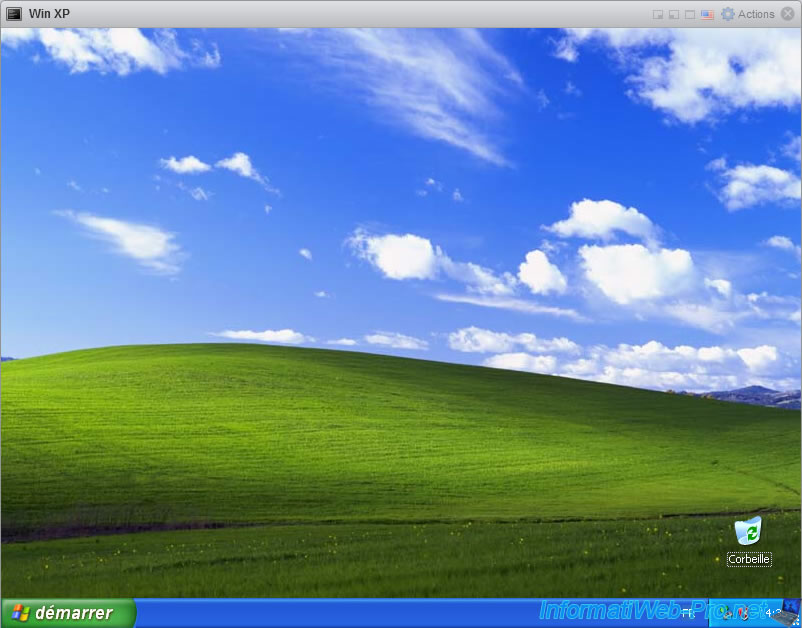
The Windows XP installation wizard will appear in your virtual machine.

Install Windows XP normally.
Windows XP is installed.
3. Unable to install VMware Tools on Windows XP
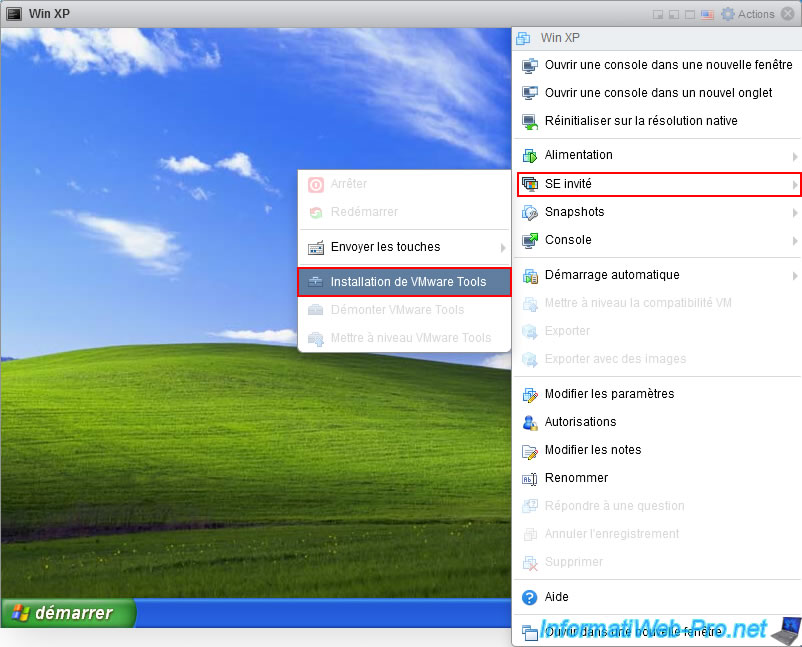
Click : Actions -> Guest OS -> Install VMware Tools.
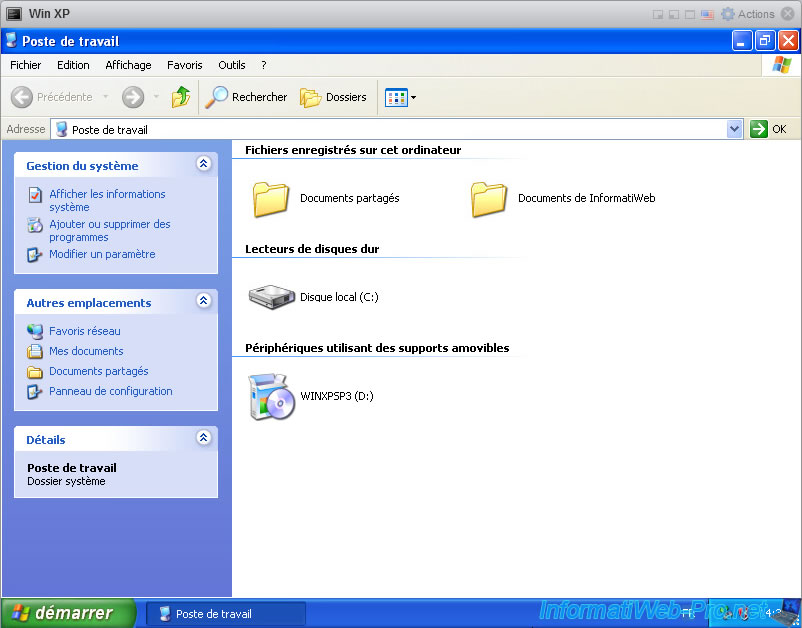
If you open the Windows XP file explorer, you will notice that the VMware Tools CD has not been inserted into your VM's virtual CD/DVD drive.
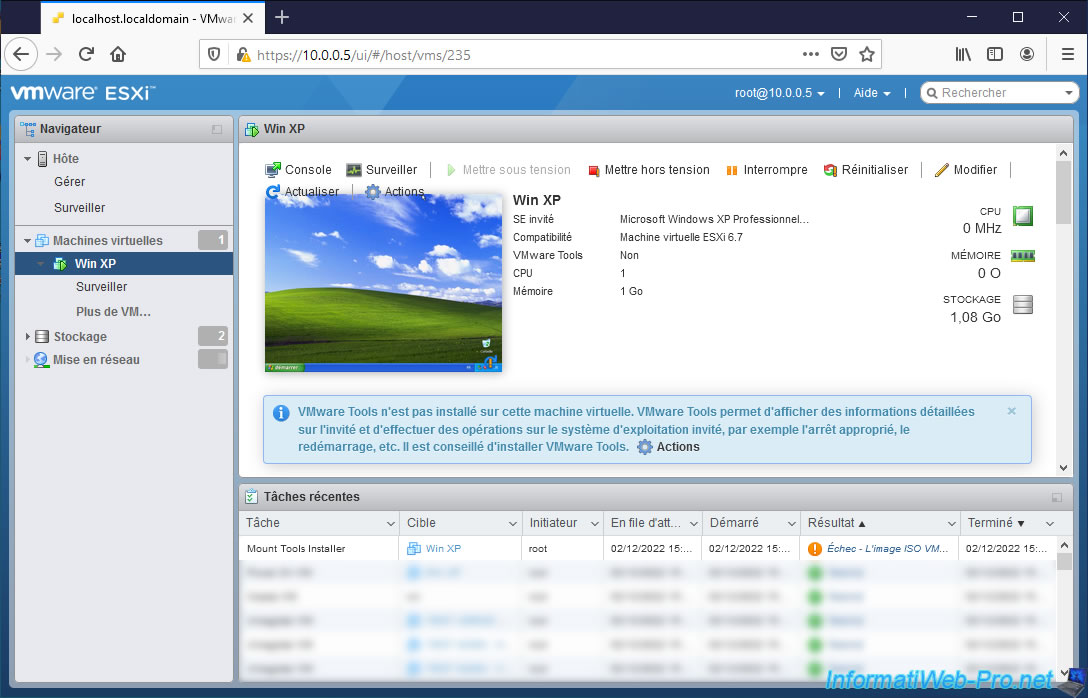
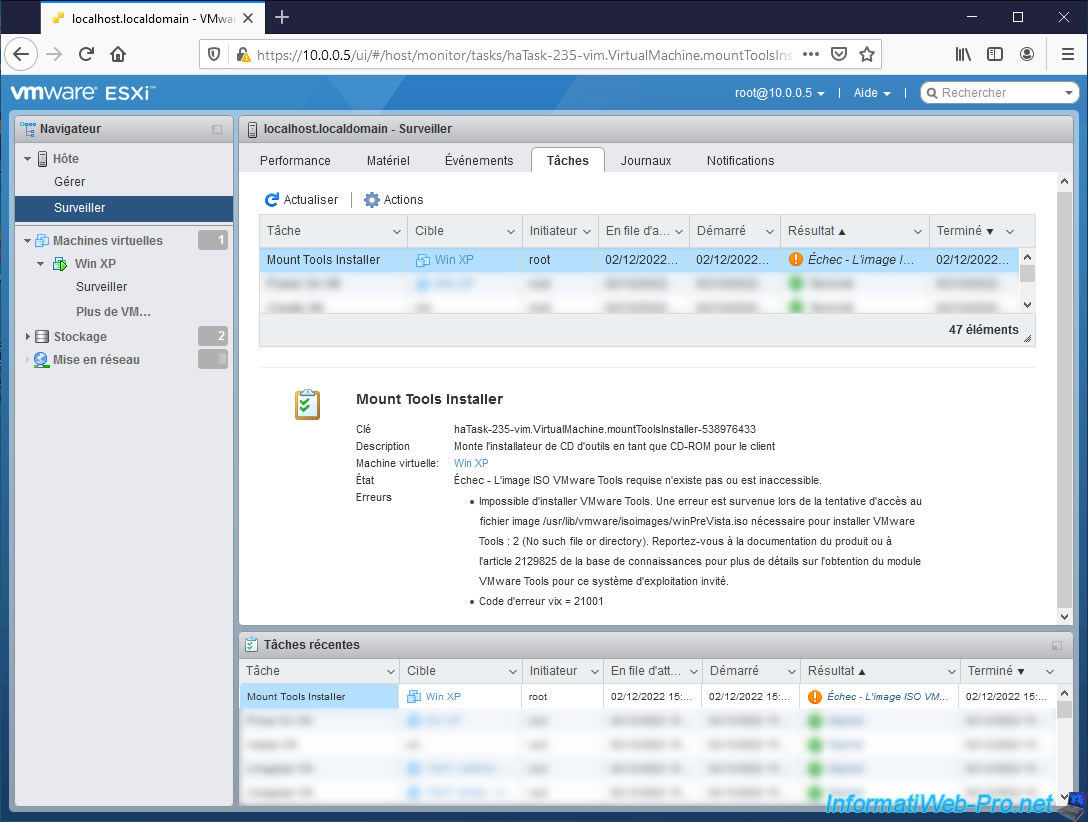
Indeed, if you look in the recent tasks of your VMware ESXi hypervisor, you will notice that the "Mount Tools Installer" task failed.
Click on the "Failed - The required VMware Tools ISO..." result that appears.
You will arrive in the "Host -> Monitor -> Tasks" section of your VMware ESXi hypervisor where you can see the complete error :
Plain Text
Failed - The required VMware Tools ISO image does not exist or is inaccessible.

Unable to install VMware Tools. An error occurred while trying to access image file "/usr/lib/vmware/isoimages/winPreVista.iso" needed to install VMware Tools: 2 (No such file or directory). Please refer the product documentation or KB article 2129825 for details about how to get VMware Tools package for this guest operating system.
vix error code = 21001
4. Download VMware Tools for Windows XP
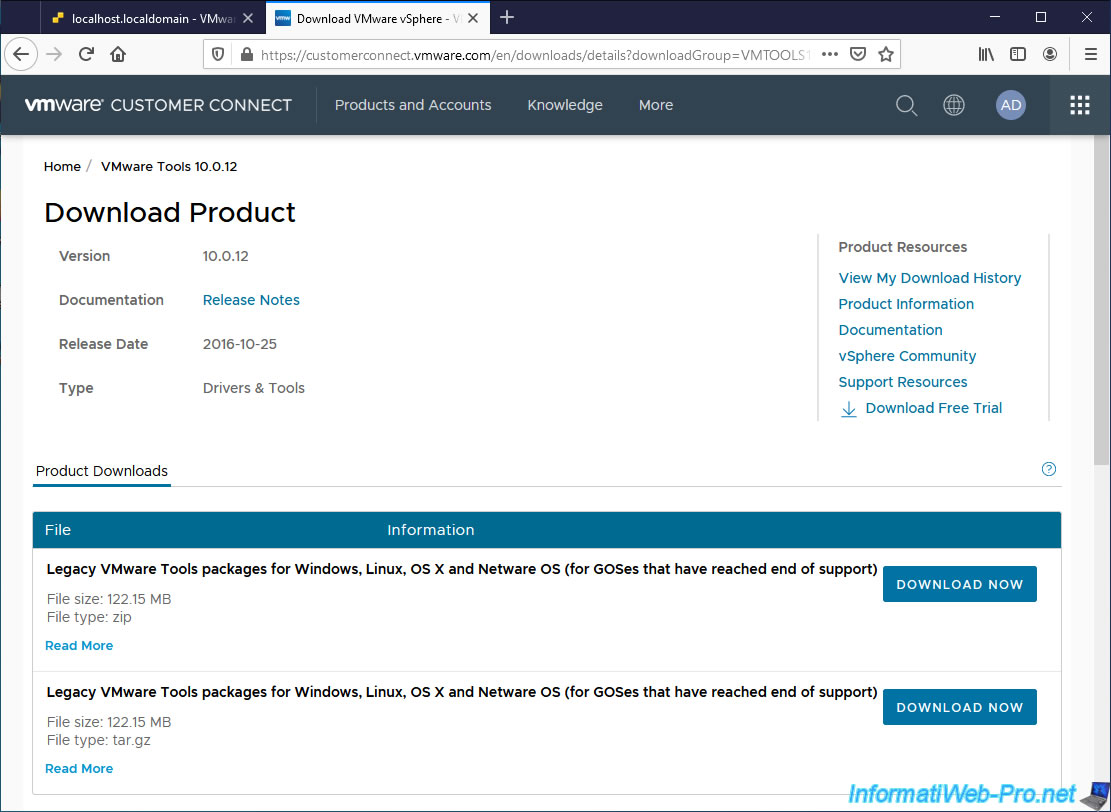
To get the latest version of VMware Tools available for Windows XP, simply download VMware Tools version 10.0.12.
Indeed, as indicated on VMware's "VMware Tools support for Windows 2000, Windows XP, and Windows Server 2003" page, this is the latest version of VMware Tools available for Windows XP.
As you can see, VMware Tools are available in ".zip" format and ".tar.gz" format.
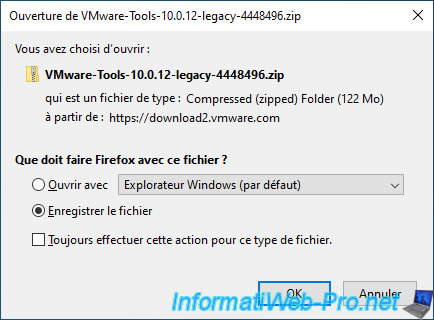
Download the ".zip" version if you are on Windows or download the ".tar.gz" version if you are on Linux.
The proposed file will be "VMware-Tools-10.0.12-legacy-4448496.zip".
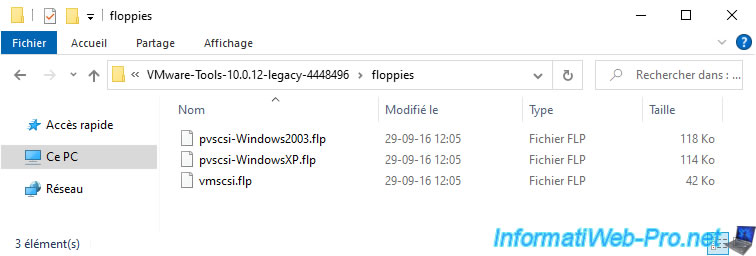
Unzip the downloaded zip file and you will find 2 folders : floppies and vmtools.
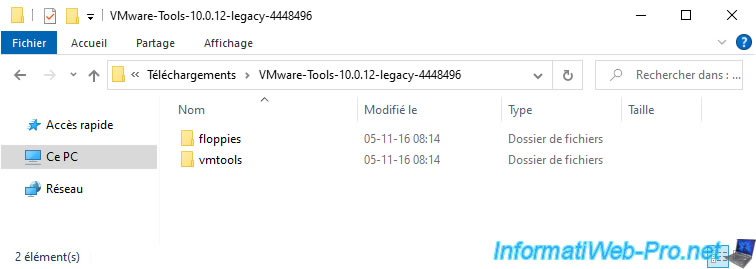
In the "floppies" folder, you will find the old floppies for VMware's paravirtual SCSI (PVSCSI) controller driver.
In the "vmtools" folder, you will find the "winPreVista.iso" file that VMware ESXi told you was missing.

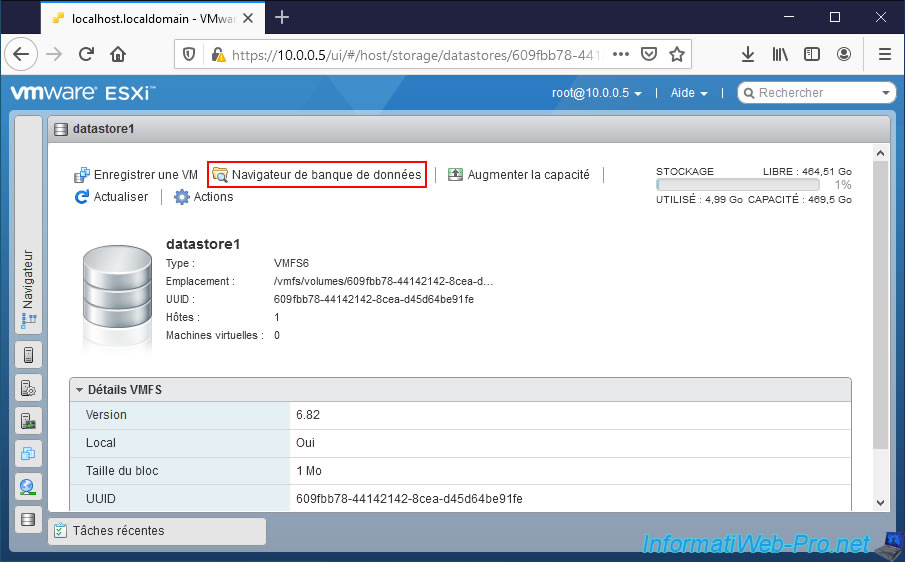
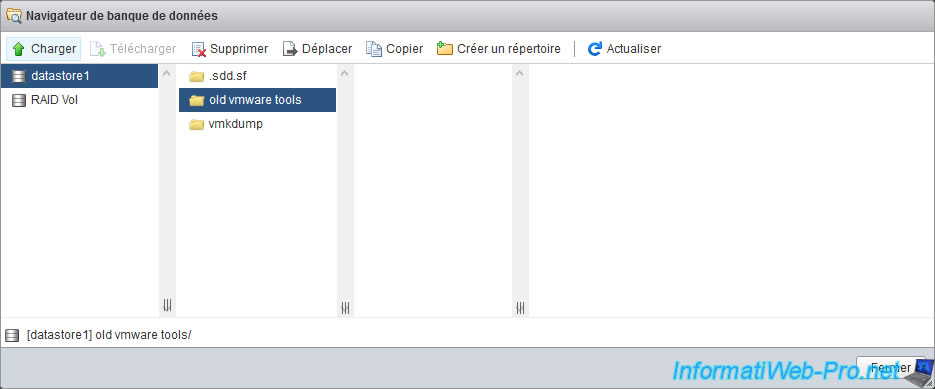
Go to the "Storage" section of your VMware ESXi hypervisor, select a datastore (for example : datastore1) and click on : Datastore browser.
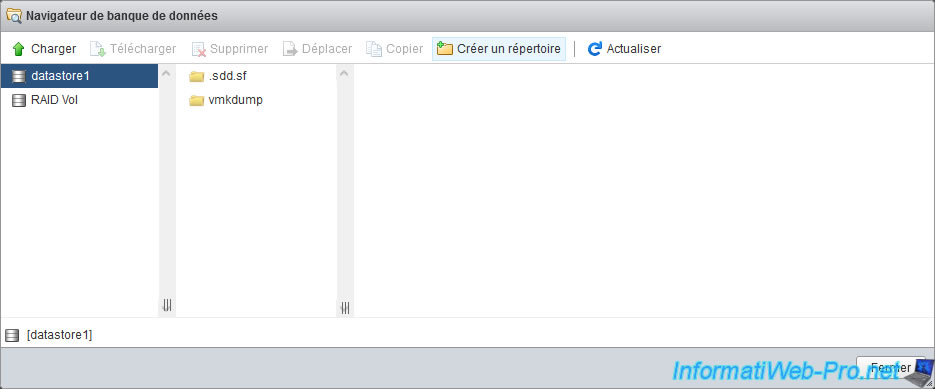
In the datastore browser that appears, click on : Create directory.
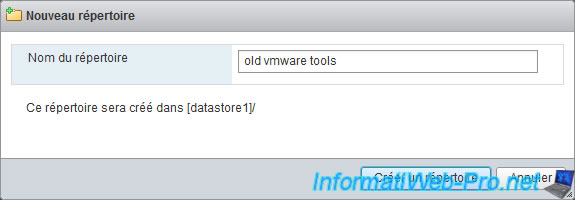
Indicate "old vmware tools" (for example) and click on : Create directory.
Select the "old vmware tools" folder that you just created and click on : Load.
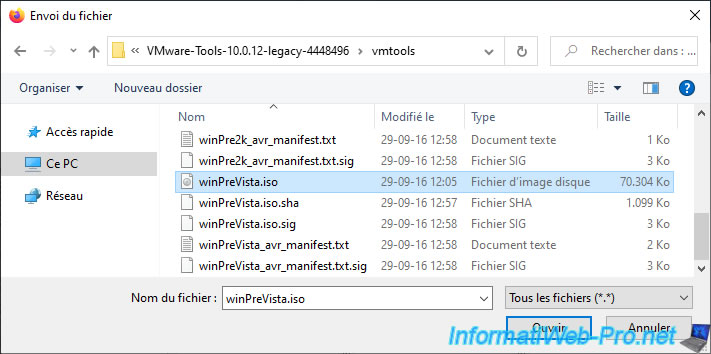
Select the "winPreVista.iso" file from VMware Tools v10.0.12 and click Open.
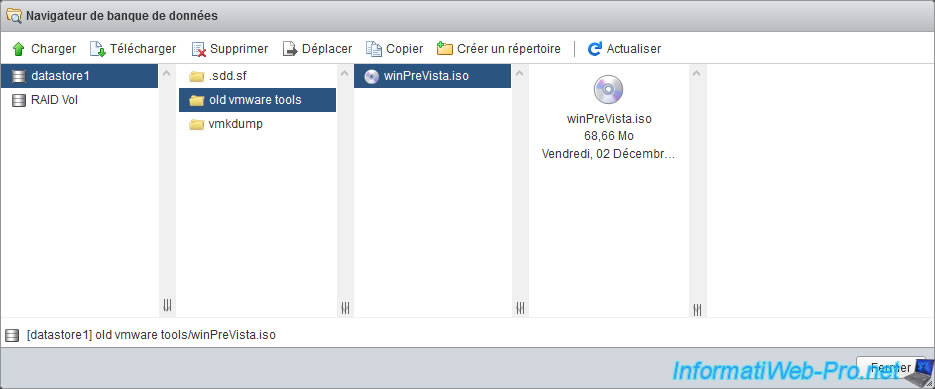
The sent "winPreVista.iso" file appears.
Share this tutorial
To see also
-

VMware 5/25/2022
VMware ESXi 6.0 - Install the VMware Host Client web client
-

VMware 5/27/2022
VMware ESXi 6.5 - Add a network driver in the installation ISO
-

VMware 1/27/2023
VMware ESXi 6.7 - Enable virtualization-based security (VBS)
-

VMware 12/2/2022
VMware ESXi 6.7 - Install and use the VMRC console on Linux
You must be logged in to post a comment