Virtualize a physical computer (P2V) to a VMware ESXi 6.7 hypervisor
- VMware
- 14 October 2022 at 12:55 UTC
-

- 2/2

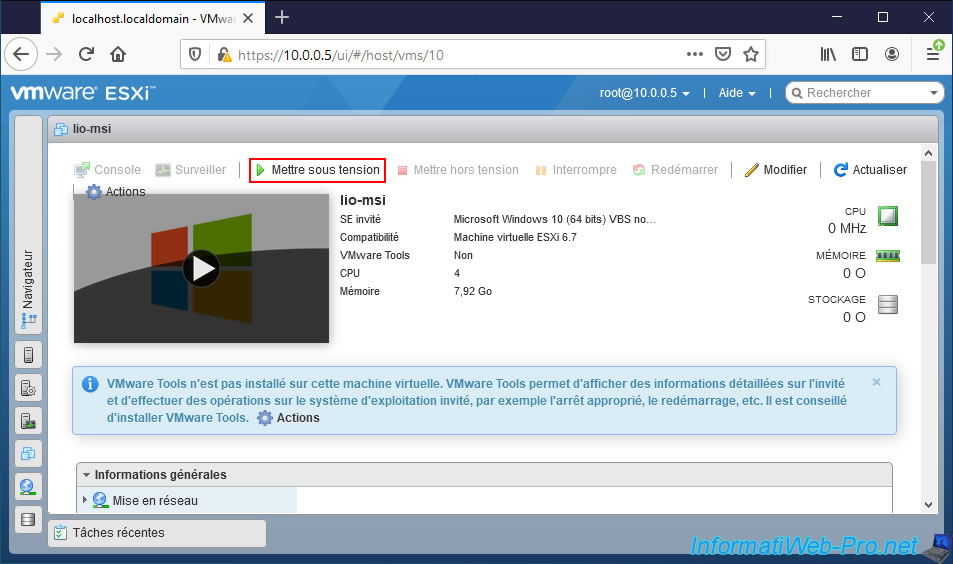
3. Start the virtual machine
Once the conversion is complete, start your virtual machine by clicking on "Power on".
The virtual machine starts up.
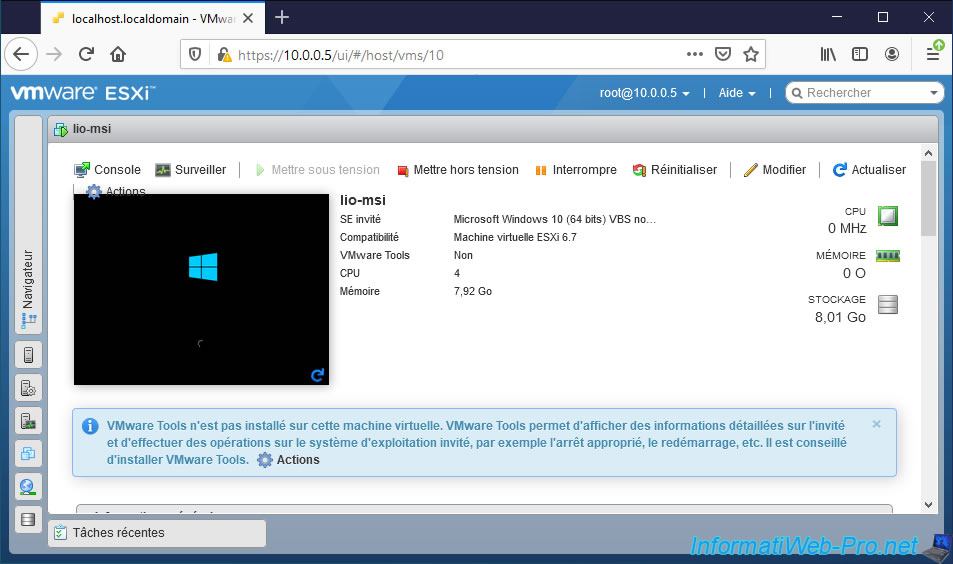
As you can see, Windows starts up fine despite the hardware change.
The hardware of your physical PC has been replaced by the virtual hardware used by VMware ESXi.

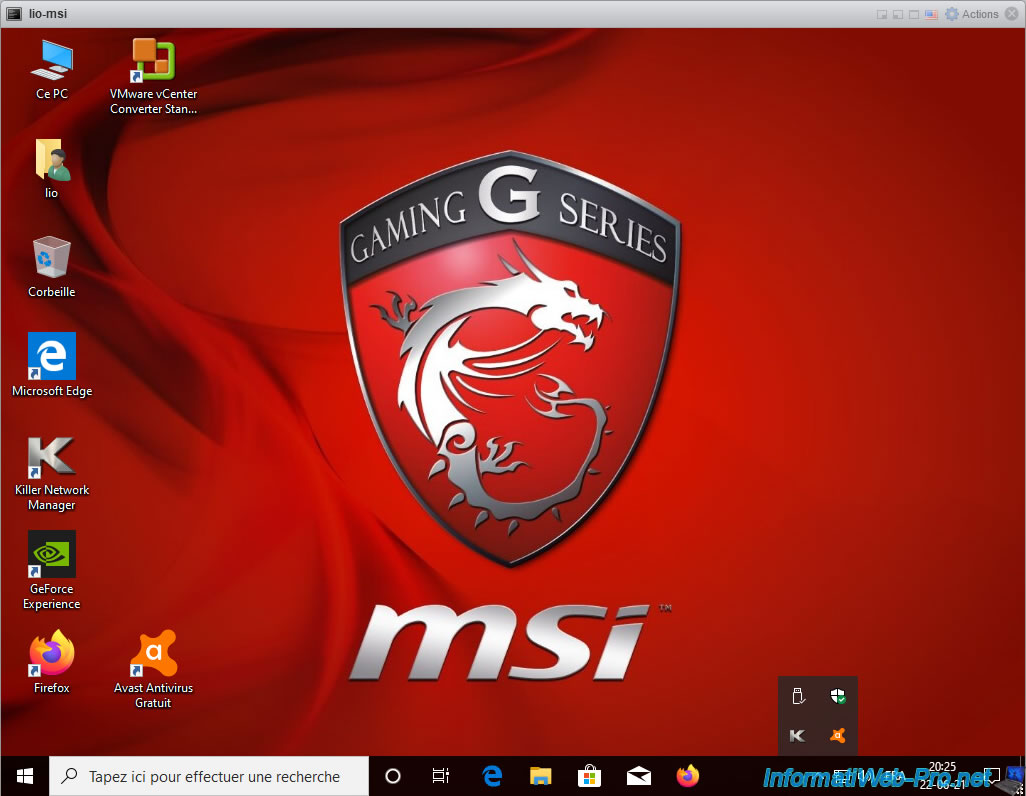
As you can see, our physical MSI Laptop PC has been fully virtualized.
We can therefore find all the settings, programs and personal data that were on it.
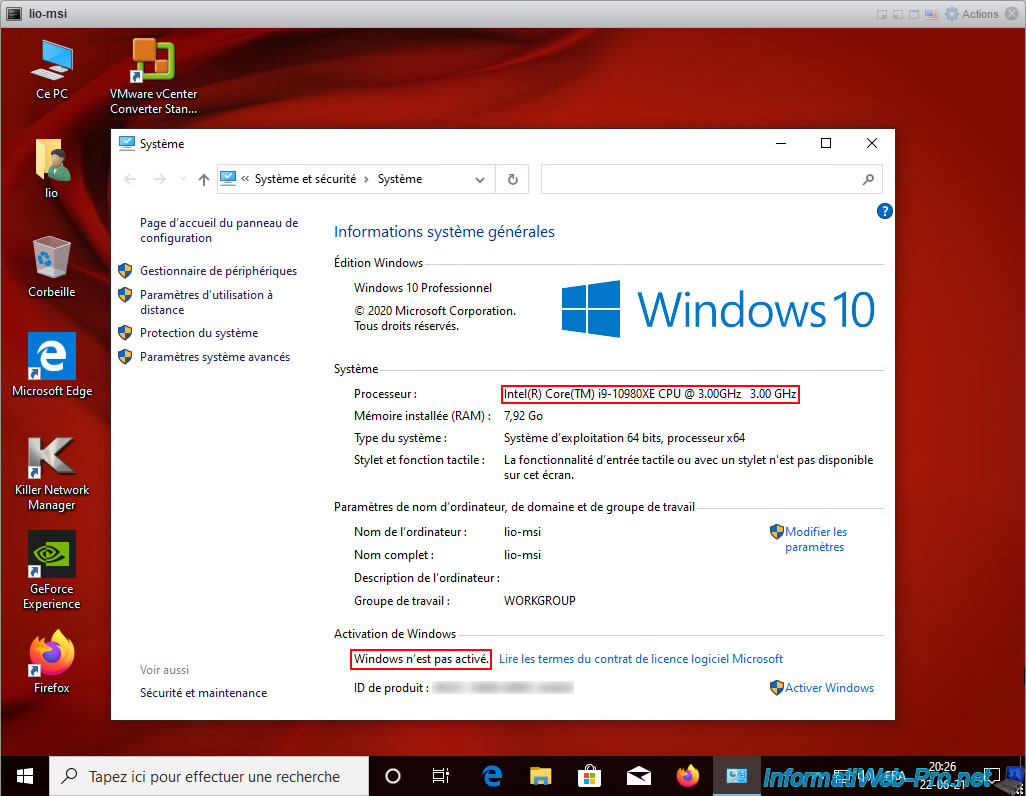
Right click "Properties" on "This PC" (or "Computer").

As you can see, the hardware has changed and so the processor used is that of our VMware ESXi server instead of the virtualized MSI laptop PC.
In the "Windows activation" section, you will notice that Windows 10 is not activated (although it was on the virtualized physical PC).
Indeed, when you activate Windows (whatever its version), the activation files created on your computer are linked to the hardware of your computer.
So, when you change your computer hardware, these activation files are no longer valid.
To reactivate Windows, click on "Activate windows" and reactivate this copy of Windows via the Internet or by telephone.
Note : by default, you can only use a Windows serial number on one computer at a time, unless you have purchased a license that is valid for more than one computer at the same time.
4. Uninstall the drivers of the physical PC
Since VMware vCenter Converter Standalone virtualized your physical PC and copied all of your physical hard drives, it also copied the drivers that you had installed on that physical PC.
To avoid future problems and save some space, you will need to uninstall these from the guest operating system of your virtual machine.
This is because these drivers are for the hardware of the virtualized physical computer and not for the virtual hardware used by VMware ESXi.
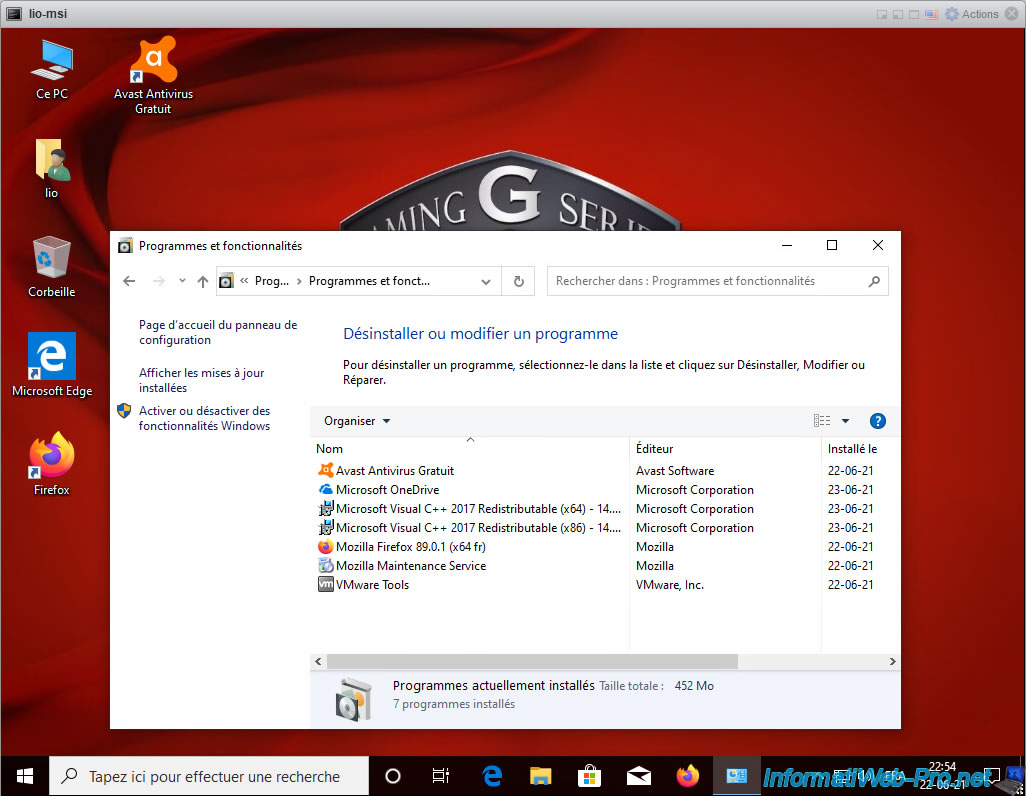
To do this, open the control panel from the Windows start menu, then go to : Programs -> Uninstall.
Then, double click on each driver to uninstall to uninstall them one by one.
Drivers are often provided by : Intel, NVIDIA, AMD, Realtek, ...
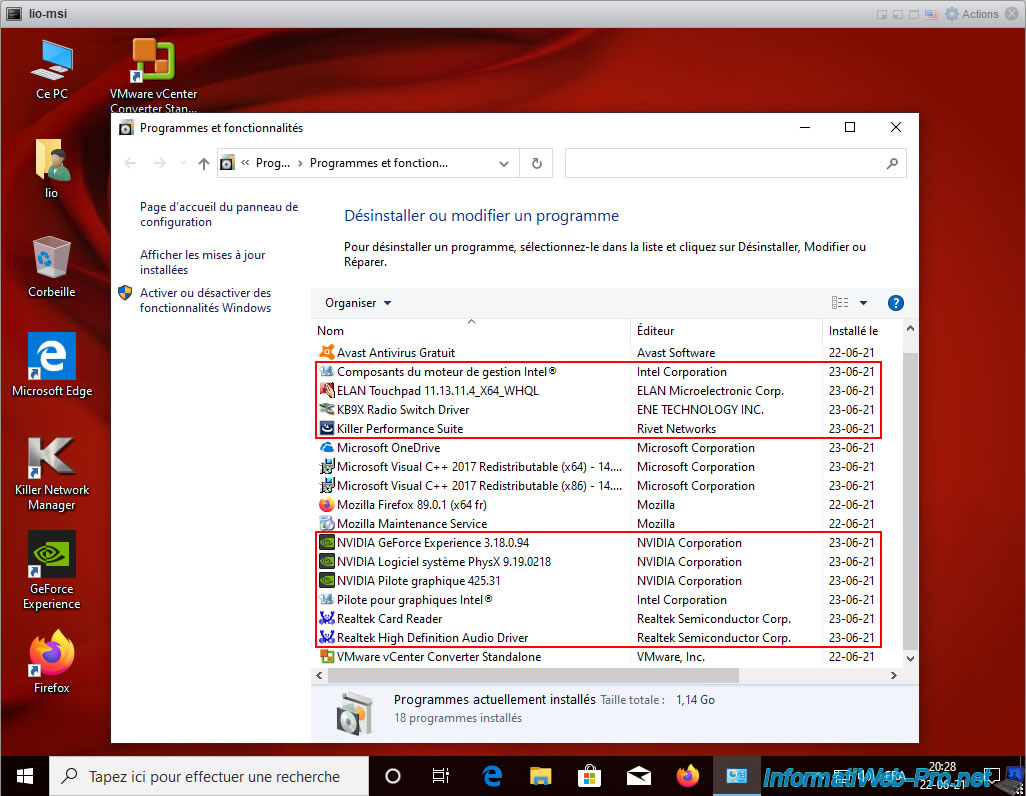
Now, the drivers for the physical PC have been removed.
5. Install VMware Tools
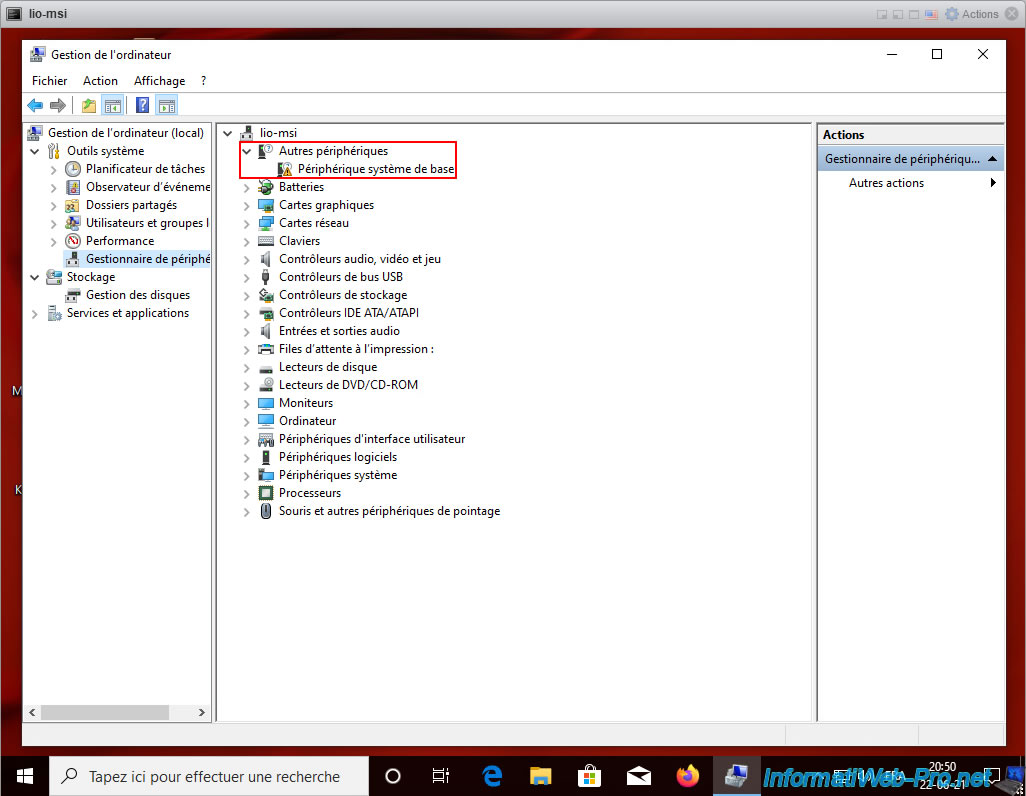
If you open the device manager in the virtual machine, you will see that at least one device doesn't have a driver installed.
In our case, this device is recognized by Windows 10 as "Base System Device".
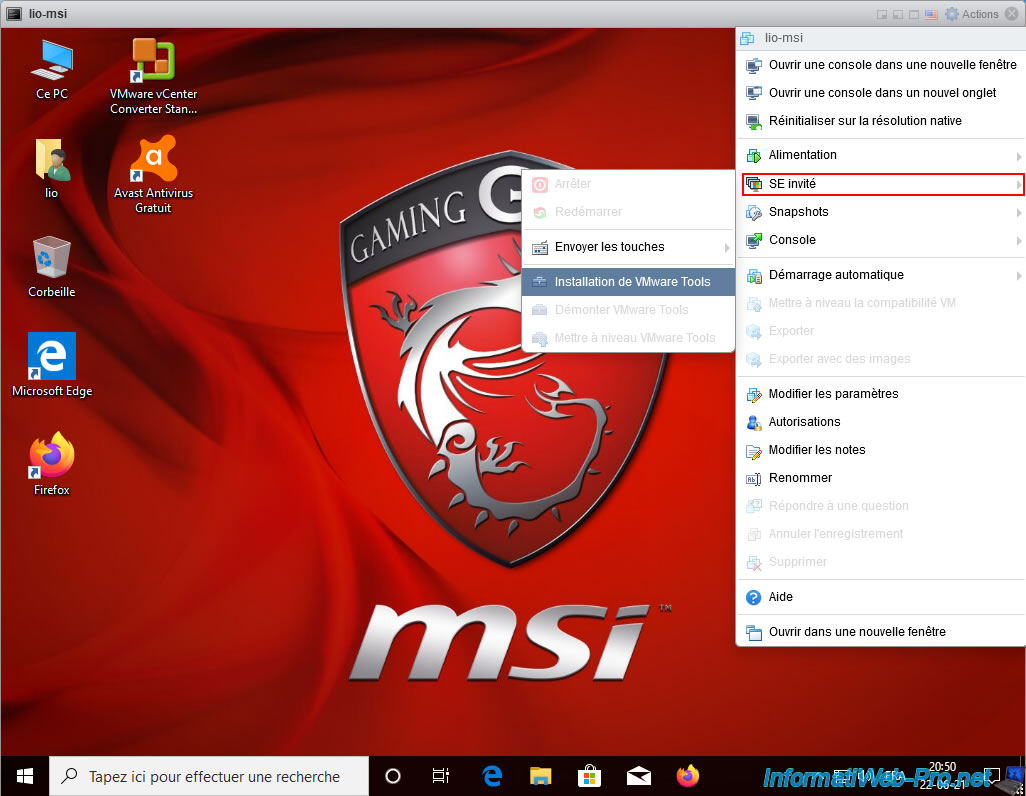
Install the VMware Tools in the virtual machine by clicking on : Actions -> Guest OS -> Install VMware Tools.
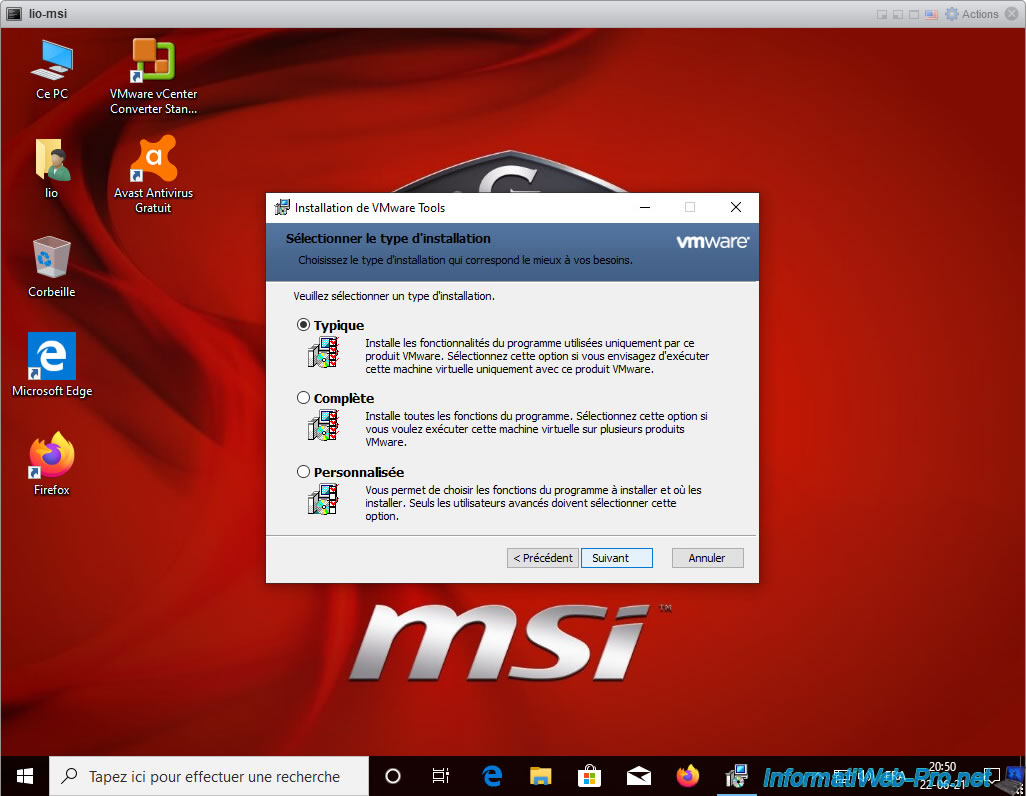
Leave the installation type selected by default as you would with a normal virtual machine and click Next.
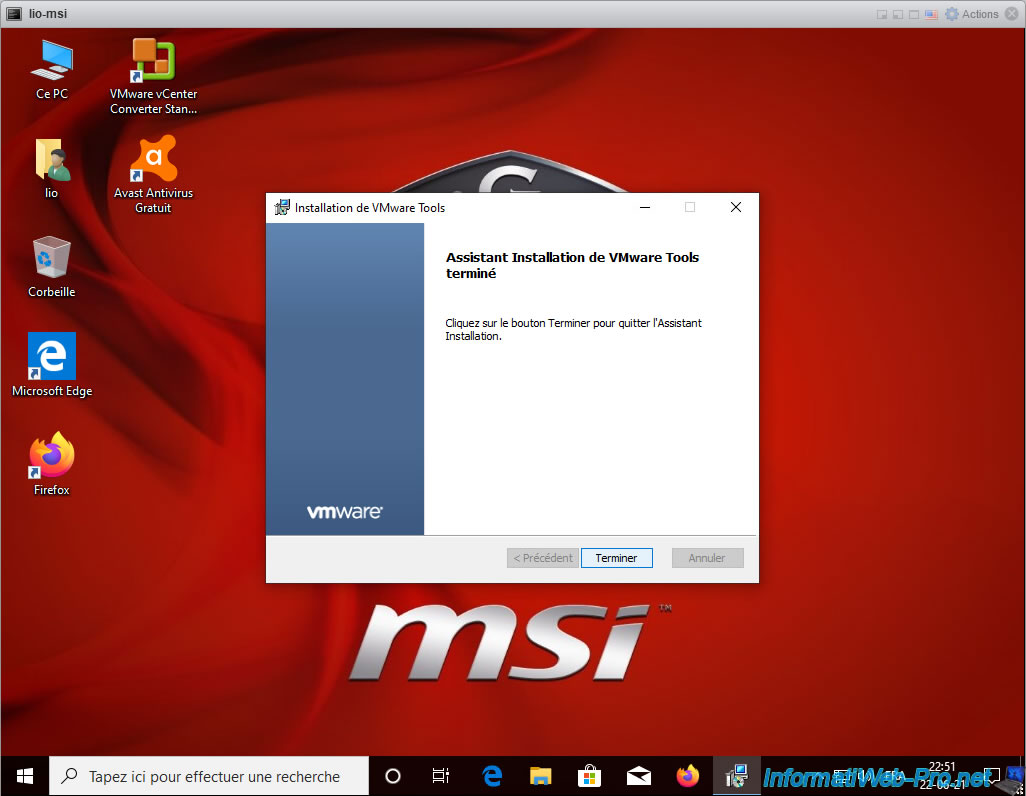
When the VMware Tools installation is complete, click : Finish.
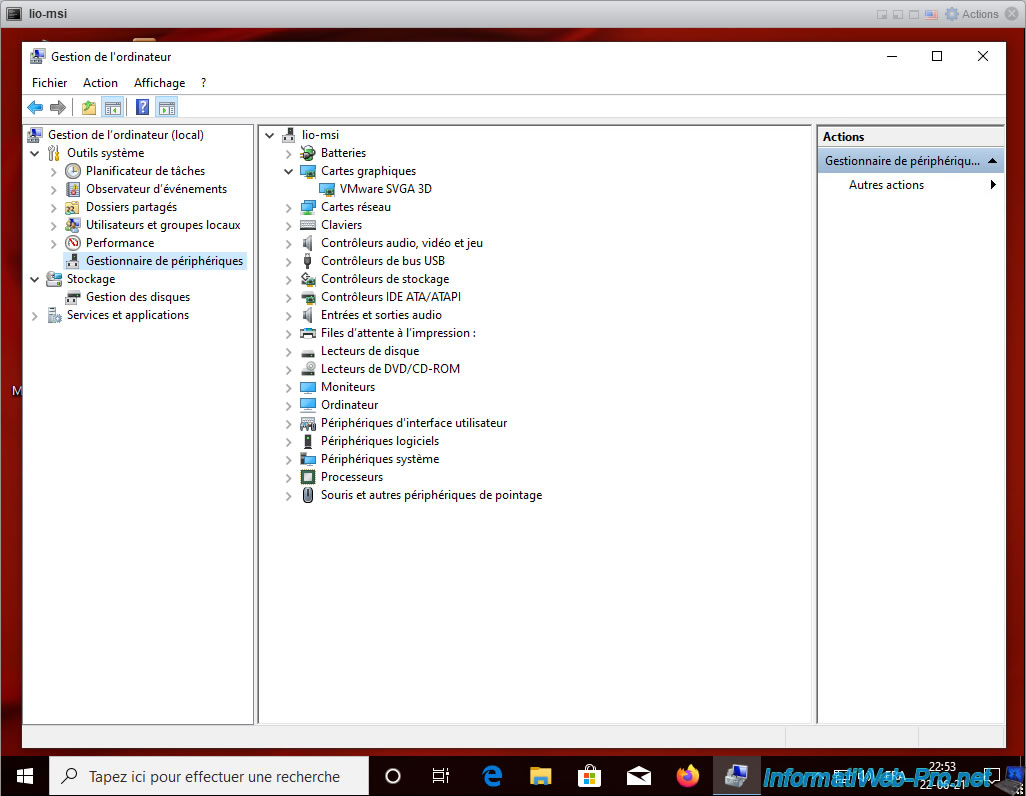
Once the virtual machine has restarted (as requested by the VMware Tools installer), return to the device manager and you will see that the drivers for it have been installed.
Including that of the "VMware SVGA 3D" virtual graphics card.
6. Uninstall the converter (VMware vCenter Converter Standalone)
Since VMware vCenter Converter Standalone has virtualized the physical PC where it was located, this program is therefore also installed in the virtual machine created.
However, you won't need it, so you can uninstall it from the guest operating system.
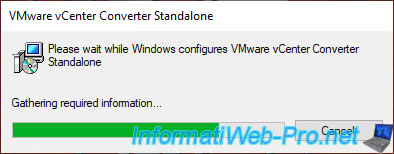
Wait while it's uninstalled.
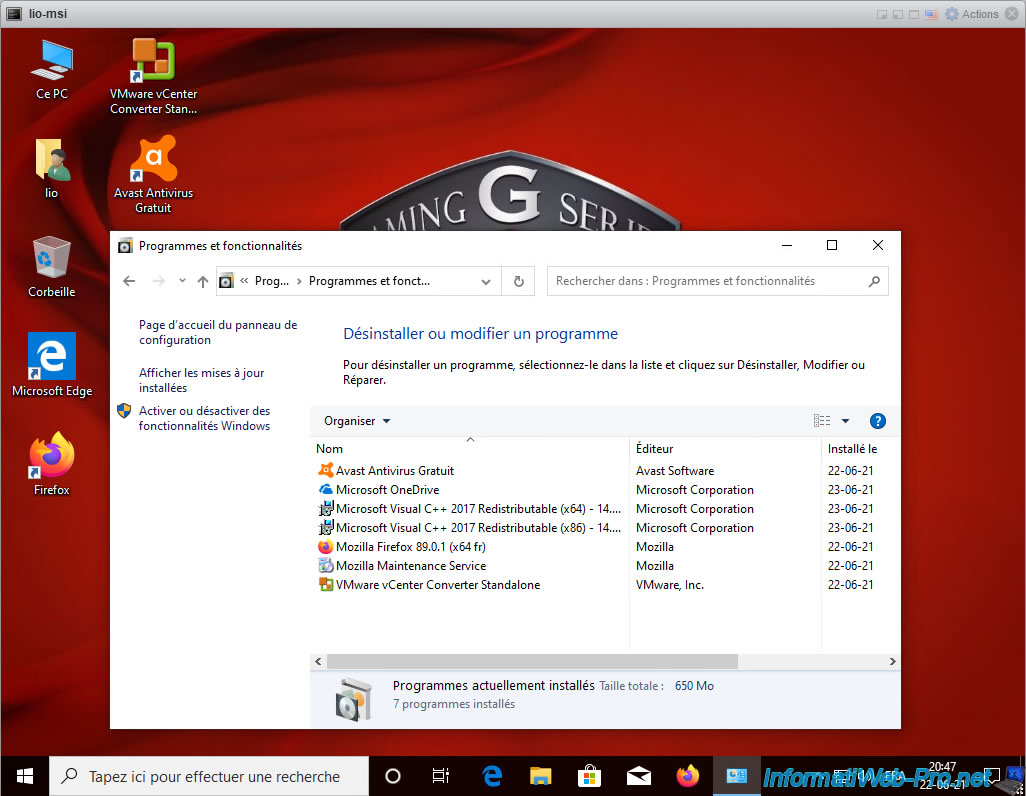
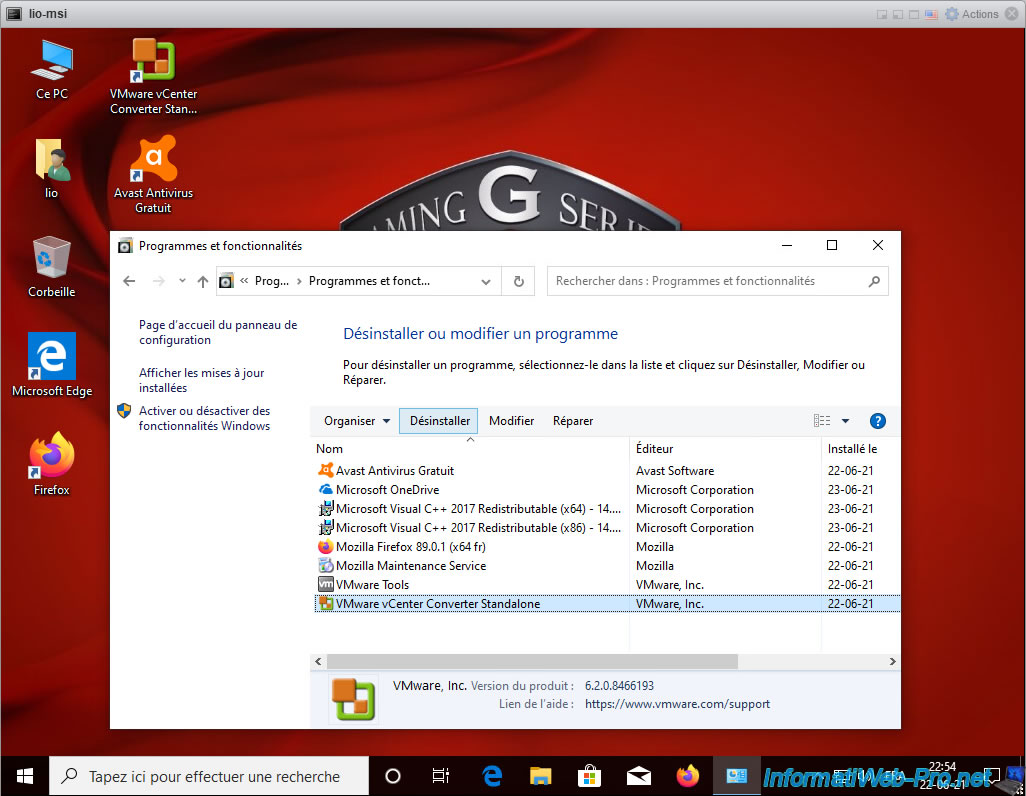
Now, VMware vCenter Converter Standalone is uninstalled.
Share this tutorial
To see also
-
VMware 11/4/2022
VMware ESXi 6.7 - Convert a Hyper-V virtual machine to a VMware VM
-
VMware 8/19/2022
VMware ESXi 7.0 / 6.7 - Export and import VMs
-
VMware 8/24/2022
VMware ESXi 7.0 / 6.7 - Export and import VMs via VMware OVF Tool
-

VMware 9/7/2022
VMware ESXi 7.0 / 6.7 - Export and import VMs with VMware Workstation Pro
No comment