Install VMware ESXi 7.0 or 6.7 and create your first virtual machine
- VMware
- 08 May 2024 at 13:32 UTC
-

- 3/3
9. Start your virtual machine
Once the virtual machine is created, it will appear in the list.
Click on its name in blue.
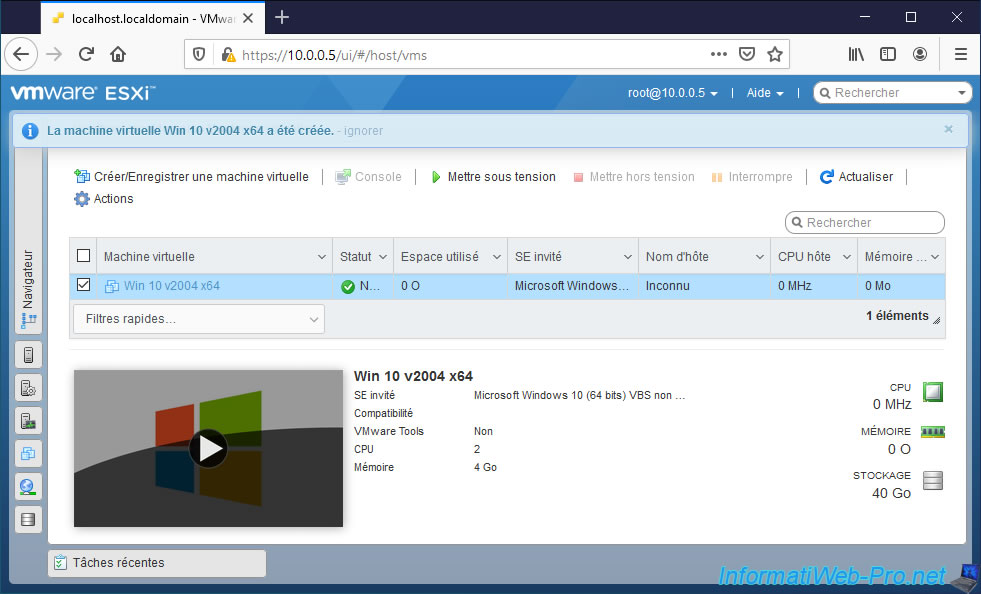
Complete information about your virtual machine is displayed.
Click on "Power on" to start it.
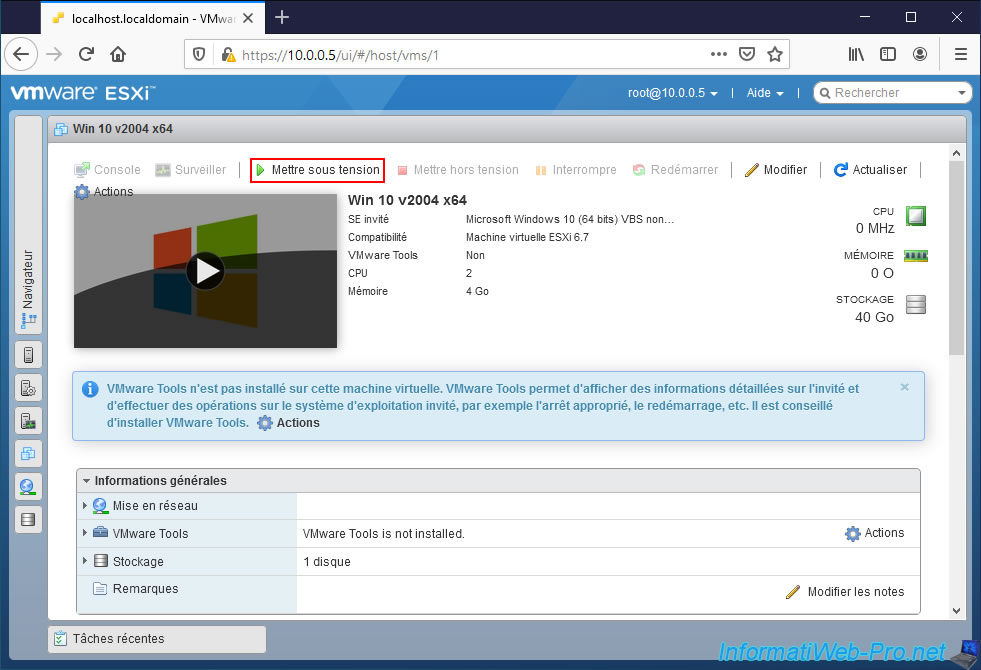
A preview of your virtual machine screen appears. As you can see, the VMware logo appears (this replaces the motherboard logo that would appear when starting a typical computer).
Note that this preview will not be updated in real time. If you want to update it, just click on the small blue icon (Refresh) located at the bottom right of the preview.
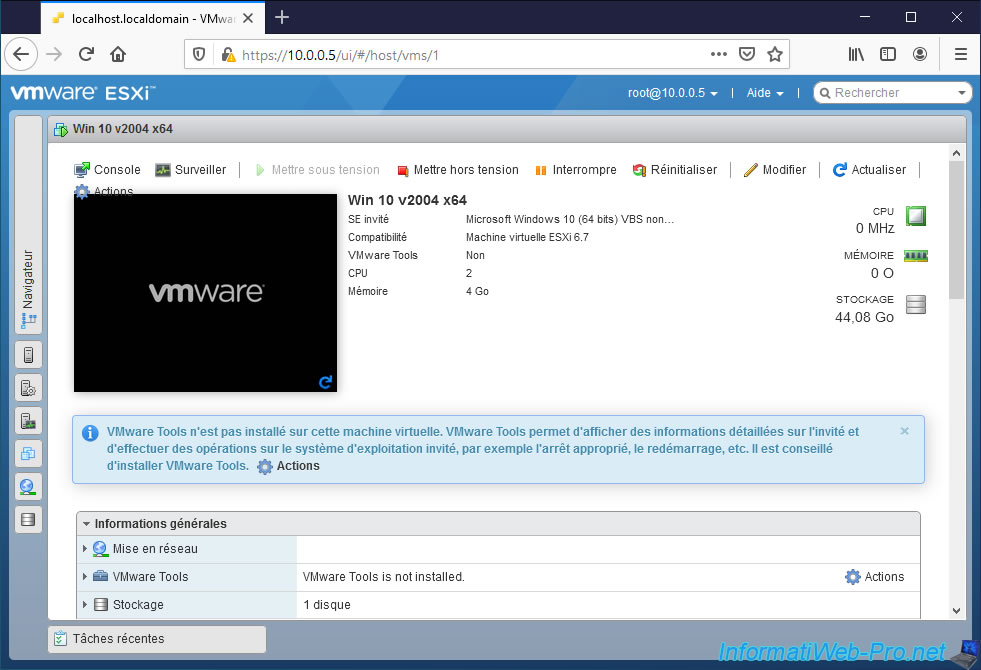
To be able to use your virtual machine, click on : Console -> Open browser console.
The screen of your virtual machine appears.
Note that the screen may be displayed to scale when you access your virtual machine from the VMware ESXi web interface.
In our case, the "Press any key to boot from CD or DVD ..." message is displayed by the Windows 10 installation DVD.
So, we press a key.
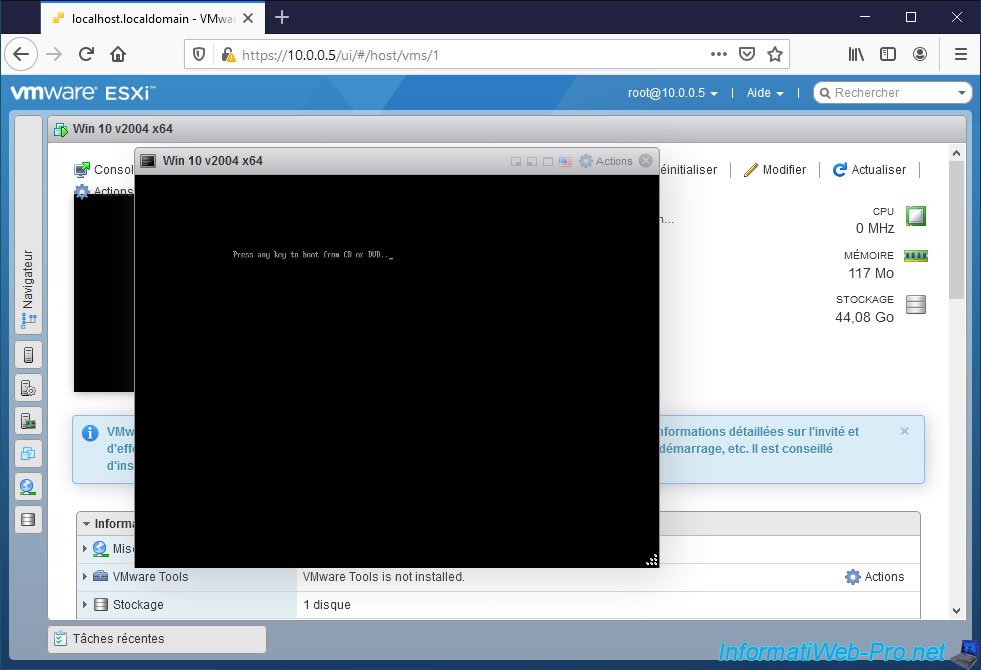
The Windows 10 logo is displayed.
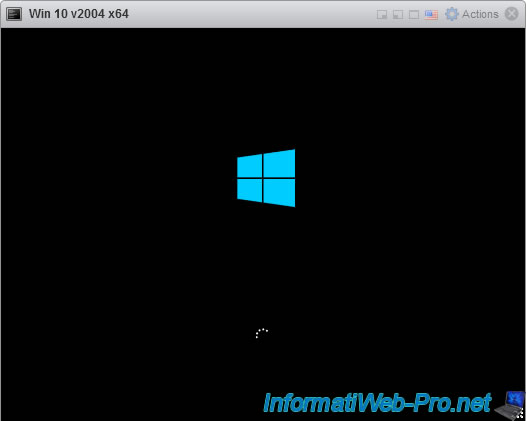
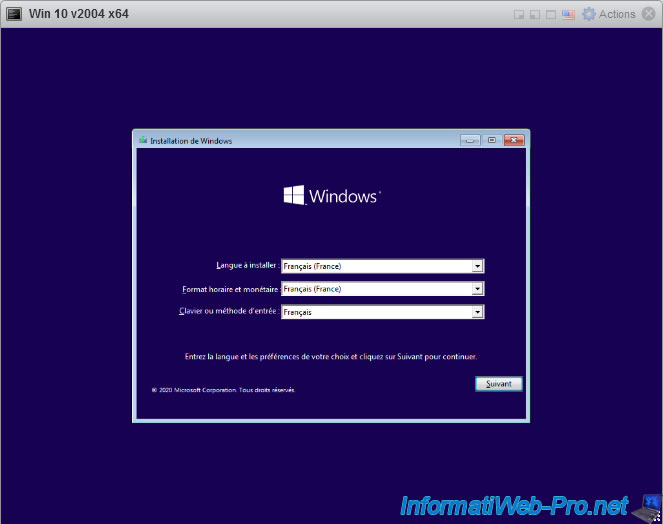
And we arrive as expected on the installer of Windows 10.
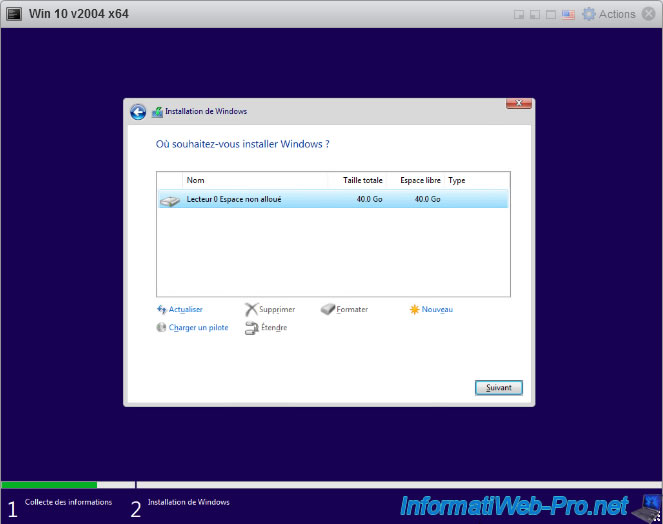
Nothing special for the installation, apart from the fact that the installer of Windows 10 correctly sees our 40 GB virtual hard drive.
Note: on VMware ESXi 6.7, the default size for Windows 10 as a guest OS is 40 GB. But, since VMware ESXi 7, this has increased to 48 GB.
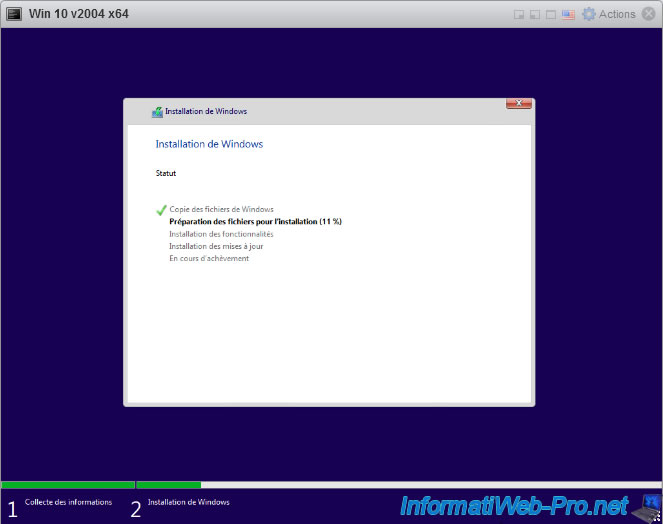
Nothing special for the rest of the installation of Windows 10.
10. Install VMware Tools (drivers)
To be able to make the best use of your virtual machine, as well as the features offered by VMware ESXi, it's essential to install the VMware Tools (which notably include drivers : graphics driver, network driver, ...).
To install them, go to the menu : Actions -> Guest OS -> Install VMware Tools.
Info : VMware Tools installation is not necessary when the operating system is based on Linux, as these are included in the "open-vm-tools" and "open-vm-tools-desktop" packages which are pre-installed in Linux distributions.
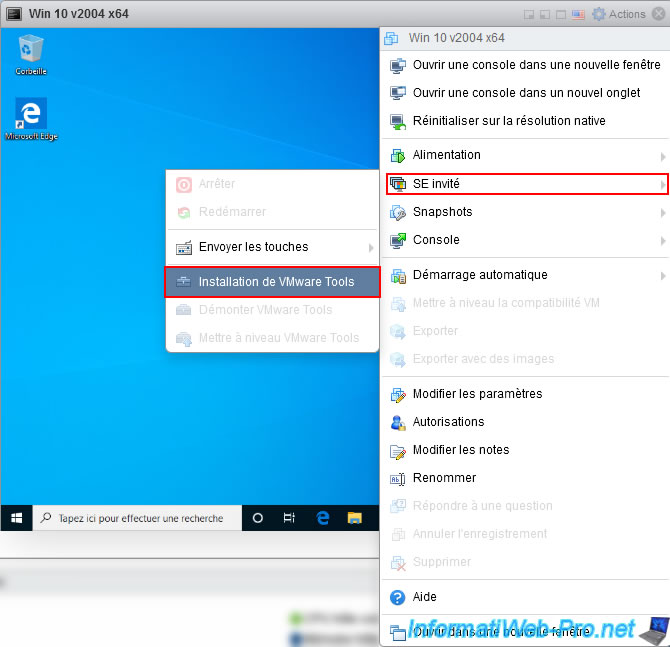
If nothing appears on the screen about inserting the driver CD (VMware Tools) into your virtual machine, open the file explorer and double click on the DVD drive.
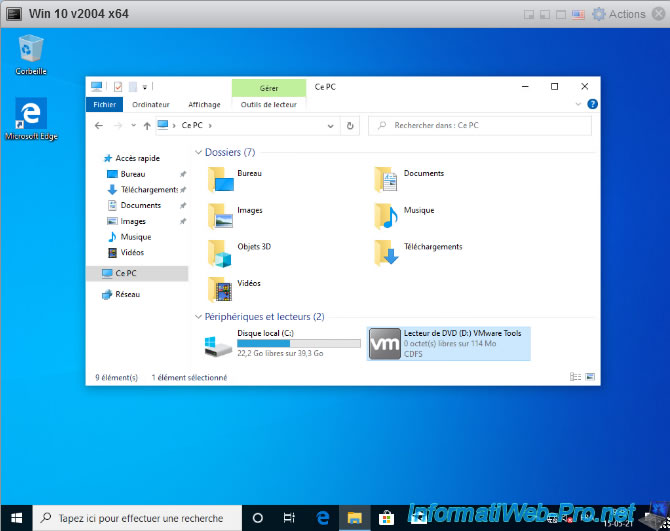
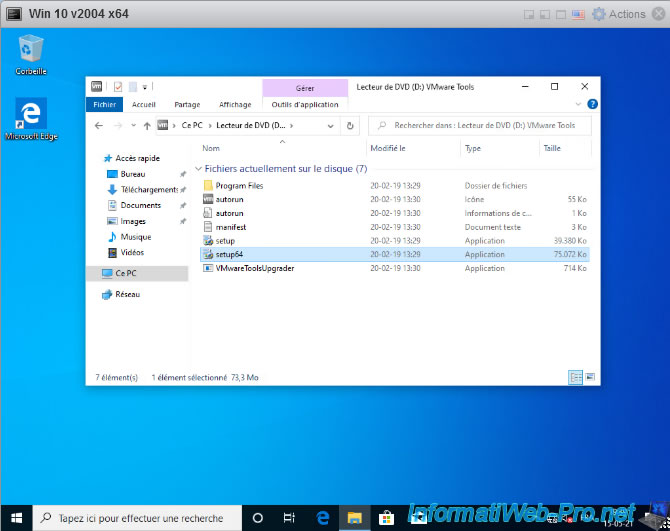
Either, the installation of VMware Tools starts automatically, or the Windows file explorer will show you the files which are on this virtual CD.
In this case, run the "setup.exe" file on a 32-bit (x86) version of Windows or the "setup64.exe" file on a 64-bit (x64) version of Windows.
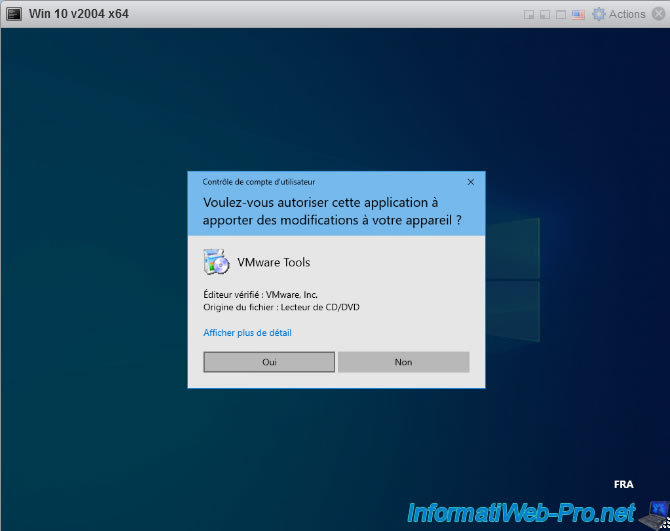
Grant Administrator rights to this installer by clicking Yes.
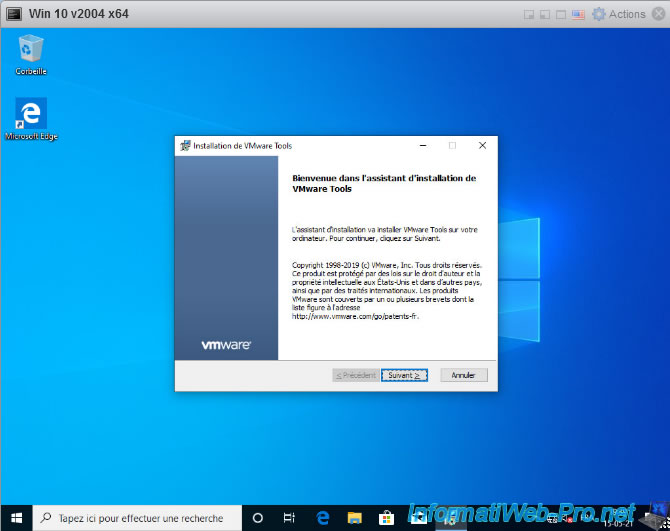
The VMware Tools Setup wizard appears.
Click on Next.
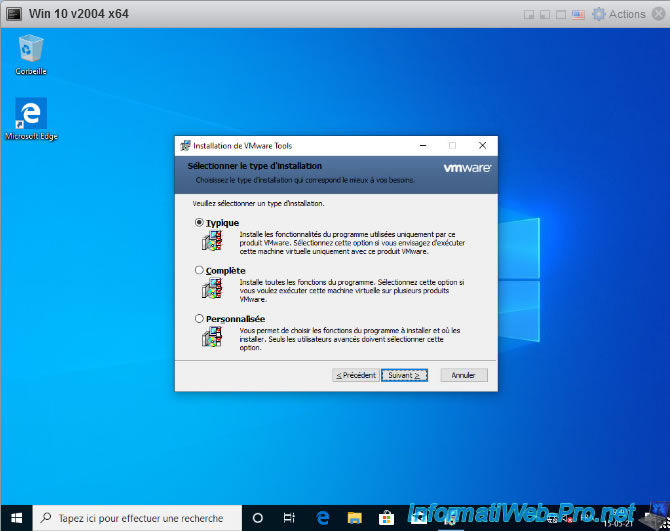
If you plan to use this virtual machine only with this VMware product (VMware ESXi), you can use the default installation type "Typical".
Otherwise, use the "Complete" installation type.
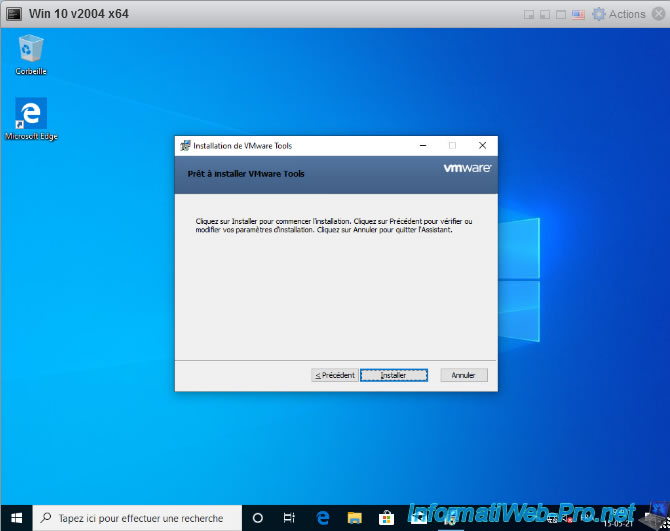
Click on Install.
When the installation is complete, click Finish.
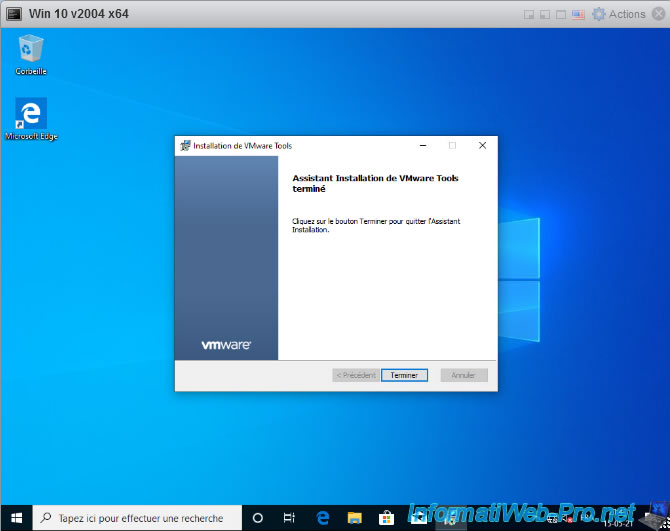
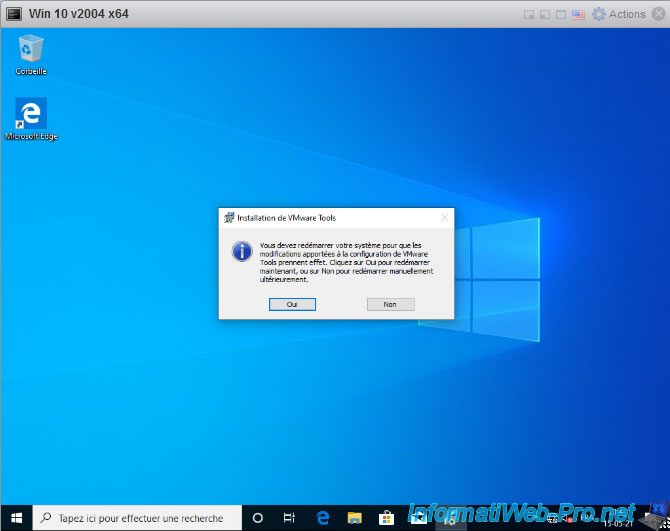
Then, restart your virtual machine as requested by the VMware Tools installer.
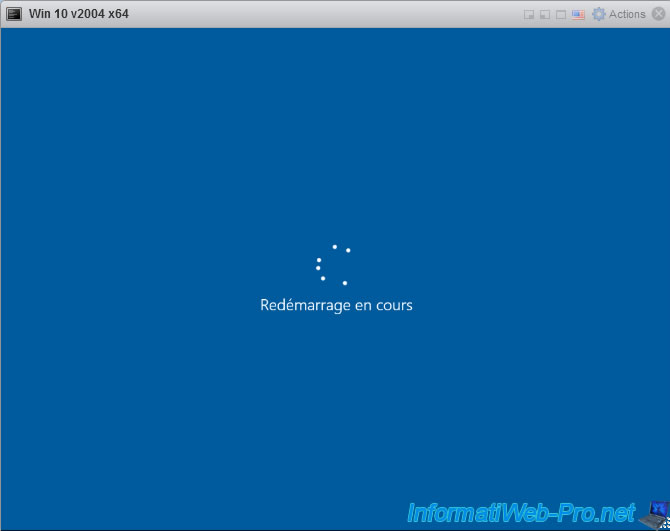
The virtual machine restarts.
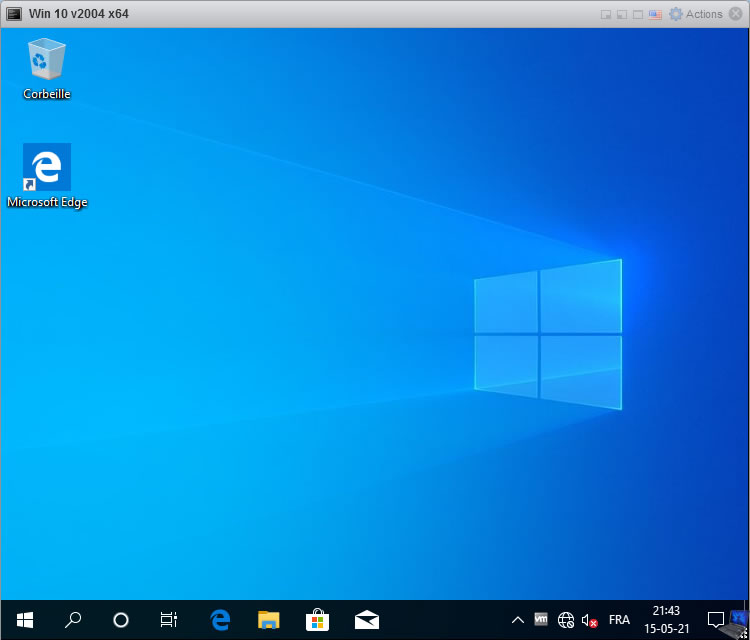
The VMware Tools icon appears in the taskbar.
11. Files making up the virtual machine
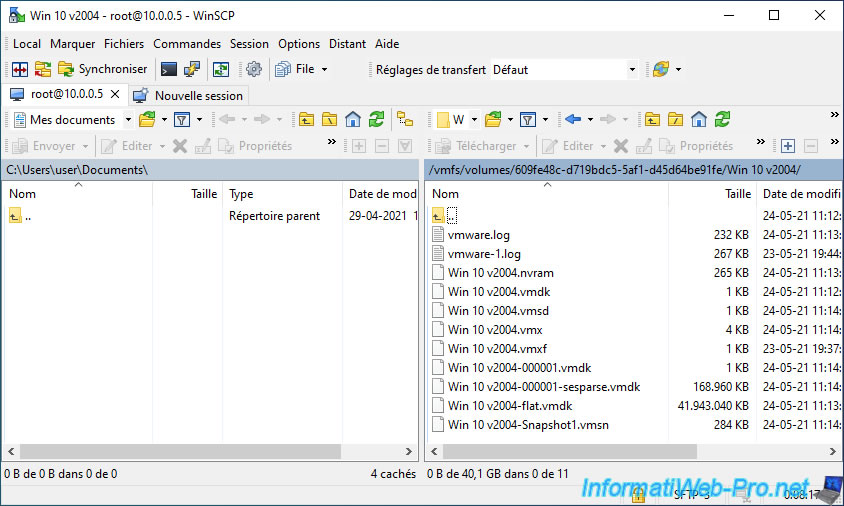
When you create a virtual machine and one or more snapshots, several types of files are created on the desired datastore :
- .log : log files allowing you to obtain support from VMware or via the official VMware forum in the event of a problem with your virtual machine.
The "vmware.log" file being the most recent log file and the other "vmware-x.log" files being the old log files for this virtual machine. - .nvram : contains the BIOS or UEFI firmware configuration of your virtual machine
- .vmsd : contains data relating to the various snapshots that you would have created on this virtual machine
- .vmx : contains the configuration of the virtual machine.
- .vmxf : additional configuration file for the virtual machine
- .vmdk : contains the system configuration of the virtual hard disk
- -flat.vmdk : contains the data present in the virtual hard disk
- -xxxxxx.vmdk and -xxxxxx-sesparse.vmdk : additional file(s) created when creating snapshots on the virtual machine.
These files contain respectively the configuration of the virtual hard disk and the data created in the virtual hard disk since the creation of the snapshot. - .vmsn : information about the created snapshot
- .vswp : when the virtual machine is started, ".vswp" files are created temporarily and the size of one of them corresponds to the amount of RAM allocated to your virtual machine.
This file will be used in the event that VMware ESXi is unable to allocate the random access memory (RAM) required by the virtual machine. - .lck and .vmx~ : temporary lock files present only when the virtual machine is powered on
- .vmss : file created when a virtual machine is paused
- .vmem : contains a copy of the virtual machine's random access memory (RAM) when the virtual machine is paused
Source : Virtual Machine Files - VMware Docs
Share this tutorial
To see also
-
VMware 5/25/2022
VMware ESXi 6.0 - Install the VMware Host Client web client
-
VMware 5/27/2022
VMware ESXi 6.5 - Add a network driver in the installation ISO
-
VMware 1/27/2023
VMware ESXi 6.7 - Enable virtualization-based security (VBS)
-
VMware 12/2/2022
VMware ESXi 6.7 - Install and use the VMRC console on Linux

No comment