Enable Jumbo frame support on VMware ESXi 6.7
- VMware
- 24 March 2023 at 19:18 UTC
-

- 2/2

4. Enable Jumbo Frames support on Windows (guest OS)
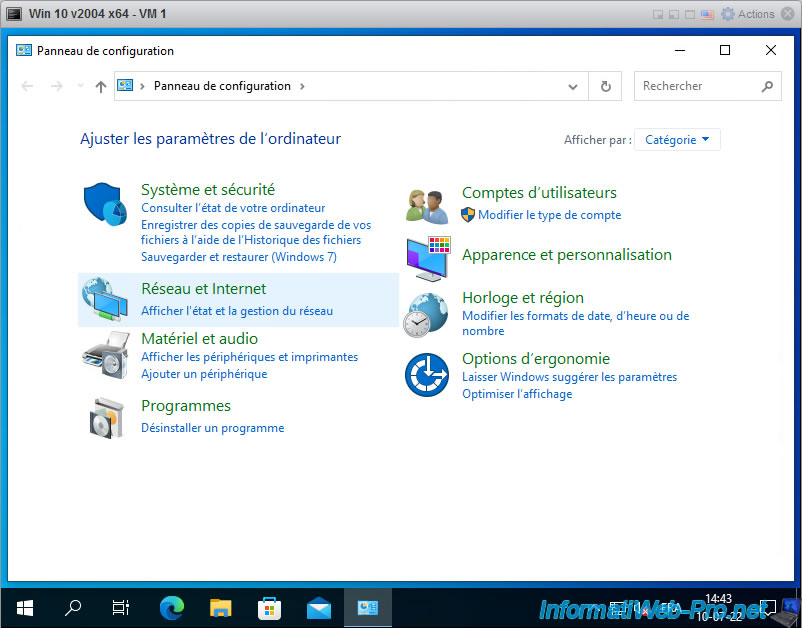
In your virtual machines on Windows, open the control panel and go to : Network and Internet.
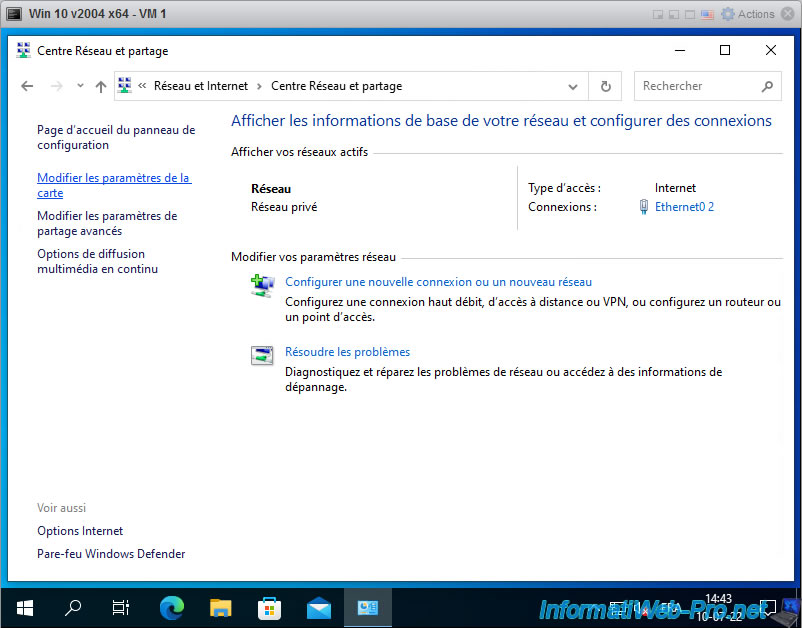
Then, go to : Network and Sharing Center.

In the "Network and Sharing Center", click on : Change adapter settings.
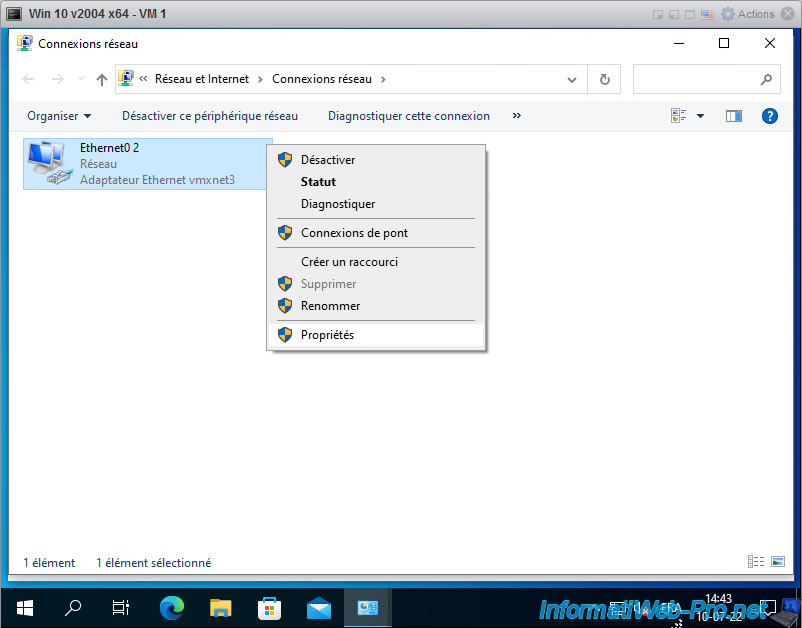
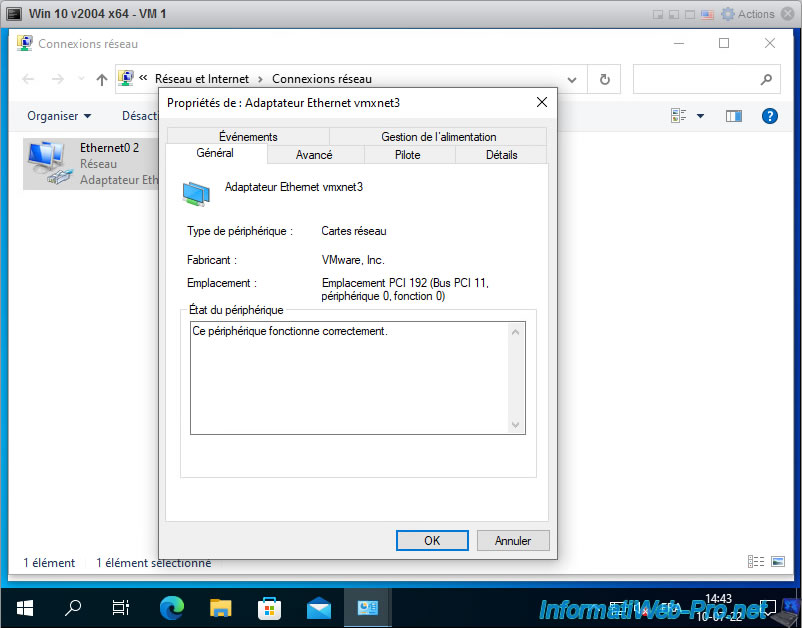
As you can see, the virtual network adapter of your virtual machine is now a vmxnet3 Ethernet Adapter (instead of the Intel network adapter virtualized by VMware).
Right-click "Properties" on it.
In the "Ethernet0 2 Properties" window, click "Configure".
Note : if a small confirmation window appears, click "Yes".
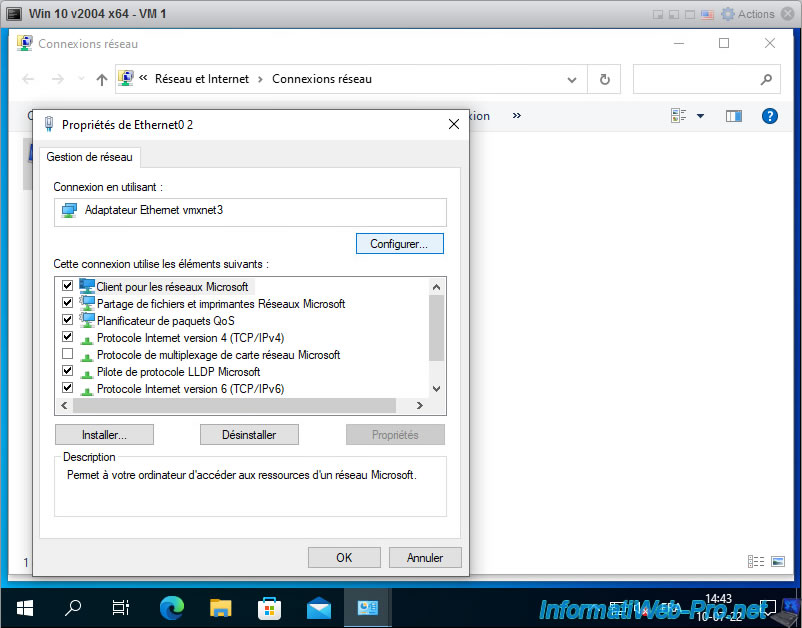
As you can see, your virtual machine is now using a vmxnet3 Ethernet Adapter made by VMware, Inc.
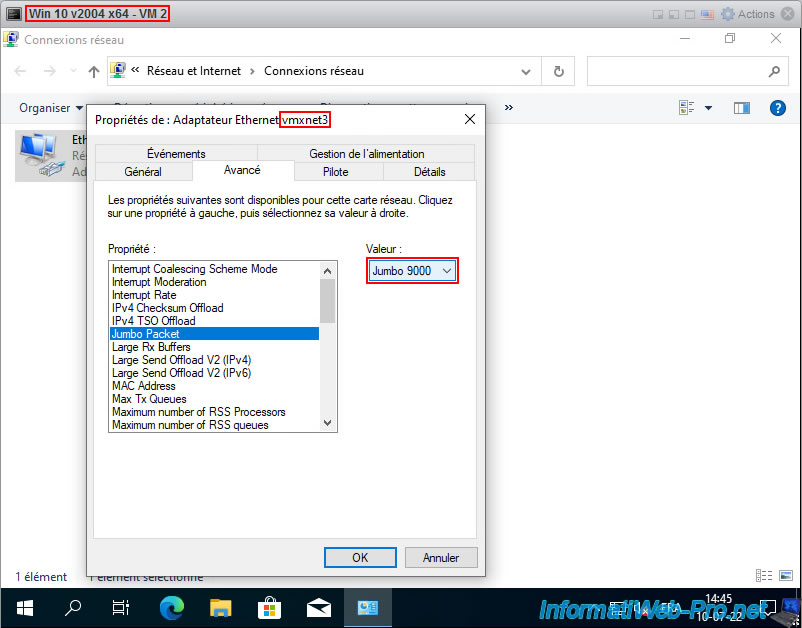
Go to the "Advanced" tab, select the "Jumbo Packet" property and select the "Jumbo 9000" value to enable support for Jumbo Frames.
You will easily notice that the default value "Standard 1500" corresponds to the default MTU of the virtual switch (vSwitch0) and means that the support of Jumbo Frames was therefore disabled by default.
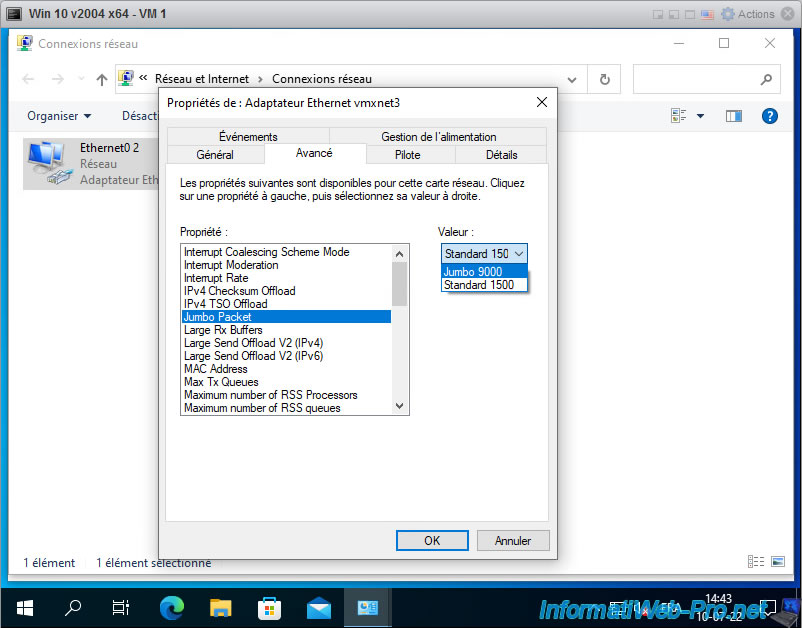
Once the "Jumbo 9000" value has been selected, don't forget to save the changes by clicking OK.

Don't forget to also enable Jumbo Frames support on the VMXNET 3 virtual network adapter of the destination virtual machine.
5. Network test to verify that jumbo frame support is correctly enabled
Now that everything is configured, you can check that your configuration is correct by simply using the "ping" command available natively in Windows.
To start, on the source virtual machine (in our case : VM 1), open a command prompt (cmd.exe) and test the connection between your 2 virtual machines.
In our case, the destination virtual machine has the IP address 10.0.0.23.
Batch
ping 10.0.0.23
If your machines can communicate with each other and the firewall allows PING (ICMP), this will work :
Plain Text
Pinging 10.0.0.23 with 32 bytes of data:
Reply from 10.0.0.23: bytes=32 time<1ms TTL=128
Reply from 10.0.0.23: bytes=32 time<1ms TTL=128
Reply from 10.0.0.23: bytes=32 time<1ms TTL=128
Reply from 10.0.0.23: bytes=32 time<1ms TTL=128

Ping statistics for 10.0.0.23:
    Packets: Sent = 4, Received = 4, Lost = 0 (0% loss),
Approximate round trip times in mili-seconds:
    Minimum = 0ms, Maximum = 0ms, Average = 0ms
If not, ensure that the guest operating system (Windows) is configured to use a private (or "home") network or that the rules below are allowed in the firewall in incoming traffic from the destination virtual machine :
- File and Printer Sharing (Echo Request - ICMPv4-In)
- File and Printer Sharing (Echo Request - ICMPv6-In)
Once the network test above works for you, you can test jumbo frame support by attempting to send 8900 byte packets over the network with the command below.
- -f : this parameter tells the "ping" command that packets can't be fragmented.
This ensures that no intermediary will attempt to fragment (cut) our 8900 byte packet into small packets (which would have a maximum size of 1500 bytes). - -l 8900 : specifies to send 8900 bytes of data in network packets to be sent to the destination machine.
Since network packets also contain headers (such as : source IP, destination IP, TTL, ...), you can't send 9000 bytes of data.
Indeed, in this case, the packet would necessarily have a size greater than 9000 and the network test would fail.
Batch
ping -f -l 8900 10.0.0.23
If the network test is successful, you will get this.
This means that all your network configuration is correct.
Plain Text
Pinging 10.0.0.23 with 8900 bytes of data:
Reply from 10.0.0.23: bytes=8900 time<1ms TTL=128
Reply from 10.0.0.23: bytes=8900 time<1ms TTL=128
Reply from 10.0.0.23: bytes=8900 time<1ms TTL=128
Reply from 10.0.0.23: bytes=8900 time<1ms TTL=128

Ping statistics for 10.0.0.23:
    Packets: Sent = 4, Received = 4, Lost = 0 (0% loss),
Approximate round trip times in mili-seconds:
    Minimum = 0ms, Maximum = 0ms, Average = 0ms
If 8900 byte packets should be fragmented, your source VM's virtual NIC is not configured to allow Jumbo Frames or you are not using a "VMXNET 2 (Enhanced)" or "VMXNET 3" virtual NIC.
Plain Text
Pinging 10.0.0.23 with 8900 bytes of data:
Packet needs to be fragmented but DF set.
Packet needs to be fragmented but DF set.
Packet needs to be fragmented but DF set.
Packet needs to be fragmented but DF set.

Ping statistics for 10.0.0.23:
    Packets: Sent = 4, Received = 0, Lost = 4 (100% loss)
If the ping command tells you that the request has timed out, the destination machine's virtual network adapter doesn't support jumbo frames.
Plain Text
Pinging 10.0.0.23 with 8900 bytes of data:
Request timed out.
Request timed out.
Request timed out.
Request timed out.

Ping statistics for 10.0.0.23:
    Packets: Sent = 4, Received = 0, Lost = 4 (100% loss)
Warning : as explained previously, you can't send packets with 9000 bytes of data.
Indeed, the headers present in the network packets also take up a little space and the final size of the packets sent will therefore obviously be higher than 9000 bytes.
Which would cause your network test to fail.
Batch
ping -f -l 9000 10.0.0.23
Plain Text
Pinging 10.0.0.23 with 9000 bytes of data:
Packet needs to be fragmented but DF set.
Packet needs to be fragmented but DF set.
Packet needs to be fragmented but DF set.
Packet needs to be fragmented but DF set.

Ping statistics for 10.0.0.23:
    Packets: Sent = 4, Received = 0, Lost = 4 (100% loss)
Share this tutorial
To see also
-
VMware 3/3/2023
VMware ESXi 6.7 - Add a VMkernel interface
-

VMware 2/24/2023
VMware ESXi 6.7 - Create a new virtual network
-
VMware 3/17/2023
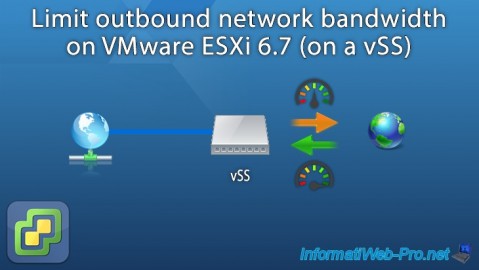
VMware ESXi 6.7 - Limit outbound bandwidth
-
VMware 3/10/2023
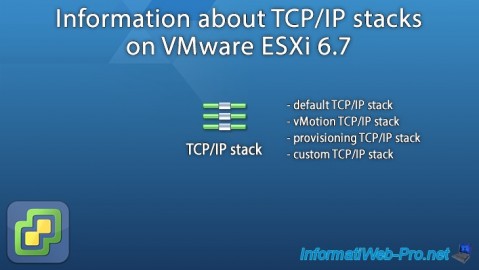
VMware ESXi 6.7 - TCP/IP stacks
No comment