- VMware
- VMware ESXi
- 29 August 2012 at 18:52 UTC
-


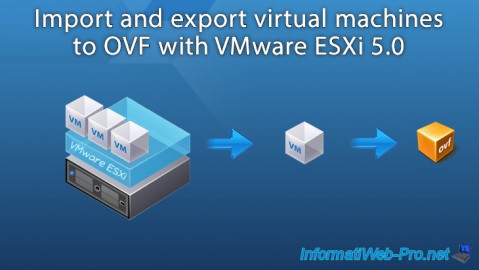
With the rapid adoption of virtualization, there is a great need for a standard way to package and distribute virtual machines. VMware and other leaders in the field of virtualization have created the Open Virtualization Format (OVF), a packaging platform independent, efficient, extensible virtual machines.
OVF enables efficient, flexible and secure distribution of enterprise software, facilitating the mobility of virtual machines and giving customers vendor and platform independent. Customers can deploy an OVF virtual machine format on the platform virtualization of their choice.
With OVF, customers experience with virtualization is greatly improved, with more portability, platform independence, signature verification, versions and license conditions.
VMware ESXi 5.0 End of Support
VMware ESXi 5.0 (which is part of the VMware vSphere 5.0 solution) is no longer supported by VMware since August 2016.
We therefore advise you to upgrade to a more recent version, such as : VMware ESXi 6.7.
To import and export virtual machines via OVF/OVA format on VMware ESXi 6.7, refer to our tutorial : Export and import VMware ESXi 6.7 virtual machines in OVF (OVA).
1. Exporting a virtual machine from ESXi 5
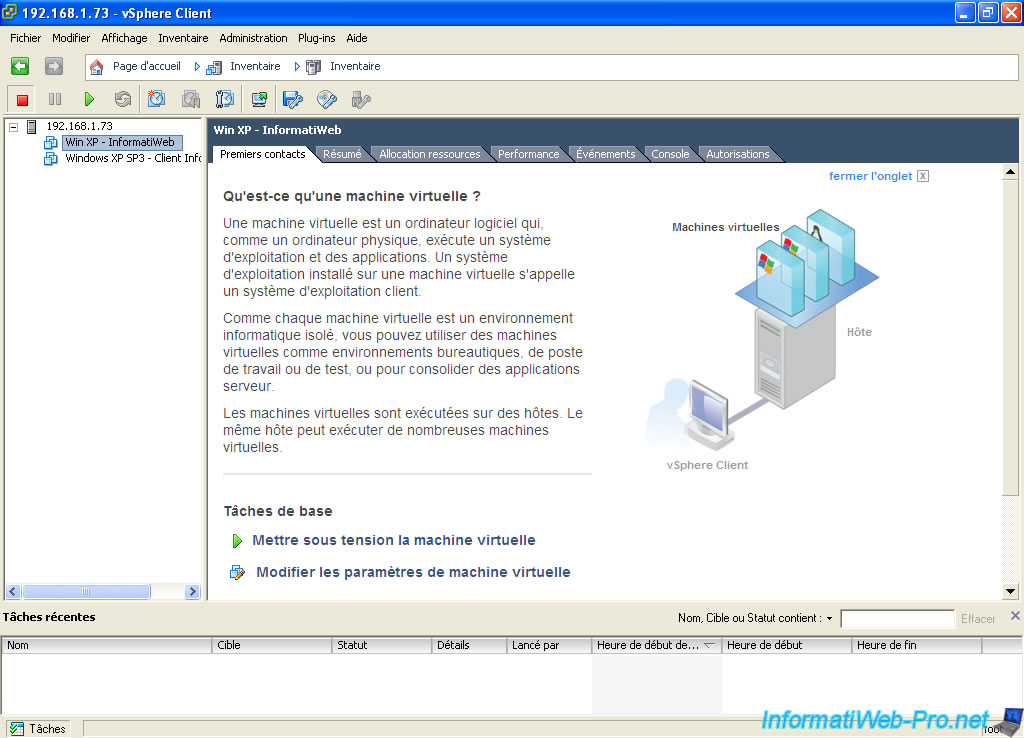
Connect to your ESXi server via the client "VMware vSphere Client". Click on "Inventory" and then select the virtual machine to export from the list on the left.
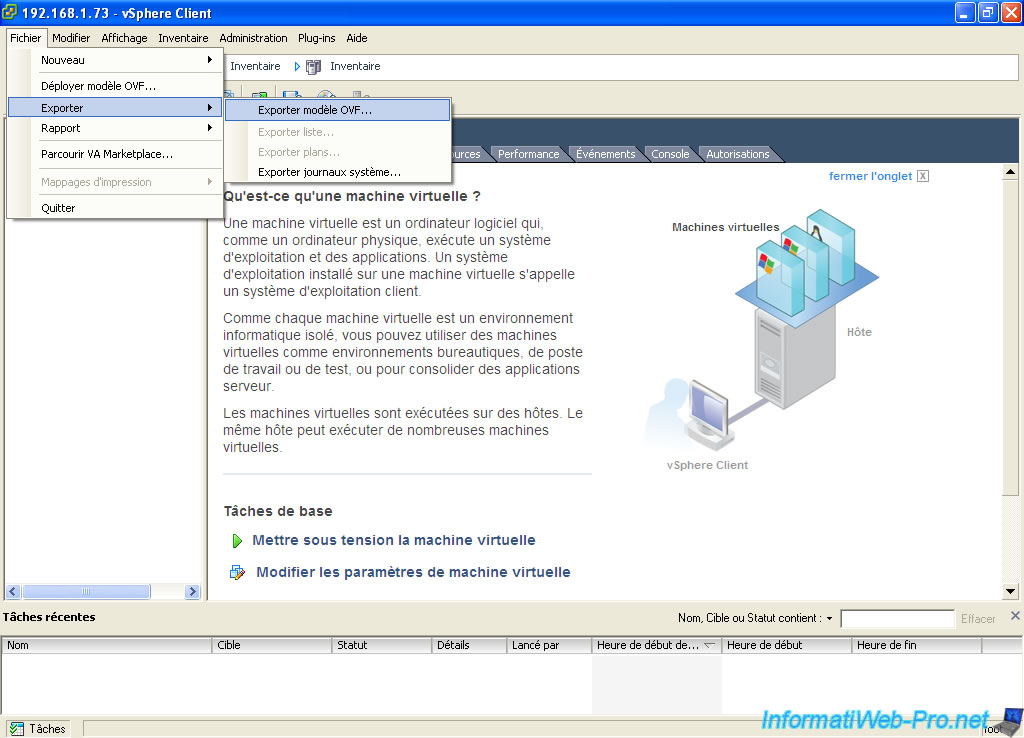
Go to "File -> Export" and click "Export OVF Template ...".
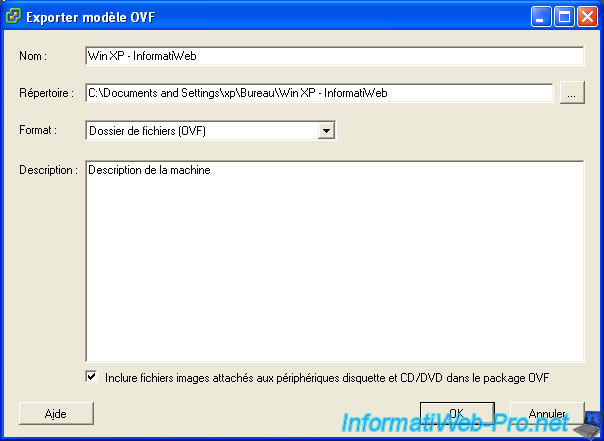
Select the destination directory where to export your machine and check the "Include attachments to disk devices and CD / DVD in the OVF package" to include file(s) iso, img, ... CD / DVD players and floppy drive.
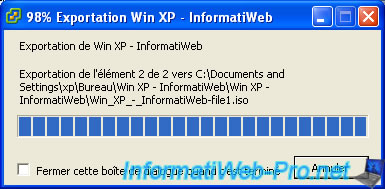
The wizard exports the vmdk file (HDD).
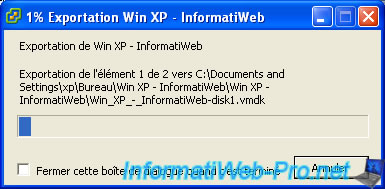
And iso files, img and flp if you checked the "Include attachments to disk devices and CD / DVD ...".
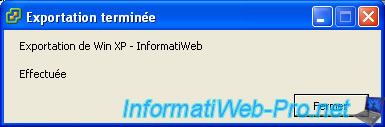
Once the export is complete, click "Close".
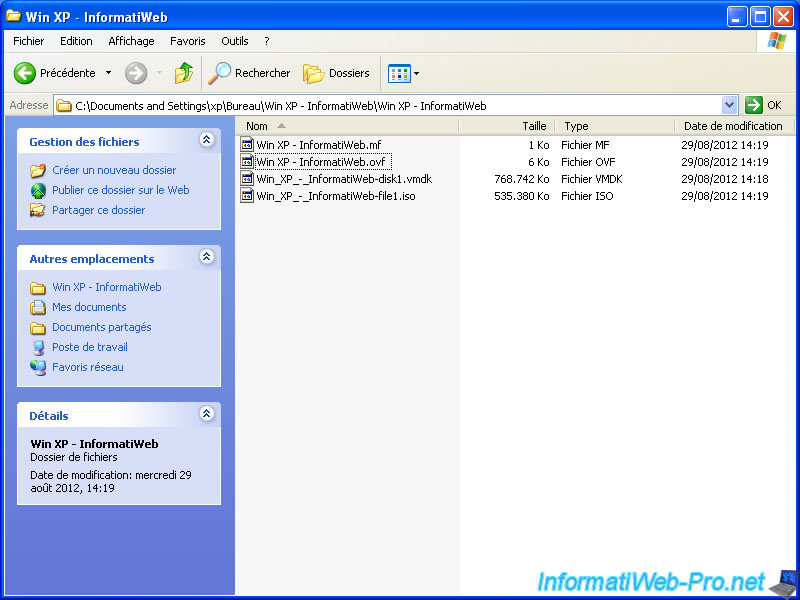
Once the exported virtual machine, you will find several files :
- mf : Contains hash integrity "SHA1" files contained in the folder. Can be checked by FCIV of Microsoft.
- ovf : configuration file of the virtual machine converts OVF (Open Virtualization Format).
- vmdk : hard disk file.
- iso : CD / DVD image that was attached to the virtual machine in the virtual CD / DVD drive. The box must be checked for images attached to the virtual machine
- img/flp : Image disk that was attached to the virtual machine in the virtual floppy drive. The box must be checked for images attached to the virtual machine
Note : If the ovf file is a large file is that it itself contains a file and a file ovf vmdk (HDD).
2. Import the virtual machine in ESXi 5
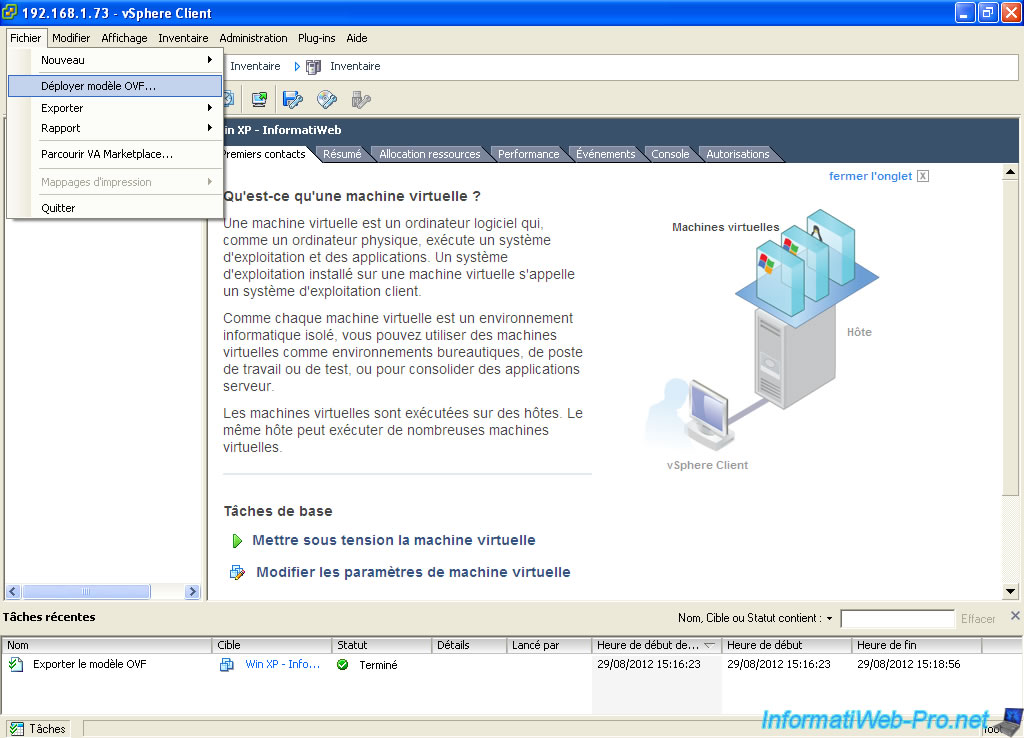
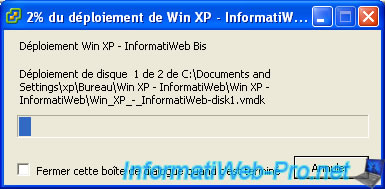
Go to "File" and click "Deploy OVF Template ...".
Click on "Browse".
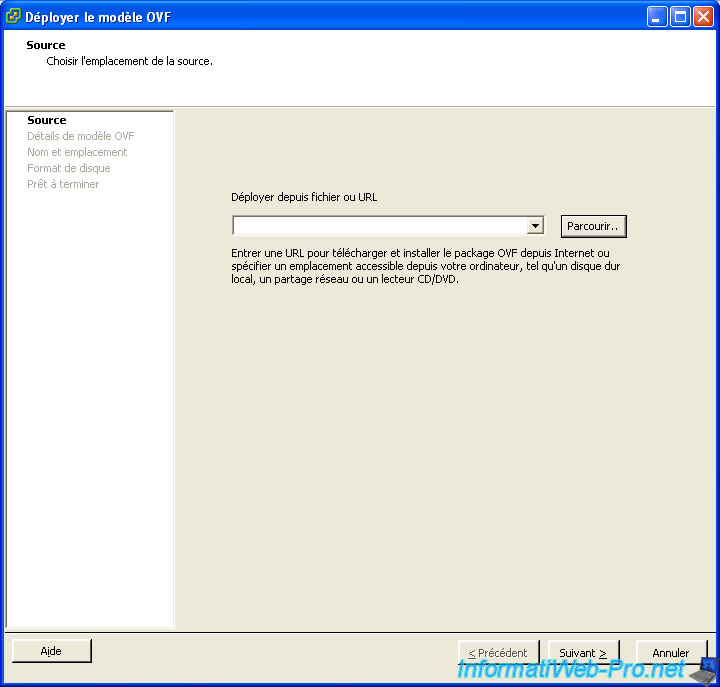
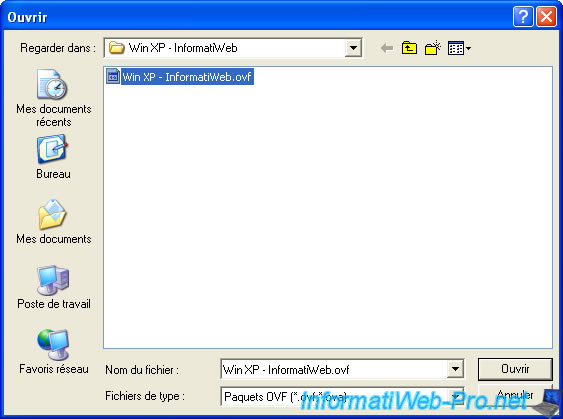
Select the ".ovf" file to import the virtual machine.
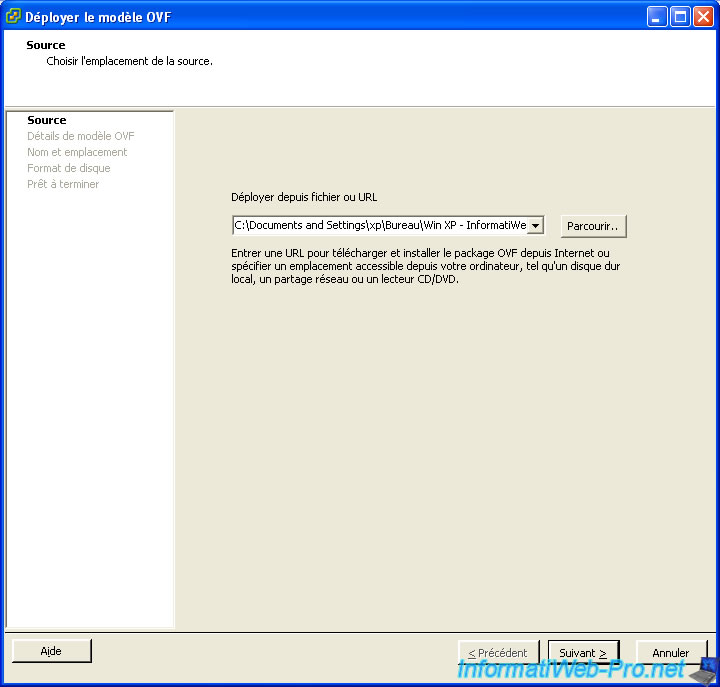
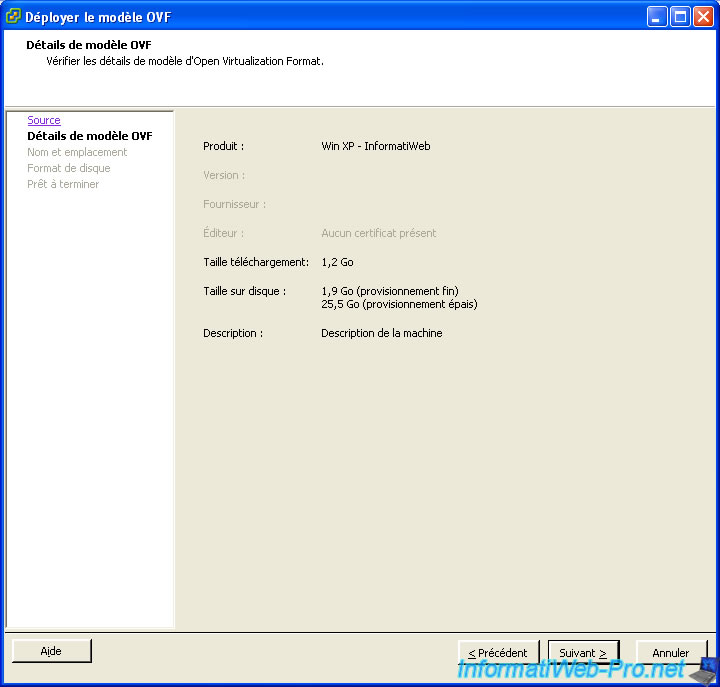
Click "Next".
Click "Next".
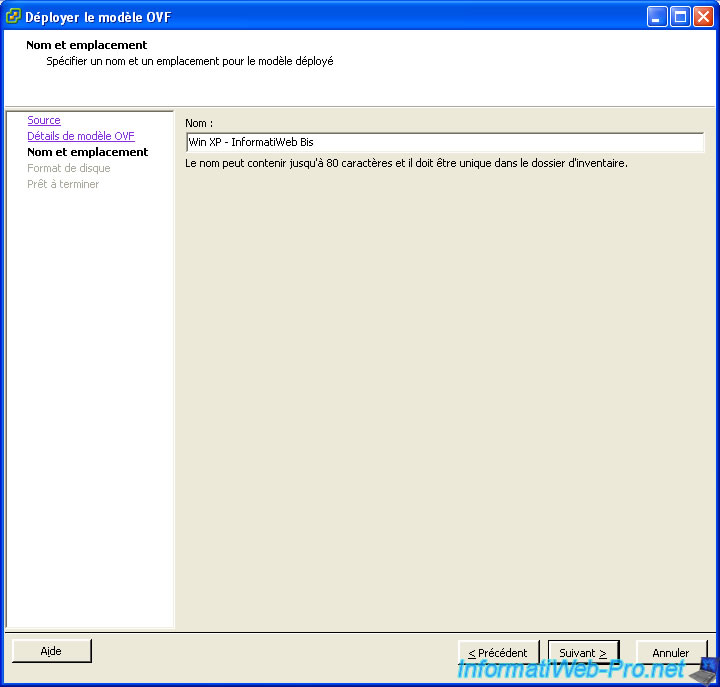
Change the name of the machine if necessary.
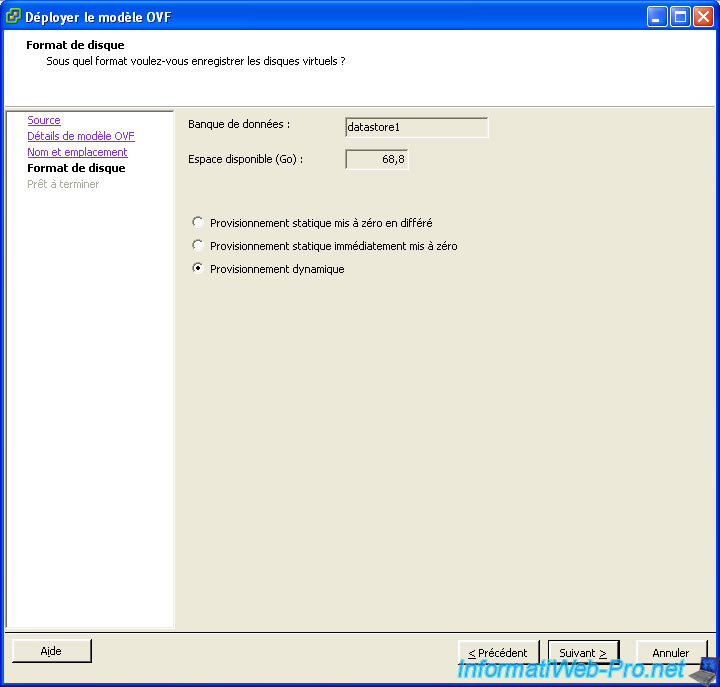
Select "Dynamic Provisioning for the vmdk file (HDD) take place data therein rather than the defined maximum size for the hard disk in question.
The wizard displays a summary of the configuration.
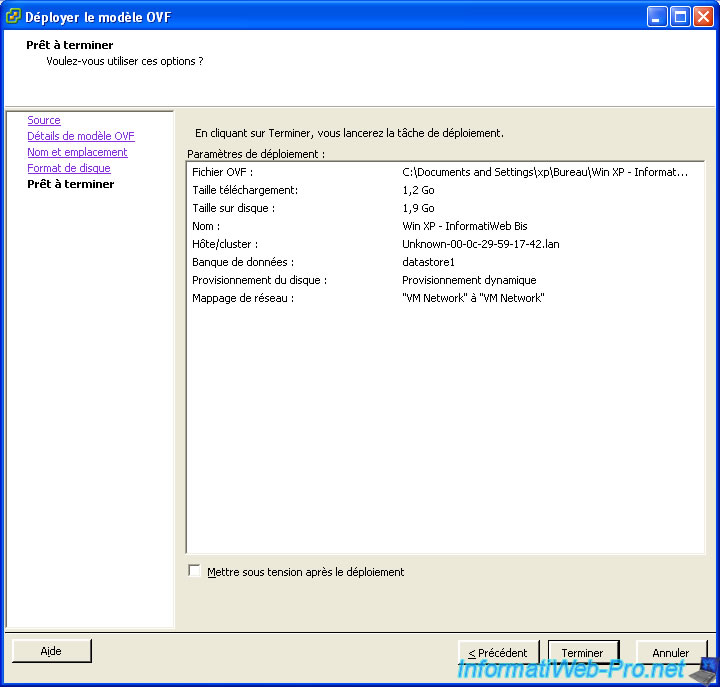
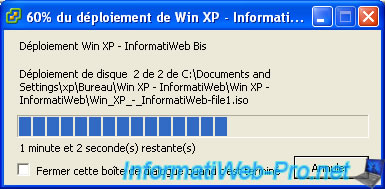
The wizard transfers the vmdk from your client computer to an ESXi server.
As the images that were attached if they have previously been exported.
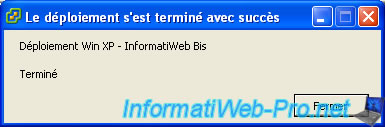
Once the deployment is complete, click "Close".
If you get an error when importing your virtual machine, it can be :
- Either a file that is corrupt. The integrity check is done by hash "SHA1" which is in the ".mf" file when it exists. For example, under ESXi 5 this file exists but not in ESXi 3.5.
- Either you do not have permission to perform this action
- Either insufficient disk space on the server
- The configuration of the ovf file can trigger an error in some cases. Particularly at some virtual hardware which are sometimes not compatible virtualization software to another.
If all goes well, the machine should be added to the inventory automatically. Try to start it to make sure the transfer succeeded because since sometimes the "mf" file is not present, it could be that the imported virtual machine has been corrupted. Click on the small icon with a screen and a small green arrow to open the virtual machine.
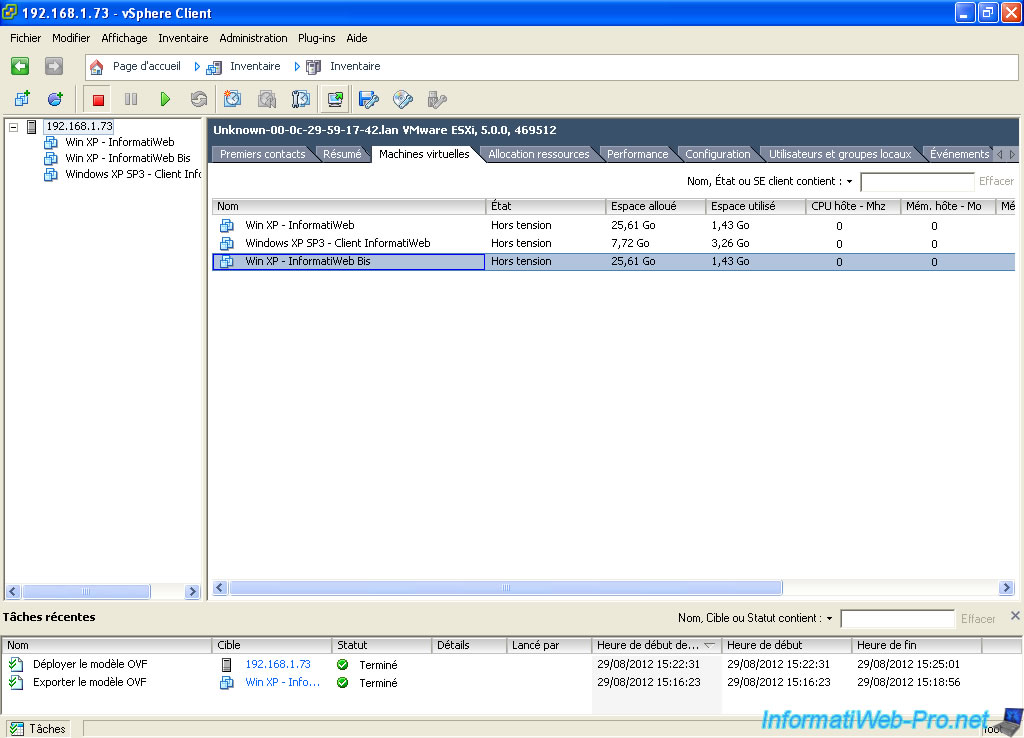
Click the green triangle to start the machine.
Share this tutorial
To see also
-
VMware 11/11/2011
VMware ESXi 5 - Installation
-
VMware 11/4/2022
VMware ESXi 6.7 - Convert a Hyper-V virtual machine to a VMware VM
-
VMware 9/23/2022
VMware ESXi 6.7 - Make virtual machines unique
-
VMware 7/13/2022
VMware ESXi 7.0 / 6.7 - Create a virtual USB key
You must be logged in to post a comment