- Citrix
- Citrix XenServer
- 30 April 2015 at 14:12 UTC
-


Citrix XenServer is the virtualization server that can be used by other Citrix programs such as : "Citrix Studio" (installed with XenApp and XenDesktop). To connect to the virtualization server, Citrix Studio uses the http or https (secure with SSL) protocol. To allow you to use a secure connection between XenServer and Citrix Studio, we will secure XenServer by using the https protocol.
Prerequisite :
- Create the certificate and the private key with OpenSSL
- Secure XenServer with this generated certificate
1. Create the certificate and the private key with OpenSSL
Before you begin, make sure you are logged in with a user account that allows you to request and sign certificates with your certification authority.
Note : If necessary, log on to the Administrator account on the server where the CA is installed.
To begin, download "OpenSSL", unzip the downloaded zip file and go to the "bin" folder.
To avoid that OpenSSL tell you "WARNING: can't open config file: C:/OpenSSL/openssl.cnf", copy the contents of the "bin" folder in the "C:\OpenSSL" folder (that you must create) .
To begin, create a certificate request and a private key.
Infos :
-newkey rsa:2048 : Creates a certificate request and a private key of the specified size. In this case : 2048 bits.
-keyout xenserver1prvkey.pem : File name under which the private key will be saved
-nodes : Don't protect the private key with a password. Which prevents the server to requests the password at startup.
-out xenserver1.req : File name under which the certificate request will be saved
-subj /CN=xenserver.informatiweb.lan/O=InformatiWeb/C=BE/ST=GA/L=Liège : Specify attributes to indicate in the certificate.
CN : Common Name. In case, the domain name corresponding to the IP address of the XenServer server.
O : Organization
C : Country
ST : State (Optional)
L : City
Batch
openssl req -newkey rsa:2048 -keyout xenserver1prvkey.pem -nodes -out xenserver1.req -subj /CN=xenserver.informatiweb.lan/O=InformatiWeb/C=BE/ST=GA/L=Liège
If all goes well, you will see this message :
Plain Text
Loading 'screen' into random state - done
Generating a 2048 bit RSA private key
..................................+++
..............................+++
writing new private key to 'xenserver1prvkey.pem'
-----
Then, submit your request to your Certification Authority under Windows Server.
Infos :
-submit : Submit the request to the desired authority.
-binary : Uses the binary encoding for the certificate.
-attrib "CertificateTemplate:WebServer" : Specifies the certificate template to use on your CA
-config "AD-SERVER\InformatiWeb CA" : Specifies the CA that will sign your certificate. Syntax : [Name (NETBIOS name) of the Win. Server server]\[Name of the Certificate Authority (Common name of the authority)]
xenserver1.req : File containing the certificate request.
xenserver1.cer : File name under which the certificate will be saved.
Batch
certreq -submit -binary -attrib "CertificateTemplate:WebServer" -config "AD-SERVER\InformatiWeb CA" xenserver1.req xenserver1.cer
If all goes well, you will see this message :
Plain Text
Identifiant de requête : 4
IDDemande : « 4 »
Certificat récupéré(Délivré) Délivré
Convert the certificate in PEM format (linux).
Batch
openssl x509 -inform der -in xenserver1.cer -out xenserver1.pem
Merge the certificate and the private key in a file in the format "pkcs12" (.pfx extension).
Infos :
-passout pass:iwpass : Specify a password to protect the certificate and private key.
Batch
openssl pkcs12 -export -inkey xenserver1prvkey.pem -in xenserver1.pem -out xenserver1.pfx -passout pass:iwpass
Convert the PFX file (Microsoft format) to PEM (Linux format).
Infos :
-password pass:iwpass : Specifies the password that protects the certificate and the private key.
Batch
openssl pkcs12 -in xenserver1.pfx -out xenserver1keypair.pem -nodes -password pass:iwpass
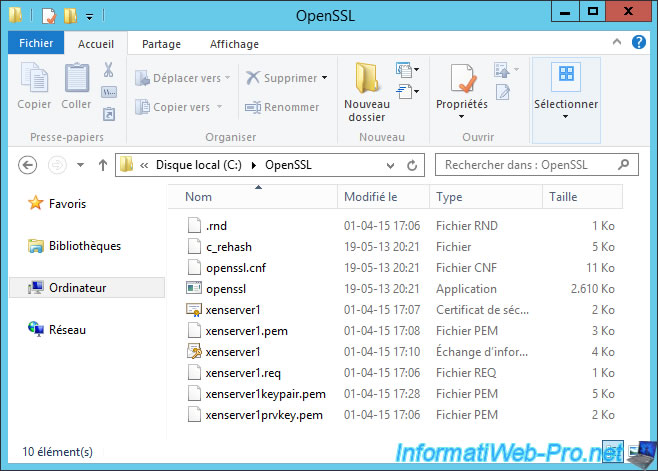
Your "OpenSSL" folder should look like this :
2. Secure XenServer with this generated certificate
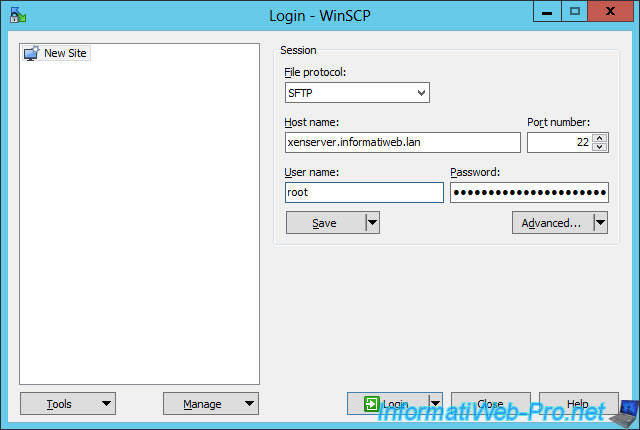
To transfer the certificate on the XenServer server, we will use "WinSCP".
Note : If you wish, you can use FileZilla by specifying 22 as the port number.
Open "WinSCP" and connect to the XenServer server on port 22 (SSH / SFTP).
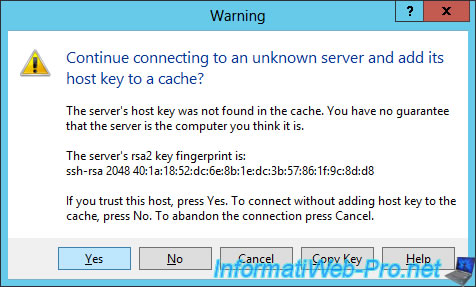
Since this is your first connection to the server, this warning will appear. Click "Yes".
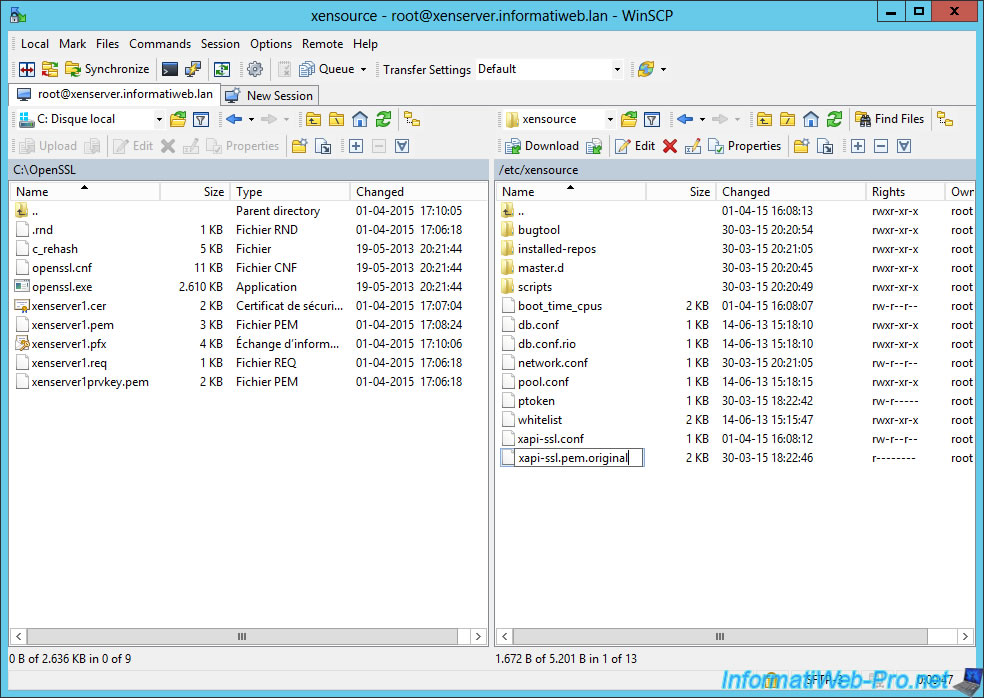
Navigate to the folder that contains the certificate that you generated, on the left.
And in the "/etc/XenSource/" folder, on the right.
Then, rename the "xapi-ssl.pem" certificate of the server to "xapi-ssl.pem.original".
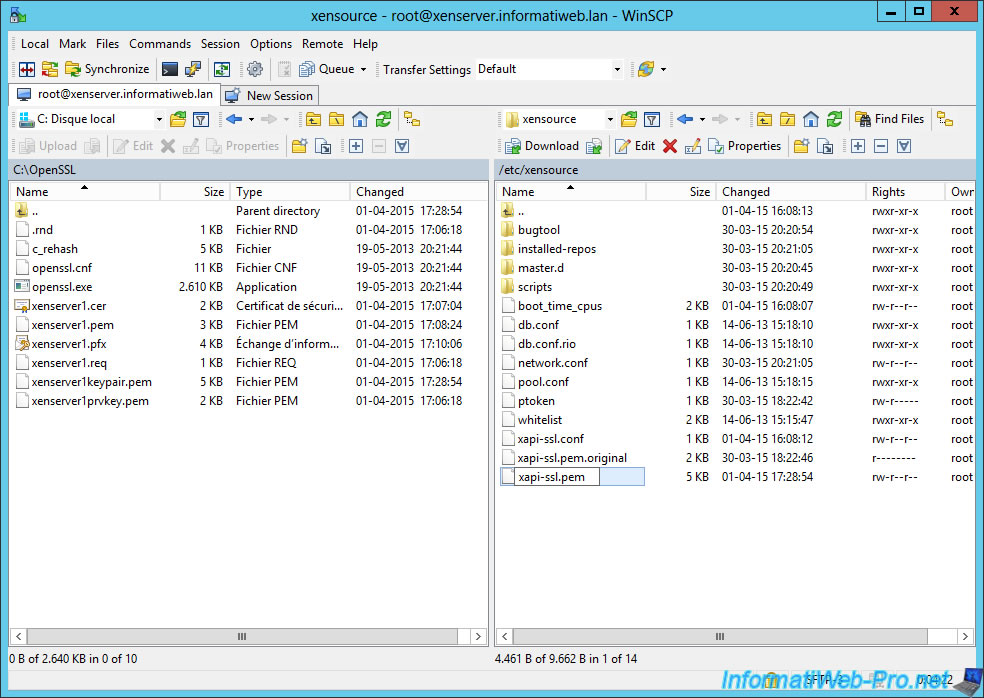
Copy the new certificate (xenserver1keypair.pem) on the server.
![]()
Rename this new certificate as "xapi-ssl.pem".
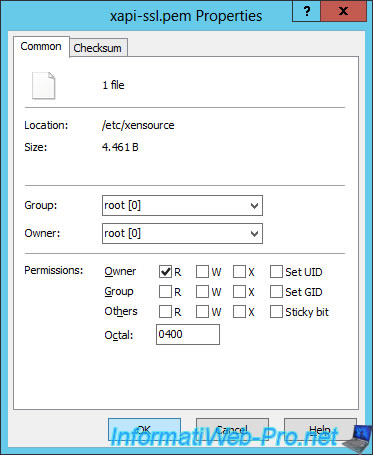
Change the permissions of this file to put it in read-only for root only.
Finally, go to the XenServer console using XenCenter and restart the "xapissl" service of the server by typing this command :
Bash
/etc/init.d/xapissl restart
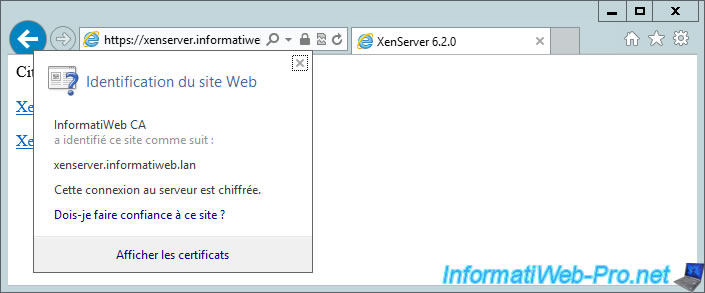
To verify that your certificate is installed, go to : https://xenserver.informatiweb.lan
Procedure based on the official Citrix documentation : How to Use OpenSSL with a Windows Certificate Authority to Generate XenServer Certificates
Share this tutorial
To see also
-
Citrix 5/21/2017
Citrix XenServer 6.5 - Disaster Recovery
-

Citrix 11/25/2015
Citrix XenServer 6.5 - PCI passthrough
-

Citrix 10/27/2016
Citrix XenServer 6.5 - Pools and high availability (HA)
-
Citrix 6/13/2017
Citrix XenServer 6.5 - Updating the server
You must be logged in to post a comment