- Microsoft
- 13 September 2019 at 15:32 UTC
-


Snapshots (on WS 2012) or checkpoints (on WS 2012 R2) allow you to save different states of a virtual machine.
Which is practical in many cases :
- to be able to restore a virtual machine that no longer works
- make a backup of a virtual machine before making a risky or irreversible change. And then, be able to restore the machine if the change has caused any problem.
- back up a virtual machine at different stages of a long and/or complex configuration (such as installing a mail server, for example)
- and more
In short, it's very practical, and the restoration takes only a few seconds (+ the restart time of the virtual machine, of course).
- Current state of the virtual machine
- Create a snapshot
- Restore the virtual machine to a previous state
- Delete a snapshot
1. Current state of the virtual machine
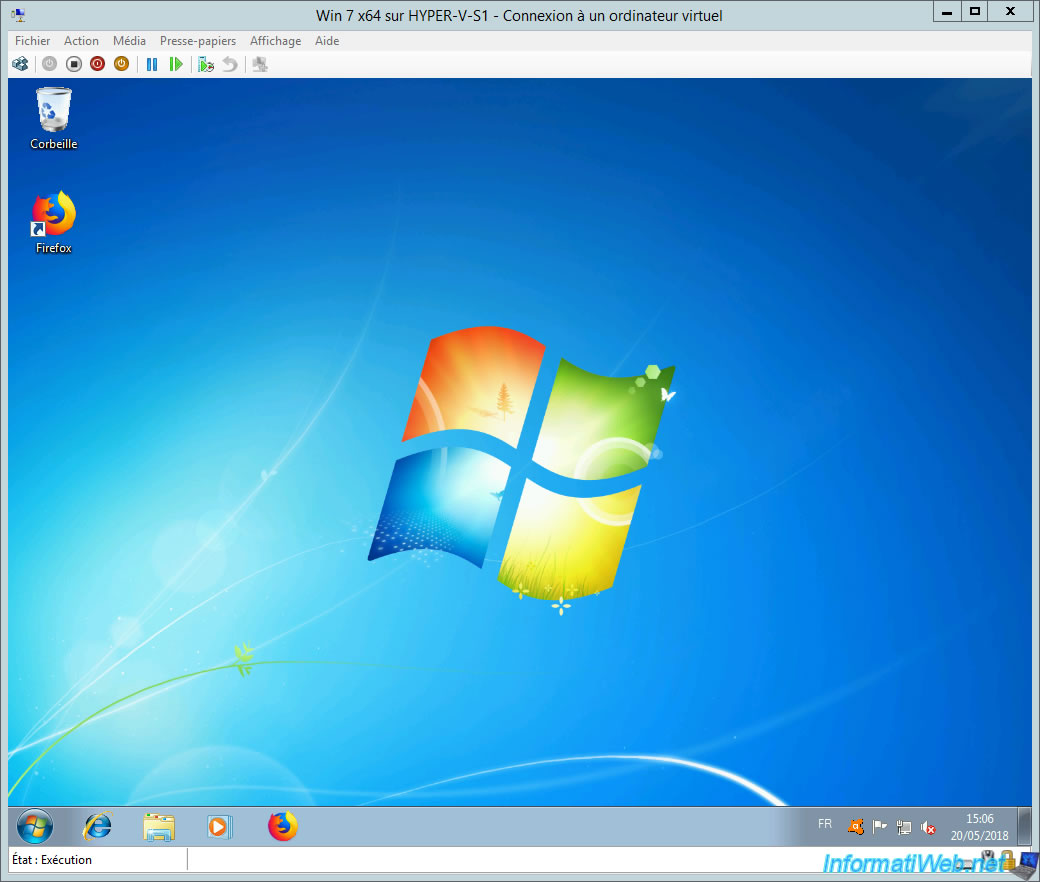
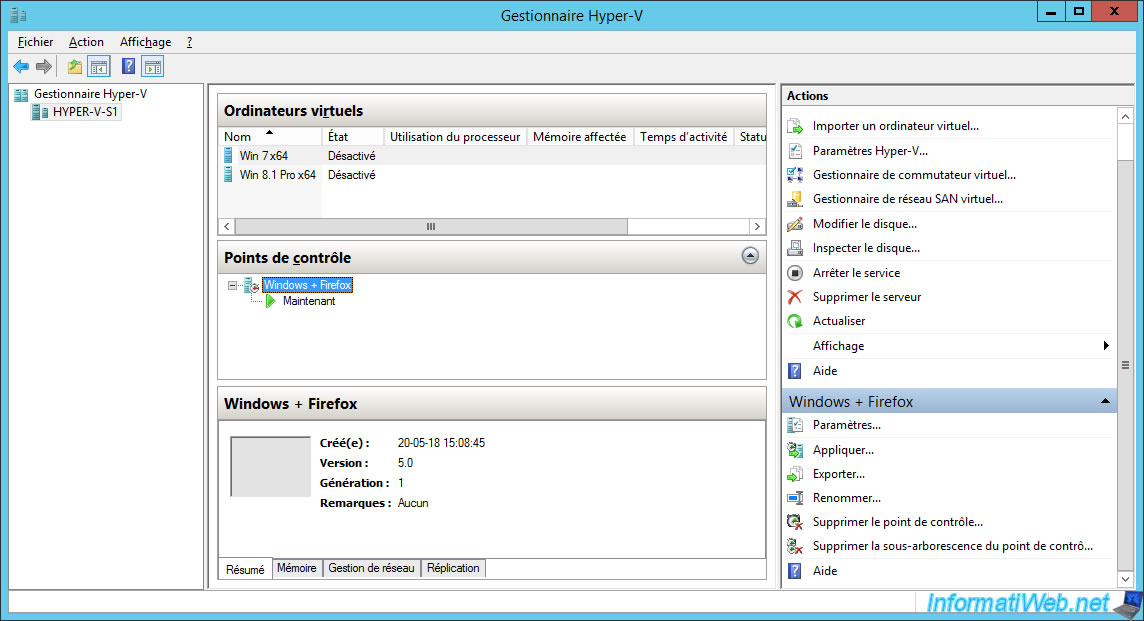
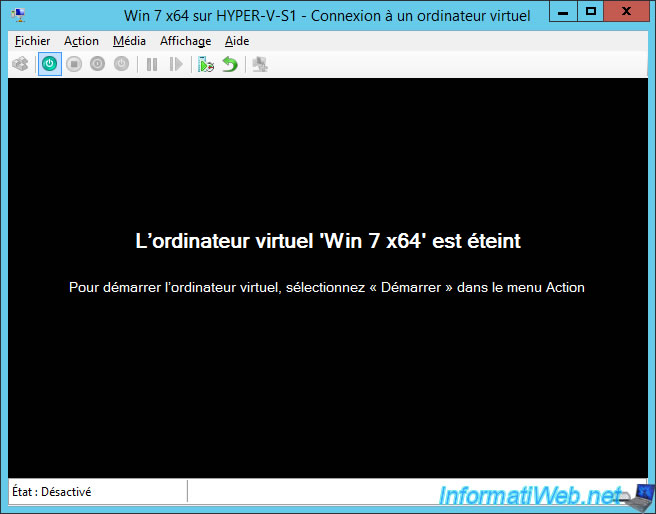
Currently, we have a virtual machine named "Win 7 x64".

As you can see, currently, only Mozilla Firefox and the Avast anti-virus are installed in this virtual machine.
2. Create a snapshot
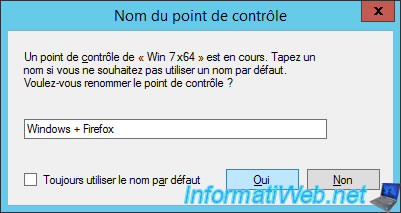
To create a snapshot, just click on the small icon that you see highlighted in the image below.
Enter a name for your snapshot.
Once the snapshot has been created, the "return" icon will no longer be grayed out.

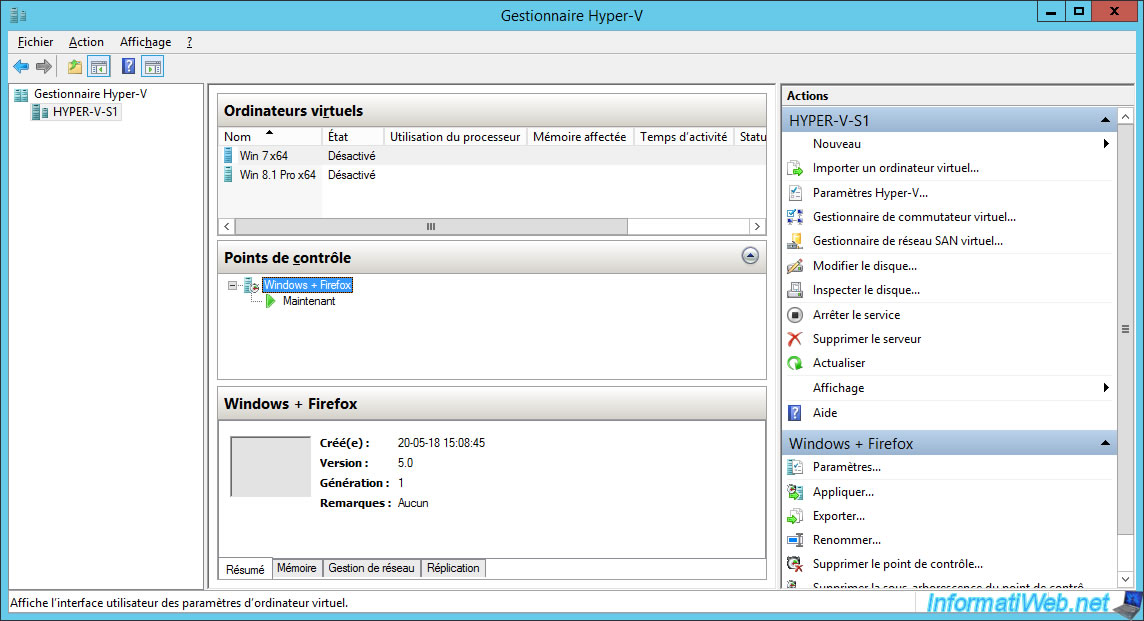
In the Hyper-V Manager, you will see the snapshots (or checkpoints on WS 2012 R2) associated with the virtual machine selected above.
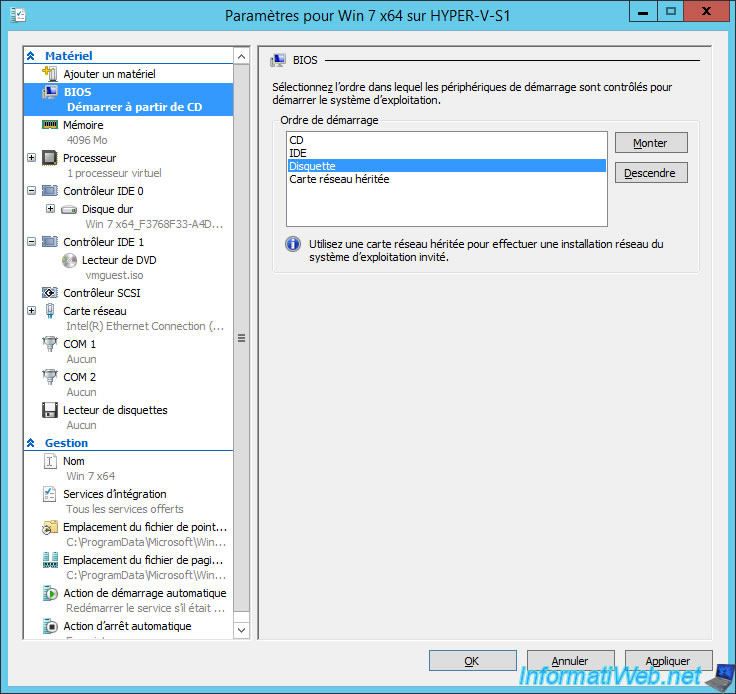
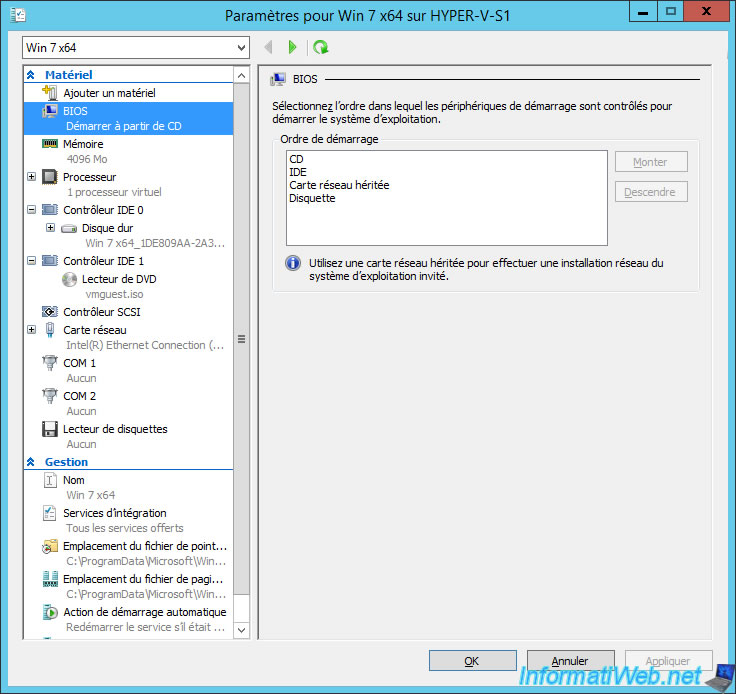
To show you that the snapshots are about the virtual hard disk and the virtual machine configuration, we changed the boot order by setting the "Floppy" option to 3rd instead of 4th.
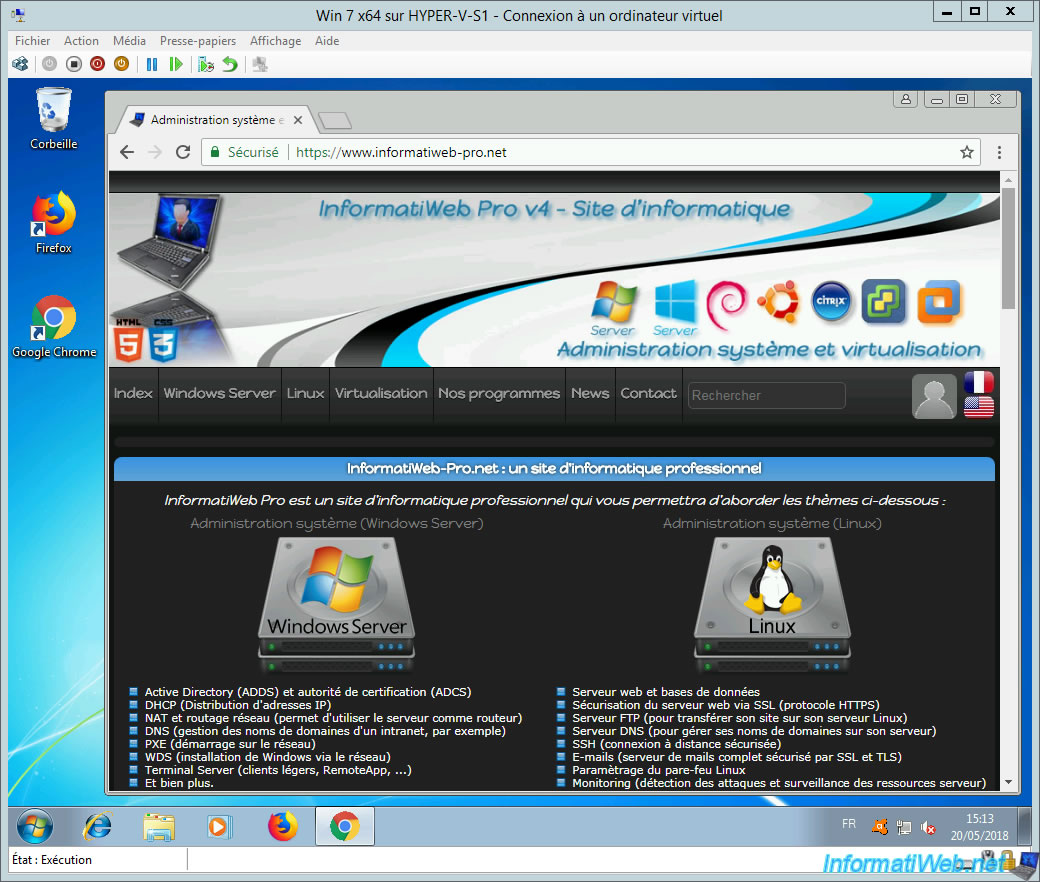
Currently, there is only the Mozilla Firefox web browser.

Now, we have also installed Google Chrome.
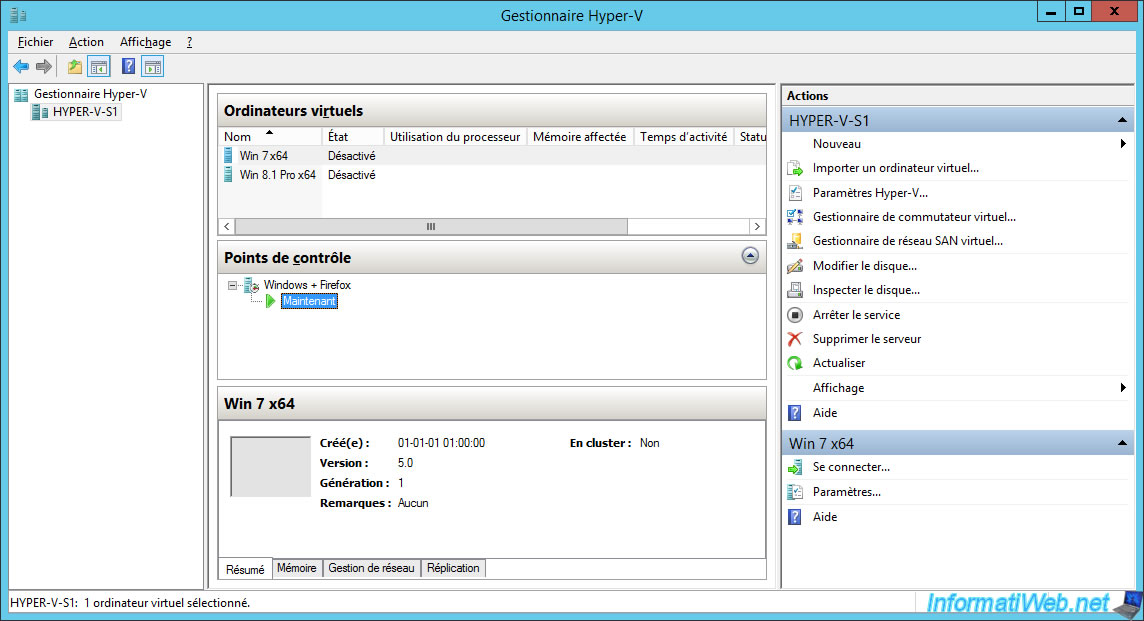
For the moment, we are in the "Now" state.
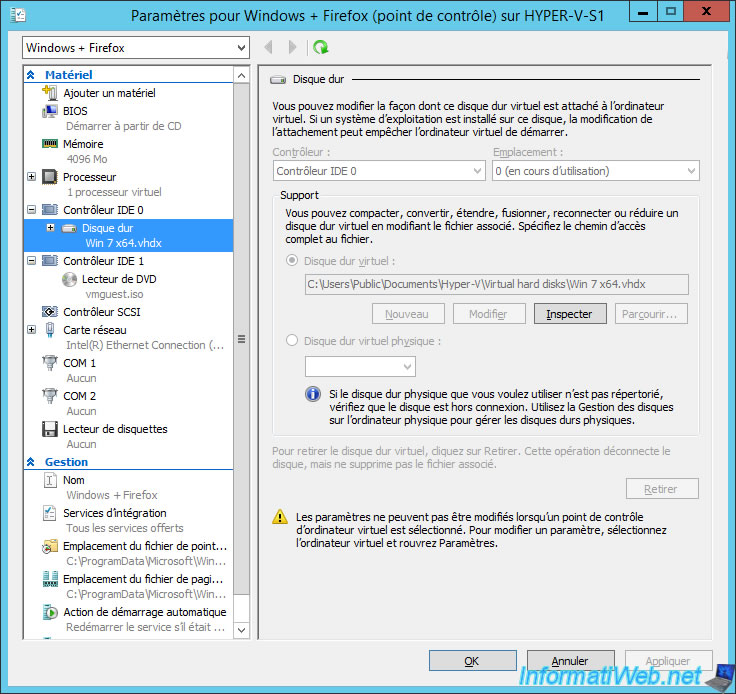
If you select your 1st snapshot (in our case : Windows + Firefox), you will be able to open the settings of your basic virtual machine.
As you can see, the 1st snapshot uses the standard virtual hard disk created when you created your virtual machine.
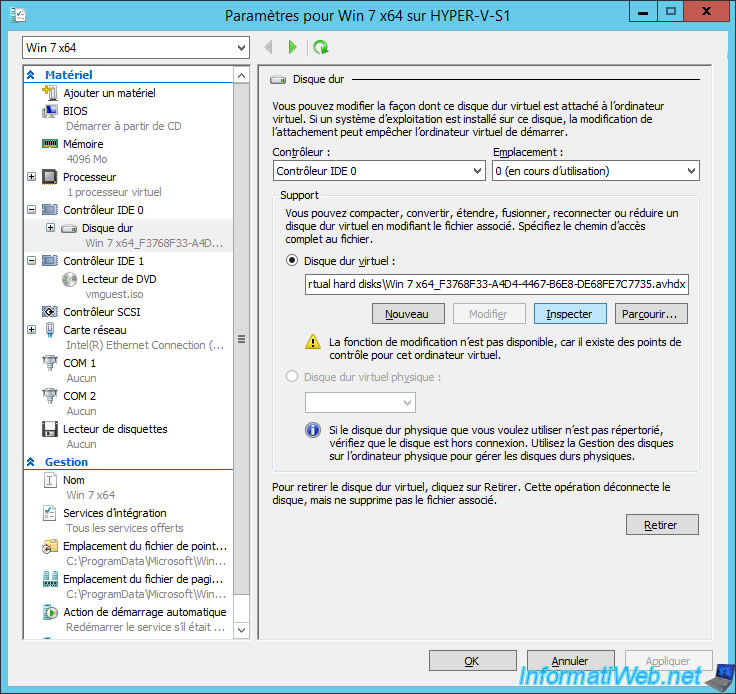
If you select the "Now" snapshot, you will be able to access the parameters of this new state.

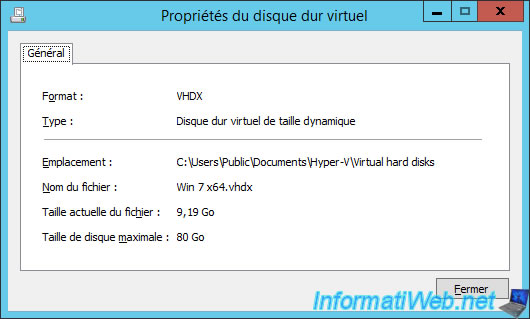
As you can see, the "Now" state doesn't use the standard virtual hard disk of your virtual machine, but a rather special file with the avhdx extension and not vhdx.
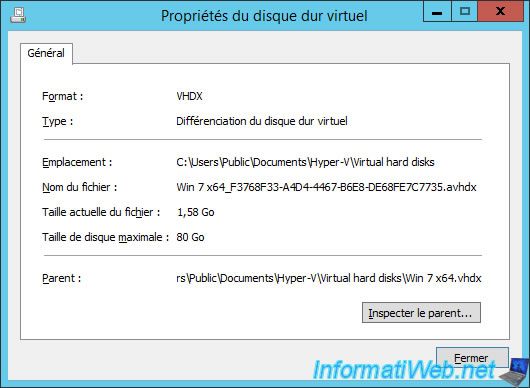
To better understand what it is, just click on "Inspect".
As you can see, this is a virtual hard disk in VHDX format, but of type : Differencing virtual hard disk.
And as shown at the bottom of the window, the parent (the virtual hard disk on which this avhdx file is based) is simply the standard virtual hard disk of your virtual machine.
Click "Inspect Parent".
As you can see, the virtual hard disk of your virtual machine is a dynamic virtual hard disk.
In short, all this to show you that :
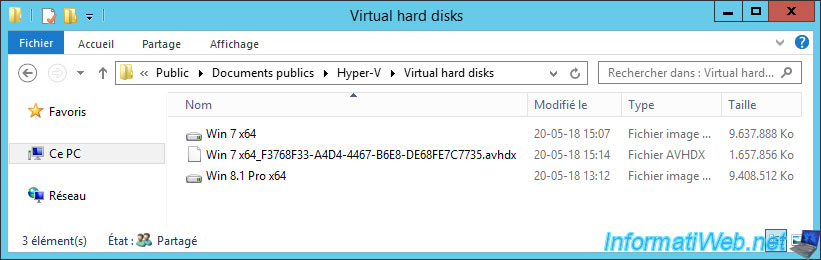
- files created before the first snapshot (in our case : Windows + Firefox) are stored in the standard virtual hard disk file (whose extension is : vhdx).
- files created after a snapshot will end up in an extra file (with the extension : avhdx)
Then, Hyper-V will merge the 2 files to display only one virtual hard disk in your virtual machine.
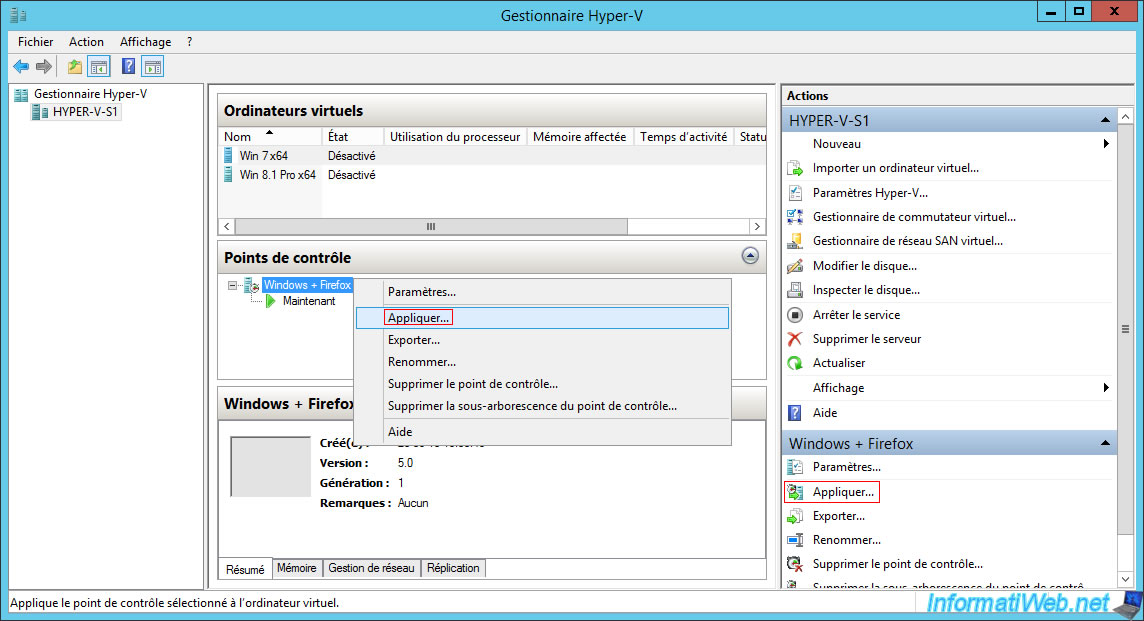
3. Restore the virtual machine to a previous state
To restore the virtual machine to an earlier state, you have 2 possibilities :
- restore the computer to the previous state using the "Revert" option
- restore the computer to a specific state by selecting the desired snapshot and then clicking : Apply

In the "Virtual Machine Connection" window, you will also find an icon to restore the virtual machine to its previous state in 2 clicks.

Confirm the restoration of the previous snapshot (checkpoint).

As you can see, this has restored the configuration of the virtual machine.
Reminder : we had moved the "Floppy" option to the 3rd place and not to the 4th (which was the default position of this option).
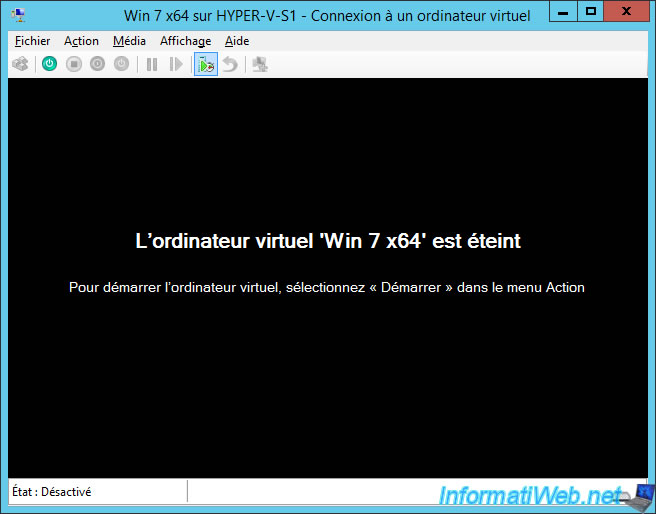
Start your virtual machine.
As expected, the Google Chrome web browser has disappeared since it was installed after the creation of our "Windows + Firefox" snapshot.

4. Delete a snapshot
If you no longer need a control point or want to recover space, you can of course remove the old control points.
To do this, right-click on it and click on "Delete snapshot" (or "Delete Checkpoint" on WS 2012 R2).
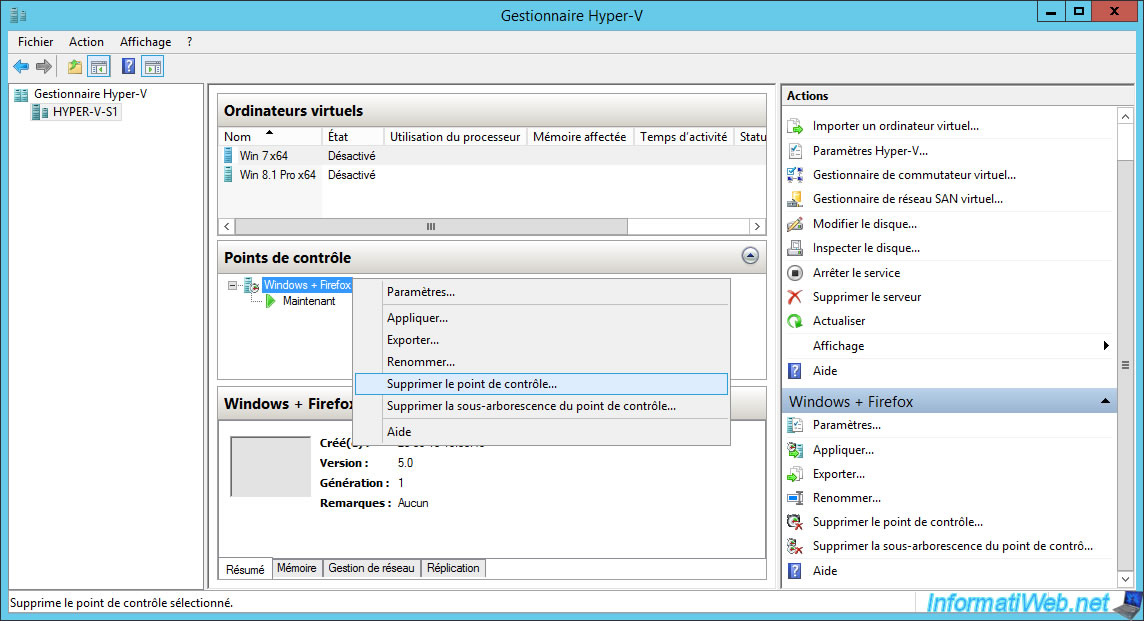
Confirm the removal of the snapshot (checkpoint).
Note : deleting a checkpoint will not affect the current state of your virtual machine.
Hyper-V will take care of what is needed in the background and especially the merger of the standard virtual hard disk (vhdx) with the differencing virtual hard disk (avhdx).

Share this tutorial
To see also
-
Microsoft 9/6/2019
Hyper-V (WS 2012 R2 / 2016) - Create a generation 2 VM
-
Microsoft 8/10/2019
Hyper-V (WS 2012 R2 / 2016) - Install Hyper-V and create your first VM
-
Microsoft 11/8/2019
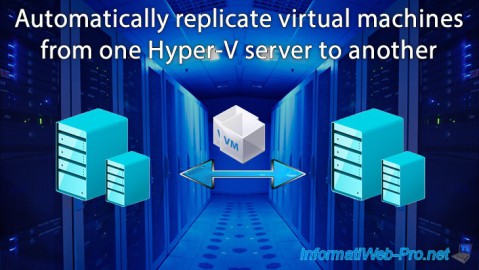
Hyper-V (WS 2012 R2 / WS 2016) - Automatically replicate virtual machines
-
Microsoft 11/15/2019
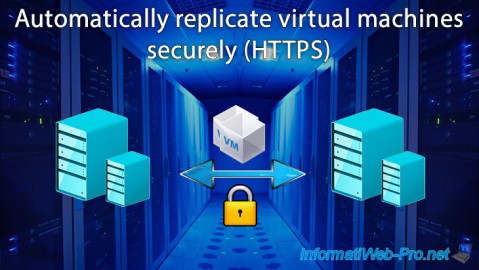
Hyper-V (WS 2012 R2 / WS 2016) - Automatically replicate virtual machines (securely)
You must be logged in to post a comment