- Citrix
- Citrix XenApp / XenDesktop
- 22 March 2015 at 12:23 UTC
-

- 1/4

Citrix XenApp allows you to provide applications and virtual desktops for a list of predefined users. This technology saves money, because only the server needs to be powerful (where your applications are executed by authorized users). Clients receive only an image (a set of pixels) of the application used remotely.
Note that Citrix XenApp is widely used in business, including by banks.
Citrix Receiver is the client allows you to use an application or desktop (virtual or not) remotely. This program can be downloaded from the XenApp server that you will install.
Citrix XenApp is a RemoteApp (of Microsoft) more evolved, because Citrix Receiver can be installed on multiple platforms : Windows, Mac, Linux, iOS, Android, ...
In this tutorial, we will use a physical machine with Windows Server 2012 to deliver applications and desktops. However, it is also possible to use virtual machines installed on a hypervisor like : Citrix XenServer, VMware vSphere (ESXi), ...
Configuration used :
- Server 1 / IP : 10.0.0.101 / A server with Win. Server 2012 with an Active Directory (and a root certification authority created to avoid paying SSL certificate)
- Server 2 / IP : 10.0.0.102 / A server with Win. Server 2012 where you will install XenApp. This server is linked to the Active Directory and he serves as the main server (everything goes through that server)
- Server 3 / IP : 10.0.0.103 / A server with Win. Server 2012 where you will install the Virtual Delivery Agent, so, XenApp can publish applications and desktops (if you wish).
- Windows computers or other to test applications and desktops delivered using XenApp.
The certification authority is not required, but it allows you to test your configuration without paying SSL Certificate. This can also be used if you use this technology only in a local network (intranet).
Then, if you want to use certificates from your own CA, you will also have to join Windows client computers to your Active Directory. Thus, it will be possible to configure client computers to recognize your CA as a trusted authority (as explained later in this tutorial).
- Install the Delivery Controller
- Configure the Citrix website (Citrix Receiver in web version)
- DNS server configuration
- Installation of the Virtual Delivery Agent on the machine hosting applications to publish
- Adding a machine to machines catalog
- Select applications to publish
- Securing StoreFront (HTTPS)
- Installation and test of the client : Citrix Receiver
- Multi-session test on a Windows Server Machine
- Virtual Desktop Test
- Some various information
- Using the Web interface created by Citrix XenApp
- Bonus : disable customization of applications in Citrix Receiver
1. Install the Delivery Controller
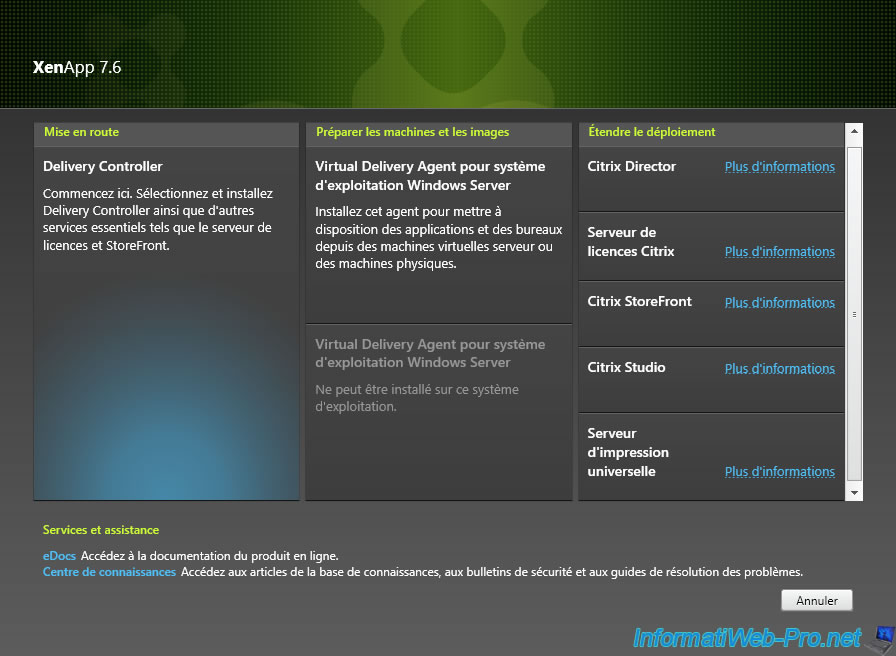
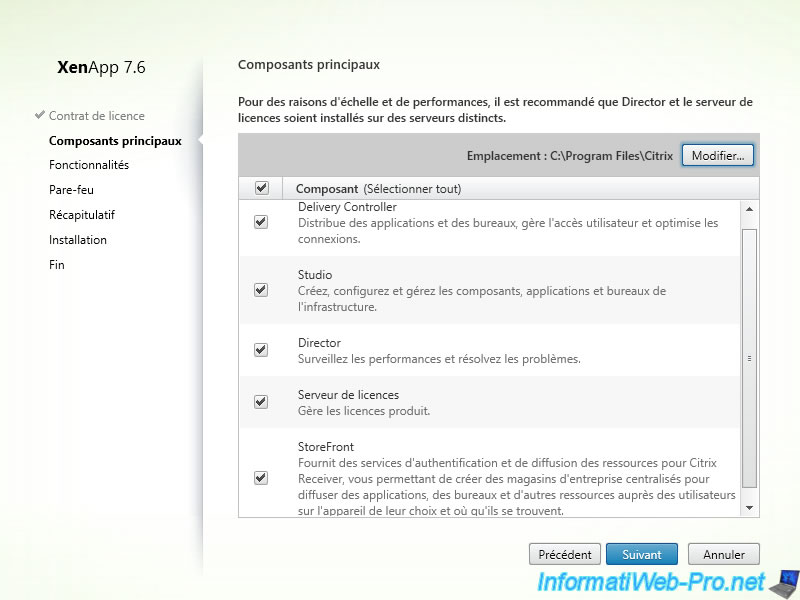
First, install the "Delivery Controller" on the server 2. By installing this component, you also will install :
- Citrix Studio : To manage all the configuration of XenApp (deliver applications and desktops, adding machines, ...)
- Citrix Director : To monitor the operation of XenApp (Monitoring)
- Etc.
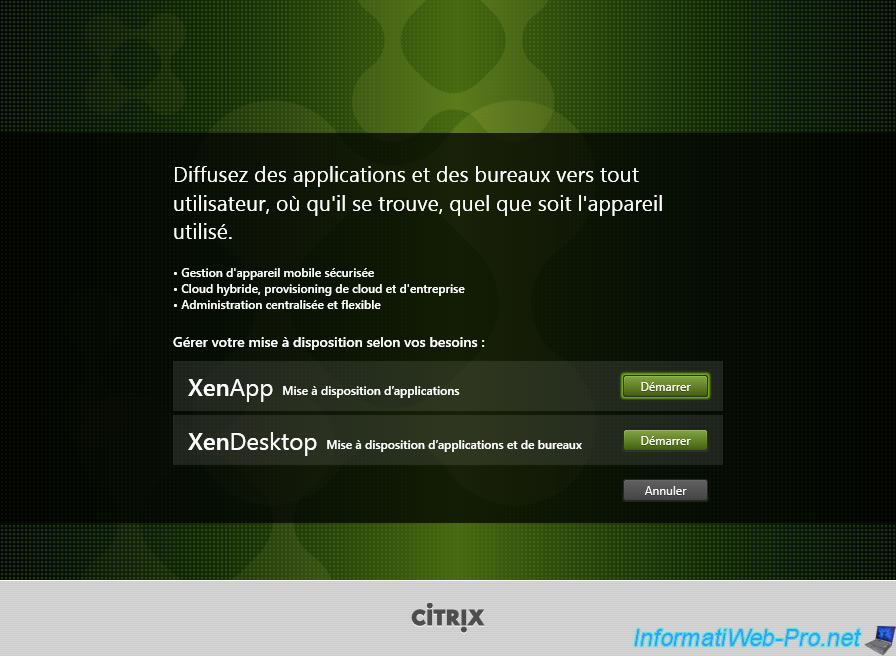
To do this, insert the CD of XenApp and click on the "Start" button in front of XenApp.
Click on "Delivery Controller".
Accept the license agreement.
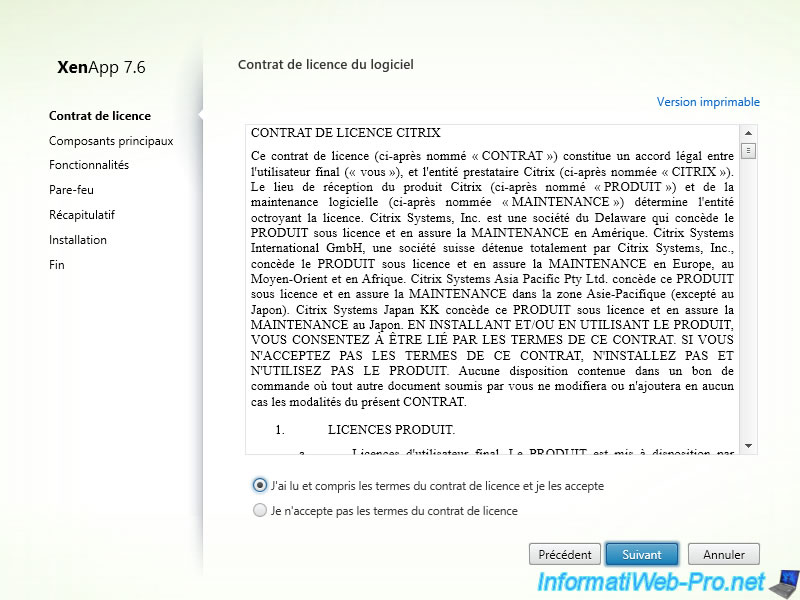
Click "Next".
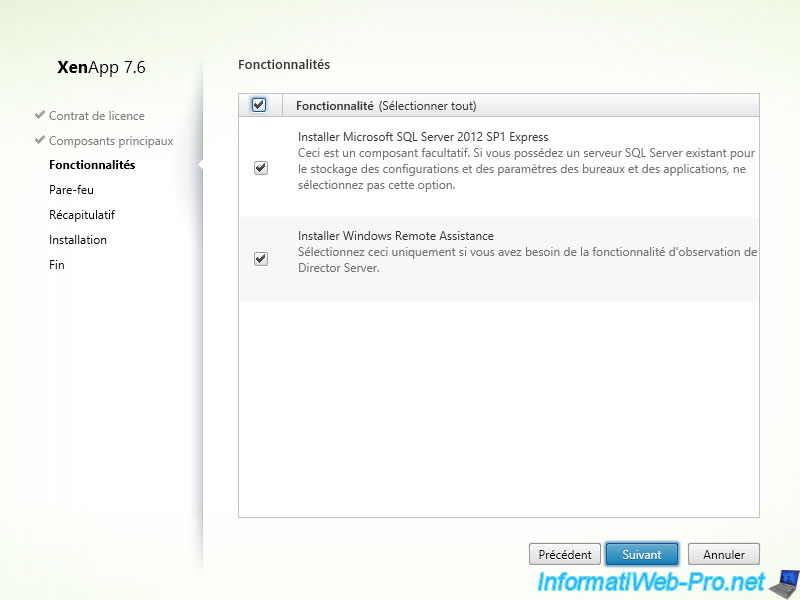
Note : If you wish, you can install the license server on another server.
Click "Next".
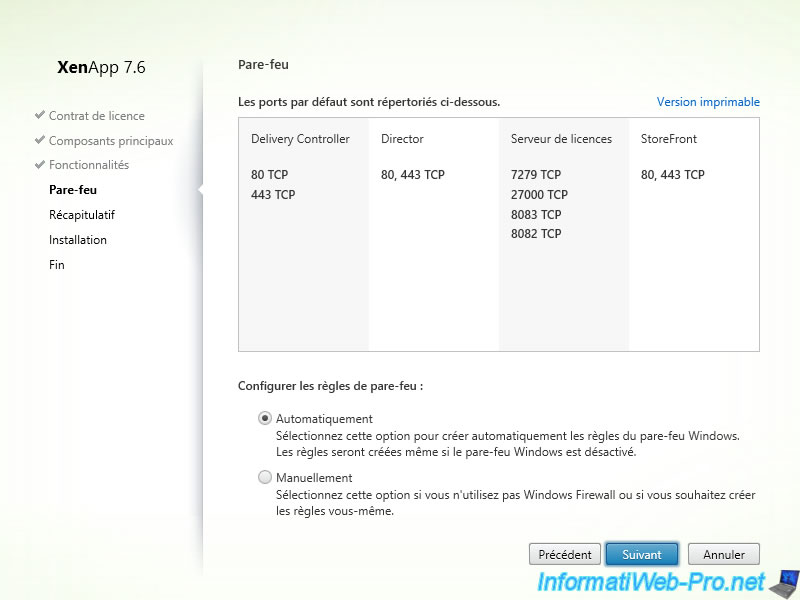
Check "Automatically" and click "Next".
Note : If you want access applications and desktops delivered through XenApp, from the outside, remember to redirect the necessary ports in your router.
To do this, follow this : Making a server available from the Internet.
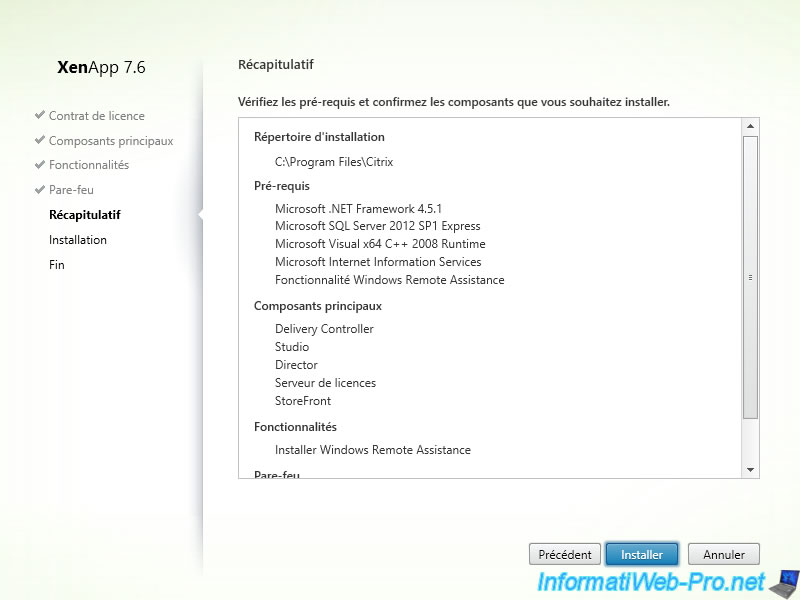
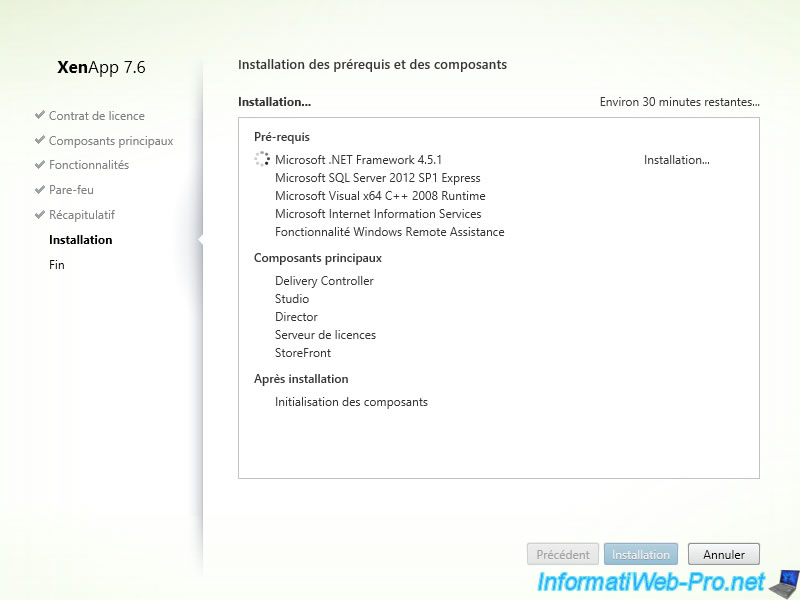
Click "Install".
Installation takes half an hour.
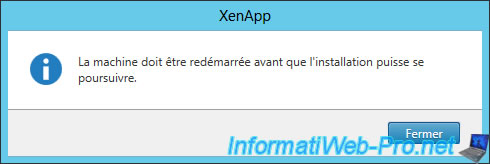
During the installation (after 10 minutes), XenApp ask you to restart the computer.
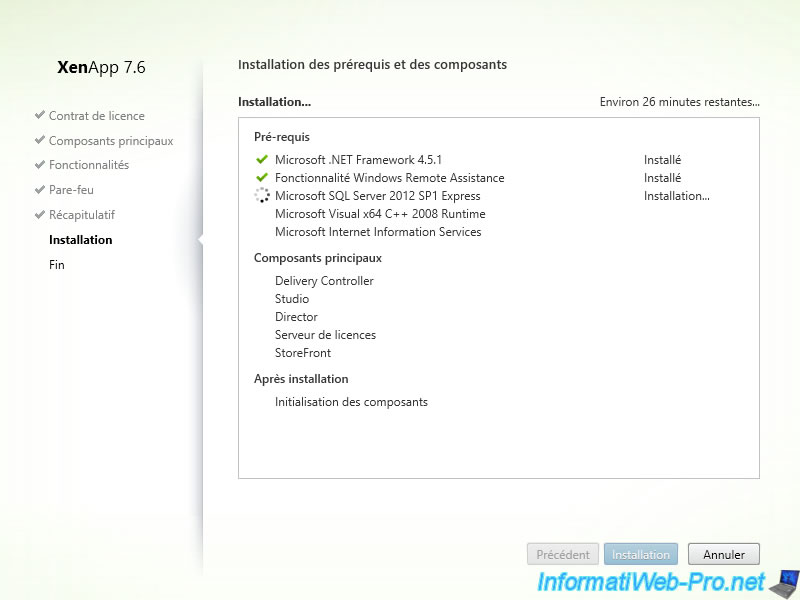
The installation continues.
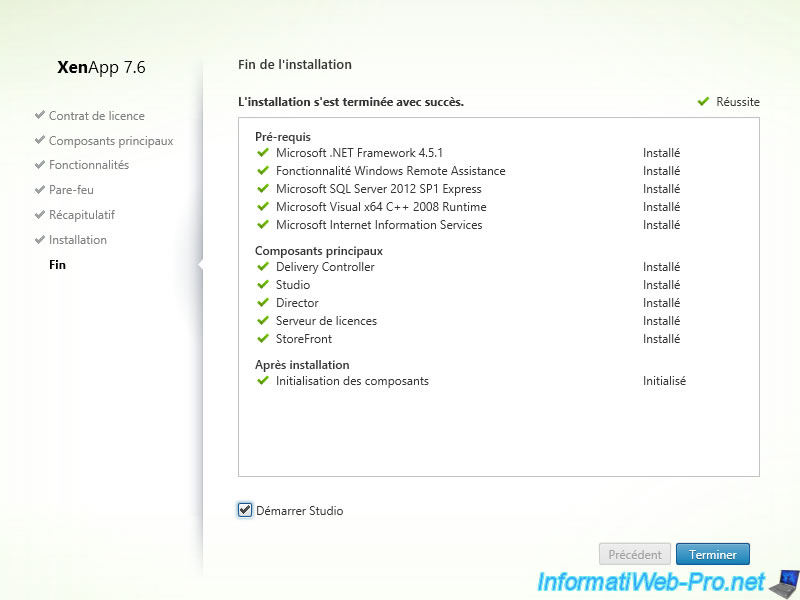
Once the installation is complete, click "Finish."
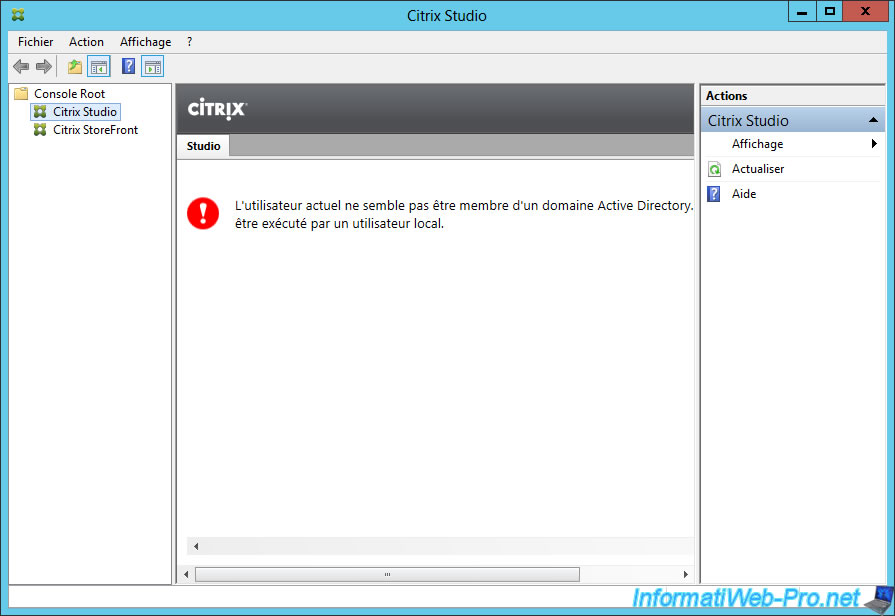
If you have installed Citrix Delivery Controller with a local user, Citrix Studio will not work and will display this error.
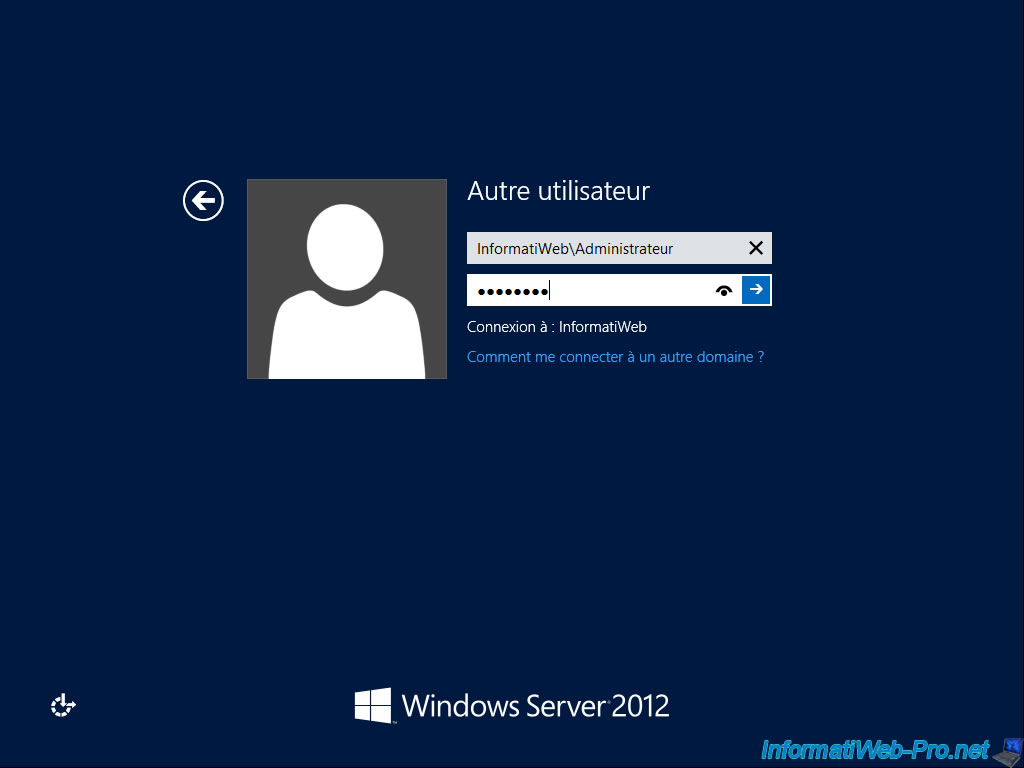
Log off and log on with the Administrator account of your domain.
Note : In our case, our domain is called "InformatiWeb".
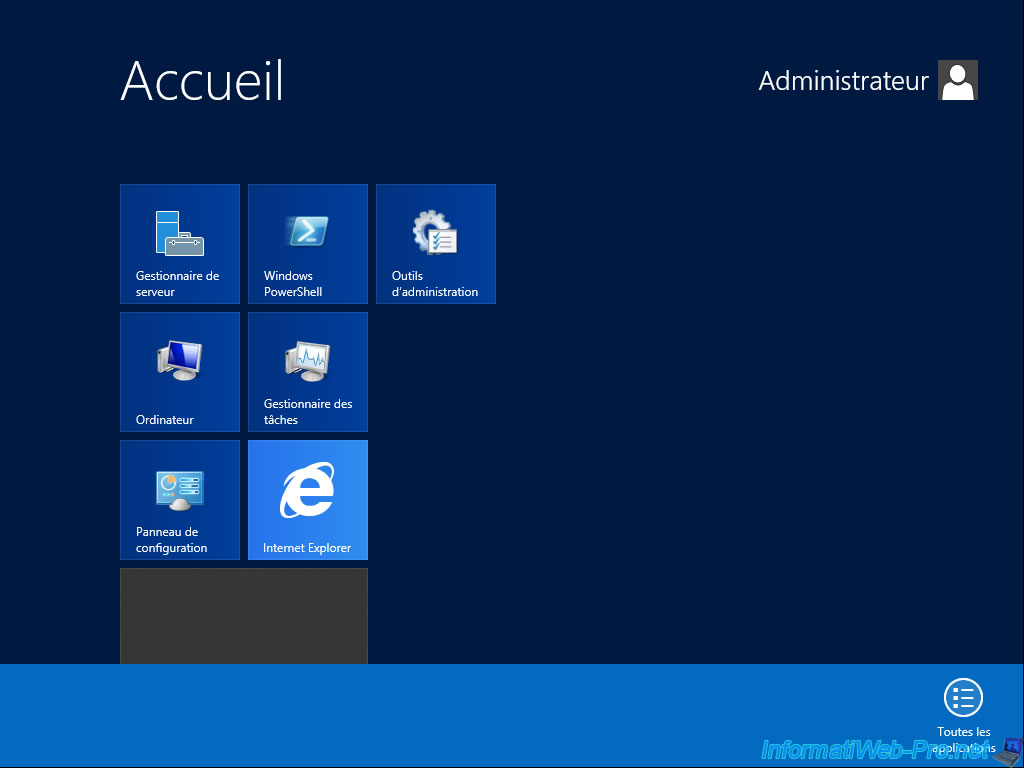
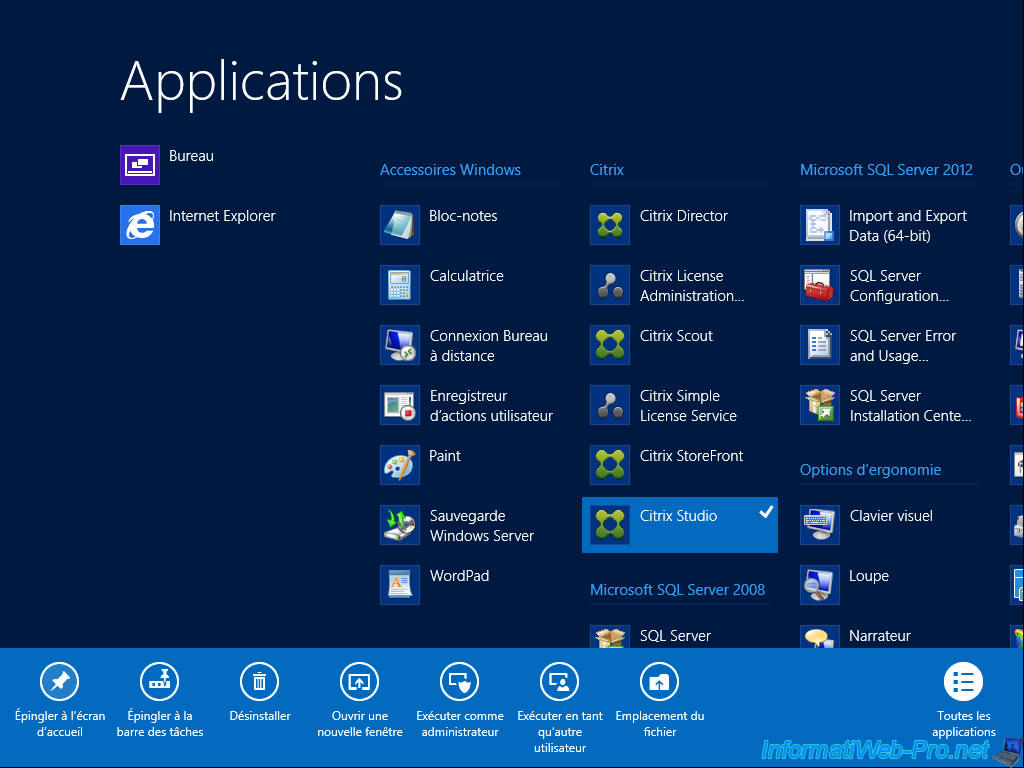
To find Citrix Studio in the home screen, right-click anywhere (not on a square) and then click "All Applications".
You will find the shortcuts of the old start menu (including Citrix Studio).
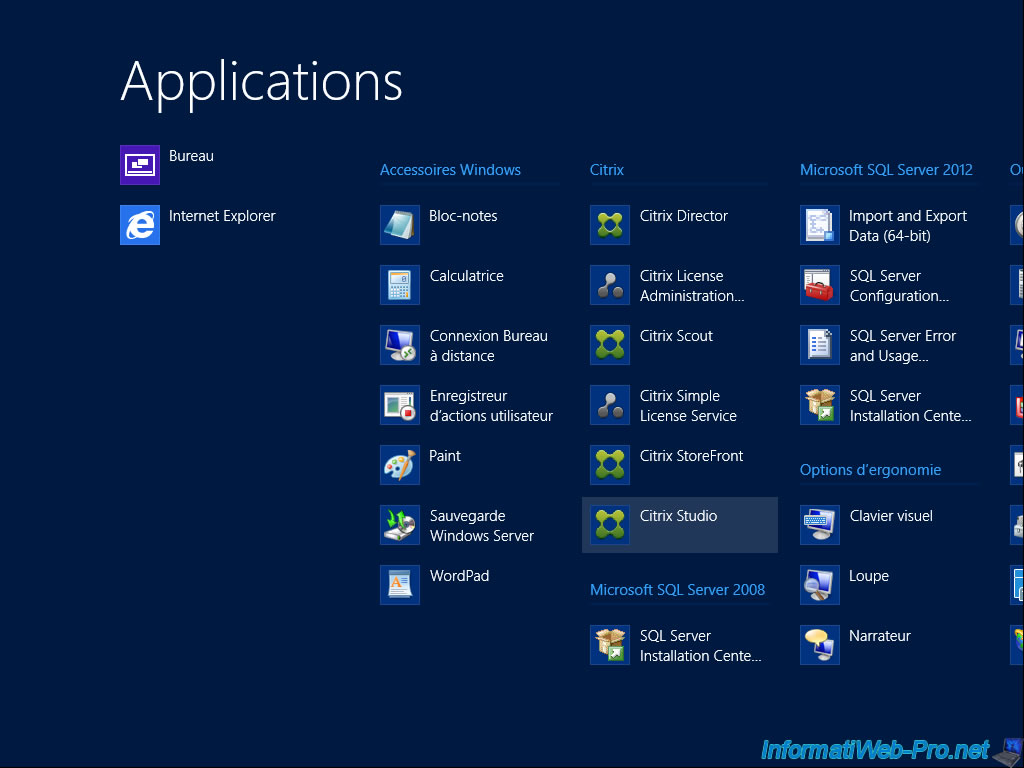
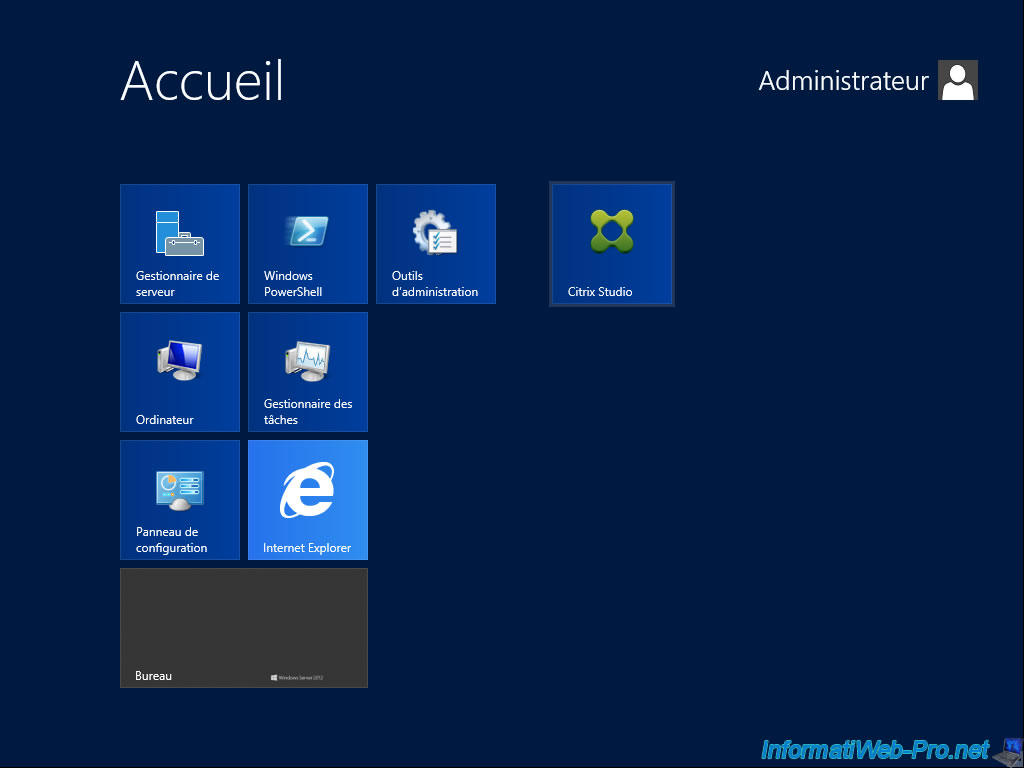
To pin the shortcut to the Home screen, right click on "Citrix Studio" and click "Pin to the Home Screen".
Start Citrix Studio.
2. Configure the Citrix website (Citrix Receiver in web version)
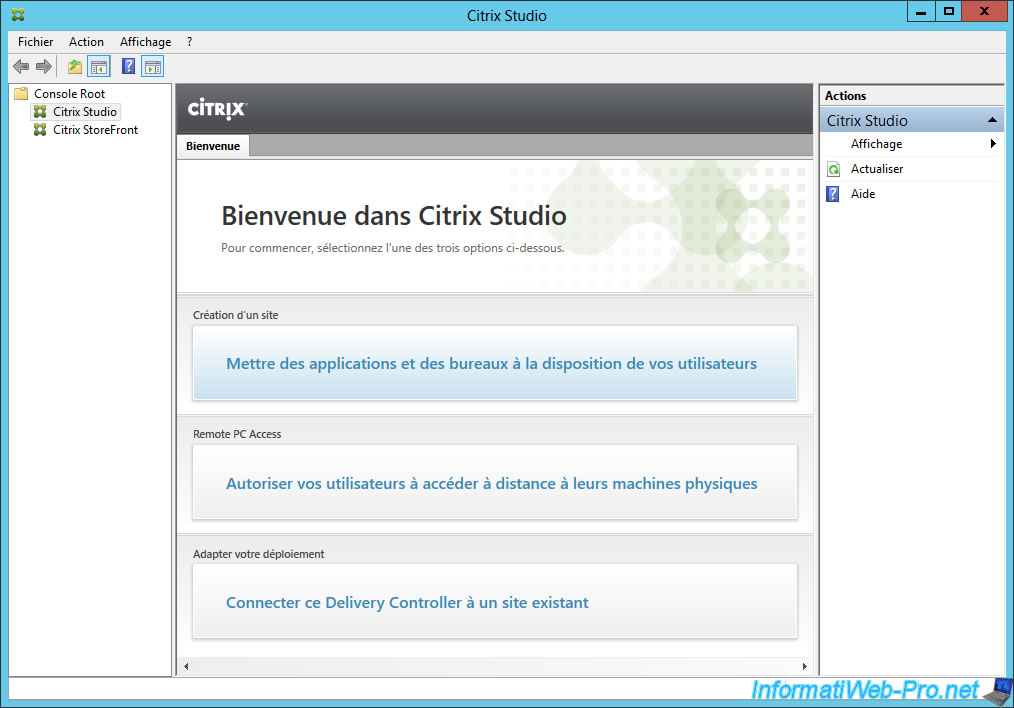
When Citrix Studio opens, it shows you 3 choices :
- Deploy applications and desktops for your organization
- Allow your users to remotely access their physical machines
- Connect this Delivery Controller to an existing site
First, create a site by clicking on "Deploy applications and desktops for your organization".
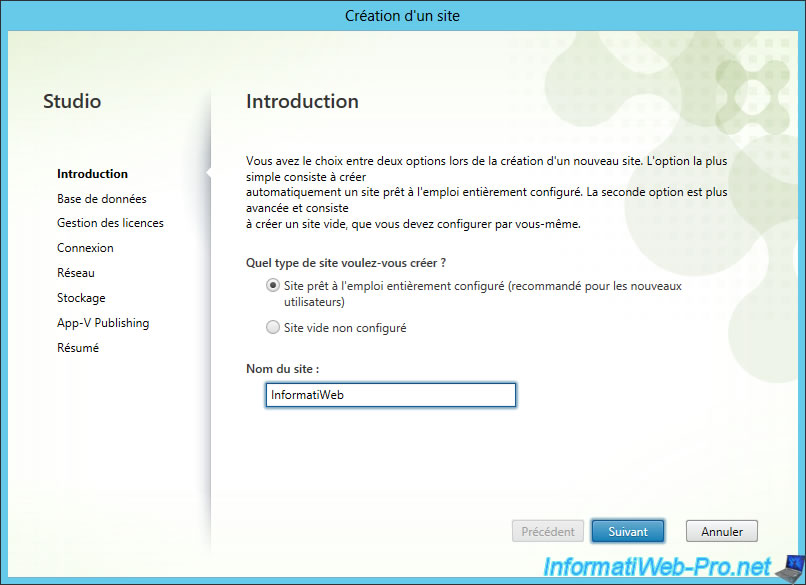
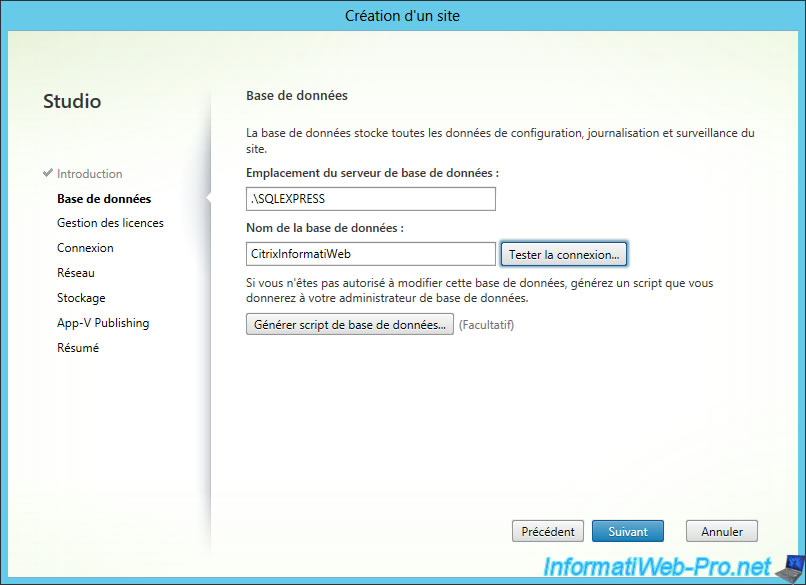
Select "Site ready for use" and specify a site name.
Note : The name of the site may be different from the domain name.
Test the connection to the SQL Express server (installed at same time as the Delivery Controller).
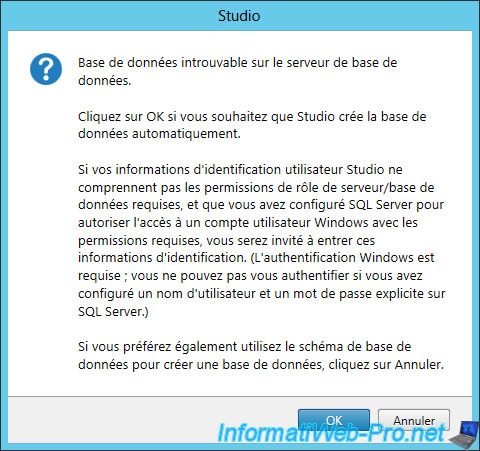
Citrix Studio will ask you if it should create the database automatically. Click "OK".
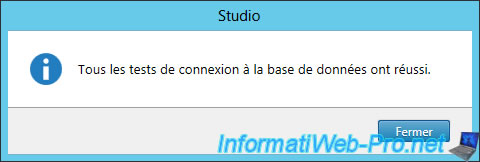
If all goes well, this message will appear.
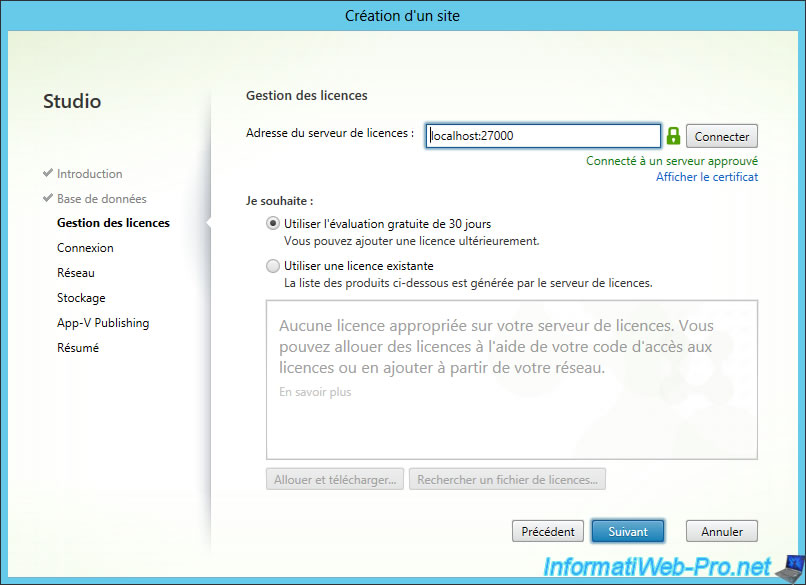
Select "Use the free 30-day trial" or "Use an existing license" if you bought "XenApp".
To use virtual machines, select the hypervisor used. Otherwise, select "No machine management".
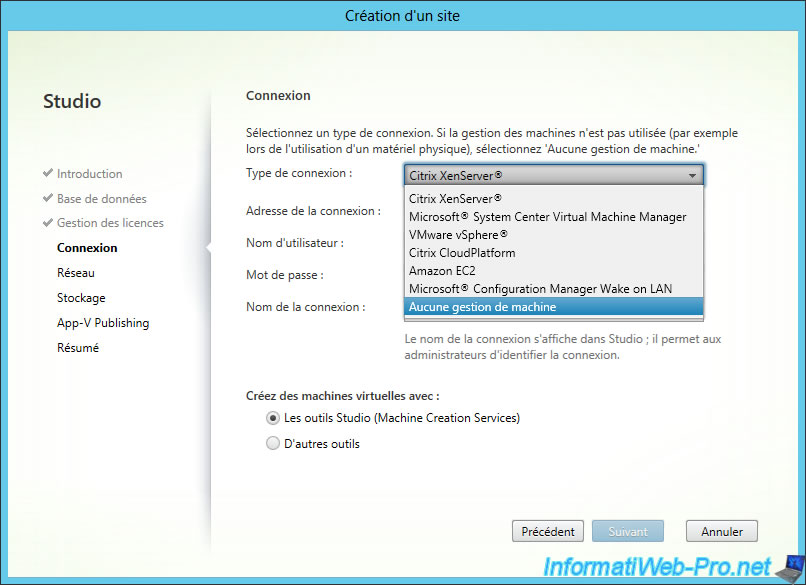
If you select "Citrix XenServer", here is the information to be given (written in gray in the image).

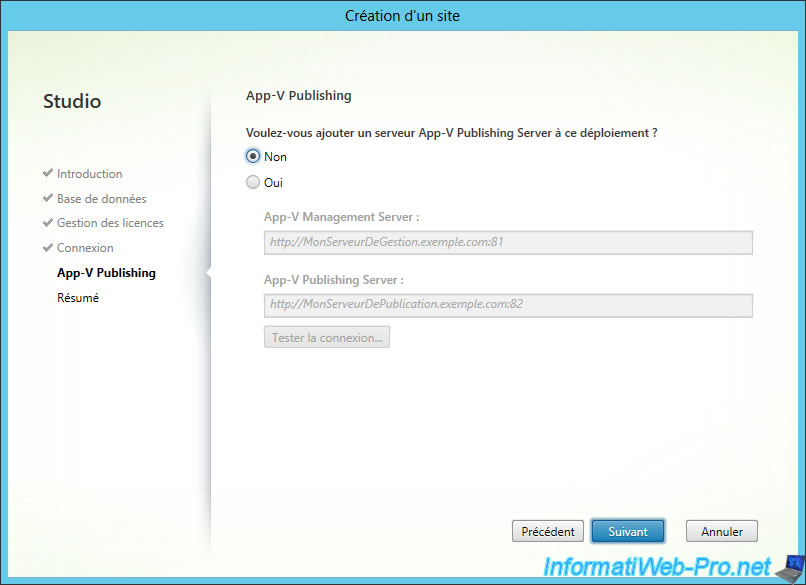
Leave this option to "No".
Choose whether you want participate to the Citrix improvement program, or not.

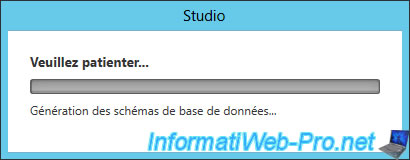
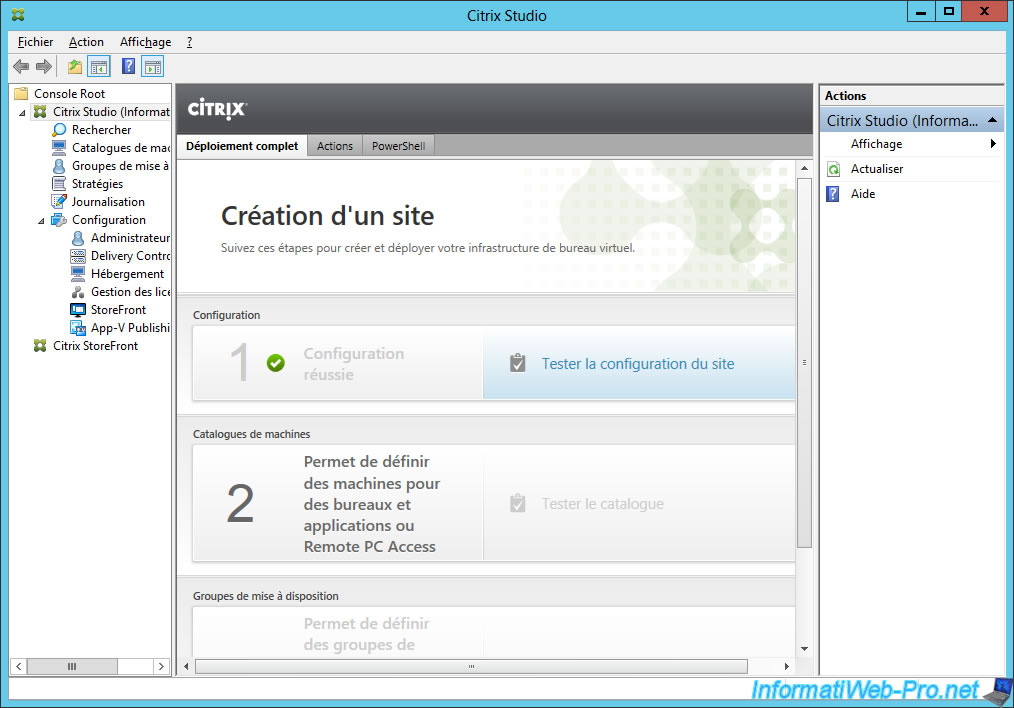
Citrix Studio creates the database on the SQL Express server, ...
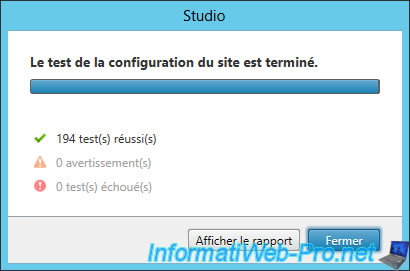
Once the setup is complete, test the configuration by clicking on "Test Site configuration".
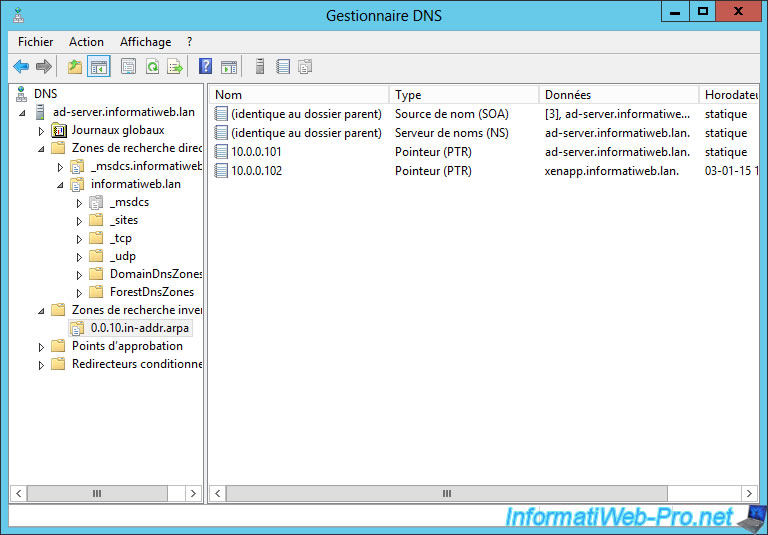
3. DNS server configuration
When you install the Active Directory on a server, the wizard also installs the DNS server, but it only makes the direct search area. To avoid future problems, create the reverse lookup zone by following this : Configuring the DNS server (for LAN).
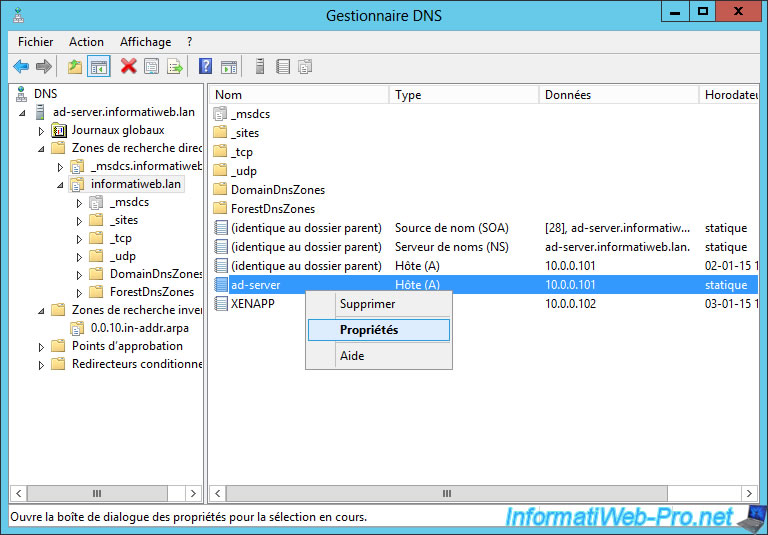
Then, create pointers associated with existing records by right-clicking on each record, and click "Properties."
Note : ad-server and XENAPP records were created automatically by the Active Directory because we have linked these 2 machines to our Active Directory.
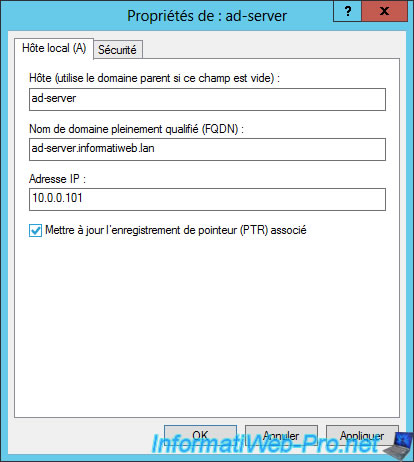
Check the "Update associated pointer (PTR) record" box.
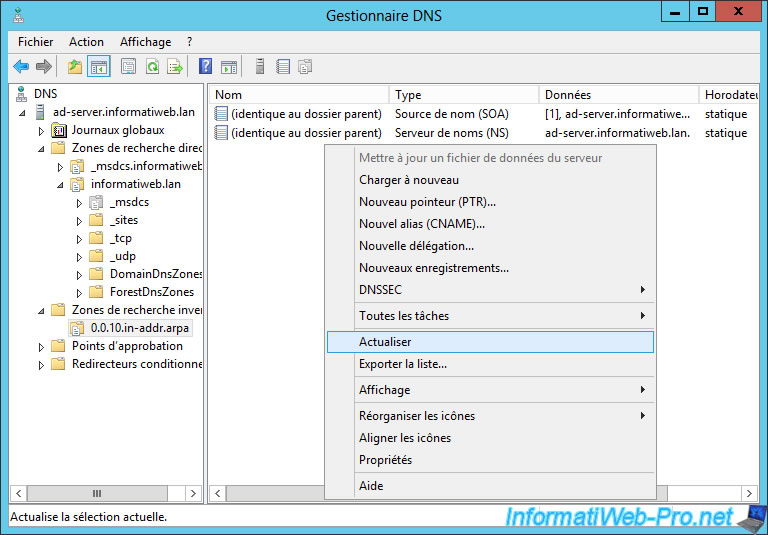
Finally, update the list in the reverse lookup zone.
Share this tutorial
To see also
-
Citrix 4/9/2016
Citrix NetScaler Gateway 11.0 - Configuration and integration with XenApp/XenDesktop
-
Citrix 5/14/2016
Citrix XenApp / XenDesktop 7.6 - Load balancing
-
Citrix 8/2/2016
Citrix XenApp / XenDesktop 7.6 - Single Sign-On (SSO)
-
Citrix 5/13/2015
Citrix XenDesktop 7.6 - Deliver desktops by using MCS
You must be logged in to post a comment