Install, configure and deliver applications with Citrix XenApp 7.6
- Citrix
- Citrix XenApp / XenDesktop
- 22 March 2015 at 12:23 UTC
-

- 2/4
4. Installation of the Virtual Delivery Agent on the machine hosting applications to publish
Virtual Delivery Agent can be installed on a physical machine and / or a virtual machine. This machine can run Windows or Windows Server.
Nevertheless, we will use a machine running Windows Server because this version allows you to simultaneously connect with multiple users.
So, a user A and user B can use the applications on the same server, and at the same time.
To begin, set a static IP address for this server and specify the IP addresses of your local DNS server and your router as DNS server.
Thus, this machine can connect to the "Delivery Controller" and register himself on the master server.
Note : Install the VDA on another server. In our case, the server 3 (as indicated at the beginning of the tutorial).
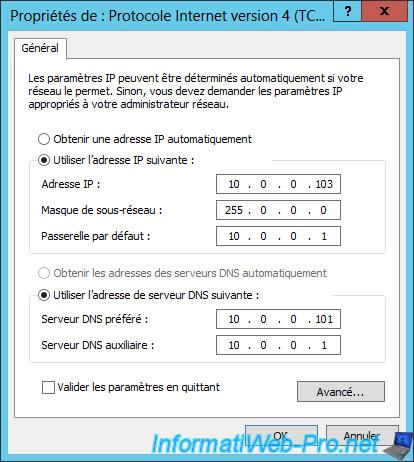
Then, link this machine to the Active Directory because Citrix Studio will go into the Active Directory to find her. In addition, the management of authorized users is also linked to the Active Directory.
To improve the compatibility with Citrix Director and avoid getting the error "application is not currently available", it's recommended to enable WinRM on the machine where you install the VDA. To do this, follow this : Enable WinRM to improve compatibility with Citrix Director
On the server 3, insert the XenApp CD and click "Start".
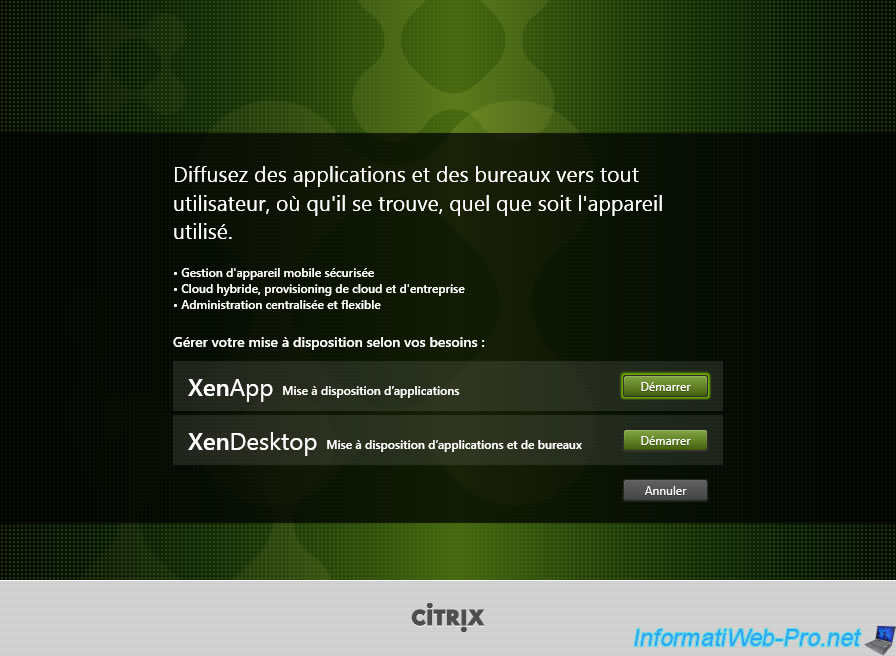
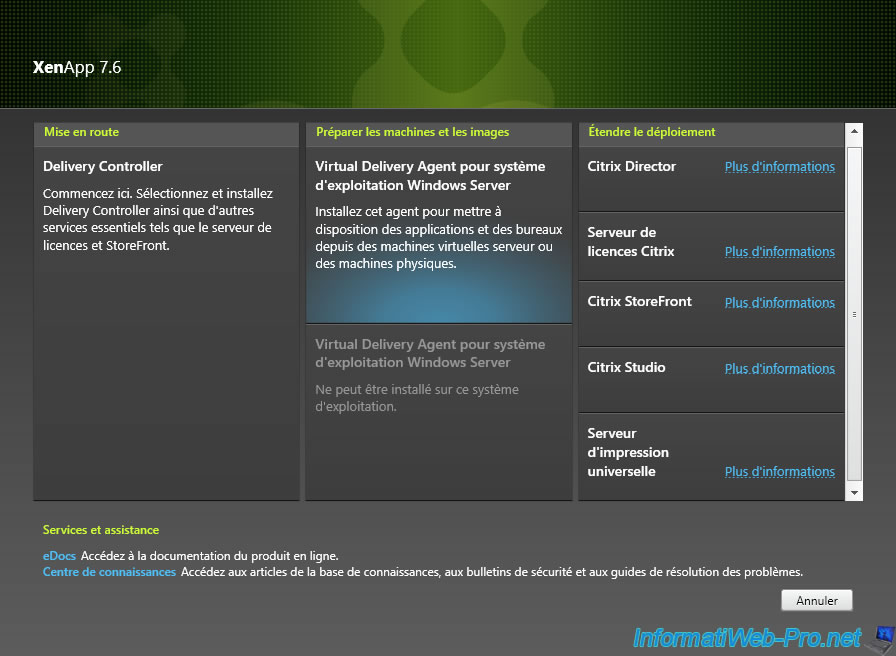
Click "Virtual Delivery Agent for Windows Server operating system".
Note : The bottom box is for Windows Clients (Win XP, Vista, 7, 8, ....). Citrix has just made a mistake for his "copy / paste".
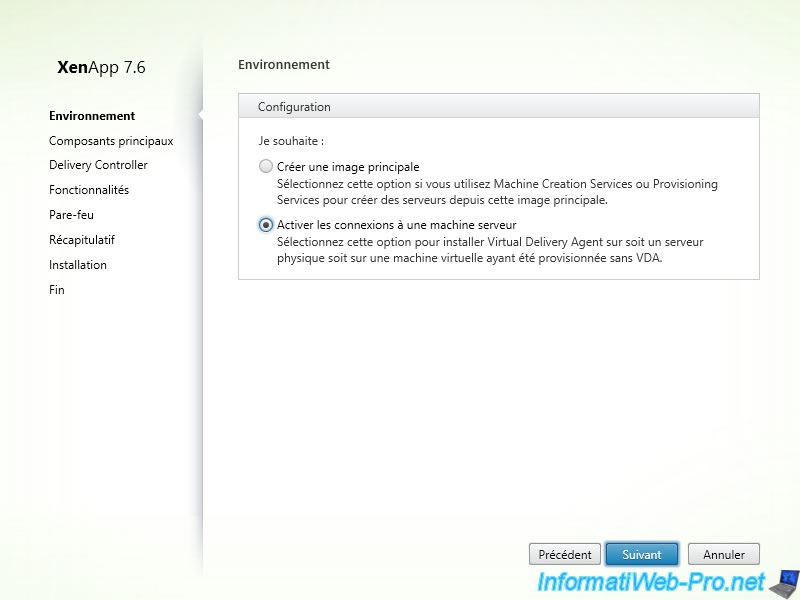
Select "Enable connections to a server machine".
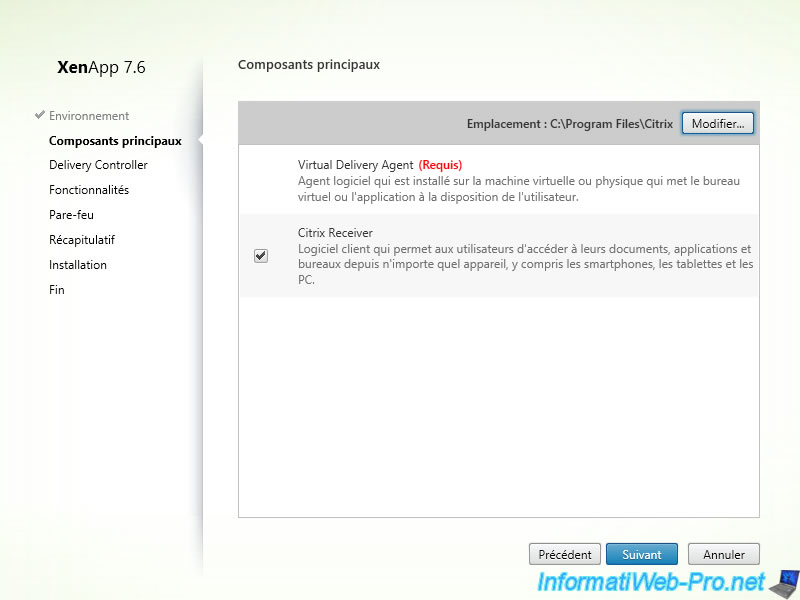
Citrix Receiver is optional.
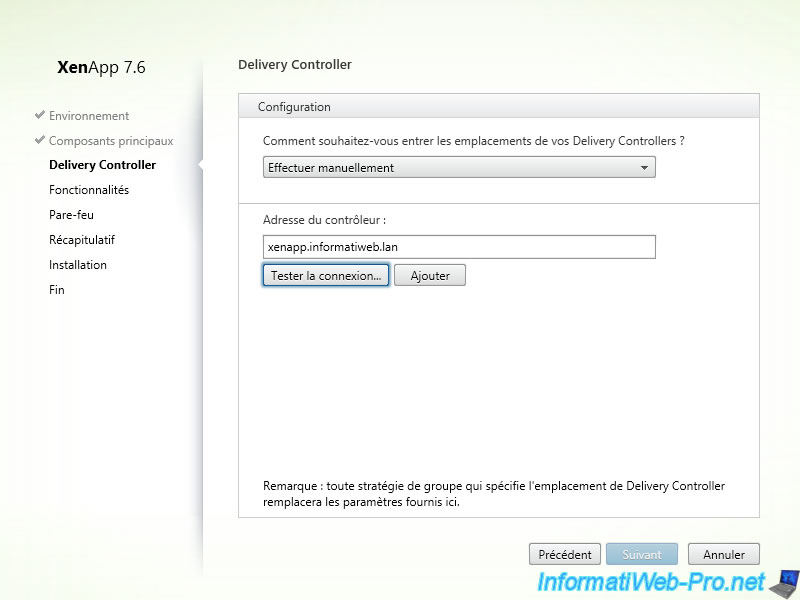
Specify the address of the "Delivery Controller" controller and then, click "Test Connection".
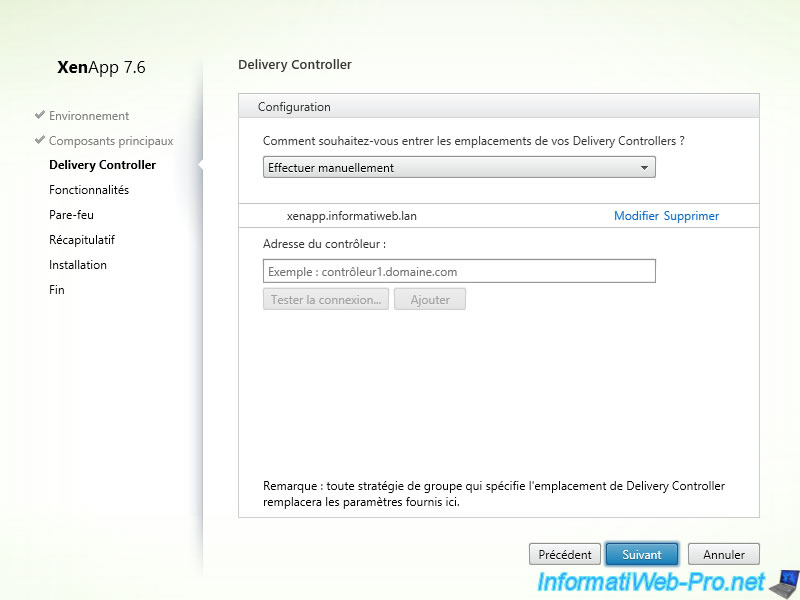
If a green V appears to the right of the box, click "Add". If not, check your DNS settings or the IP address indicated (if applicable).
Then, click "Next".
Click "Next".
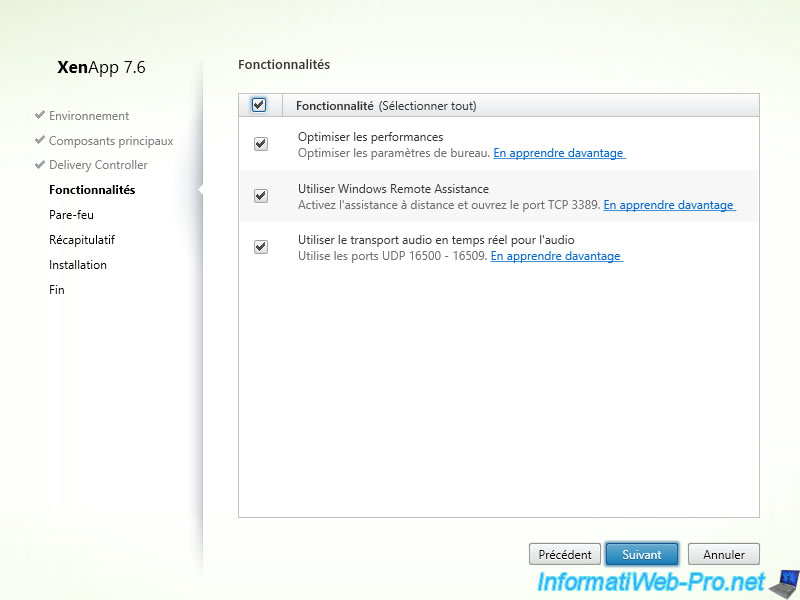
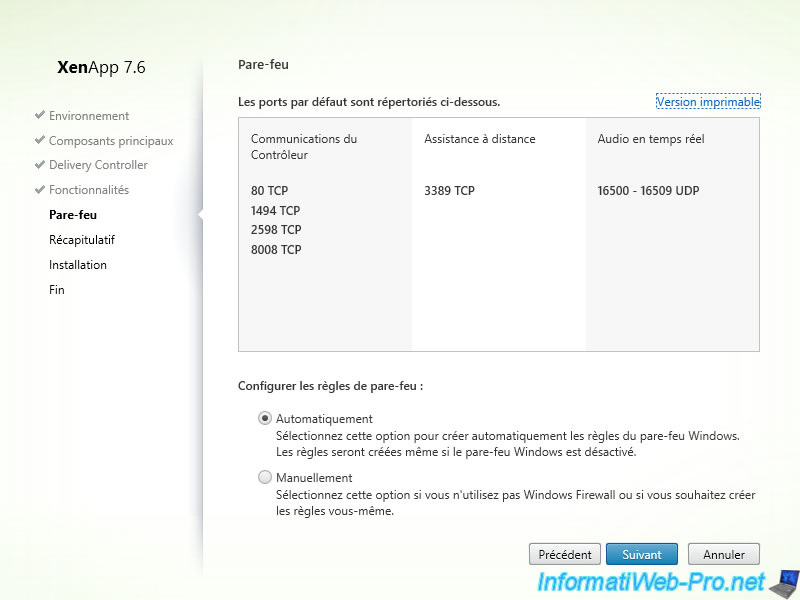
Select "Automatically".
Note : No need to forward ports because this server is on the same network as the "Delivery Controller" controller.
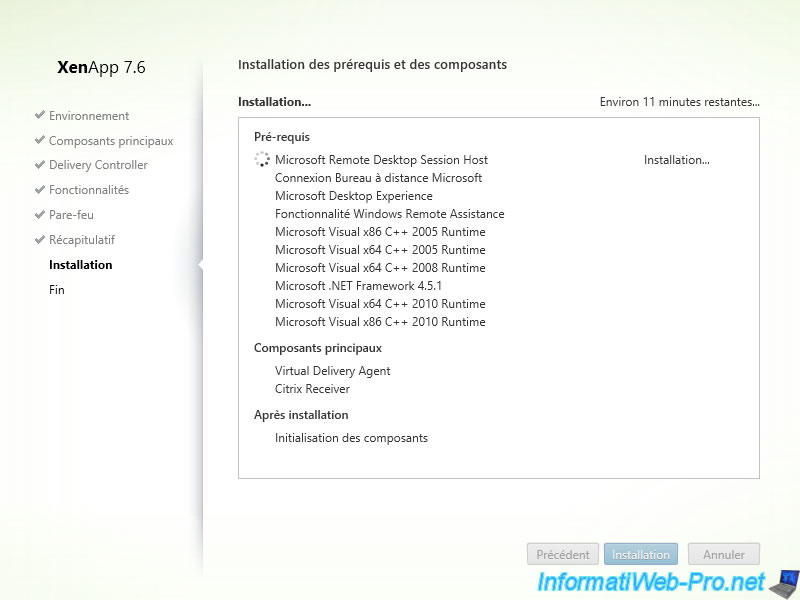
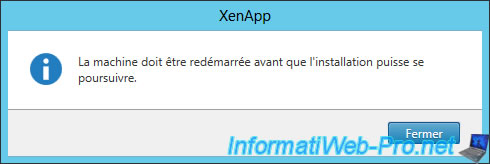
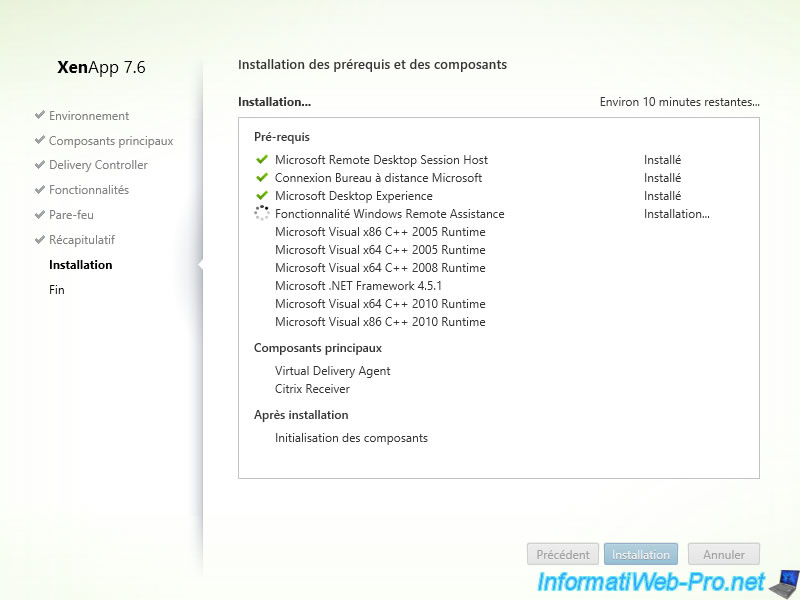
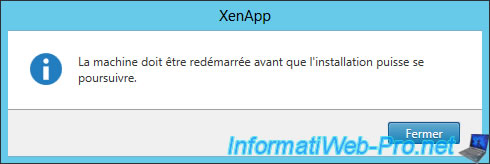
2 reboots are required during installation.
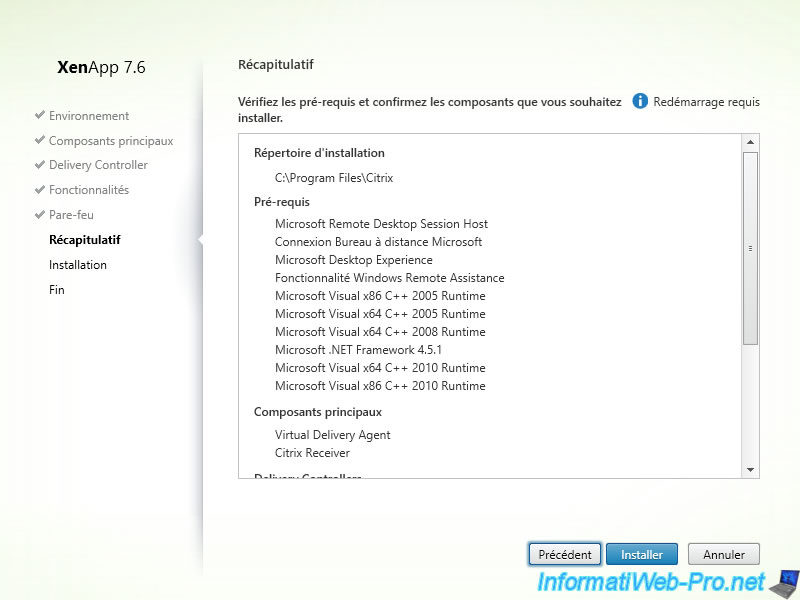
As you can see, some Microsoft TSE roles will be installed.
first restart
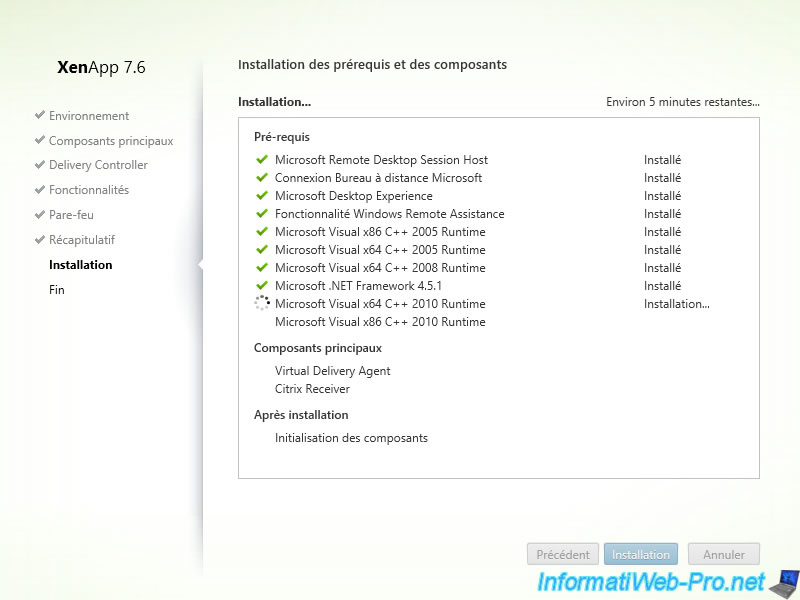
The installation continues.
2nd restart.
The installation continues.
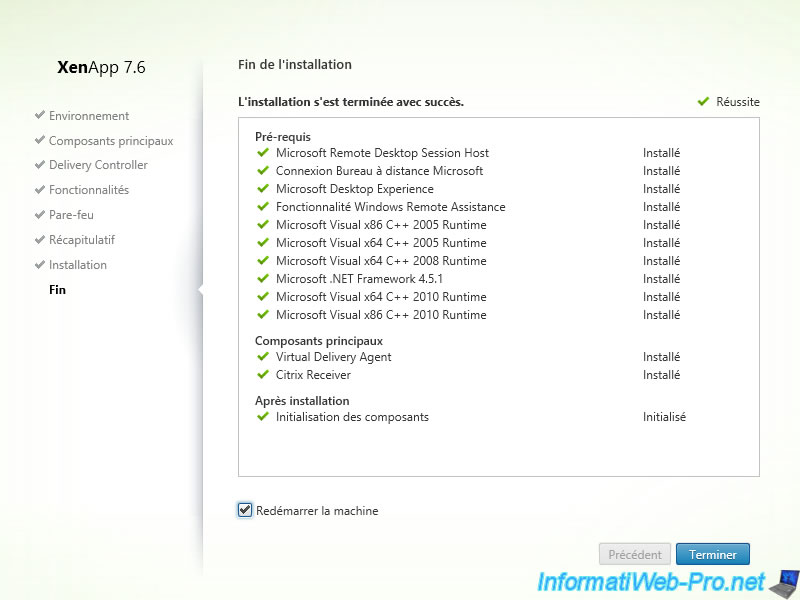
At the end of the installation, you must restart the machine, a 3rd time.
Once Virtual Delivery Agent is installed, install the applications you want to publish via Citrix.
5. Adding a machine to machines catalog
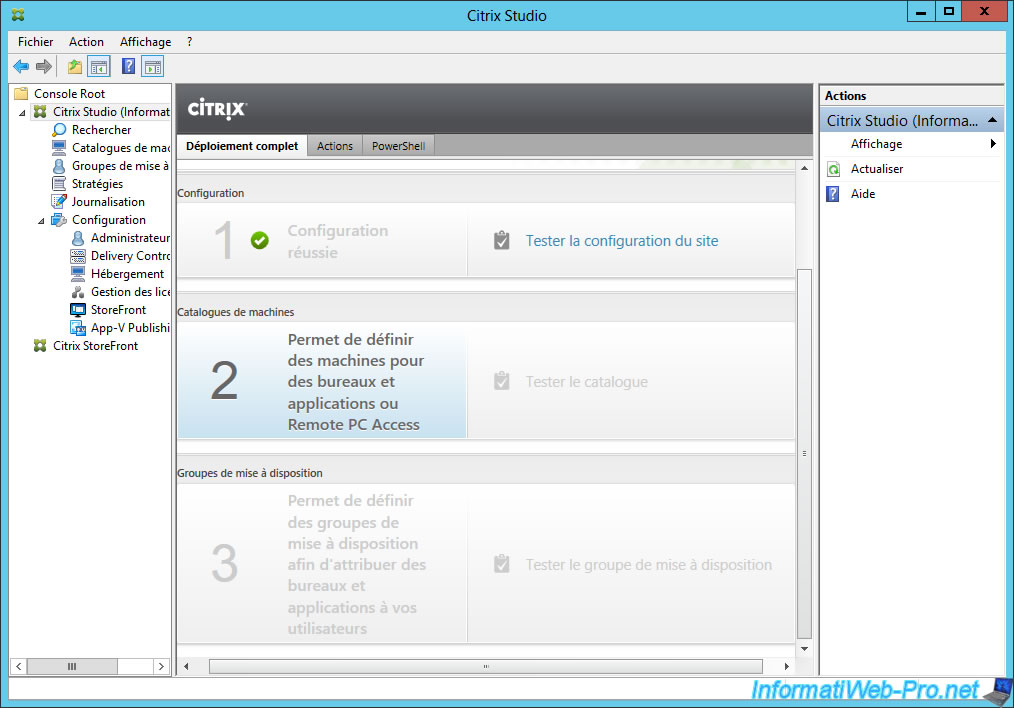
In Citrix Studio, click "Set machines or desktops and applications or Remote PC Access".
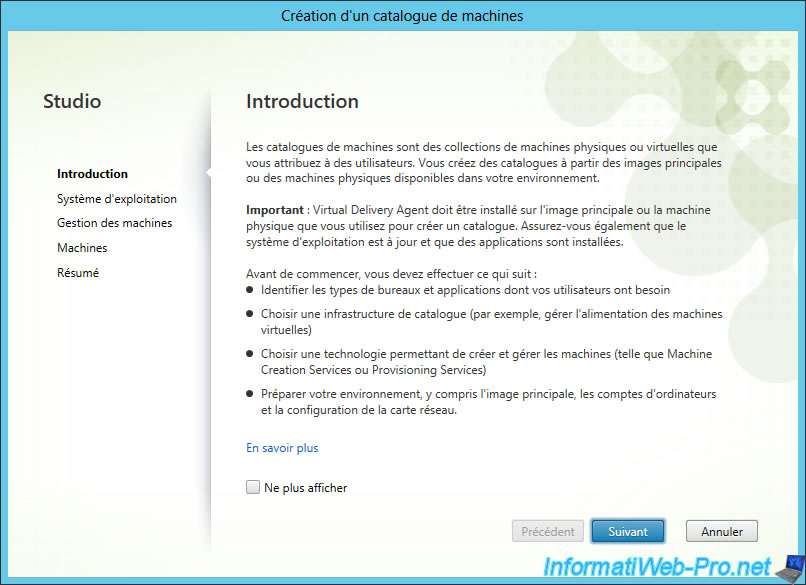
As mentioned in the introduction, Virtual Delivery Agent must be installed on the main image or the physical machine that you use to create a catalog.
Note : You can add machines later if you wish.
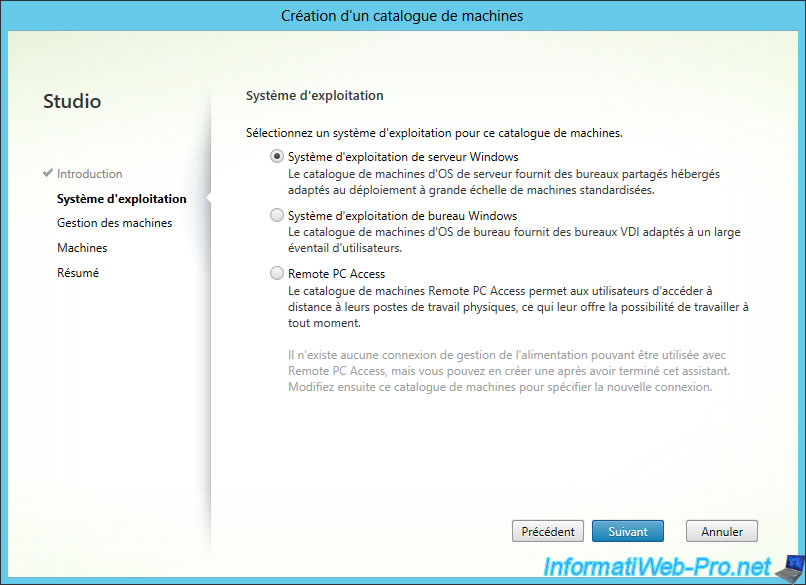
Select "Windows server operating system".
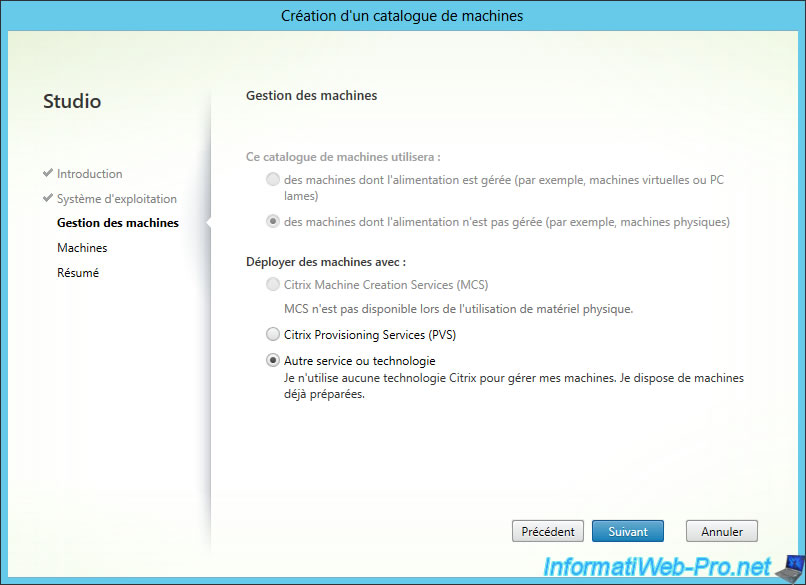
Etant donné que nous n'avons pas indiqué de serveur de virtualisation lors de la configuration du site Citrix local, l'assistant s'attend à une machine physique.
Donc, le 1er choix est grisé. Cliquez sur "Suivant".
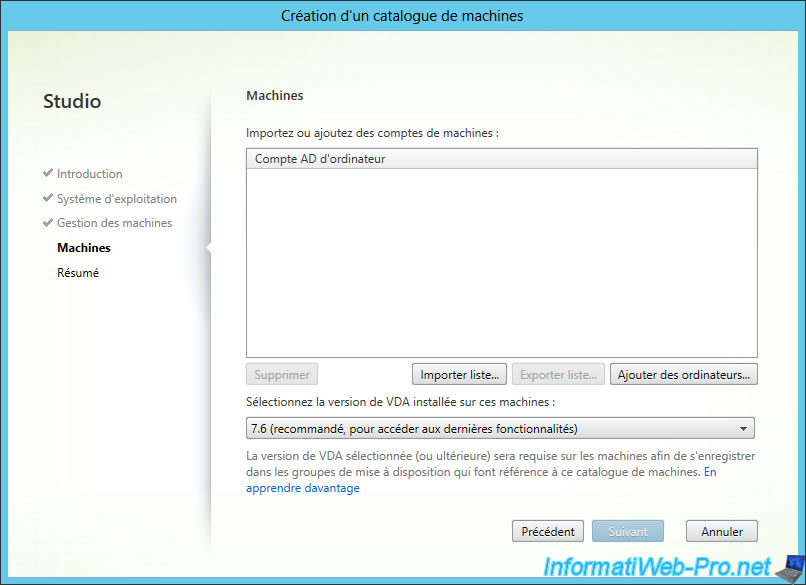
Add the computer looking thereof in the Active Directory. To do this, click on "Add Computers".
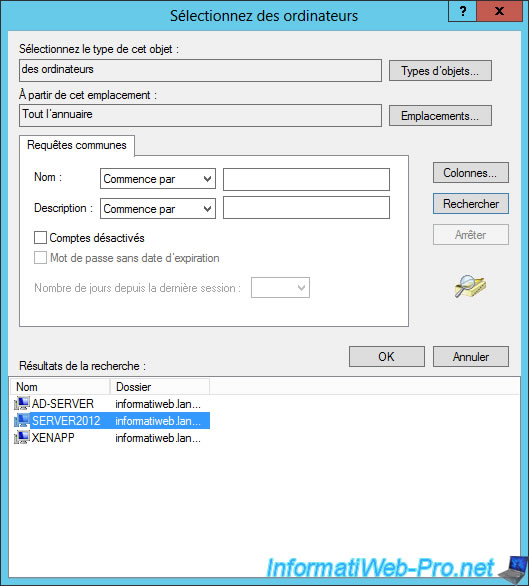
Select the machine where you installed "Virtual Delivery Agent".
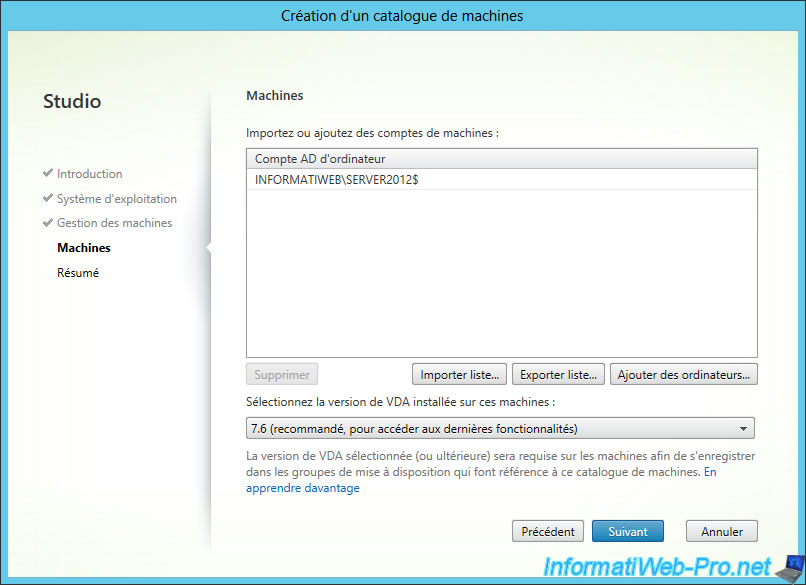
Then, click "Next".
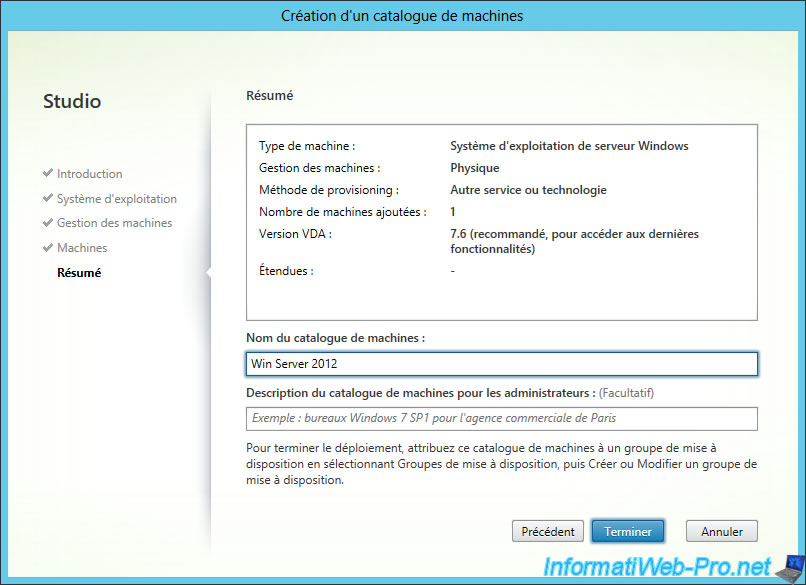
Specify a name and click "Finish".
6. Select applications to publish
Now that the site is set up and host machines are selected, we will create groups of applications and / or desktops that we will make available to users.
To do this, click on "Sets the delivery groups to assign desktops and applications to your users.
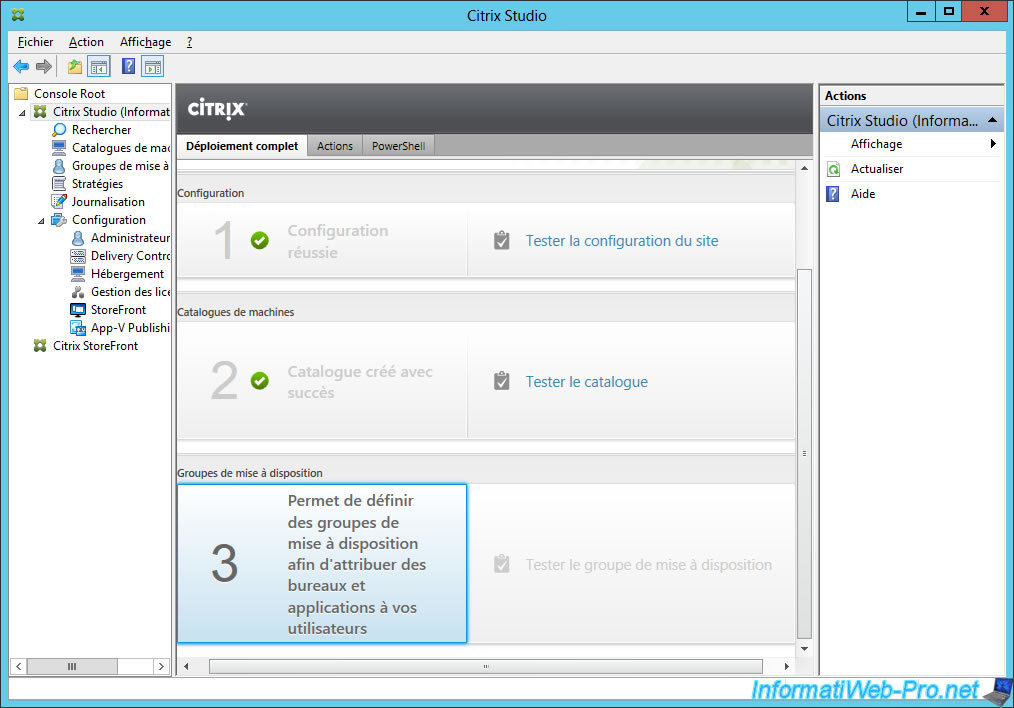
A delivery group to publish applications and / or desktops for users and a group of users.
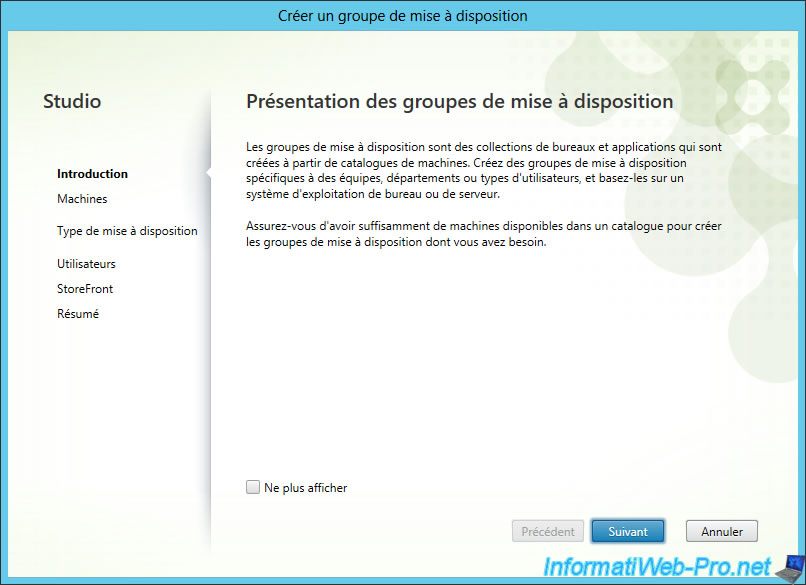
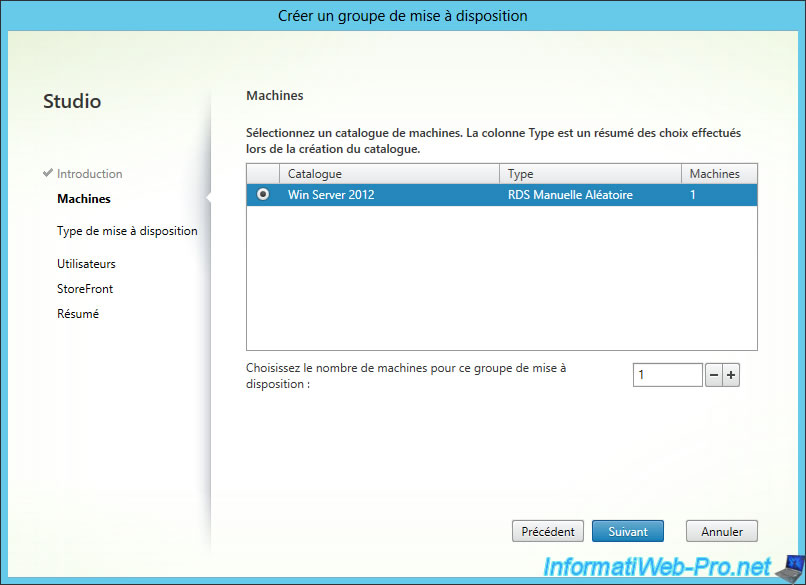
Select machines concerned by the applications that you want to publish.
Then, specify the number of machines of this collection, to associate with this delivery group.
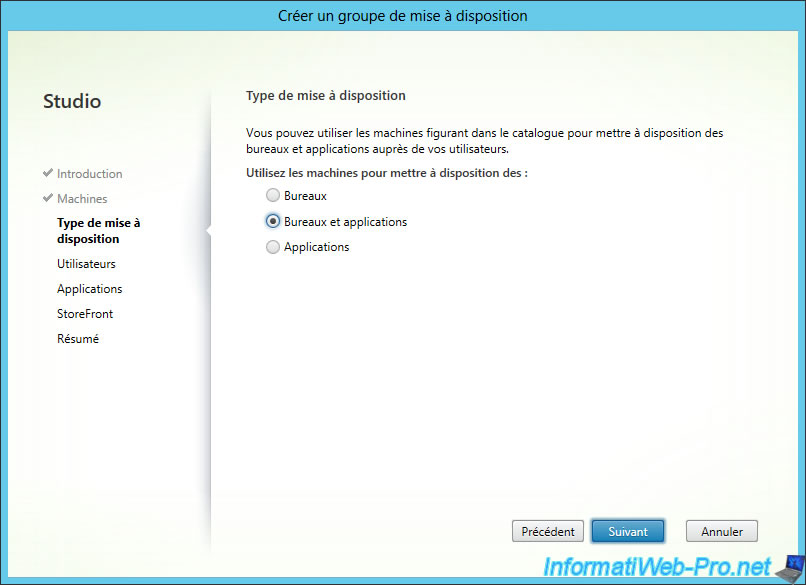
Select the desired delivery type. To show you the two types of delivery, we chose "Desktops and applications".
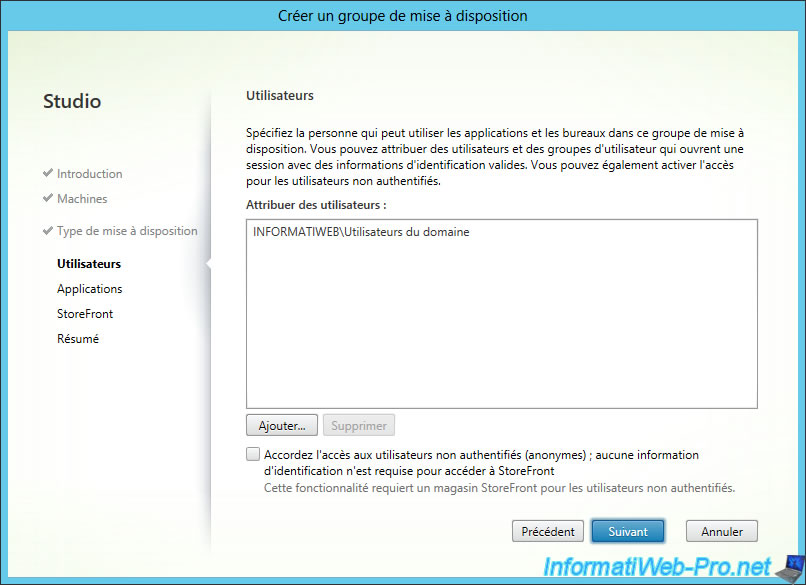
Specify which users or groups of users who have access to these applications and / or desktops.
Note : Create users in Active Directory, if necessary.
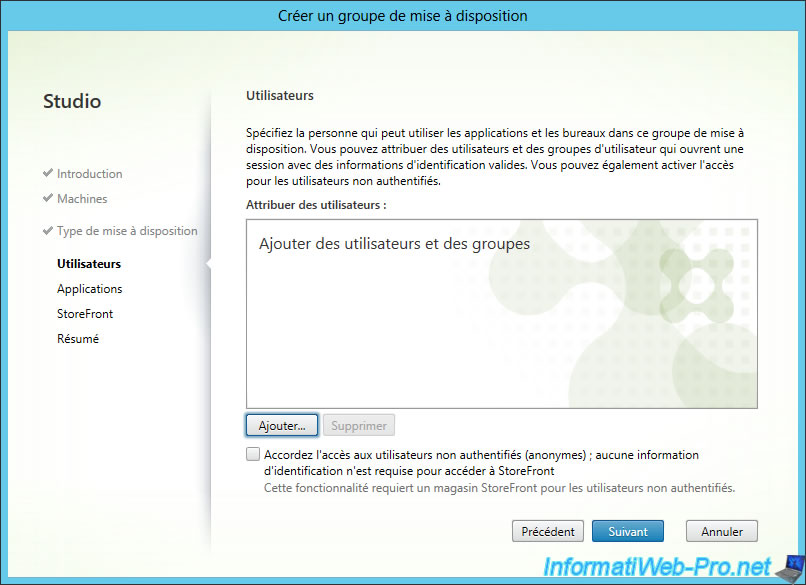
Then, click "Next".
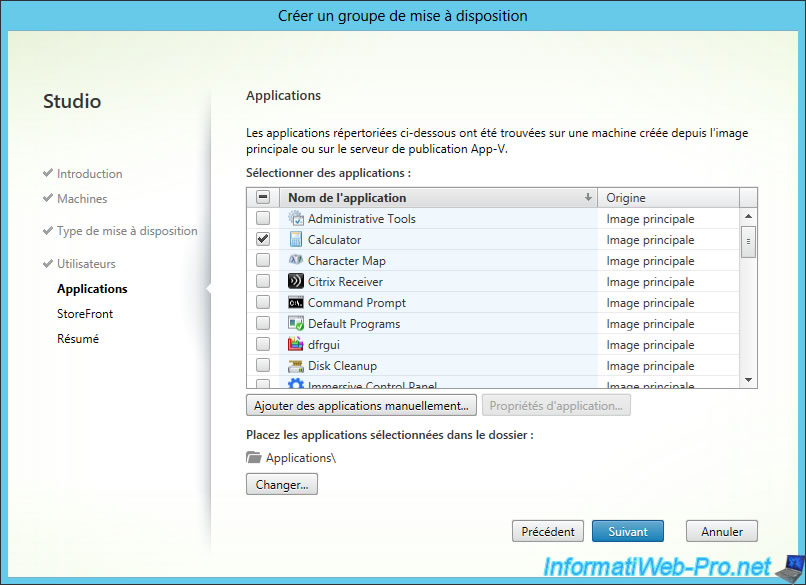
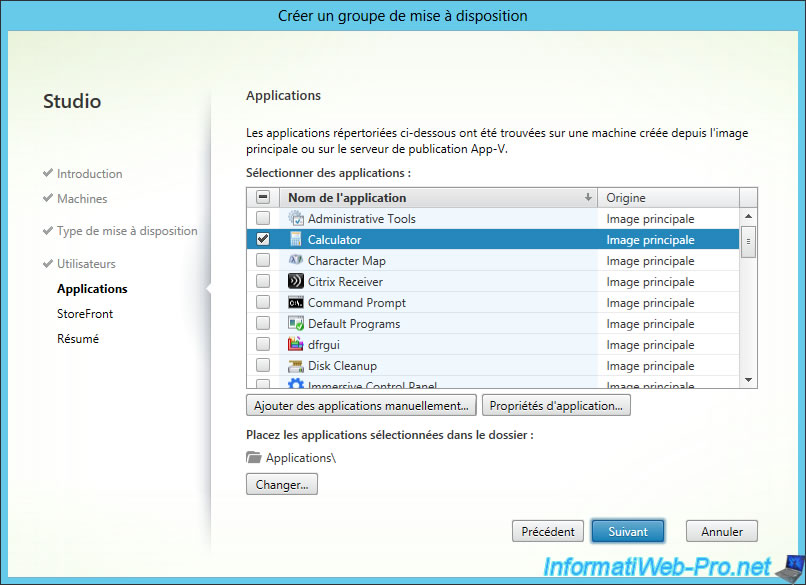
Select the applications to publish.
Notes :
- This list is generated from the machine where VDA is installed (this process may take some time).
- We don't have specific applications installed on this machine, but you can share any program (if its license permits). For Microsoft programs, you will probably have to use volume licensing (VLK) because it's the case for RemoteApp. Because RemoteApp and Citrix XenApp both operate on a system of Terminal Services (TSE), the rule is probably the same.
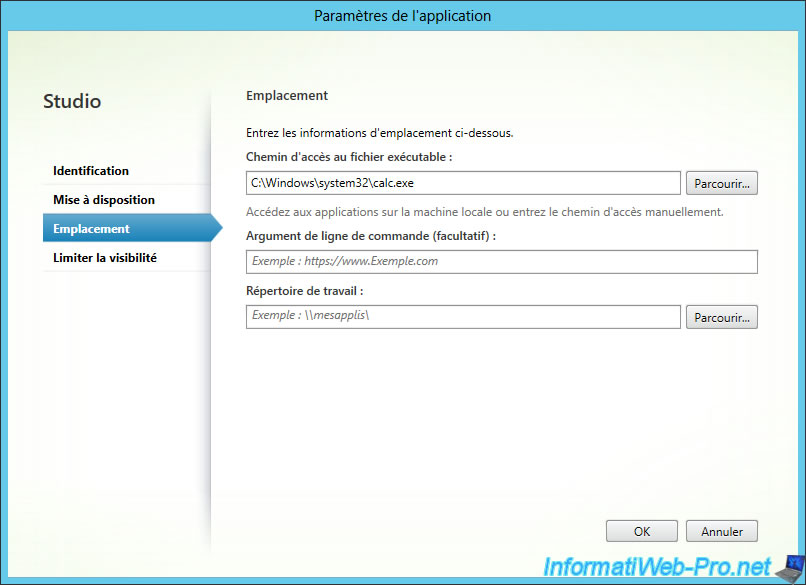
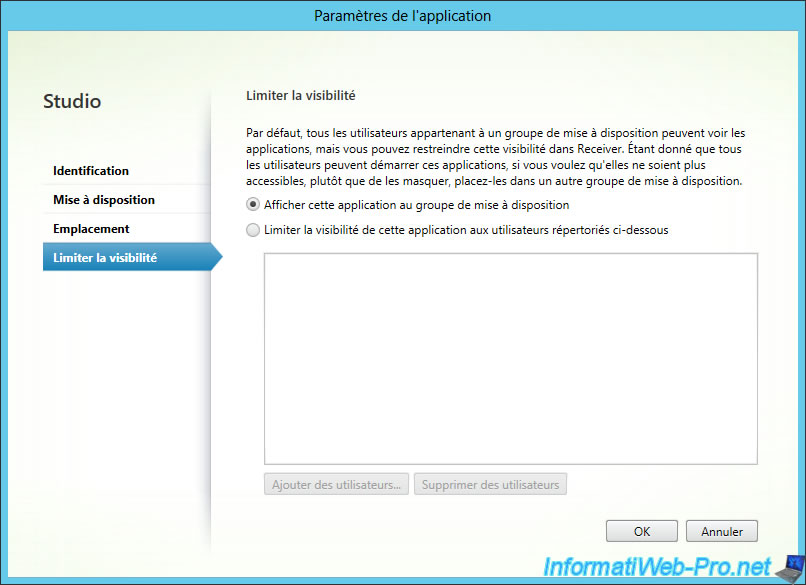
If necessary, you can change the properties of an application to publish, by clicking on "Application Properties".
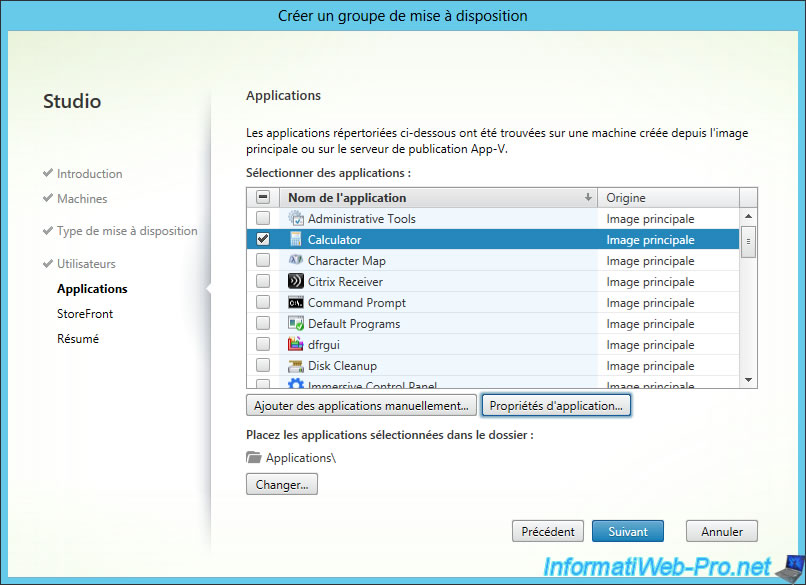
You can change the name of the application.
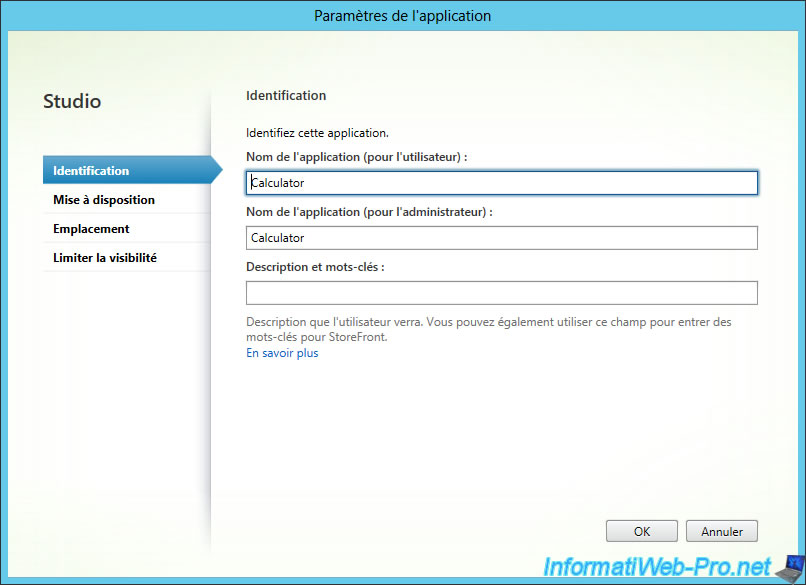
Its icon and its category / sub category.
![]()
Its location, command line parameters and its working directory.
Limit its visibility, if you wish.
Once you have selected the applications to publish, click "Next".
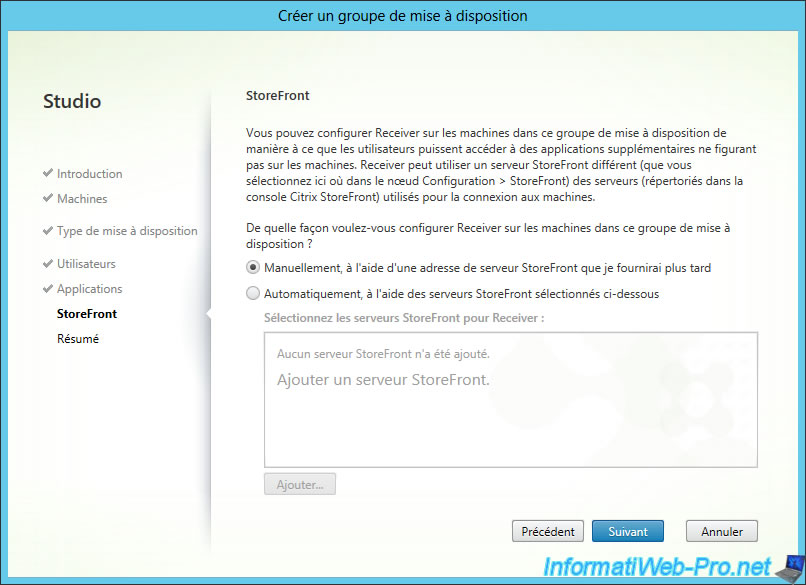
If you have installed Citrix Receiver on the machine where the Virtual Delivery Agent (VDA) is installed, you can specify the url of the StoreFront to use. Otherwise, select "Manually ..." to leave this choice to the user.
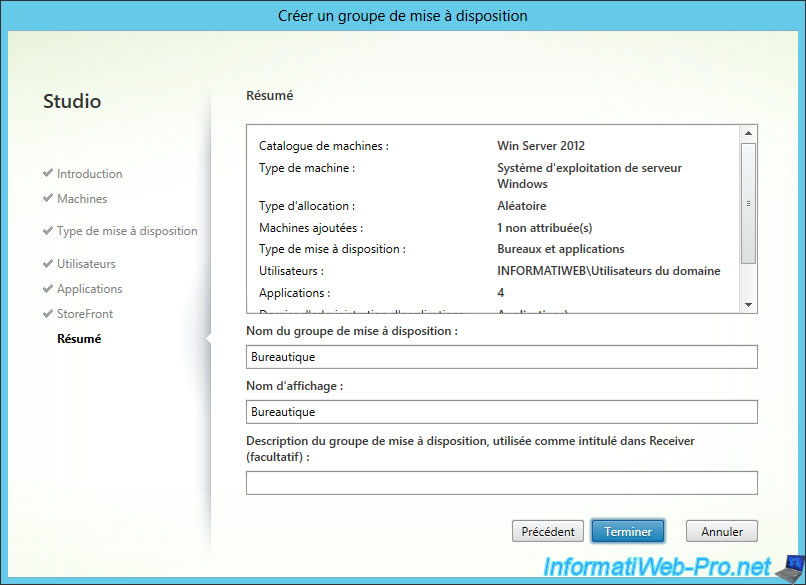
Specify a name and a display name for this delivery group.
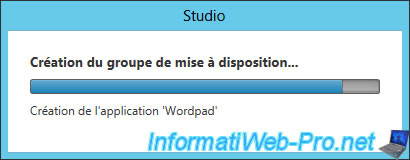
Citrix Studio create this delivery group.
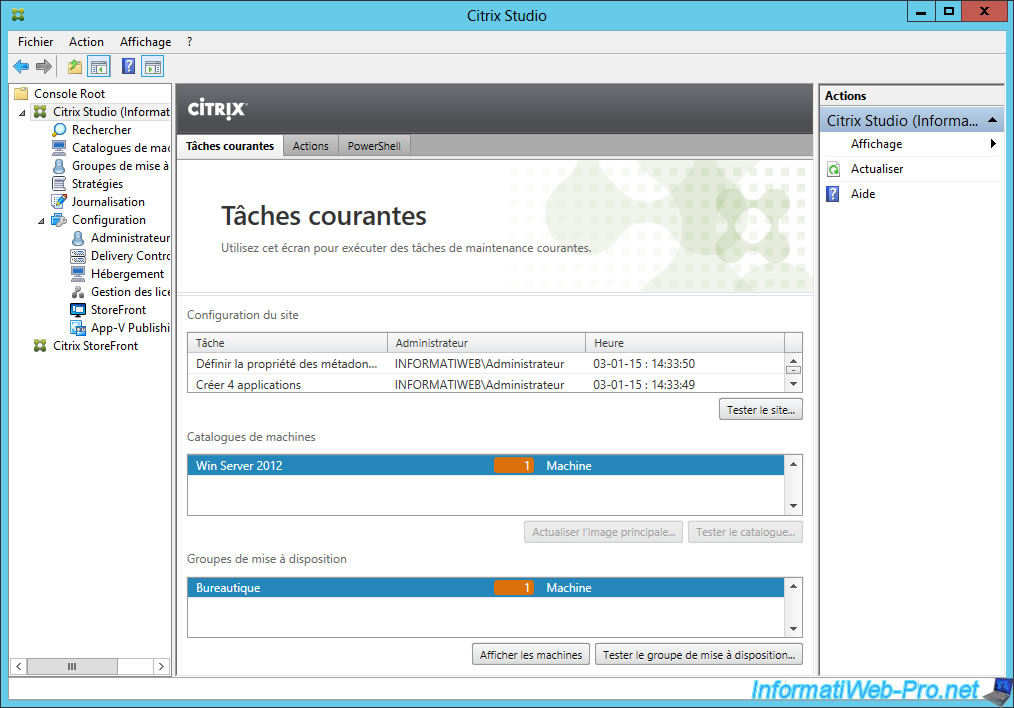
Now, the 3 steps of Citrix Studio have disappeared.
Share this tutorial
To see also
-
Citrix 4/9/2016
Citrix NetScaler Gateway 11.0 - Configuration and integration with XenApp/XenDesktop
-
Citrix 8/2/2016
Citrix XenApp / XenDesktop 7.6 - Single Sign-On (SSO)
-
Citrix 5/13/2015
Citrix XenDesktop 7.6 - Deliver desktops by using MCS
-
Citrix 3/27/2016
Citrix XenDesktop 7.6 - PVS - vDisks updates

No comment