Securing an IIS web server on Windows Server 2016
- Windows Server
- 27 October 2023 at 11:11 UTC
-

- 4/5

5. Securing a website on IIS
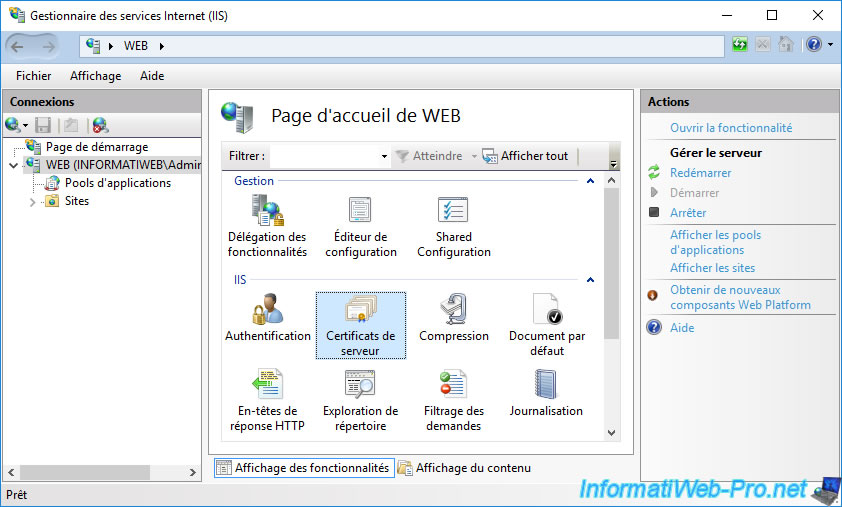
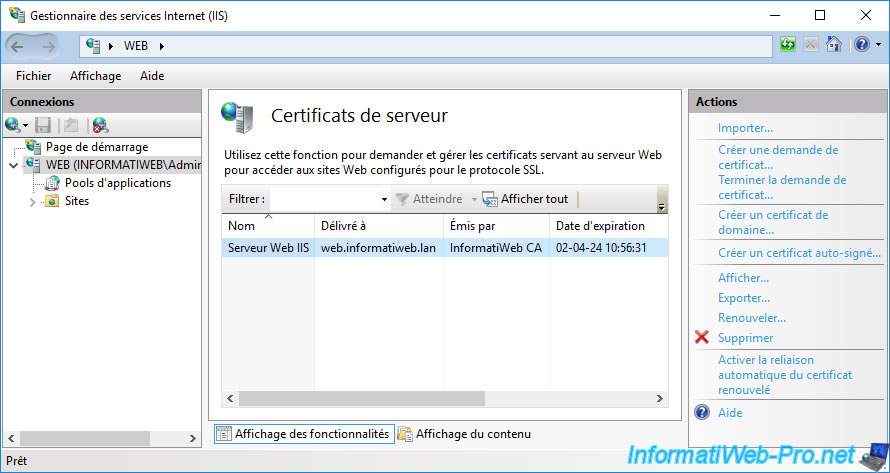
Now that you have obtained a certificate for your web server (whether you requested it through your server's mmc console or through your CA's web interface), you can verify that IIS sees it by going to the "Server Certificates" section of IIS Manager.
As expected, your certificate (also visible from your server's mmc console) appears in the list of server certificates.
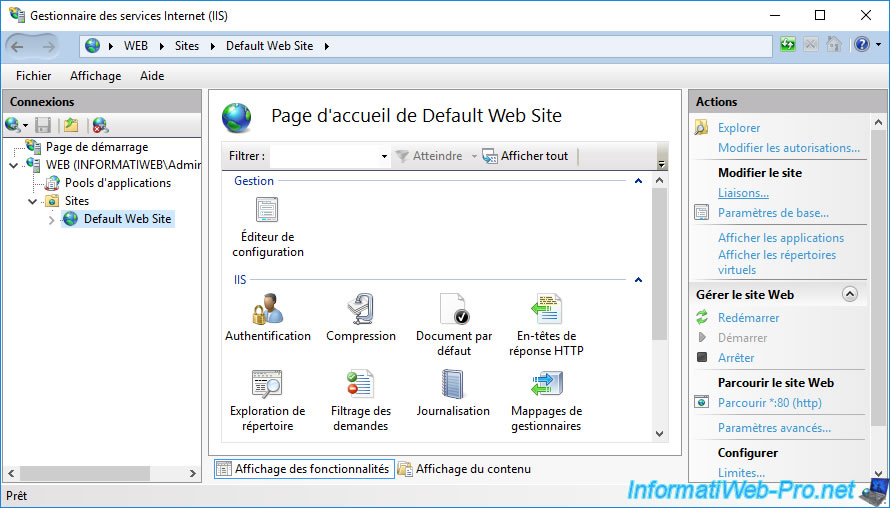
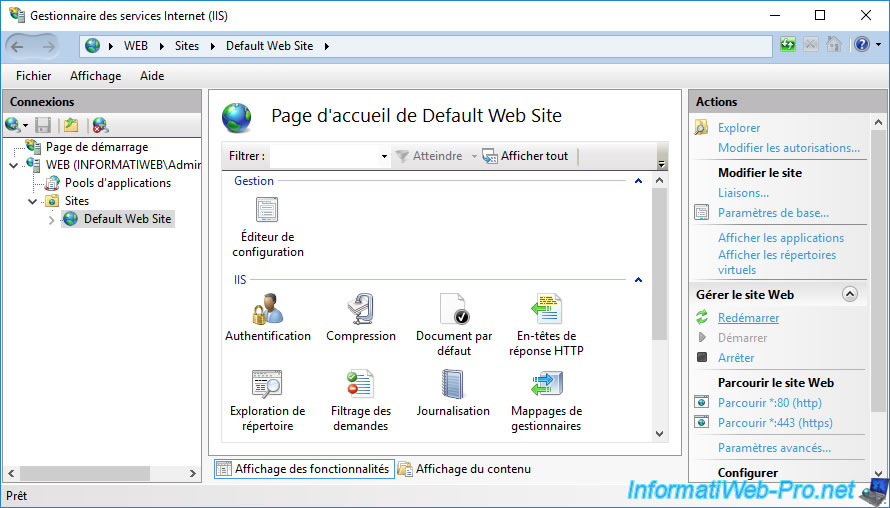
To secure a website, select it (in our case : Default Web Site), then click on the "Bindings" link (in the right column).
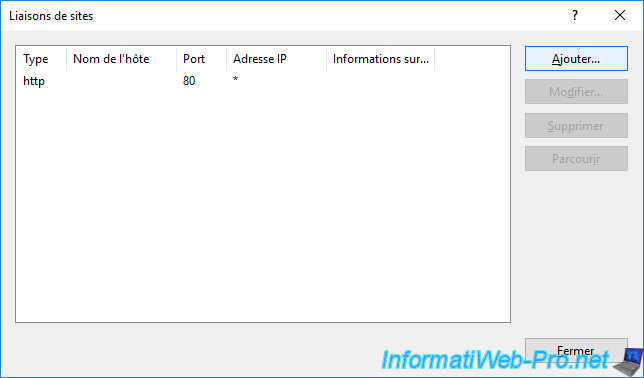
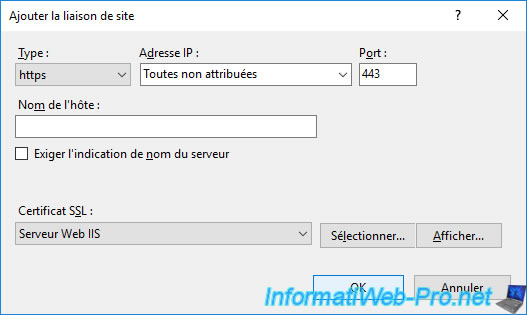
In the "Site Bindings" window that appears, click on : Add.
In the "Add Site Binding" window that appears, select "Type : https".
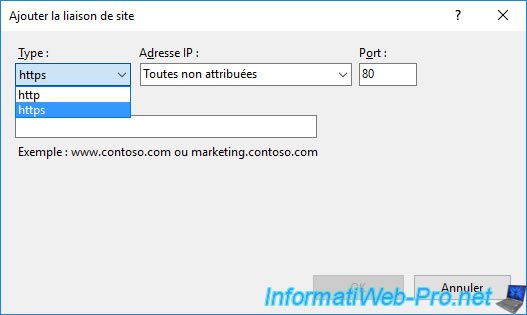
The port automatically changes to 443.
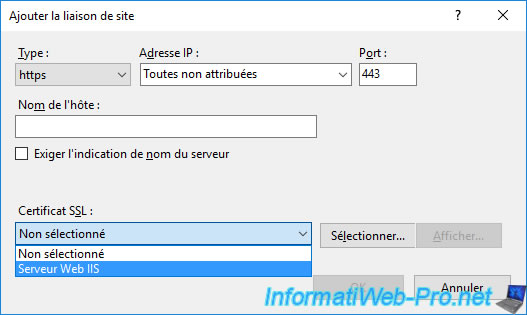
Select your SSL certificate from the list.
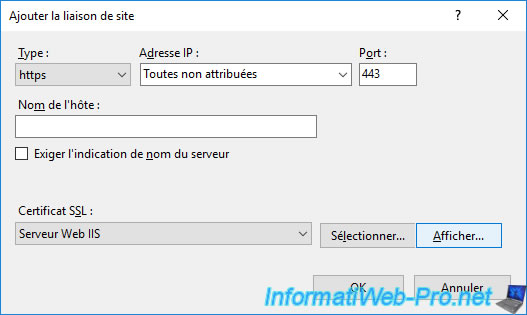
Once the desired SSL certificate has been selected, you can display it to verify that it's the correct certificate by clicking on the "Display" button.
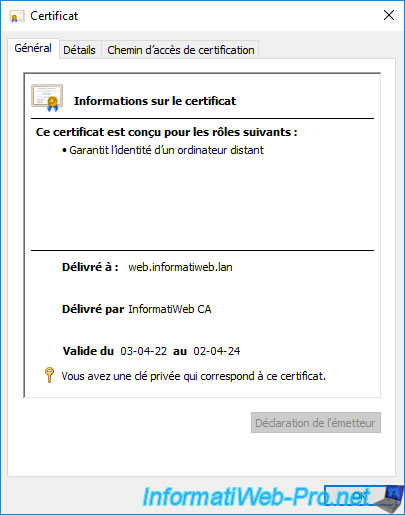
The selected certificate appears.
Click OK to validate the addition of this new HTTPS binding with the desired SSL certificate.
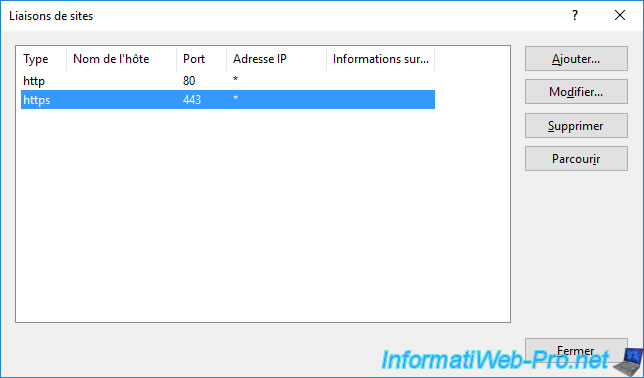
The new HTTPS binding (listening on TCP port 443) appears in the list of site bindings of your IIS web server.
Click Close.
Next, click on the "Restart" link (in the right column).
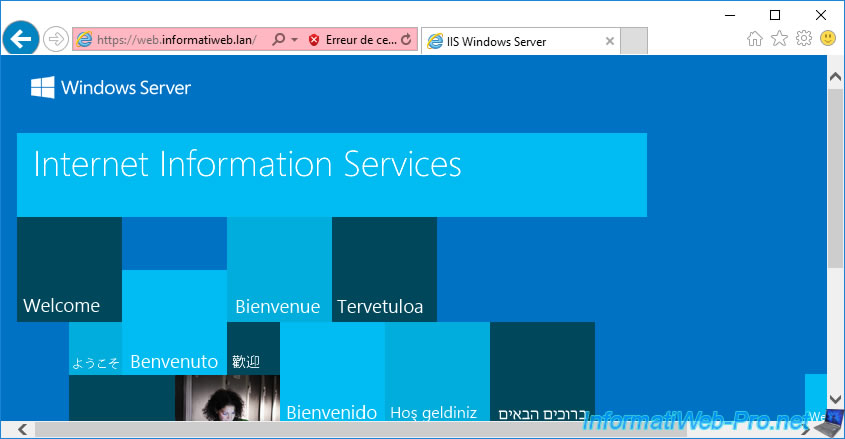
Now, try to access the secure (HTTPS) version of your website.
As you can see, the connection to this website is secure and your certificate authority has identified this site as : [domain name of your web server or website].
Note : to display this popup, click on the small padlock present in the address bar of your web browser.
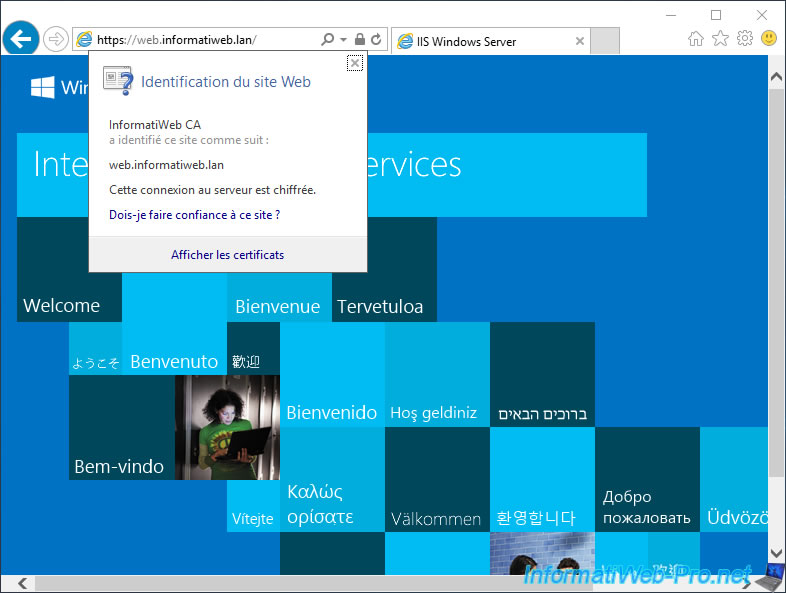
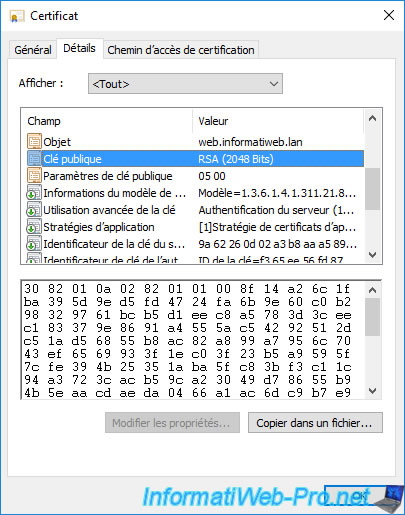
If you click on the "View certificates" link in the popup displayed by Internet Explorer, you will be able to see the certificate used to secure this website.
On the other hand, the private key is not available in this case since it must remain secret on the server concerned.
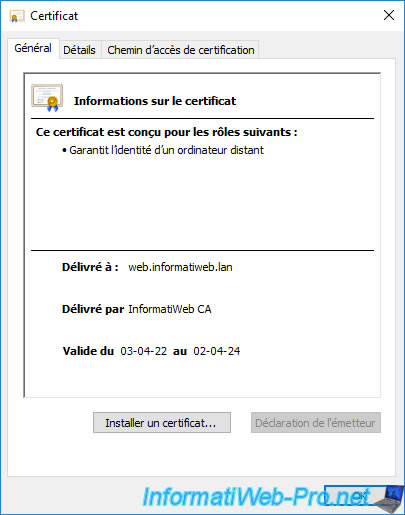
However, any visitor will be able to see the public key of this certificate.
6. Common problems
6.1. Incorrect name in secure website address (in HTTPS)
When requesting a certificate, you must specify the domain name of the desired website as the common name.
Alternatively, you can also include the "www" subdomain of the desired domain as the DNS name so that the same certificate is valid for the root domain, as well as its "www" subdomain (for example).
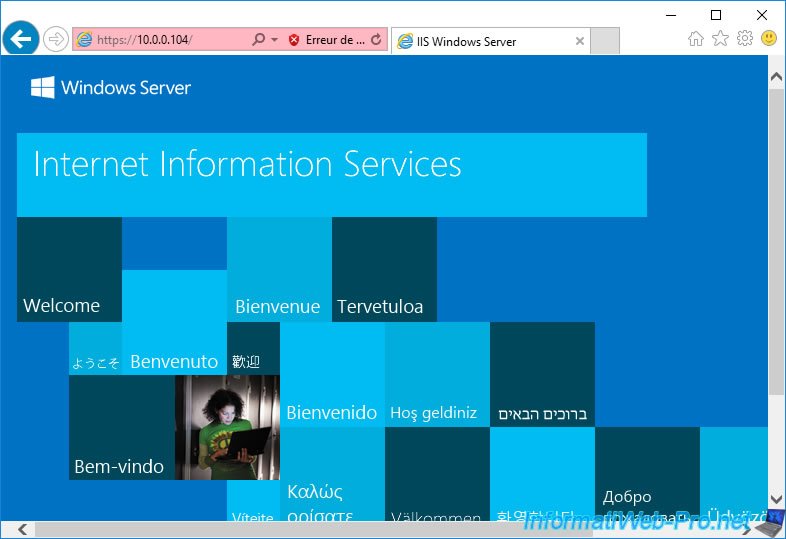
If you attempt to access the secure version (HTTPS) of your website via its IP address or via a name other than that indicated in the certificate used to secure this site, your web browser will block access to this website.
In the case of Internet Explorer, you will see this error displayed :
Plain Text
The security certificate presented by this website was issued for a different website's address.
In this case, Internet Explorer allows you to access the desired website anyway, ignoring this error.
However, this error could also occur if you tried to connect to a bad server or a server compromised by a hacker.

As expected, the website comes up, but Internet Explorer keeps telling you about the certificate problem in the address bar.
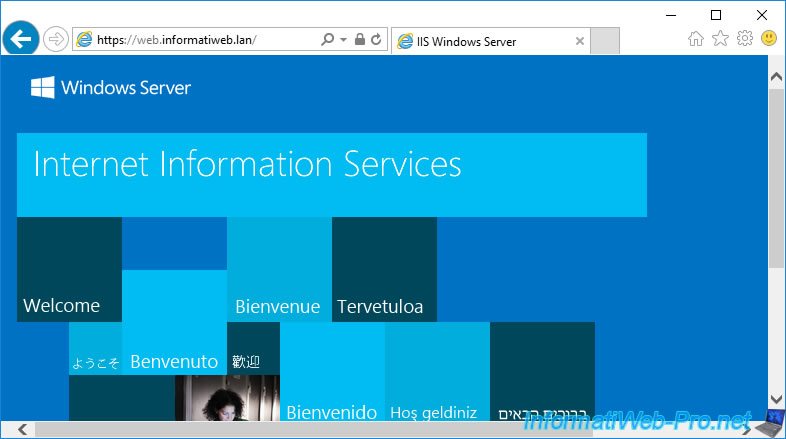
To solve the problem, access your secure website (in HTTPS) using the domain name that you indicated in your SSL certificate.
Thus, the error will disappear and you will be able to access this website without problems.
6.2. The certificate was not issued by a trusted certificate authority
By default, when you create an enterprise CA on Windows Server, all servers and member computers in your Active Directory domain automatically receive its public certificate.
Your CA certificate should therefore automatically be in the "Trusted Root Certification Authorities" certificate store on your server or computer.
If not, Internet Explorer will display this error :
The security certificate presented by this website was not issued by a trusted certificate authority.
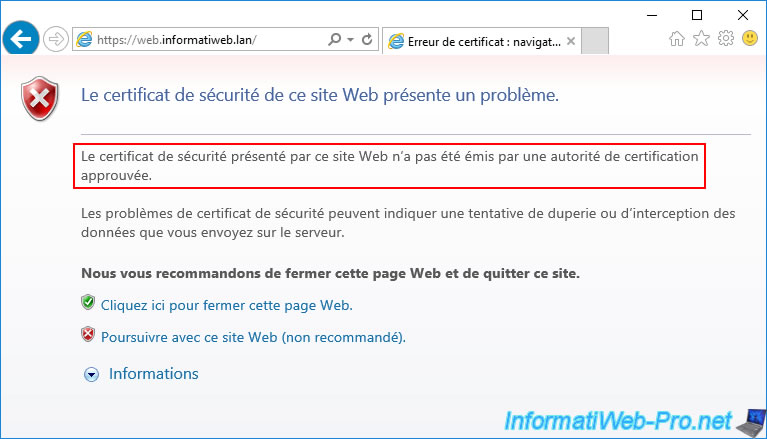
In this case, you can ignore the error displayed, but Internet Explorer will continue to warn you that there is a problem with the certificate used, in particular by displaying the address bar in red.
If you recently installed your CA, its certificate may not have arrived on your server or computer yet.
In this case, it will be enough to force the update of the policy via a "gpupdate /force" so that the certificate of your certification authority is automatically downloaded and imported into the "Trusted Root Certification Authorities" certificate store of your server or computer.
To check this, you can go to the Internet options of Internet Explorer.
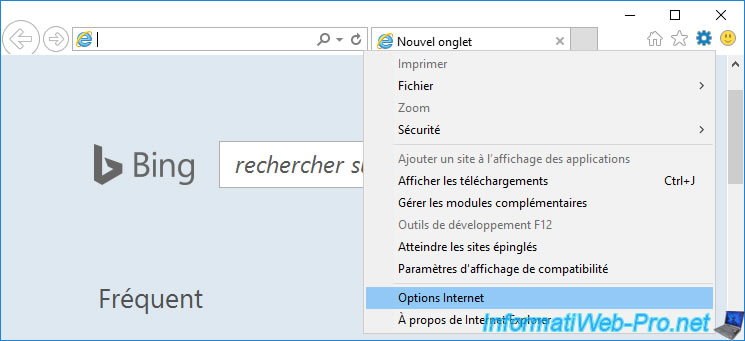
Then go to the "Content" tab and click on : Certificates.
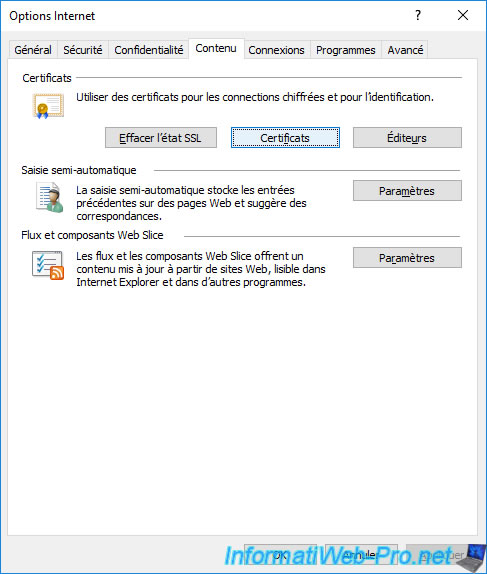
In the "Certificates" window that appears, go to the "Trusted Root Certification Authorities" tab.
If your CA is one of your server's or computer's trusted root CAs, you'll see it listed here.
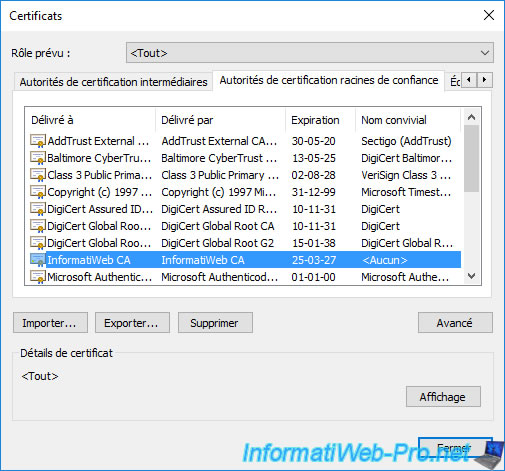
Note that what is displayed by Internet Explorer corresponds to the exact same certificate stores present on your server or computer.
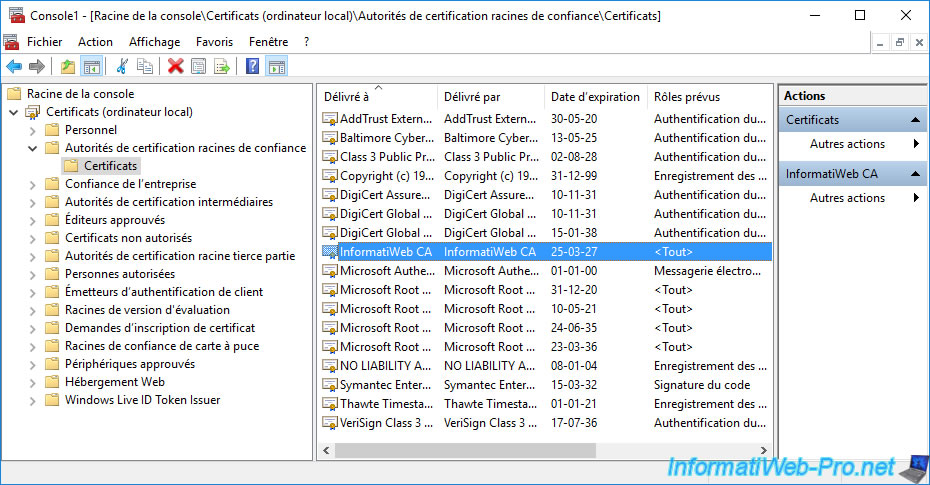
To see them, you can launch an "mmc" console and add the "Certificates" component for the local computer.
Next, go to the "Trusted Root Certification Authorities" certificate store.
If your server or computer already trusts your CA's certificates, you'll find its certificate listed.
Otherwise, export your CA's certificate or download it from its web interface (if this one is installed in your case), then import it into this certificate store.
Once your enterprise root CA certificate is in the "Trusted Root Certification Authorities" certificate store on your server or computer, close your web browser and open it again.
Then, try to access the secure version (in HTTPS) of your website again and you will see that this error will no longer appear.
Share this tutorial
To see also
-

Articles 1/26/2024
SafeNet Authentication Client (SAC) - Installation and overview
-

Articles 9/8/2023
What is encryption and how does it work ?
-

Windows Server 12/29/2023
WS 2016 - AD CS - Backup and restore a certificate authority (CA)
-

Windows Server 1/19/2024
WS 2016 - AD CS - Buy smart cards and log in via them
No comment