Securing an IIS web server on Windows Server 2016
- Windows Server
- 27 October 2023 at 11:11 UTC
-

- 3/5
4. Request a certificate for the IIS web server via your certificate authority's web interface
4.1. Create a certificate request from IIS Manager
The 2nd possibility to request a valid certificate for your web server is to create a certificate request from the IIS manager of your IIS web server and submit it to your certification authority via its web interface.
However, this obviously requires that your certification authority's web interface is installed.
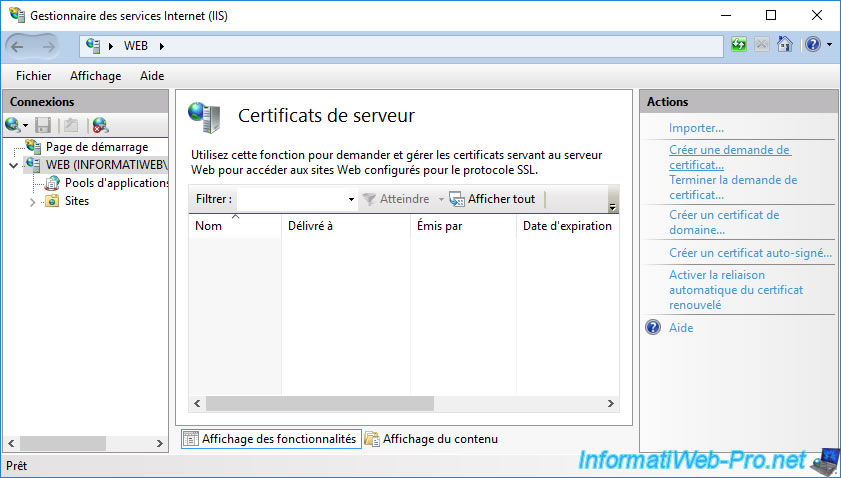
To start, in the IIS manager of your server, select the name of your server and go to the "Server Certificates" section.
Then, click on the "Create Certificate Request" link in the right column.
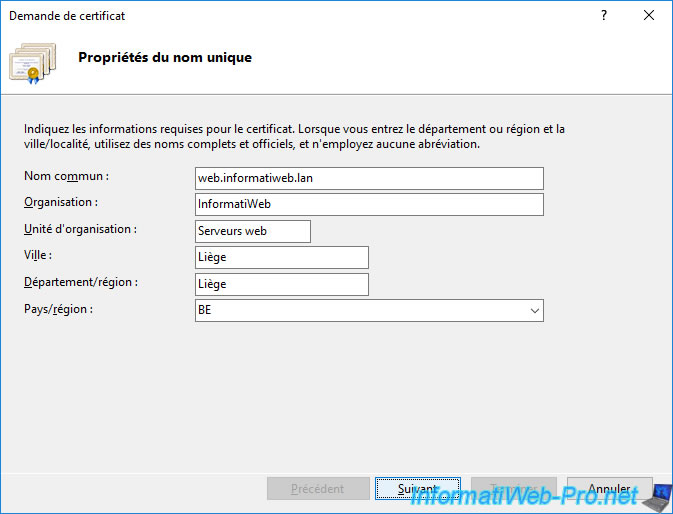
In the "Request Certificate" window that appears, specify :
- Common name : full name of your web server or the domain name of a website hosted on it if this website is accessible with a domain name different from that of your web server.
- Organization : name of your company.
- Organizational unit : a name allowing you to virtually group your certificates.
For example : Web servers. - City : city where your business is located.
- State/province : state/province in which your company is located.
- Country/region : country/region where your business is located.
Then, click Next.
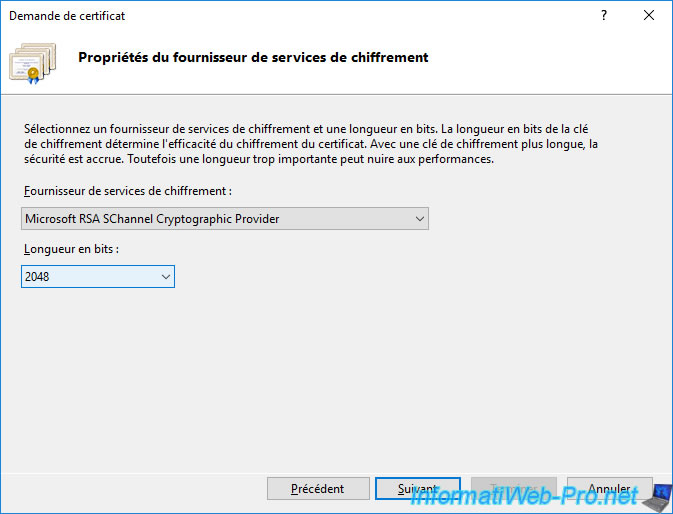
Leave the default CSP if you're unsure what to select, and change the key size (bit length) to use to match the one used for your CA certificate.
In our case : 2048 bits.
Click on the "..." button.
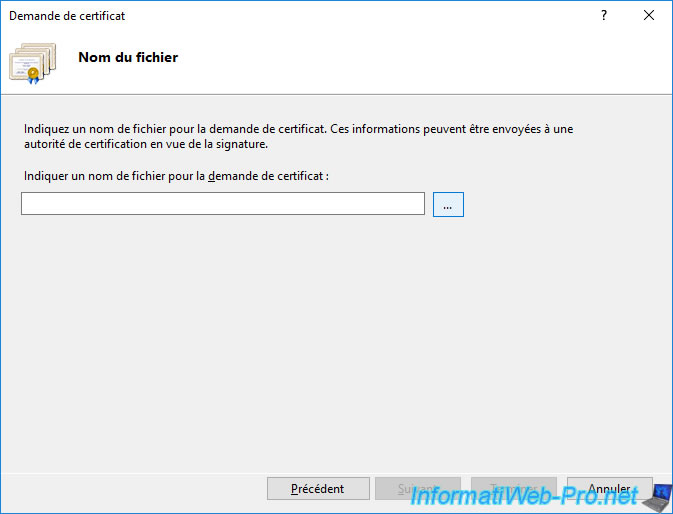
Specify where and under what name you want to save your certificate request.
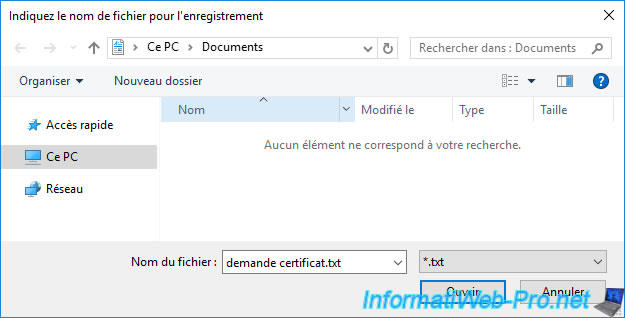
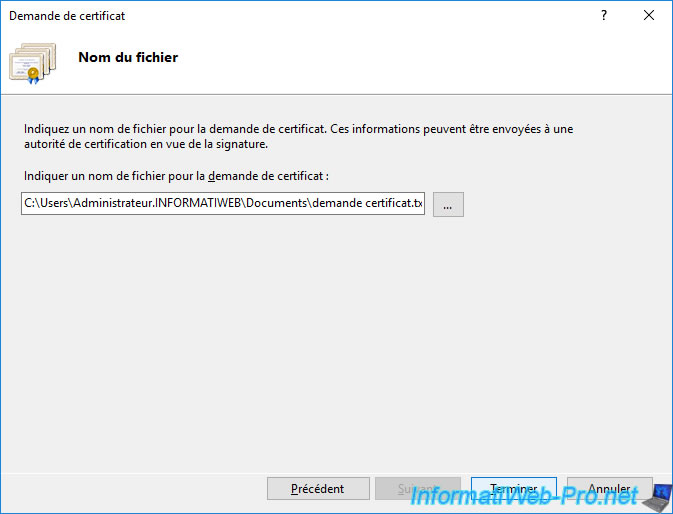
Then, click "Finish" to write this certificate request to the hard drive.
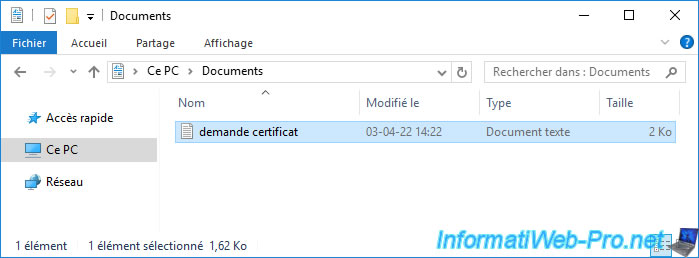
As expected, a text file appears at the desired location.
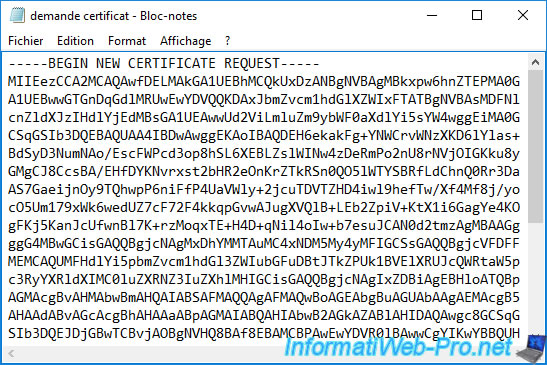
If you open this text file with notepad, you will see that it looks like this :
Plain Text
-----BEGIN NEW CERTIFICATE REQUEST-----
xxxxxxxxxxxxxxxxxxxxxxxxxxxxxxxxxxxxxxxxxxxx...
-----END NEW CERTIFICATE REQUEST-----
This is called a base-64 encoded certificate request.
4.2. Request a certificate from your CA's web interface
Go to your certificate authority's web interface "https://ca.informatiweb.lan/certsrv" and log in with a user authorized to enroll certificates using the certificate template created earlier.
Note that using this technique the certificate requester will be the user used here and not the web server computer account for which you are requesting it.
However, this doesn't change the validity of the certificate you will obtain.
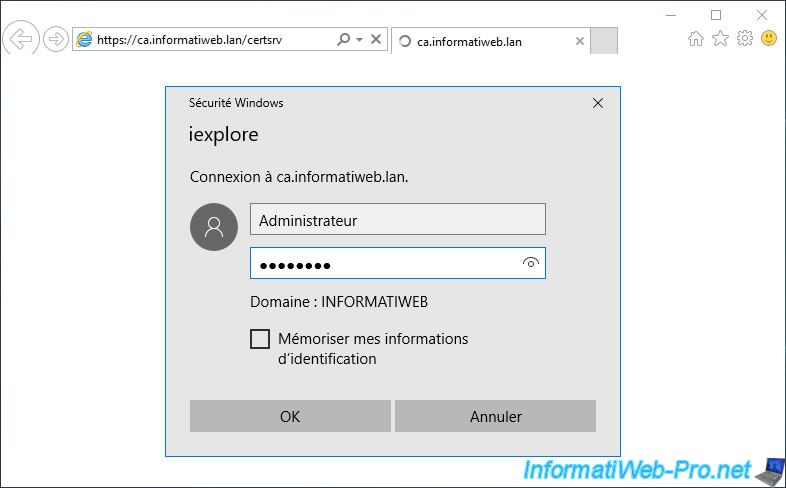
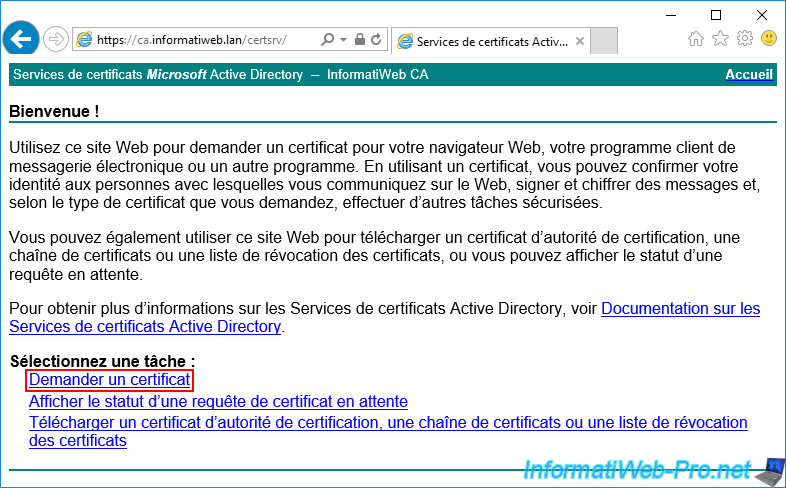
Once authenticated on the web interface of your certification authority, click on the "Request a certificate" link.
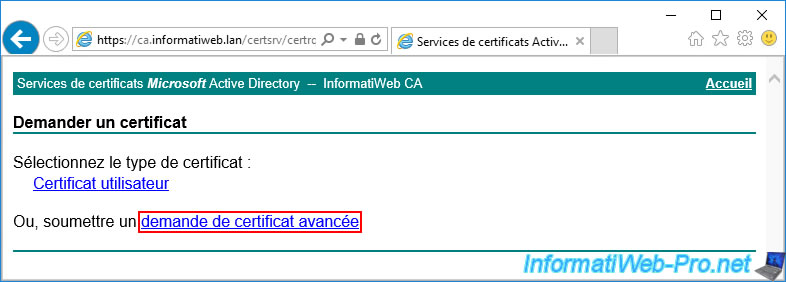
Click on : advanced certificate request.
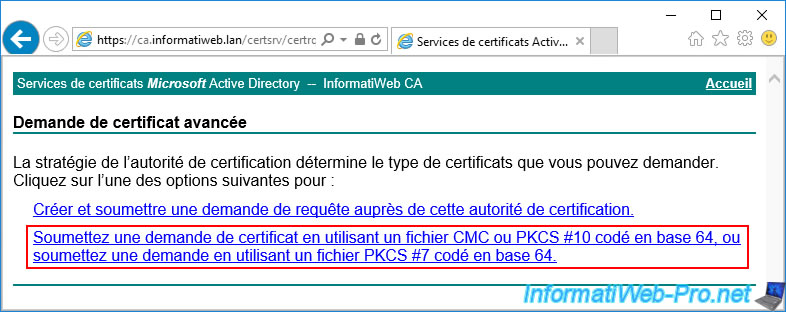
Next, click the long link : Submit a certificate request by using a base-64-encoded CMC or PKCS #10 file, or submit a renewal request by using a base-64-encoded PKCS #7 file.
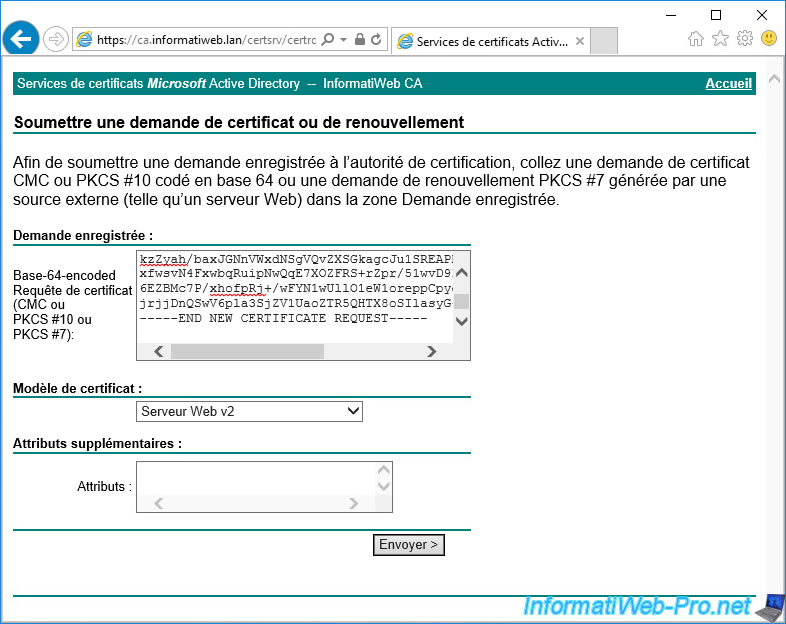
Copy/paste the certificate request obtained from your IIS Manager into the "Base-64-encoded certificate request..." box, then select the certificate template created earlier.
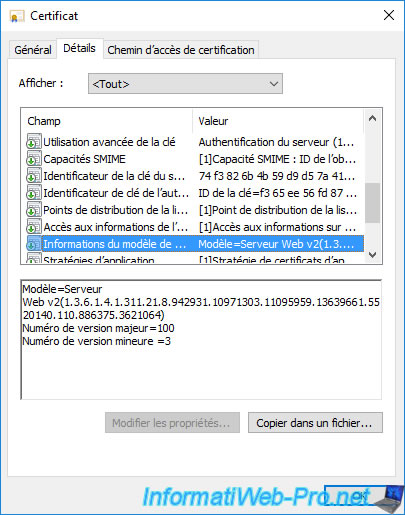
In our case : Web server v2.
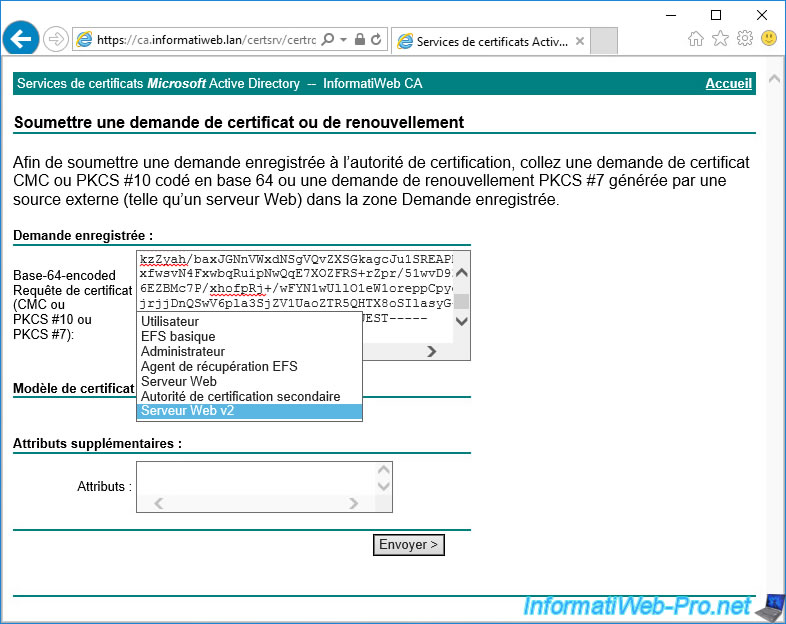
Then, click Submit.
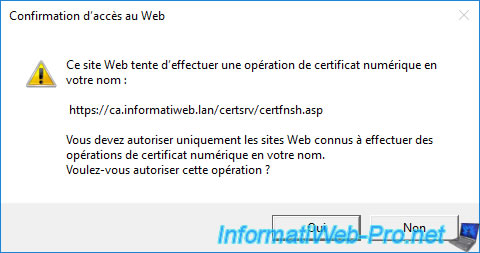
Confirm the digital certificate operation on your behalf by clicking Yes.
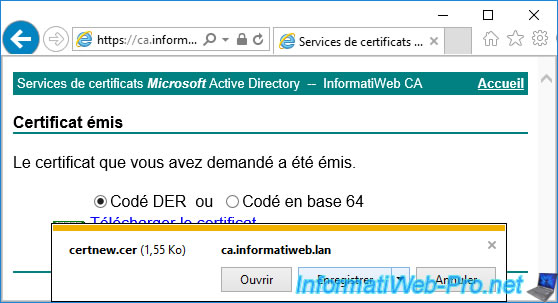
Once the certificate has been issued for your web server, you can download it by clicking on the "Download certificate" link.
This allows you to download only the certificate for your web server in ".cer" format.
If you click on the other link, you would have obtained a file in ".p7b" format which would contain the certificate of your web server, as well as the certificate of the certification authority which issued it.
The "DER encoded" option allows you to download the certificate in Microsoft format.
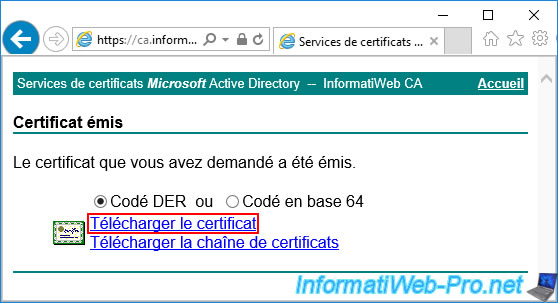
A "certnew.cer" file is available for download.
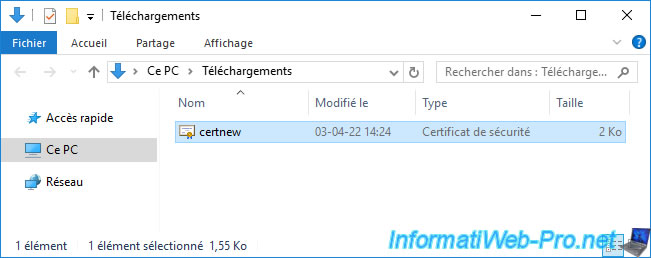
The certificate has been downloaded.
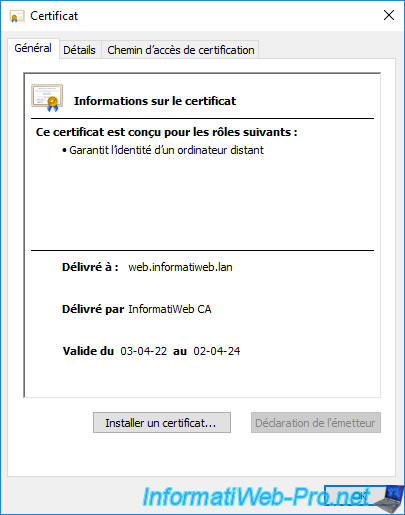
Small detail : if you open it by double-clicking on it, you will see that the associated private key is not present.
Indeed, otherwise, Windows would have indicated it to you at the bottom of this window.
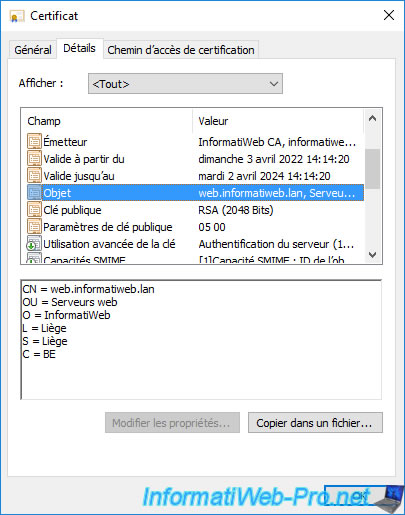
If you go to the "Details" tab and select the "Subject" field, you can find all the information specified when creating your certificate request for your web server.
Including, the domain name of your web server which is defined as a common name (CN).
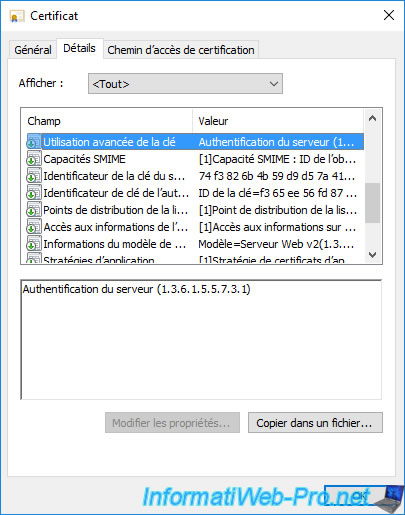
If you select the "Enhanced Key Usage" field, you will see that this certificate will be used for server authentication.
If you select the "Certificate Template Information" field, you will see the name of your new certificate template appear.
4.3. Complete the certificate request from your IIS web server
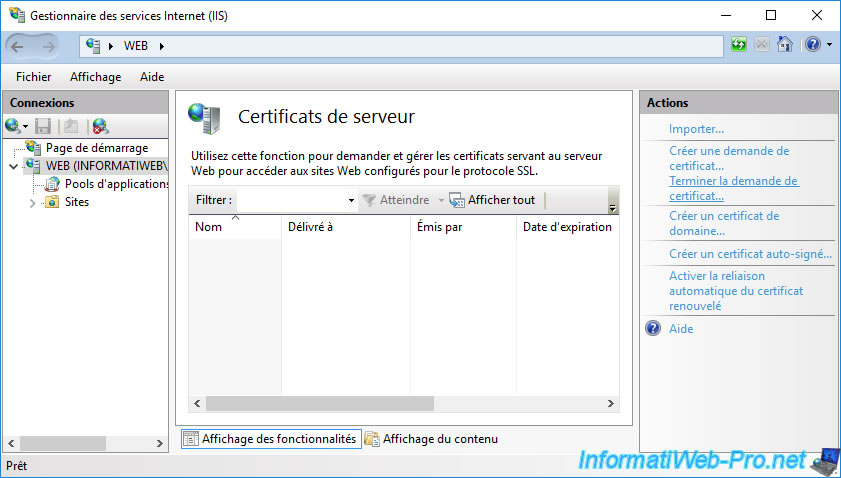
In order for you to be able to secure your website using the certificate issued, you must complete the certificate request by clicking on the "Complete Certificate Request" link (in the right column).
In the "Complete Certificate Request" window that appears, click on the "..." button.
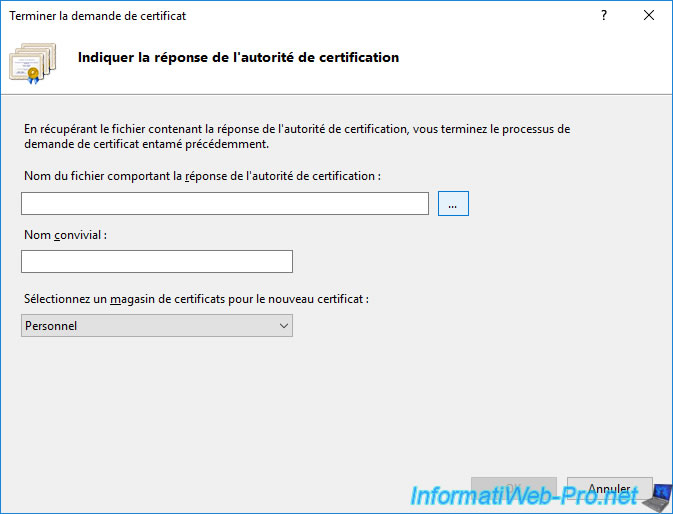
Select the certificate issued for your web server downloaded in ".cer" format and click Open.
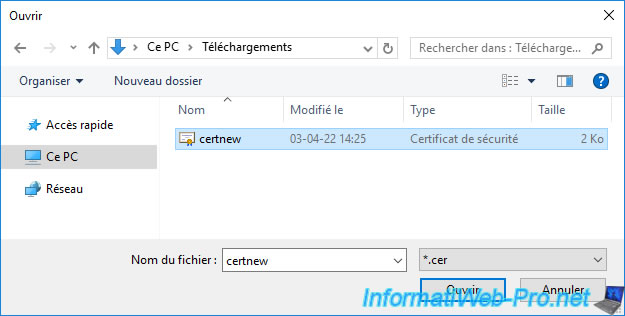
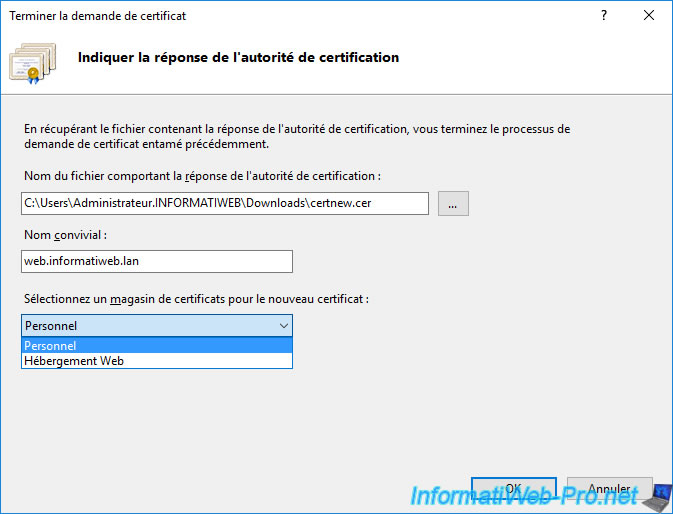
The path to the selected certificate appears.
Specify what you want as friendly name (for example : the domain name for which this one is valid).
For the certificate store, select the one you want. It has no importance.
It's up to you if you want to separate your IIS web server certificates from other certificates on your computer by selecting the "Web Hosting" certificate store or if you prefer to store all your certificates in the "Personal" certificate store.
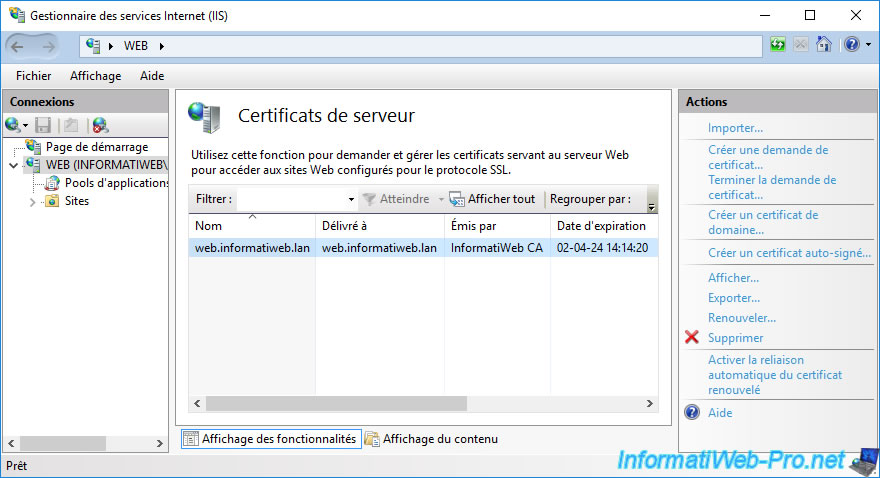
The certificate issued for your IIS web server by your certification authority appears in the list of server certificates.
Note : from now on, you will be able to find this certificate, as well as its private key, in the certificate store that you have just selected in the previous wizard.
Share this tutorial
To see also
-
Articles 1/26/2024
SafeNet Authentication Client (SAC) - Installation and overview
-
Articles 9/8/2023
What is encryption and how does it work ?
-
Windows Server 12/29/2023
WS 2016 - AD CS - Backup and restore a certificate authority (CA)
-

Windows Server 1/19/2024
WS 2016 - AD CS - Buy smart cards and log in via them

No comment