Securing an IIS web server on Windows Server 2016
- Windows Server
- 27 October 2023 at 11:11 UTC
-

- 5/5

7. Block insecure (HTTP) access to your website
Currently, your website is accessible in HTTP (unsecured) and HTTPS (secured).
To avoid accidentally accessing the unsecured version of your website, you can configure your web server to require the use of SSL for this website.
Warning : don't remove the "HTTP" binding from your website, otherwise the HTTPS link will no longer work.
Indeed, when you connect securely (in HTTPS) to a website, a connection is first made via the HTTP protocol to transfer the public certificate of the web server.
Then, the rest is done securely via the HTTPS protocol.
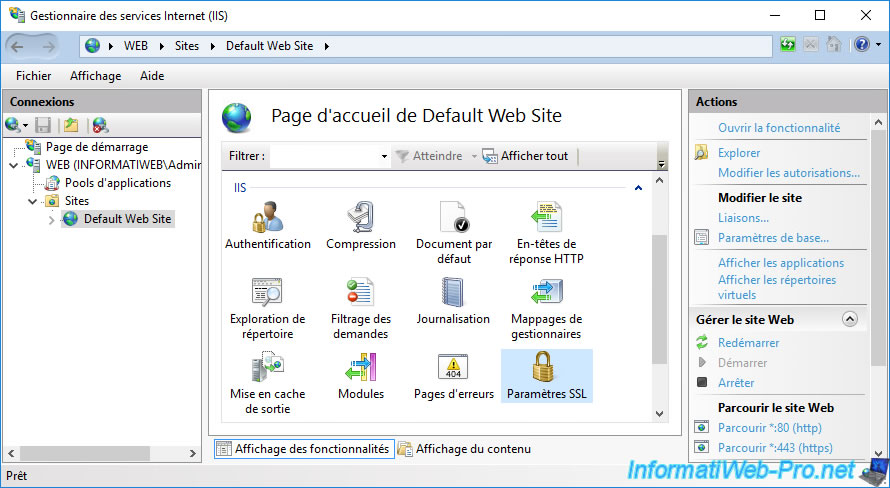
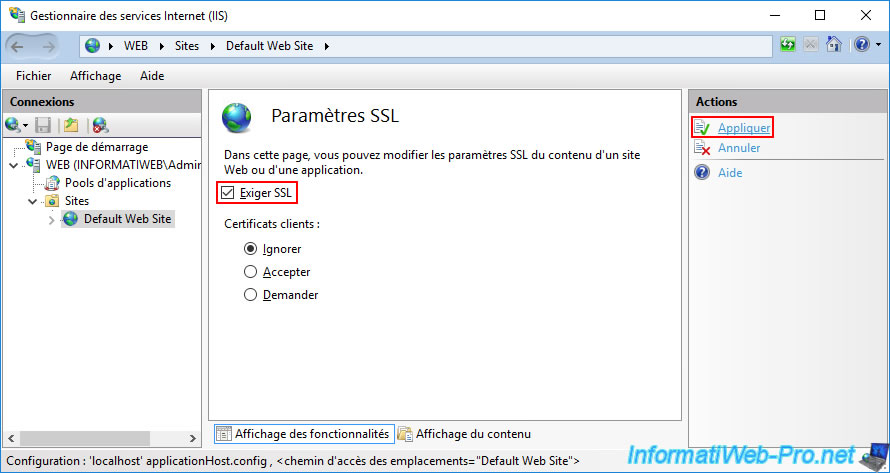
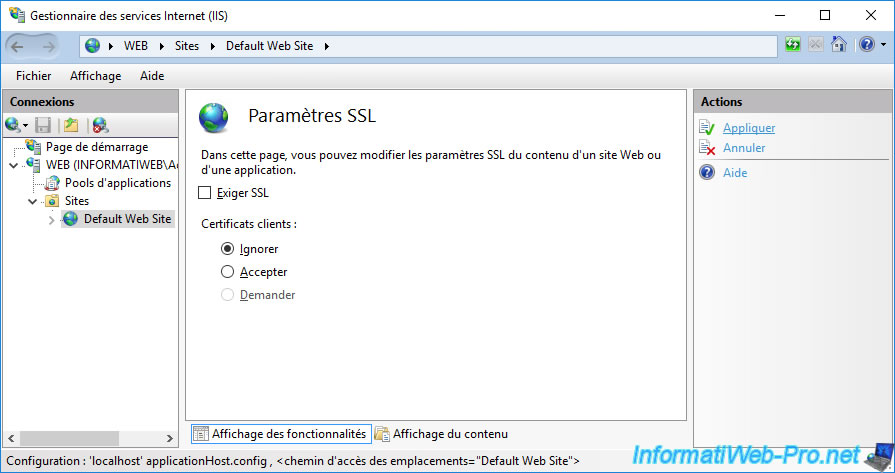
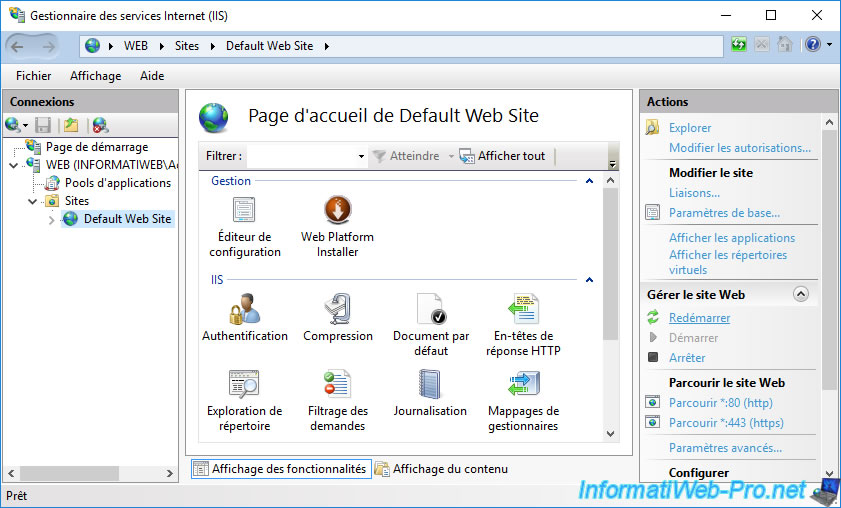
To block the insecure version (HTTP), select your website in IIS Manager and go to the "SSL Settings" section.
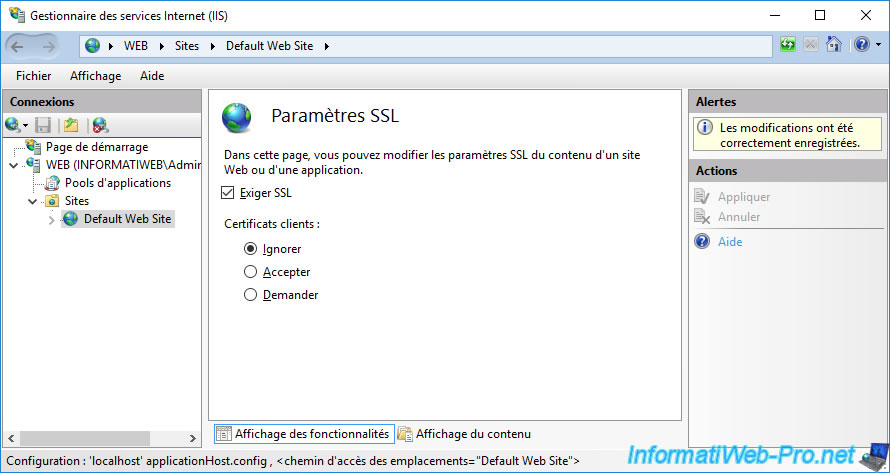
Check the "Require SSL" box and click Apply.
The "The changes have been successfully saved" message appears.
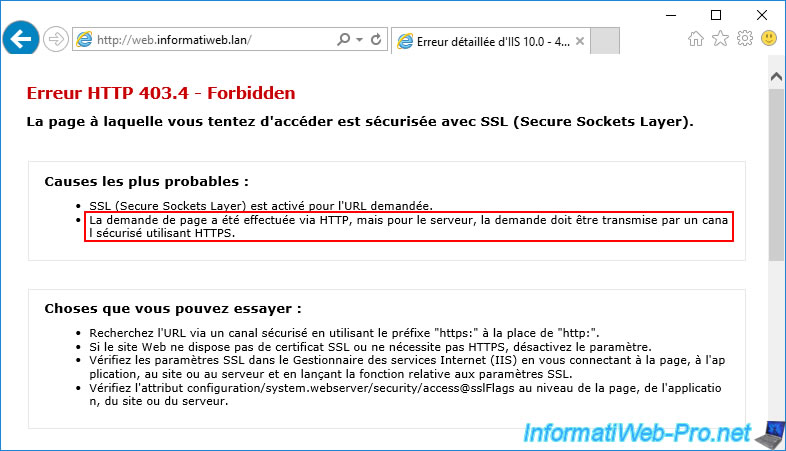
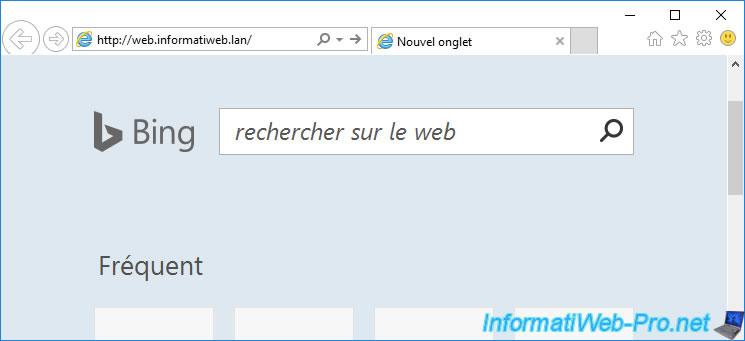
Now, if you attempt to access the unsecured (HTTP) version of your website, you will see that access is denied with a 403.4 (Forbidden) error code.
As indicated by your IIS web server :
Plain Text
The page request was made over HTTP, but the server requires the request from a secure channel that uses HTTPS.
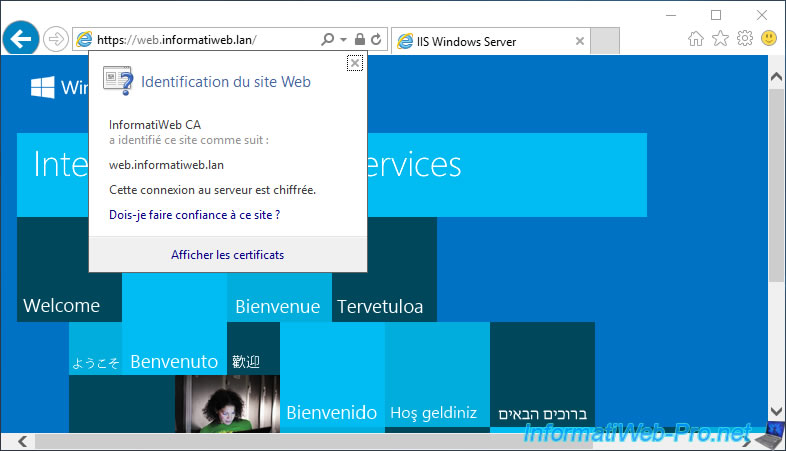
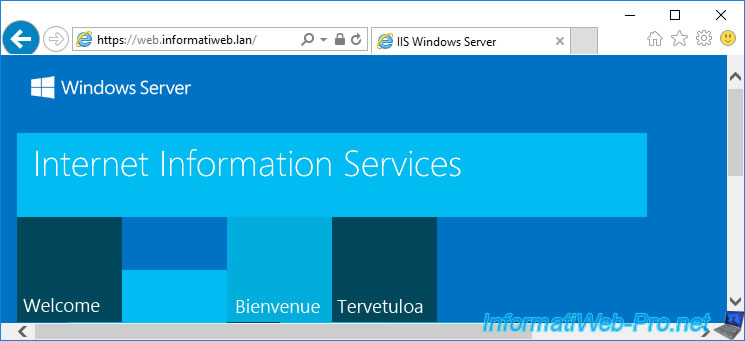
On the other hand, the secure version (HTTPS) is always accessible.
8. Redirect HTTP version to HTTPS version on IIS
8.1. Add support for URL rewriting on IIS
To add URL rewrite support on IIS, you need to download the "IIS URL Rewrite" extension and run the downloaded file.
A small "Microsoft Web Platform Installer 5.1" window will appear for a few seconds.
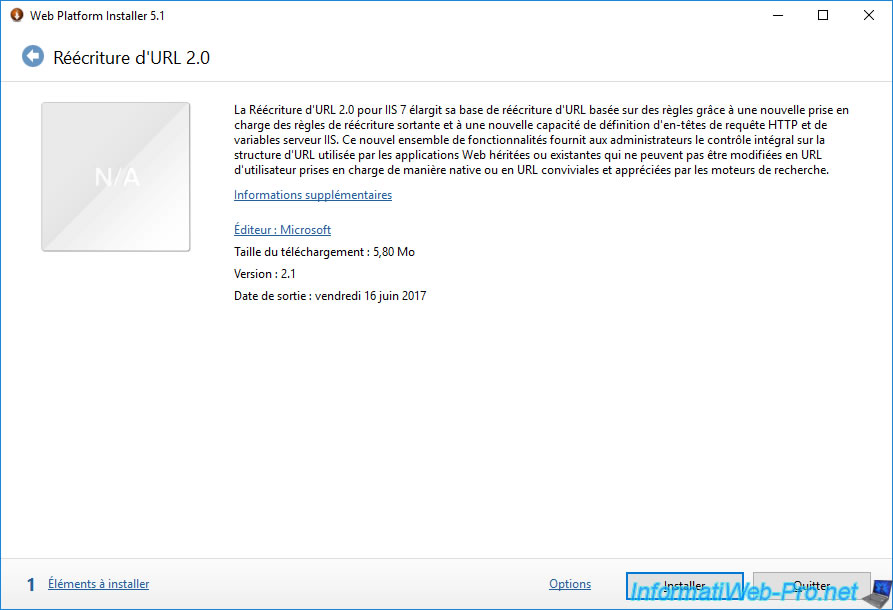
Then, the "Web Platform Installer 5.1" will appear.

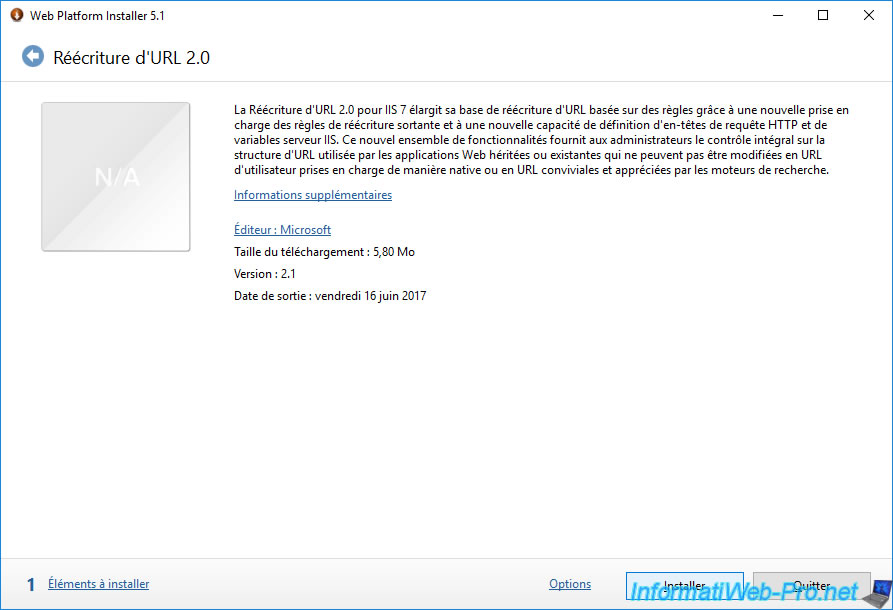
Once it has finished loading, the desired "URL Rewrite 2.0" extension will appear.
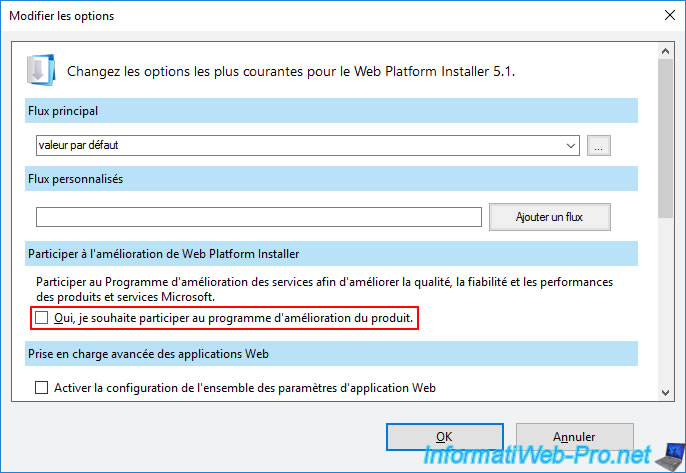
Click on the "Options" link (at the bottom of the window) to disable participation in the improvement program if you wish.
Uncheck "Yes, I want to participate in the Customer Experience Improvement Program" to prevent your server from sending data to Microsoft, then click OK.
Then, click on : Install.
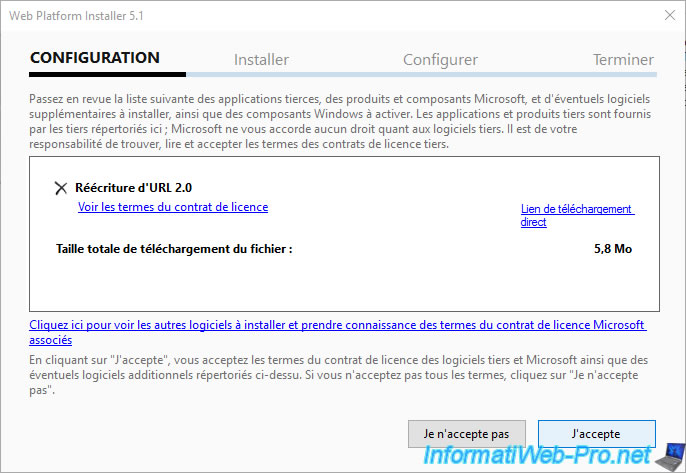
Accept the license agreement related to the extension you want to install.
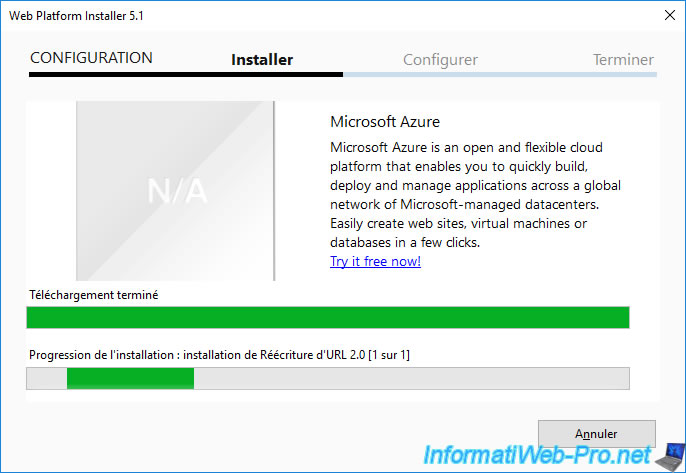
Wait while installing this "URL Rewrite 2.0" extension.
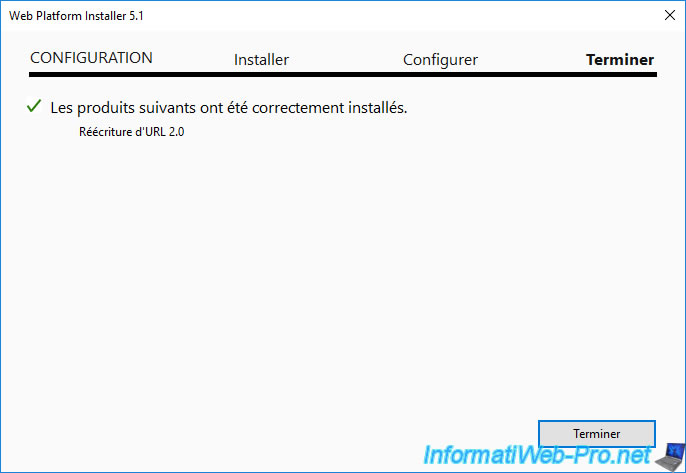
Once the installation of this extension is complete, click Finish.
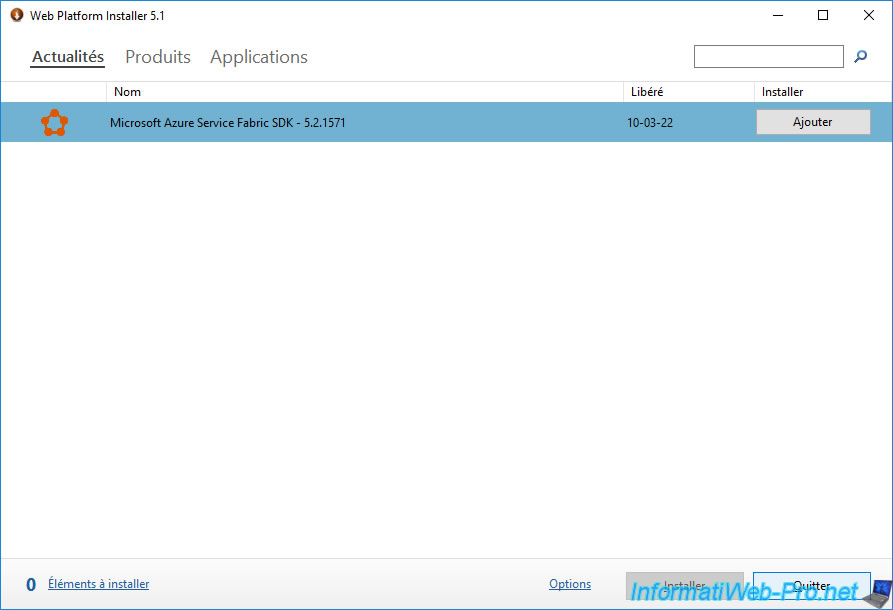
Click on : Exit.
8.2. Redirect HTTP version to HTTPS version via URL rewriting
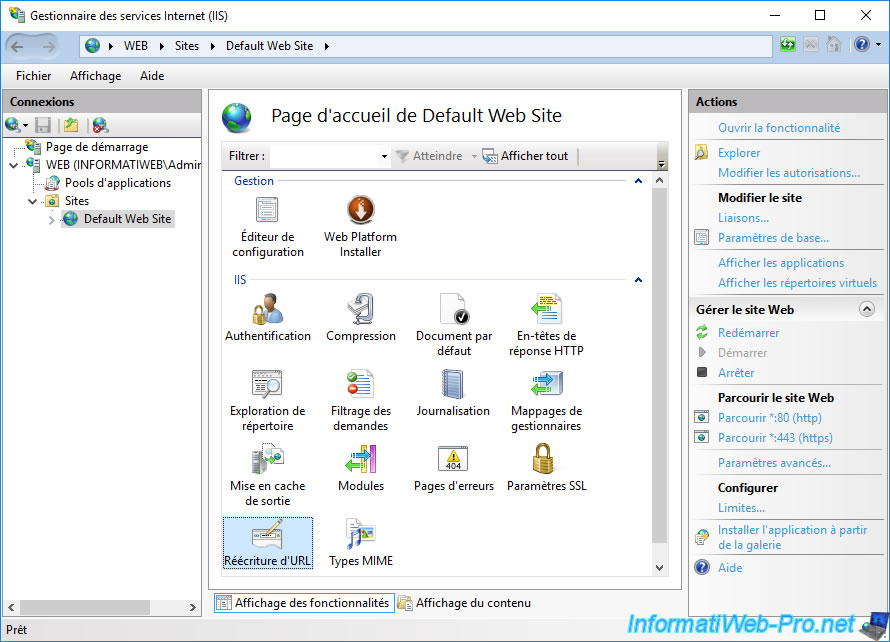
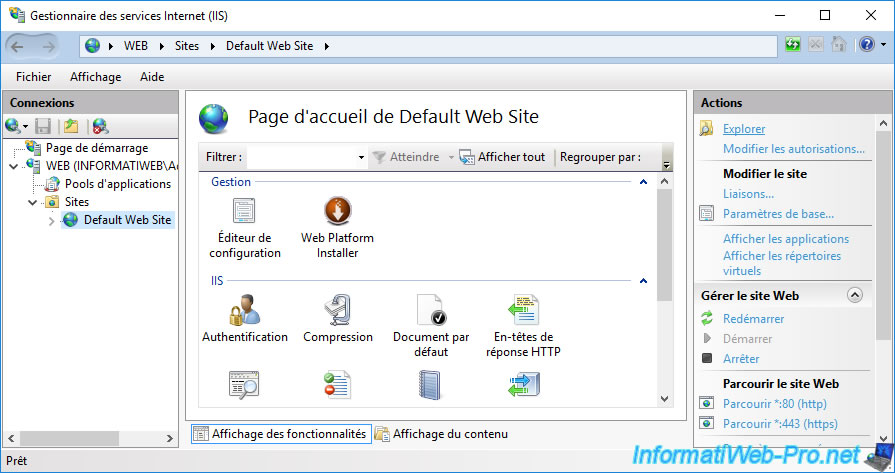
Now that the "URL Rewrite" extension is installed, close IIS Manager if it was left open, then open it again.
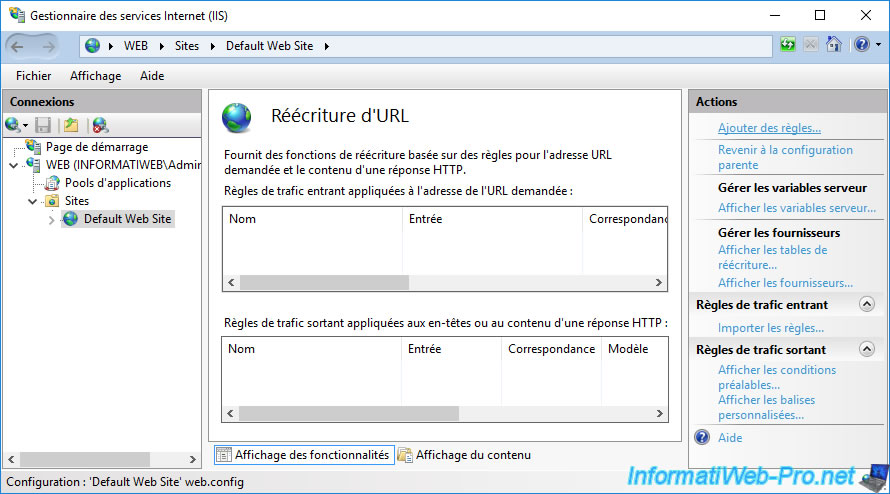
Select your website (on the left), then go to "URL Rewrite".
In the right column, click on the "Add rule(s)" link.
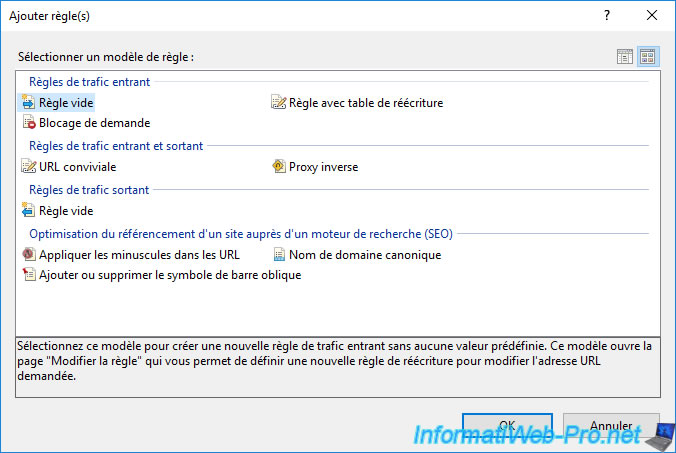
In the "Inbound rules" section, select "Blank rule" and click OK.
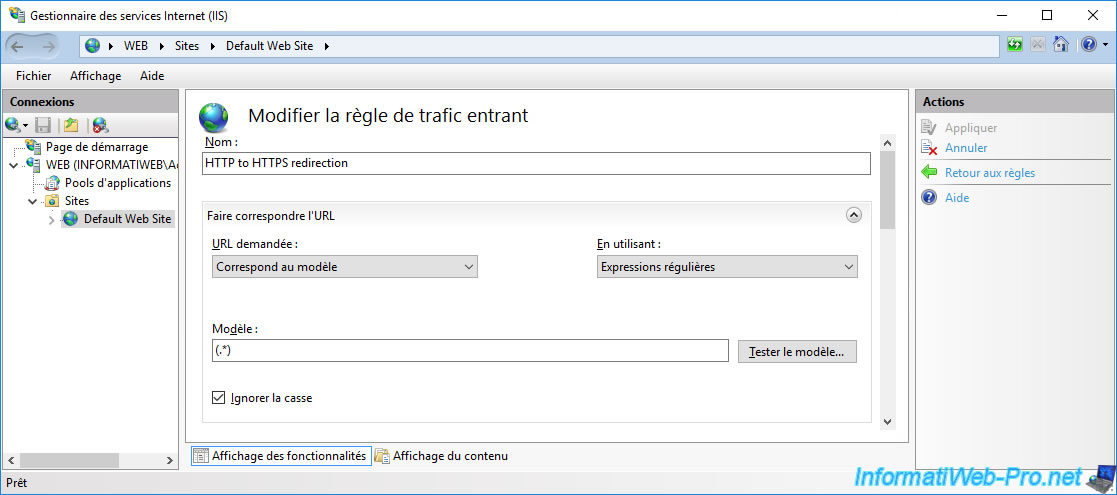
Provide "HTTP to HTTPS redirection" as the inbound rule name, then in the "Match URL" section, specify these settings :
- Requested URL : Matches the Pattern
- Using : Regular Expressions
- Pattern : (.*)
- check the "Ignore case" box
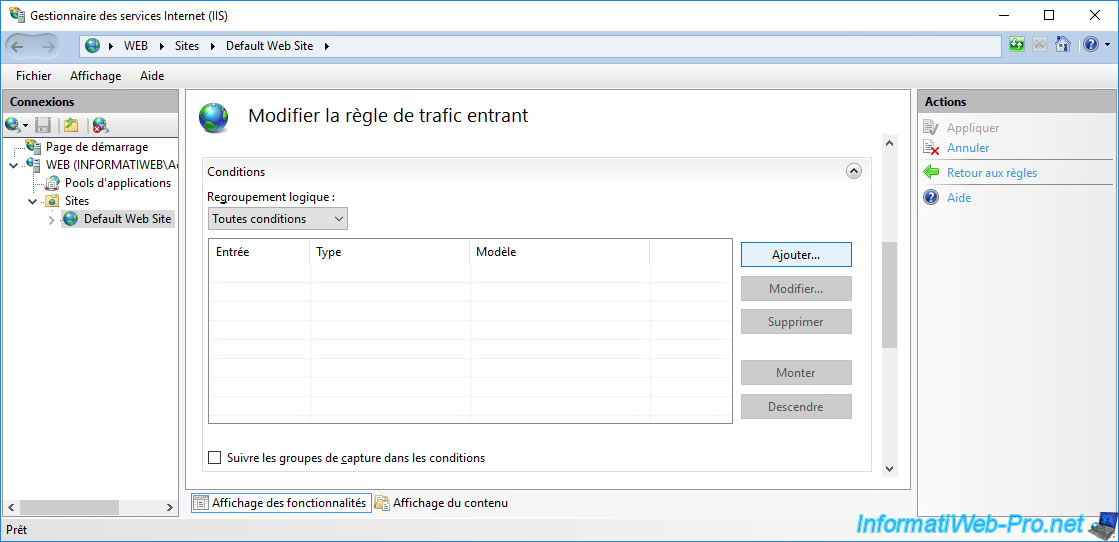
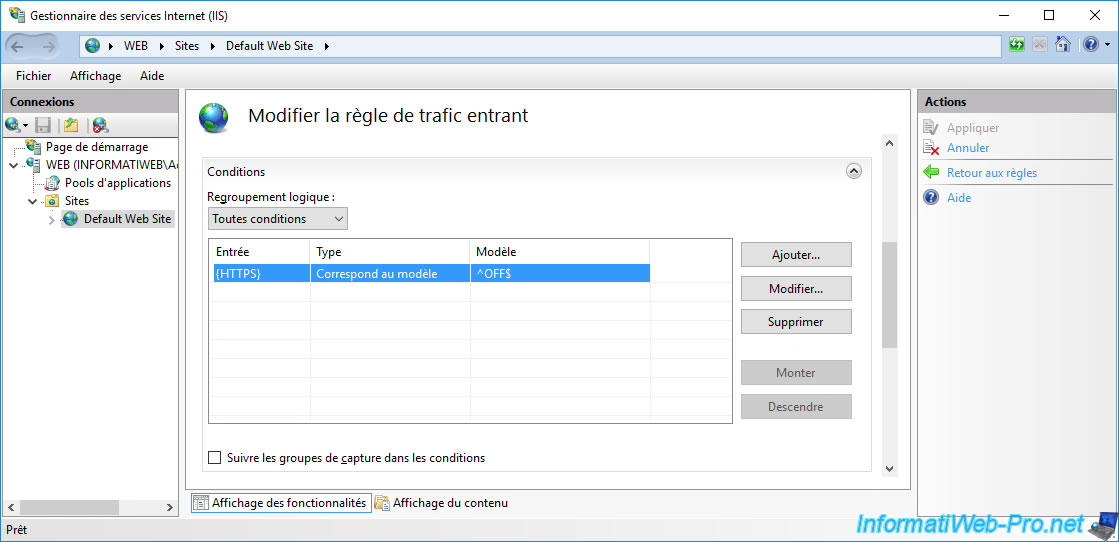
In the "Conditions" section, click : Add.
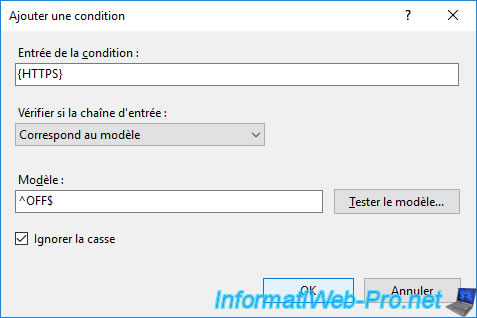
In the "Add Condition" window that appears, specify :
- Condition input : {HTTPS}
- Check if input string : Matches the Pattern
- Pattern : ^OFF$
- Check the "Ignore case" box.
Then, click OK.
The added condition appears.
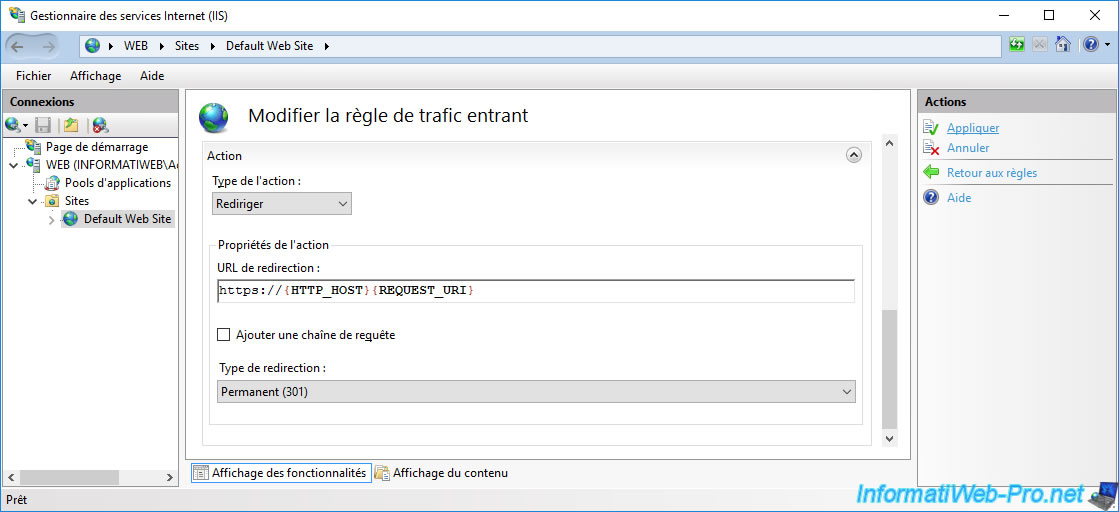
In the "Action" section, select "Action type : Redirect", then specify this as the redirect URL "https://{HTTP_HOST}{REQUEST_URI}".
Next, uncheck the "Append query string" box and select "Redirect type : Permanent (301)".
Note that a permanent redirect (HTTP code : 301) is recommended for SEO and also indicates to visitors that they can keep this redirect cached without attempting to request the old URL again from the server.
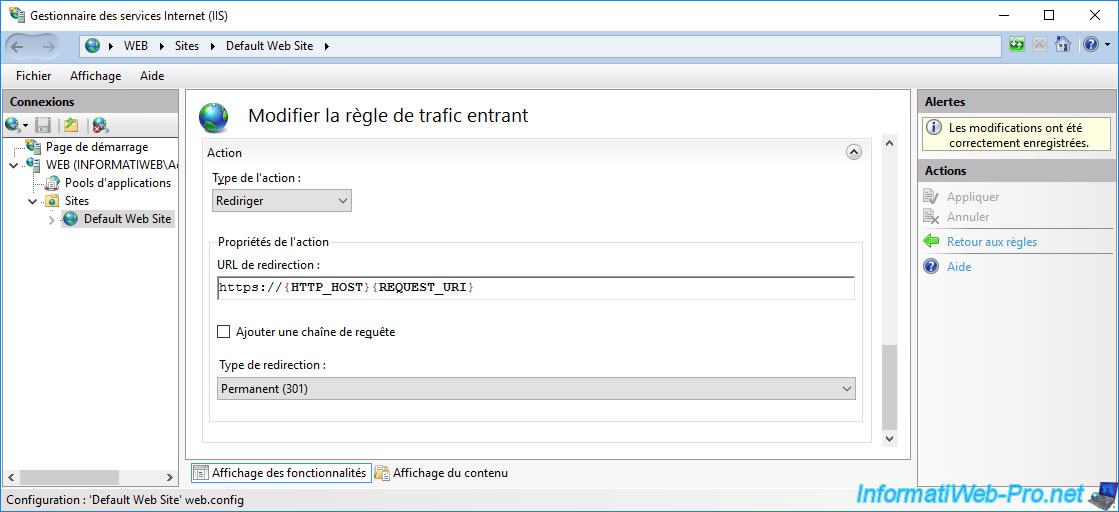
Finally, click on the "Apply" link (in the right column) to save this URL rewrite.
The "The changes have been saved" message appears.
Important : if you had blocked access to the unsecured version (HTTP), don't forget to unblock it by unchecking the "Require SSL" box in the "SSL Settings" section, then click Apply.
Then, restart your website.
8.3. Testing HTTP to HTTPS redirection
In your web browser, try to access the unsecured (HTTP) version of your website.
If URL rewriting has been configured correctly, your IIS web server will automatically redirect you to the HTTPS version of your website.
If this is not the case, your web browser has displayed the page that was in its cache.
In this case, refresh the page by pressing F5 or empty the cache of your browser, restart it and try again.
Now, the HTTP version will be redirected to the HTTPS version.
If there is a problem, you can check if the rewrite has been created for your website.
To do this, in the IIS manager of your web server, select your website and click on "Explore" (in the right column).
At the root of your website, you should find a "web.config" file.
Note : this is the equivalent of the ".htaccess" file used by the "Apache" web server on Linux.
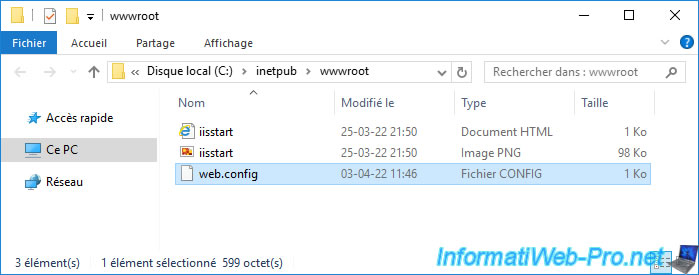
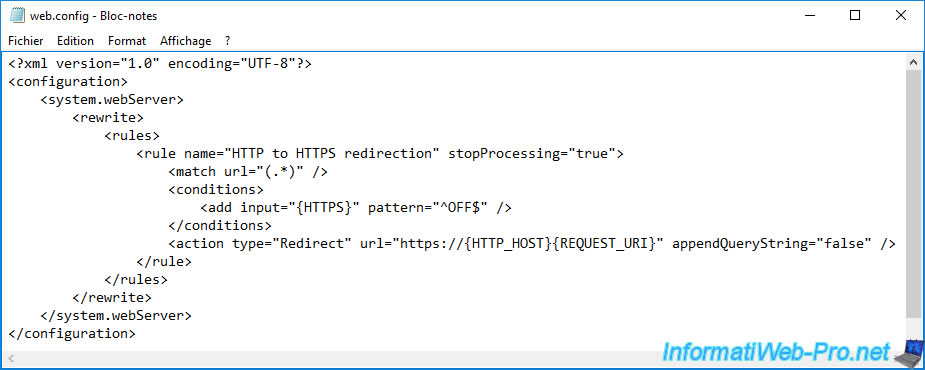
The contents of this "web.config" file should look like this for HTTP to HTTPS redirection.
Share this tutorial
To see also
-

Articles 1/26/2024
SafeNet Authentication Client (SAC) - Installation and overview
-

Articles 9/8/2023
What is encryption and how does it work ?
-
Windows Server 12/29/2023
WS 2016 - AD CS - Backup and restore a certificate authority (CA)
-

Windows Server 1/19/2024
WS 2016 - AD CS - Buy smart cards and log in via them
No comment