Backup and restore a certificate authority (CA) on Windows Server 2016
- Windows Server
- 29 December 2023 at 09:27 UTC
-

- 2/3

3. Restore your CA
For this tutorial, we shut down the server where our CA is currently installed and we installed a new server with the same version of Windows Server.
3.1. Change the NETBIOS name of the new server
Before restoring your CA, it's important to change the NETBIOS name of your new server to match the NETBIOS name of the old server that was acting as the CA.
Indeed, this name is present in different places and in particular in the CDP URLs allowing clients to access the revocation lists published on your certification authority.
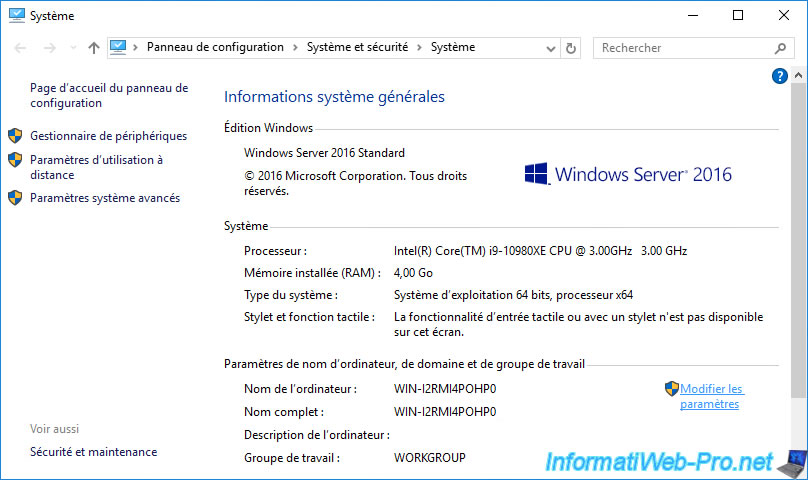
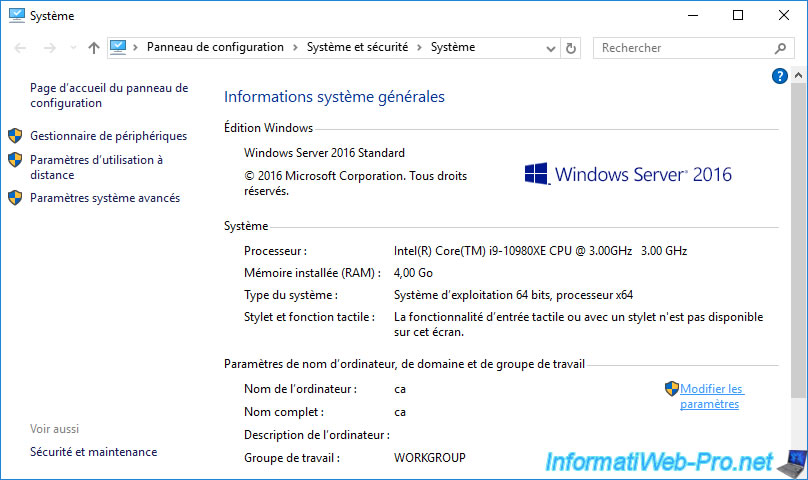
In our case, the NETBIOS name of our old server was : ca.
After changing the NETBIOS name, click OK.
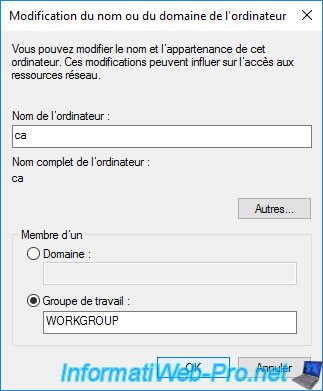
Then, click on : Restart Now.

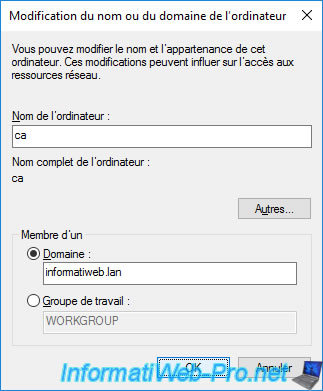
3.2. Join the new server to the domain
As you already know, an enterprise CA is always tied to an Active Directory domain.
Which is our case.
Start by specifying the IP address of your Active Directory domain controller as the preferred DNS server on your new server so that this server can find the IP address for the Active Directory domain you want to join.

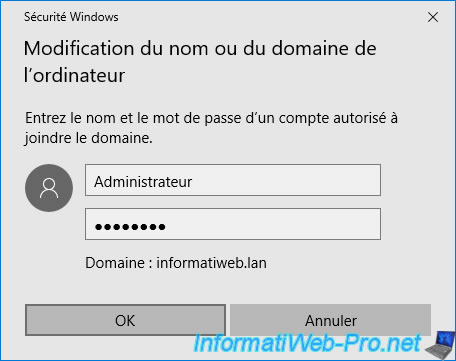
Again, in the system properties of your new server, click on : Change settings.
Select "Domain" and provide the domain name that your old CA was part of.
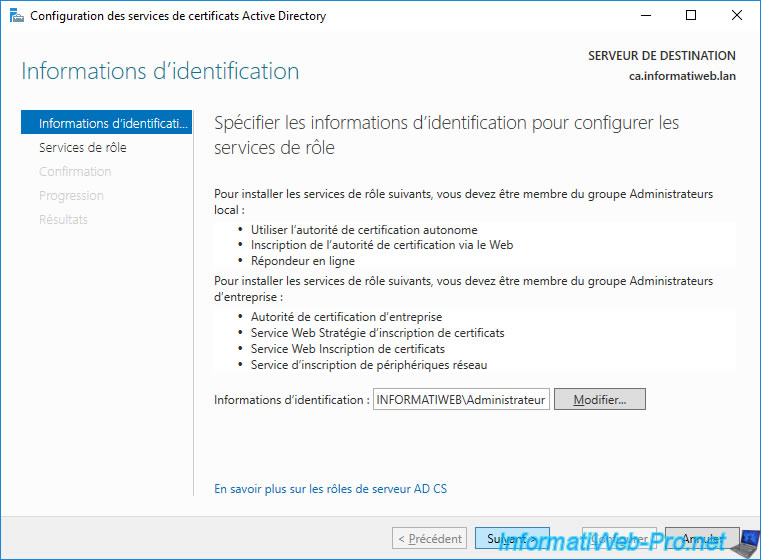
Provide the credentials for the domain Administrator account.
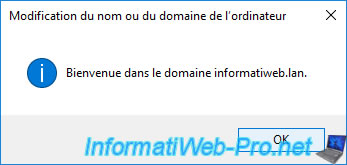
The "Welcome to the [your domain name] domain" message appears.
Click OK.
Click "Restart Now" to complete the Active Directory domain join.

3.3. Reinstall the CA on the new server
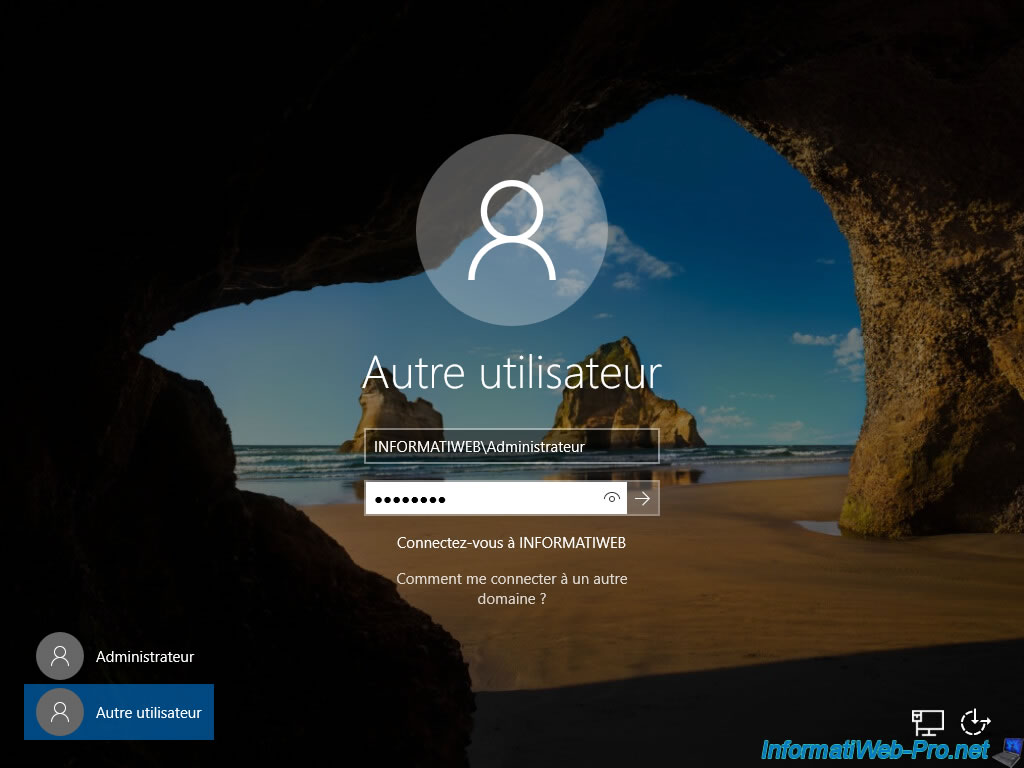
After the new server restarts (after joining the domain), log in as the domain administrator instead of the local Administrator account for that server.
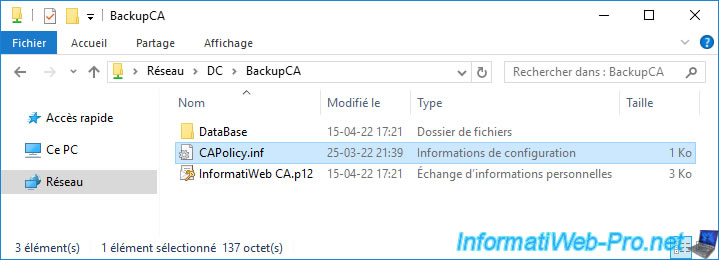
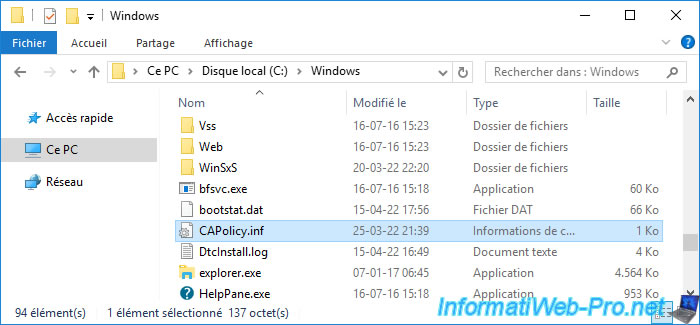
To begin, copy the "CAPolicy.inf" file from your backup and paste it into the "C:\Windows" folder of your new server.
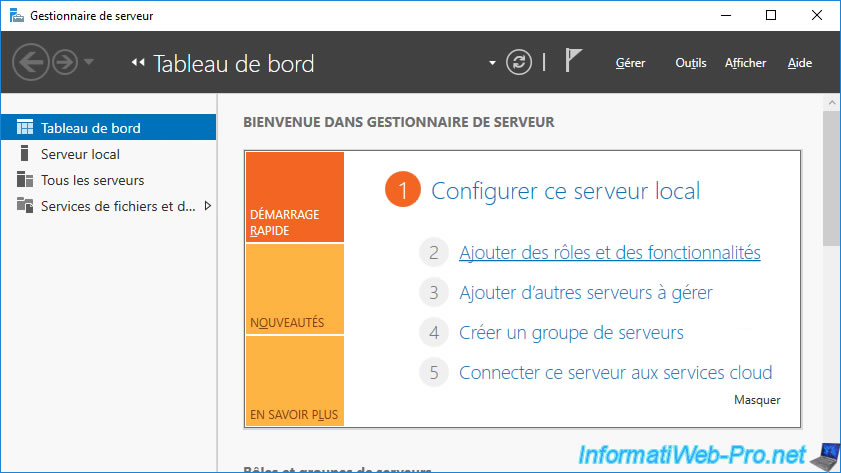
Then, launch the server manager and click on : Add roles and features.
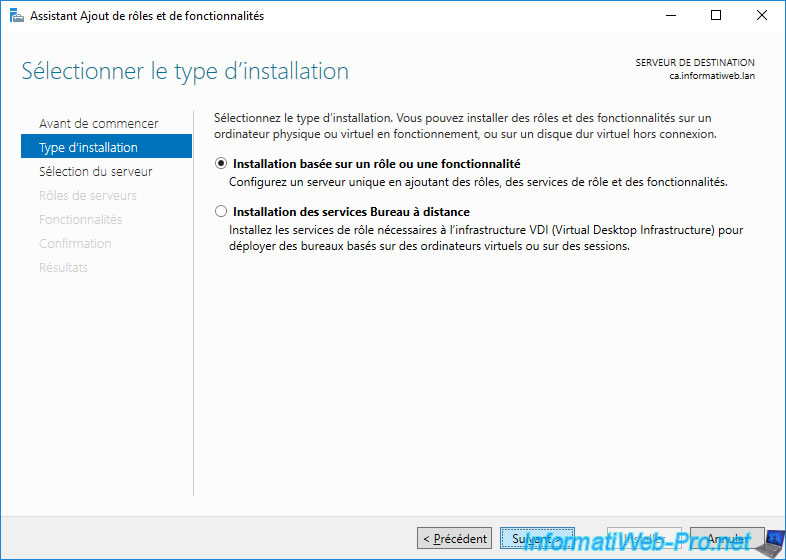
Choose : Role-based or feature-based installation.
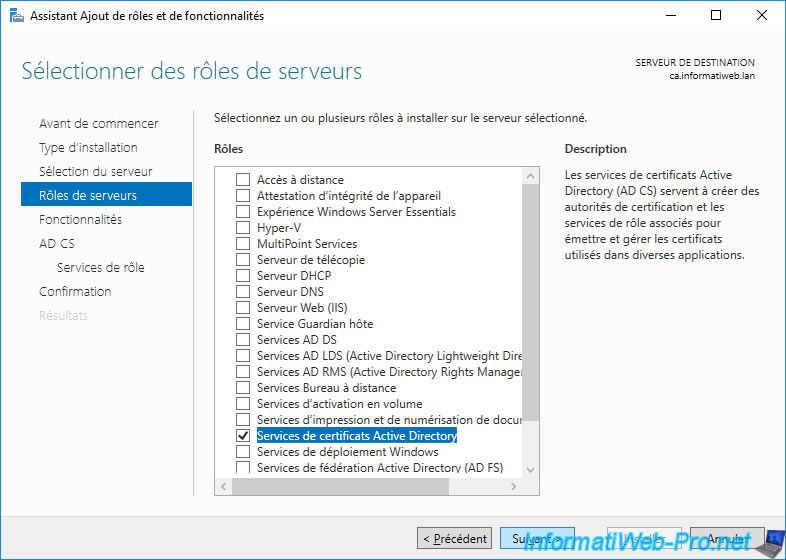
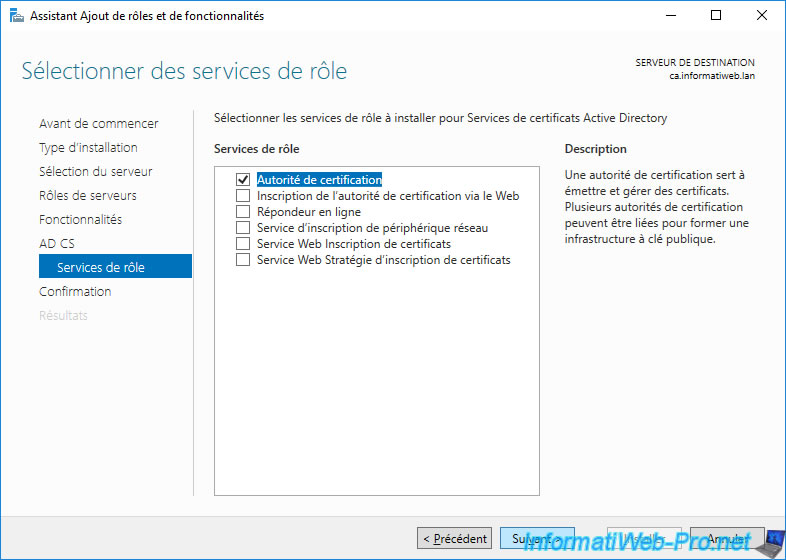
Install the "Active Directory Certificate Services" role.
Install the "Certification Authority" role service.
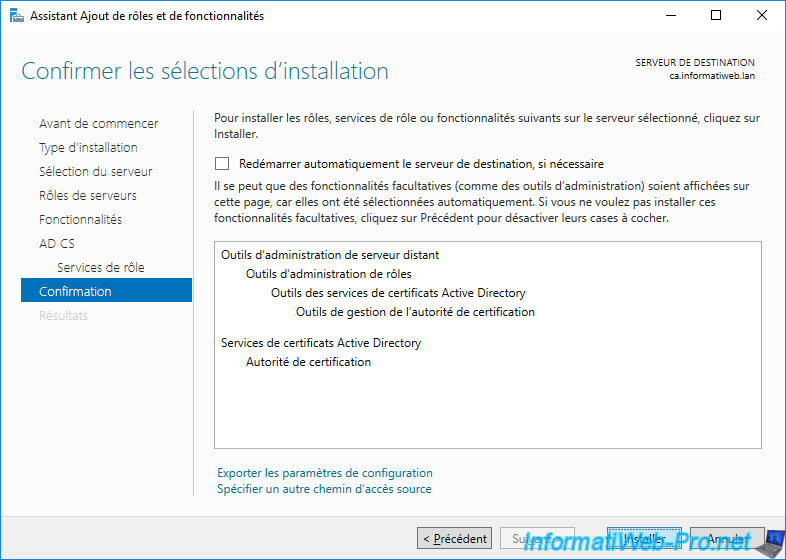
Click on : Install.
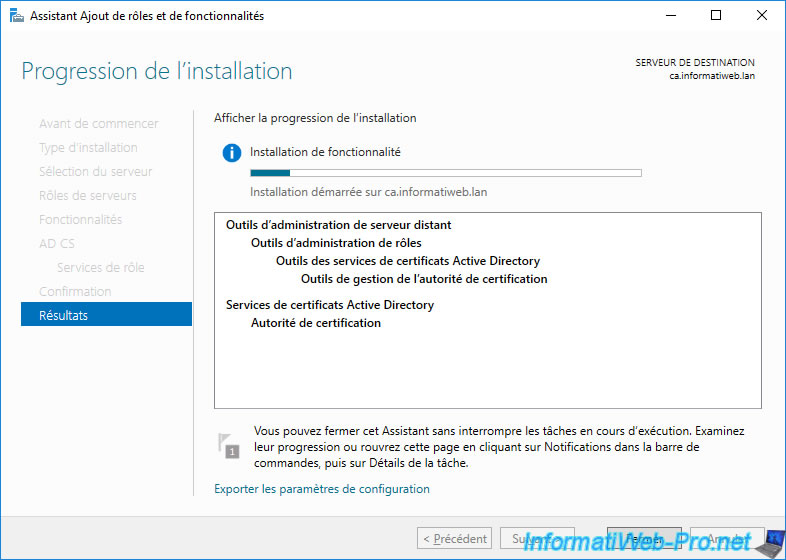
Wait while installing Active Directory Certificate Services.
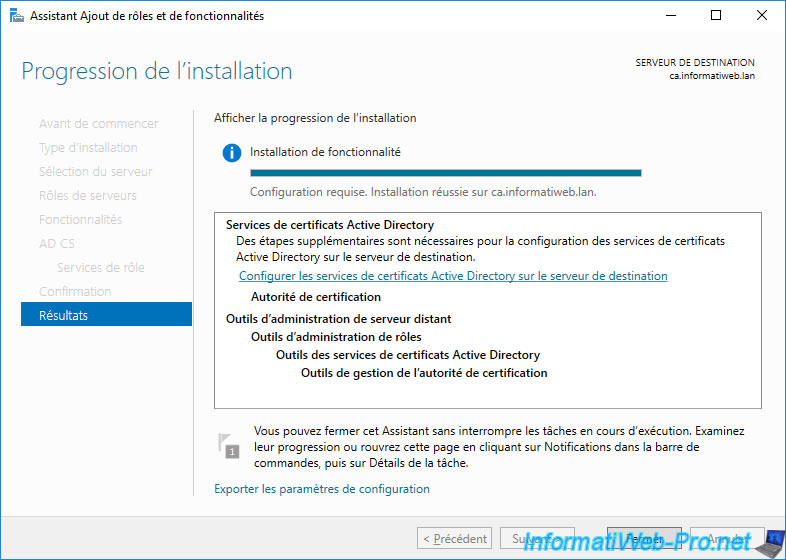
Once the installation of Active Directory Certificate Services is complete, click on the link that appears : Configure Active Directory Certificate Services on the destination server.
The "AD CS Configuration" wizard appears.
Click Next.
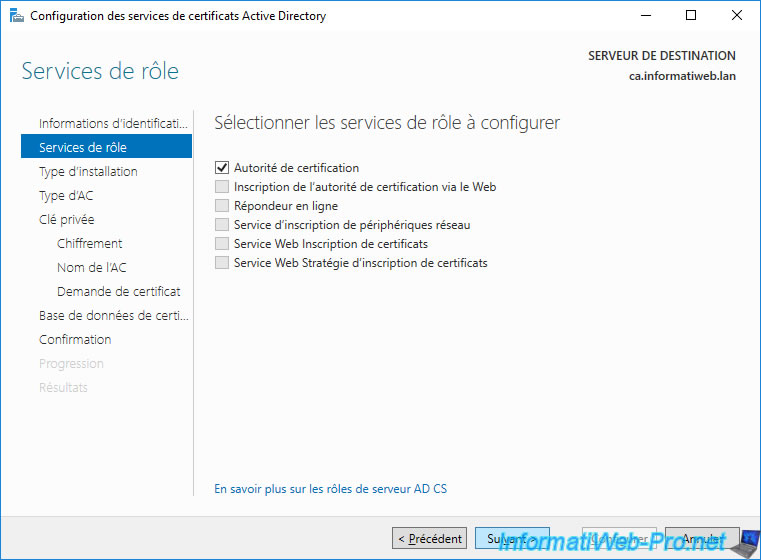
Check the "Certification Authority" box and click Next.
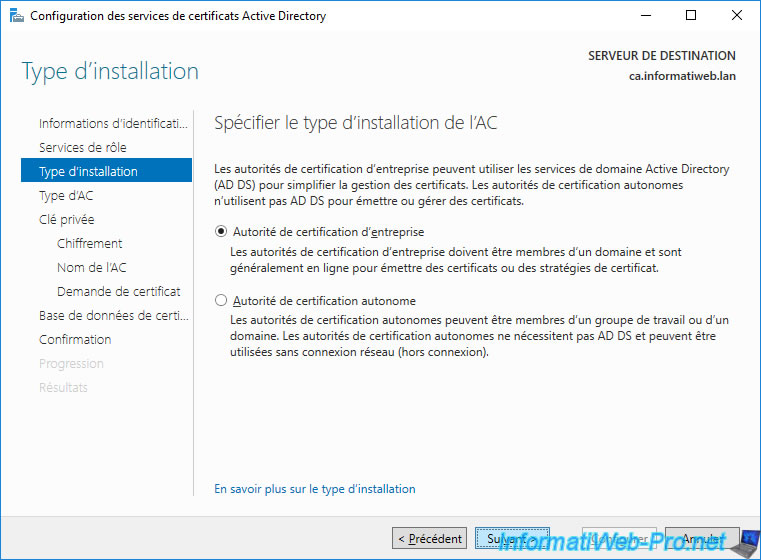
Select : Enterprise CA.
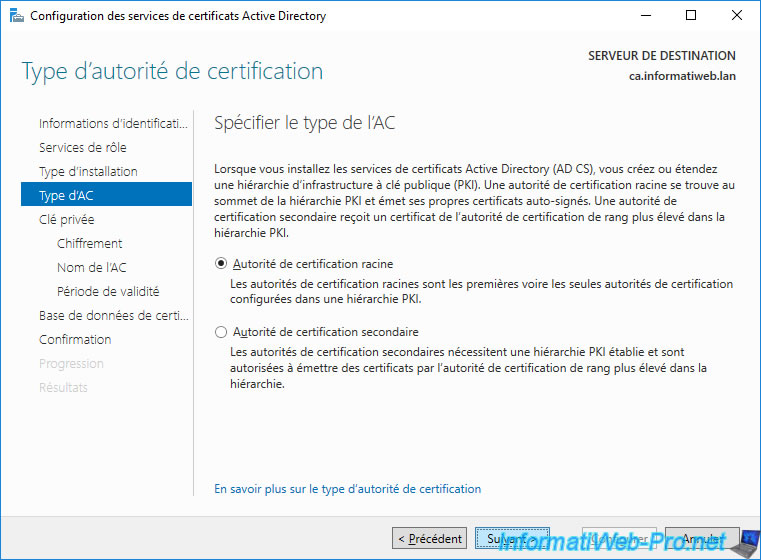
Select "Root CA".
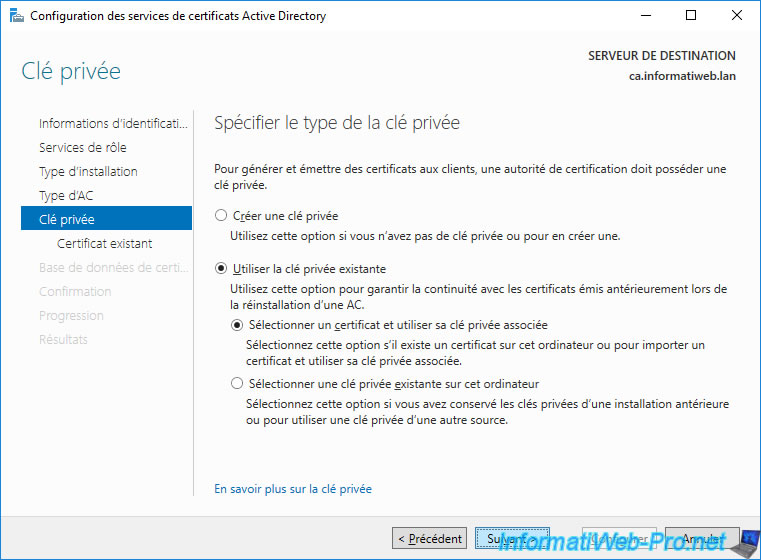
Warning : this time, you must select "Use existing private key" to reuse the same "public key / private key" pair.
Otherwise, any certificates you issued in the past will no longer be from a trusted certificate authority since the private key and the associated public key will have changed.
When you want to use the existing private key, the "Select a certificate and use its associated private key" option will be selected.
This allows you to import the private key from a certificate (.p12) exported previously.
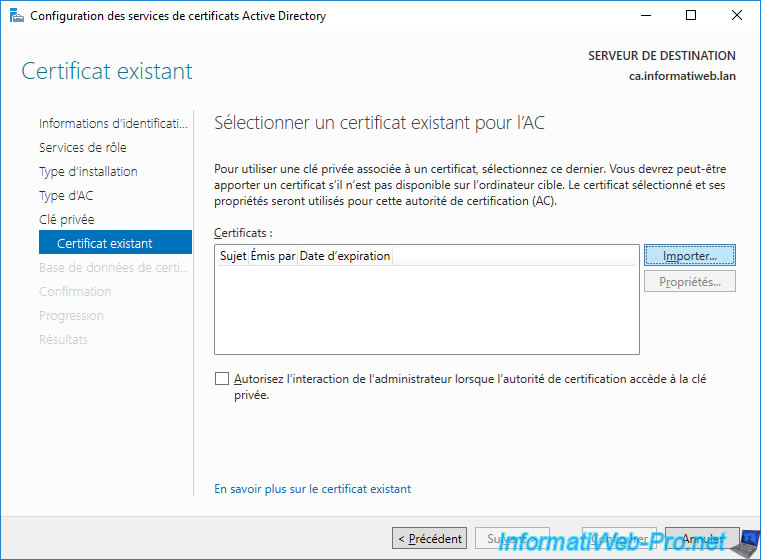
At the "Select an existing certificate for the CA" step that is displayed, click on : Import.
In the "Import an existing certificate" window that is displayed, click on : Browse.

Select the "[CA name].p12" certificate created earlier when backing up your CA.
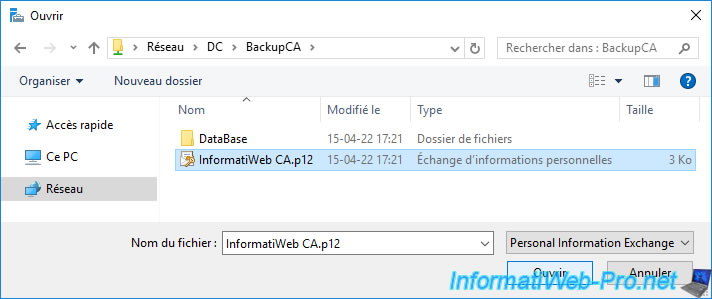
The certificate path appears.
Specify the password protecting the private key and click OK.

The selected certificate appears with the name and expiration date of your certification authority.
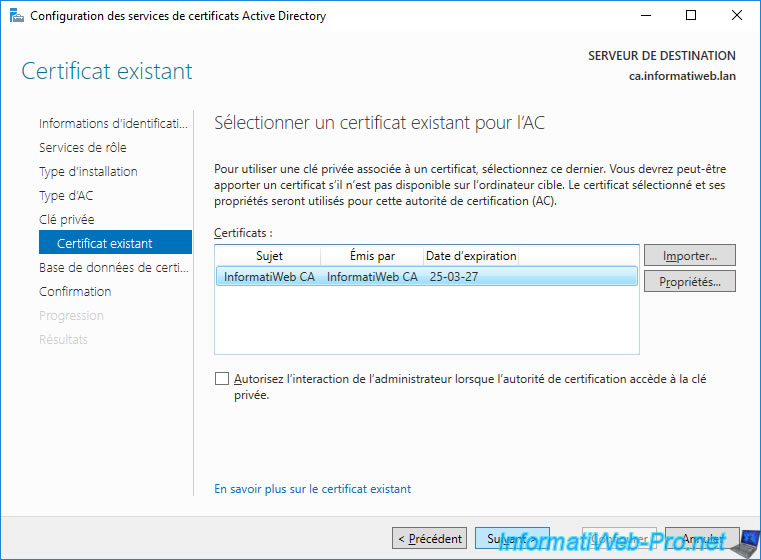
Once your CA certificate is imported, you will see it appear in your server's "Personal" certificate store.
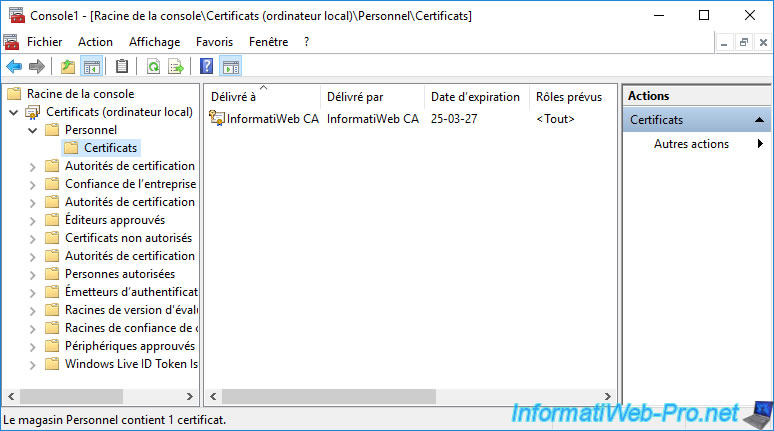
If you double click on this certificate, you will see that its associated private key is also present.
Share this tutorial
To see also
-

Articles 1/26/2024
SafeNet Authentication Client (SAC) - Installation and overview
-

Articles 9/8/2023
What is encryption and how does it work ?
-

Windows Server 1/19/2024
WS 2016 - AD CS - Buy smart cards and log in via them
-

Windows Server 1/5/2024
WS 2016 - AD CS - Create a recovery agent to recover certificates
No comment