Publish RemoteApps (on multiple servers) on Windows Server 2012 using TSE
- Windows Server
- RDS
- 03 September 2014 at 13:59 UTC
-

- 3/4

7. Creating a shared folder for the disk configuration of user profile
If we think about our deployment, we realize that the user will be able to use the programs published on any server. This presents a problem because when the user save their documents, they will be saved on the server that hosted this RemoteApp application. When the user reconnects, it's possible that the broker redirects it to another server. The user doesn't find his documents.
To solve this problem, Microsoft created the user profile disks. The purpose of this feature is simple : the user data will be stored in a VHD that will be accessible through a shared folder. The shared folder will always be on the same server (don't use a Remote Desktop Session Host server, preferably). Thus, the user can use their data from any "Session Host ..." server.
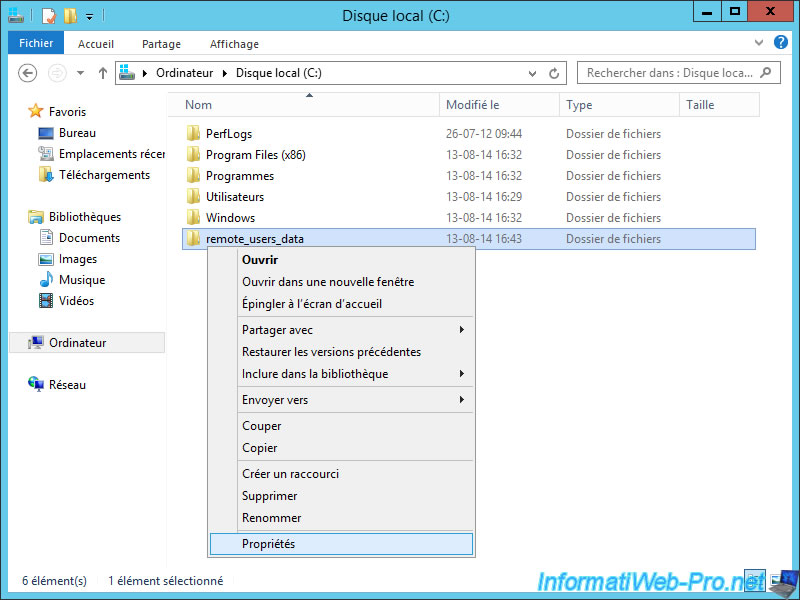
As explained, the data will be stored in a shared folder. To begin, create a folder on a server (preferably not those used as "Session Host ..." servers).
In our case, we have created this folder on the broker server.
In the case where a "Session Host ..." server fails, it allows us to continue to work (after having disconnected and reconnected to arrive on another server). If the broker fails, anyway, the programs will not be available since everything goes through the broker.
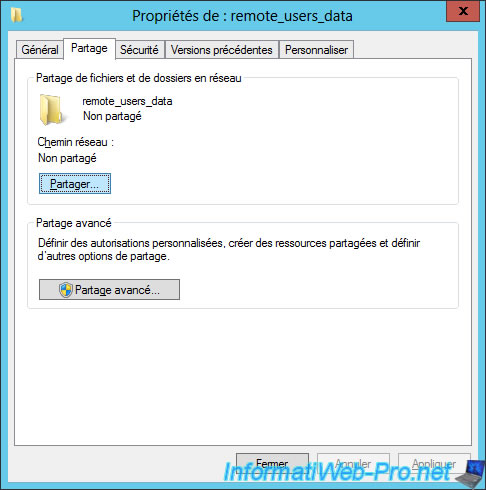
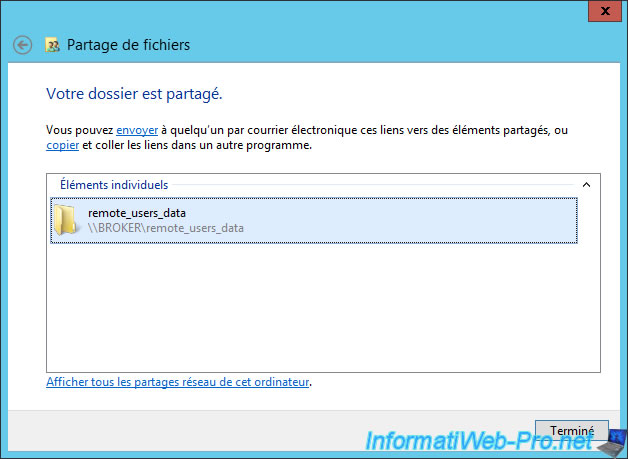
Go to the "Sharing" tab and click "Share".
Add "Everyone" to the list.
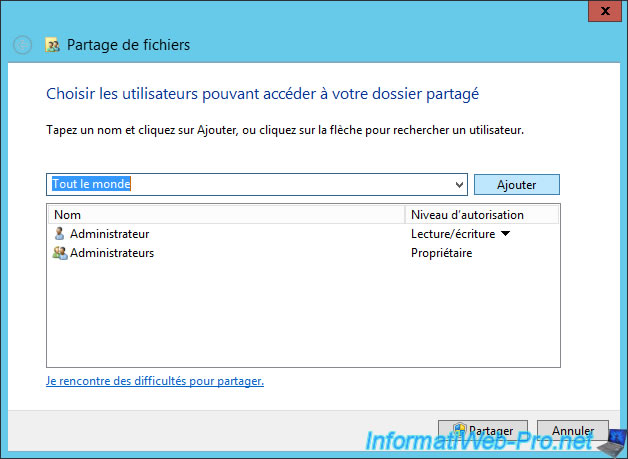
Everyone has the right to read only. Administrators have permissions to read and modifications to resolve any problems that users may encounter.
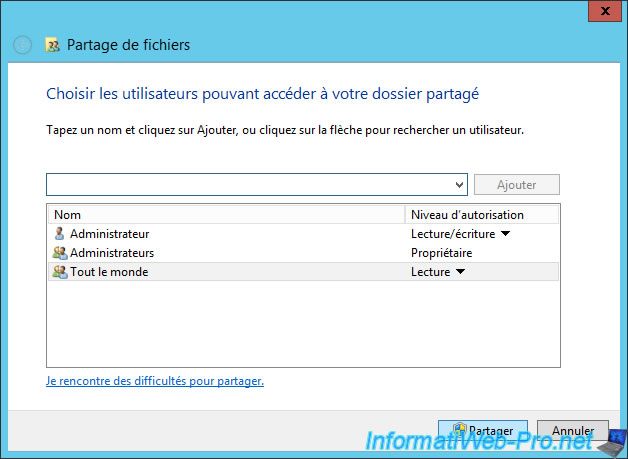
Once the folder is shared, a path starting with \\ will appear. This is the path that you will need in the next section to configure the user profile disks.
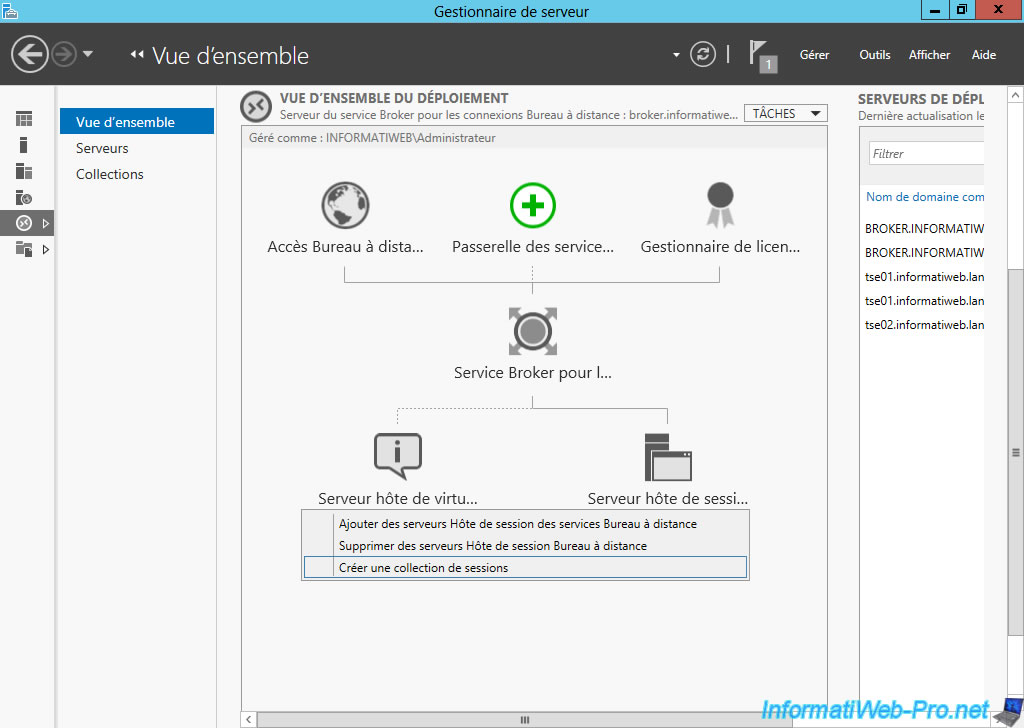
8. Creating a collection and select "Remote Desktop Session Host" servers to use
To create a RemoteApp collection, right click on "Remote Desktop Session Host server" and click "Create a collection of sessions".
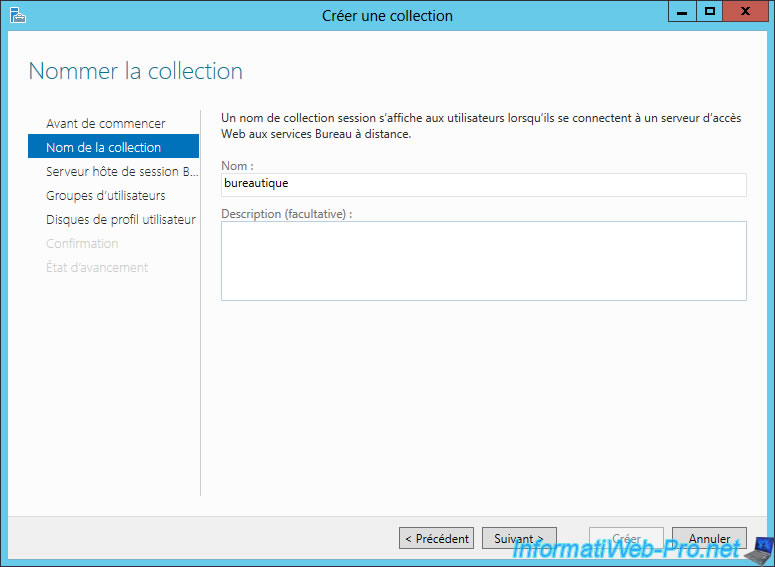
Enter a name for this collection.
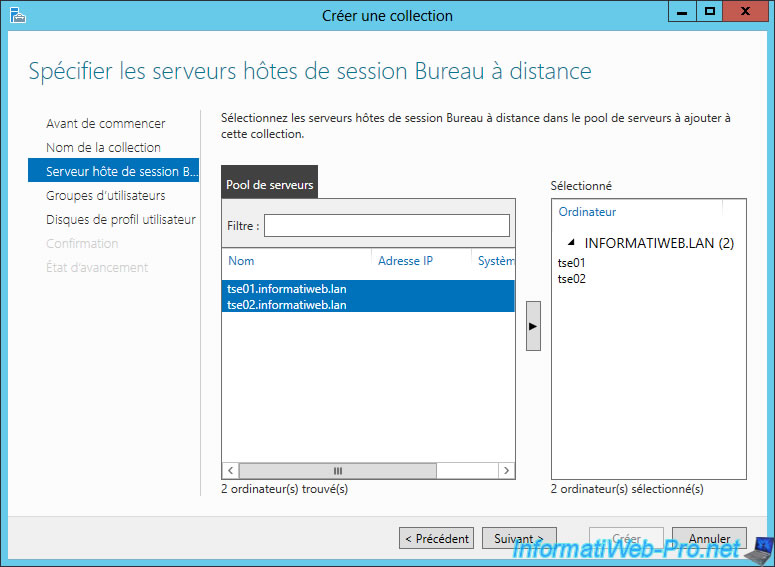
Select the servers that will host programs to publish.
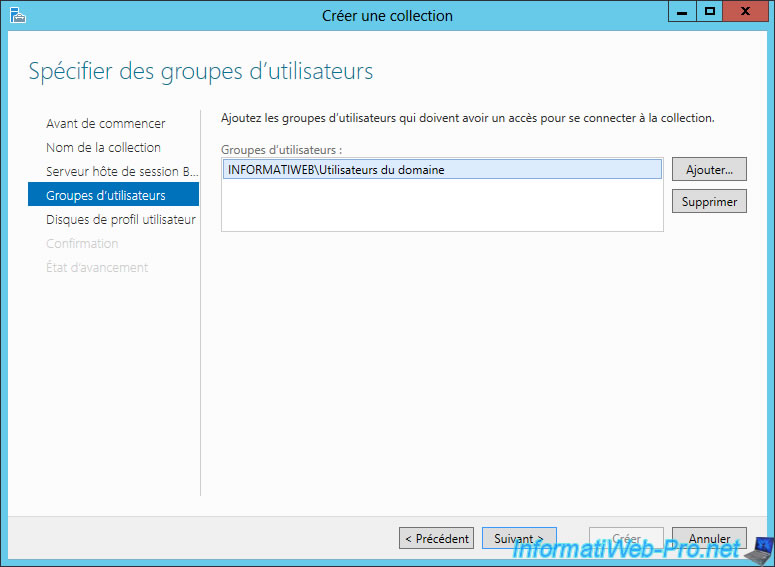
Select the users or groups that have access to this collection of programs. By default, users in Active Directory.
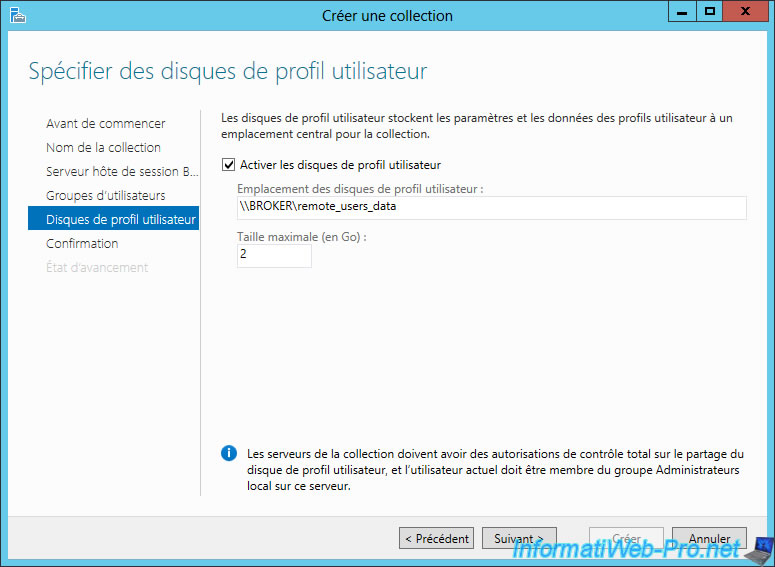
Because we use multiple "Session Host ..." servers. Check the "Enable User Profile Disks" box.
Then, specify the path of the shared folder and the maximum data size for each user of this collection.
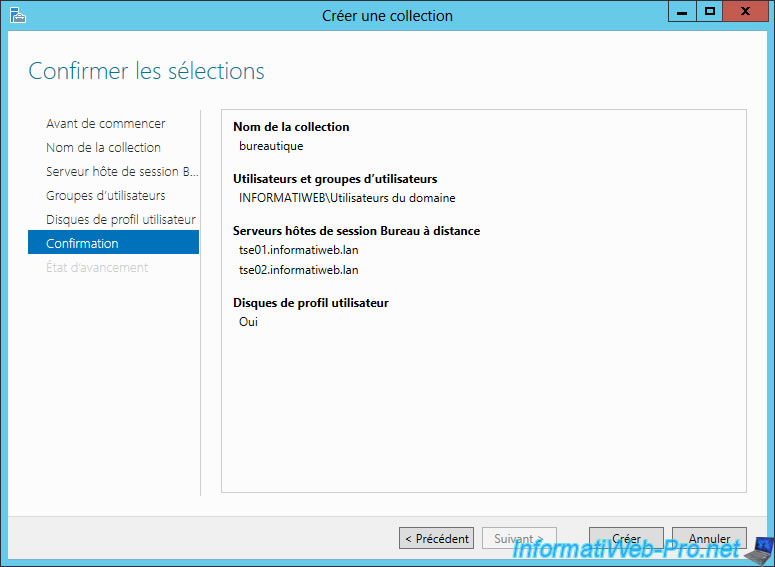
A configuration summary is displayed.
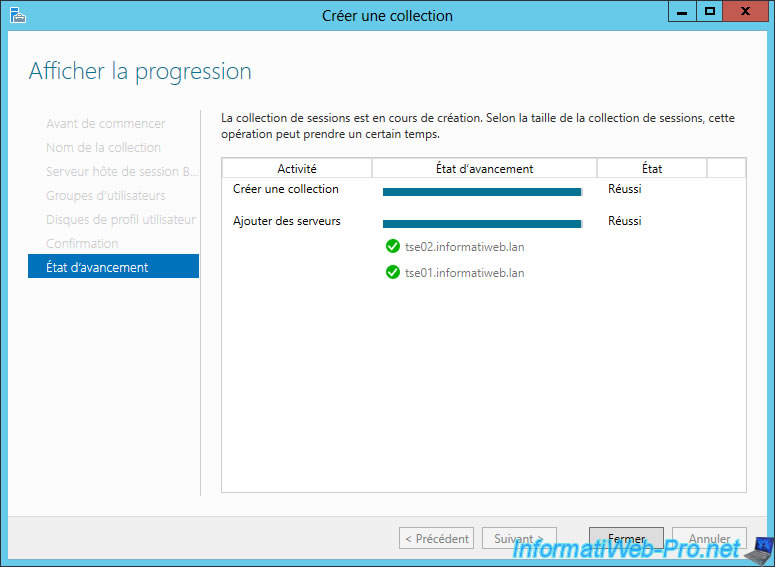
Windows creates the collection and adds it to the selected servers.
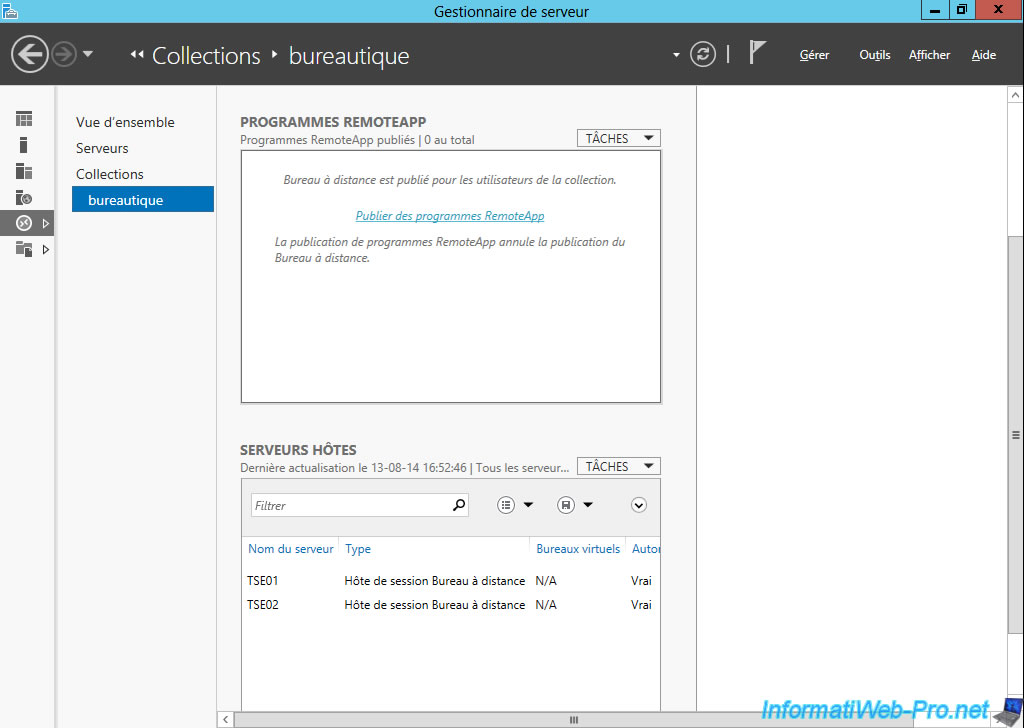
9. Publish RemoteApps programs.
In this collection, we will publish "RemoteApp" programs. Just click on the blue link displayed (for publishing programs in the future, go through the tasks menu).
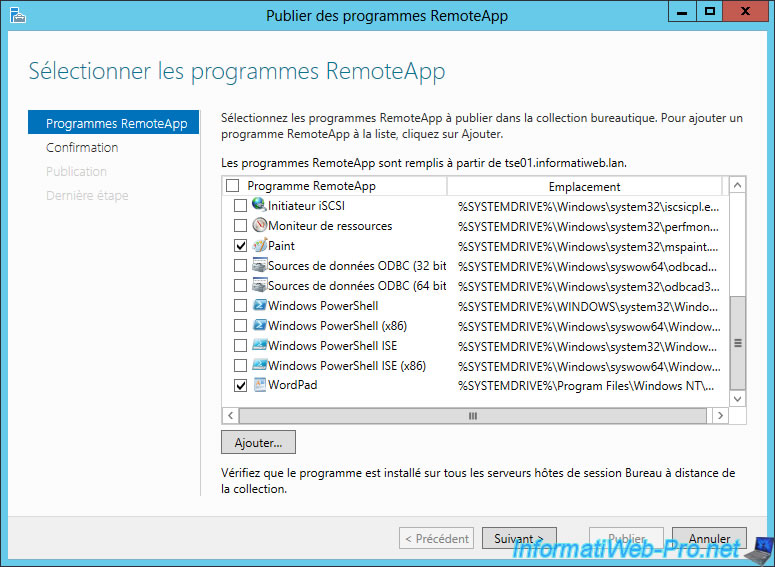
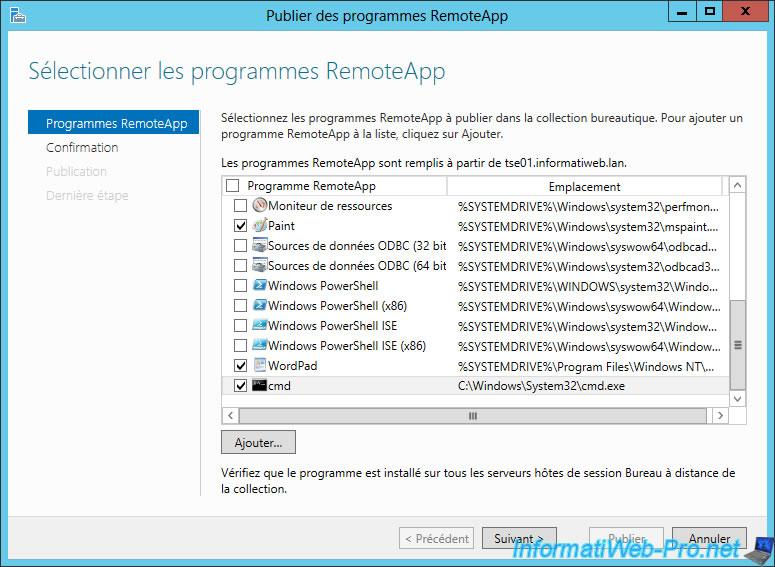
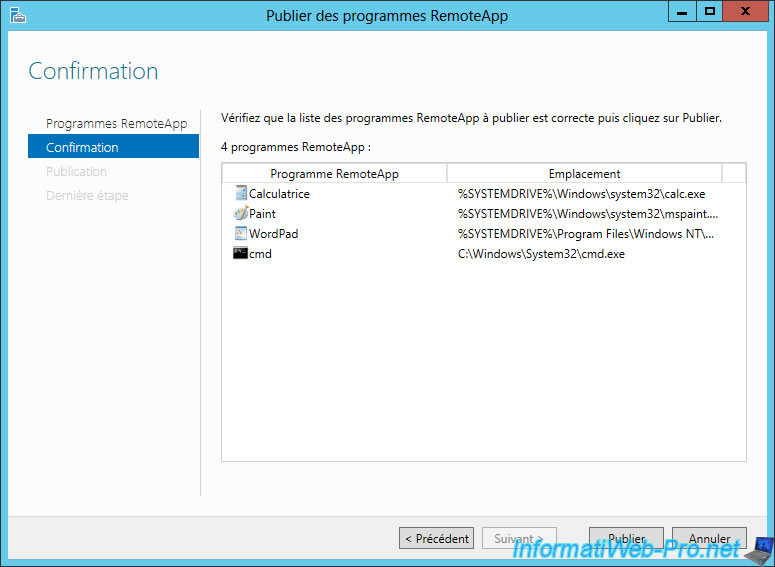
Select the following programs :
- Calculator
- Paint
- WordPad
Then, as debugging, we will also publish the command prompt of Windows. To do this click on the "Add" button.
Note :
- Note that the list is based on the specified server at the top of the list. In our case: tse01.
- The assistant doesn't verify that the selected program is also installed on other servers assigned to this collection. However, if you don't install the program published on all servers assigned to this collection, an error message may be displayed randomly when the program is not found on the server.
- If you are updating a program, also perform this update on other servers to avoid future problems.
Allez dans "C:\Windows\System32" et sélectionnez le programme cmd (ou cmd.exe si les extensions sont affichées).
Go to "C:\Windows\System32" and select the cmd (or cmd.exe if extensions are shown) program.
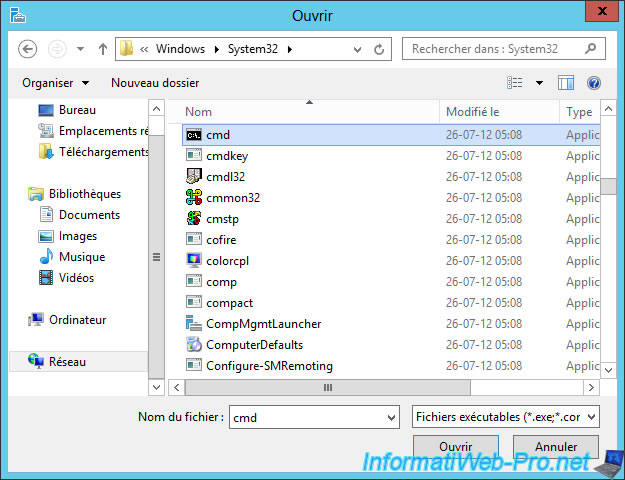
The "cmd" program appears at the end of the list.
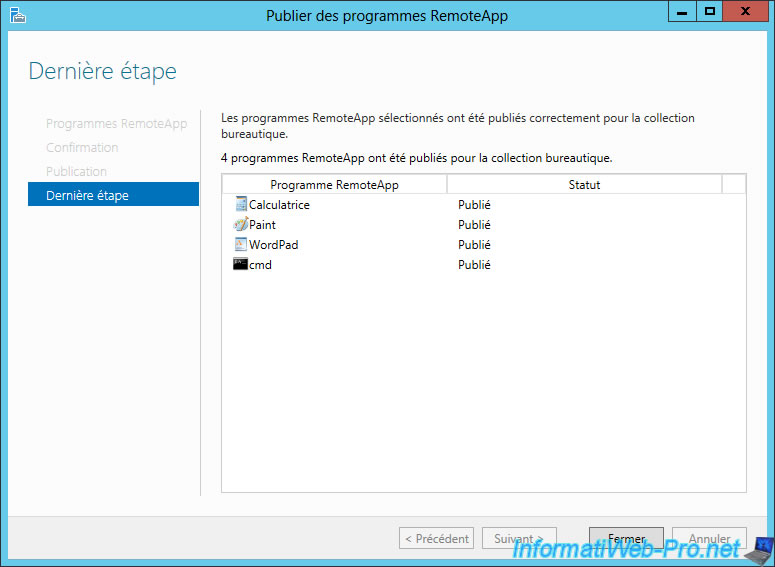
Confirm the publication of programs.
The programs will be accessible from the Web access.
Share this tutorial
To see also
-
Windows Server 3/22/2019
WS 2012 / 2012 R2 / 2016 - RDS - Enable the NLA and use SSL (TLS 1.0)
-
Windows Server 6/16/2019
WS 2012 / 2012 R2 / 2016 - RDS - Improve RDS server performance
-
Windows Server 2/1/2019
WS 2012 / 2012 R2 / 2016 - RDS - Single sign-on (SSO) for access to RemoteApp
-
Windows Server 4/19/2019
WS 2012 / 2012 R2 / 2016 - RDS - Unblock your users session as admin
No comment