Publish RemoteApps (on multiple servers) on Windows Server 2012 using TSE
- Windows Server
- RDS
- 03 September 2014 at 13:59 UTC
-

- 4/4
10. Tests and functioning of user profile disks
To test the broker and the user profile disks, we will create two users in the active directory.
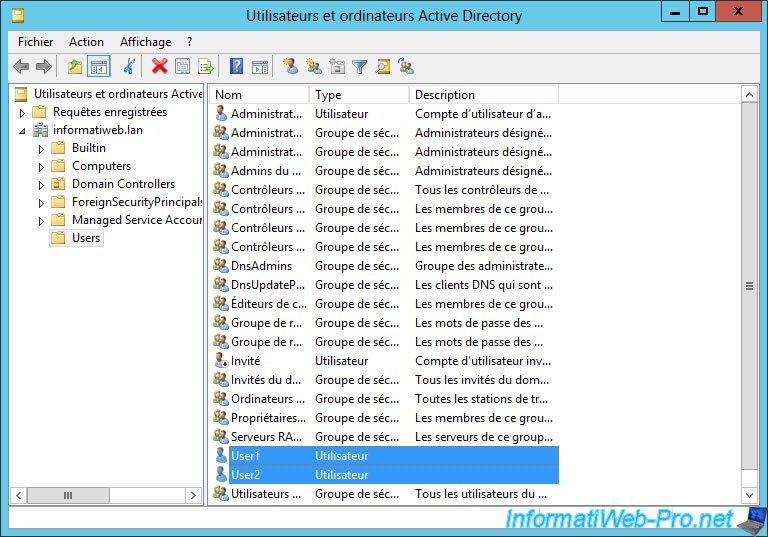
Then, we will use two computers linked to the active directory.
It isn't mandatory, but to use our free solution for the SSL certificate, the easiest way is to bound client computers to active directory.
On a client computer, go to the "https://[broker server name].domain.extension/RDWeb" address. For now, you have a warning about the certificate, but we will settle that later.
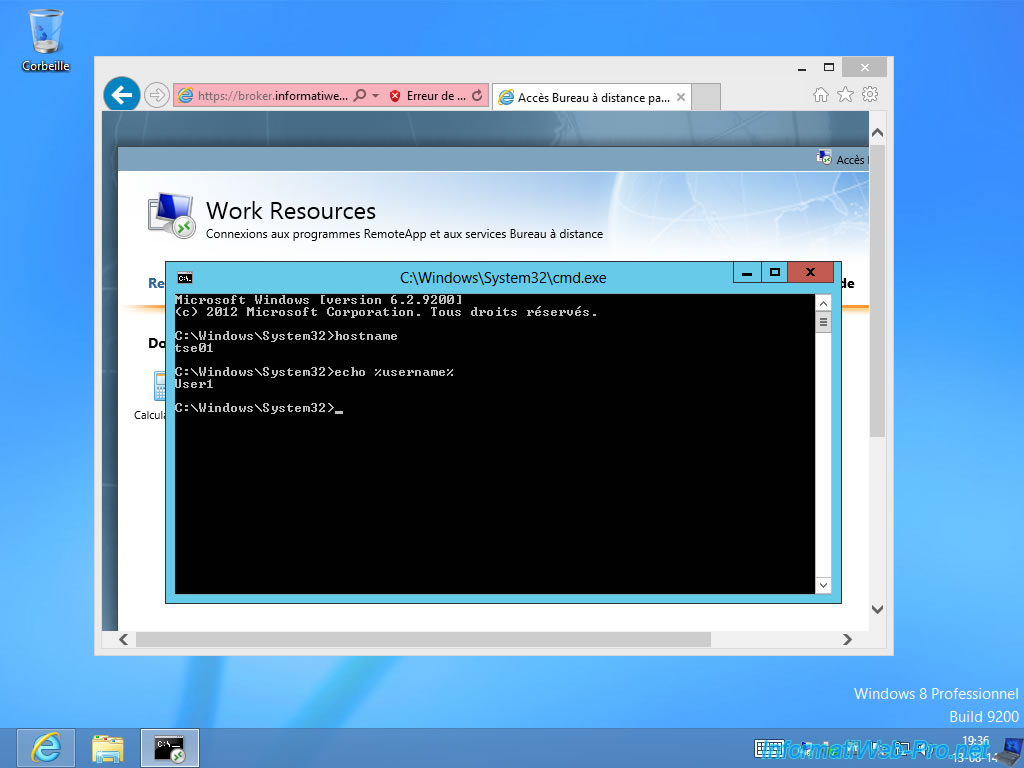
Start a command prompt (cmd).
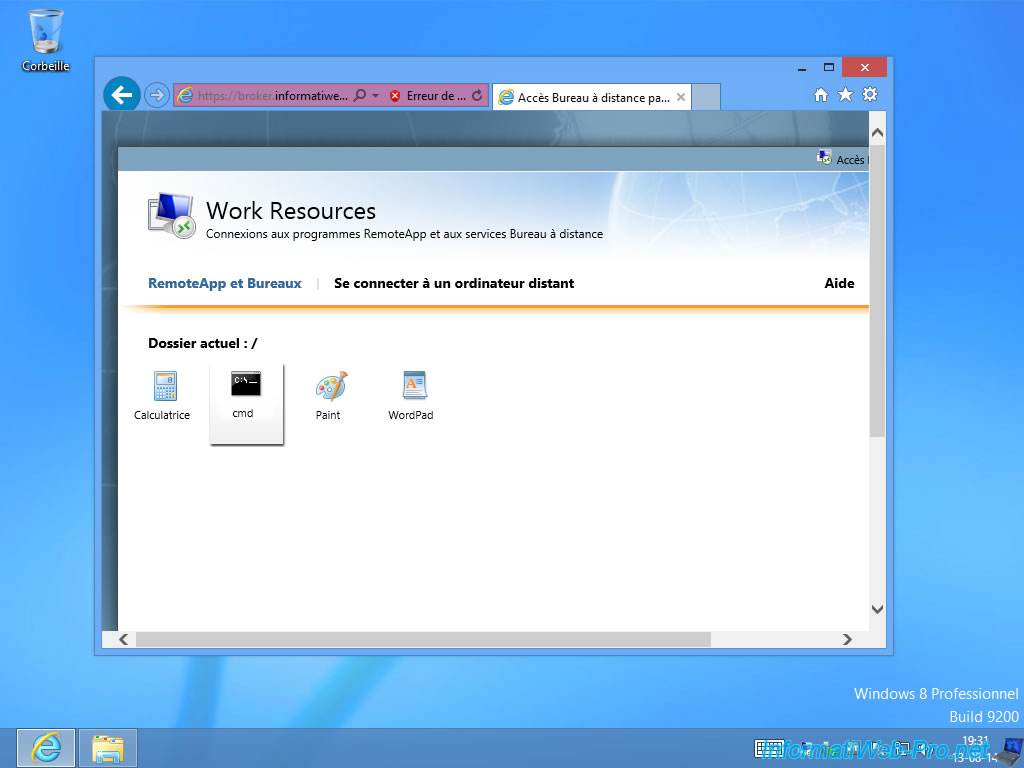
As you can see, the remote computer is: broker.informatiweb.lan. This shows you that everything goes through the broker server. By clicking on "Connect", the broker server will redirect the user transparently to a "Session Host ..." server.
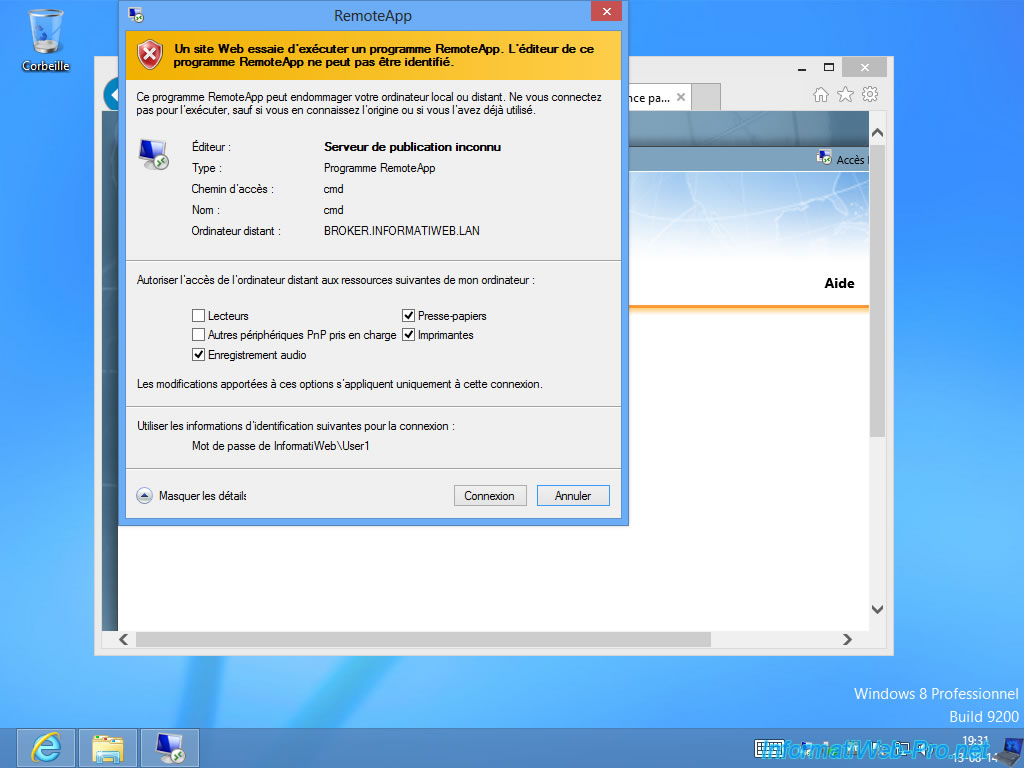
User 1 has been randomly logged on server 1.
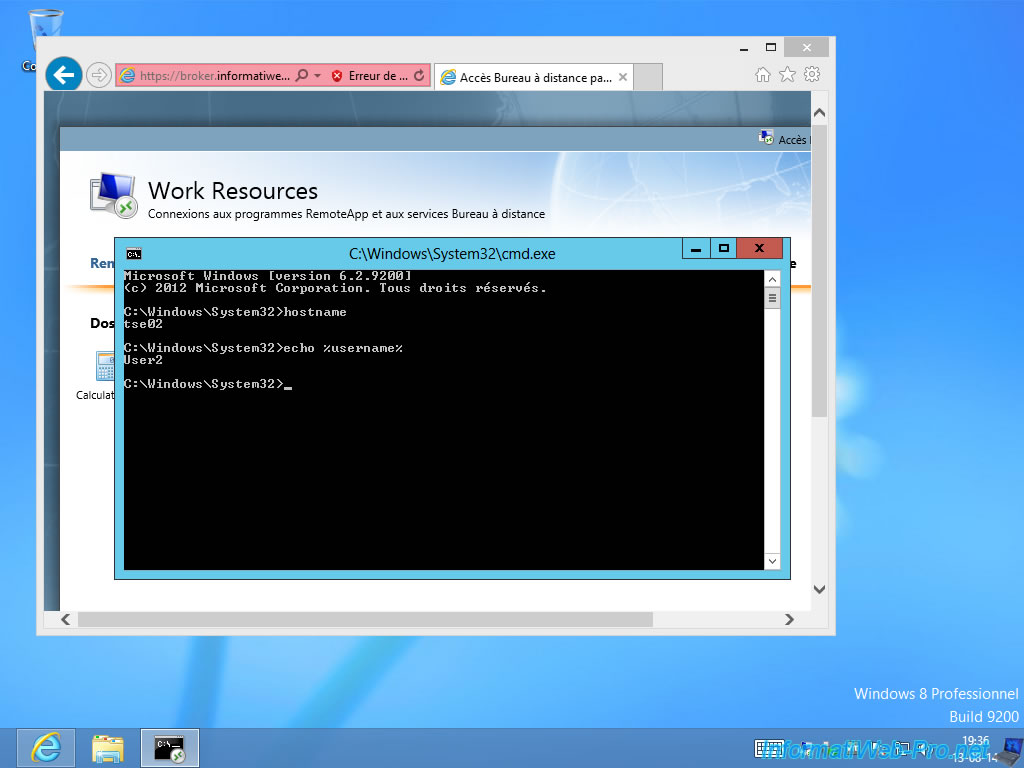
And user 2 on the server 2.
Note : The server selection is random while respecting the limits set on the broker server. (Maximum number of sessions, ...)
Now, to show you the functioning of user profile disks, we create a document and save it on the desktop of the user used.
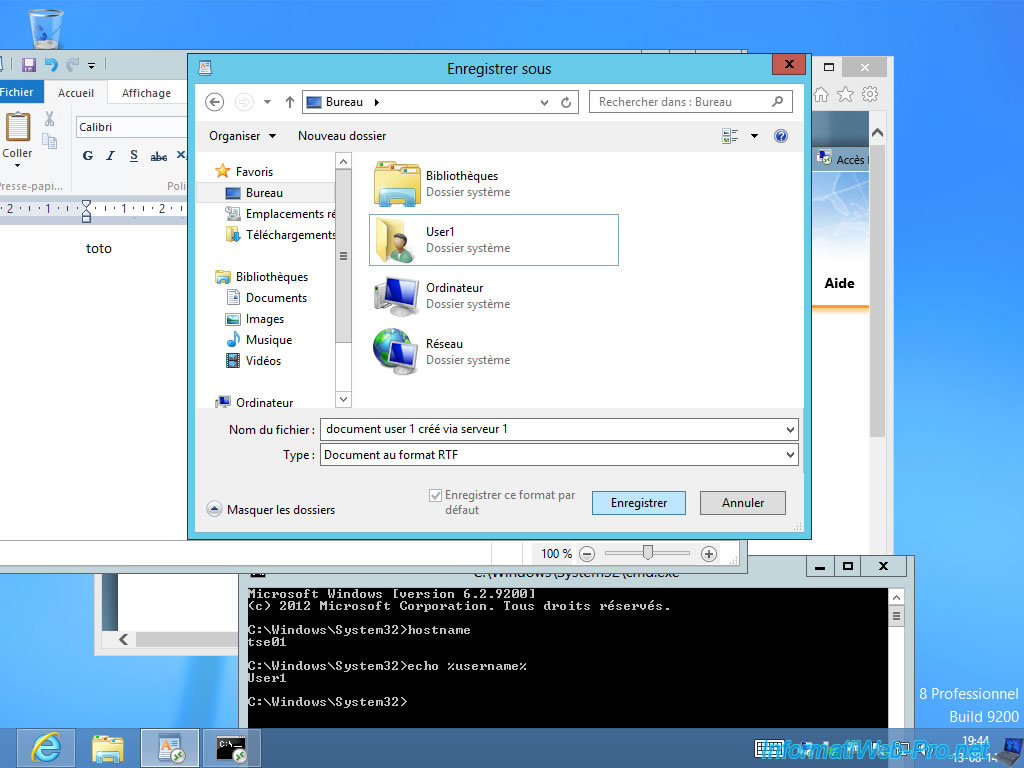
Looking at this picture you can see :
- That we are connected with the user "User1"
- The document has been saved by being connected to "tse01" server
Back to the server.
We see in the list of connections :
- "User1" is connected to the server tse01
- "User2" is connected to the server tse02
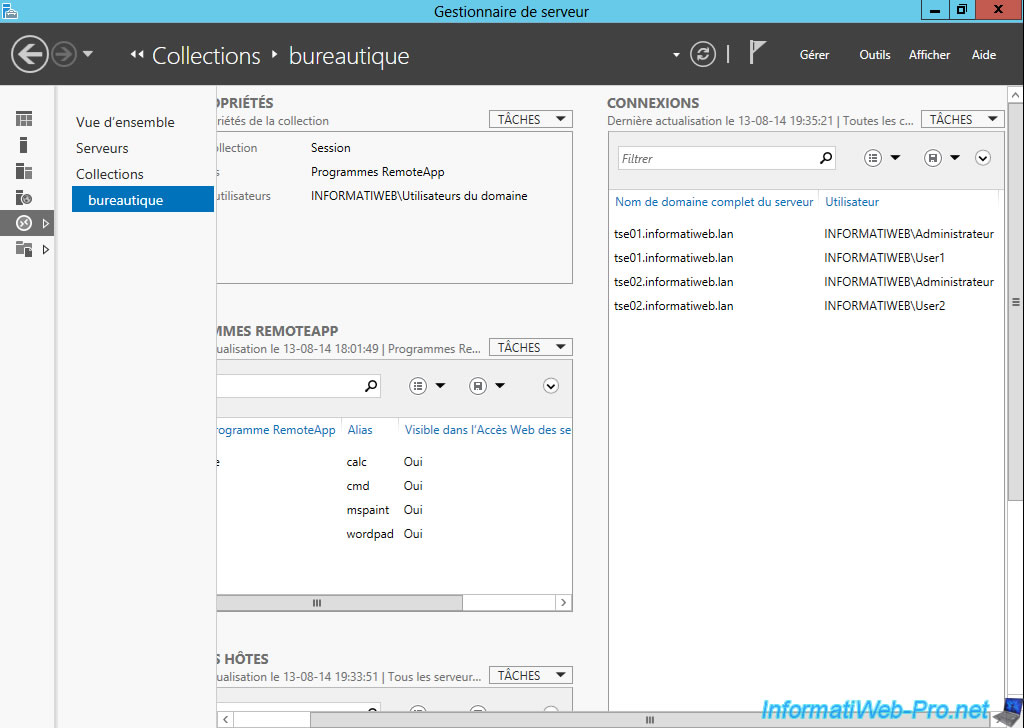
For now, session state is "Active".
If the user logs off, the status changes to "Disconnected". This allows the user to reconnect to the server even in a more or less short time.
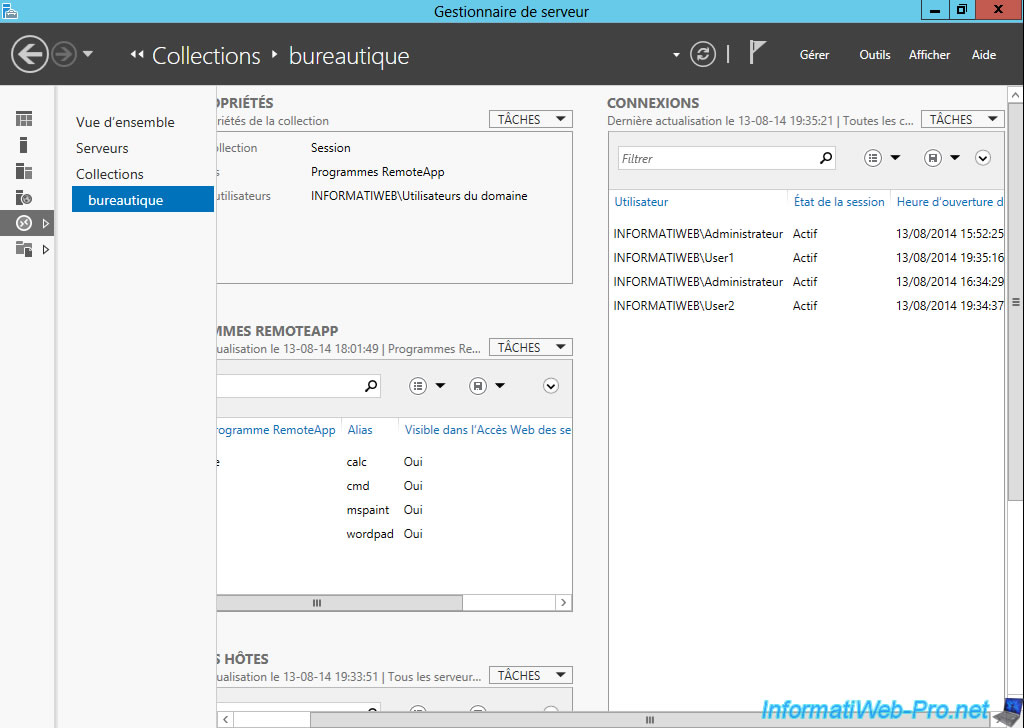
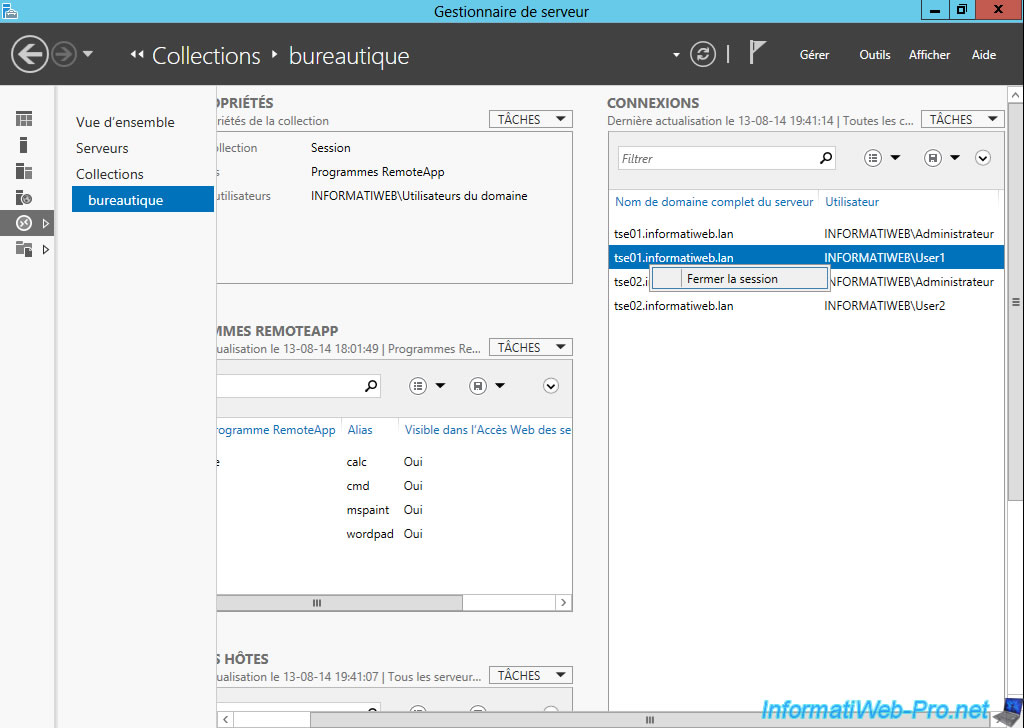
To force the broker to redirect us to another server. We will close the two opened sessions.
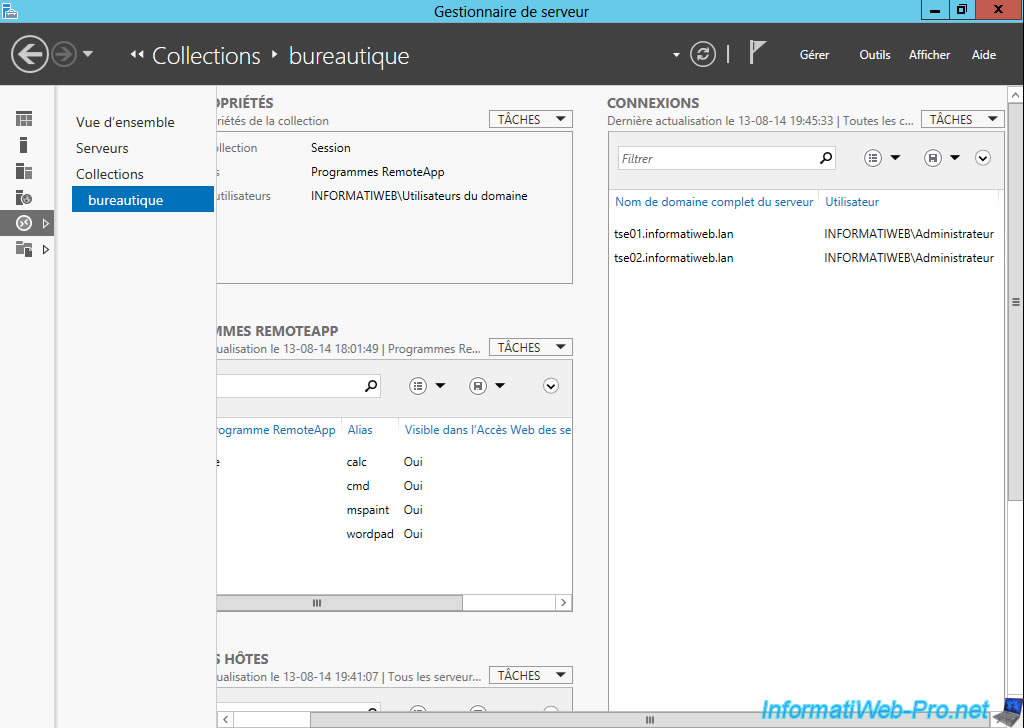
Users are no longer connected to the server.
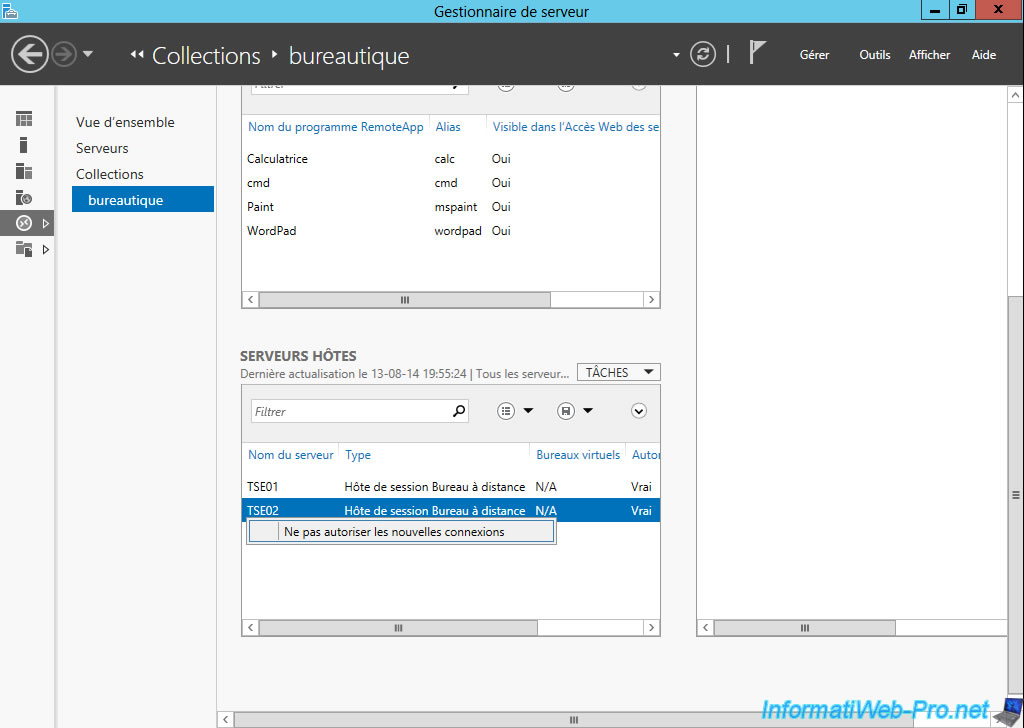
Then we will block connections on server 2 for User2 logs on server 1.
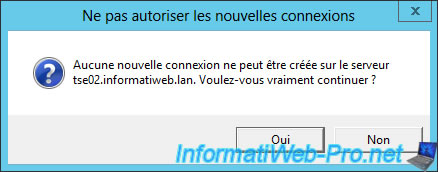
On client computers, disconnect the connections if the icon is always present.
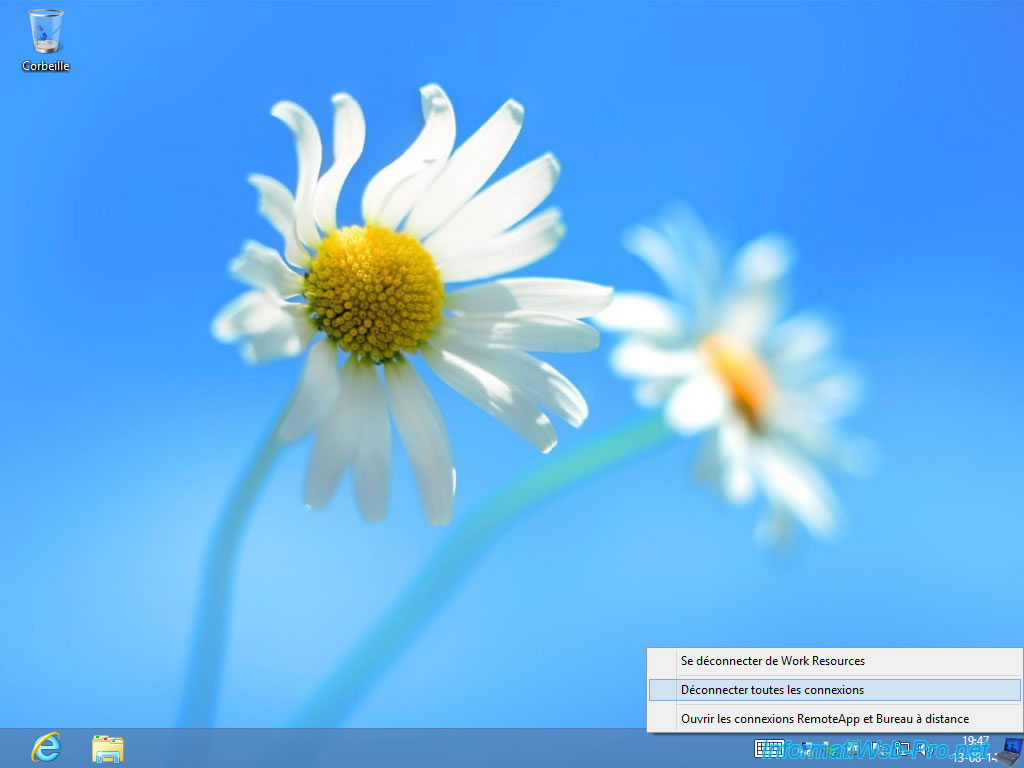
Then :
- We have connected the user 2, which was redirected on server 1.
- We allowed new connections on server 2
- We connected user 1 which was redirected on server 2
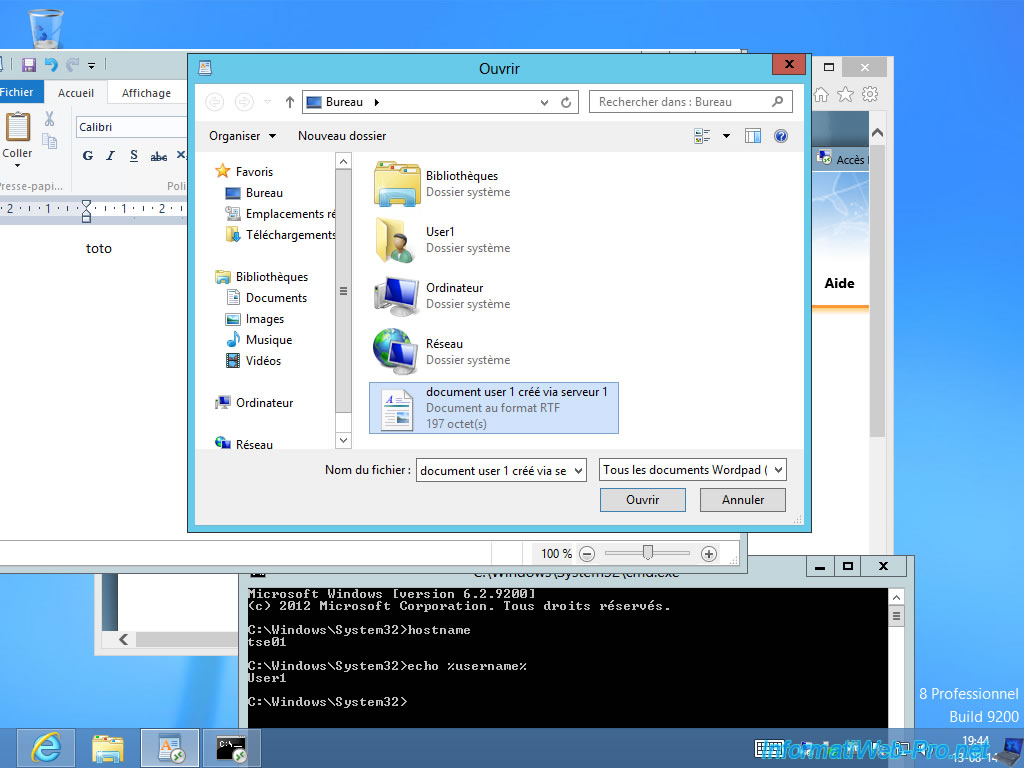
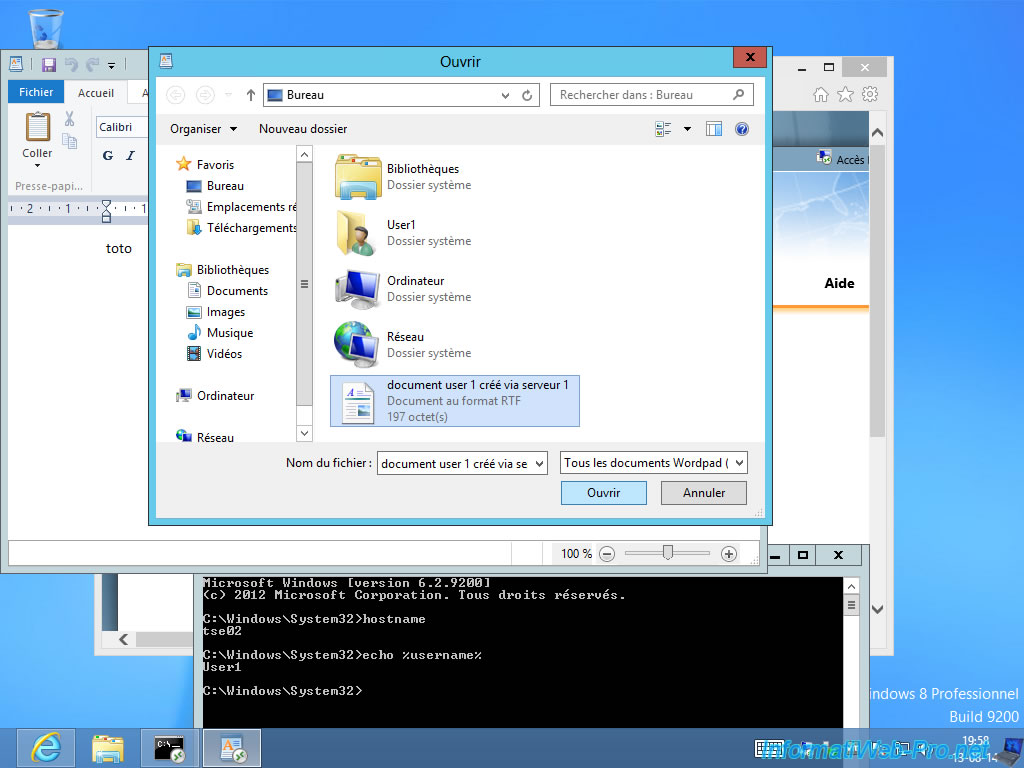
When we launch WordPad and the command prompt (cmd), we see that the user 1 is connected to the "tse02" server. When we want to open a file with WordPad, we find our document saved earlier despite that the server has changed.
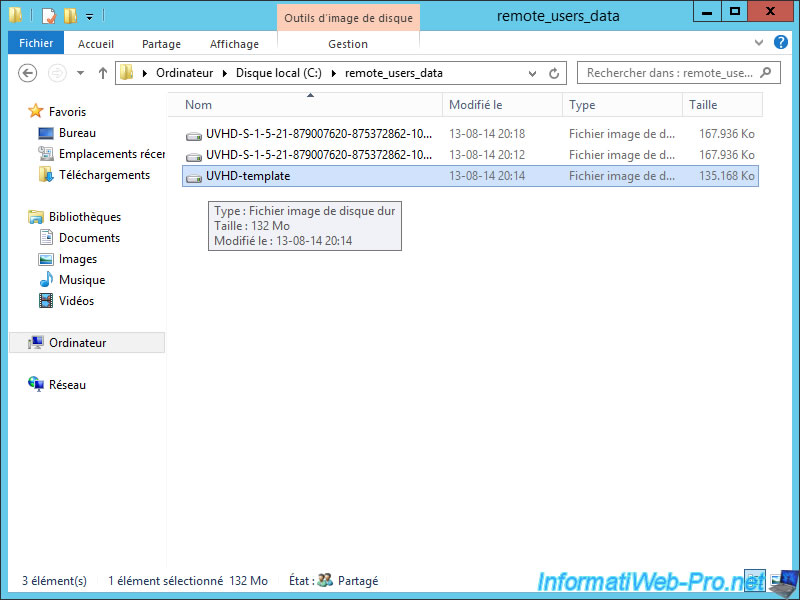
To understand this, go back to the folder you shared earlier.
As you can see, 3 files were created :
- 2 UVHD-S-... : VHDs named with the user id of "User1" and "User2".
- UVHD-template : which is a model used to create the users UVHD.
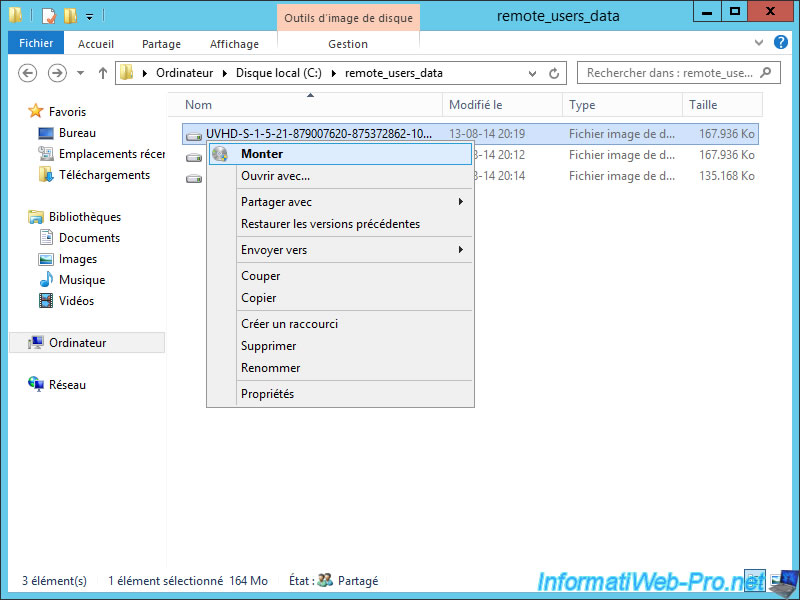
Disconnect the user of the server and mount the virtual hard disk (VHD) that matches it.
Note : Since Windows 8 (and Windows Server 2012 which is the server version of Windows 8), you can mount VHDs by a right click -> Mount.
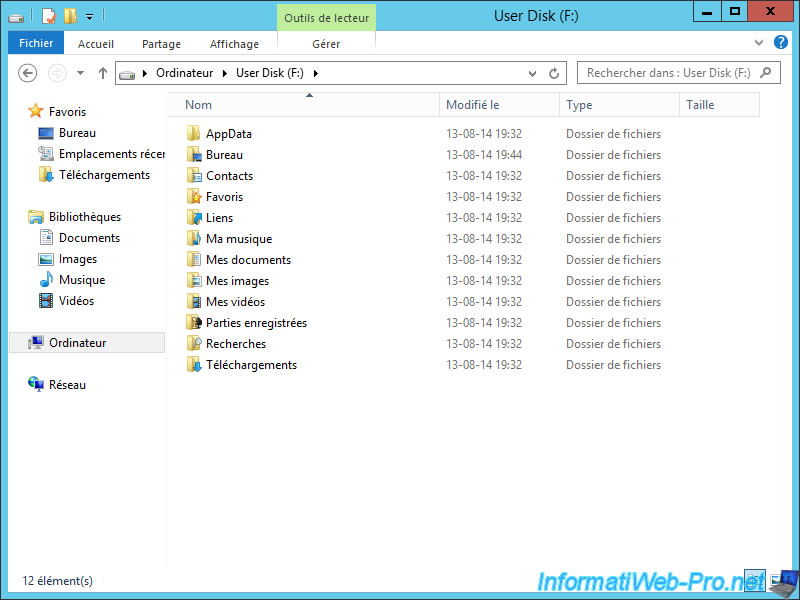
In this virtual hard disk, we find the folders of a traditional user + the "AppData" folder specific to the user.
The user must save its files in one of his folders (which are mapped automatically by Windows).
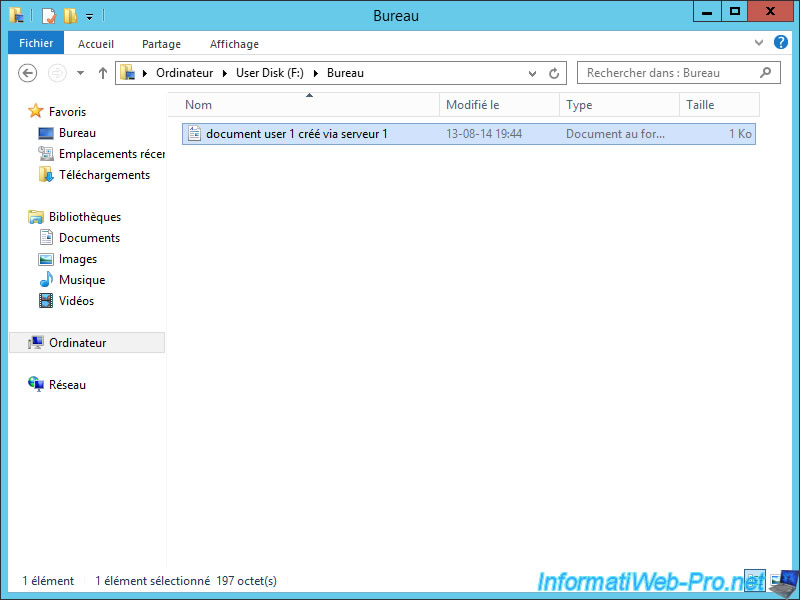
If we go in the the "Desktop" folder, we find our document saved with WordPad.
As you can see, the file wasn't saved on the server you were connected. But, it was saved in a virtual hard disk that is still on the same server. Thus, the data of the users are in the same place and only distributes the workload across different servers.
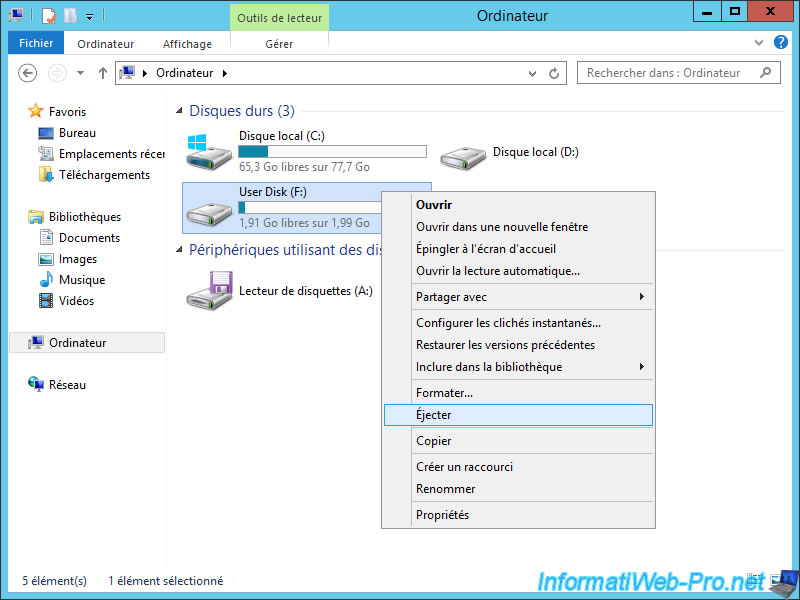
To "dismount" a virtual hard disk, right-click on the drive and click "Eject".
11. Activation or license servers
To activate the license servers, see the section "6. Selection and activation of the license server" of the "Windows Server 2012 - TSE - RemoteApp (on a single server)" tutorial.
12. Securing servers with valid certificates
To secure your different servers (web access, broker and session host, ...), refer to the points from 7 to 9 (inclusive) of the tutorial "Windows Server 2012 - TSE - RemoteApp (on a single server)".
13. Configuring Remote Connections of Windows (Work Resources)
To manually configure the remote connections of Windows (Work Resources), refer to the point "10. Configuring Remote Connections in Windows (Work Resources)" of the "Windows Server 2012 - TSE - RemoteApp (on a single server)" tutorial.
To configure them automatically on all client PCs (Windows 7 and later), please refer to our tutorial : Windows Server 2012 - TSE - RemoteApp - Configure Windows 7 clients and later by GPO
14. Previews of the final functioning
To prove that the above steps will work with this setup, here are some previews of the final solution.
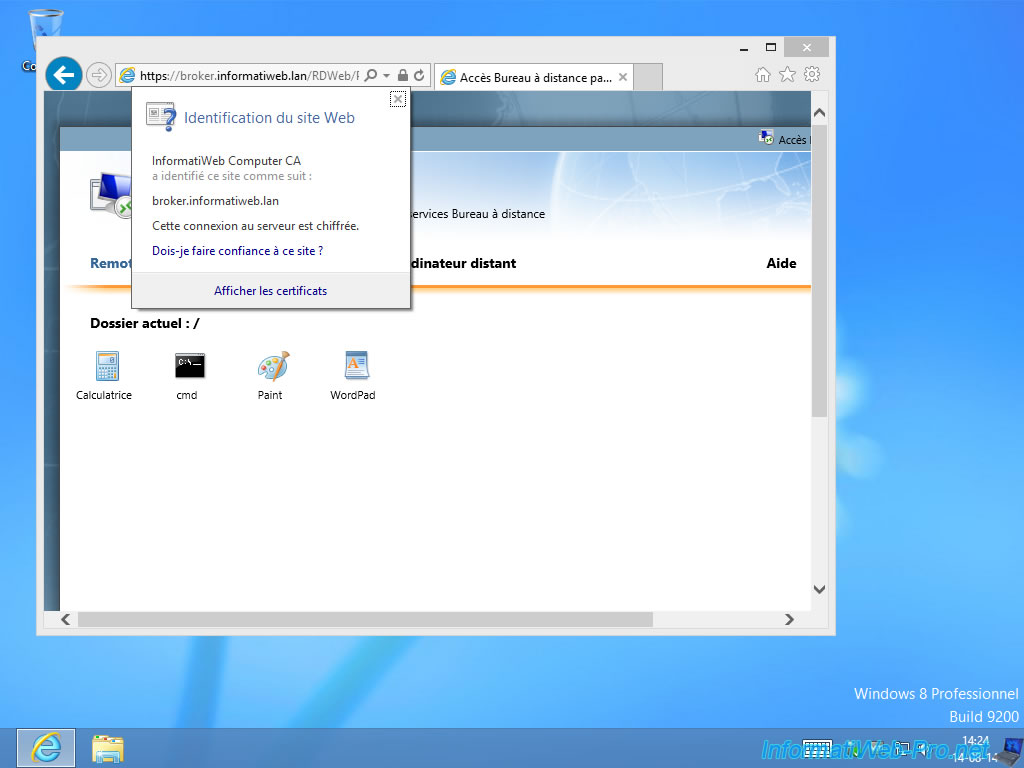
By connecting to the web access of the broker server, you will see that the warning about the certificate, has disappeared. As you can see, the certificate was signed by a recognized authority by our client computer.
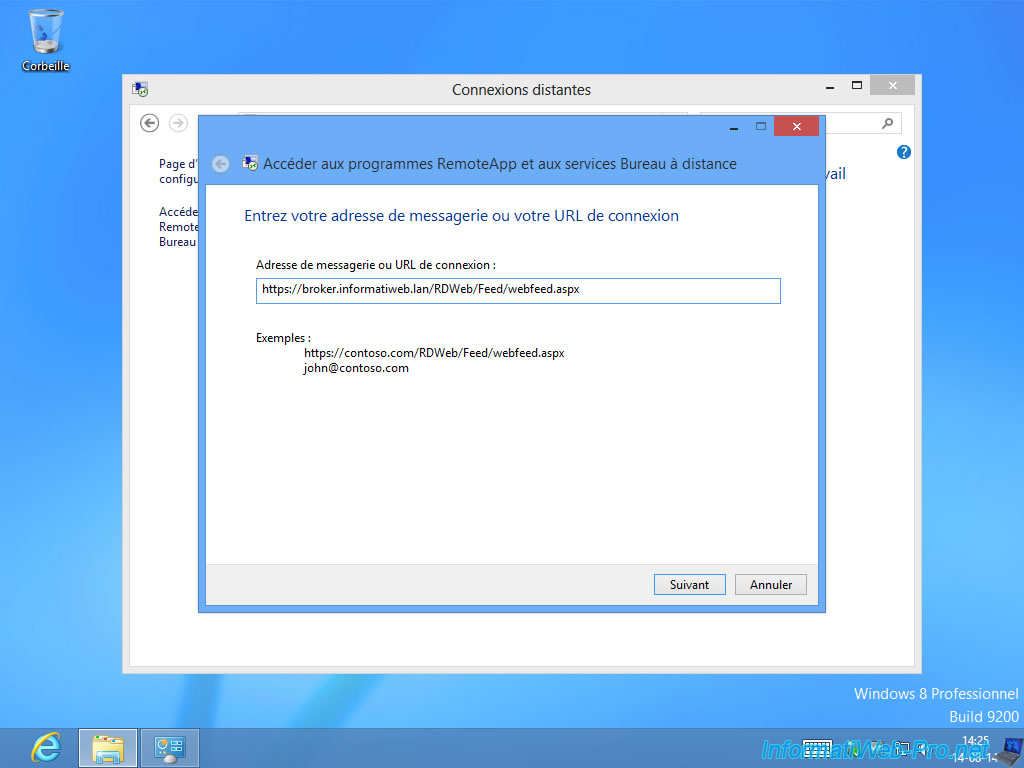
To configure remote connections, you will need to connect to that address : "https://[broker server name].domain.extension/RDWeb/Feed/webfeed.aspx".
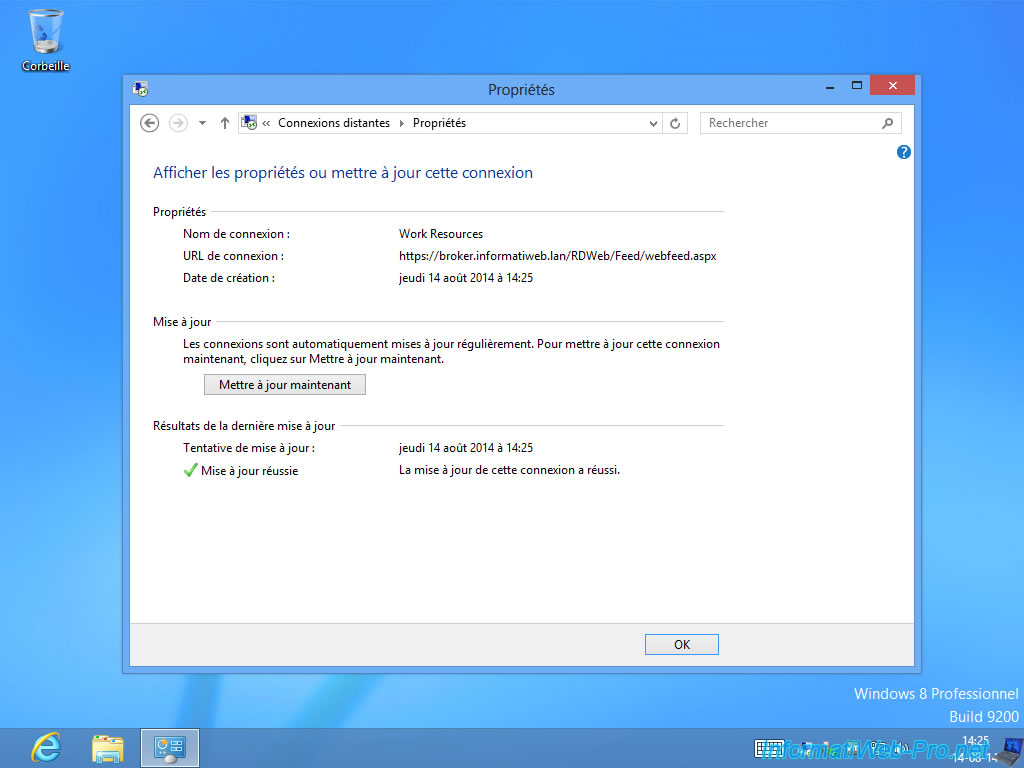
Because the certificate is valid, remote connections can be configured.
Share this tutorial
To see also
-
Windows Server 1/3/2020
WS 2012 / 2012 R2 - RDS - VDI - Create a virtual desktop infrastructure (personal virtual desktops)
-
Windows Server 5/19/2019
WS 2012 / 2012 R2 / 2016 - RDS - Force the use of the RD gateway for local users
-
Windows Server 2/1/2019
WS 2012 / 2012 R2 / 2016 - RDS - Single sign-on (SSO) for access to RemoteApp
-
Windows Server 5/3/2019
WS 2012 R2 / 2016 - RDS - Monitor or control the sessions of your users

No comment