- Windows Server
- 11 May 2019 at 17:29 UTC
-

- 1/3

Previously, we explained how to create a RDS server by deploying Remote Desktop Services.
This allowed your users to use remotely session-based desktops or RemoteApp programs.
However, by default, these services were only accessible from your local network.
To allow your users to access your desktops and/or RemoteApp programs from outside of your company, you will also need to install and deploy the Remote Desktop Services gateway.
- Required configuration
- Gateway installation
- Adding the RDS gateway to the deployment
- Import the RDS gateway certificate
- Configure the gateway
- Configure the external domain
- Make your gateway accessible from the outside
- Test your RDS gateway
1. Required configuration
To follow this tutorial, you will need :
- an Active Directory server
- an already configured RDS server (as explained in our tutorial : RDS - Deploy a RDS infrastructure (session-based desktops)) linked to your Active Directory
- a real domain name registered on the Internet (in our case : we own a domain at OVH)
- an admin access to your router (for port 80 redirection or to put the server in a DMZ)
- a second server running Windows Server 2012 or 2012 R2 linked to the Active Directory to install the RDS gateway
- a valid certificate from a trusted certification authority trusted by your users' computers, if you want to avoid errors due to the use of the self-signed certificate
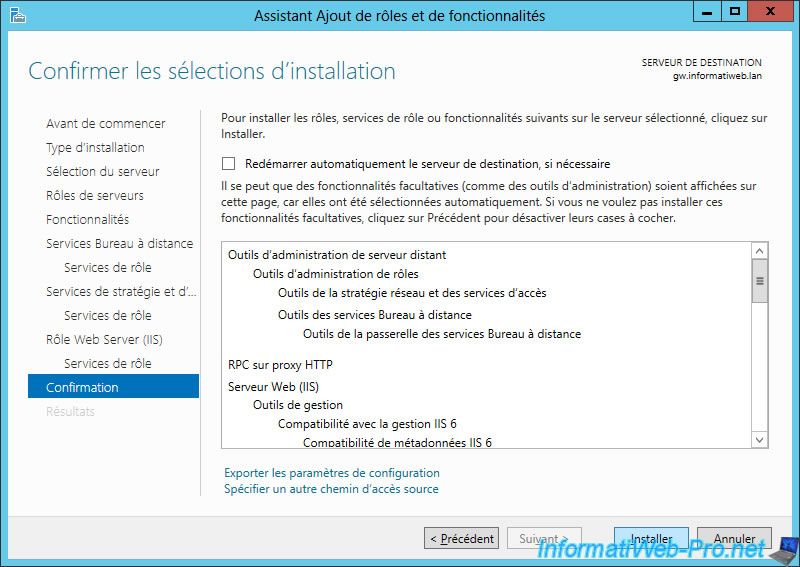
2. Gateway installation
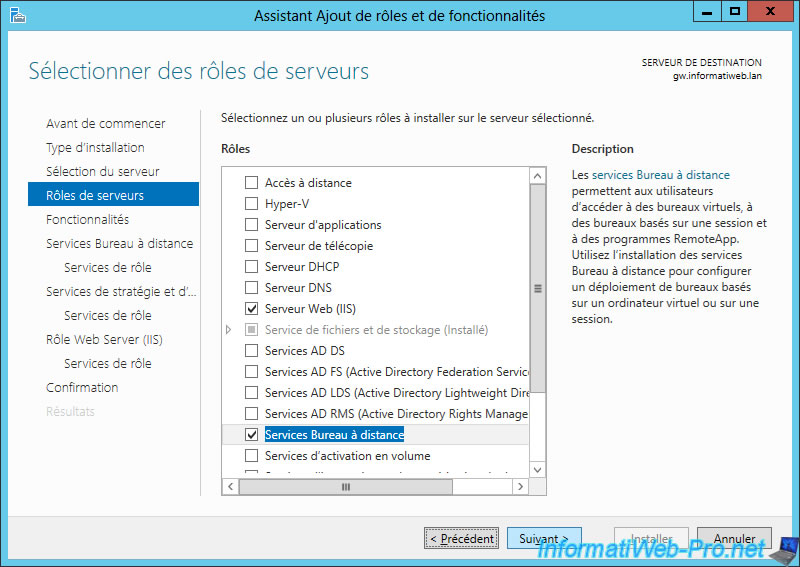
To get started, on your second server, launch the Add Roles and Features Wizard and select the "Remote Desktop Services" checkbox in the "Server Roles" step.
Install the "Remote Desktop Gateway" role service.
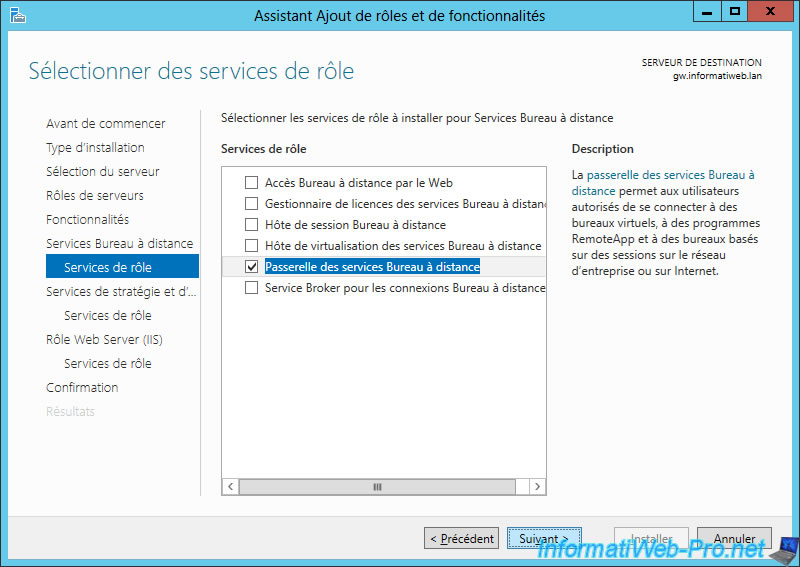
Click Next.
Click Install.
3. Adding the RDS gateway to the deployment
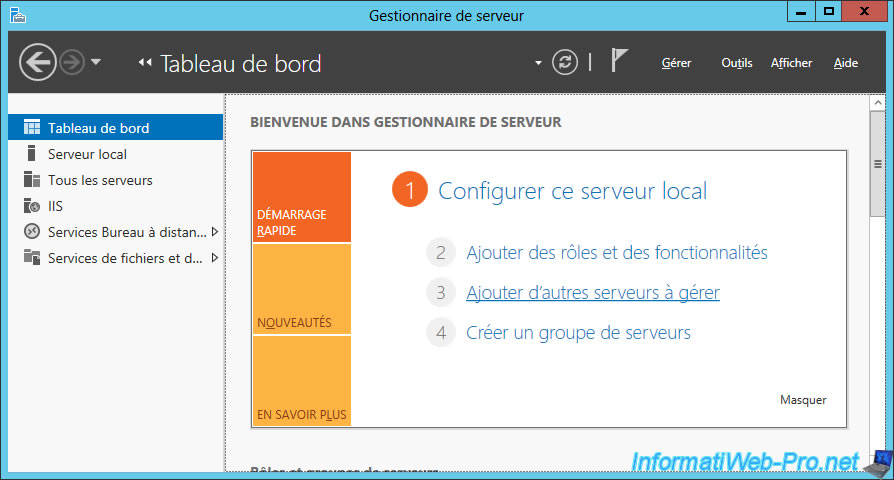
In order to add the gateway to the RDS deployment, you must first add it to the list of servers to manage from the server manager of your RDS server.
To do this, on your RDS server, open the server manager and click : Add other servers to manage.
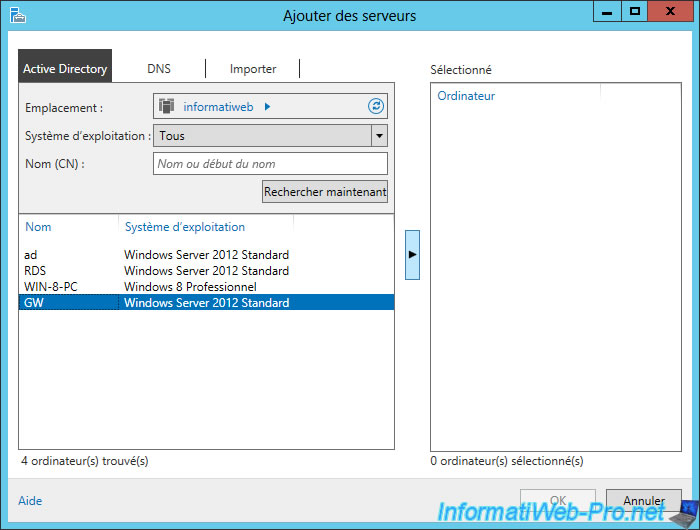
Add the server where you installed the "Remote Desktop Gateway" role service.
For that :
- click on : Search Now
- select the desired server
- click on the arrow in the center
- click OK
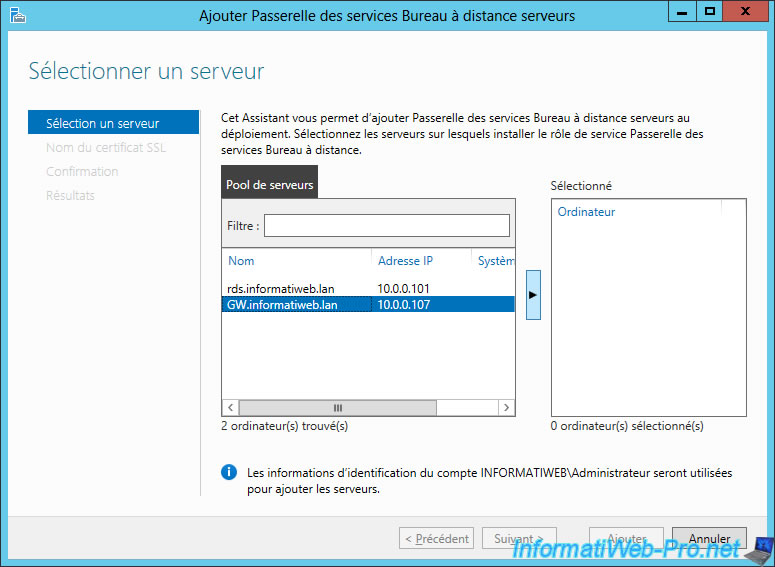
Then, go to the "Remote Desktop Service" section of the server manager and click on the "RD Gateway".
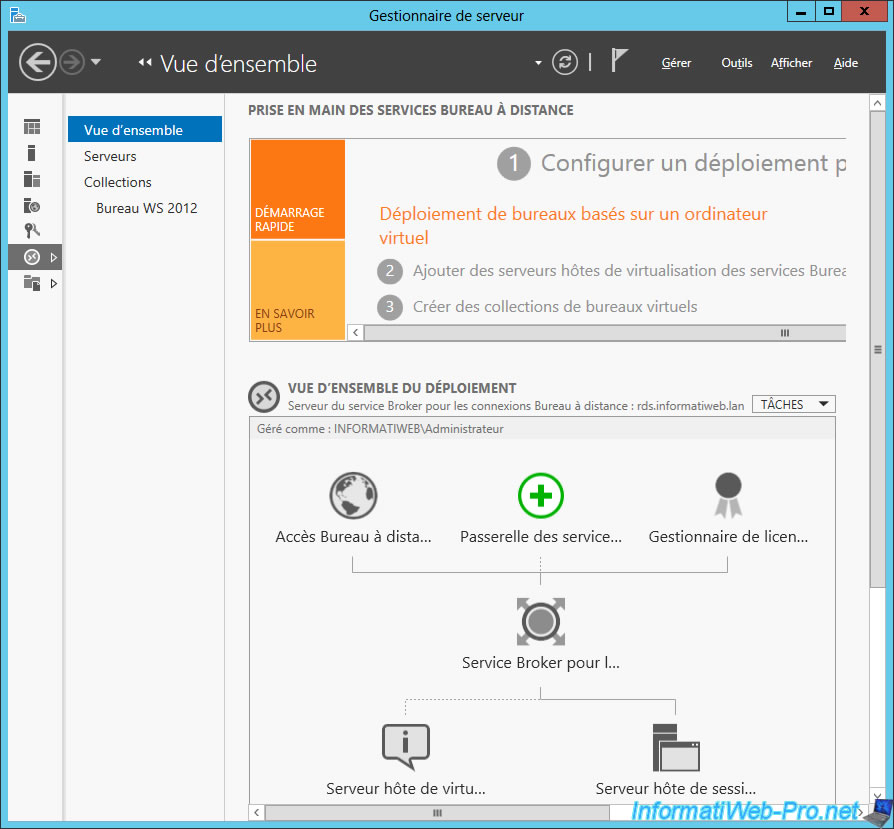
Select your RDS gateway, click the center arrow, and then click Add.
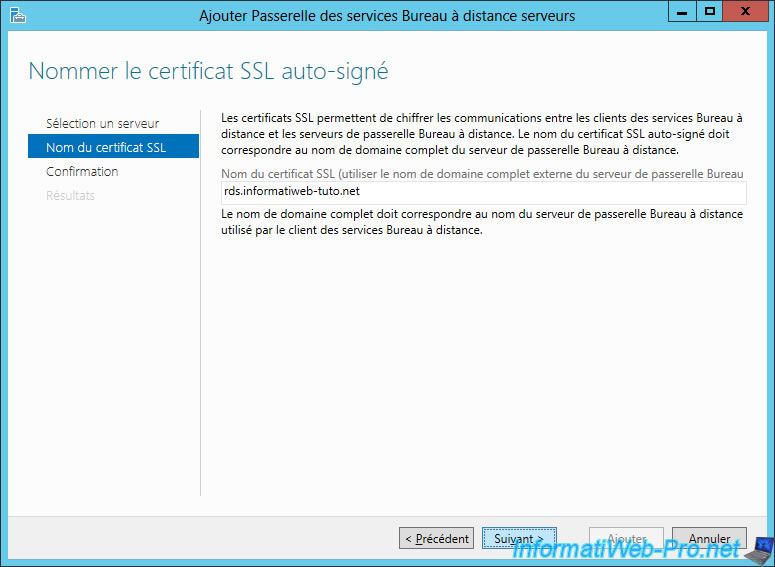
Specify the external domain name that your users will use to access your Remote Desktop Services from outside your company.
In our case, they will use a "rds" subdomain of our "informatiweb-tuto.net" domain.
Which gives : rds.informatiweb-tuto.net
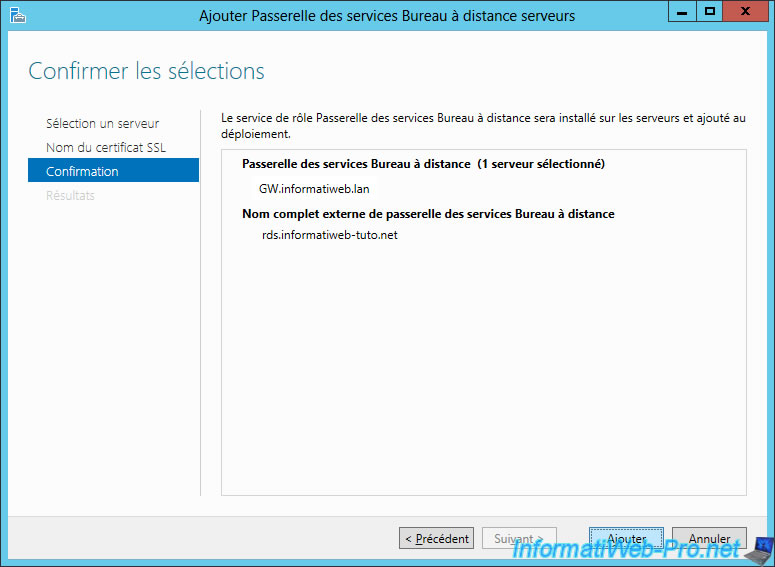
Click Add.
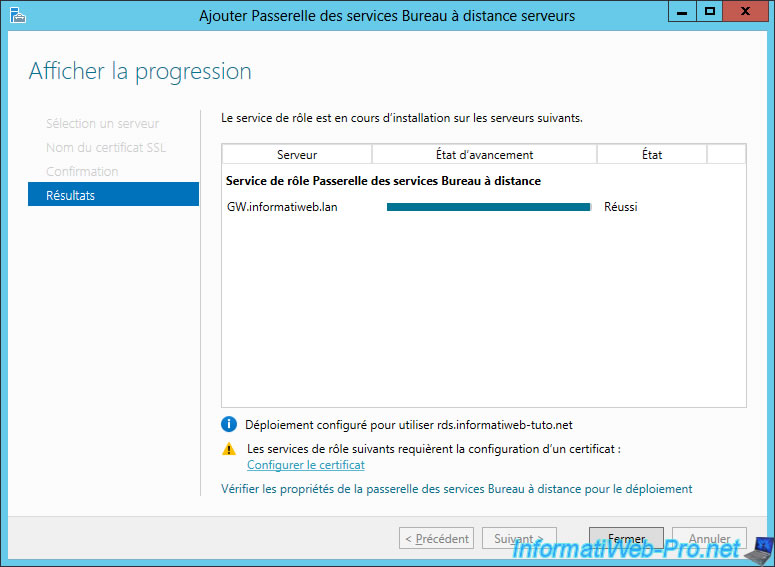
4. Import the RDS gateway certificate
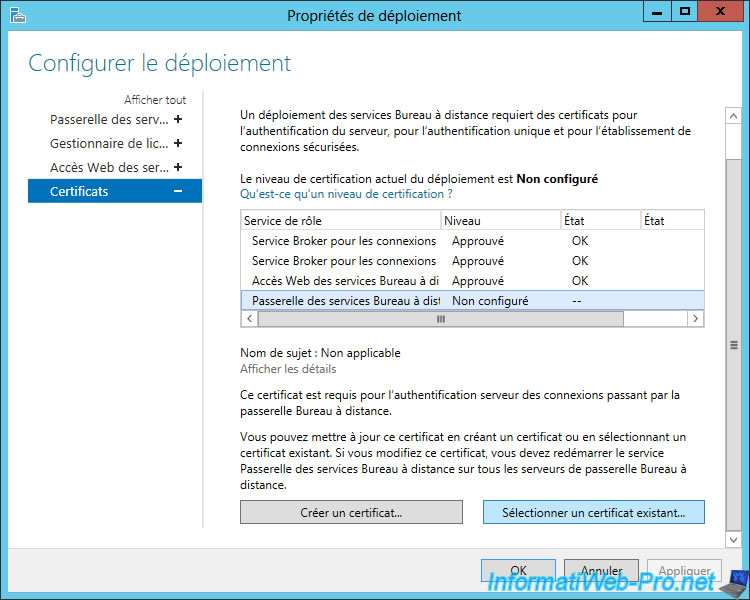
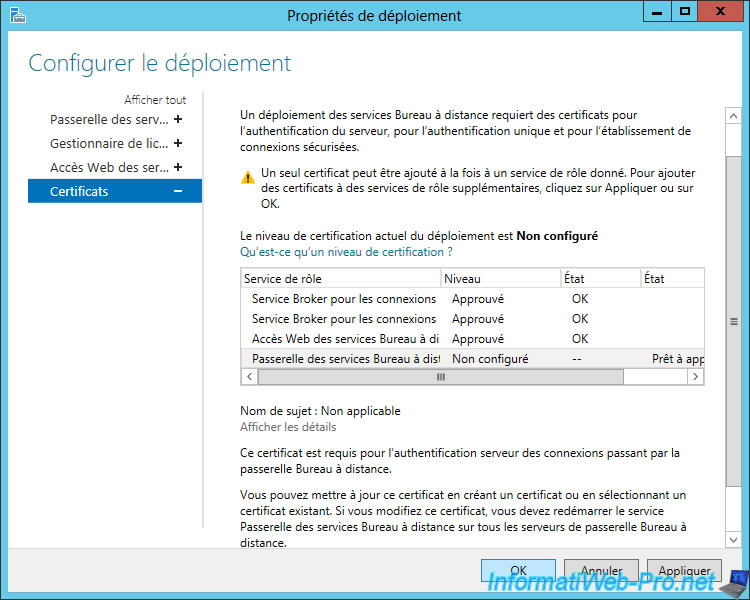
When the deployment is complete, click on the "Configure certificate" link.
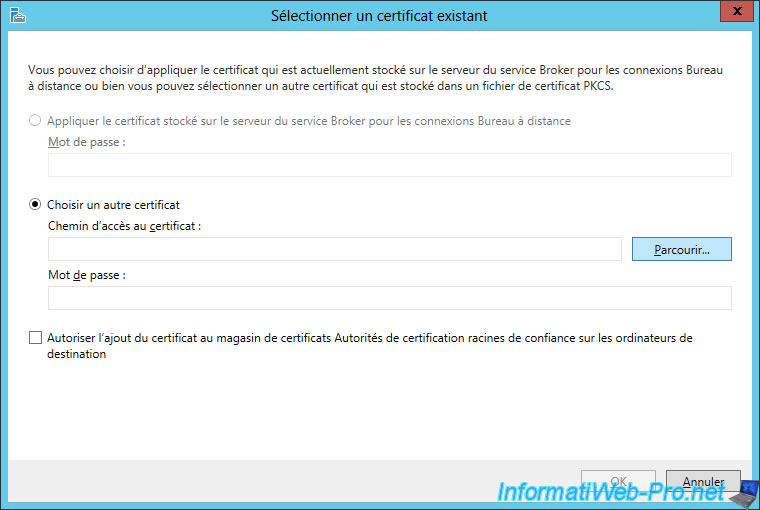
Select the "RD Gateway" role service and click "Select existing certificate".
Note : this window is also accessible via the Remote Desktop Services deployment overview by clicking Tasks -> Edit deployment properties.
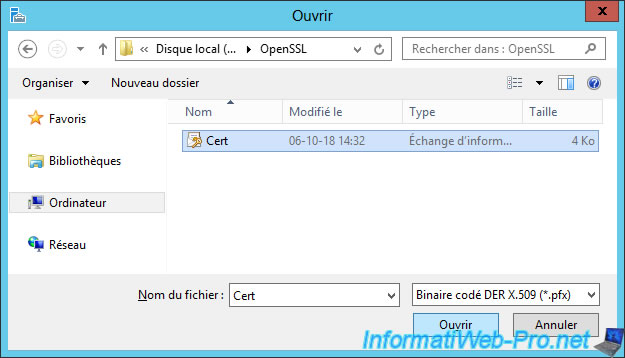
Click Browse.
In our case, we generated a certificate for free thanks to Let's Encrypt.
Since the certificate generated by this CA was in PEM (Linux) format, we converted it to "p12" (pfx) using OpenSSL.
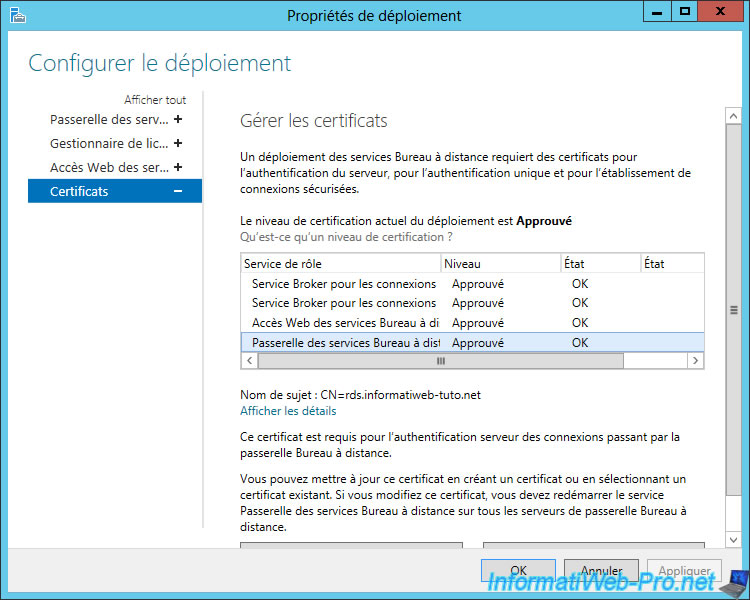
Specify the password that you used to secure the certificate, and then check the "Allow the certificate to be added to the Trusted Root Certification Authorities certificate store on the destination computers" box.
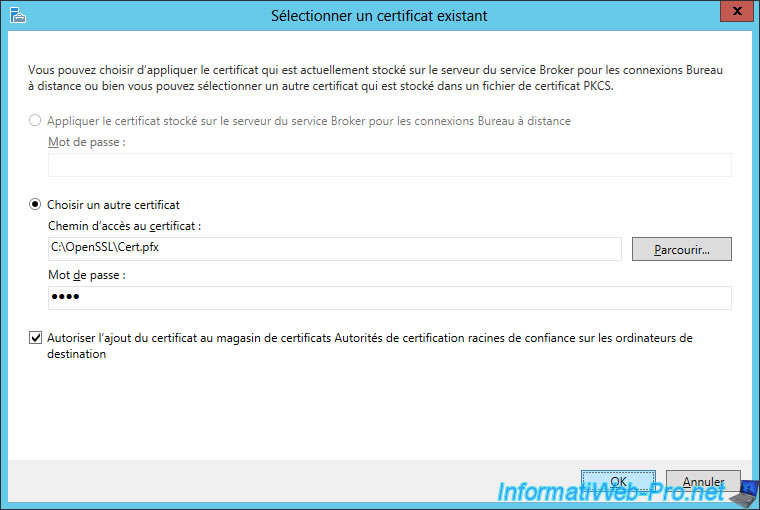
Click Apply.
If the certificate is valid, the level will be "Approved" and the status "OK".
Click OK.
Now, click on Close.

Share this tutorial
To see also
-
Windows Server 6/7/2019
WS 2012 / 2012 R2 - RDS - Set up HA on your RDS infrastructure
-
Windows Server 3/8/2019
WS 2012 / 2012 R2 / 2016 - RDS - Access RemoteApp via a modern application
-
Windows Server 4/28/2019
WS 2012 / 2012 R2 / 2016 - RDS - Attempt to unblock the session as a user
-

Windows Server 3/16/2019
WS 2012 / 2012 R2 / 2016 - RDS - Change the properties of RemoteApps
You must be logged in to post a comment