- Windows Server
- iSCSI
- 07 May 2017 at 17:12 UTC
-

- 1/4

In enterprises, it's common to use an iSCSI server where important data (user data, virtual hard disks, ...) will be stored.
The iSCSI is used in many cases and in particular by the virtualization servers (Citrix XenServer, VMware ESXi, ...), the cluster system (because a shared storage is required. This shared storage can be connected by iSCSI), ...
As you will have understood, if your iSCSI server crashes, several services may become unavailable. To prevent this unavailability from being too long, you can set up a cluster and/or data replication on your iSCSI server.
In this tutorial, we will only configure the data replication of our iSCSI server.
To do this, you will need the paid version of the StarWind Virtual SAN program.
- Configuration used
- Download and install StarWind Virtual SAN
- Add a server to the console
- Create a StarWind iSCSI Server
- Create an iSCSI device (virtual hard disk, ...)
- Enable data replication of your iSCSI server
- Disable replication
- Enable replication again
- Allow iSCSI clients to connect to your server
- Connect a Windows Server server to your iSCSI server
- Use the replicated data
1. Configuration used
In this tutorial, we used 2 servers running Windows Server 2012 where the MPIO role (Multipath IO) is installed (as you will need it to implement the replication provided by StarWind).
Each server will have 2 network cards connected on different switches for better performance.
For data replication on our iSCSI servers, we will use the paid version of StarWind Virtual SAN because the free version will not allow you to connect client in iSCSI.
A comparison between the free version and the paid version is available on the official StarWind website.
2. Download and install StarWind Virtual SAN
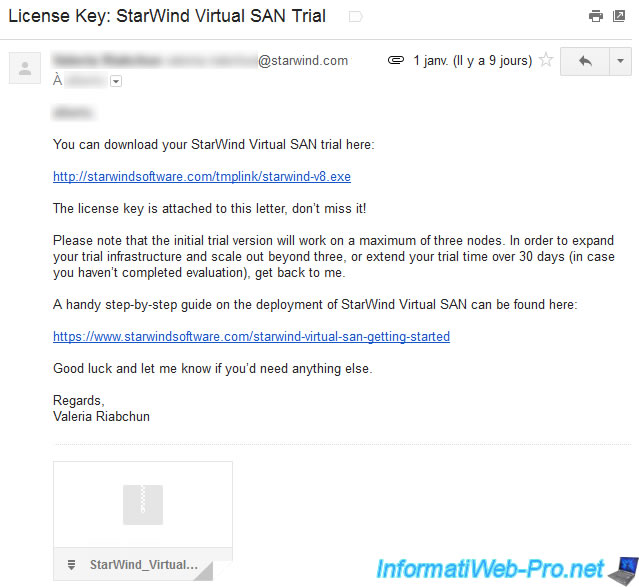
To get started, download the trial version of StarWind Virtual SAN from the official StarWind site.
To do this, fill in the proposed form and for the "Preferred use case" list, choose the "Microsoft Hyper-V" option.
Then, you will automatically receive an e-mail with the download link of the program and an evaluation license valid for 30 days.
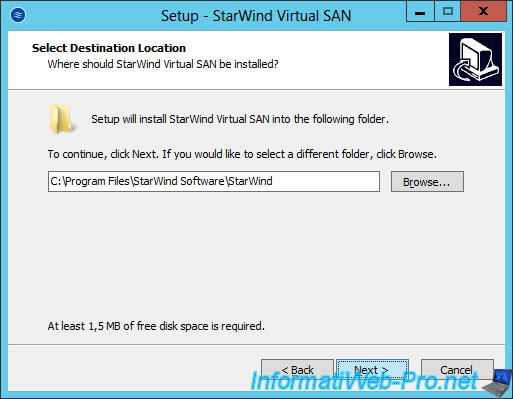
Run the downloaded installation file.
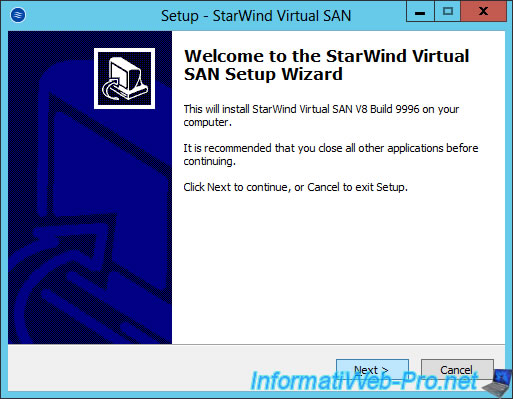
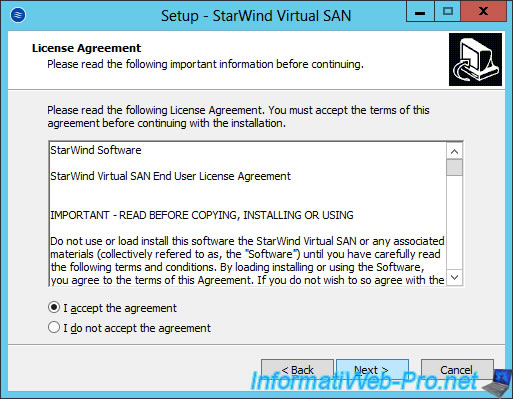
Accept the license agreement.
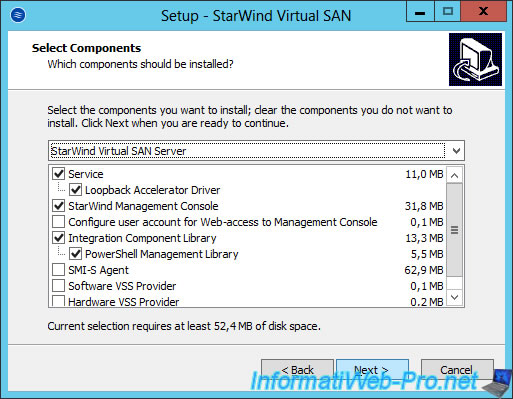
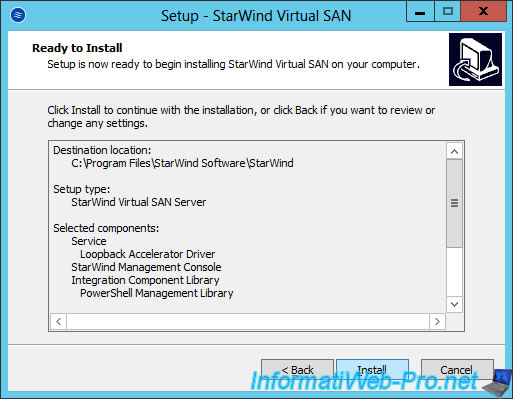
During the installation, the "StarWind Virtual SAN Server" configuration will be selected by default.
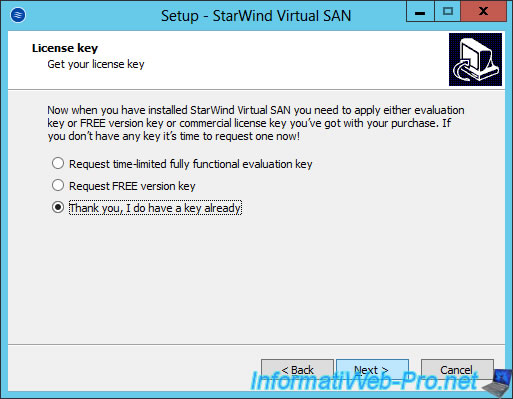
Select "Thank you, I have a key already" to use the license received automatically by e-mail.
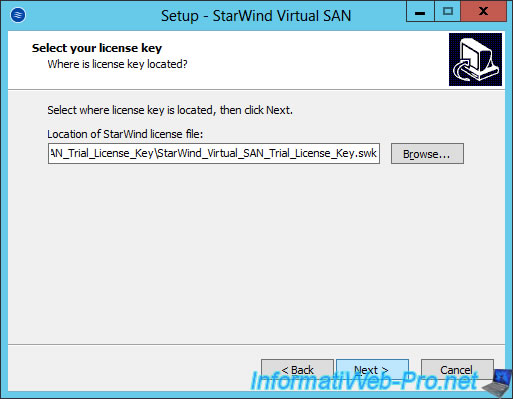
Select your license file.
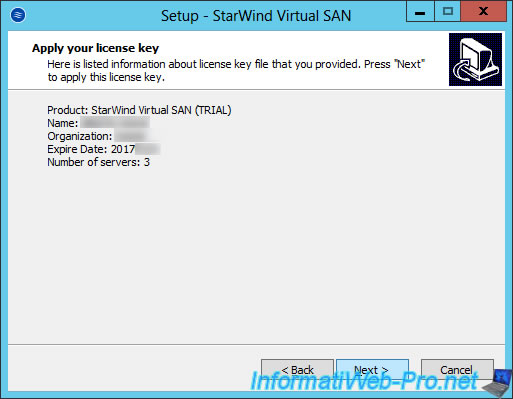
The license information is displayed.
As you can see, this is a Trial version of StarWind Virtual SAN and is valid for 3 servers.
Click Install.
Installation starts.
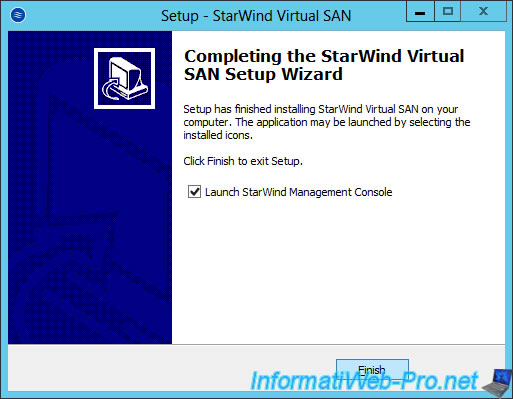
At the end of the installation, leave the "Launch StarWind Management Console" box checked and click Finish.
At the first launch of the console, the "Storage pool is not configured" message will be displayed.
Click Yes to store the data on the C partition or click "Choose path" to store them on another partition and/or another hard disk (recommended, especially if you have hard drives protected by RAID).

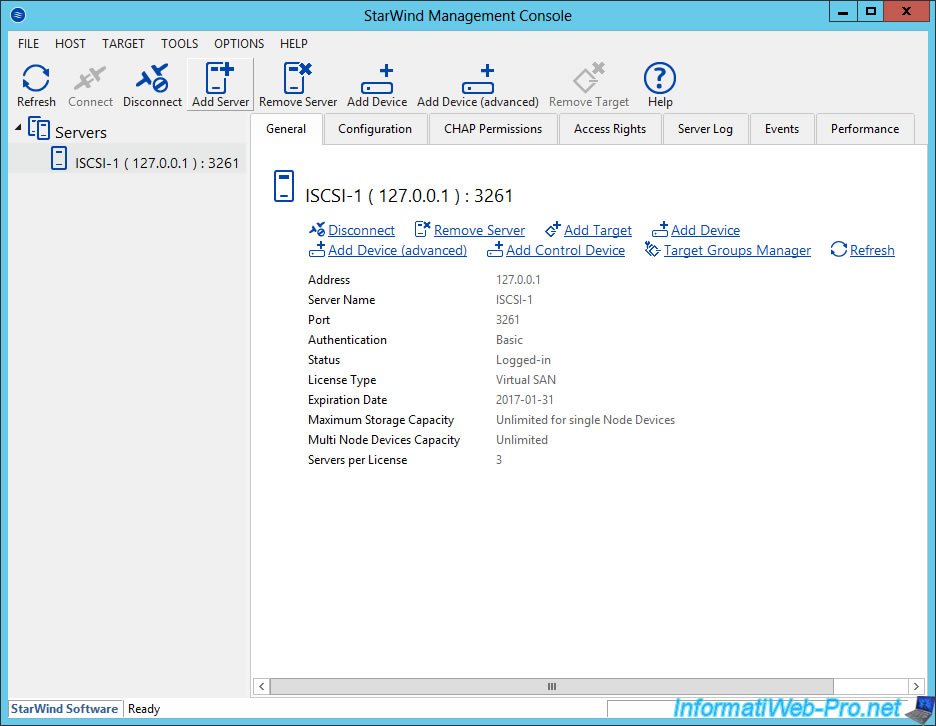
The console is displayed.
By default, it's connected to your local StarWind iSCSI server.
Important : the iSCSI server is fully managed by StarWind Virtual SAN. You do not have to install the role provided by Windows Server.
Now that the program is installed on the 1st server, do the same on the 2nd server.
3. Add a server to the console
To manage multiple servers, simply install the program on the servers to be managed and then connect the console to them.
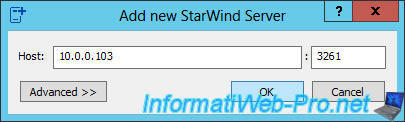
To do this, click Add Server and specify the IP address of the remote StarWind iSCSI server.
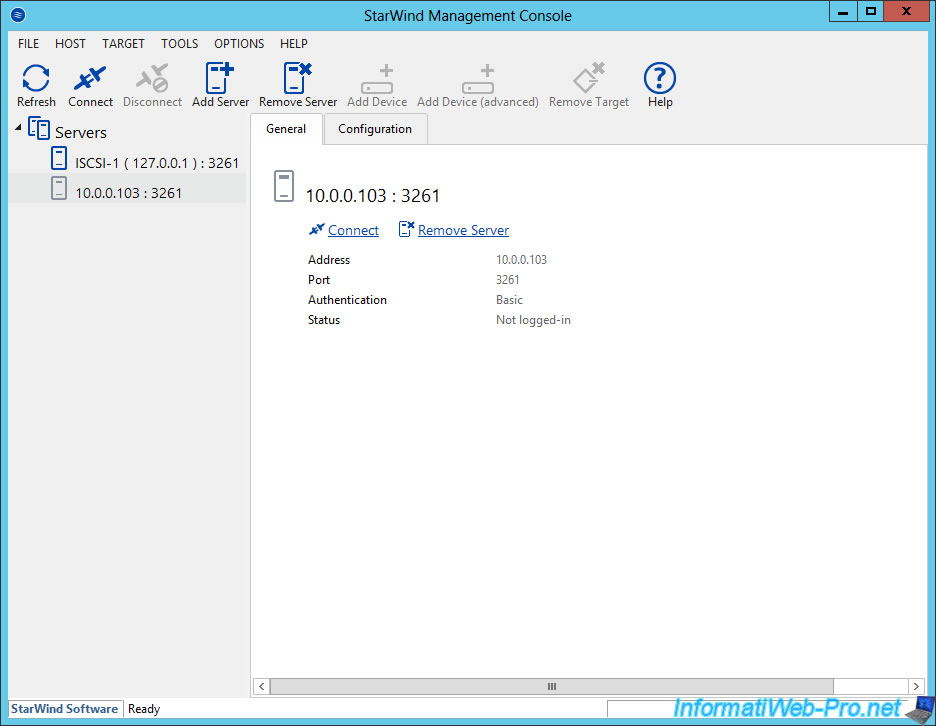
The 2nd server will be displayed in the console.
Click "Connect" to manage it.
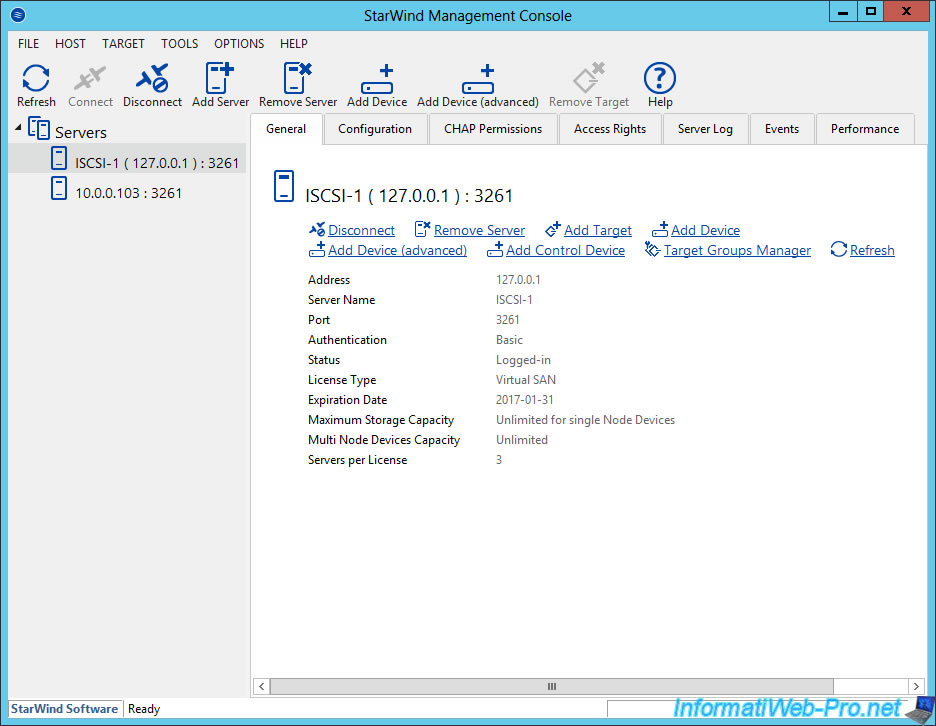
Now, the console is connected to our 2 servers.
The 1st server on which we will store the data and the 2nd server that will serve as backup.
In case of a crash of the 1st server, we can use the 2nd server without problem.
Share this tutorial
To see also
-
Windows Server 4/29/2017
WS 2012 - Install an iSCSI server and an iSCSI client
-
Windows Server 6/28/2019
WS 2012 / 2012 R2 - Improve the performance of your iSCSI server with MPIO
You must be logged in to post a comment