Replicate data from multiple iSCSI servers with StarWind Virtual SAN on Windows Server 2012
- Windows Server
- iSCSI
- 07 May 2017 at 17:12 UTC
-

- 3/4

7. Disable replication
To disable replication, you must delete the replication configuration that you created earlier.
To do this, select the desired virtual disk, click "Replication Manager" and click "Remove Replica".
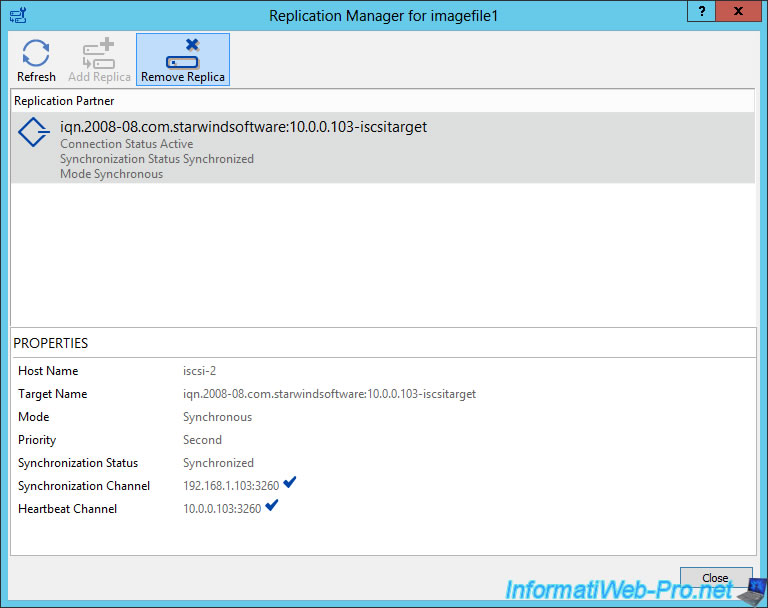
Click Yes.

As you can see, removing replication will cause :
- the display of a warning on the source server (the 1st server)
- and the disappearance of the virtual disk on the remote server (the 2nd server). The virtual disk is no longer displayed, but it's still on the server's hard disk.
8. Enable replication again
8.1. Link the old virtual disk to the server
As mentioned earlier, deleting the replication causes the virtual disk name to disappear, but not the virtual disk itself.
To enable the replication again, you will need to link it again to the second server.
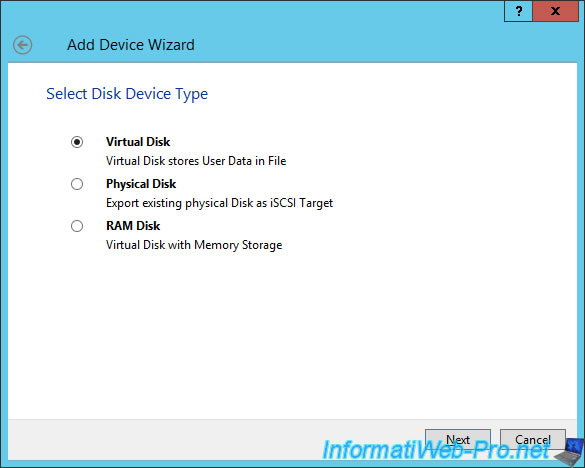
To do this, select the 2nd server and click on "Add Device (advanced)".
Select : Hard Disk Device.

Select "Virtual Disk".
Select "Use an Existing Virtual Disk" and select the virtual disk on the remote server's hard disk.
Note : this is the virtual disk created when data replication was enabled.
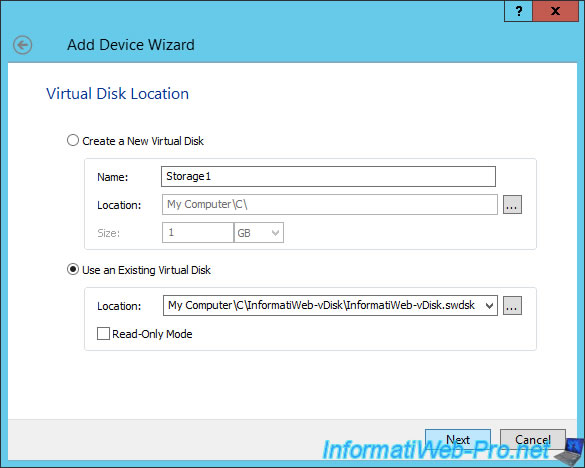
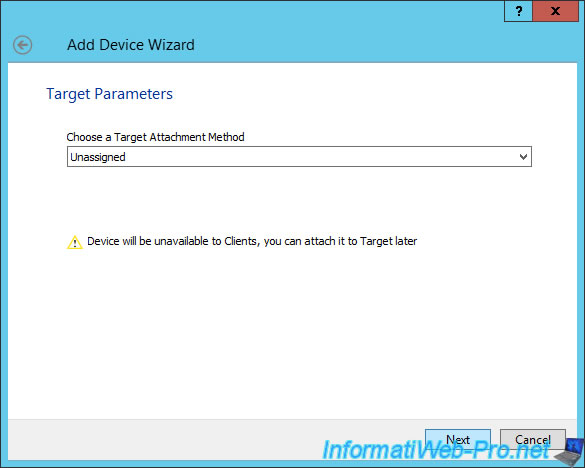
For now, select "Unassigned" because we will link it when reactivating data replication.
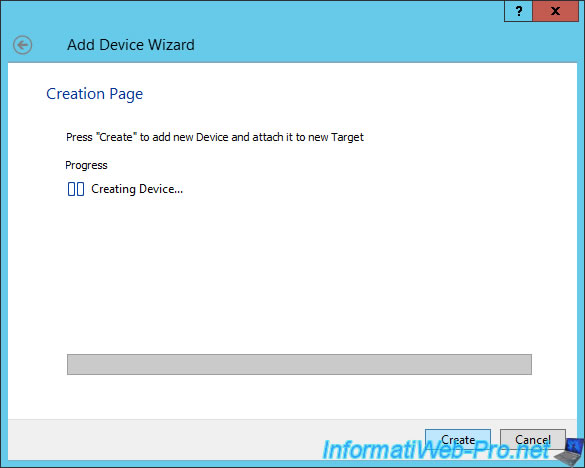
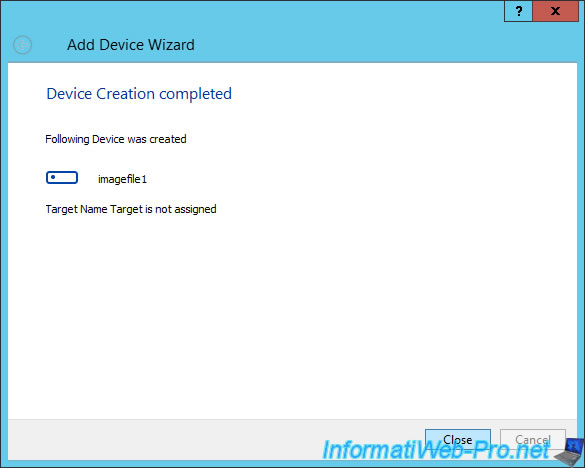
Click Create.
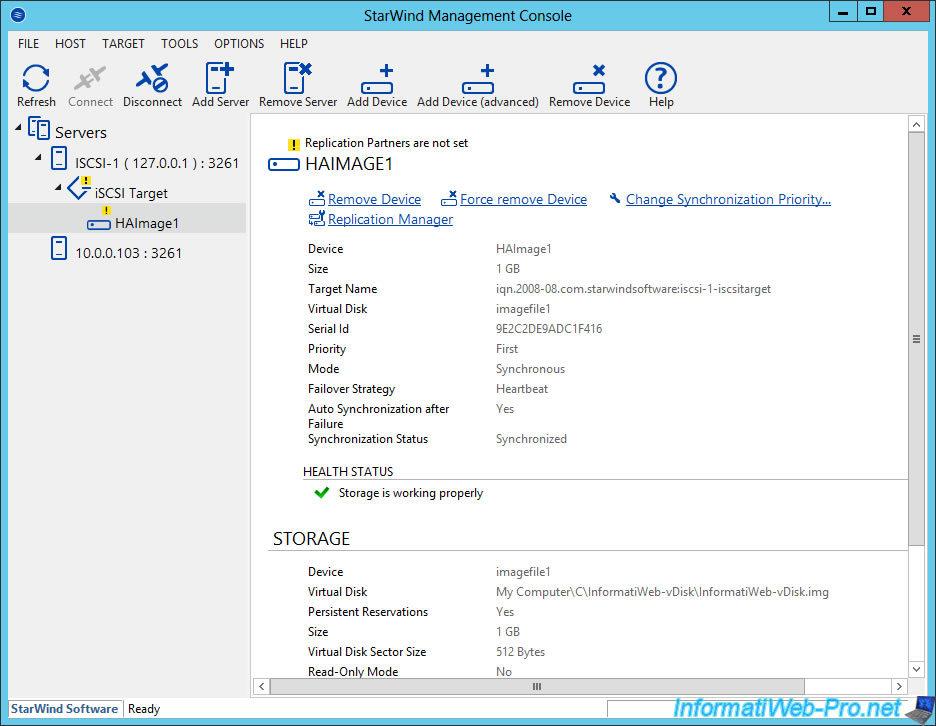
Now, our virtual disk is known again by our remote server.
8.2. Enable data replication again
Select the HAImage virtual disk from the 1st server and click Replication Manager.
Then, click Add Replica.

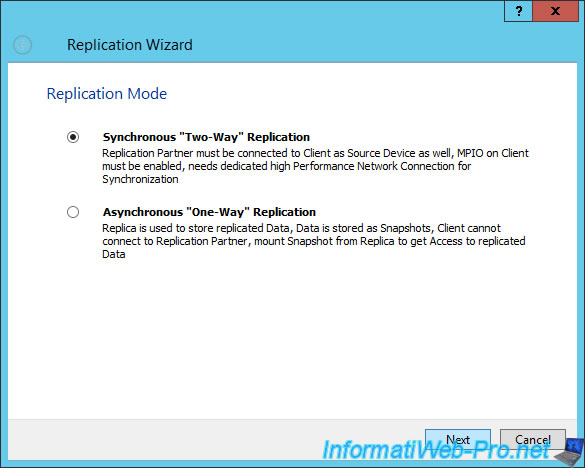
Select "Synchronous Two-Way Replication" like before.
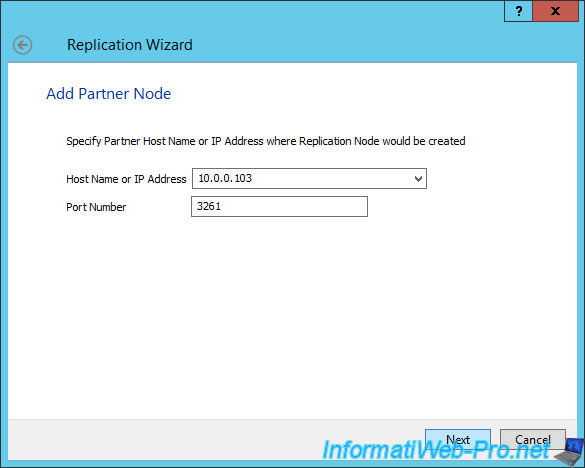
Specify the IP address of the remote server.
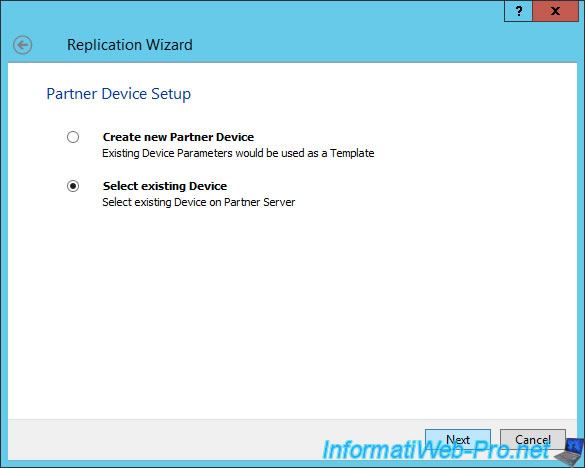
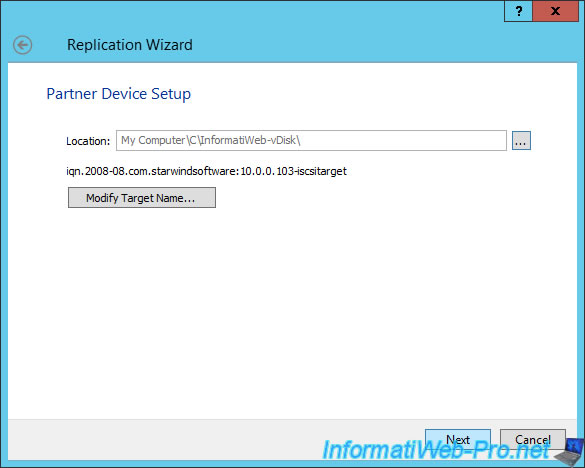
This time, since the corresponding virtual disk already exists on the remote server, we select : Select existing Device.
Click on the "..." button.
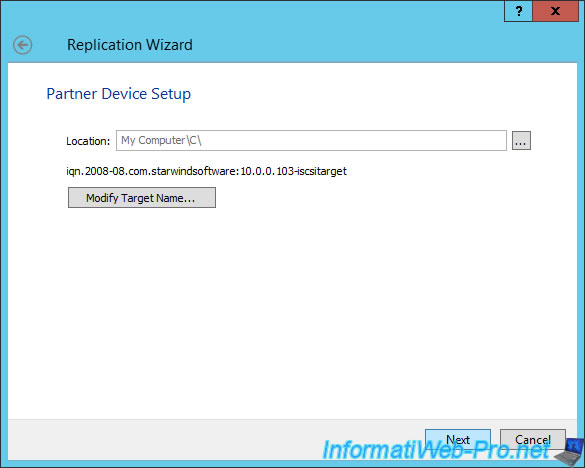
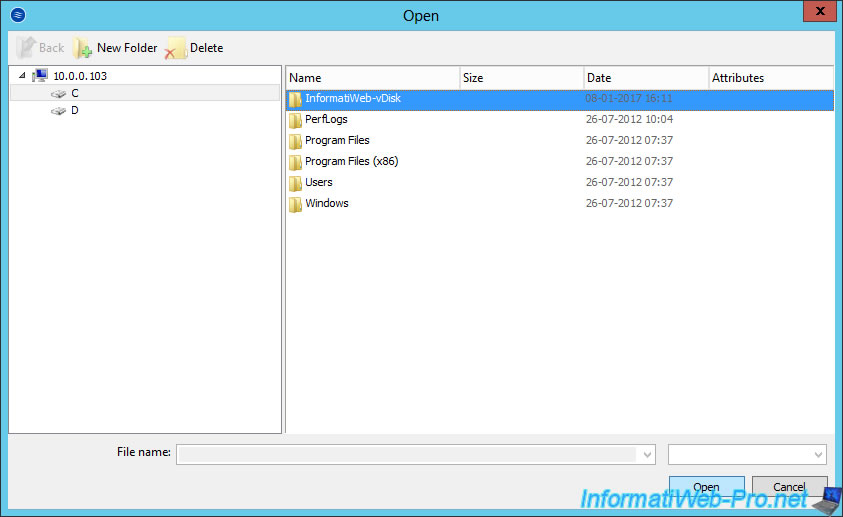
Select the fodler where the virtual disk is located on the remote server.
Then, click Next.
Since we previously linked this virtual disk to our remote server and we not associated it with any iSCSI server, the virtual disk is displayed here.
Select it and click Next.

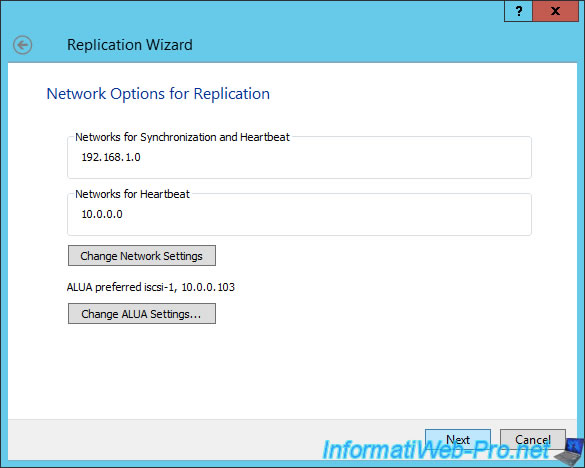
Click "Change Network Settings".
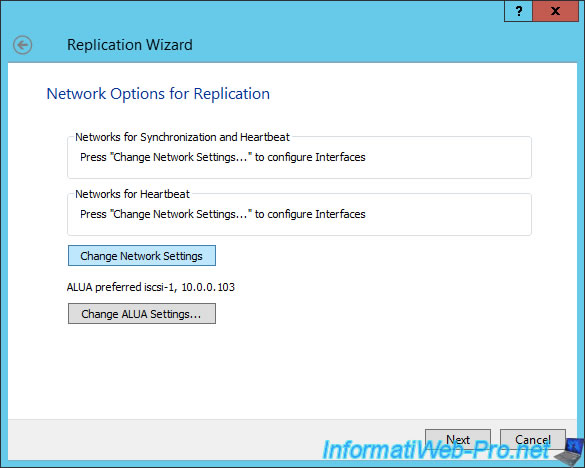
Check the boxes as explained previously.
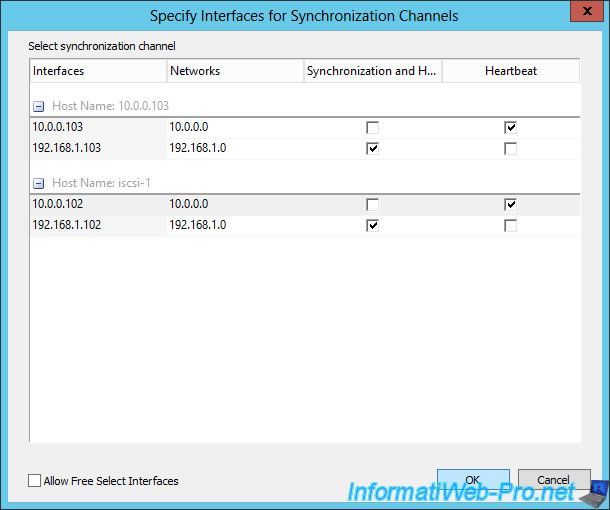
Click Next.
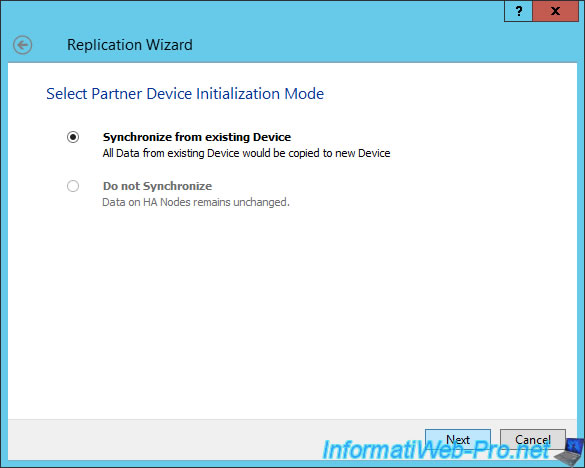
Leave the "Synchronize from existing Device" option selected and click Next.
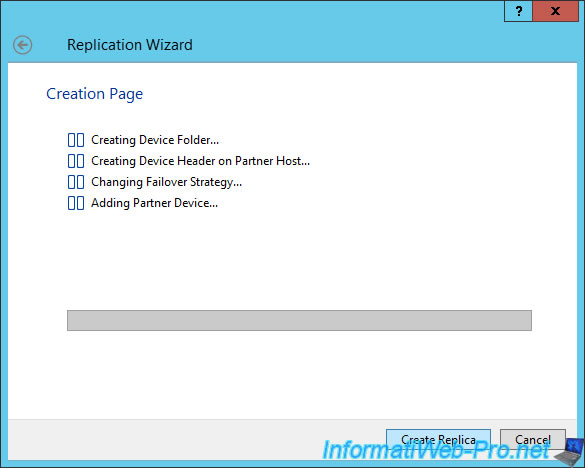
Click Create Replica.
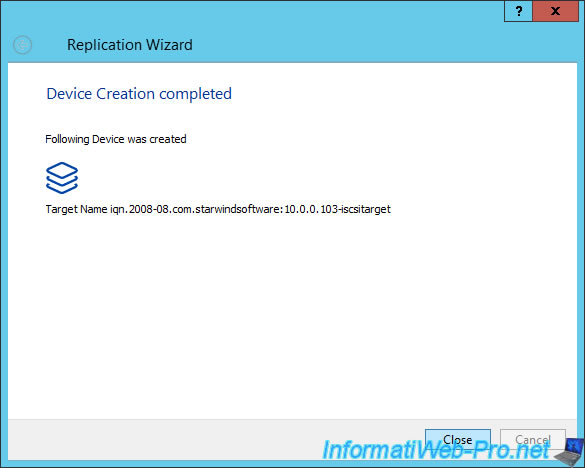
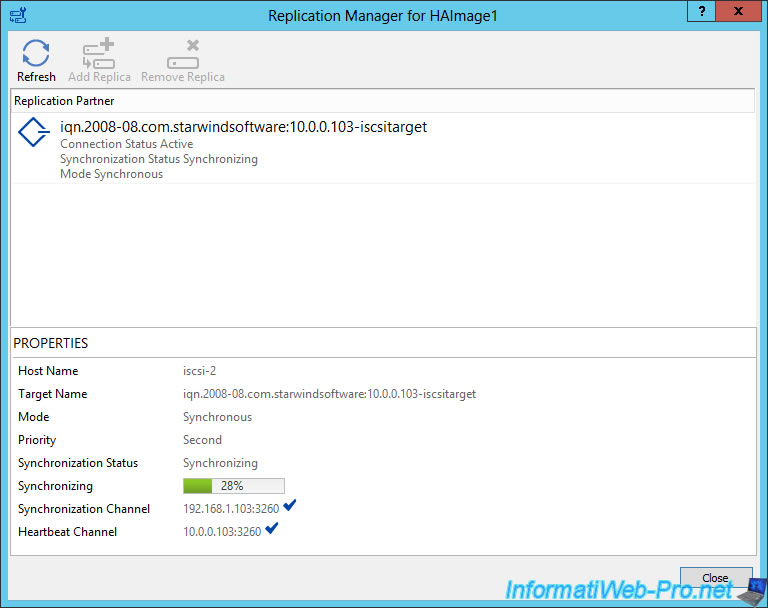
Replication has been reactivated.
Synchronization takes place.
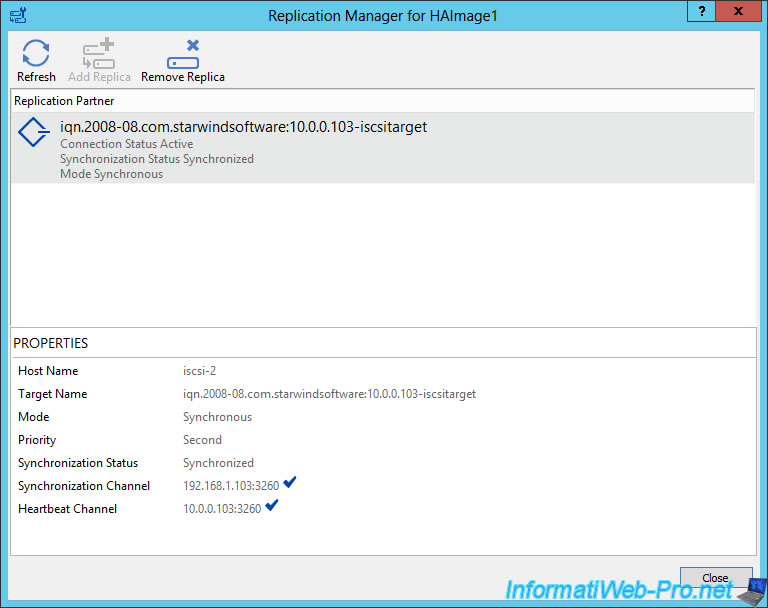
Synchronization completed.
9. Allow iSCSI clients to connect to your server
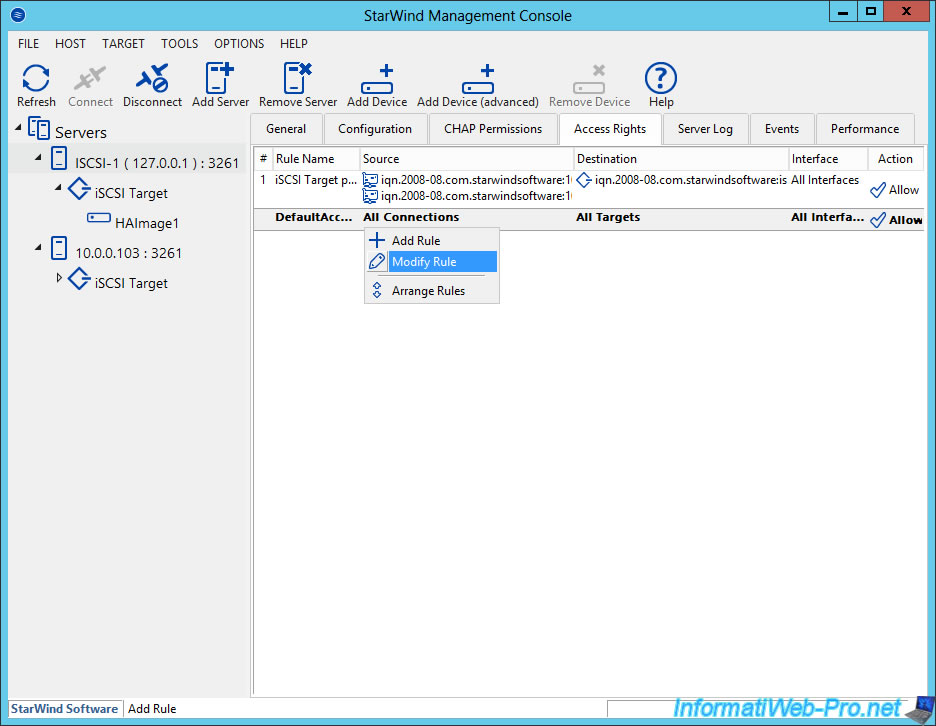
To secure your StarWind iSCSI server, we recommend that you first deny all remote connections.
To do this, select the desired iSCSI server and go to the "Access Rights" tab. Then, right-click "Modify Rule" on the default policy (DefaultAccessPolicy).
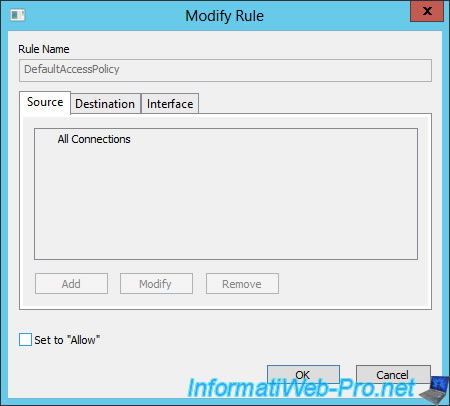
Uncheck the "Set to Allow" check box to deny all connections, by default.
Then, to allow iSCSI clients to connect to your StarWind iSCSI server, you must allow them with their IP addresses, iqn, or DNS names.
To do this, right click in the empty space and click on "Add Rule".
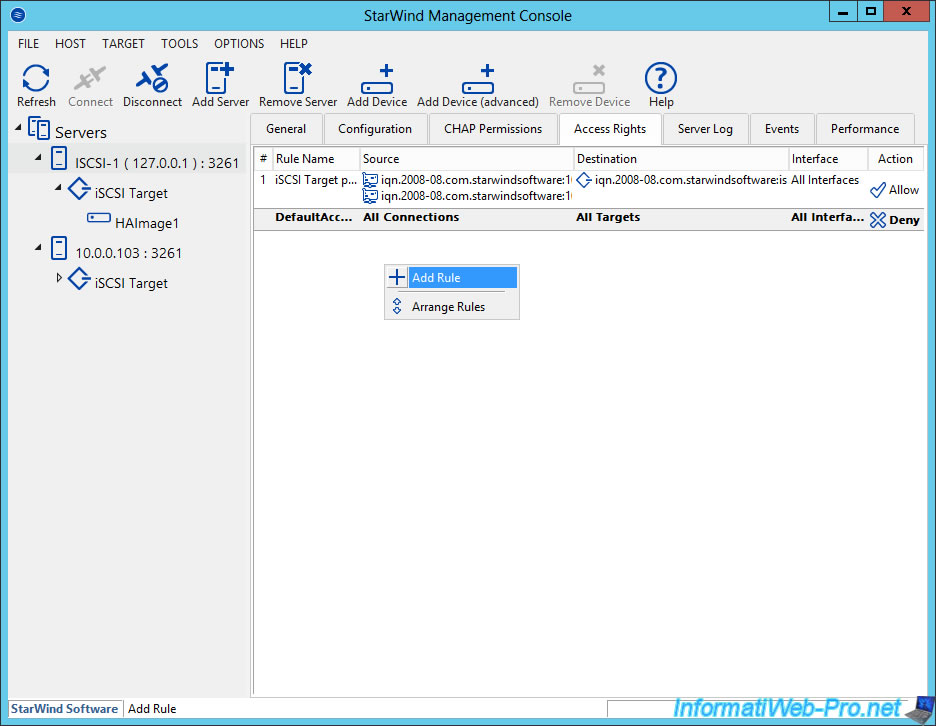
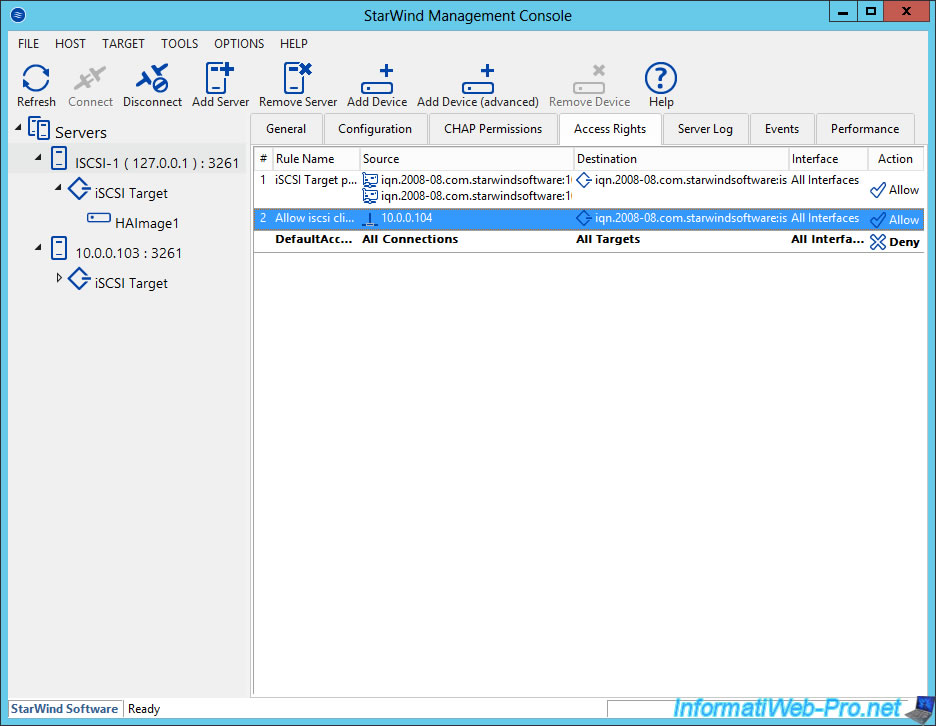
As you can see, each rule is composed of 3 parts :
- the source : the iSCSI IP address, iqn, or DNS name
- the destination : the iSCSI server(s) concerned by this rule
- the interface : the network adapter for which this rule will be valid
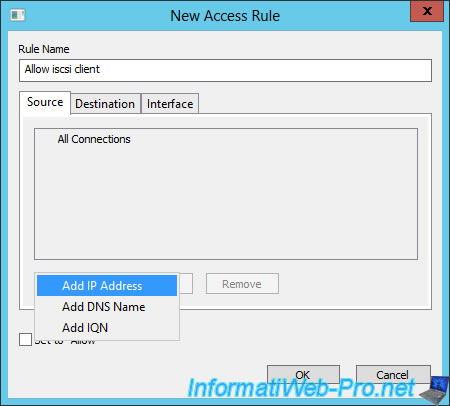
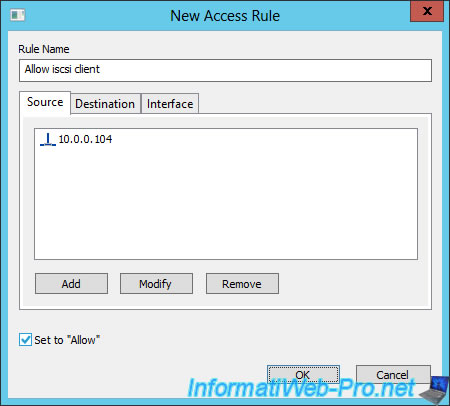
Enter a name for your rule, then click the "Add" button in the "Source" tab.
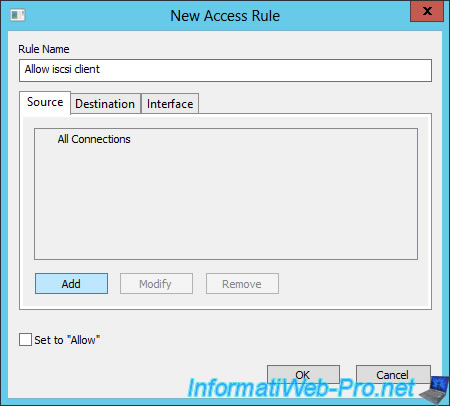
Select how you want to identify the client.
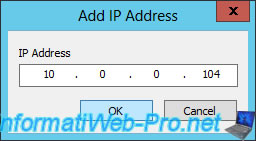
In our case, we will use its IP address.
Specify the IP address of the iSCSI client that you want to allow.
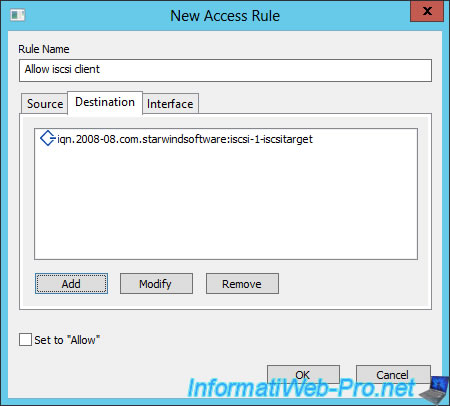
In the "Destination" tab, click Add.
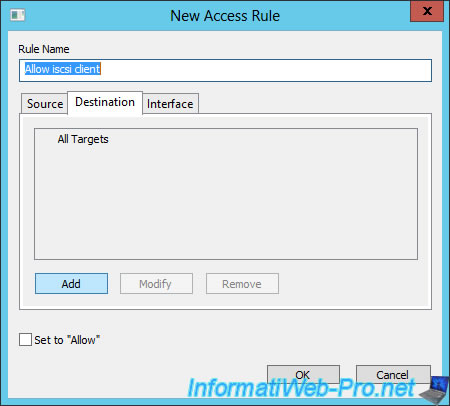
Select the desired iSCSI server.
In our case, we only have one iSCSI server on our StarWind server.
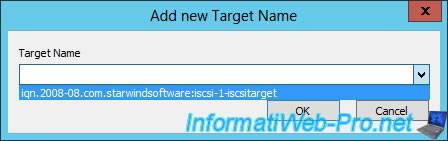
The iSCSI server is displayed.
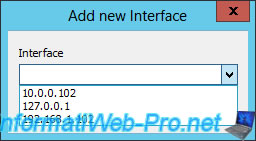
And if you want, you can also restrict this rule to a specific network interface (network adapter).

As you can see, the program shows us 3 IP addresses :
- in our case, the IP address 10.0.0.102 is the network card connected to the local network through which iSCSI clients can access our iSCSI server.
- 127.0.0.1 is the local IP address. The rule will therefore concern internal accesses on the same server.
- in our case, the IP address 192.168.1.102 corresponds to the network card connected to the dedicated network connecting our 2 iSCSI servers.
Finally, don't forget to check the "Set to Allow" box to allow access with this rule.
The new rule is displayed.
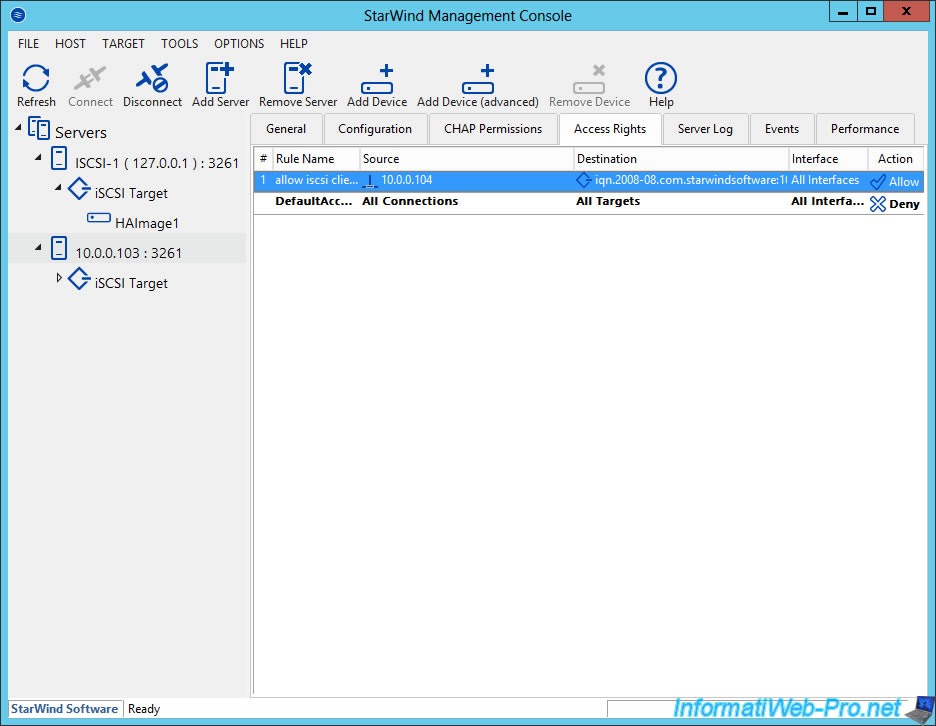
Do the same on the other server so that you can access it when the 1st server crashes.
Share this tutorial
To see also
-
Windows Server 4/29/2017
WS 2012 - Install an iSCSI server and an iSCSI client
-

Windows Server 6/28/2019
WS 2012 / 2012 R2 - Improve the performance of your iSCSI server with MPIO
No comment