Dynamic routing (RIPv2) on Windows Server 2012 / 2012 R2
- Windows Server
- Routage
- 23 November 2017 at 12:42 UTC
-

- 2/2

4. Testing RIP routing from our Win 8.1 Pro clients
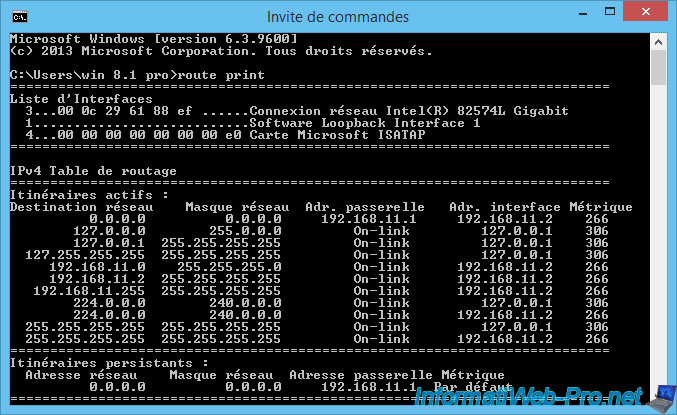
By default, all computers and routers have a default route that lets them know who to contact to access a particular network.
For example, on our first client that has the "192.168.11.2" IP address, Windows knows that it must use the network card with the IP address "192.168.11.2" to contact the machines on the network "192.168.11.0".
Because the IP address of client 2 (192.168.12.2) is not part of the routing table for this client, Windows will use the default route shown in the "Persistent Routes" section.
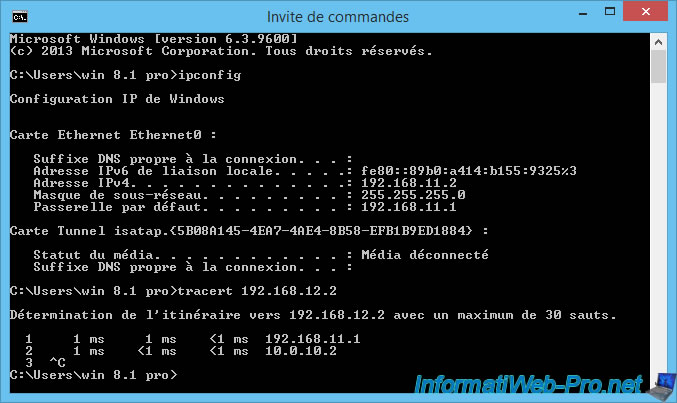
To know the network configuration of your PC, use the command : ipconfig
ipconfig
To know the path taken by a packet, you can use the "tracert" command of Windows.
In our case, we will try to know the route taken by a packet that we will send to a client of the 2nd network.
As you can see, the packet will be sent to the "192.168.11.1" gateway (which was in the default Windows route).
Then, this packet will pass through the 10.0.10.2 IP address which corresponds to the IP address of the network card allowing you to interconnect your 2 RIP servers.
Finally, the rest of the trip will not be displayed.
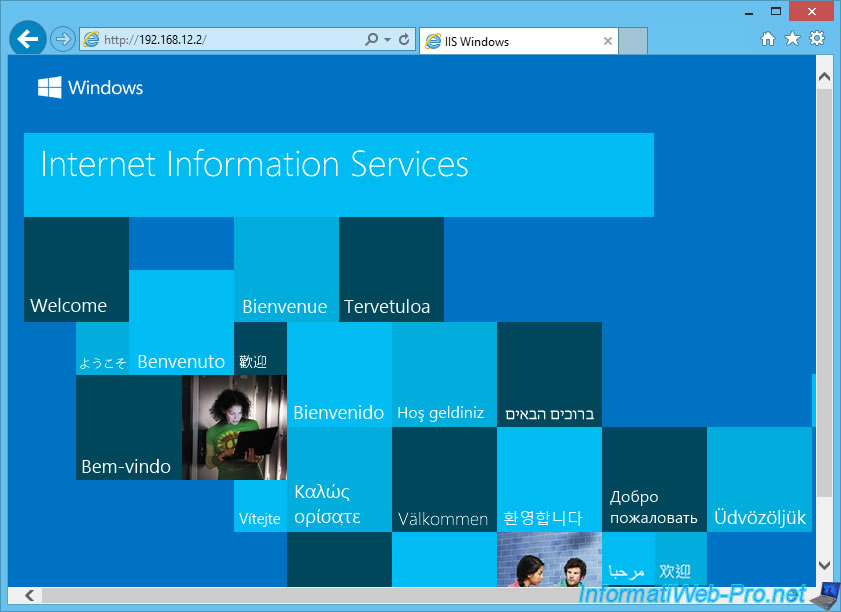
If we try to access the web server of the 2nd RIP server, we see that we have access to it.
Note : the installation of the "Routing" role service also caused the installation of the "DirectAccess and VPN" role service and therefore of the Windows Server IIS web server.

To test access to client 2, we will install the IIS web server.
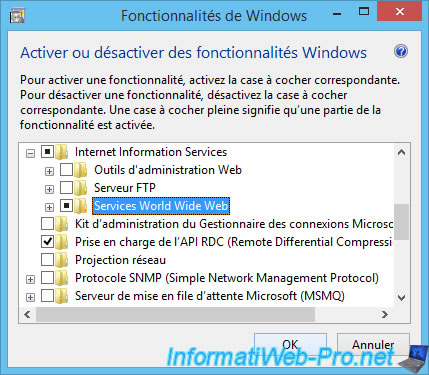
To do this, open the Windows 8 control panel, go to "Programs and Features : Uninstall a program" and click "Turn Windows features on or off".
Check the "Internet Information Services -> World Wide Web Services" box and click OK.
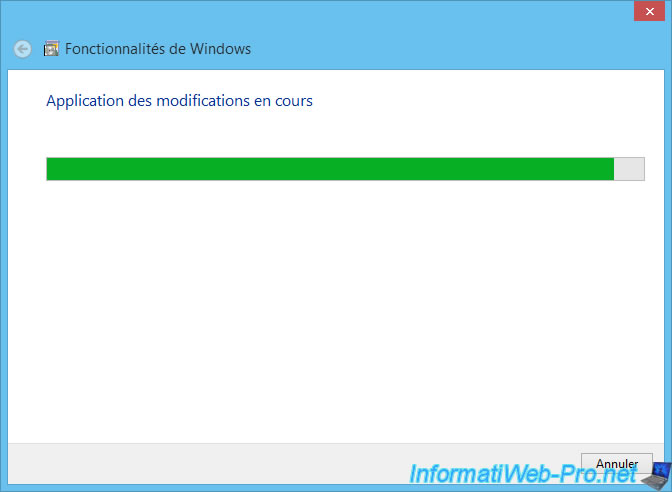
Windows installs the IIS web server.
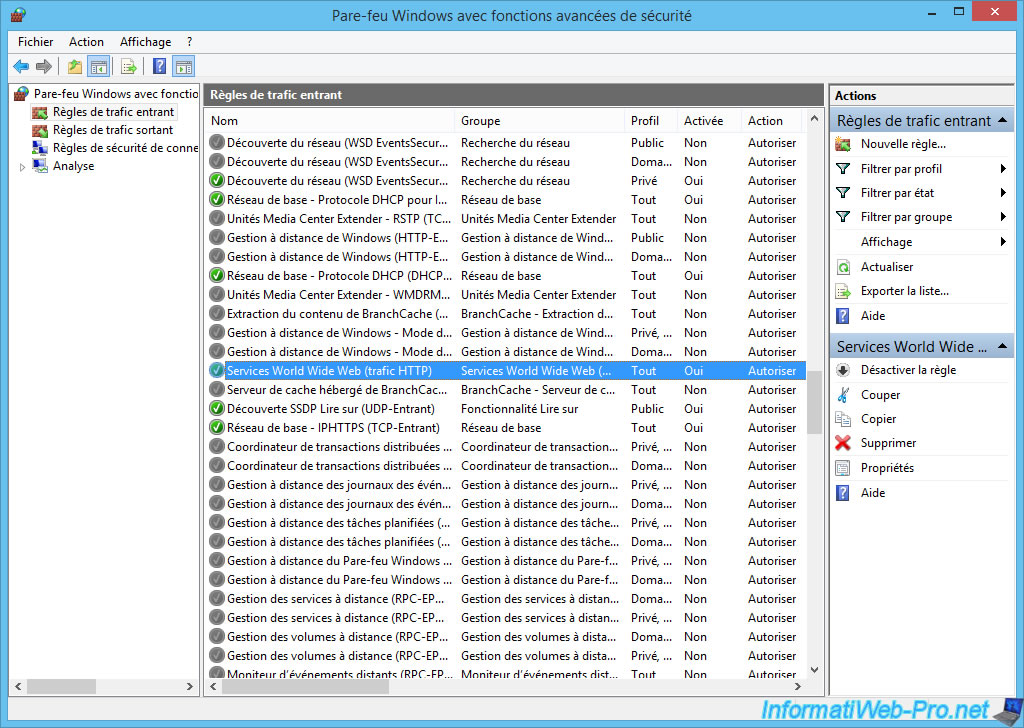
Note that Windows will automatically create a rule in its firewall to allow port 80 (HTTP).
In addition, since your RIP servers also have a firewall (the Windows Server firewall), it's also necessary to open the ports in these firewalls.
In this case, this will not be necessary because the port was already opened when installing the "Remote Access" role.
As you can see, the web server of the client PC 2 (IP: 192.168.12.2) is easily accessible from client 1 (IP: 192.168.11.2).
5. Configuring NAT routing for internet access
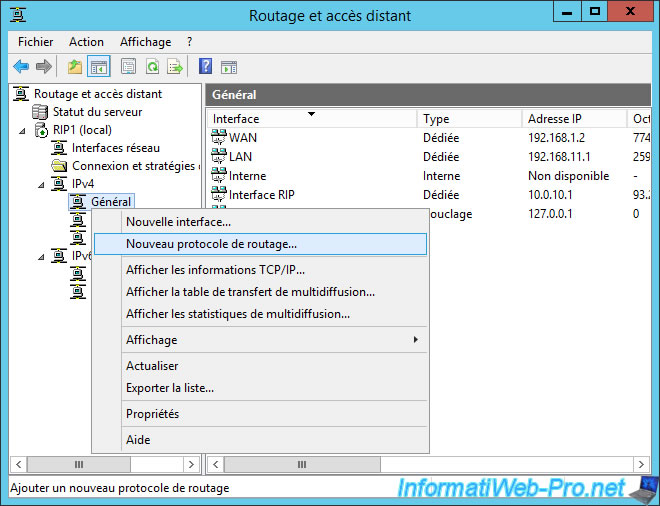
To configure the NAT on your 2 servers, go to IPv4 and right click "New Routing Protocol" on "General".
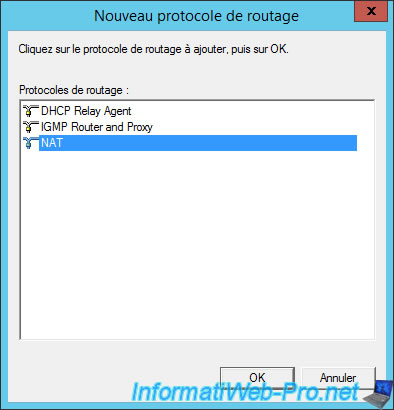
Select "NAT" as the new routing protocol.
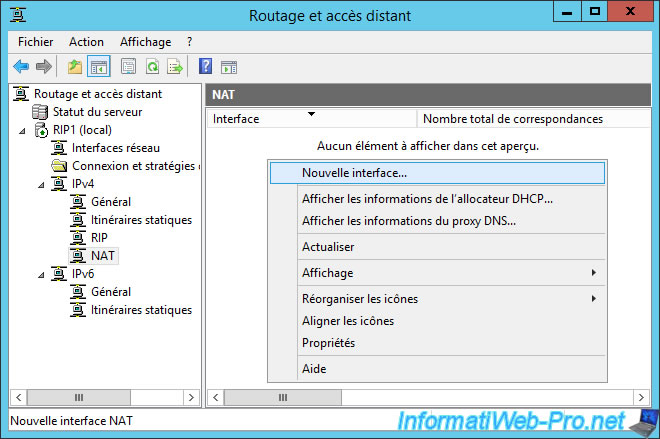
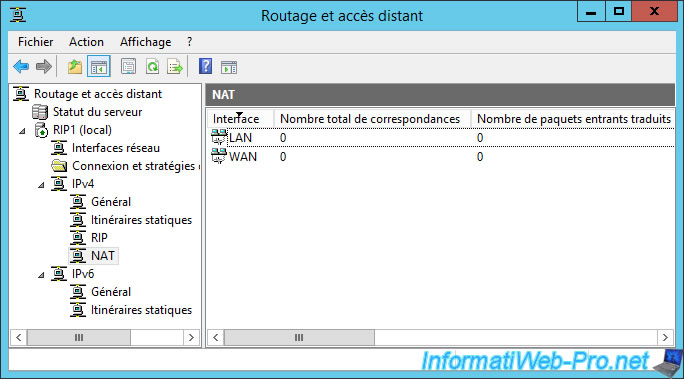
In the "IPv4 -> NAT" section, right-click "New interface" in the right part of the window.
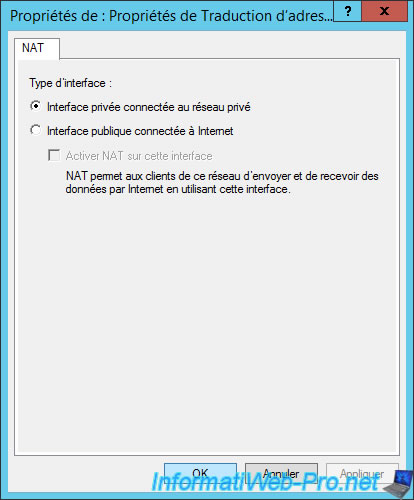
Select the network adapter connected to your local network.

Select "Private interface connected to the private network".
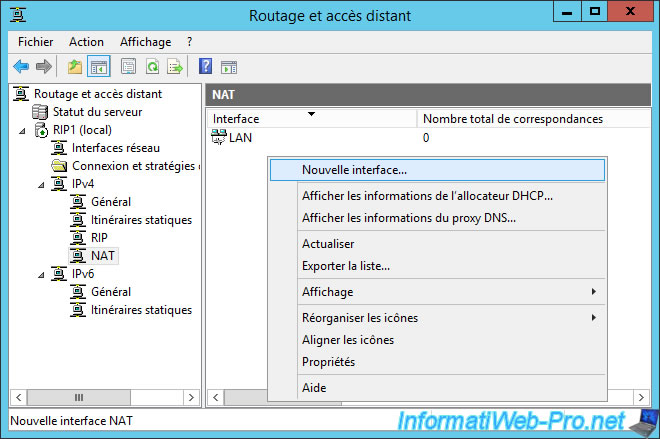
Add a new NAT interface.
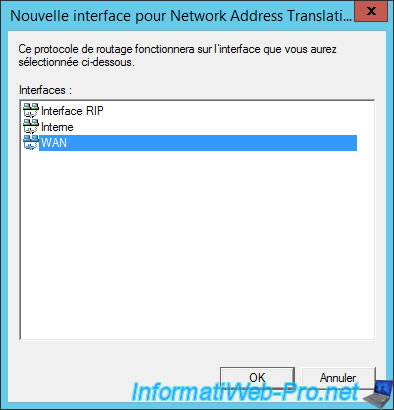
Select the interface connected to the Internet (or your Box).
Select "Public interface connected to the Internet" and check the "Enable NAT on this interface" box.
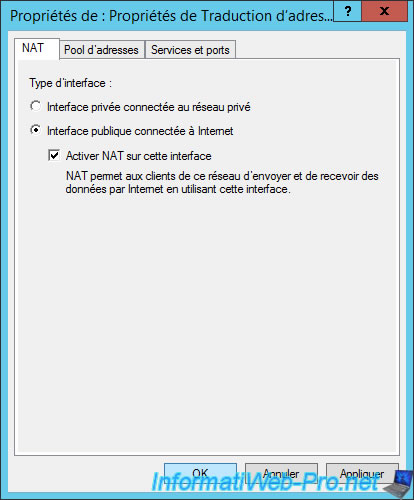
Now, this server will also act as a NAT router and will allow client machines to access the Internet.
Note : don't forget to do the same on the 2nd server.
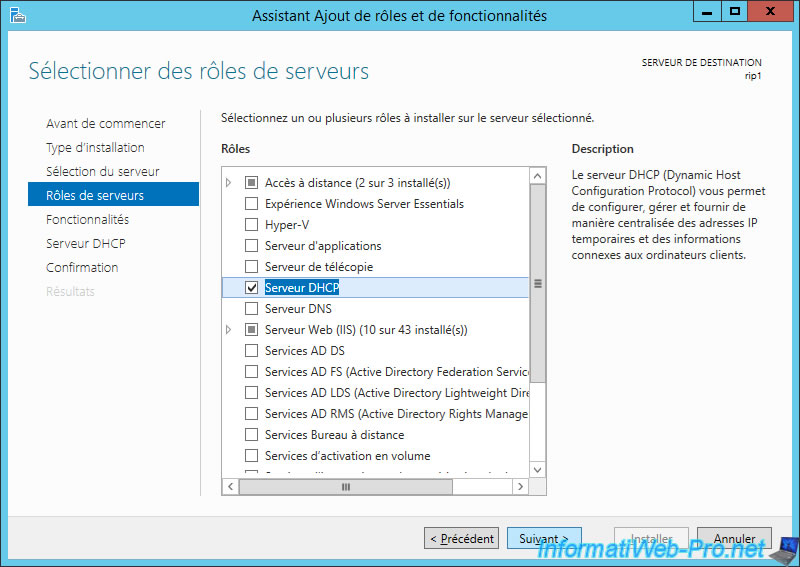
6. Installing and configuring the DHCP server (optional)
For the moment, all client machines have static IP addresses.
However, if you want to automatically distribute the IP addresses in each LAN, the easiest way will obviously be to create a DHCP server on your 2 servers.
Note : for more information about creating a DHCP server, see our tutorial : Windows Server 2012 - DHCP
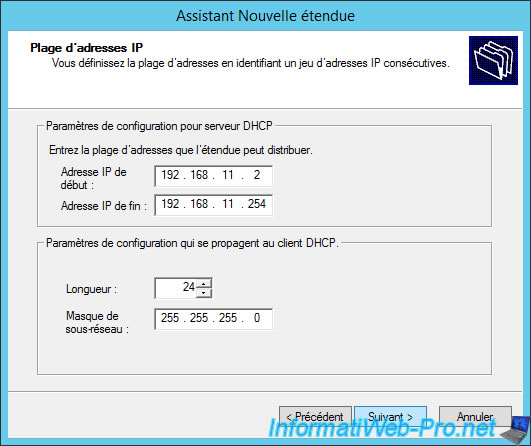
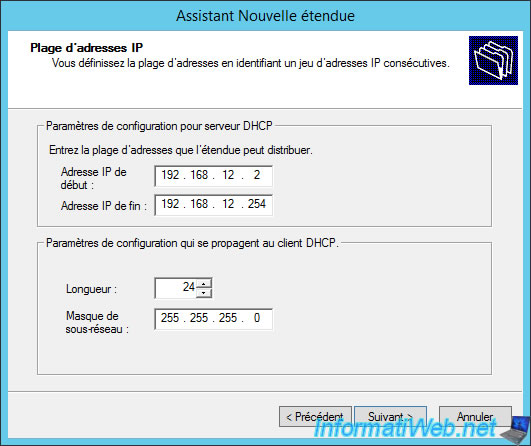
Open the DHCP console and create a new IPv4 scope.
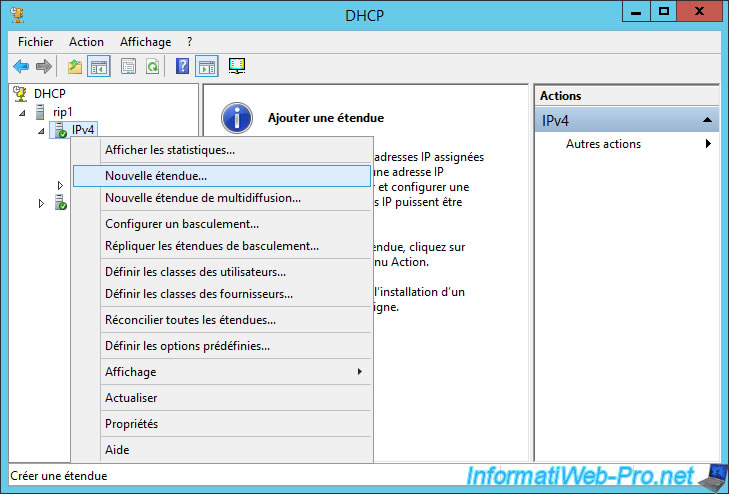
For the 1st LAN, we will create this IP addresses range : 192.168.11.2 to 192.168.11.254.
Important : the 192.168.11.1 IP address should not be specified in this range because it has been set statically on the RIP1 server.
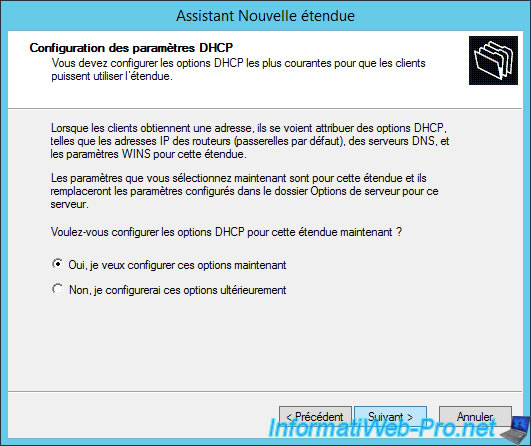
Choose the option "Yes, I want to configure these options now".
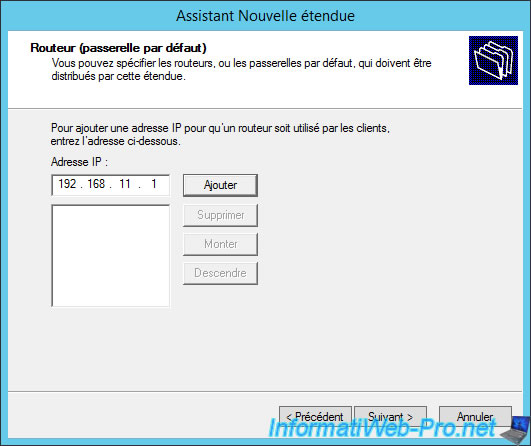
Specify the internal IP address of your RIP1 server (the IP address of the network adapter connected to the LAN) and click Add.
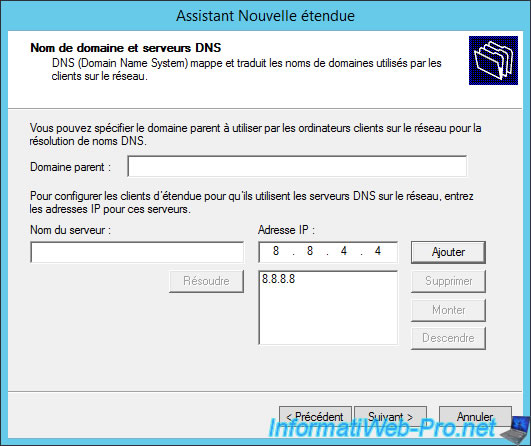
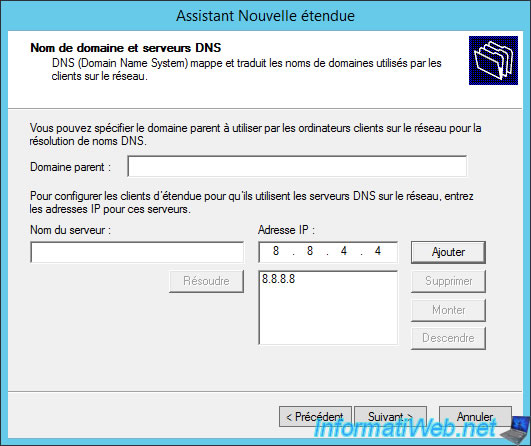
For DNS servers, delete the specified IP address because by default, no DNS server is installed on your RIP server.
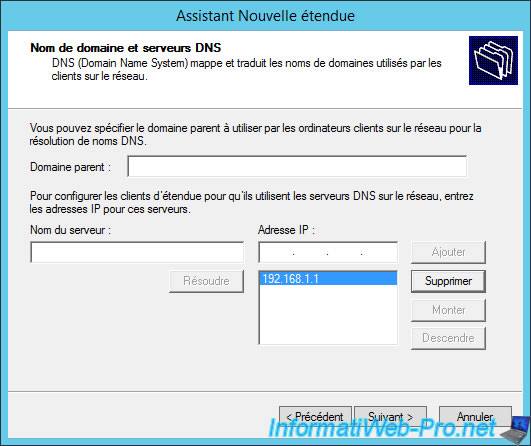
Then, add the public DNS servers of Google : 8.8.8.8 and 8.8.4.4.
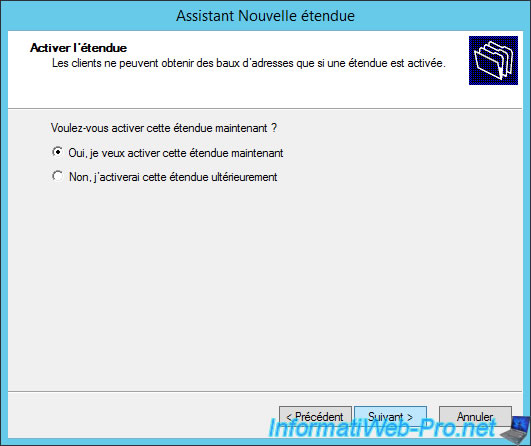
Choose the option "Yes, I want to activate this scope now".
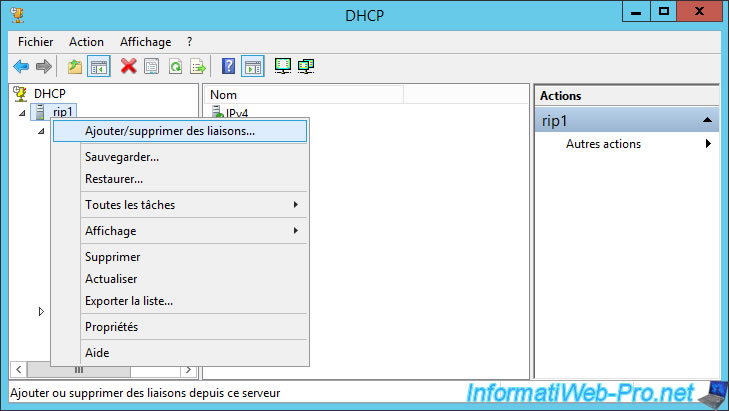
To allow your DHCP server to dispatch IP addresses only to machines of the local network, we will choose the network adapter on which it will "listen".
To do this, right-click on the name of your server and click on "Add/Remove Bindings".
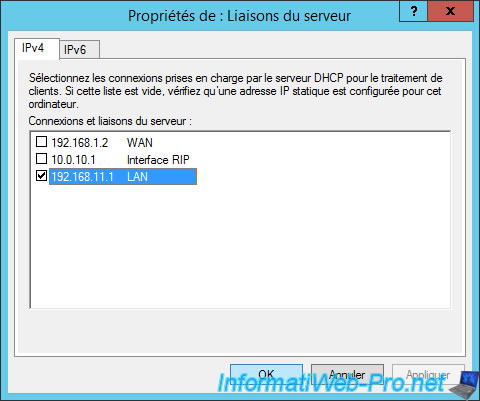
Check only the box for the network adapter connected to the local area network (LAN).
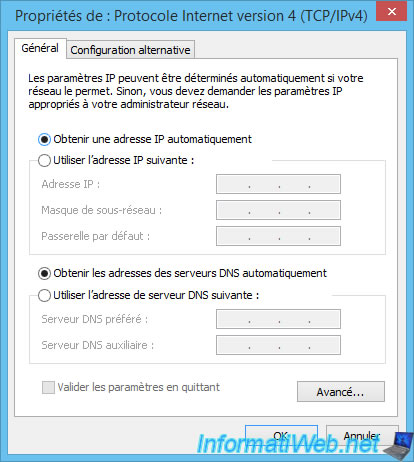
Now, to prevent an IP address conflict from occurring, reconfigure the network adapter of the machine on the local network so that it automatically receives an IP address (from your DHCP server).
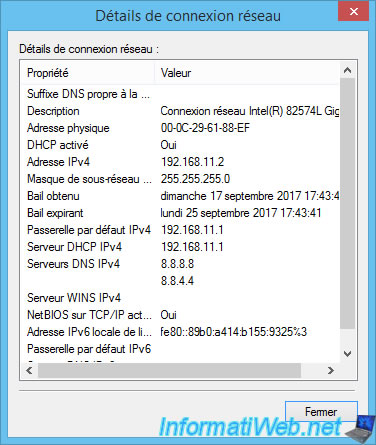
Now, Windows tells you that DHCP is enabled and that this machine has received an IP address from this IPv4 DHCP server : 192.168.11.1
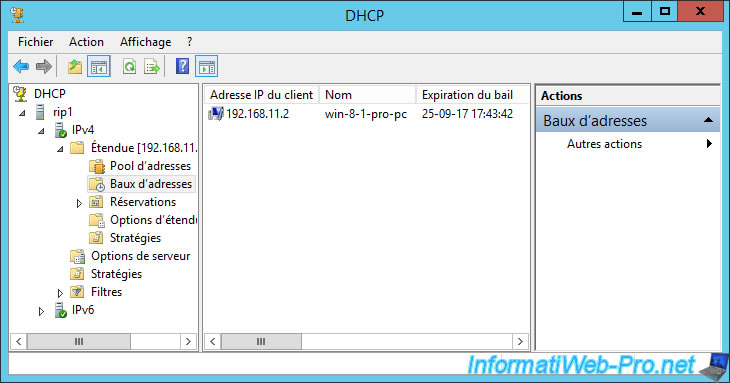
On your DHCP server, you will see that the IP address has been assigned to your Windows 8.1 machine.
For the 2nd DHCP server, the configuration is almost identical.
Except that the range of IP addresses will be : 192.168.12.2 to 192.168.12.254.
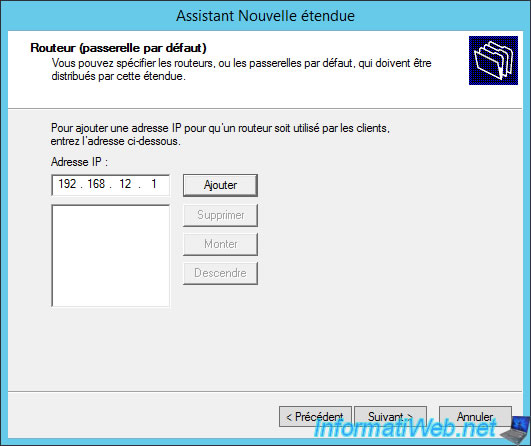
The IP address of the router : 192.168.12.1
For DNS servers : no change.
We still use those of Google.
Finally, don't forget to configure the network card of the machine present in the 2nd LAN.
Share this tutorial
To see also
-
Windows Server 4/28/2012
WS 2003 - NAT and network routing
-
Windows Server 4/22/2015
WS 2012 - NAT and network routing
-

Windows Server 12/3/2016
WS 2012 - Routing and VPN server
-

Windows Server 12/9/2016
WS 2022 / 2016 / 2012 - Create a site-to-site (S2S) VPN tunnel via PPTP/L2TP
No comment