Create a DNS server on Windows Server 2008
- Windows Server
- DNS
- 15 January 2013 at 16:37 UTC
-

- 2/3

4. Configuring the DNS server (for LAN)
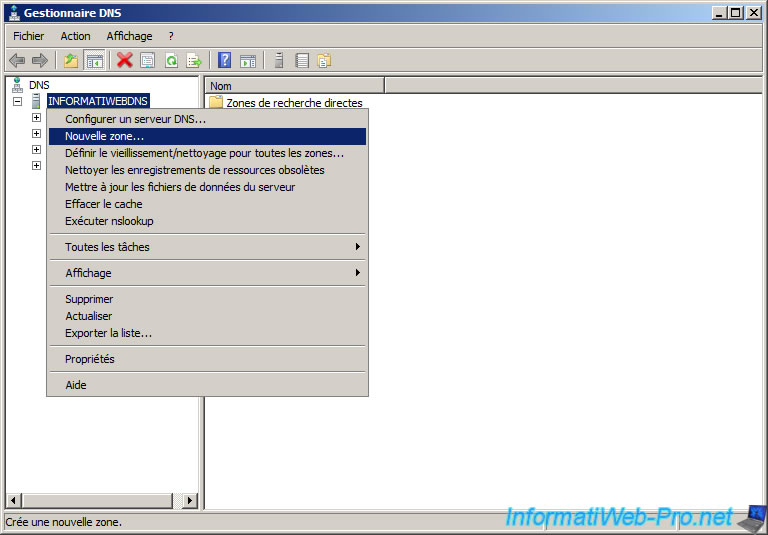
We'll now go to the actual configuration of our DNS server. To do this, right click on your DNS server and click on "New Zone".
The wizard "New Area" is displayed.
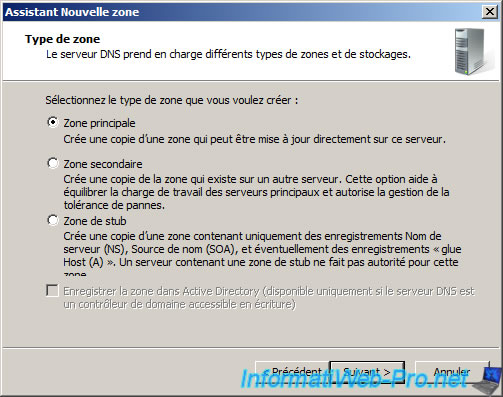
The wizard offers us several types of zones :
- The main area : means that our DNS server is the "master DNS" and therefore has all the rights (read / write) to this area.
- The secondary zone : means that our area already exists on another server. Thus the master tells him he has the right area to read but not edit. This is mainly used to alleviate a DNS server that receives many requests in this area.
- The stub zone : simply means that our server keeps a copy of the zone file update. Our DNS server does not perform resolution on the relevant fields.
As explained at the beginning of this tutorial, a DNS server is used to translate a domain name (and its subdomains) to an IP address and vice versa.
It is best to create two types of areas to have a good name resolution in an area.
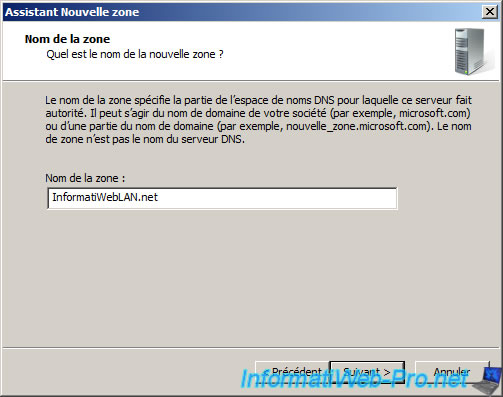
We start by creating the forward lookup zone.

Indicated a field name that does not exist on the Internet to avoid masking it.
Except in the case where you want to configure your DNS server for use on the Internet but it greatly complicates things. If you are interested, look up "become an accredited registrar" on Google.
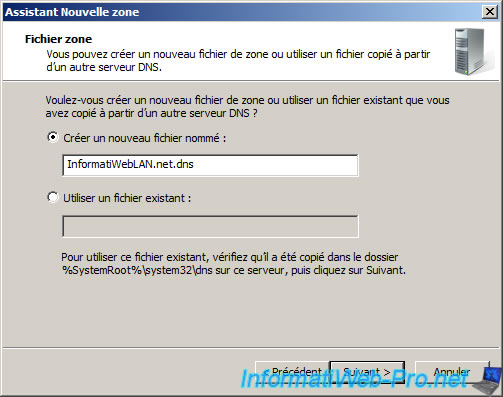
In our tutorial, we will create a zone named "InformatiWebLAN.net".
Since in our case, our machine is not a member of any domain suffix area is ".dns".
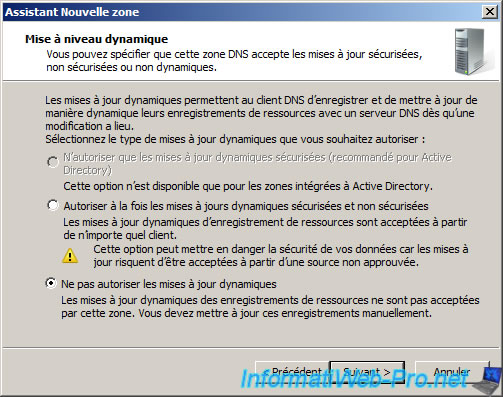
Then you can allow or disallow dynamic updates in your area. In our case, we will not allow them.

The wizard then displays a summary of the configuration of your new area.

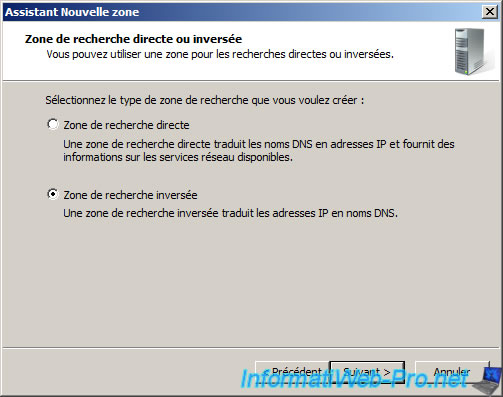
We will now create the reverse lookup zone to translate IP addresses into fully qualified domain name (FQDN) for.
To do this, right-click your DNS server -> Main Zone -> New Zone.
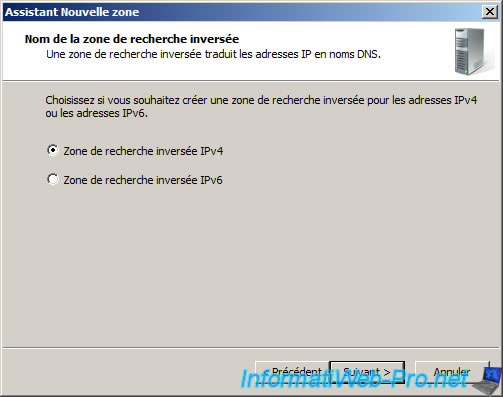
Select "IPv4 Reverse Lookup Zone".
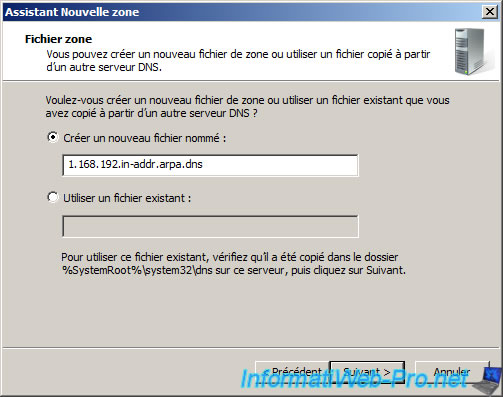
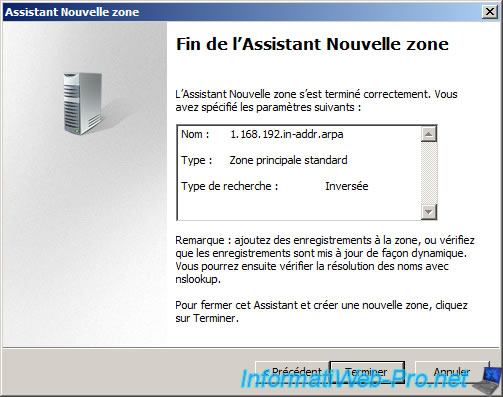
Enter the network ID for your network. In our case it's "192.168.1" which gives a reverse lookup zone named "1.168.192.in-addr.arpa".

The file name is set automatically.
Then you can allow or disallow dynamic updates in your area. In our case, we will not allow them.
The wizard then displays a summary of the configuration of your new area.
Share this tutorial
To see also
-
Articles 5/1/2018
Why deploy DNSSEC on your DNS server ?
-
Windows Server 4/15/2018
WS 2012 / 2012 R2 - Create a DNS server and delegate subdomains
-
Windows Server 4/25/2018
WS 2012 / 2012 R2 - Create a secondary DNS server
-

Windows Server 5/11/2018
WS 2012 / 2012 R2 - Sign your DNS zones with DNSSEC
No comment