Share folders and manage NTFS rights of them on Windows Server 2003
- Windows Server
- WS2003
- 14 December 2011 at 19:52 UTC
-

- 2/2

In this second part we will :
- Add shared folders in Active Directory.
- Connect a network drive on each shared for an easier access to it from the client under "Windows XP" folder.
3. Add shared folders in Active Directory
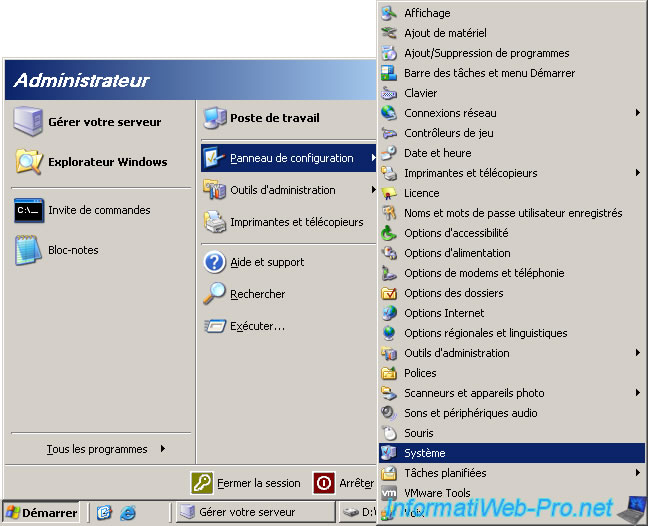
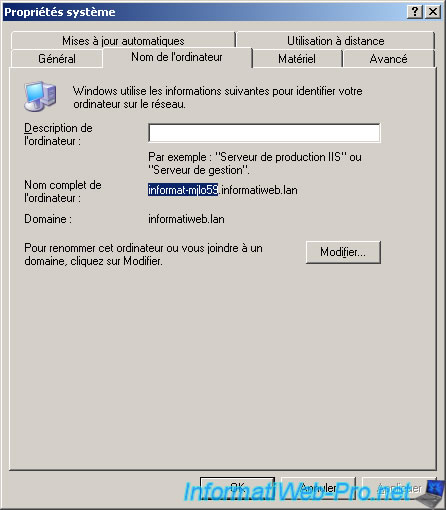
To add a shared folder in Active Directory, you must know the name of the machine. To do this go to "Start Menu -> Control Panel -> System".
The name of the machine is what is before the first "." in the Full computer name. (Highlighted in dark blue on the picture).
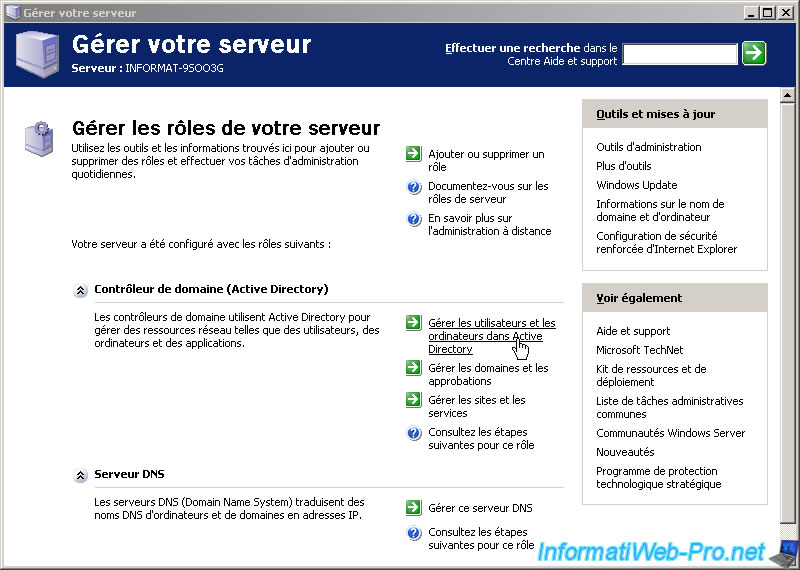
Then, return in the "Manage Your Server" window and click "Manage users and computers in Active Directory".
Right click on your domain and click on "New -> Organizational Unit".
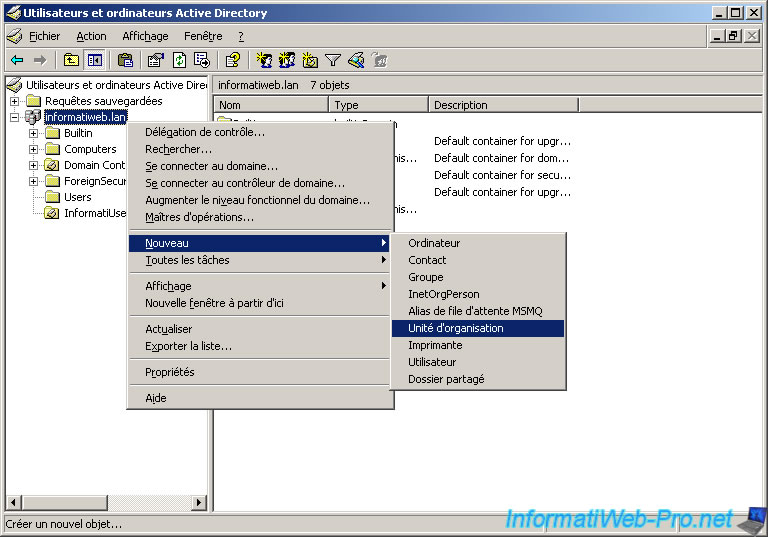
We call it "InformatiShares" because we will place 3 shared folders that were created and shared in part 1 of the tutorial.

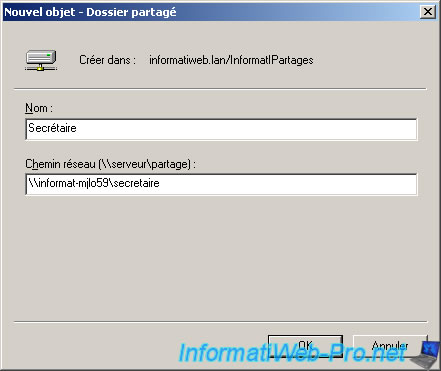
Once created, right click on it and click on "New -> Shared Folder".
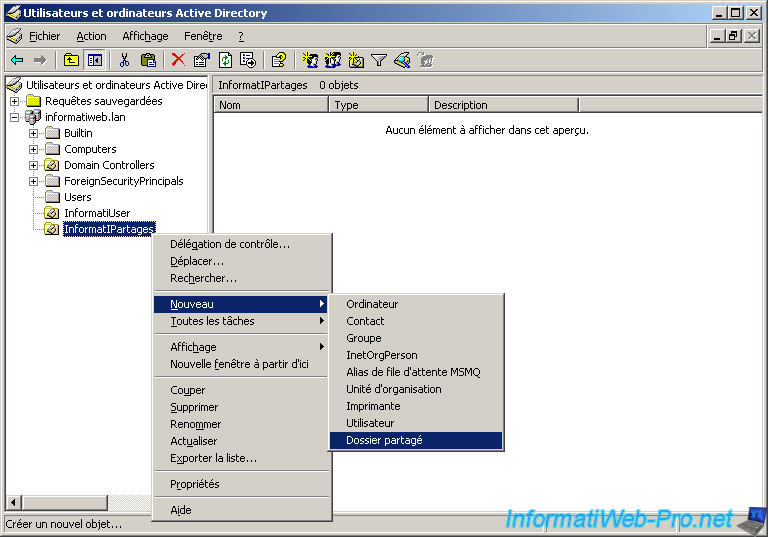
The name that should appear when the shared folder will search from the client and the network consists of the name of the machine (server name on this window) and the share name path (the name you are indicated set when you checked "Share this folder" and had been left by default for the tutorial). Then click "OK" and remade the same procedure for the other 2 shared folders.
Warning : The wizard doesn't check if the network path exists, if this isn't the case you'll get an error when you want to access the shared folder from the client (Windows XP).
Once the 3 shared folders added in Active Directory, you will see the list on the right.

4. Connect a network drive for each shared folder for easy access from the client under "Windows XP"
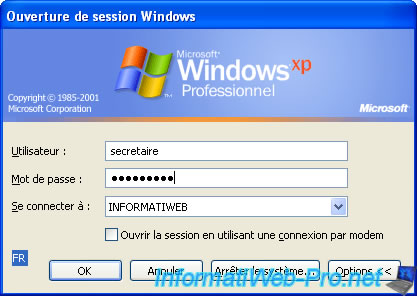
Customer Turn on your PC which had already set in the tutorial "Creating an Active Directory with Windows Server 2003" and connect with "secretary" user.
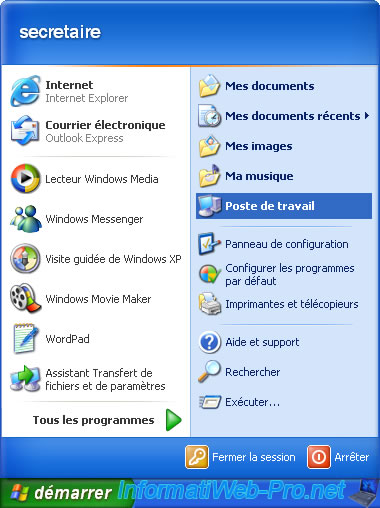
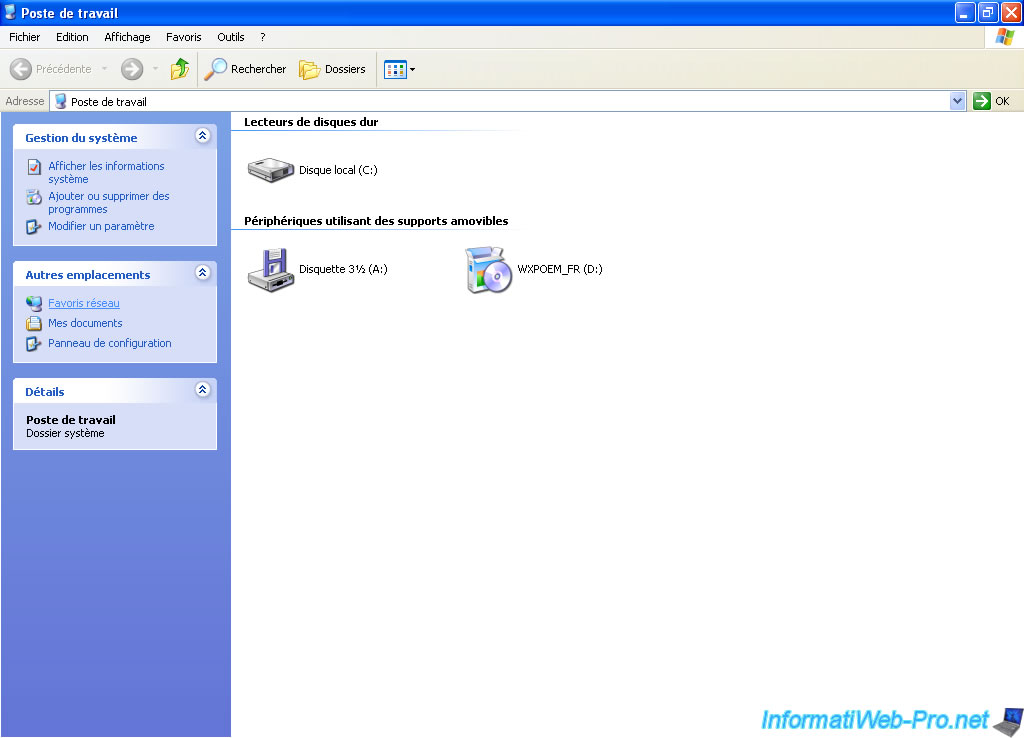
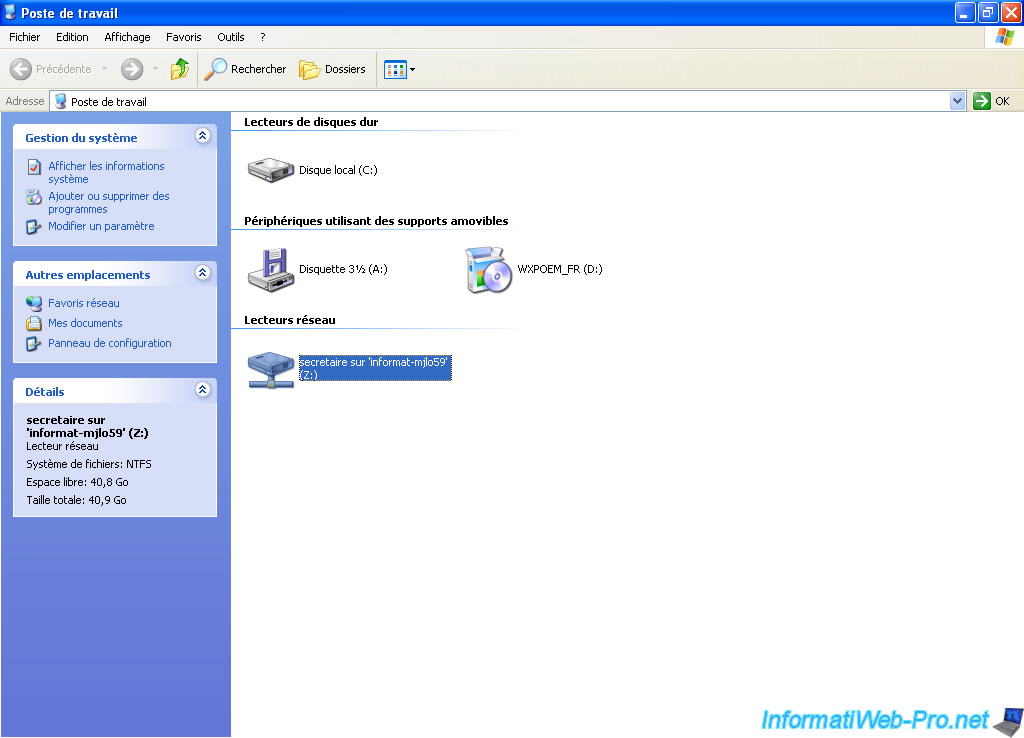
To connect a network drive to a shared folder you will find in the Active Directory. To do this, go to "Start Menu -> My Computer".
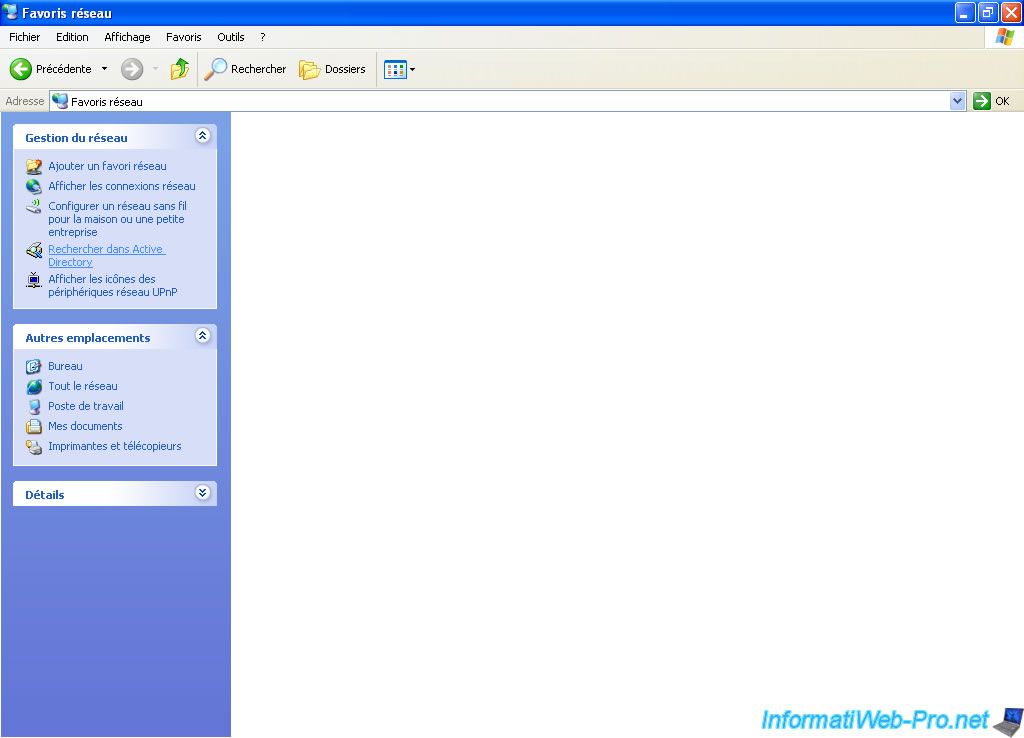
In the "Other Locations" menu on the left, click on "My Network Places".
Then click on "Search Active Directory".
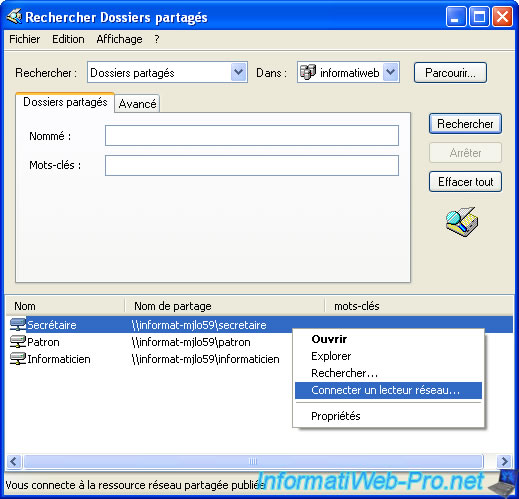
Select "Search : Shared Folders" in "informatiweb (your domain)" and click Search without fill the boxes so that they show all the shared folders.

The list of shared folders in Active Directory appears. To connect a network drive could not be easier, simply right click on the shared folder you want and click "Map Network Drive ...".
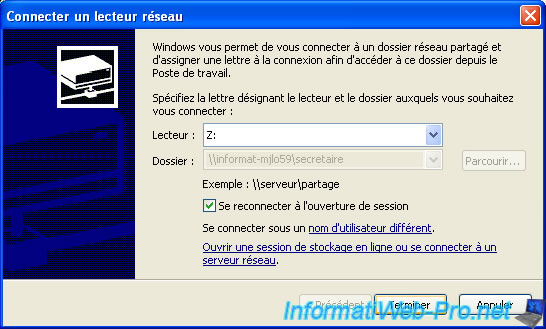
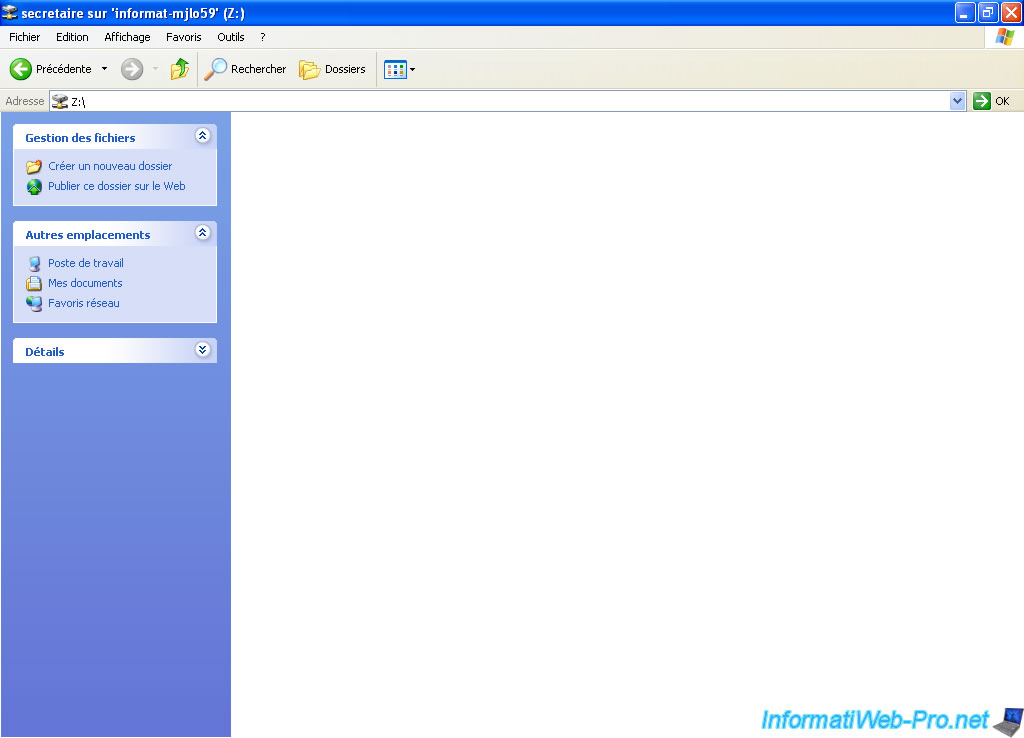
The box with the network path is automatically pre-filled and you can select another letter to assign to the selected shared folder.
The network drive appears in My Computer. Just double click on it to go inside as if it were a partition except that it's a shared folder and its contents from the server and not on the client PC (Windows XP).
Shared no files on network drive. If you have tried to create a file within that network drive you had to realize that it was impossible. This is logical since the Secretary has the rights to read and not modify / write rights. This means that the secretary has read-only access to files / folders that will him by a user who has at least write permissions as the patron and the computer scientist (informaticien in French). So you need to connect dwith one of these two users and a network drive to the shared folder of the secretary and he put the files / folders that are for it.
Then, remade the same procedure with the other 2 users : the boss and the computer scientist (informaticien in French).
That you now know how to use shared folders and the rights, you can put files into there folders.
Just to be complete, here are some additional informations and some error messages that you could get for the rights that have been configured.
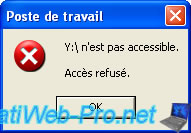
a) Any user can set a network drive on any shared folder in Active Directory even if the user has no rights to the shared folder, but he will get a message like this when it wants to go inside network drive.
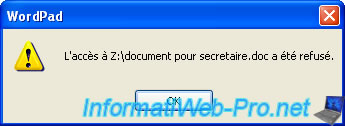
b) If the secretary opens a document that is in the shared folder and modifies this file, she can't to save the changes because she doesn't have the rights to modify / write.
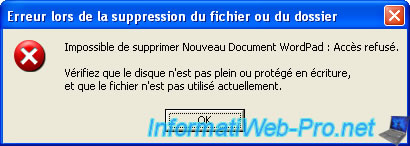
She will get this error message :
c) And finally, if the Secretary or the boss tries to delete a file in their shared folder, they will get this error message because they don't have rights to delete files / folders. Reverse against, the boss may well edit its text documents and delete all the text that is there instead of deleting the file.
The tutorial is now complete.
Share this tutorial
To see also
-
Windows Server 4/30/2021
Windows Server - AD DS - Overview of Active Directory functional levels
-
Windows Server 11/12/2011
Windows Server 2003 - Create an Active Directory
-
Windows Server 4/28/2012
WS 2003 - Créer un serveur DHCP
-
Windows Server 11/12/2011
WS 2003 - Installation
No comment