- Windows Server
- WS2003
- 12 November 2011 at 22:08 UTC
-


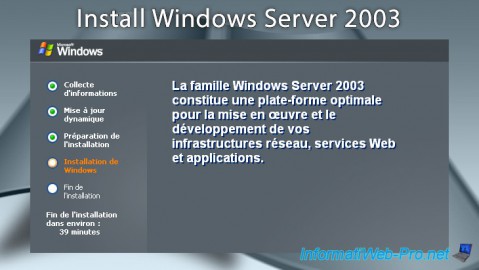
First you have to put the cd "Windows Server 2003" in your CD / DVD drive and boot on it. To do this, you must enter into the BIOS when booting the PC (It may be that you don't have to do it) by pressing "DEL" (sometimes "F12" or "F2").
Windows Server 2003 End of Support
Windows Server 2003 is no longer supported by Microsoft since July 2015.
We therefore recommend that you upgrade to a more recent version, such as : Windows Server 2016.
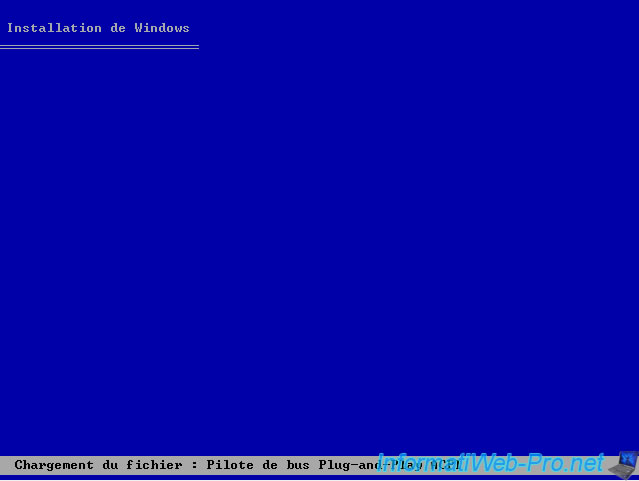
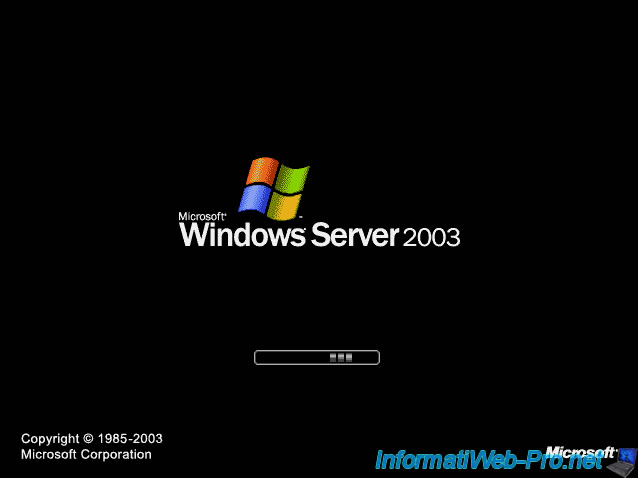
Once you have booted on the CD, you will see a screen like this :
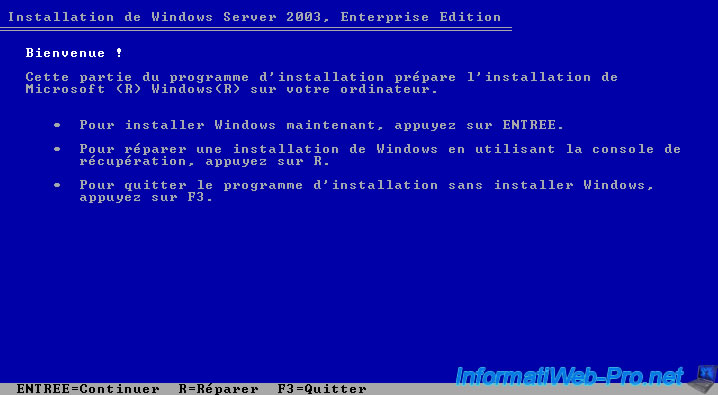
Press "Enter"
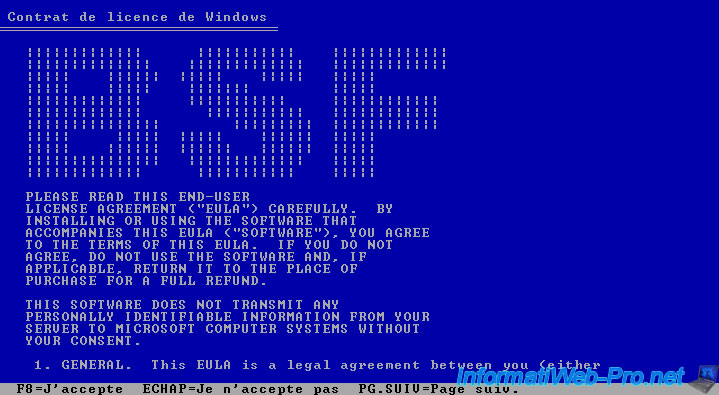
We accept the license agreement.
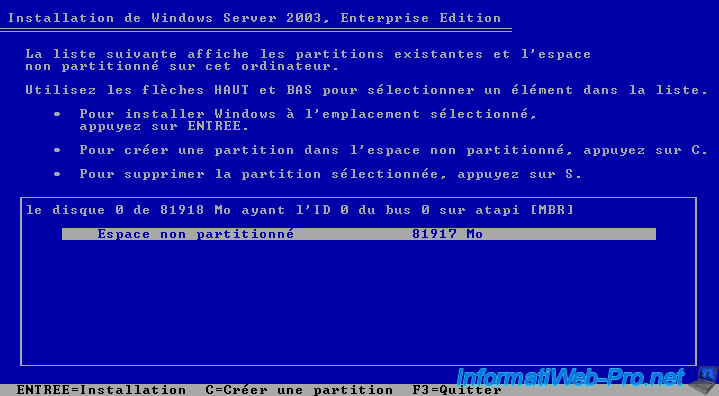
Here you can see that our hard drive is a new non-partitioned. Be aware that Windows server is something very sophisticated and there are many features to it is therefore advisable to put at least 2 partitions. One for the OS (Operating System : Windows Server 2003 in this case) and the second for disk backups.
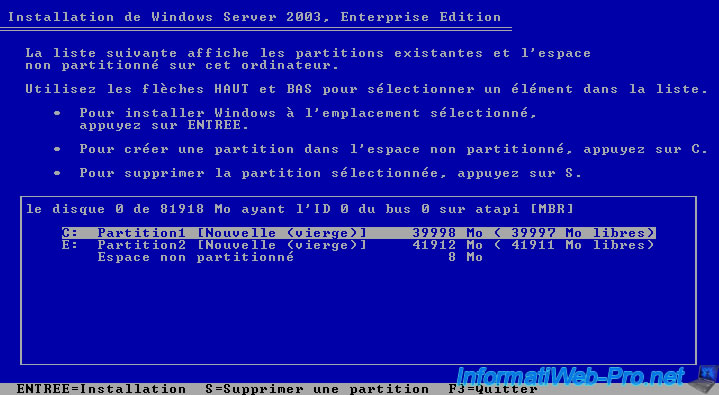
We did half and half to have space for disk backups

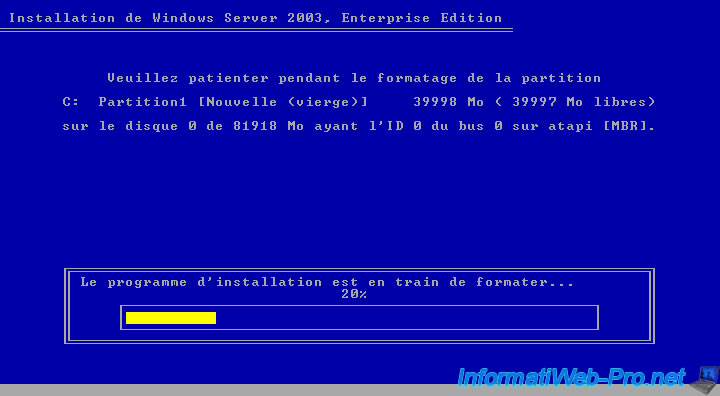
The installation CD formats the hard disk (actually it just clears the FAT is the file table for those who know) and creates the NTFS file system
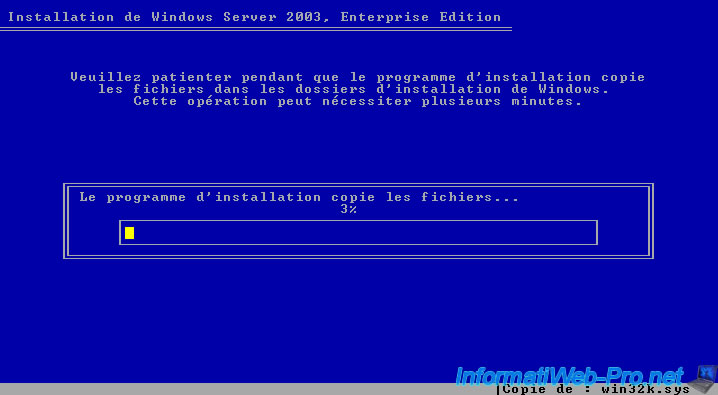
Then, copy the installation files that will be used during the restart at the end of the copy.
During startup you see the bootscreen of Windows (but in fact it is the installer that load installation files)
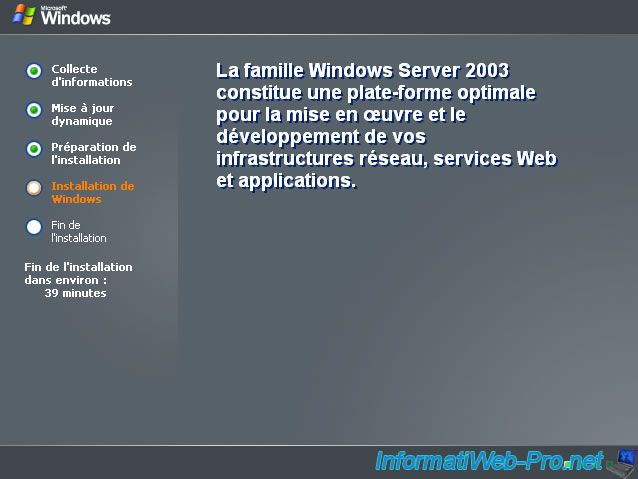
The installation of "Windows Server 2003" begins.
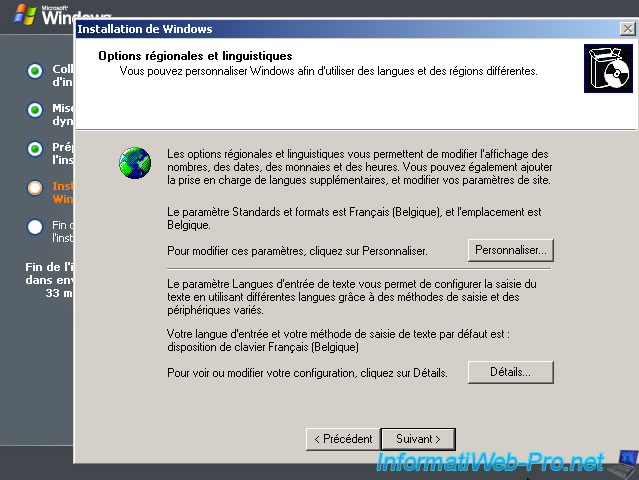
During installation it will ask you to configure the "Regional and Language Options". They are mainly used for the keyboard layout. It's important to configure them during installation because all users you create will be created from the default profile.
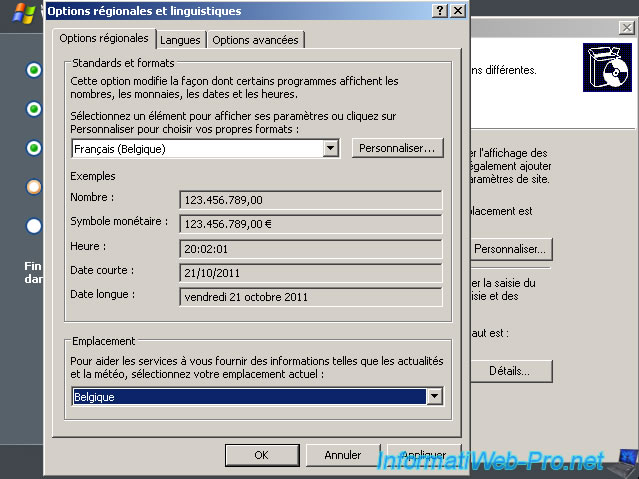
To configure the keyboard layout, click "Details".
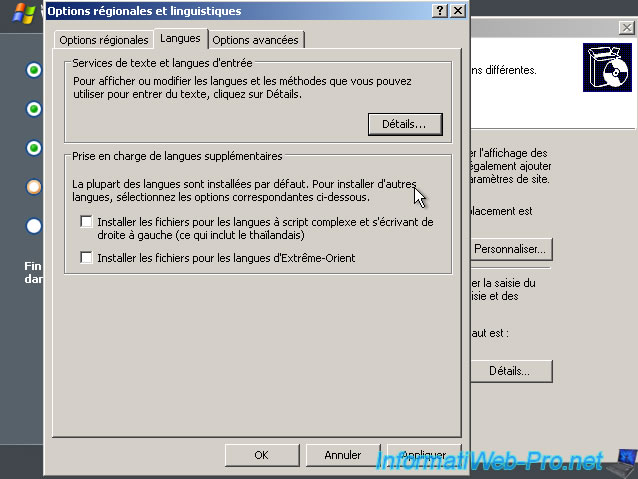
Select language and country of your keyboard.
Click OK to add it.
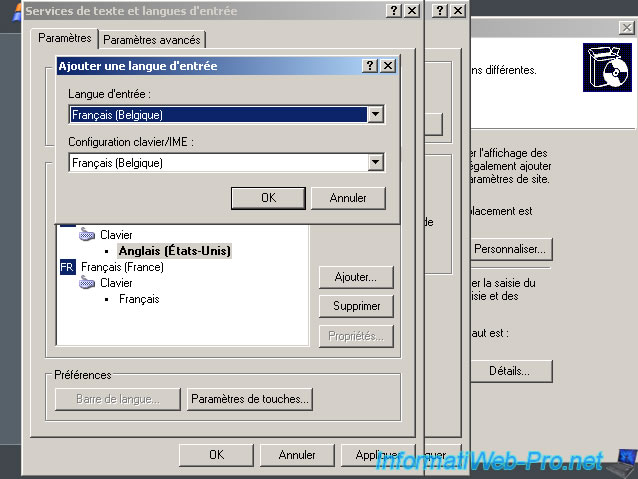
Once added, it must be selected so that it's by default.
Finally, close the window by pressing OK for each.
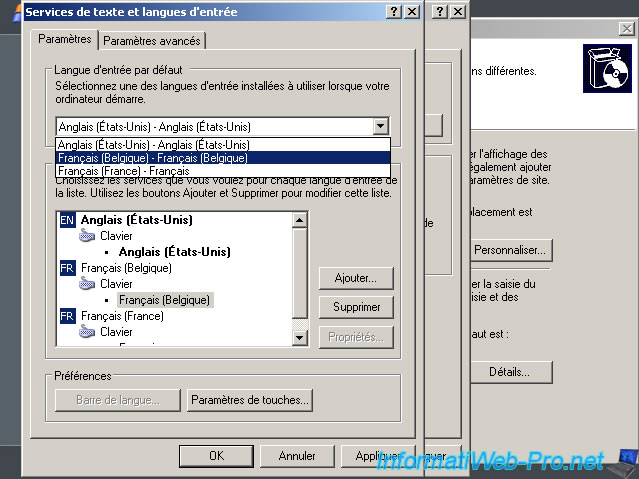
And you see that the keyboard formats and languages ​​have changed. Click "Next".
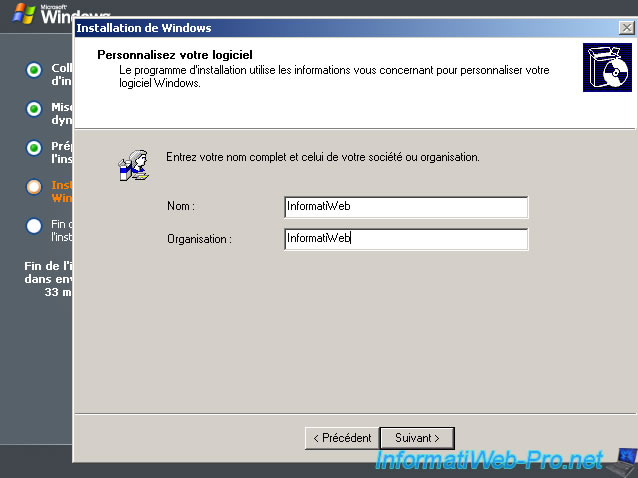
Enter a name and an organization. (You can obviously invent them)
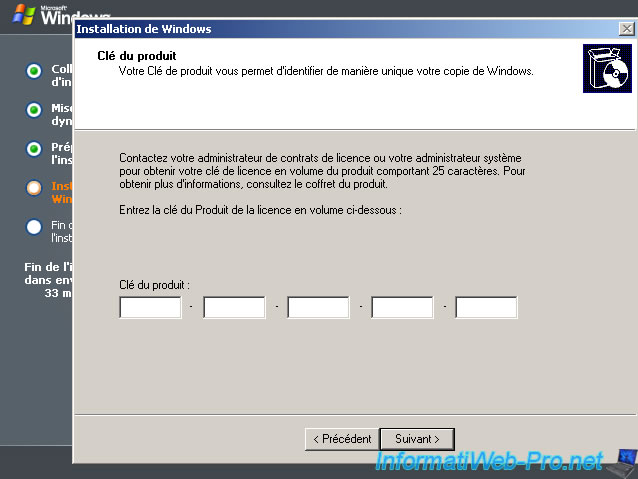
Enter your serial number. (This software is paid and protected by copyright)
Enter a password complying with safety rules or leave it blank, but don't leave it blank if you use this server in production
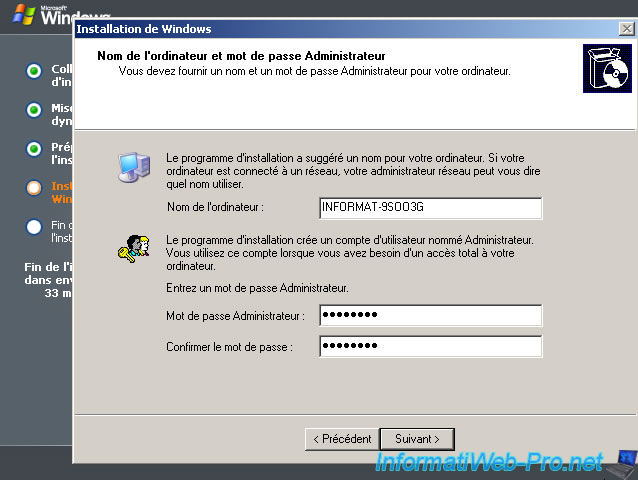
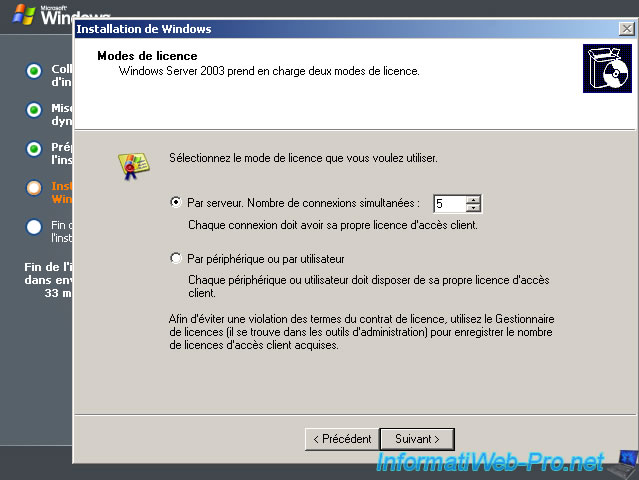
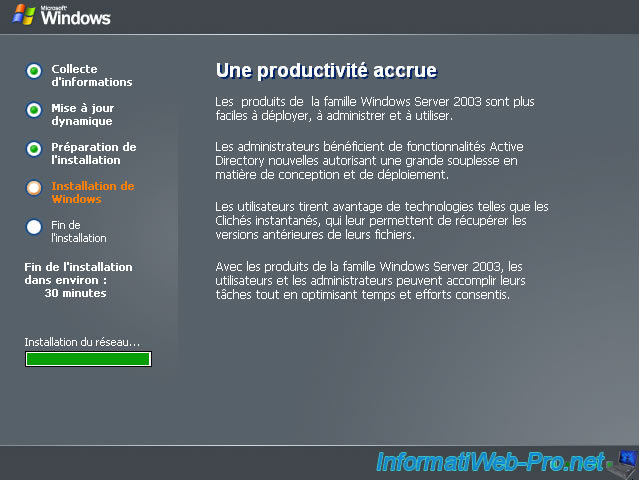
The installation continues ...
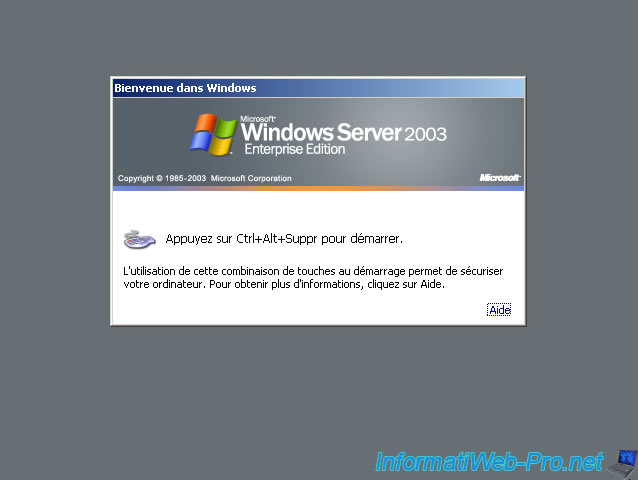
Once installation is complete, the computer will restart and you will have a screen similar to this :
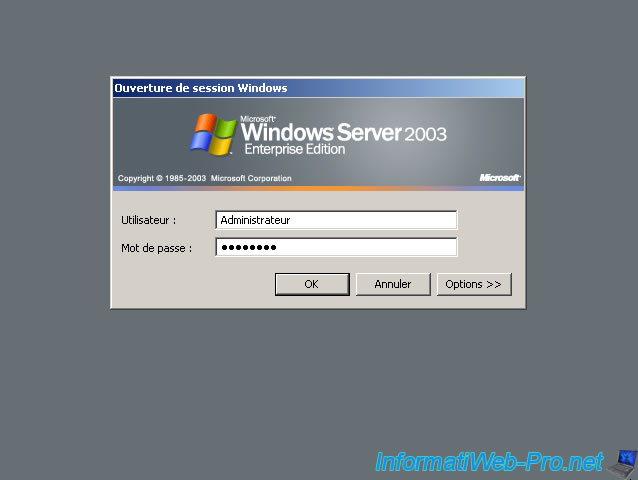
Press CTRL + ALT + DEL.
Then log in with the Administrator username / password you set during installation.
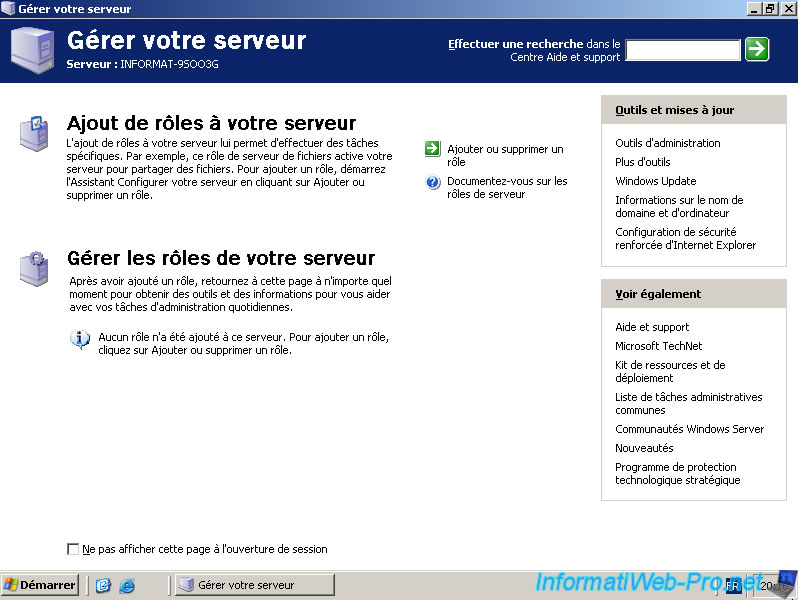
Once connected, you will have this window that opens automatically. You simply click "Add or remove a role".
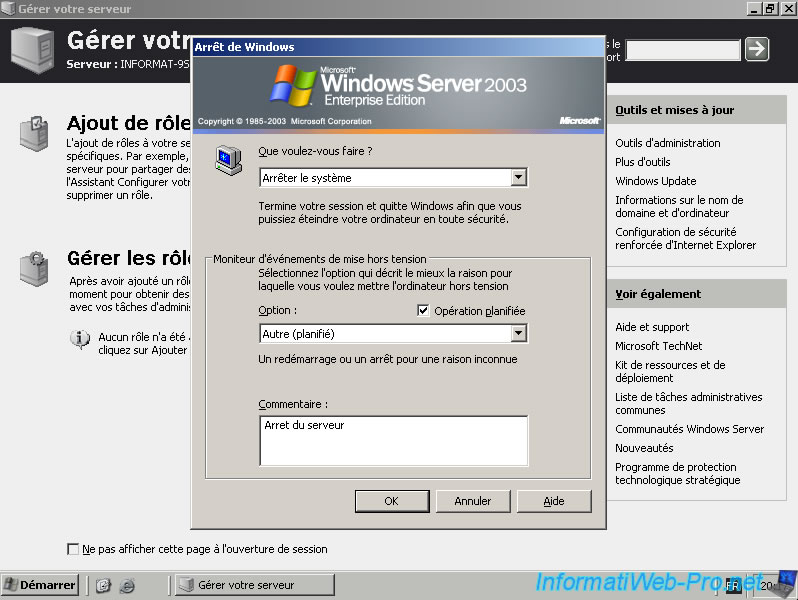
One very important thing is that on a "Windows Server" should never leave in the middle of an installation because it creates problems later. It's for this to be done disk images periodically and while at it, make a change before each installation or role ...
And last thing to know is not the case with a conventional Windows as "Windows XP" is a "Windows Server" must always be a reason to stop or restart.
For example : installation of such software and such software, drivers, or bug server, or other.
Here is your 2003 server is now installed.
Share this tutorial
To see also
-

Windows Server 4/30/2021
Windows Server - AD DS - Overview of Active Directory functional levels
-

Windows Server 11/12/2011
Windows Server 2003 - Create an Active Directory
-

Windows Server 4/28/2012
WS 2003 - Créer un serveur DHCP
-
Windows Server 12/14/2011
WS 2003 - Shared folders and NTFS rights
You must be logged in to post a comment