Create an e-mail server on Windows Server
- Windows Server
- WS2008
- 16 January 2013 at 19:10 UTC
-

- 2/2

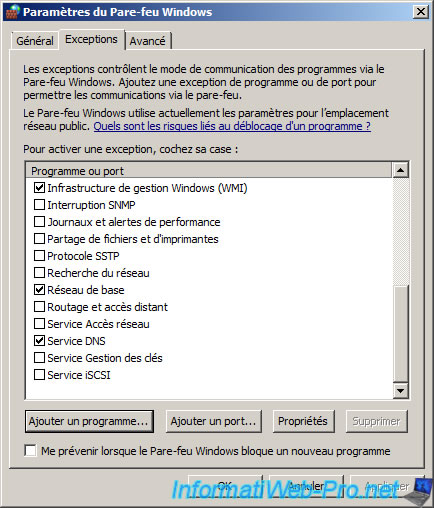
6. Firewall
Now, if you install an email client on your PC server and you connect to your email account. The connection should be done but against your server will not be accessible to other computers on the network so that it will not be allowed in the firewall. Sometimes the firewall asks permission from the user, but not always, so it is necessary in this case, allow it manually.
To do this, go to the Start menu -> Control Panel -> Windows Firewall -> Allow a program through Windows Firewall.
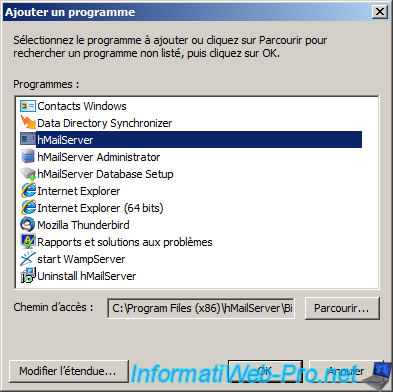
In this window click on "Add Program" and click the "Browse" button.
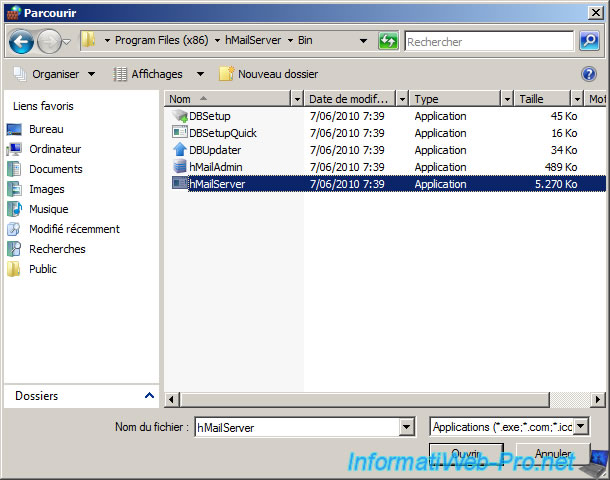
Select the file : "C:\Program Files (x86)\hMailServer\Bin\hMailServer.exe" and click "Open".
Now your email server is accessible on your local network. If you want it to be accessible from the outside, you will have the router ports in your router.
An SSL connection is recommended for use on the Internet.
7. Thunderbird client
We will use the free email client called "Mozilla Thunderbird" and created, as its name suggests, Mozilla (who created the famous Web browser : Mozilla Firefox).
To install, nothing special.
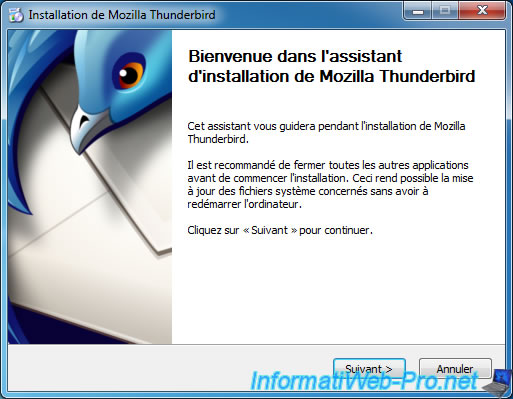
Just click OK.
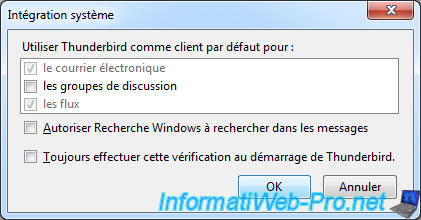
Important : To make your domain can be found by the client, it is necessary that your domain is registered on the Internet or the PC client knows the address of your DNS server. This address can either be specified in the settings of your LAN connection (client PC) or the settings from your DHCP server (Windows Server or in your router / Box).
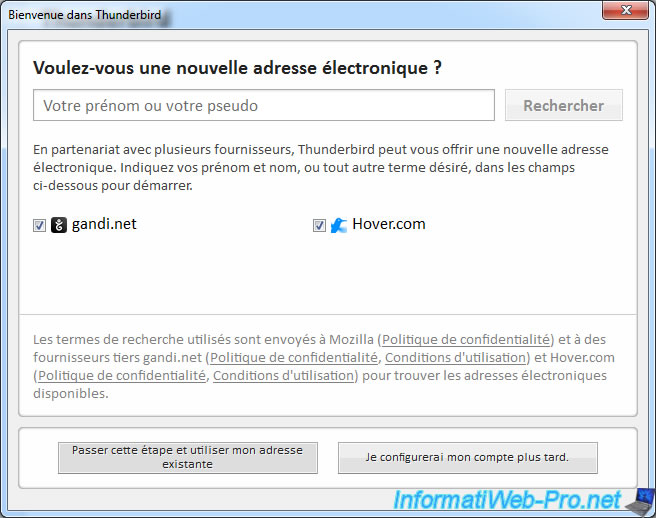
Then click "Skip this step and use my existing address".
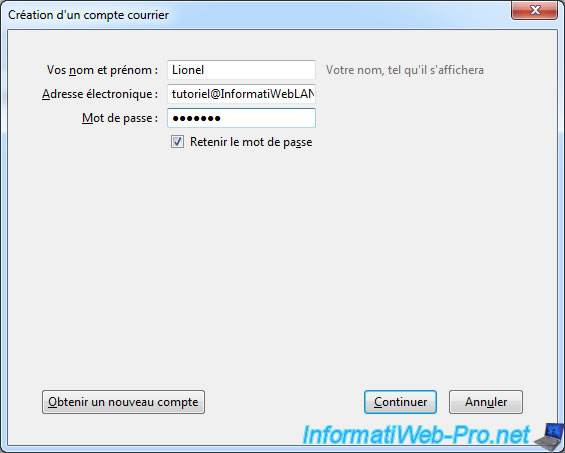
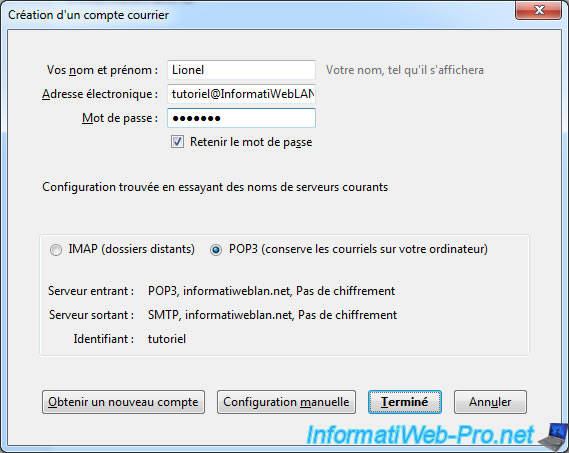
Enter the name you want to appear in your email account in Thunderbird and enter the password for your email account.
Thunderbird will then find the connection settings in the base of major ISPs and in domain names on your local network. If the connection is successful, the parameters should be displayed. Select "POP3" and click "Done".
If this does not work, check:
- That your email server is configured
- That you have authorized hMailServer in the Windows Firewall (or whatever you use in the Internet Security solutions, for example).
- Registration "MX" exists in the configuration of your domain (and point to the correct name)
- That your computer knows the address of your DNS (Primary or auxiliary DNS) server
- That you are well on the same network
- The connection between your computer by typing "ping [IP address of your server]" in a command prompt (cmd).
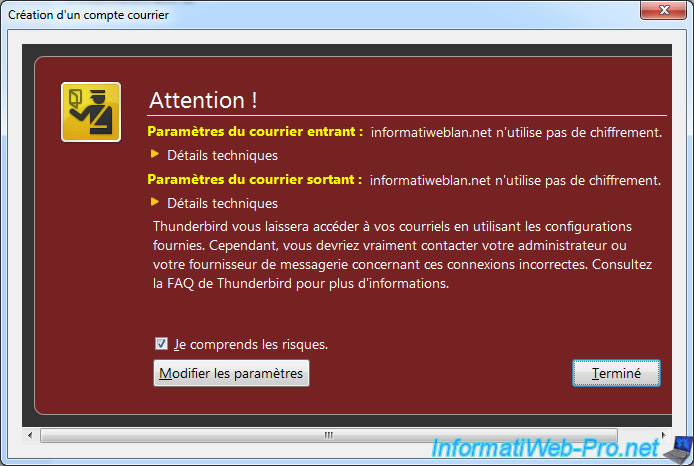
Thunderbird warns you that the connection is not encrypted. This is simply because it is not secured via SSL. However SSL certificates is expensive and therefore it is only necessary if you use your production server.
Check the "I understand the risks" and click "Done".
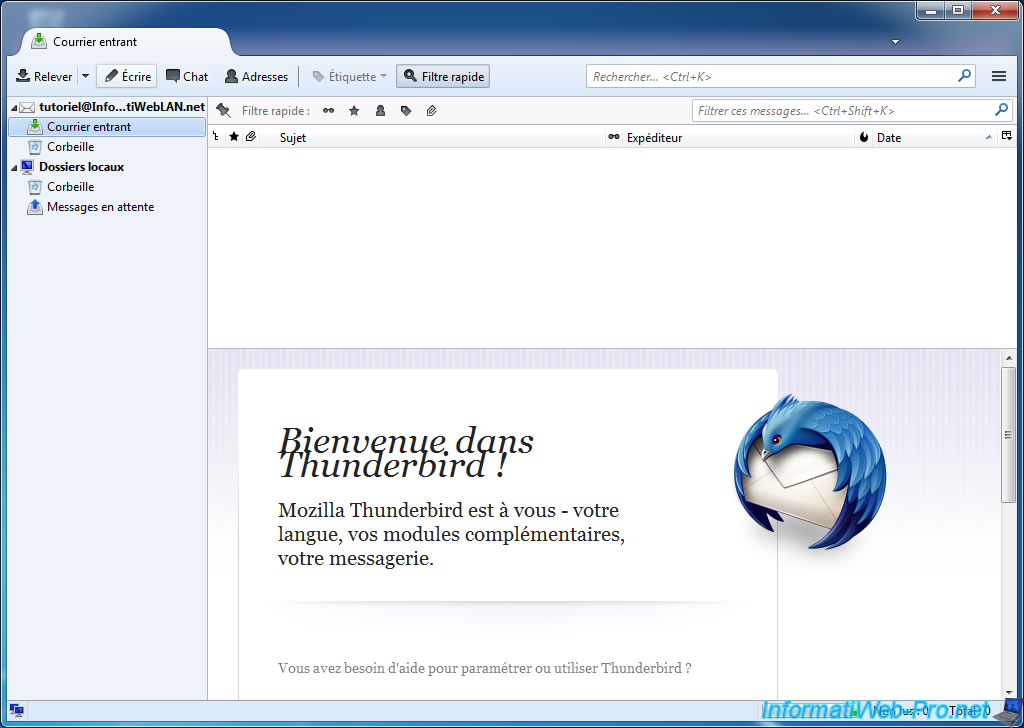
To write an e-mail, click the "Write" button.
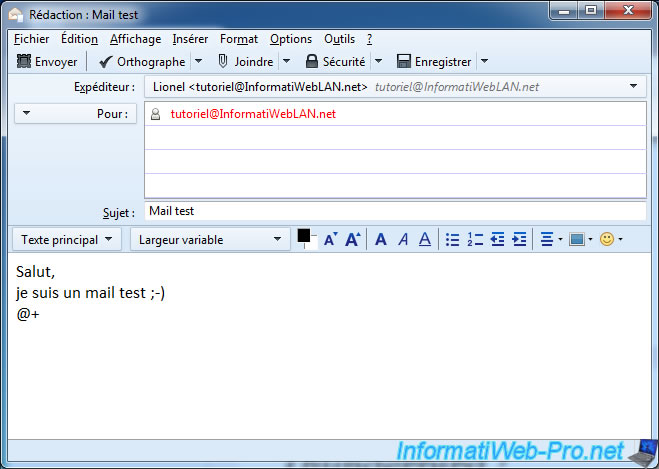
To test our email server, we will send an E-Mail. Enter the recipient's address in the first box "To", enter a subject and a message. Then click on "Send" at the top left.
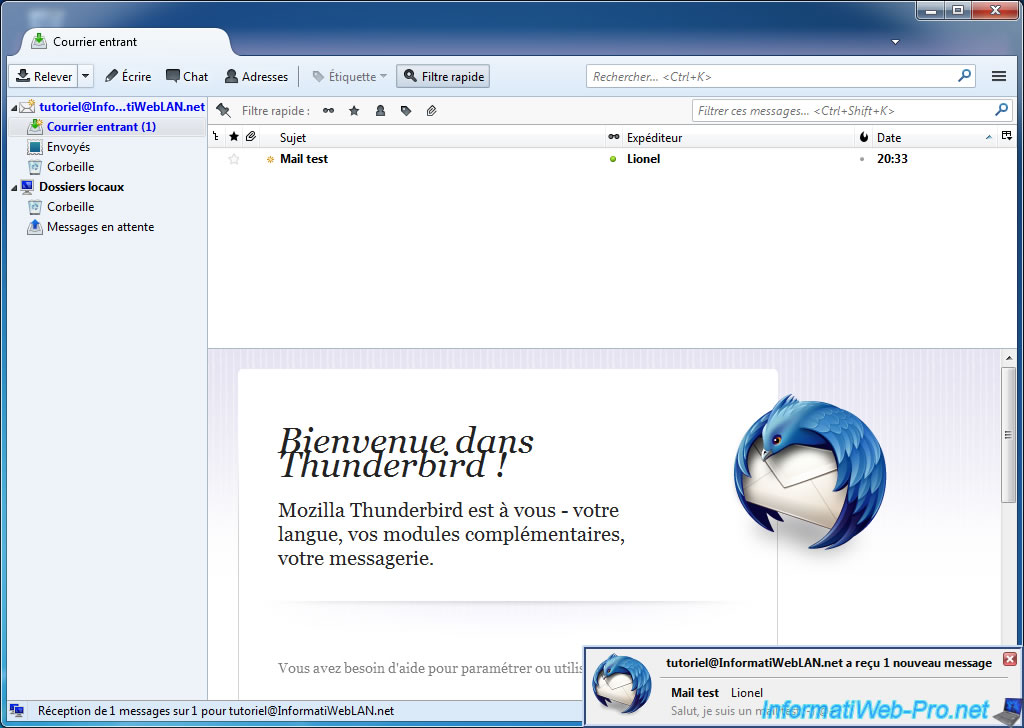
If no message arrives in your incoming mail (alias : Inbox), click "Meeting" to manually check for new messages.
If sending the message is fine, you should have received your message (incoming becomes blue means new messages mail).
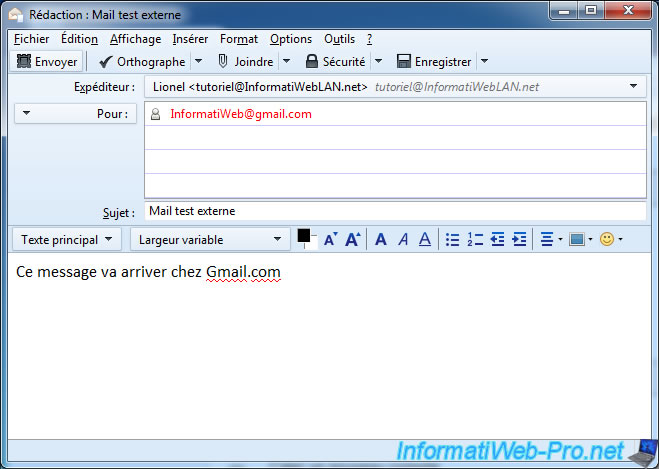
We will then try to send mail to an external domain (in this example : Gmail.com).
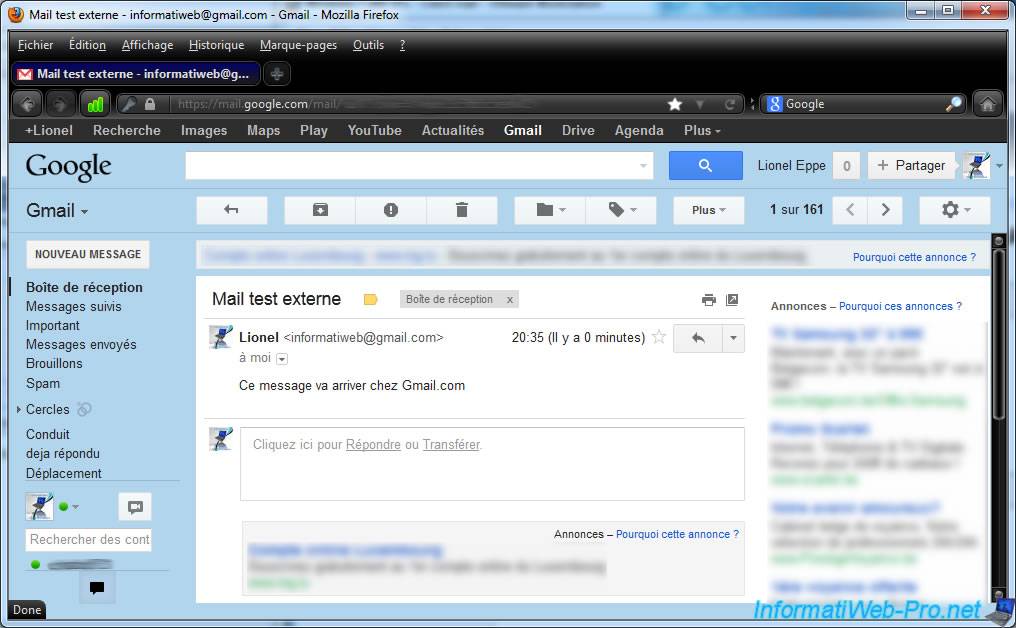
And if all goes well, if you connect to your Gmail account (via the website or via an email client), you should have received your email.
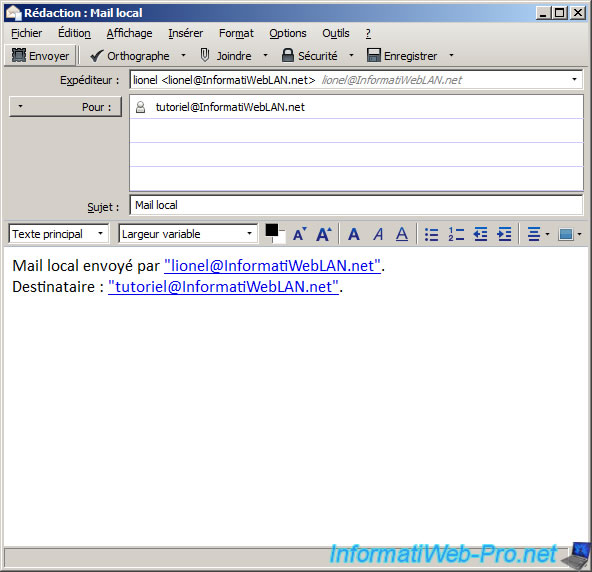
Note that the sender's address specified in the SMTP server authentication in hMailServer.
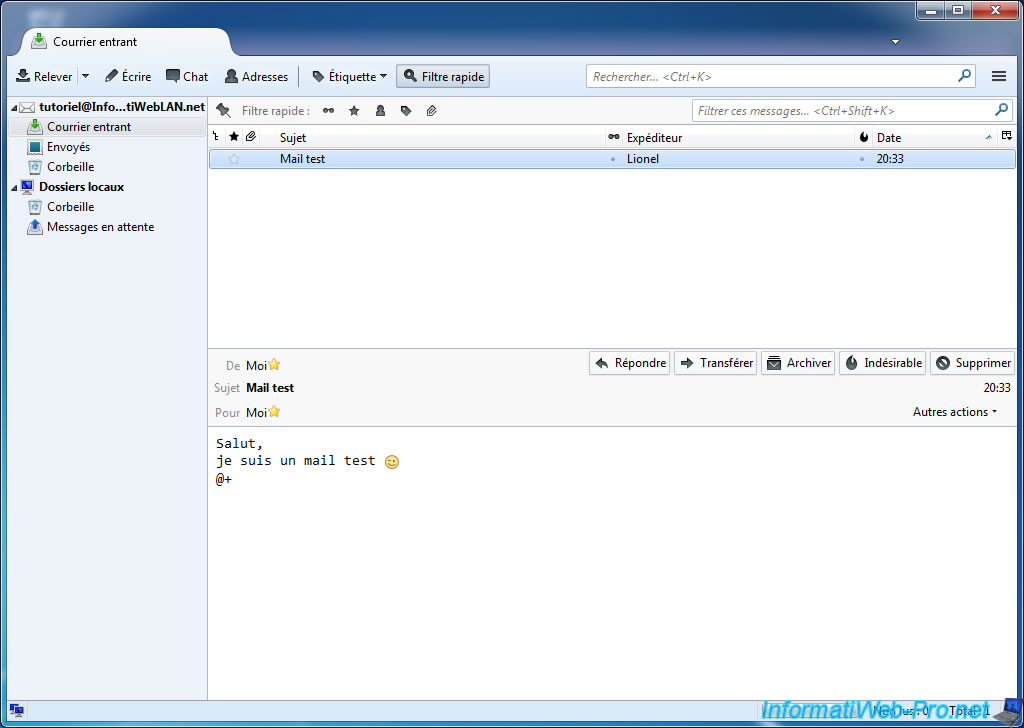
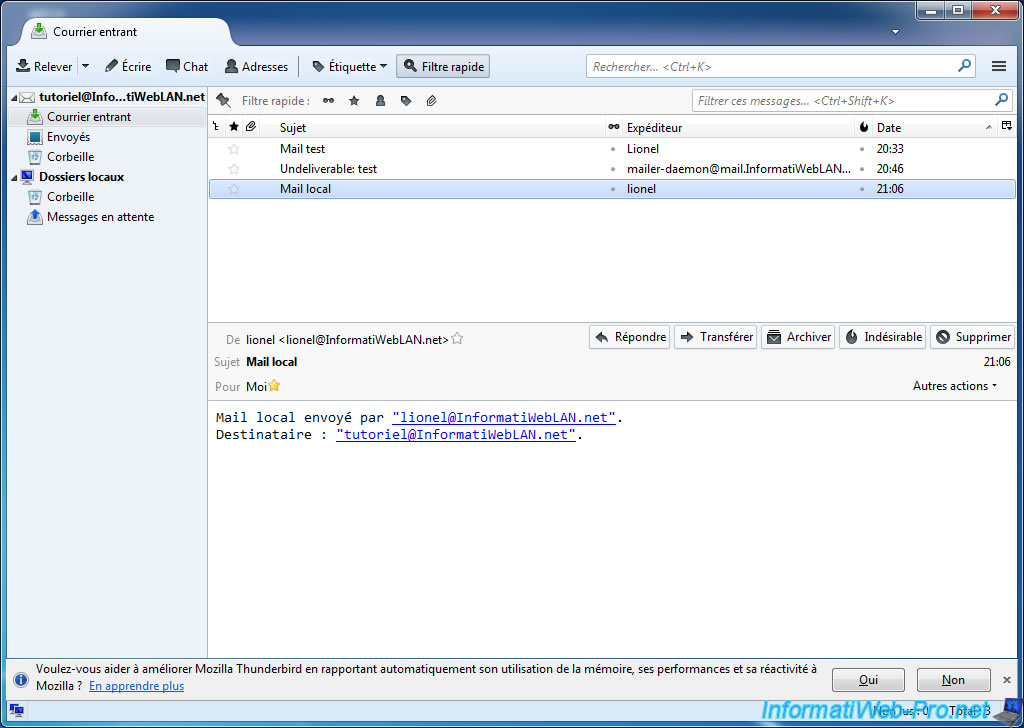
We then created a second email account named "lionel@InformatiWebLAN.net" and we sent an email from the account "lionel@InformatiWebLAN.net" to "tutoriel@InformatiWebLAN.net".
And as you can see, we have our good email on another account.
Share this tutorial
To see also
-
Windows Server 8/12/2012
Windows Server - PXE - Custom Menu
-
Windows Server 11/9/2017
Windows Server - Remote Server Administration Tools (RSAT)
-
Windows Server 8/8/2012
WS 2008 - Create an Active Directory
-
Windows Server 8/8/2012
WS 2008 - NAT and network routing
No comment