- Windows Server
- WS2008
- 16 January 2013 at 19:10 UTC
-

- 1/2

Firstly, we wish to clarify that we have installed the mail server on Windows Server because it is mandatory DNS server for this to work. Using Windows Server as the operating system is not mandatory but against, you need a DNS server on a network computer (easy : on the same computer). For example : BIND (For Windows) program.
For information :
- If you use Windows Server as the operating system, you must install and configure the role "DNS Server". To do this, read our tutorial on Windows Server 2008: "Windows Server 2008 - DNS".
- This tutorial was made in Windows Server 2008. The windows may differ following versions thereof.
- The mail server is "hMailServer v5.3.3-B1879" (Production release)
- hMailServer installation
- hMailServer Database Setup
- hMailServer Security
- hMailServer Administrator
- Configuration
- Firewall
- Thunderbird client
1. hMailServer installation

Let "Full Installation" selected.

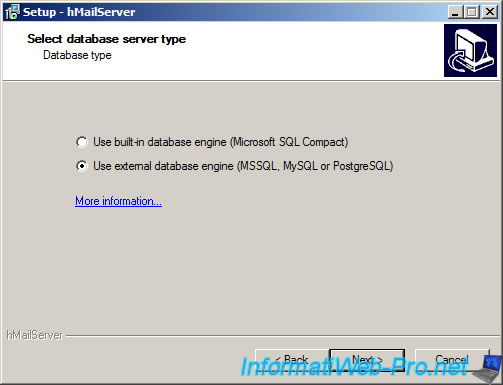
For the database containing the E-Mails, 2 choices available to you. Either a server SQL database integrated with hMailServer or MSSQL, MySQL or PostgreSQL external server.
For this tutorial, we installed WAMP which contains an Apache Web server (with PHP module) and a database server MySQL database. This will allow us to access the data of the mail server via PHPMyAdmin (or another similar script) through the web server.
Then click Install.

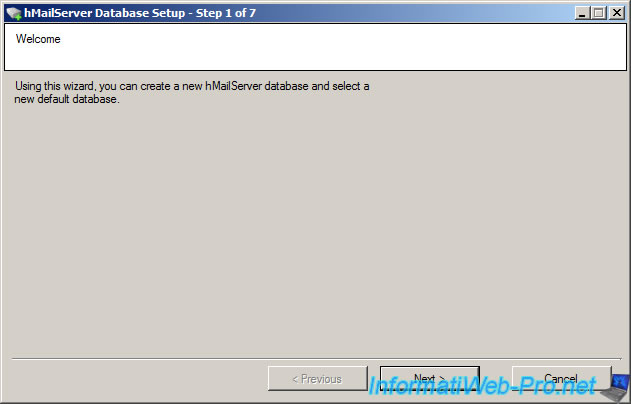
2. hMailServer Database Setup
The utility "hMailServer Database Setup" is displayed. It will allow you to install the database structure necessary for the operation of the mail server data.
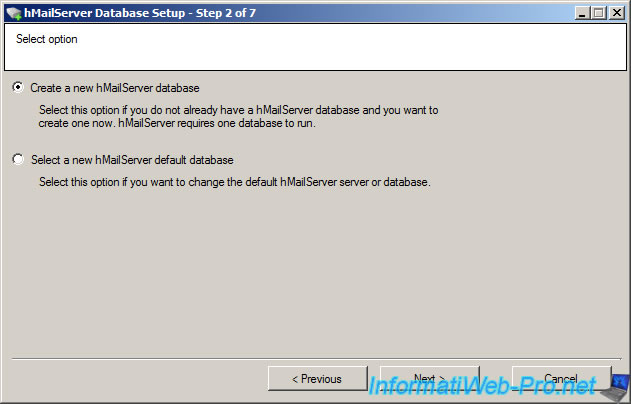
Select "Create a new hMailServer" if it is the first installation of the Mail server. Otherwise choose another option to reuse an ase data previously created with this program.
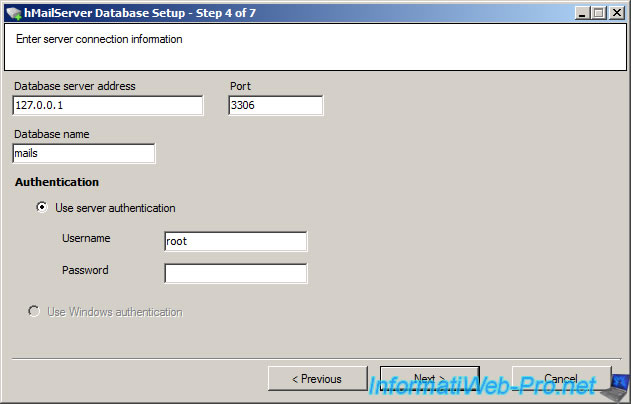
In our case it is a MySQL server.

By default, the MySQL server is available with these settings (if the mail server is on the same machine as the MySQL server):
- Database server adress : 127.0.0.1 / Port : 3306
- Username : root
- Password : (no password). Warning : It is strongly recommended to secure the root account and create another user with password security.
You can put whatever you want as name database, but avoid spaces and long names.
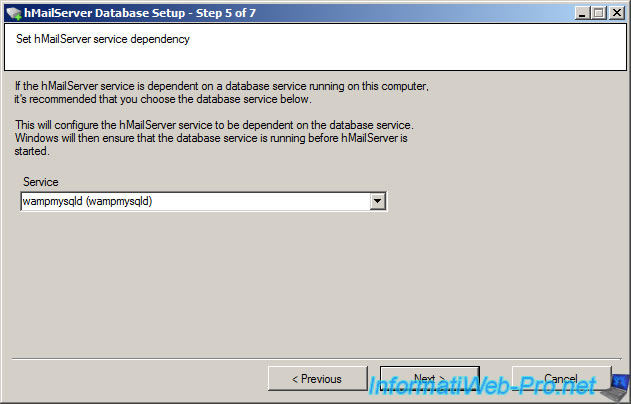
Then you need to choose the Windows service that depends hMailServer. In our case, it depends on the service "wampmysqld" which represents the server MySQL database.
Then click "Next".
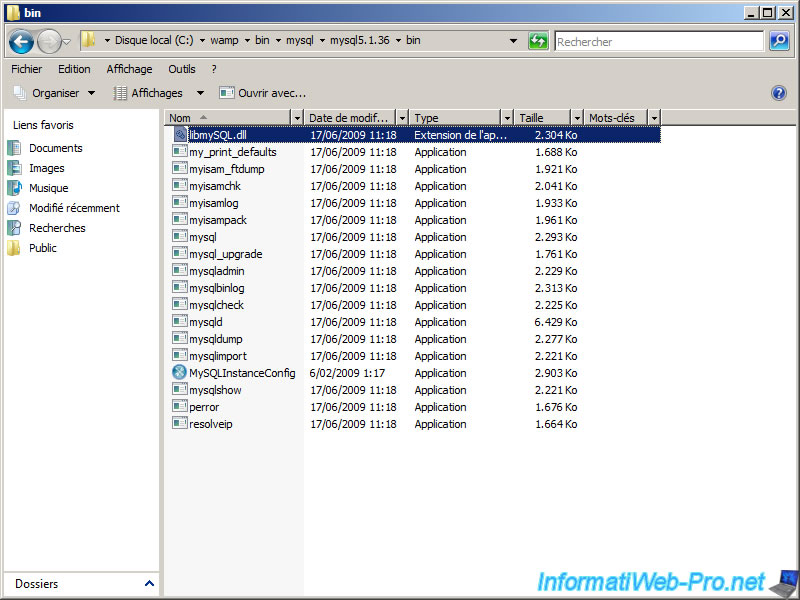
In the case of external MySQL server, hMailServer needs the "libmysql.dll (32 Bit)" file to be able to connect to it.
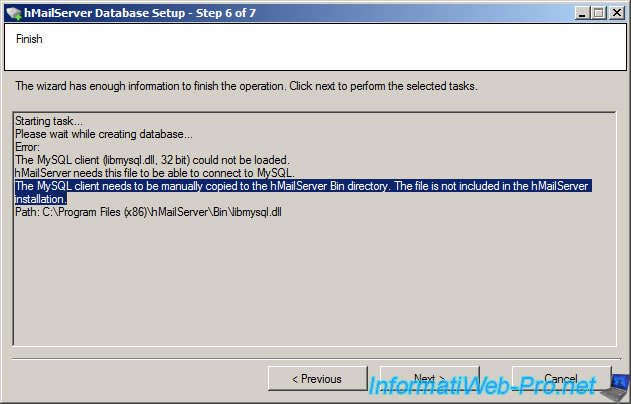
In Wamp, this file is located in "c:\wamp\bin\mysql\mysqlx.x.xx\bin". Copy this file into the folder specified by hMailServer (in our case : C:\Program Files (x86)\hMailServer\Bin\libmysql.dll).
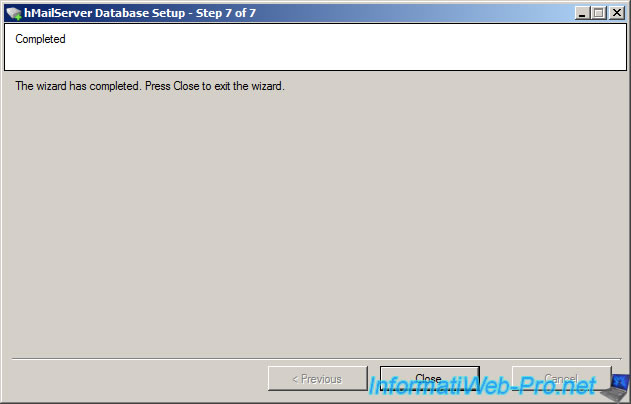
If all goes well, the database should be installed correctly.
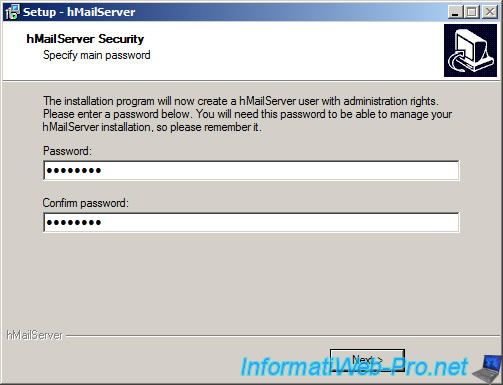
3. hMailServer Security
You must now define a password for the administration of the mail server via the "hMailServer Administrator" program.
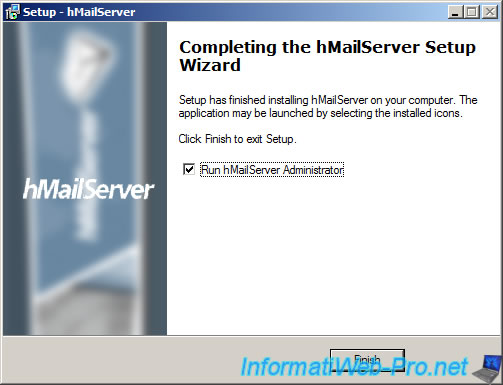
The installation is now complete. Leave the check box to automatically start the administration utility mail server.
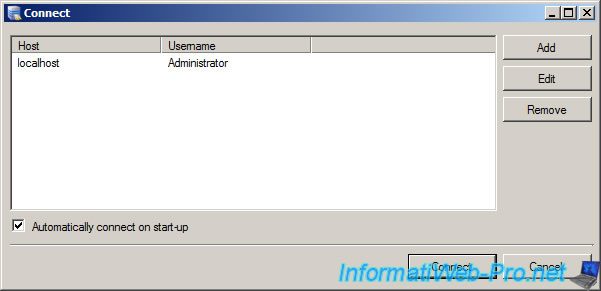
4. hMailServer Administrator
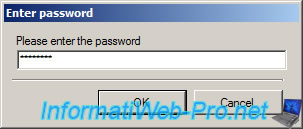
Click the "Connect" button.
Enter the password you just set.
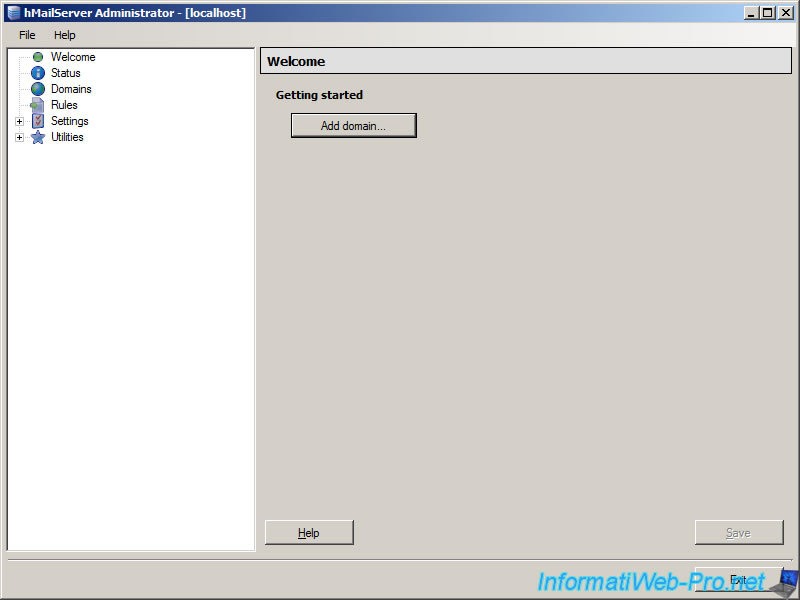
5. Configuration
We will now configure the mail server. The grounds, email accounts, SMTP server, ...
To begin, click on the "Add Domain" button.
Enter your domain name (virtual if there is an installed and configured on your local home network DNS server or stored on the Internet if this mail server is accessible from outside the area).

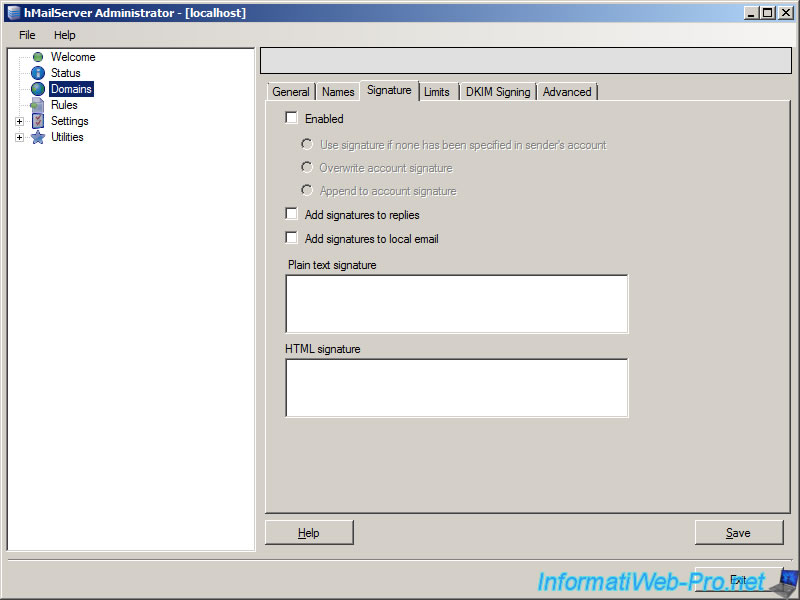
Optional : You can define a signature for emails sent through your mail server, a size limit (total size, size mail, ...) electronic signatures (for SSL), ...

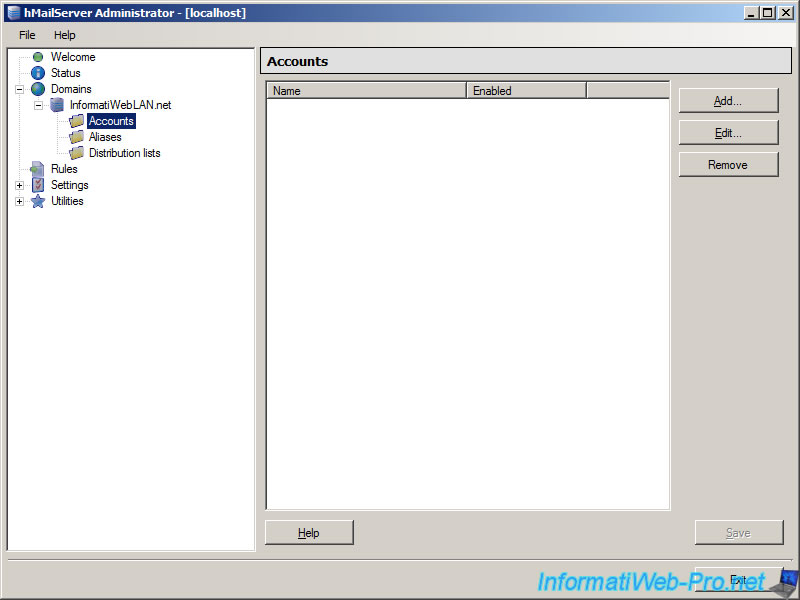
User accounts (the famous mail address) is then added by going to "Domains -> InformatiWebLAN.net -> Accounts". Then click the "Add" button.
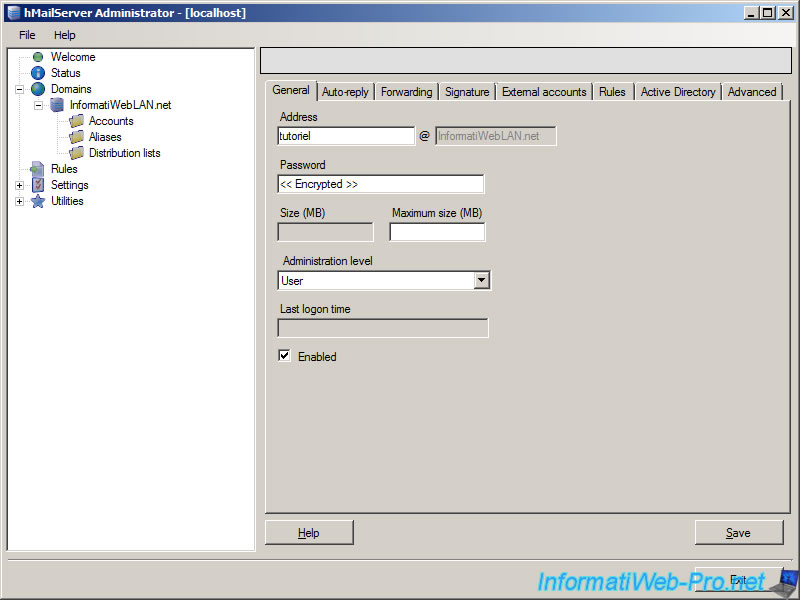
We will create an email address named "tutoriel@InformatiWebLAN.net" with a password. It is possible to change the level of administration for this account.
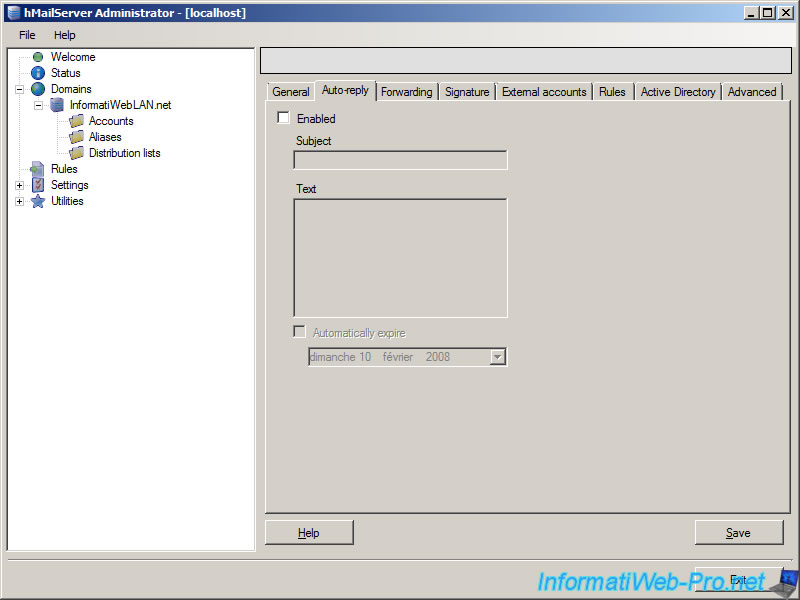
You can also define :
- Size Limits
- An automatic response (in the absence of the person, for example, or to indicate that the message has been sent to the person concerned)
- Transfer emails to another email address
- A signature (to be displayed at the end of each message)
- An external account (in this case, the domain name must be registered on the Internet). Some registrars require that the MX record is set.
- etc.
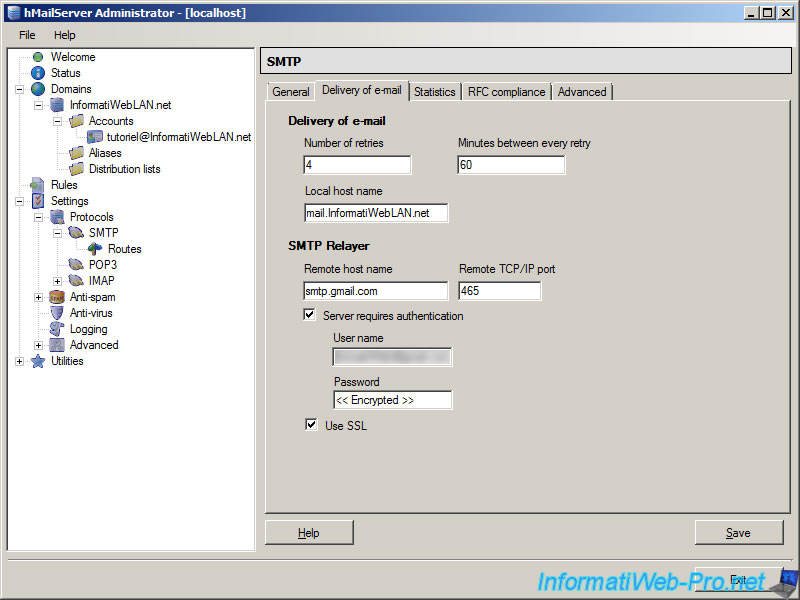
We will then configure the SMTP server hMailServer. To do this, go to "Settings -> Protocols -> SMTP".
Enter your domain name in the "Local host name" box and enter a remote SMTP server to send emails outside of your domain.
In our case, we used the Gmail server (which requires authentication) and uses port "465" instead of the standard port "25". When you ordered your Internet subscription, you will have received the SMTP address and pop servers. You can use them for your mail server.
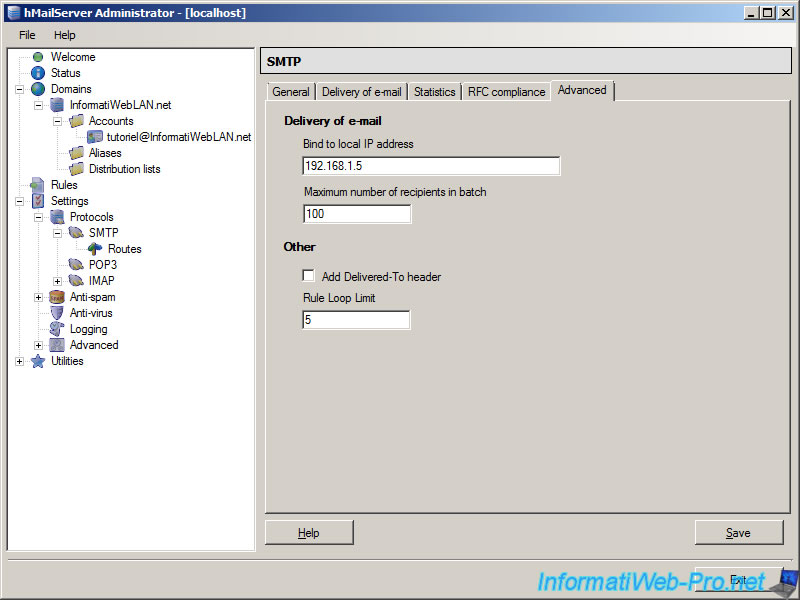
In the Advanced tab, you can specify the local IP address of your server.
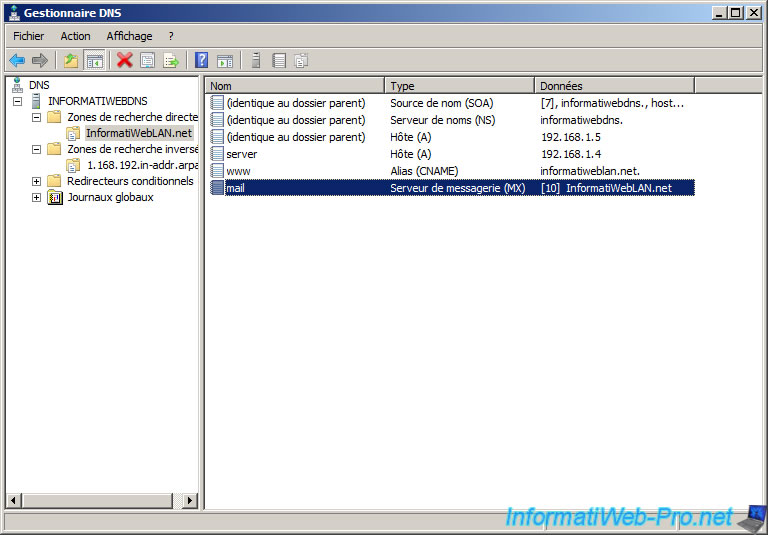
You can also create the MX record in DNS Manager in Windows Server.
So that our server can send emails to other areas than ours (eg to Gmail, Hotmail, Yahoo, ...) we will define a road. To do this, go to "Settings -> Protocols -> SMTP -> Routes".
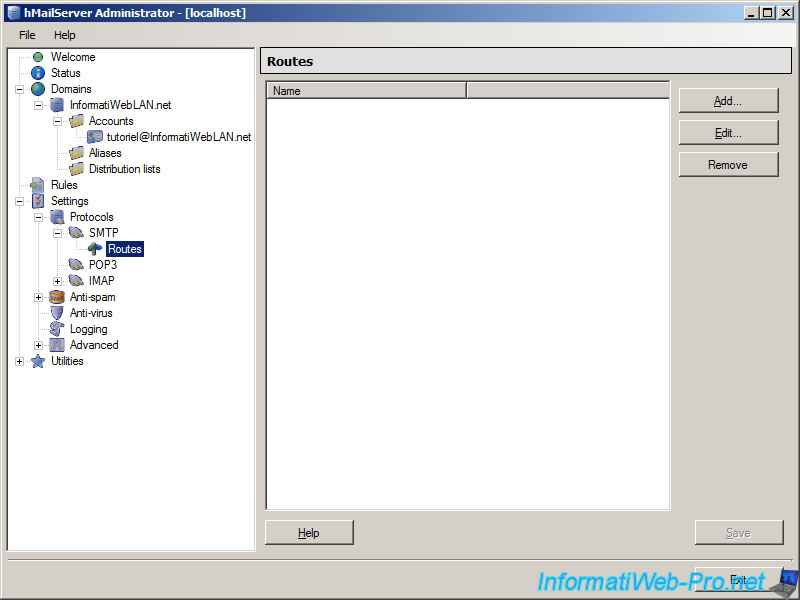
Then enter the same information as above.
In newer versions, you have two choices below which have emerged. Select "When sender matches route, treat sender as : A local email address" and "When recipient matches route, treat recipient as : A remote email address." This means that the sender is the email address "xxxx@InformatiWebLAN.net" and the recipient "xxxxx@xxxxx.xx".
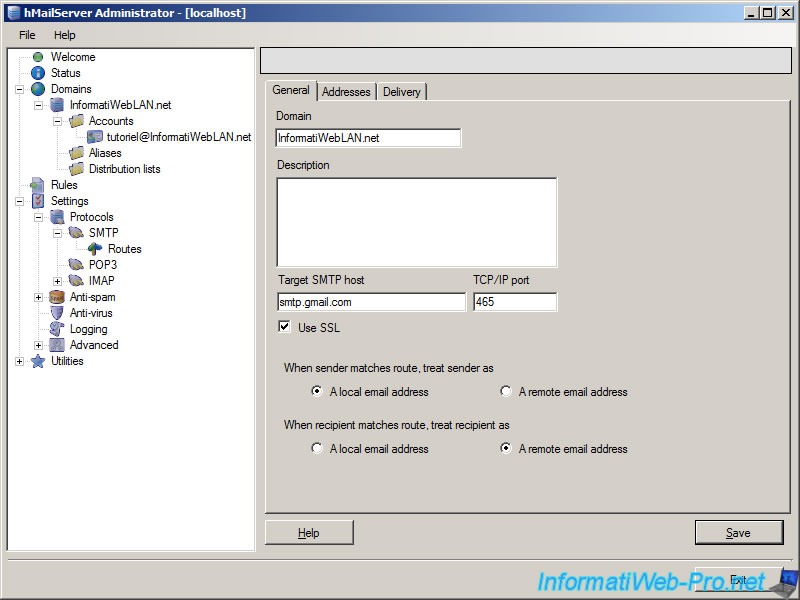
If the SMTP server requires an "Authentication", specify the necessary credentials in the "Delivery" tab then click "Save".

Share this tutorial
To see also
-
Windows Server 8/12/2012
Windows Server - PXE - Custom Menu
-
Windows Server 1/15/2013
WS 2008 - Create a DNS server
-
Windows Server 8/8/2012
WS 2008 - NAT and network routing
-
Windows Server 2/21/2016
WS 2008 - WDS - Multicast
You must be logged in to post a comment