Manage your pfSense 2.6 firewall from the command line using the SSH protocol
- Firewall
- pfSense
- 17 May 2025 at 07:45 UTC
-

- 2/2

3. Allow login via SSH only with a key pair
To improve the security of your pfSense machine, you can allow connection via SSH only with a key pair (public key / private key).
This will prevent any brute force attacks.
To do this, return to the "System -> Advanced" menu, then select "SSHd Key Only: Public Key Only".
As noted in the pfSense comment, when using this option, SSH requires authorized keys that must be configured for each user.
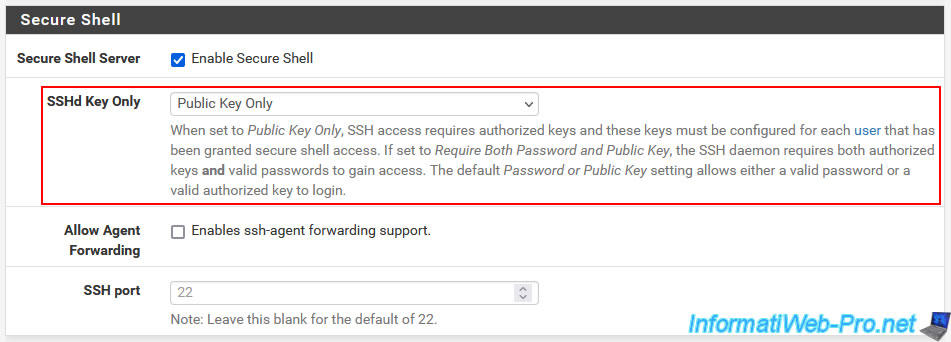
At the bottom of the page, click Save.

Once the SSH server is configured, go to the menu: System -> User Manager.
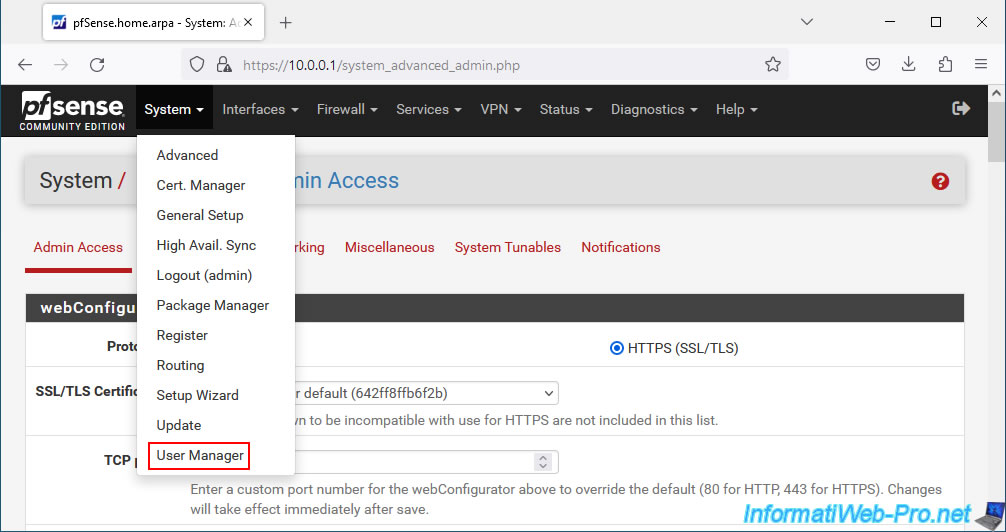
On the page that appears, you can see that, by default, there is only one user named: admin.
Click "Add" to add another one.

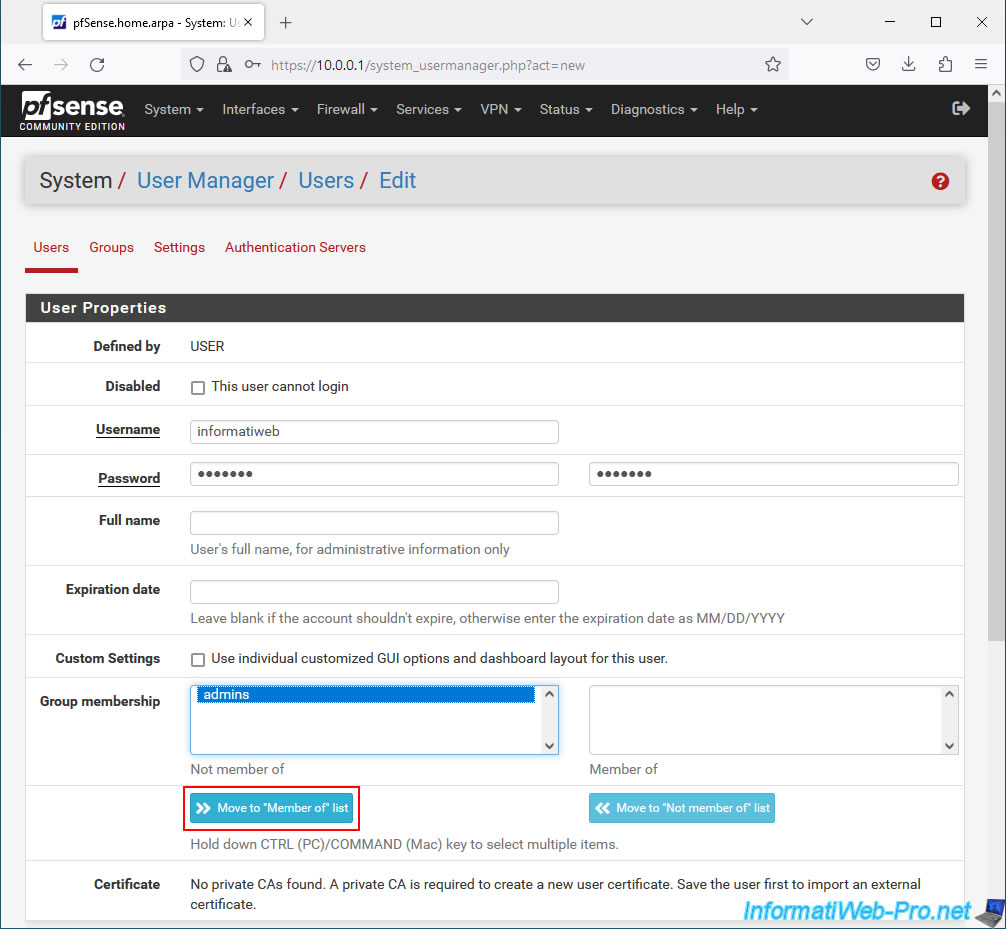
On the page that appears, configure these options:
- Username: the username to use.
In our case: informatiweb. - Password: the password to use for this user.
- Group membership: select the "admins" group and click on the "Move to "Member of" list button to add it to the pfSense administrators group.
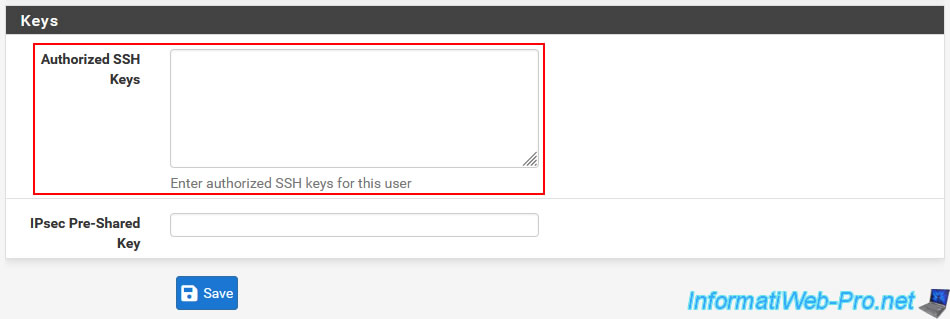
At the bottom of the page, you will find a "Keys" section where you can add the SSH public key for this user.
To do this, use the PuTTY key generator.
From the PuTTY website, download the "puttygen.exe" file.
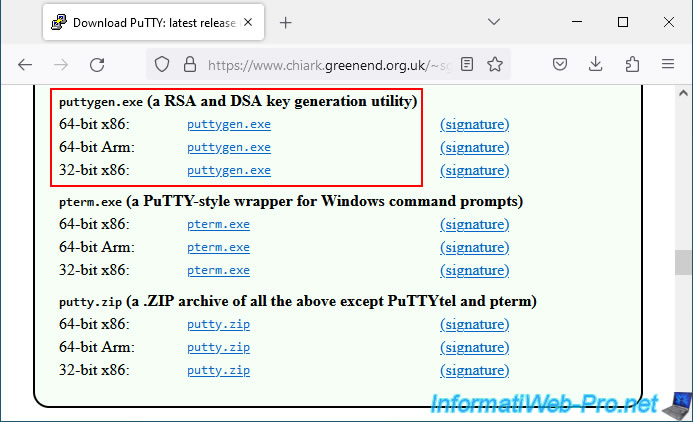
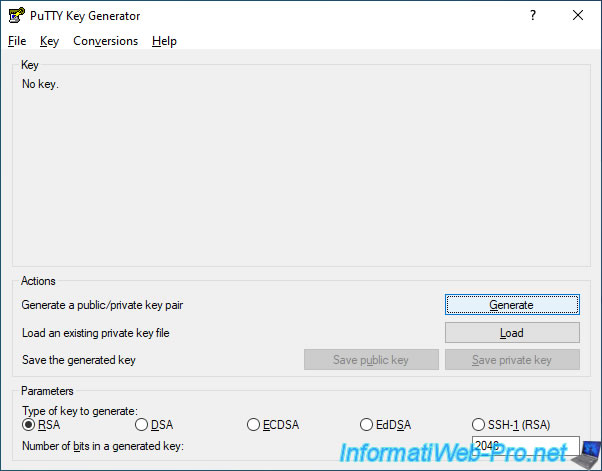
Launch the downloaded file and "PuTTY Key Generator" will appear.
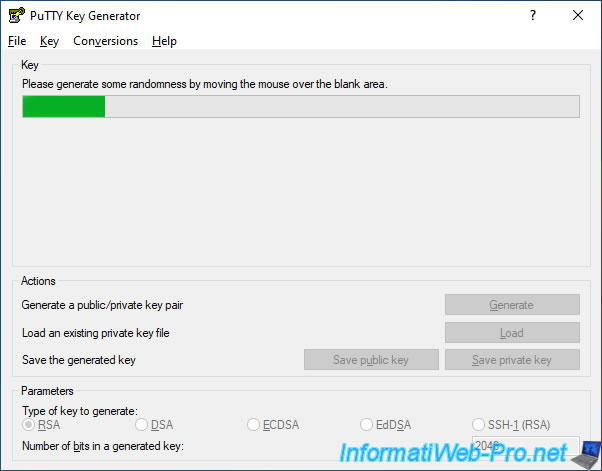
Click "Generate" to begin generating a new key pair.
Move your mouse randomly over the "Key" section of the window.
This creates a key pair that will be calculated randomly.
Copy the generated public key.
Note: to do this, right-click "Select All" on it, then right-click "Copy".
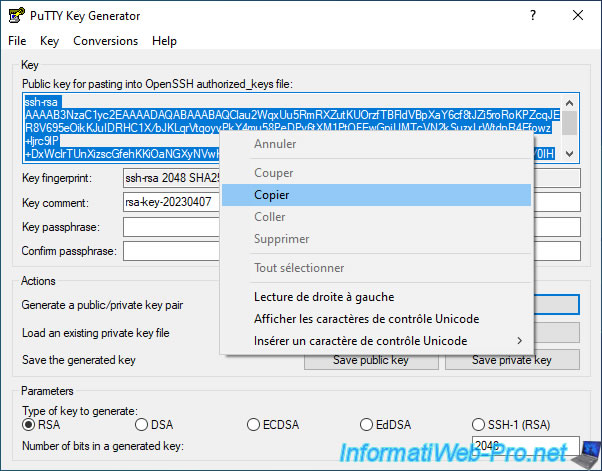
Paste the public key generated by "PuTTY Key Generator" into the "Authorized SSH Keys" box of your new pfSense user.
Then click Save.

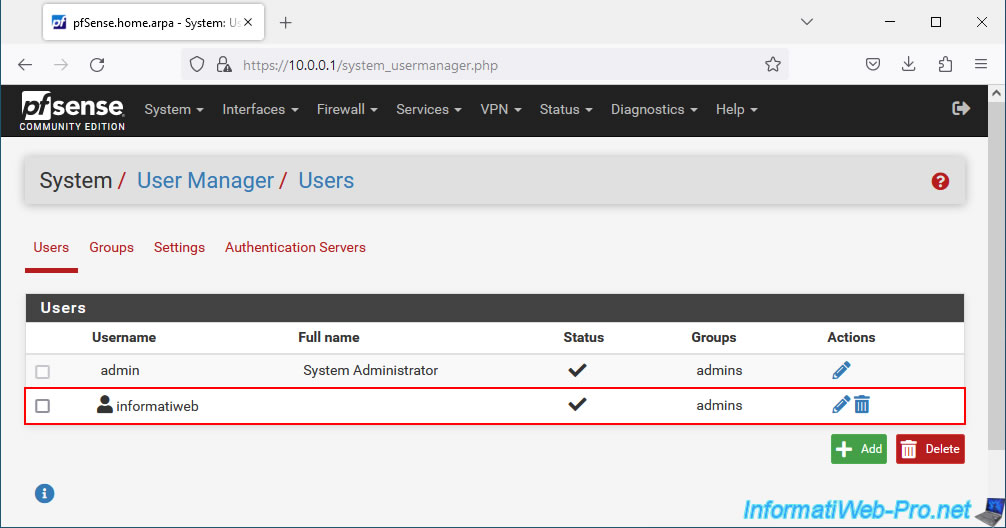
The new user created appears.
In our case, our user "informatiweb".
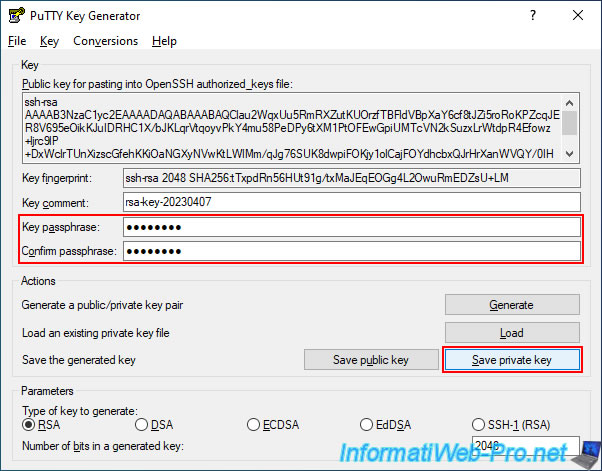
In the "PuTTY Key Generator", provide a password in the "Key passphrase" and "Confirm passphrase" boxes to protect your associated private key.
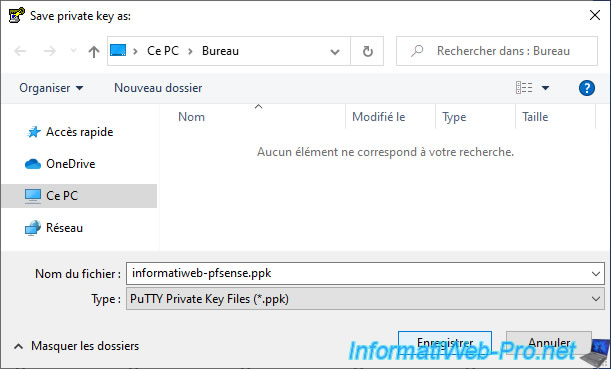
Then, click "Save private key" to save it to a file.
Note that there is a 1:1 relationship between the public key and the private key.
Important : although the passphrase is optional, it is strongly recommended that you specify one before saving the generated private key to your computer.
Otherwise, anyone with access to the created file can use it to log in to your pfSense machine on your behalf.
In our case, we save it under the name "informatiweb-pfsense.ppk".
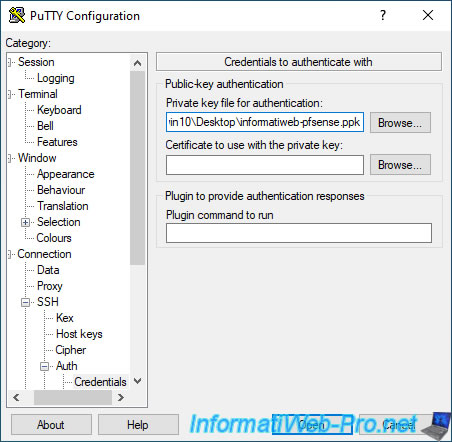
To connect via SSH using a private key from PuTTY, you need to go to "Connection -> SSH -> Auth -> Credentials".
Next, click the "Browse" button for the "Private key file for authentication" option.
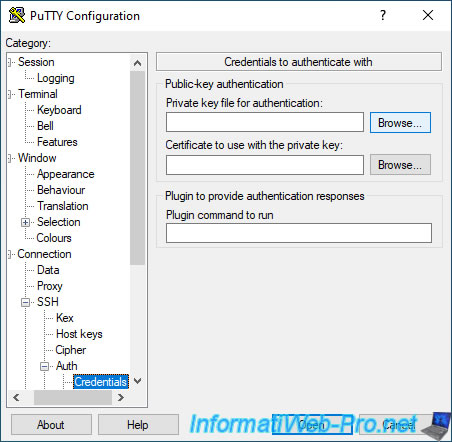
Select the ".ppk" file created previously from the "PuTTY Key Generator" and click Open.
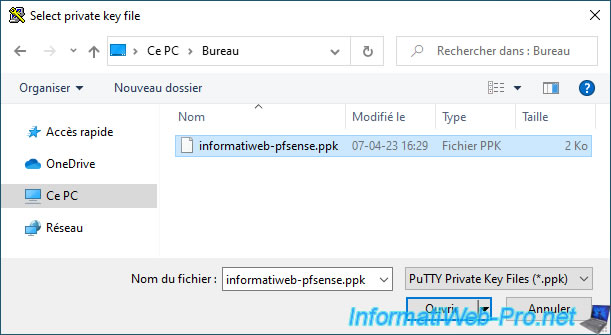
The path to your private key appears.
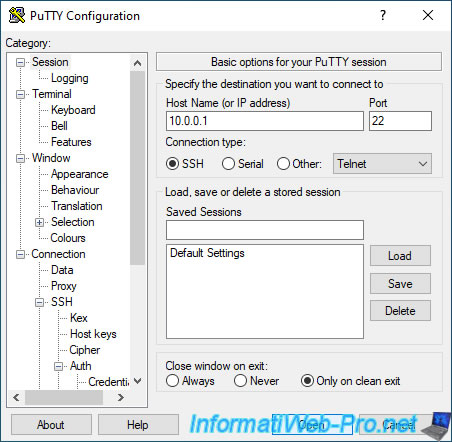
Return to the "Session" section of PuTTY, provide the pfSense IP address and click Open.
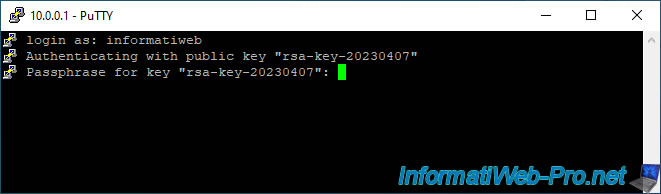
Provide the name of your new user and PuTTY will automatically authenticate with the private key previously specified in PuTTY settings.
If you specified a passphrase before saving your private key, PuTTY will ask you for it.
Plain Text
login as: informatiweb
Authenticating with public key "rsa-key-20230407"
Passphrase for key "rsa-key-20230407":
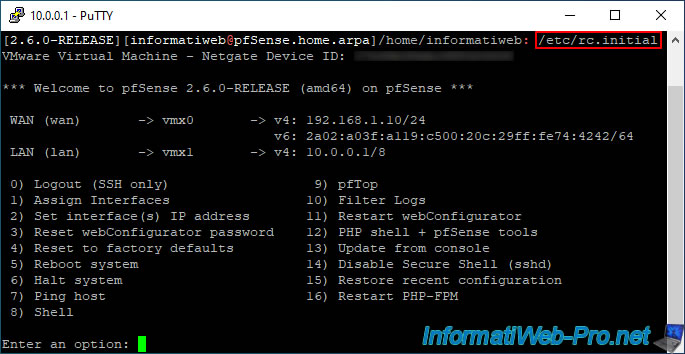
Once the passphrase (if applicable) has been specified, you will arrive on the pfSense Shell.

Although the pfSense console is displayed by default for "root" and "admin" users, this is not the case for other users.
However, you can manually launch the pfSense console from your SSH session by typing this command:
Bash
/etc/rc.initial
Plain Text
*** Welcome to pfSense x.x.x-RELEASE (adm64) on pfSense ***
Source : CLI menu on SSH ? | Netgate Forum.
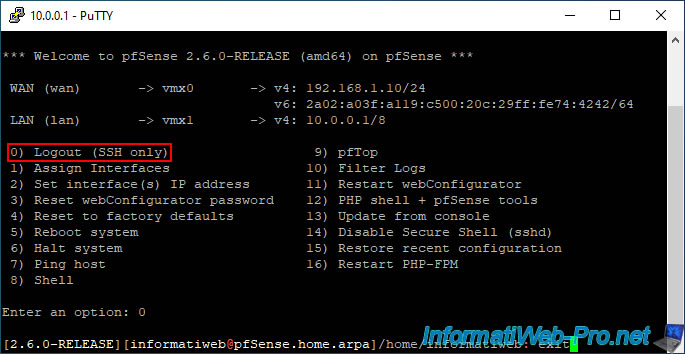
To exit this console, use the "0) Logout (SSH only)" option.
Then, to end your SSH session, simply type "exit".
Bash
exit
4. Password-protected console
As explained previously, at the bottom of the "Admin Access" page accessible via the "System -> Advanced" menu there was an option "Password protect the console menu" allowing you to protect access to the console with a password.
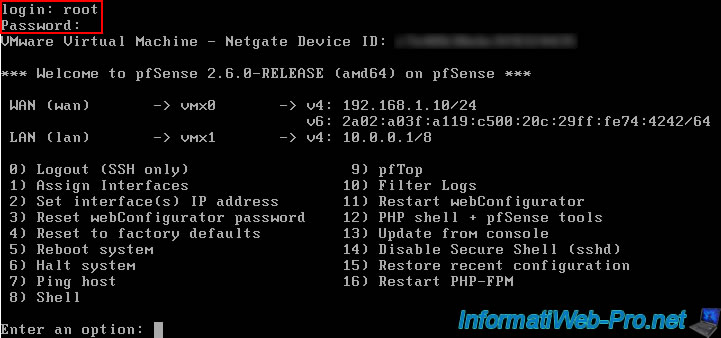
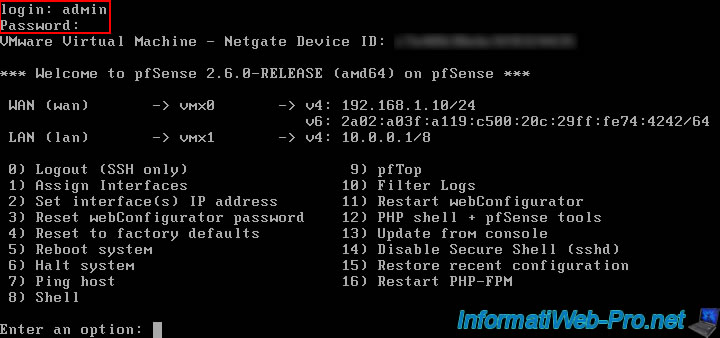
On the console of your pfSense machine, you will therefore see a connection prompt.
Plain Text
FreeBSD/amd64 (pfSense.home.arpa) (ttyv0)

login:

Note that you can log in to the pfSense console as root and as admin.
Share this tutorial
To see also
-
Firewall 6/4/2025
pfSense 2.6 - DNS resolution
-

Firewall 6/18/2025
pfSense 2.6 - Manage quality of service (QoS)
-
Firewall 5/23/2025
pfSense 2.6 - Network interfaces
-
Firewall 6/13/2025
pfSense 2.6 - Schedule a rule in the firewall
No comment