Enable and configure the DHCP server on pfSense 2.6
- Firewall
- pfSense
- 30 May 2025 at 06:09 UTC
-

- 2/2

2. Obtain an IP address on Windows (Server) from a DHCP server
For your Windows computer or your Windows Server to obtain an IP address assigned by the pfSense DHCP server, you have 2 options: use the graphical interface (GUI) or use the command line (cmd.exe).
2.1. Obtain an IP address on Windows (Server) using the GUI
To get started, open the "Network Connections" setting available on Windows.
If necessary, search for it via the start menu search engine.
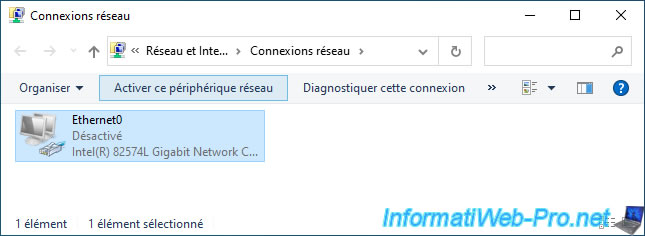
Disable the network adapter of this client PC or server.

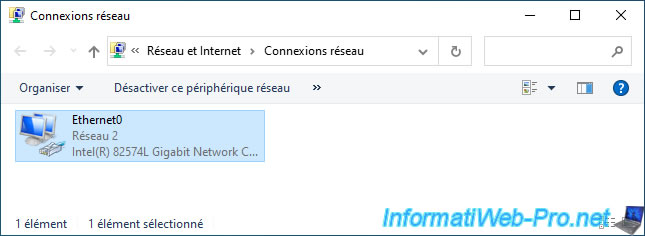
Then, reactivate it.
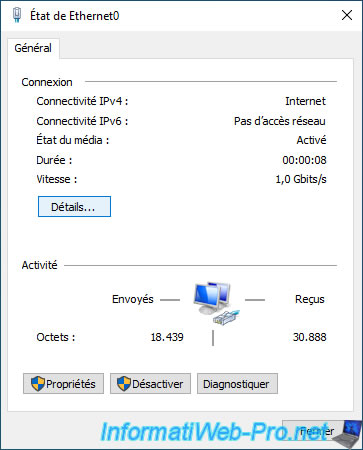
Now, double click on this network adapter.
Click "Details".
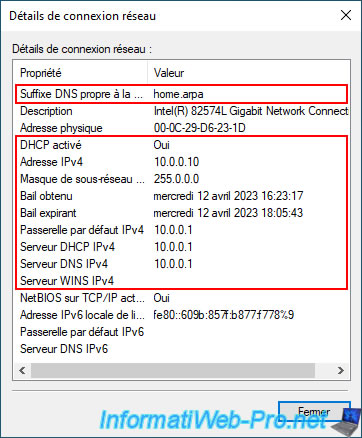
As you can see, the DHCP client is enabled for this network adapter and your machine has received:
- Connection-specific DNS suffix: the domain name used on your network (specified in the DHCP server or pfSense configuration, if applicable).
- IPv4 address: the IPv4 address assigned to it.
- Subnet Mask: the associated subnet mask.
- Lease Obtained: the date the lease was obtained for the IP address assigned by your DHCP server.
- Lease Expiring: the date the lease for this IP address will expire.
If there is no static mapping for this client, it is therefore possible that its IP address changes automatically on this date. - IPv4 Default Gateway: the IP address of the gateway that this client will use to access the Internet.
- IPv4 DHCP Server: the IP address of the DHCP server that responded to this client's DHCP request.
Note that it is best to use a single DHCP server. Otherwise, specify different IP address ranges on your different DHCP servers that would be on the same network. - IPv4 DNS server: the IP address(es) of the DNS servers that your client must use to know the IP address corresponding to the different domain names used on your network and/or on the Internet.
- WINS IPv4 Server: the IP address(es) of the WINS servers (if applicable).
2.2. Obtain an IP address on Windows (Server) using the command line
To force a Windows computer or a Windows Server to obtain a new IP address from a DHCP server, it is best to use the command line.
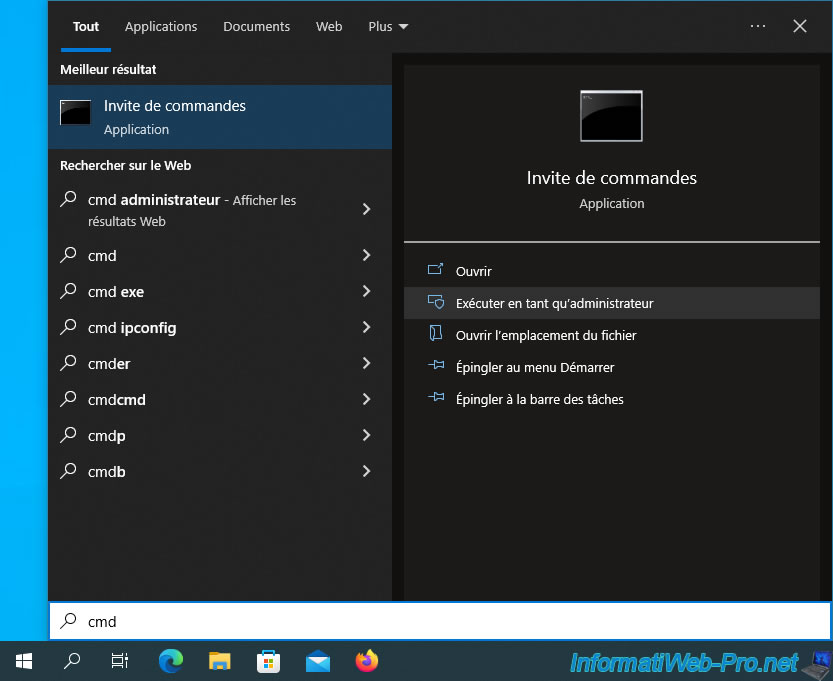
To do this, launch the Windows (Server) command prompt (cmd.exe) as administrator (if necessary).
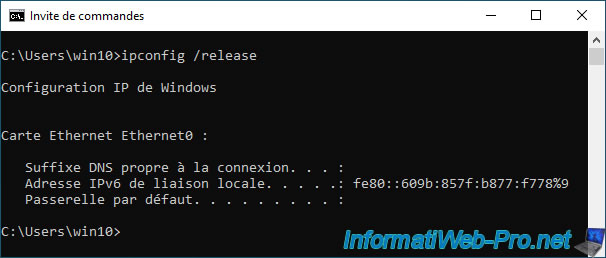
Free the IP address used by your computer or server by typing the command:
Batch
ipconfig /release
As you can see, the IP configuration configuration for your network adapter has been cleared.
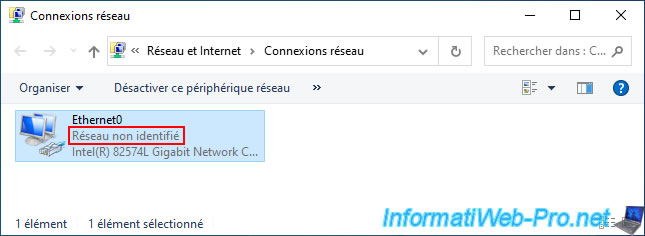
In the GUI, the status of your network adapter will be "Unidentified Network" since your computer or server no longer has access to the network.
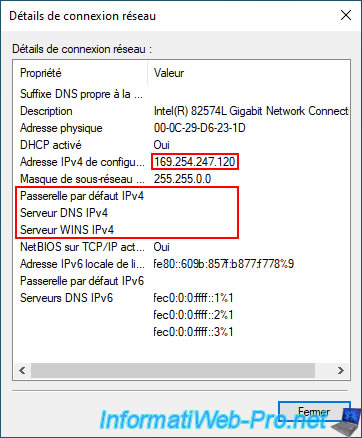
If you look at the IP address defined by Windows (Server), you will see that it starts with "169.254.".
Which means, in short, that no IP address has been defined for this network adapter.
Next, request a new IP address from your network's DHCP server by typing the command:
Batch
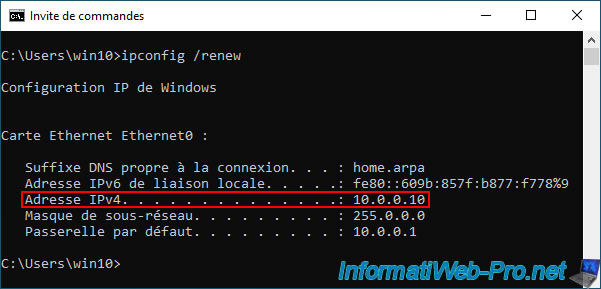
ipconfig /renew
As you can see, your computer has been assigned an IP address.
You will also see that other information included in the DHCP response appears here.
Such as: the DNS suffix specific to the connection, the subnet mask and the default gateway that your machine will use to access the Internet.
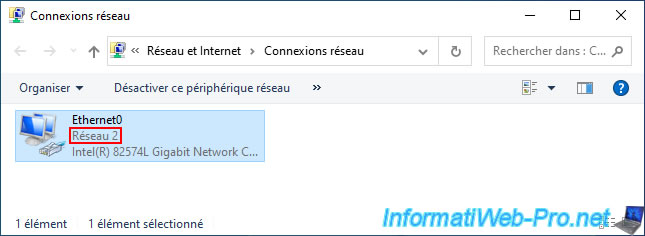
In the GUI, the status of your network card will be "Network X".
If you look at your network connection details, you will again see that your machine received its IPv4 address, the default gateway address, ... from your IPv4 DHCP server.

3. View DHCP leases on pfSense
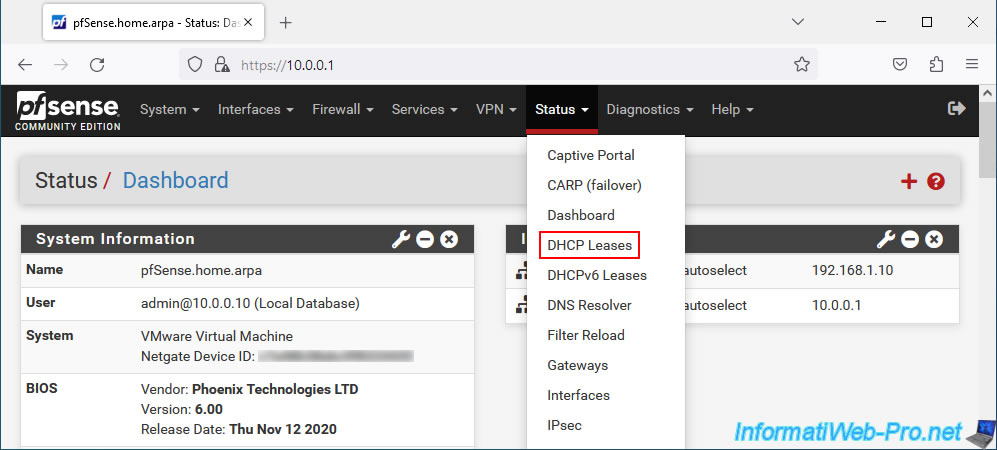
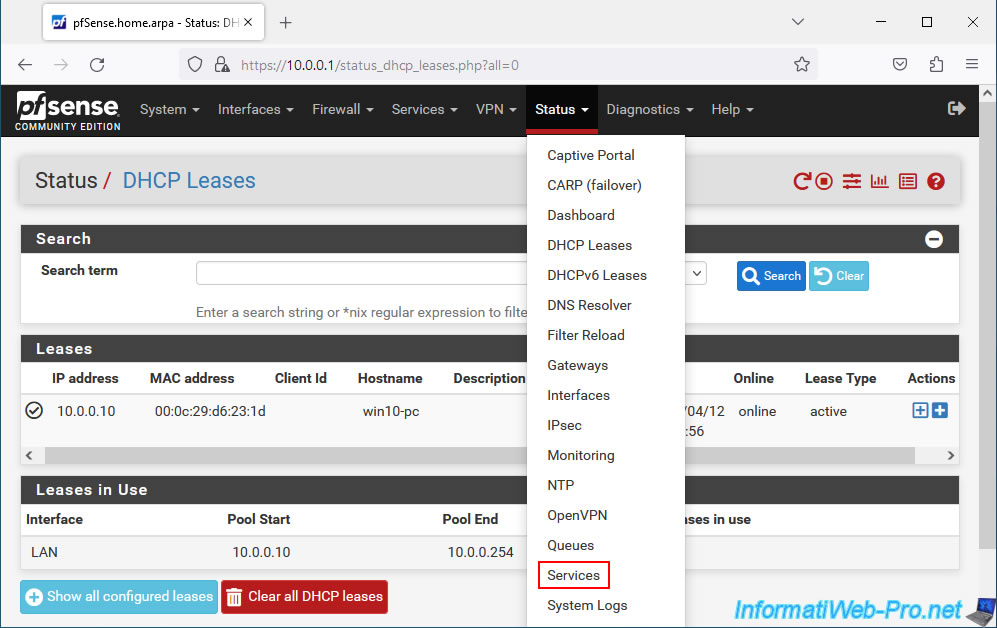
To see the list of DHCP leases on pfSense, go to: Status -> DHCP Leases.
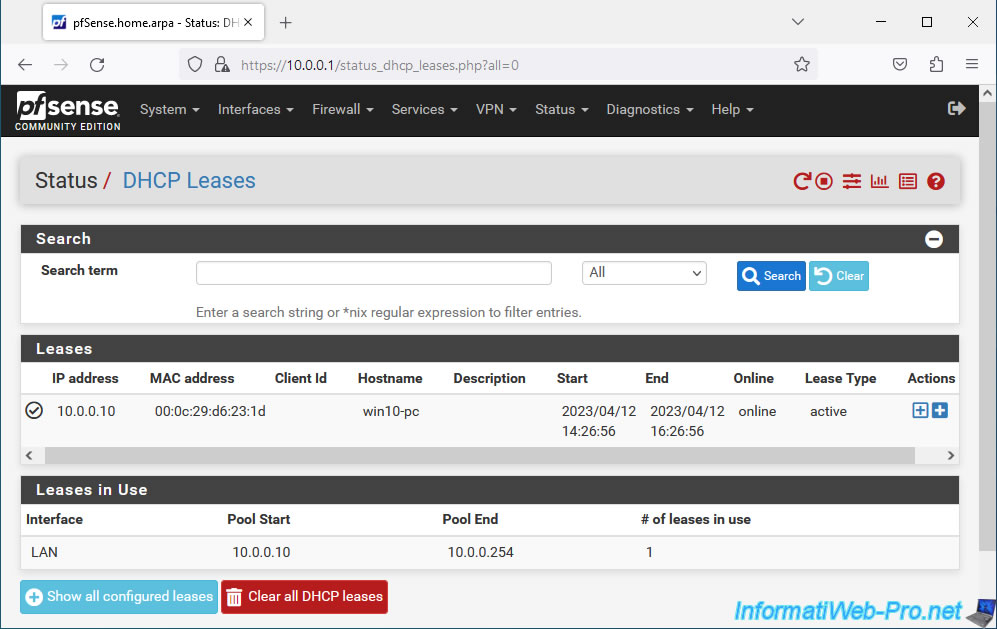
On the "DHCP Leases" page that appears, you will find a "Leases" section with the list of DHCP leases concerning DHCP clients:
- IP address: the IP address assigned to a client.
- MAC address: the MAC address of the client concerned.
Note: installing the NMAP package allows you to display the manufacturer associated with the prefix of each MAC address listed if it is known.
However, this may not work for virtual machines (depending on the virtualization solution used), as well as smartphones using a random MAC address to protect their users' privacy.
Additionally, any device can easily use a fake MAC address in software. - Client Id: the identifier of this client (if applicable).
- Hostname: the host name of this client.
- Description: the description specified for this client (only in the case of static DHCP mapping).
- Start: the start date of this DHCP lease.
- End: its end date (expiration).
- Online: indicates whether the client is currently connected to the network or not (based on the ARP table).
However, if the client is not communicating with or through pfSense, it may be considered offline (even if the affected client is powered on). - Lease Type: the DHCP lease type.
Possible values: active (DHCP lease for an active client with a dynamic IP), static (DHCP lease for a client with a static mapping) or expired (DHCP lease expired, because not renewed by the client).
In the "Leases in Use" section you will find a summary of the IP address ranges that your DHCP server can distribute for the listed pfSense interfaces, as well as the number of IP addresses currently in use (# of leases in use) by IP address range.
Source : DHCPv4 Status | pfSense Documentation.
4. View DHCP logs for troubleshooting
If there is a problem with the pfSense DHCP server, make sure it is currently running and check the DHCP logs to find any problems encountered in your case.
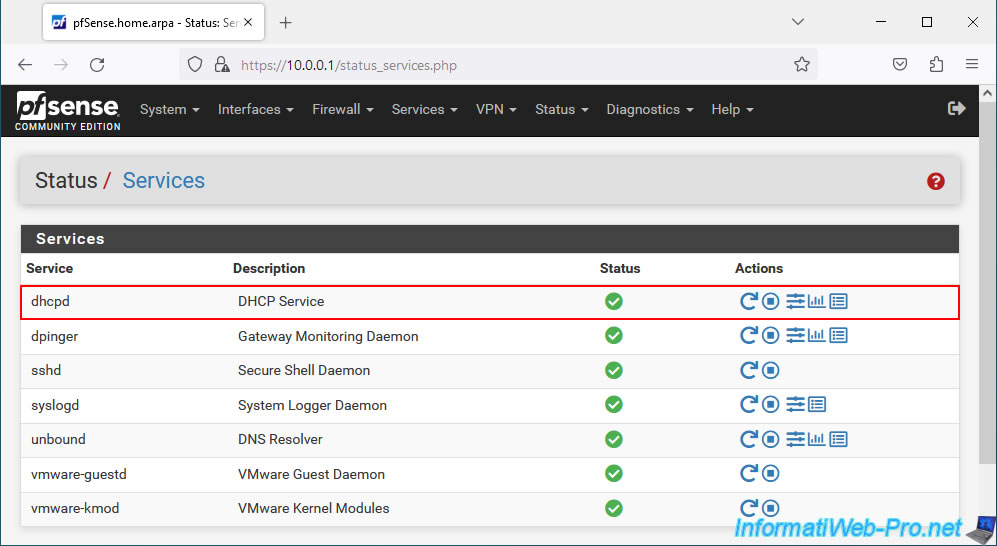
To do this, go to: Status -> Services.
Make sure the "dhcpd" service (DHCP Service) is running.
Otherwise, start it using the "Play" icon located in the "Actions" column.
Note that you can easily access DHCP logs by clicking the icon on the right end of this service.
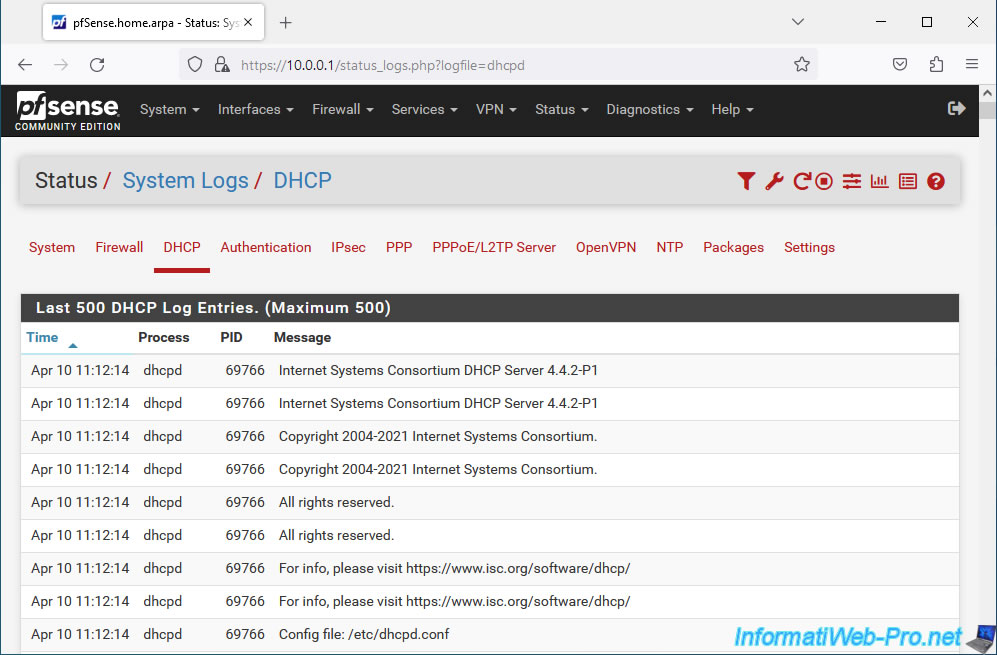
Otherwise, go through the "Status -> System Logs" menu and go to the "DHCP" tab of the page that appears.
As you can see, the DHCP server used is that of ISC: Internet Systems Consortium DHCP Server.
In the event of a problem, do not hesitate to use the keywords "ISC" and "DHCP" on your favorite search engine if you cannot find the solution with the keywords "pfSense" "DHCP".
Plain Text
Apr 10 11:12:14 	dhcpd 	69766 	Internet Systems Consortium DHCP Server 4.4.2-P1
Apr 10 11:12:14 	dhcpd 	69766 	Copyright 2004-2021 Internet Systems Consortium.
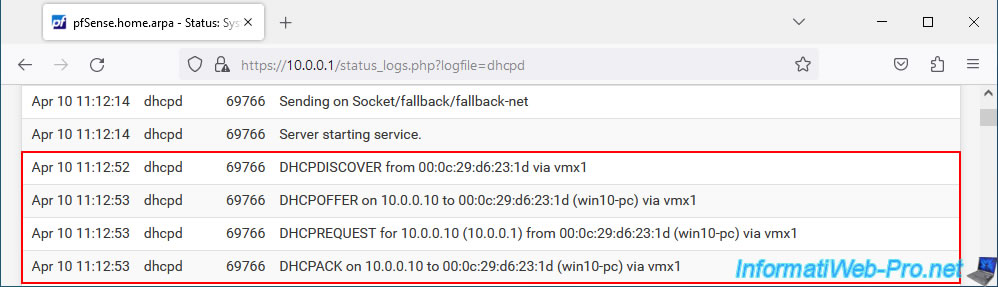
In the DHCP logs, you will find messages sent and received by your DHCP server and DHCP clients.
Plain Text
Apr 10 11:12:52 	dhcpd 	69766 	DHCPDISCOVER from 00:0c:29:d6:23:1d via vmx1
Apr 10 11:12:53 	dhcpd 	69766 	DHCPOFFER on 10.0.0.10 to 00:0c:29:d6:23:1d (win10-pc) via vmx1
Apr 10 11:12:53 	dhcpd 	69766 	DHCPREQUEST for 10.0.0.10 (10.0.0.1) from 00:0c:29:d6:23:1d (win10-pc) via vmx1
Apr 10 11:12:53 	dhcpd 	69766 	DHCPACK on 10.0.0.10 to 00:0c:29:d6:23:1d (win10-pc) via vmx1
5. Bonus: use a DHCP relay agent instead of the DHCP server
By default, you must have one DHCP server per network where you want to dynamically distribute IP addresses to your machines.
However, it is also possible to install a single DHCP server in a network and use DHCP relay agents in the subnets where you want to distribute IP addresses.
This way, the IP address ranges can all be configured on the DHCP server and the DHCP relay agents will only forward requests and responses from one network to another.
It will therefore act as an intermediary between your client machines and the DHCP server.
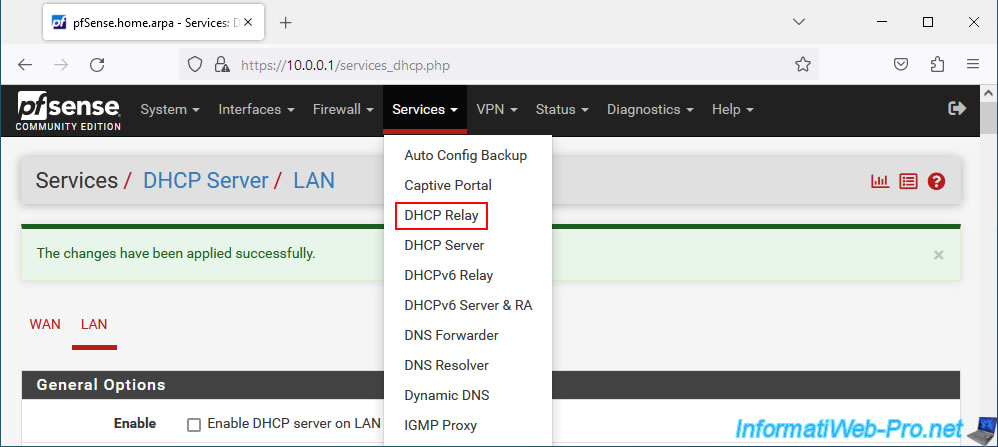
To enable the pfSense DHCP relay agent, go to: Services -> DHCP Relay.
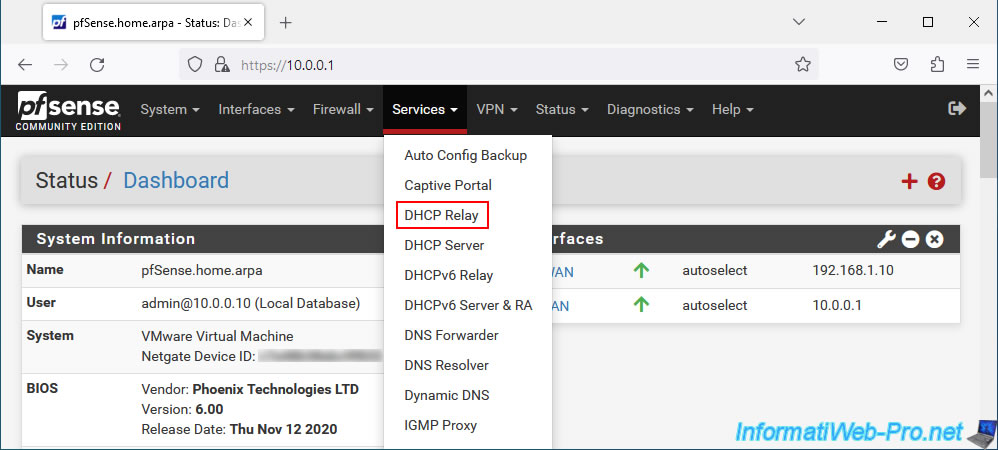
However, if the pfSense DHCP server is already enabled in your case, an error message will appear.
Indeed, the DHCP relay agent listens on the same port (UDP 67) as a DHCP server to be able to automatically receive DHCP requests from client machines on your network without any particular configuration being required for them.
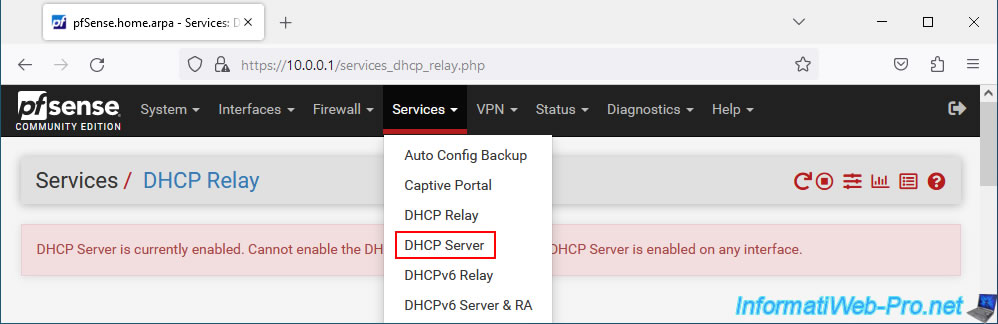
Plain Text
DHCP Server is currently enabled. Cannot enable the DHCP Relay service while the DHCP Server is enabled on any interface.

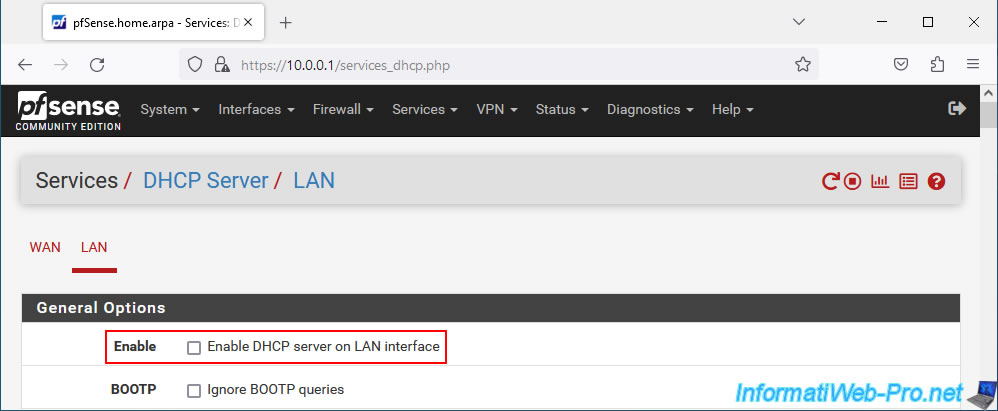
To resolve the problem, go to: Services -> DHCP Server.
Uncheck the "Enable DHCP server on LAN interface" box to disable the DHCP server on the LAN interface of pfSense.
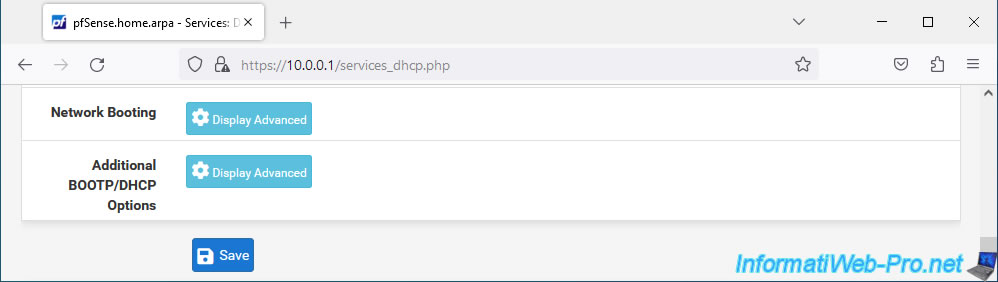
Click "Save" at the bottom of the page to save the change.
Then, return to the menu: Services -> DHCP Relay.
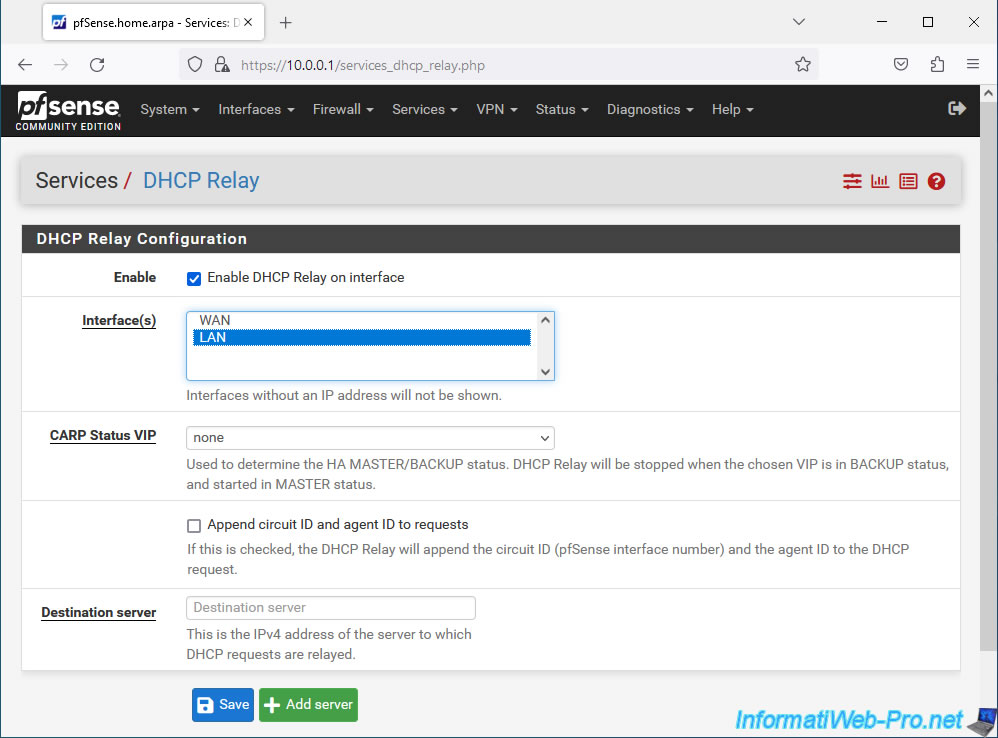
Now, the DHCP Relay agent configuration page appears with a "DHCP Relay Configuration" section:
- Enable: check the "Enable DHCP Relay on interface" box to enable the DHCP relay agent.
- Interface(s): select the interface where it should listen. In our case, the "LAN" interface so that our client machines on the LAN network can receive an IP address.
- CARP Status VIP: in the case where high availability is activated under pfSense, this makes it possible to determine which DHCP relay agent has master status (MASTER) and which has backup status (BACKUP).
So only one DHCP relay agent will be running at any given time and the other can take over if the 1st server goes down. - Append circuit ID and agent ID to requests: allows you to include a circuit ID and the agent ID in the DHCP request transferred to the DHCP server to allow the latter to know where the DHCP request comes from and thus assign an IP address from the IP address pool.
- Destination server: the IPv4 address of the DHCP server distributing IPv4 addresses.
Source : DHCPv4 & DHCPv6 Relay | pfSense Documentation.
Share this tutorial
To see also
-
Firewall 6/25/2025
pfSense 2.6 - 1:1 NAT (IP address mapping)
-
Firewall 9/10/2025
pfSense 2.6 - Create a VPN server (remote access) via OpenVPN (L2 mode)
-
Firewall 7/2/2025
pfSense 2.6 - Enable NAT reflection
-
Firewall 7/16/2025
pfSense 2.6 - Renew web interface certificate
No comment