Download and install pfSense CE 2.6 on VMware Workstation Pro
- Firewall
- pfSense
- 09 May 2025 at 11:57 UTC
-

- 4/4

9. Network access of client machines
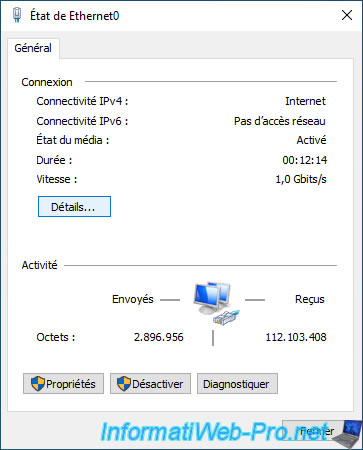
Now, Internet access from client machines will work.

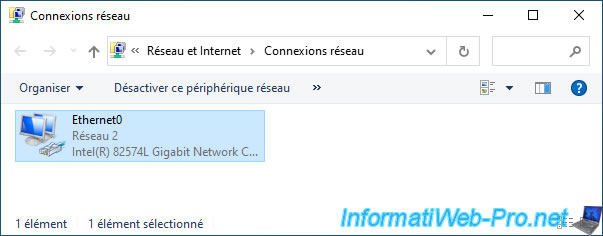
Open the "Network Connections" window in Windows and double-click on the displayed network card.
As expected, you have IPv4 connectivity.
Click on: Details.
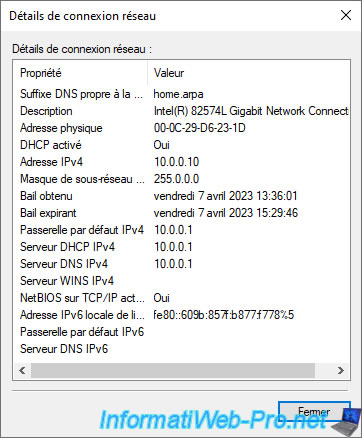
As expected, the IPv4 default gateway used is "10.0.0.1" (which corresponds to the IP address of the pfSense LAN interface).
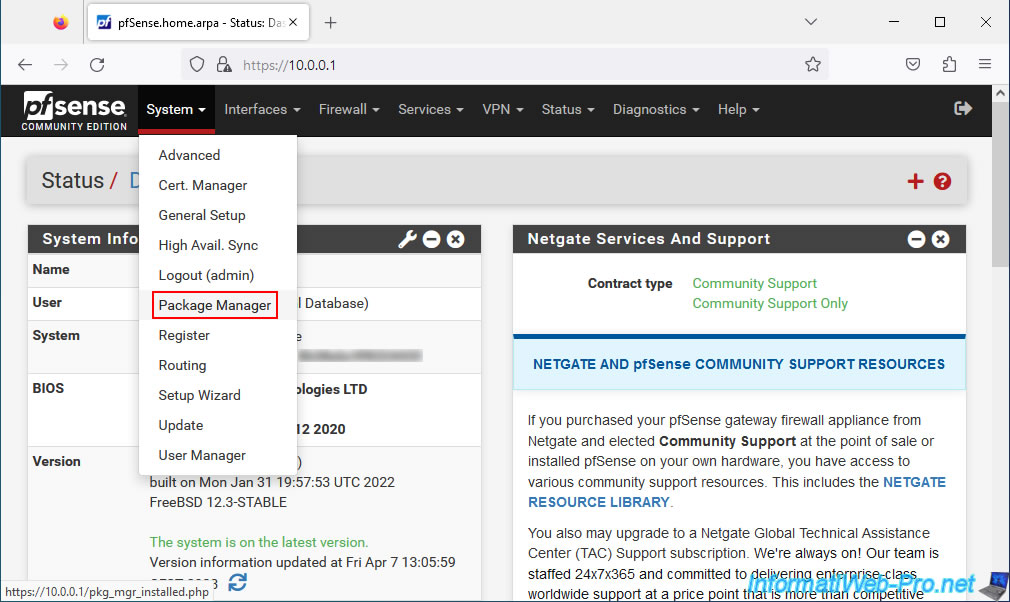
10. Install VMware drivers (VMware VMs only)
When you install pfSense in a VMware virtual machine, you can install the usual drivers (VMware Tools) via the "open-vm-tools" package (available for many Linux distributions, although pfSense is based on FreeBSD).
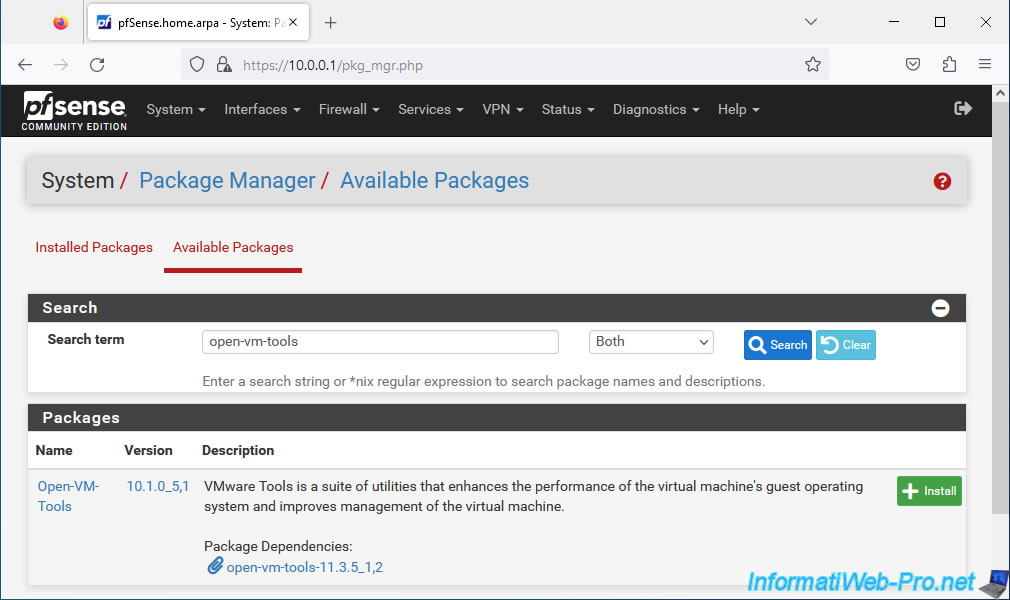
To install this package, go to the menu: System -> Package Manager.
On the "Available Packages" page that appears, indicate "open-vm-tools" in the "Search term" box and click: Search.
Next, click on the "Install" button (to the right of the "Open-VM-Tools" package).
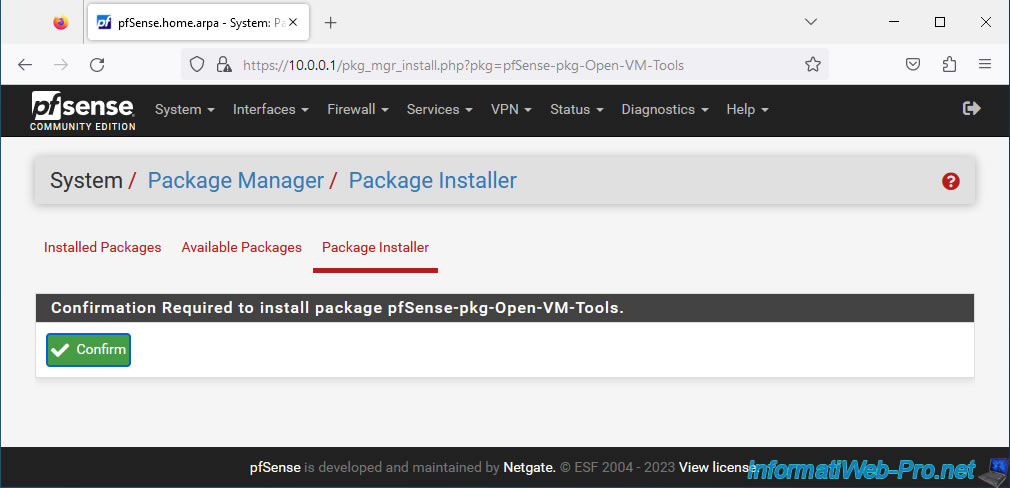
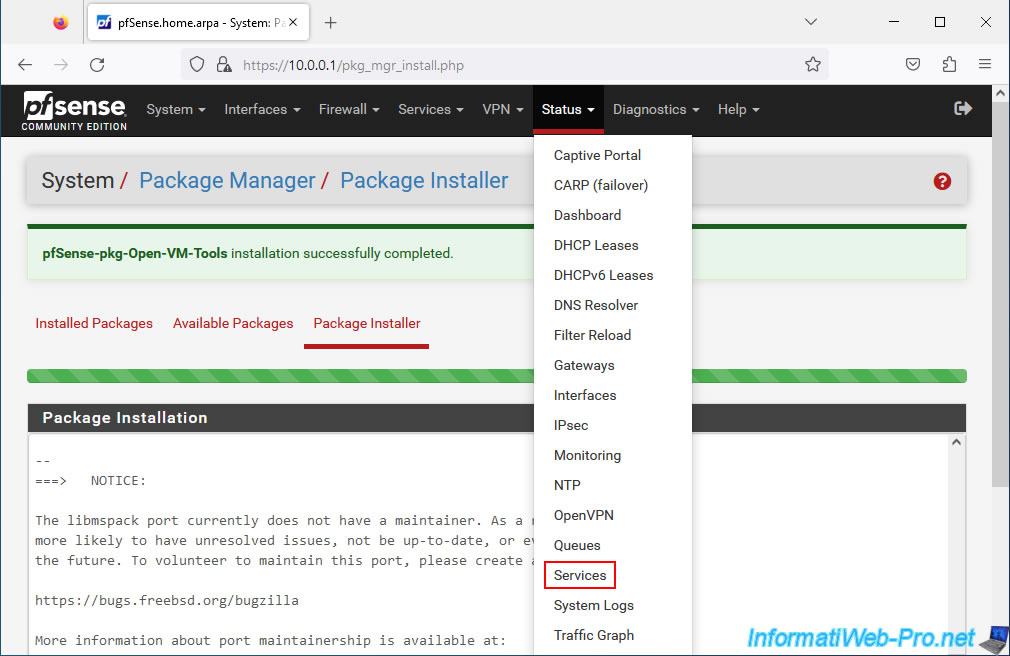
On the "Package Installer" page that appears, click: Confirm.
Wait while the pfSense catalog updates.
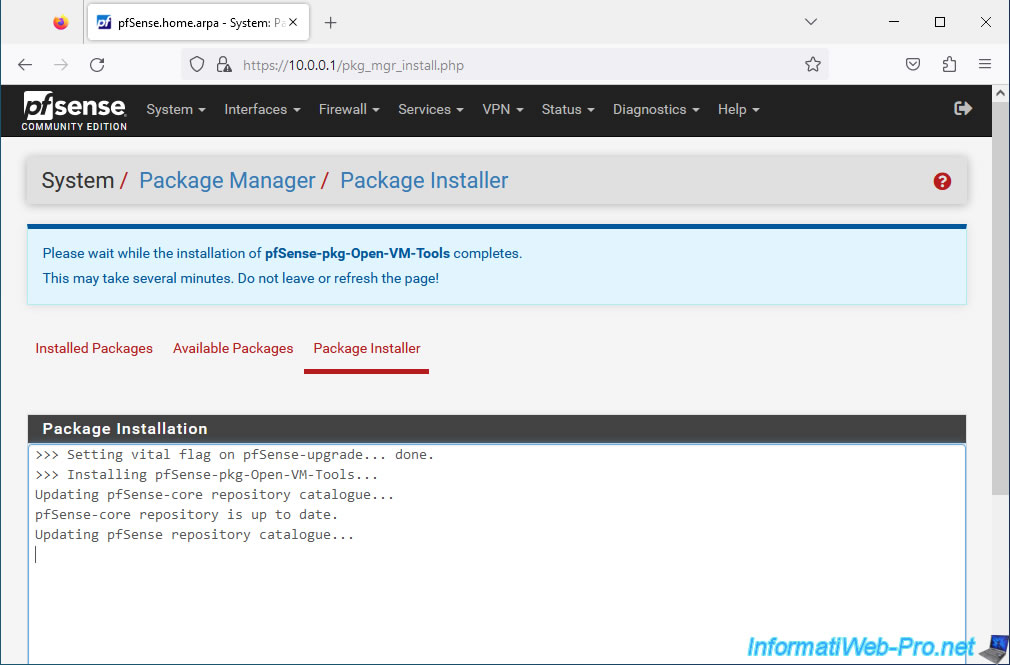
Then, wait while "pfSense-pkg-Open-VM-Tools" downloads and installs.

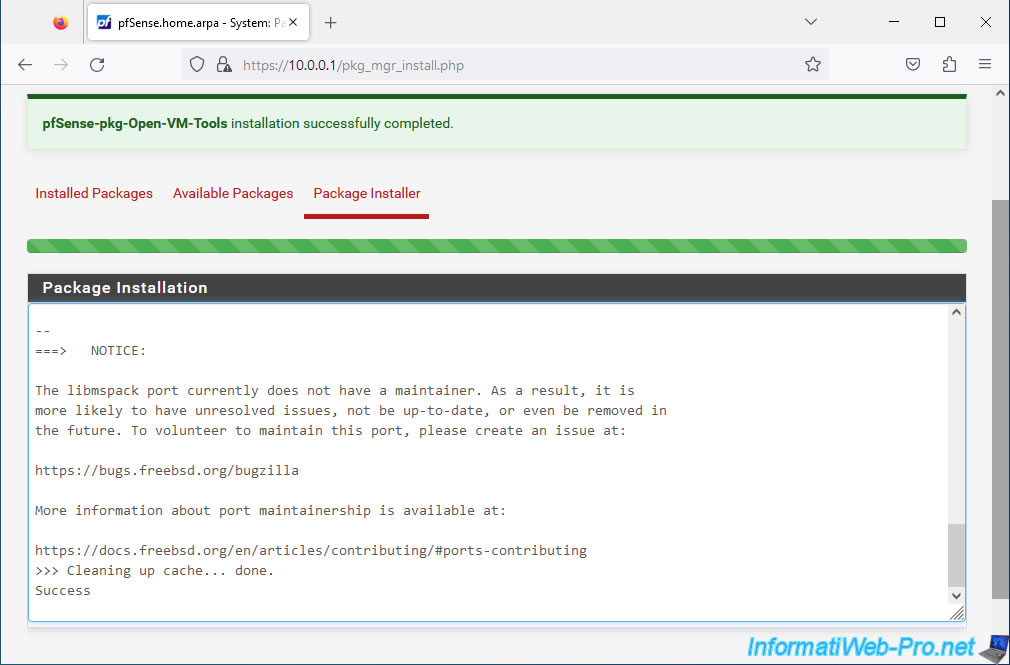
Once the installation of this package is complete, the message "pfSense-pkg-Open-VM-Tools installation successfully completed" will appear.
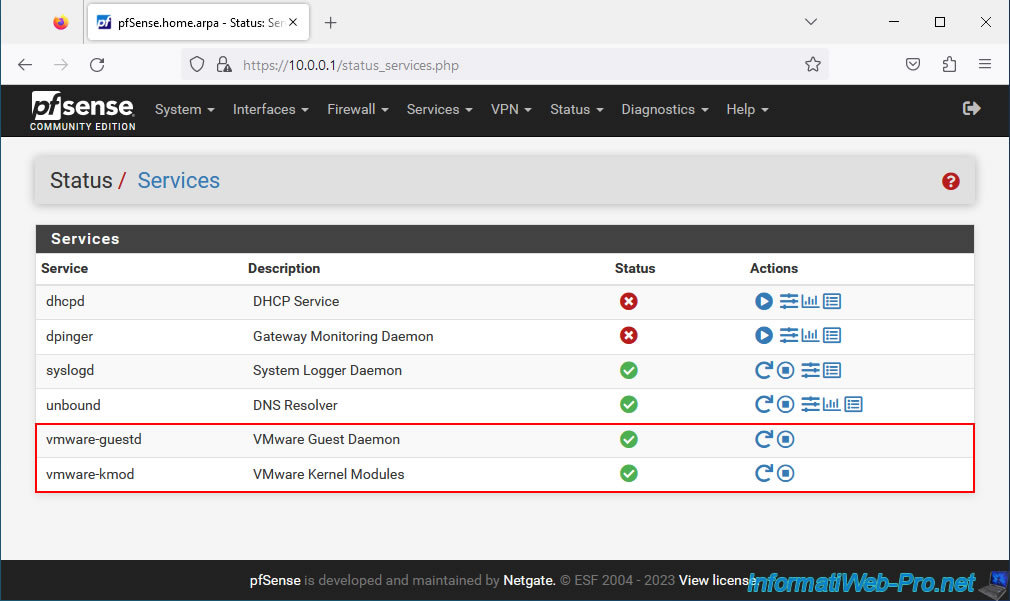
To check that this package has been installed, go to the menu: Status -> Services.
In the list of services that appears, make sure that the "vmware-guestd" and "vmware-kmod" services are present and started.
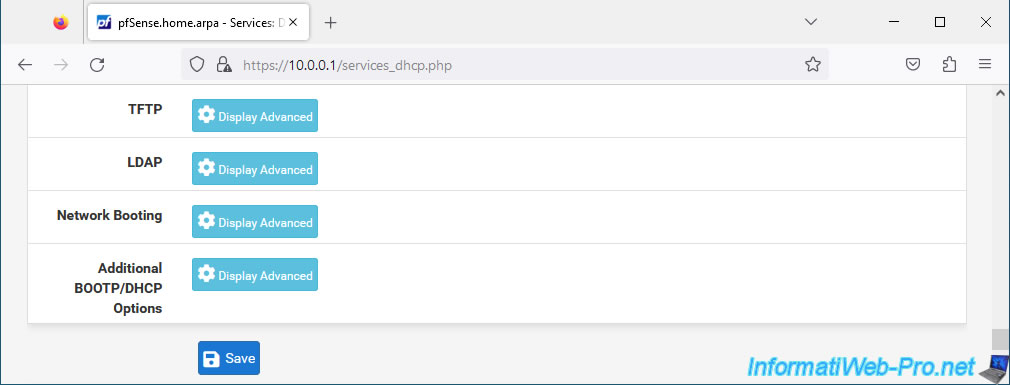
11. Configuring the pfSense DHCP server
So that your clients can receive an IP address automatically and access the network and the Internet (via pfSense), it is important that the pfSense DHCP server is enabled and configured correctly.
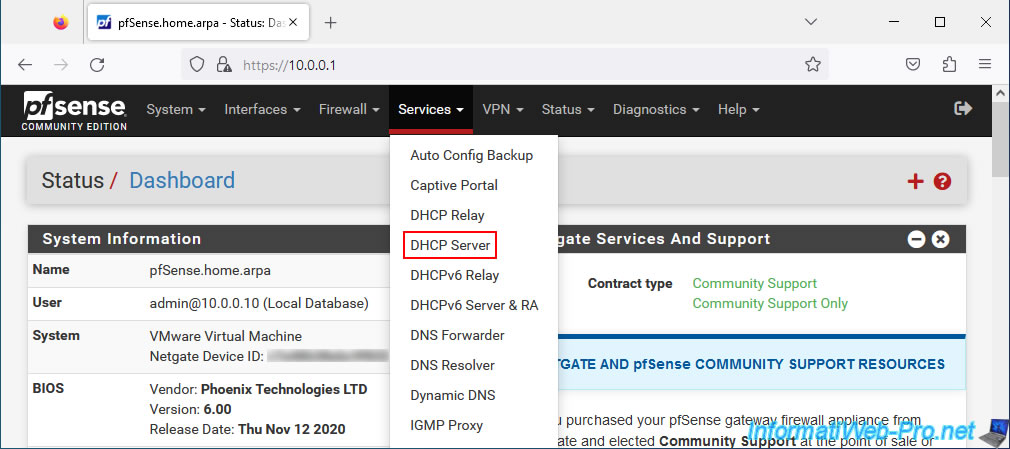
To do this, go to: Services -> DHCP Server.
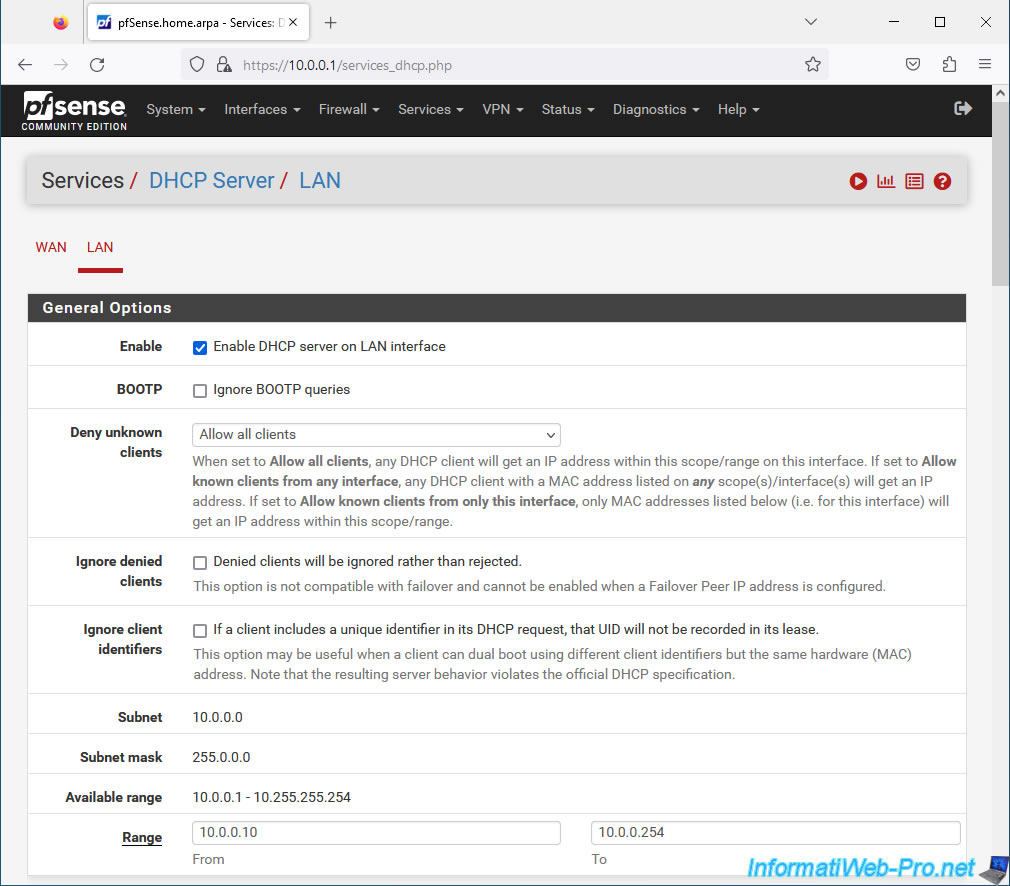
Important : the IP address range configuration previously specified via the pfSense console was lost when initializing pfSense via the web interface.
Make sure the DHCP server is enabled on the LAN interface by checking the "Enable DHCP server on LAN interface" box, then configure the IPv4 address range to use via the Range option.
By default, pfSense had redefined the IP address range in our case to: 10.0.0.10-10.255.255.245. However, this created a bug that you will see further down in this tutorial.
In our case, we therefore used the IP address range: 10.0.0.10 to 10.0.0.254. This also allows you to ignore the broadcast address ending in ".255".
As you can see, by leaving the address range automatically redefined by pfSense, the DHCP server crashed due to too large an IP address range.
Plain Text
exiting.
/etc/dhcpd.conf line 20: 10.0.0.10-10.255.255.245 is an overly large address range.
Internet Systems Consortium DHCP Server 4.4.2-P1.

Save the new DHCP configuration by clicking "Save".
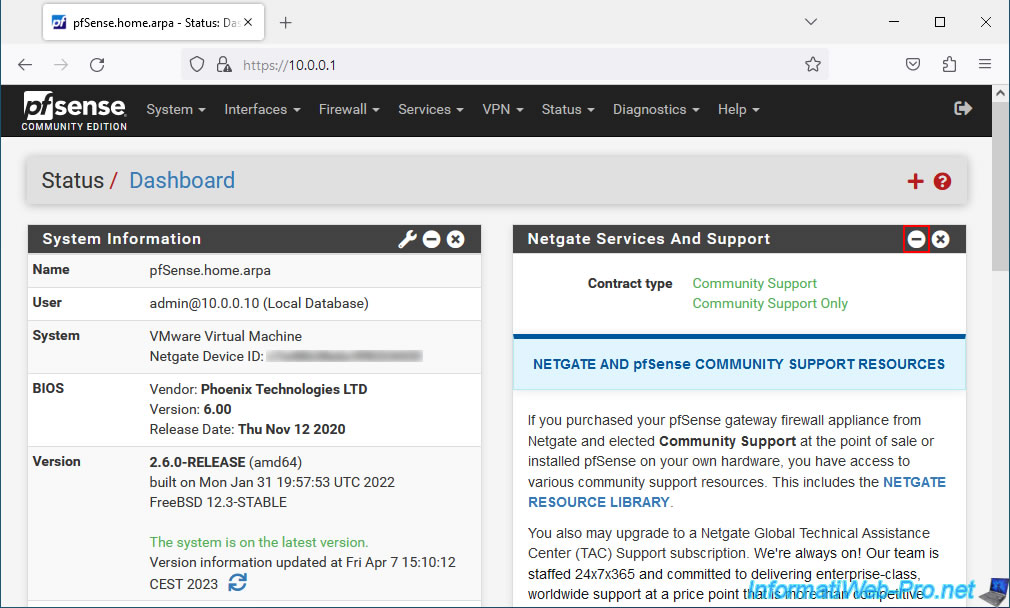
12. Remove Netgate support widget (optional)
If you wish, you can minimize the display of the "Netgate Services And Support" widget on the pfSense dashboard by clicking on the "-" icon.
To remove it completely, click the "X" icon.
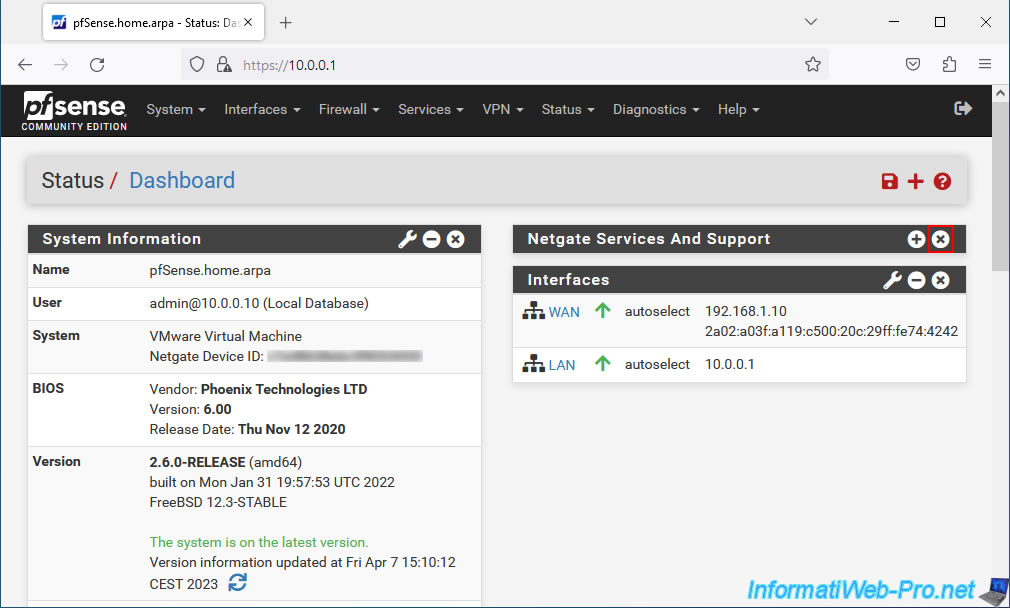
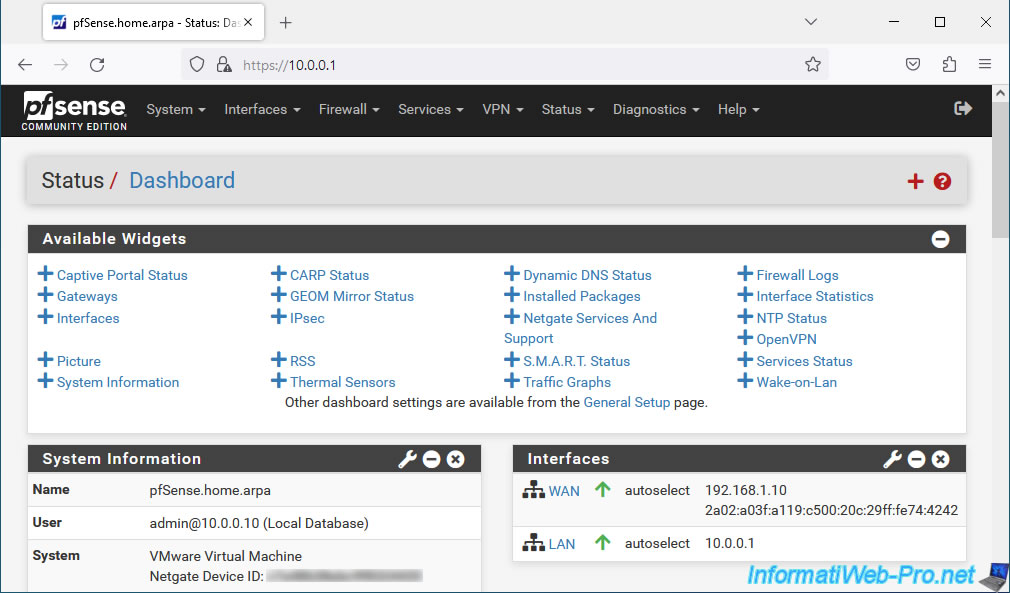
If you want to put it back later, simply click on the red "+" located at the top right of the screen.
This will also allow you to add widgets regarding different interesting pfSense services, such as "IPsec" or "OpenVPN" for VPN tunnels, "Captive Portal Status" for captive portals (like in airports), ...
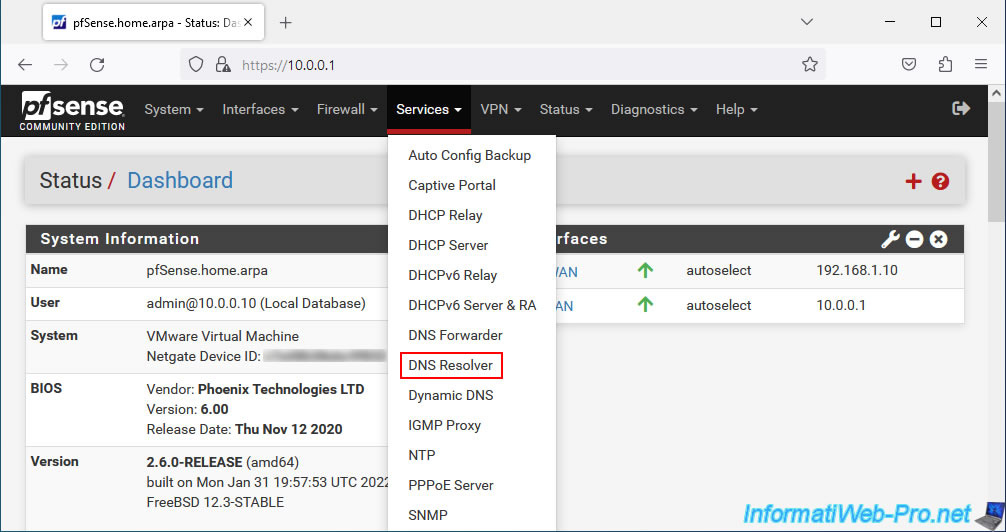
13. DNS resolution for client PCs
As explained previously, the DNS servers specified when configuring pfSense are only used by pfSense and not by client PCs.
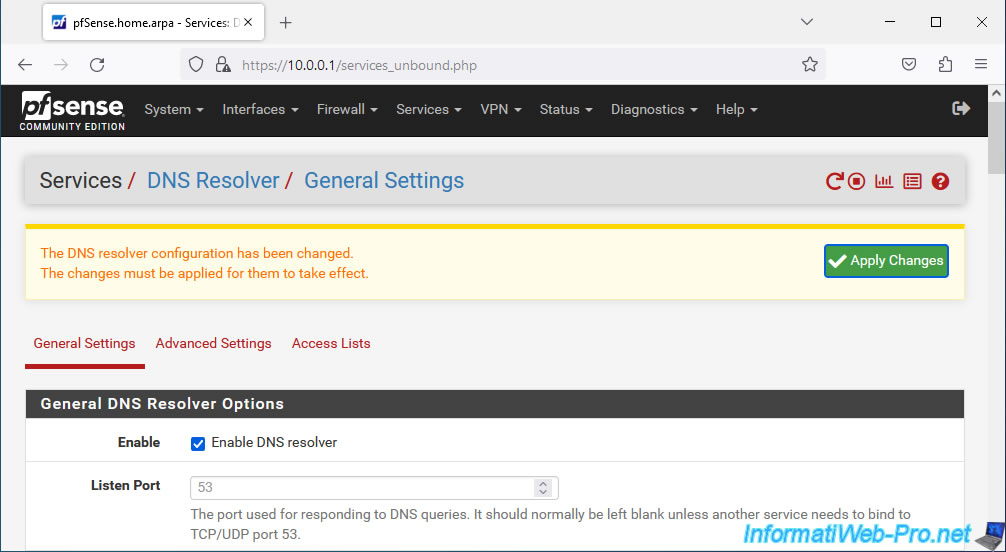
For these client PCs to also use these DNS servers, you must go to: Services -> DNS Resolver.
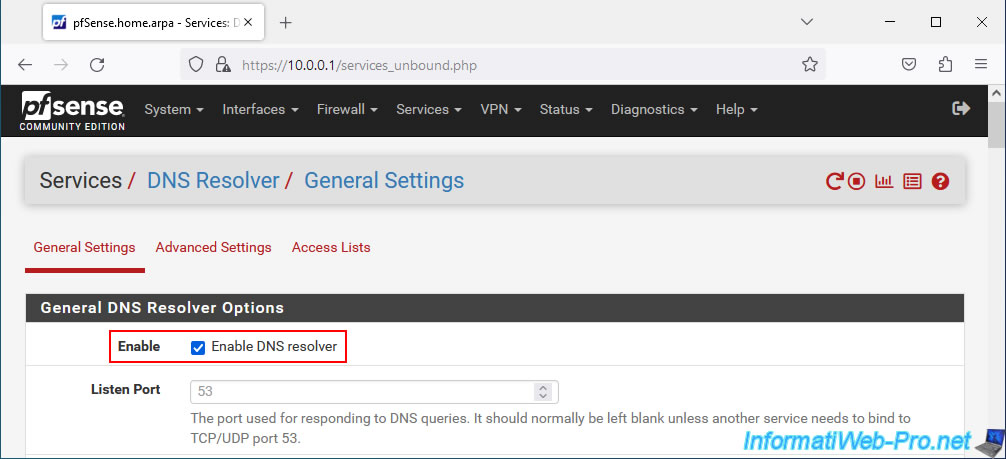
On the page that appears, make sure the "Enable DNS resolver" box is checked.
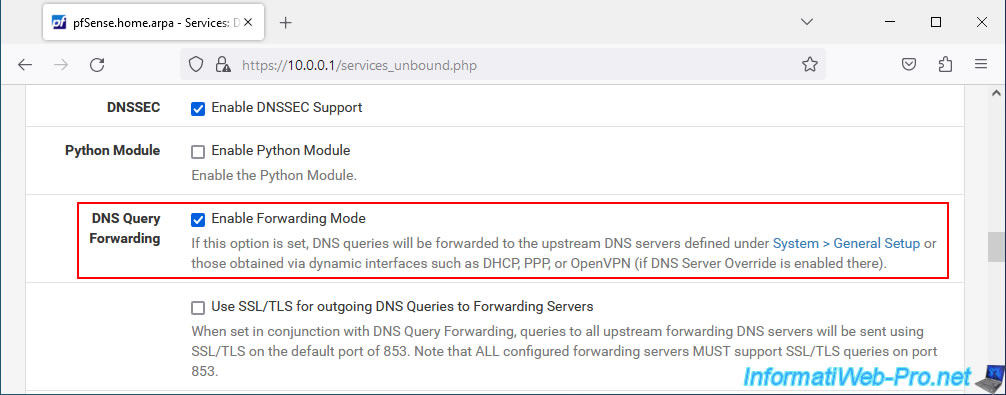
Then, on this page, check the "Enable Forwarding Mode" box to activate the redirection of DNS requests to the DNS servers defined in the "System -> General Setup" section (which correspond to those indicated during the 1st configuration of pfSense via its web interface).
At the bottom of the page, click Save.
At the top of the page, pfSense will ask you to apply the changes.
Click: Apply Changes.
Plain Text
The DNS resolver configuration has been changed.
The changes must be applied for them to take effect.
The "The changes have been applied successfully" message appears.
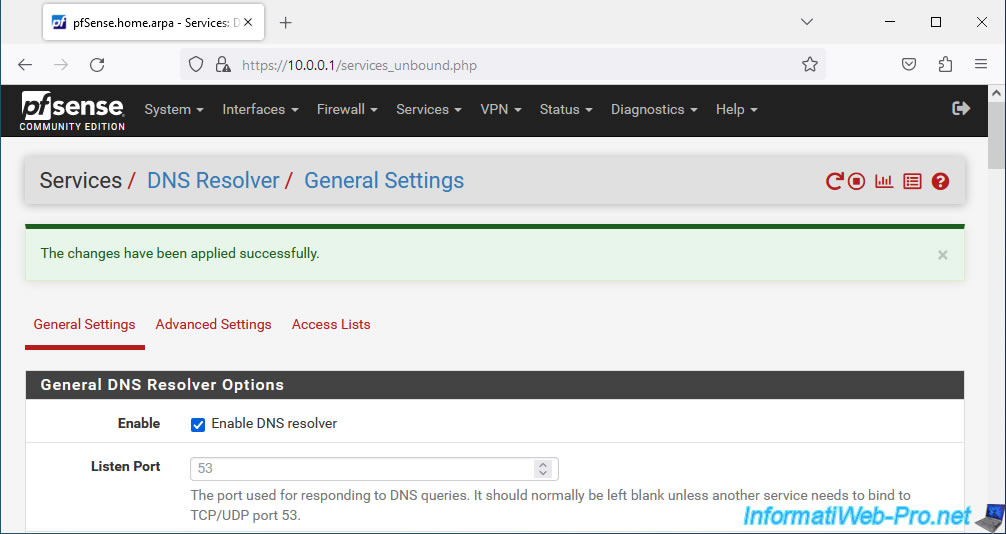
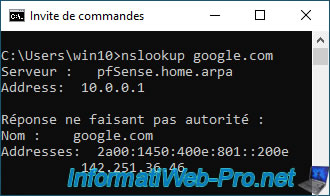
As expected, your client PCs will be able to resolve domain names using the LAN IP address of your pfSense machine.
Share this tutorial
To see also
-
Firewall 8/13/2025
pfSense 2.6 - Create a captive portal
-
Firewall 8/6/2025
pfSense 2.6 - Create a network bridge
-
Firewall 9/12/2025
pfSense 2.6 - Create a site-to-site (S2S) VPN tunnel via OpenVPN secured with shared key (PSK)
-
Firewall 6/6/2025
pfSense 2.6 - DDNS (dynamic DNS)
No comment