Download and install pfSense CE 2.6 on VMware Workstation Pro
- Firewall
- pfSense
- 09 May 2025 at 11:57 UTC
-

- 2/4

4. Install pfSense CE 2.6
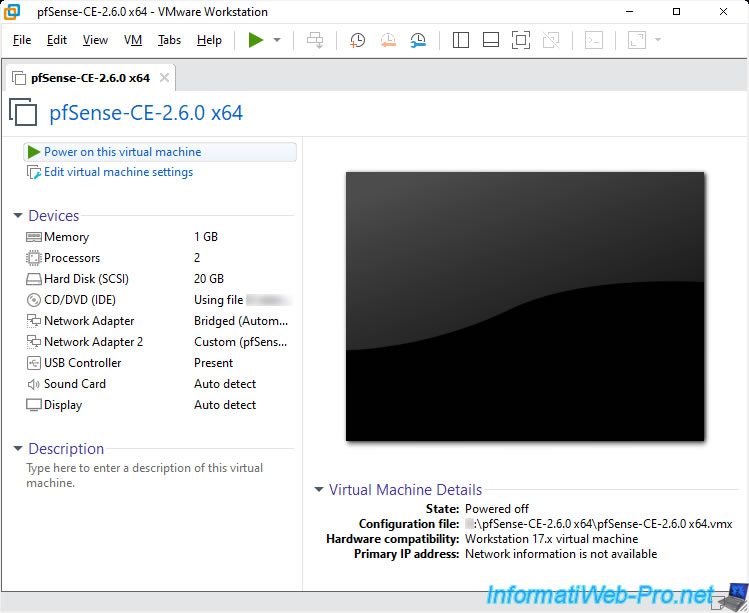
Start your virtual machine by clicking on "Power on this virtual machine".
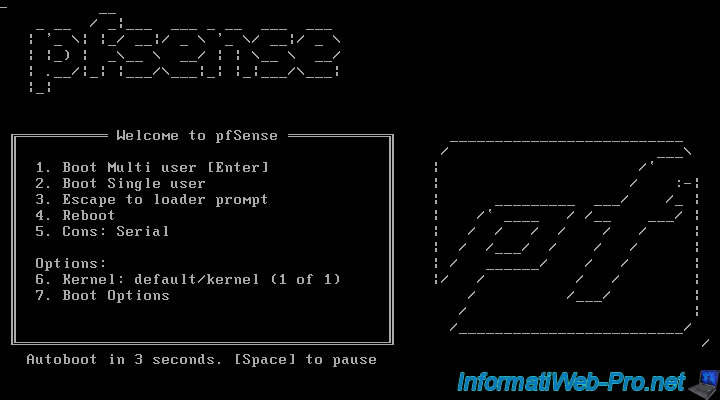
The pfSense start menu appears for 5 seconds.
Simply wait for the timer to reach 0 and wait while many lines appear white on a black background.
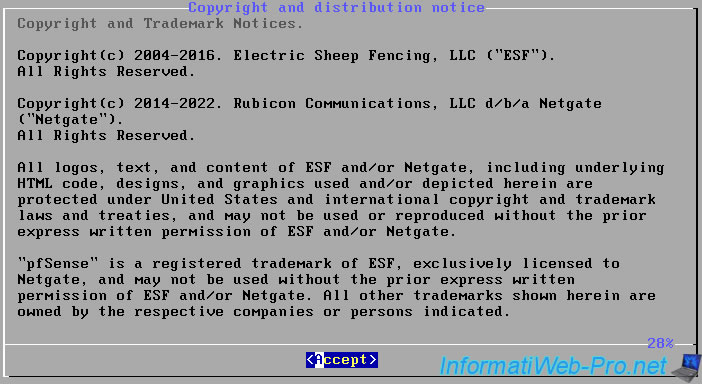
Once loading is complete, a "Copyright and distribution notice" window will automatically appear.
Press Enter to accept this.
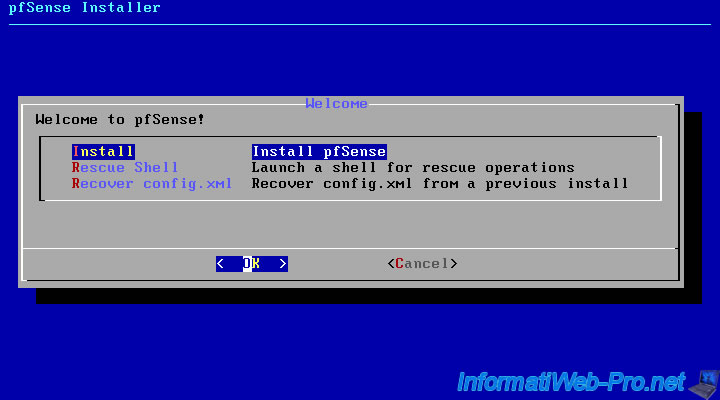
Press Enter to start the pfSense installation wizard.
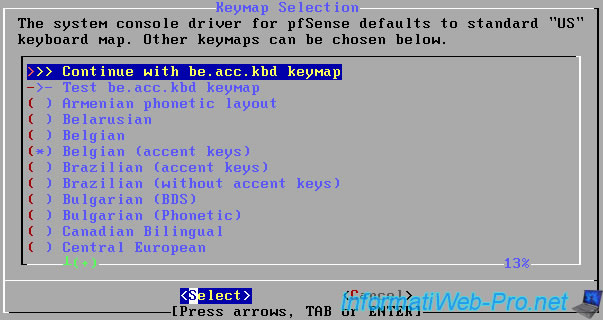
By default, the keyboard used to install pfSense is set to "English (United States)".
Which means that the keyboard is configured in QWERTY by default and not in AZERTY (as is the case in France and Belgium in particular).
For "French (Belgium)", select "Belgian (accent keys)" or "Belgian" (if the other option no longer exists).
Warning : this selection only concerns the pfSense installation procedure.
Once pfSense is installed, the keyboard layout used will again be "English (United States)".

For "French (France)", select "French (accent keys)" or "French" (if the other option no longer exists).

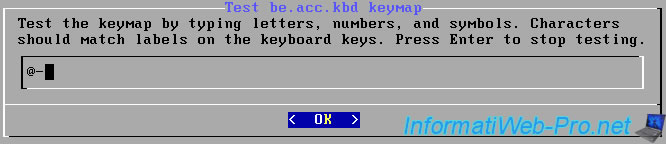
To test if you have selected the correct keyboard layout, select "Test xx.xx.kdb keymap" and press Enter.

Especially test the special characters and why not the letter "A" (which changes place from the QWERTY to AZERTY keyboard).
Then, press Enter to return to the previous menu.
Now select the line "Continue with xx.xx.kdb keymap" and press Enter to continue pfSense installation.
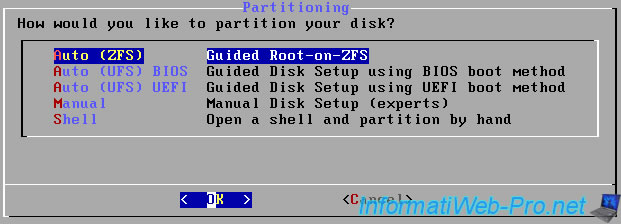
Leave the default option "Auto (ZFS)" selected and press Enter.
Leave the "Install" option selected and press Enter to begin the installation.

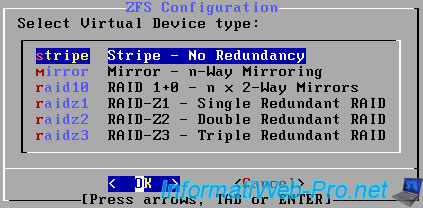
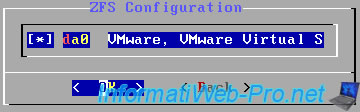
Select "stripe" to normally install pfSense on a single hard drive without configuring RAID volumes.
Start by selecting the hard drive to use with the arrow keys on the keyboard, press the space bar on the keyboard to check the corresponding box and press Enter to move on to the next step.
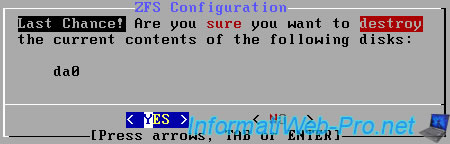
Select the answer "Yes" and press Enter to confirm erasing the selected hard drive and formatting it with the "ZFS" file system.
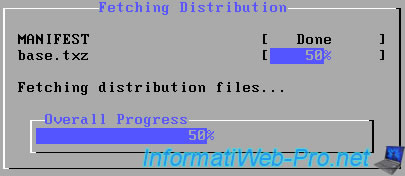
Wait while the distribution files are retrieved.
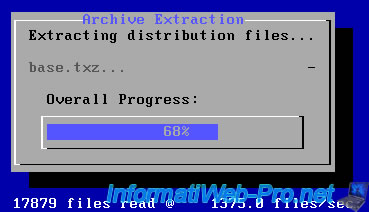
Wait again while the downloaded files are extracted.
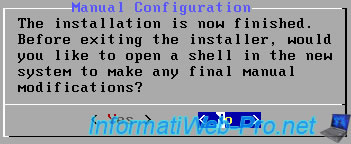
Once the installation is complete, the wizard asks you to open a shell (command prompt) to carry out additional operations.
Select "No" and press Enter to complete the pfSense installation.
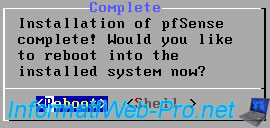
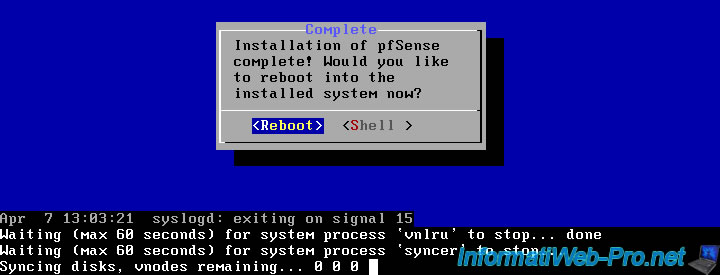
Once the installation is complete, pfSense will ask you to restart your VM.
Select "Reboot" and press Enter.
A few lines will appear and your virtual machine will restart.
For more information about the options available when installing pfSense, refer to the "Installation Walkthrough | pfSense Documentation" page.
5. Initial configuration of pfSense from the command line
When pfSense restarts, the start menu will reappear.
Again, wait 5 seconds and loading will continue automatically.

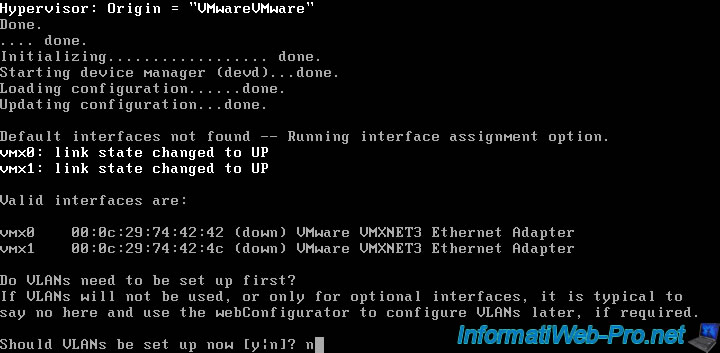
Then, the list of interfaces (virtual network cards of your virtual machine) will appear with their MAC addresses.
As you can see, these are indeed VMXNET3 network cards (as configured via the ".vmx" configuration file of your VM).
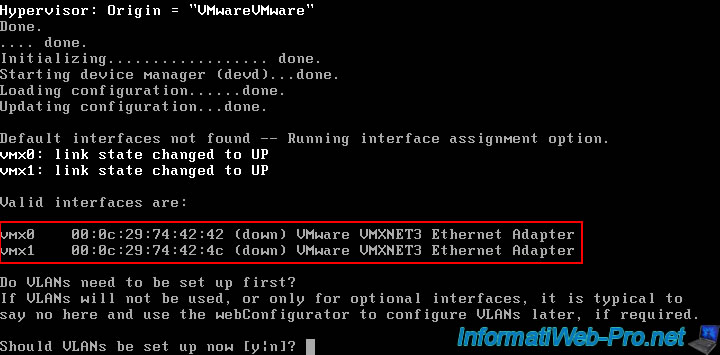
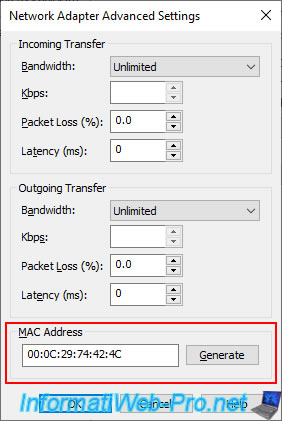
To find out which virtual network card the "vmx0" and "vmx1" interfaces displayed by pfSense correspond to, go to the settings of your virtual machine, select a virtual network card (Network Adapter) and click on "Advanced".
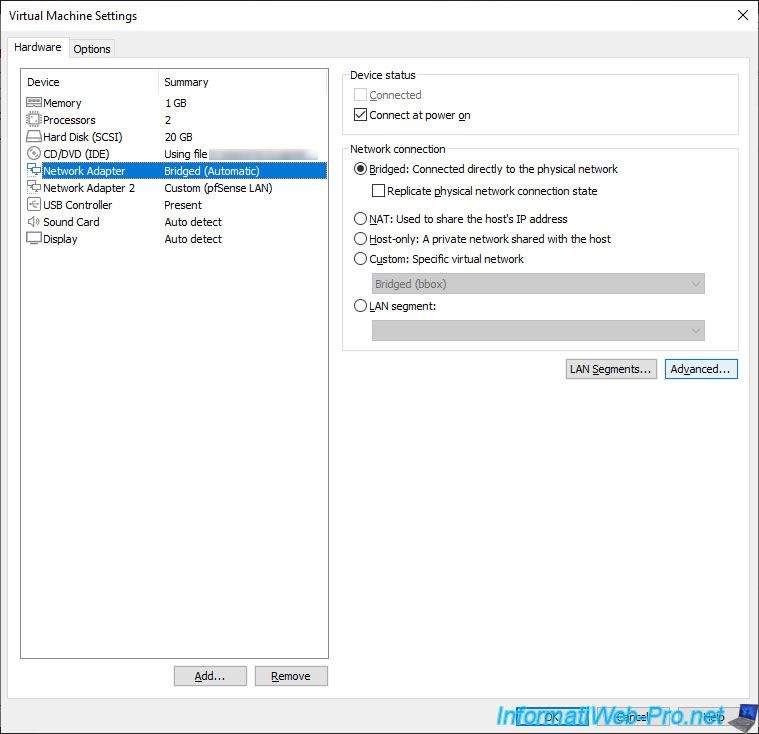
In the "Network Adapter Advanced Settings" window that appears, you will see its MAC address appear.
In our case, we can therefore see that the "vmx0" interface seen by pfSense corresponds to our virtual network card "Network Adapter" connected to our physical network (Bridged).

For the "vmx1" interface seen by pfSense, this corresponds to our virtual network card "Network Adapter 2" connected to our virtual network (pfSense LAN).
To begin, pfSense asks you if you want to use VLANs.
Which corresponds to a technology allowing a physical network to be segmented into several subnetworks (with different VLAN IDs). But this requires additional configuration on machines or switches.
In short, in our case, we will not use them.
So, answer "n" (for no) to this question.
Plain Text
Do VLANs need to be set up first?
If VLANs will not be used, or only for optional interfaces, it is typical to say no here and use the webConfigurator to configure VLANs later, if required.

Should VLANs be set up now [y:n]? n
The WAN interface is the one connected to the Internet.
So in our case "vmx0" (which corresponds to the virtual network card connected to the physical network (Bridged)).
Plain Text
If the names of the interfaces are not known, auto-detection can be used instead. To use auto-detection, please disconnect all interfaces before pressing 'a' to begin the process.

Enter the WAN interface name or 'a' for auto-detection.
(vmx0 vmx1 or a): vmx0

Next, you will need to configure the pfSense LAN interface.
In other words, the one connected to the local network which will be behind pfSense.
So in our case "vmx1" (which corresponds to the virtual network card connected to our virtual network (pfSense LAN)).
Note: as indicated below, selecting a LAN interface will automatically transform pfSense into a router and it will therefore use NAT to automatically route packets between the 2 networks to which pfSense is connected (as would your Box).
Plain Text
Enter the LAN interface name or 'a' for auto-detection
NOTE: this enables full Firewalling NAT mode.
(vmx1 a or nothing if finished): vmx1

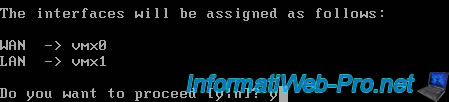
pfSense shows you a summary of the WAN and LAN interface assignment with the previously detected vmx0 and vmx1 interfaces.
Answer "y" to validate these choices.
Plain Text
The interfaces will be assigned as follows:

WAN -> vmx0
LAN -> vmx1

Do you want to proceed [y:n]? y
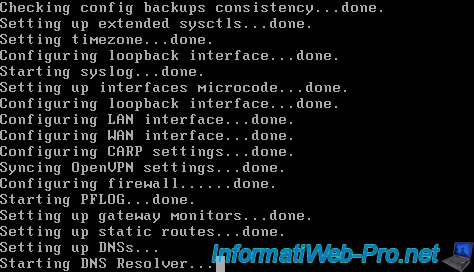
Several messages will appear, in particular those concerning the configuration of these WAN and LAN interfaces.
Plain Text
Configuring LAN interface...done
Configuring WAN interface...done

Then, the automatic configuration will continue
Once the configuration is complete, the "Welcome to pfSense" screen will appear with information regarding the WAN and LAN interfaces and their IPv4 (and IPv6 if applicable) addresses.
In our case :
- our WAN interface has 2 IP addresses (one IPv4 and one IPv6) received by the DHCP and DHCPv6 servers of our Box.
- our LAN interface has an IP address automatically defined by pfSense.
Which may also pose a problem in our case, given that the subnet used (192.168.1.x) is the same.
Note: if you made a mistake in assigning the WAN and LAN interfaces with their vmx0 and vmx1 correspondences, please note that you can restart the configuration using the "1) Assign Interfaces" option in this menu.

Share this tutorial
To see also
-
Firewall 9/3/2025
pfSense 2.6 - Create a site-to-site (S2S) VPN tunnel via IPsec
-

Firewall 9/5/2025
pfSense 2.6 - Create a VPN server (remote access) via OpenVPN (L3 mode)
-
Firewall 8/29/2025
pfSense 2.6 - Implement Multi-WAN (Dual-WAN)
-
Firewall 6/13/2025
pfSense 2.6 - Schedule a rule in the firewall
No comment