Create and use VLANs on pfSense 2.6
- Firewall
- pfSense
- 28 May 2025 at 07:47 UTC
-

- 5/5

12. Configure the Intel network card to not remove VLAN IDs
If Wireshark does not see the VLAN IDs present on the packets, it is simply because the Intel network cards (including the one emulated by default by VMware) remove the VLAN IDs when it receives the network packets.
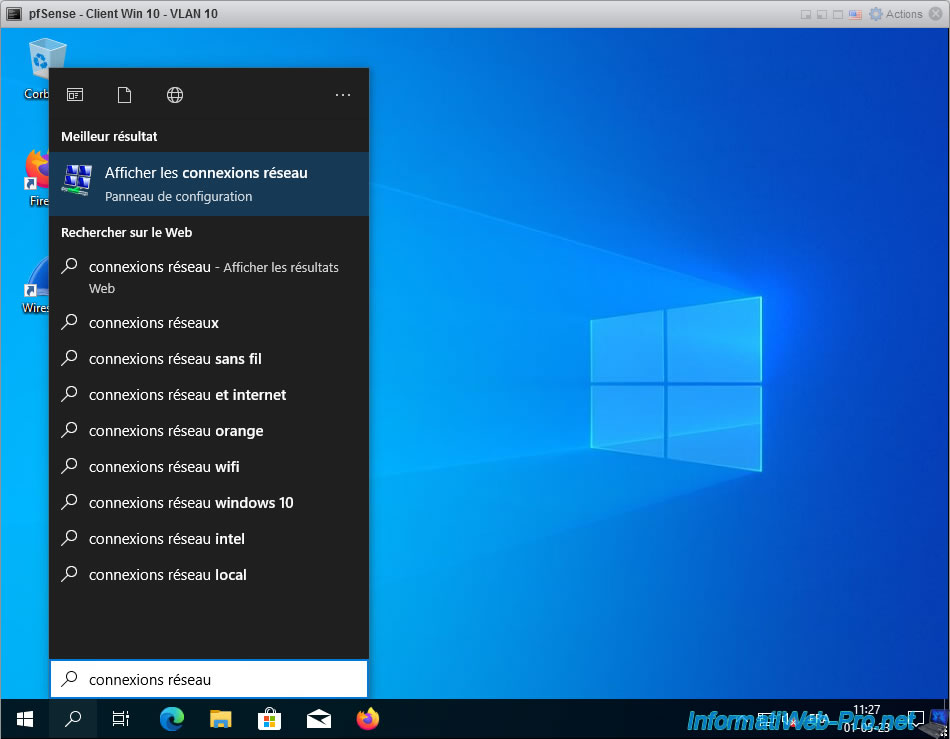
To check your network card model, type "Network Connections" in the Windows 10 start menu and click: Show network connections.
Sources :
- Sample configuration of virtual machine VLAN Tagging (VGT Mode) in ESX (1004252)
- My Sniffer Isn't Seeing VLAN, 802.1q, or QoS Tagged Frames - Intel
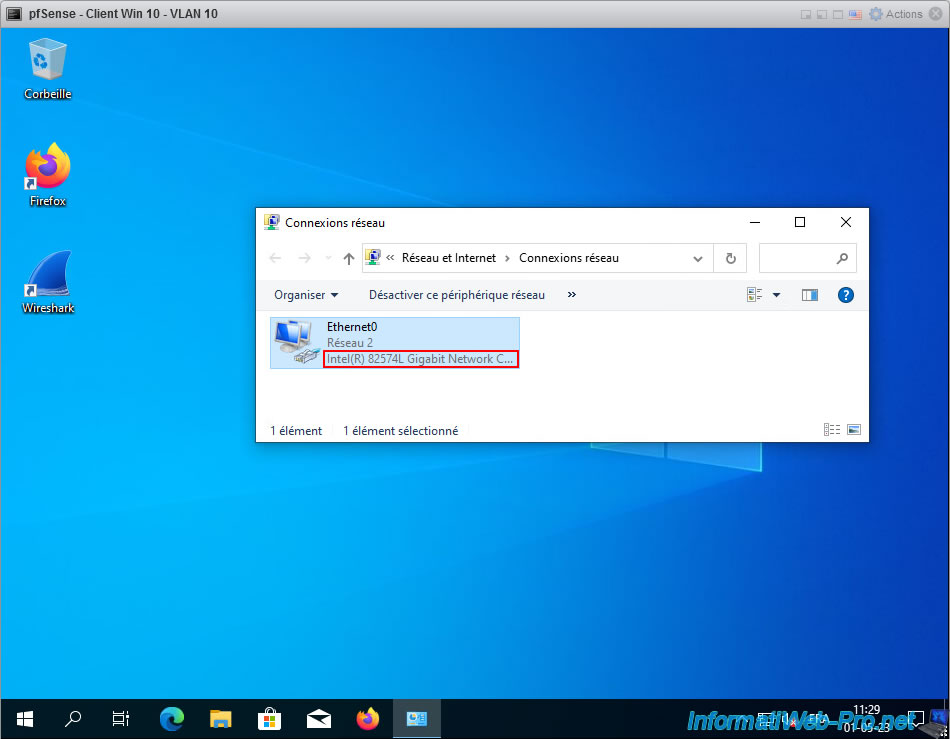
As you can see, for Windows 10 as a guest operating system, VMware emulates an "Intel 82574L Gigabit Network Connection" network card by default.
To fix the problem, simply modify a specific registry key that is linked to the driver of this Intel network card.
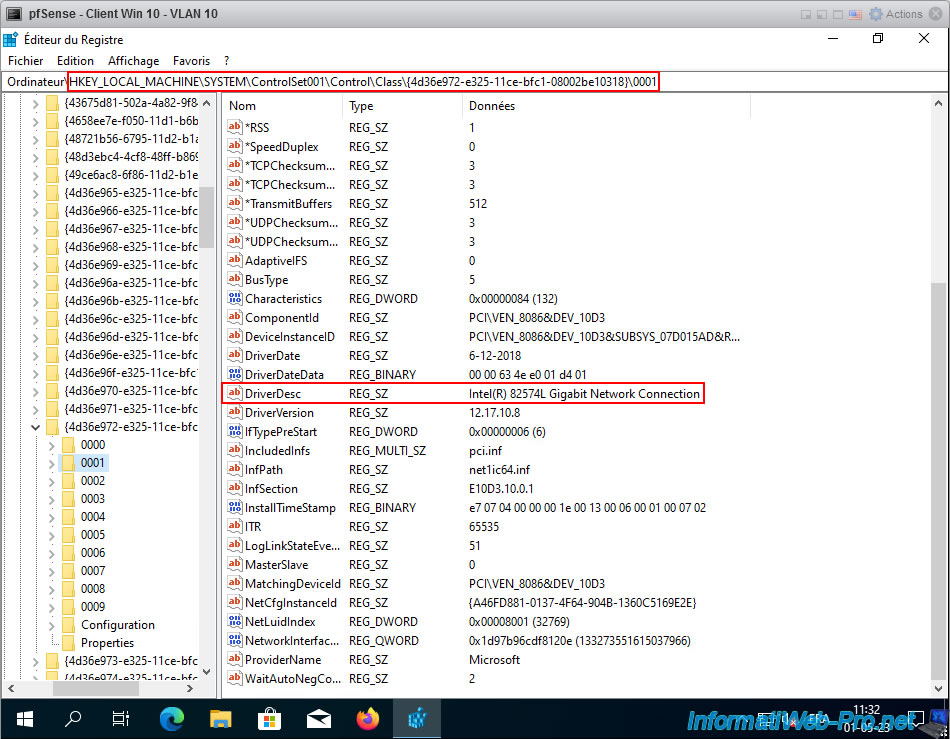
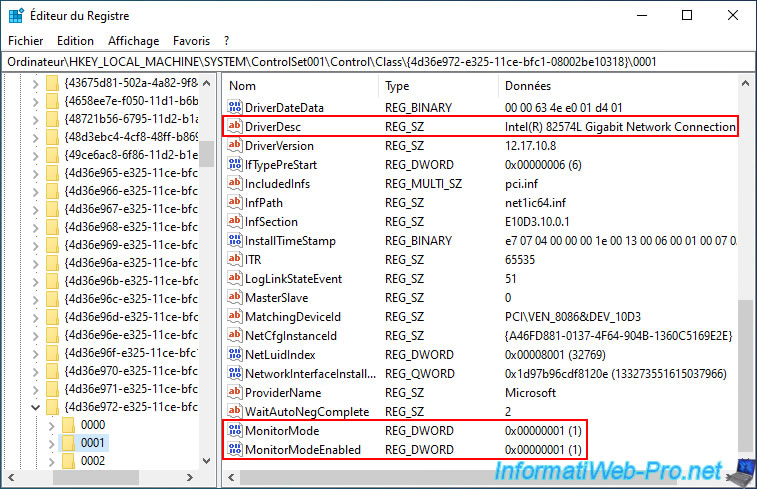
Open the registry and go to the registry key "HKEY_LOCAL_MACHINE \SYSTEM\ControlSet001\Control\Class\{4D36E972-E325-11CE-BFC1-08002BE10318}\00xx".
To find out which folder "00xx" is in your case, look at the driver description (DriverDesc). In our case, it is our Intel(R) 82574L Gigabit Network Connection card.
Warning : editing the registry can be risky if you don't know what you're doing. Especially since it is a registry key linked to a driver in this case.
Improper handling of the registry can prevent your computer from starting or even functioning normally.
The only reason to do this here is that it's the manufacturer telling you what to do for their own driver. There is therefore no risk in this case if you only modify the properties mentioned above.
Source : My Sniffer Isn't Seeing VLAN, 802.1q, or QoS Tagged Frames.
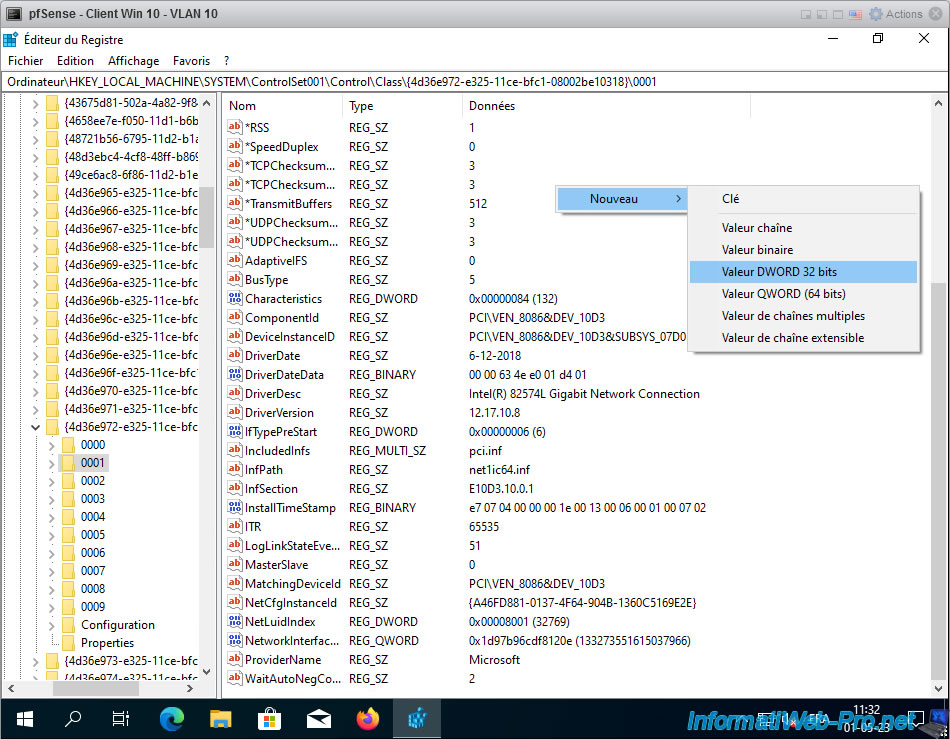
As explained on the Intel website, you must add 2 DWORD values in this registry key.
To do this, right-click in the empty space (on the right) and click: New -> 32-bit DWORD value.
Create these 2 DWORD values, then double-click on them to give them the value 1 each.
- MonitorMode : 1
- MonitorModeEnabled : 1
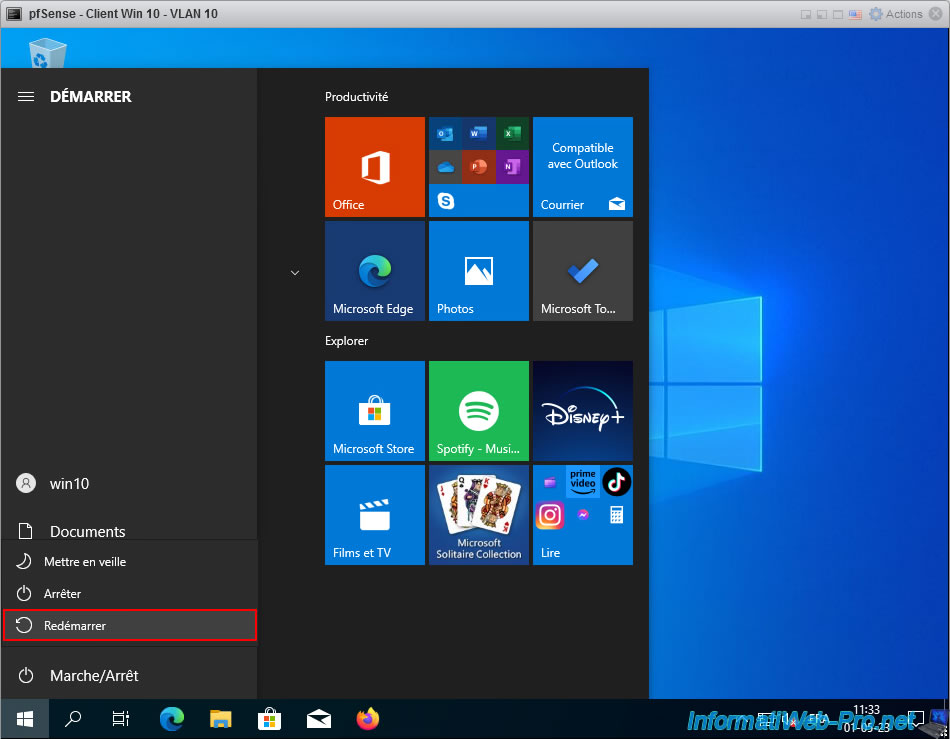
Next, close the Registry Editor and restart your computer for the Intel driver to use these new settings.
13. Capture VLAN IDs using Wireshark
Now that the Intel network card driver is correctly configured, you restart Wireshark and you notice that nothing is displayed in the "Vlan" column.
This is because machines connected to a port with a specific VLAN ID do not receive the corresponding VLAN ID.
In fact, the switch uses it to know who to send network packets to, but the switch sends the packet to the machine WITHOUT the VLAN ID that was there.
It is therefore normal that Wireshark does not see VLAN IDs on machines connected to ports with a specific VLAN ID.
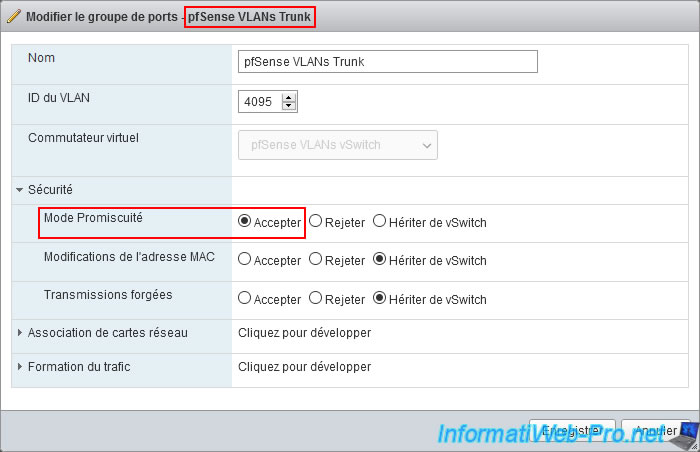
To view VLAN IDs with Wireshark, you must connect a machine to the "pfSense VLANs Trunk" port group.
Indeed, given that all VLAN IDs are accepted on a port in Trunk mode, packets will be transmitted with their respective VLAN ID.
Source : Introduction to port-based VLAN - HPE.
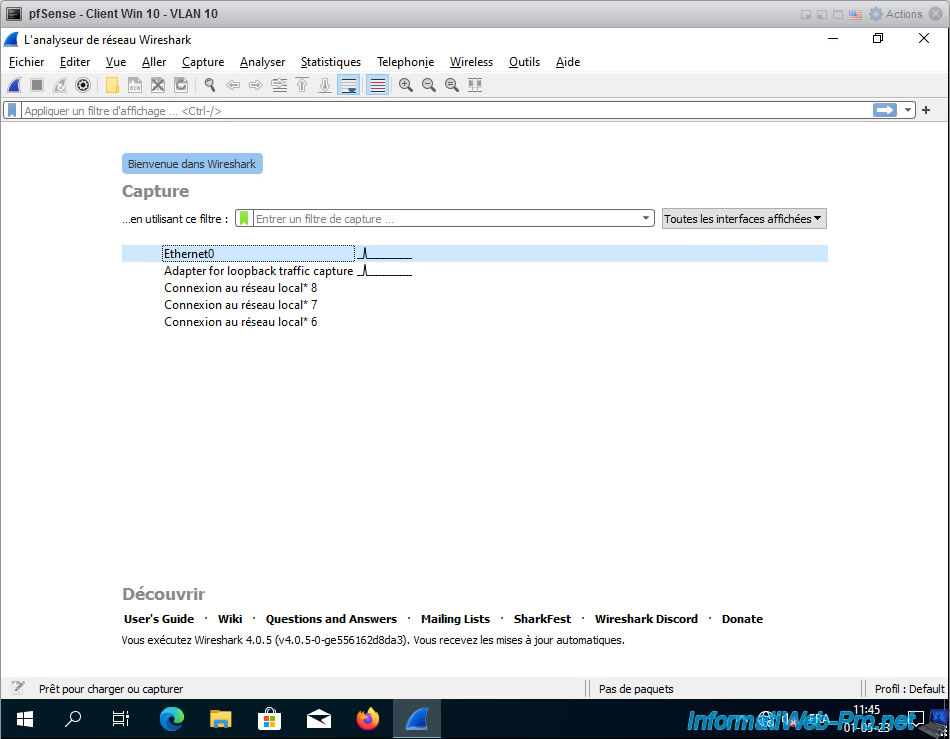
For the example, we will use your machine "Windows 10 Client - VLAN 10" where we installed Wireshark previously.
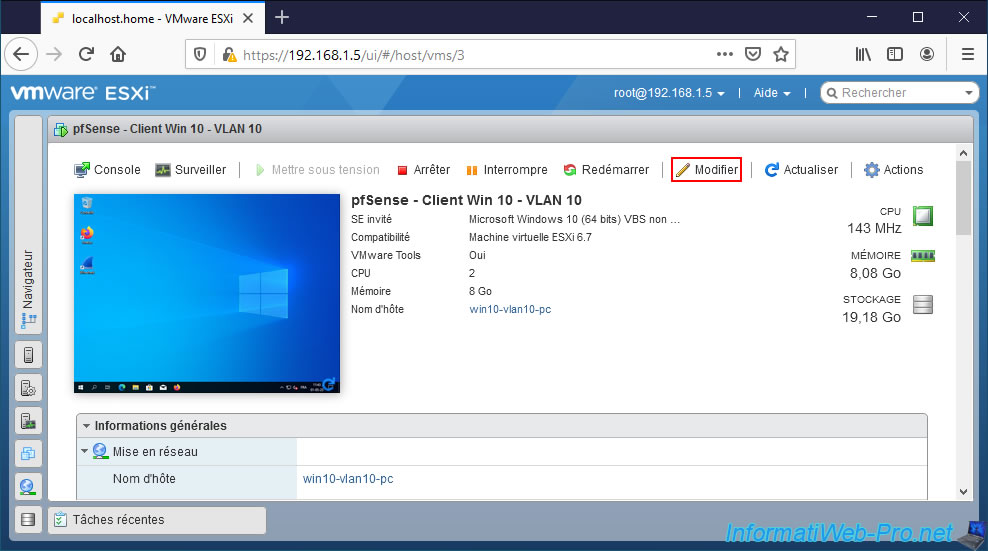
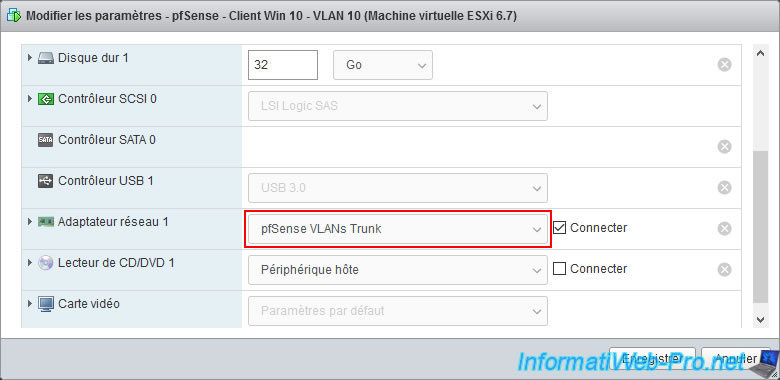
We connect this machine to the "pfSense VLANs Trunk" port group.
As you may notice, Windows will tell you that you do not have network/internet access.
Indeed, your virtual machine will not receive an IP address automatically on this interface.
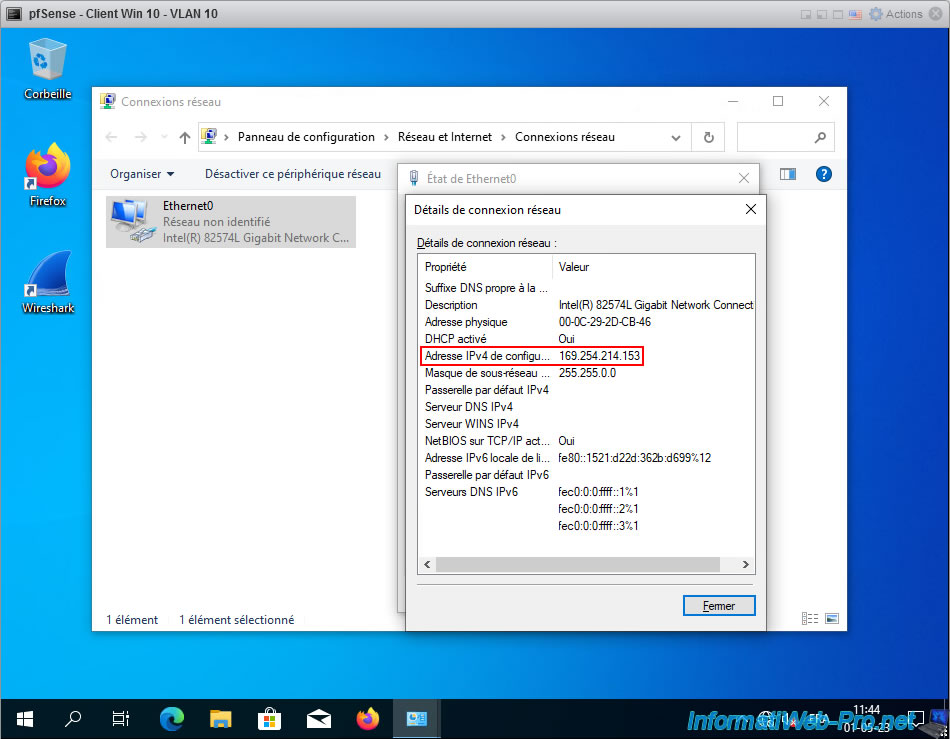
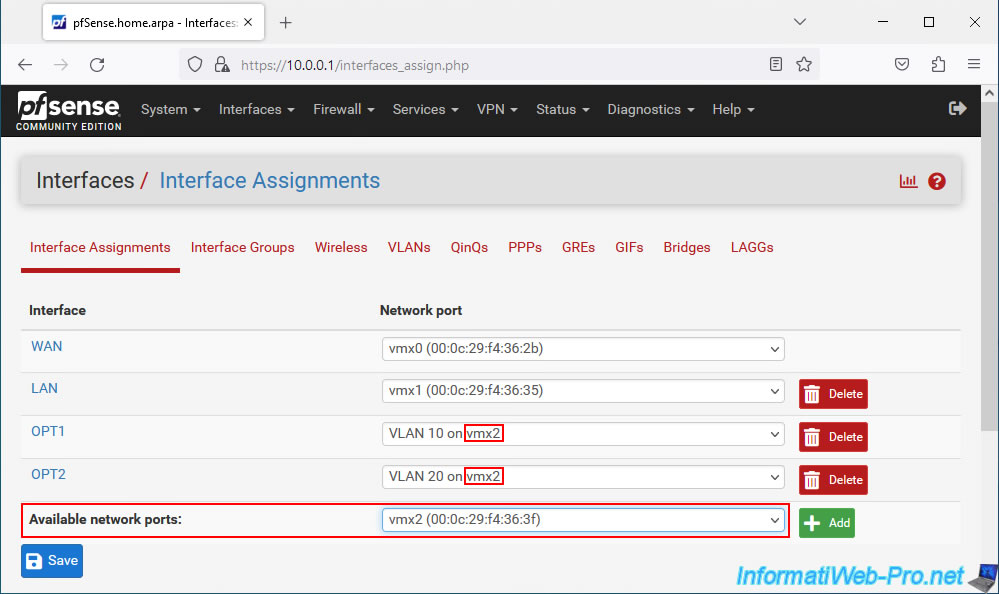
Which is normal since the pfSense physical interface where the VLANs were created is not assigned to a logical interface.
On the other hand, given that the 2 VLANs (VLAN 10 and VLAN 20) are on this "vmx2" interface, Wireshark will be able to see the packets from these VLANs (even if Windows has not received a valid IP address).
Launch Wireshark and double-click on your "Ethernet0" network connection.
To generate packets in Wireshark, disconnect and then reconnect the network card of your virtual machine connected to one of your VLANs.
In our case, the "Win 10 Client - VLAN 20" virtual machine.
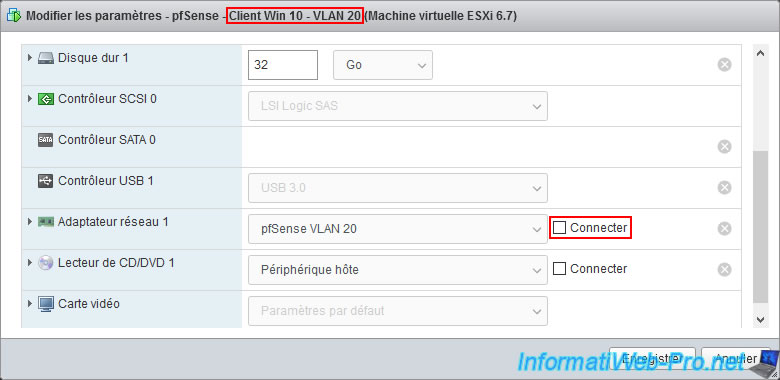
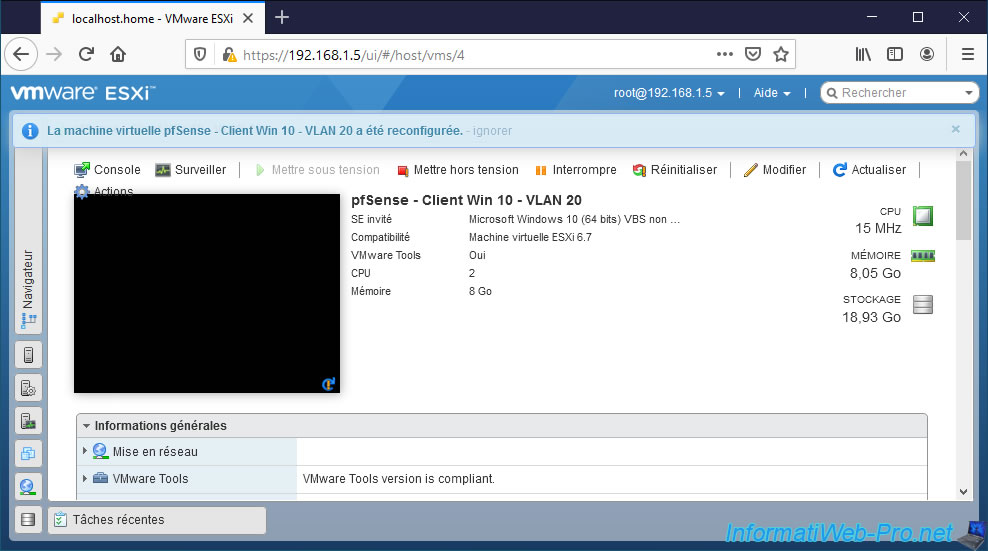
The virtual machine has been reconfigured.
Reconnect its network adapter.
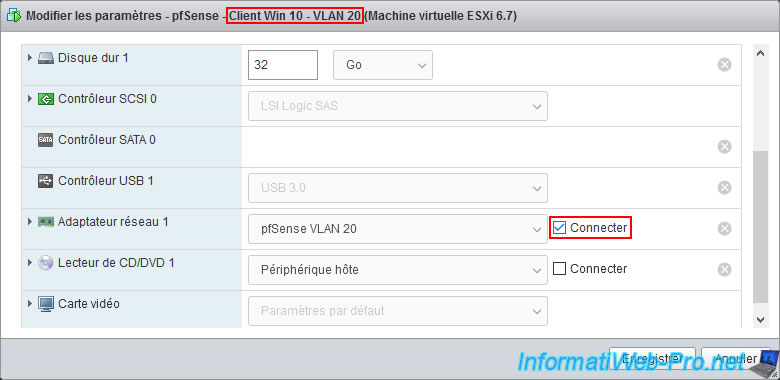
This is simply to generate broadcast easily and since broadcast packets are sent to all machines on the network, you will see packets with VLAN IDs appear in Wireshark.
As you can see, in our case, many broadcast packets for machines in VLAN 20 appear.

Note that by default, only broadcast packets appear in Wireshark.
To also see packets specific to machines in your VLANs appear, such as packets using the TCP protocol, ... you must enable promiscuous mode on the "pfSense VLANs Trunk" port group where your machine with Wireshark is located.
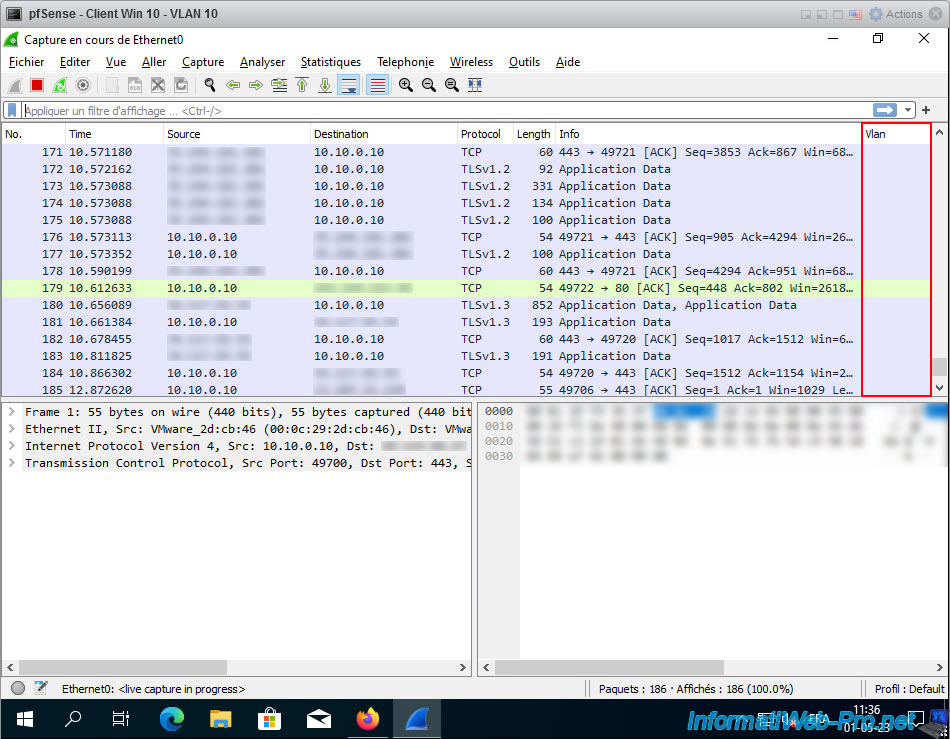
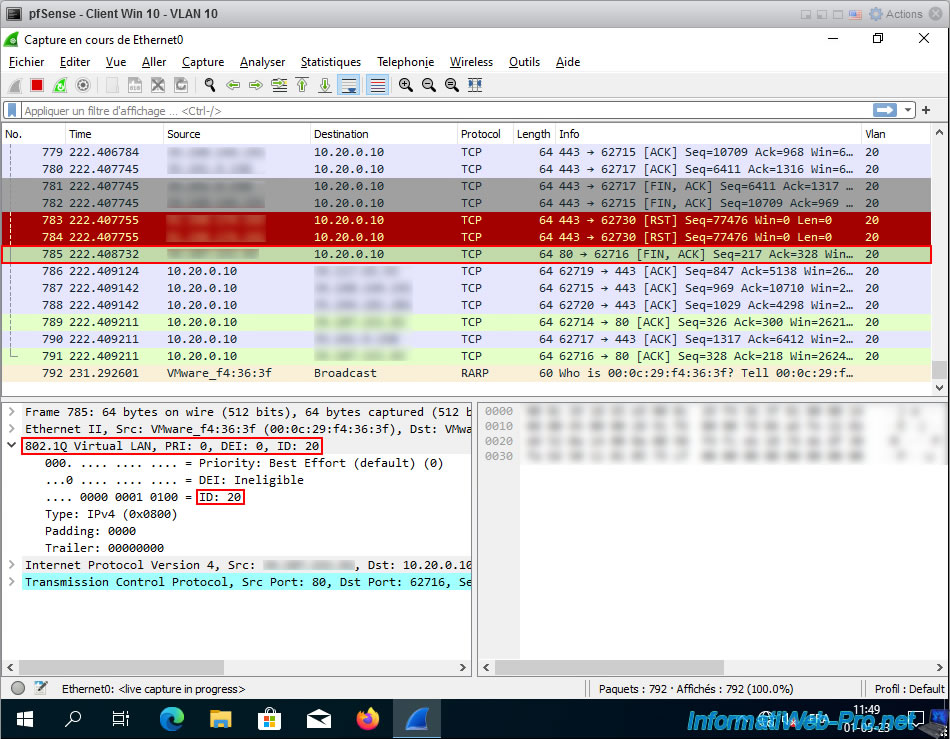
This time, you will also see packets appear for the TCP protocol specifically targeting your virtual machines present on your VLANs.
If you select a row where a VLAN ID appears in the "Vlan" column, you will see that an "802.1Q Virtual LAN" section has appeared at the bottom left.
If you deploy it, you will be able to see the Priority and ID of the VLAN concerned by this packet.
14. Restore the connection of your machine connected to a VLAN
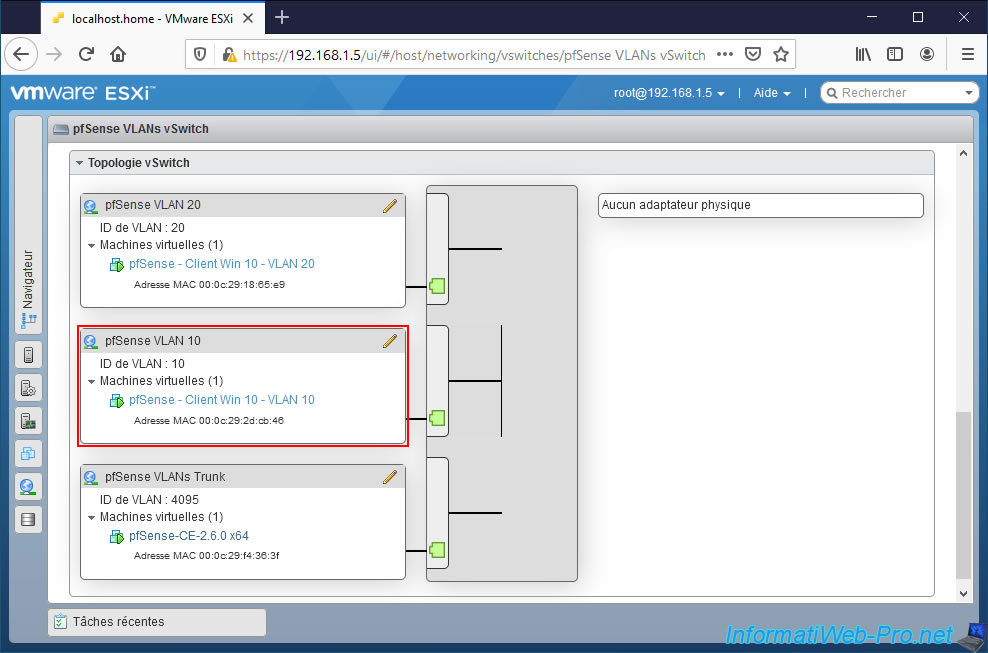
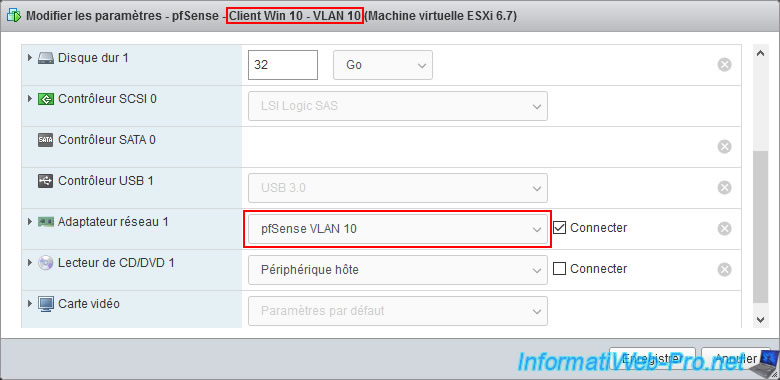
Now that this demonstration is complete, don't forget to reconnect your virtual machine with Wireshark on the correct VLAN.
In our case, this is our virtual machine "pfSense - Client Win 10 - VLAN 10".

We reconnect this virtual machine to our "pfSense VLAN 10" port group.
Share this tutorial
To see also
-
Firewall 9/3/2025
pfSense 2.6 - Create a site-to-site (S2S) VPN tunnel via IPsec
-
Firewall 9/12/2025
pfSense 2.6 - Create a site-to-site (S2S) VPN tunnel via OpenVPN secured with shared key (PSK)
-
Firewall 6/4/2025
pfSense 2.6 - DNS resolution
-
Firewall 6/20/2025
pfSense 2.6 - NAT (port forwarding)
No comment