Installation and overview of the SafeNet Authentication Client (SAC) middleware to manage your smart cards
- Articles
- 26 January 2024 at 09:57 UTC
-

- 2/3

3.2. Advanced view
To access the advanced view, click on the 1st icon (on the right) representing a gear.
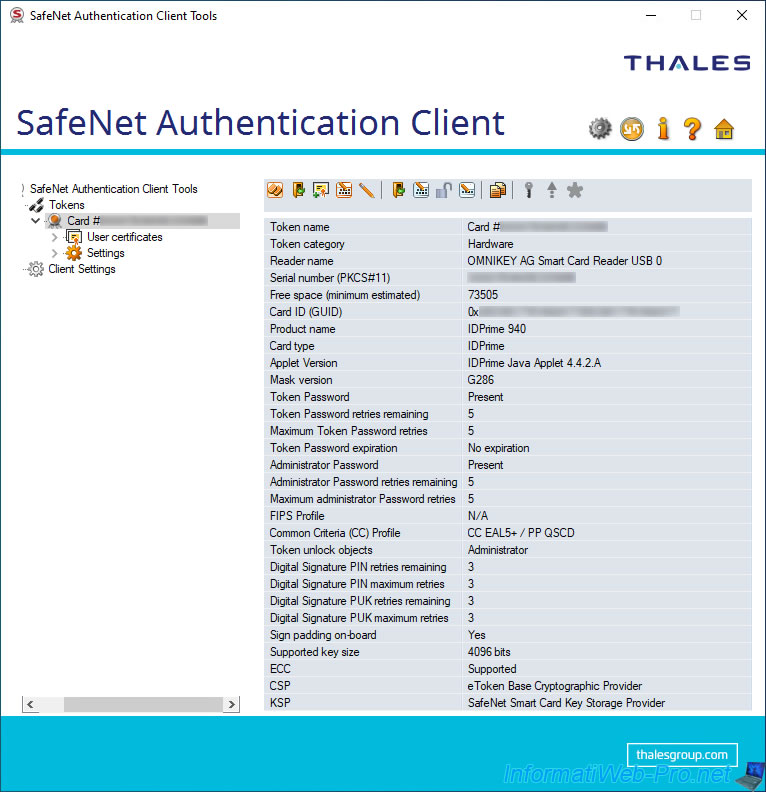
In the advanced view, you will find the following tree structure (on the left) :
- SafeNet Authentication Client Tools : root node.
- Tokens : displays the list of tokens / smartcards currently available on your computer / server.
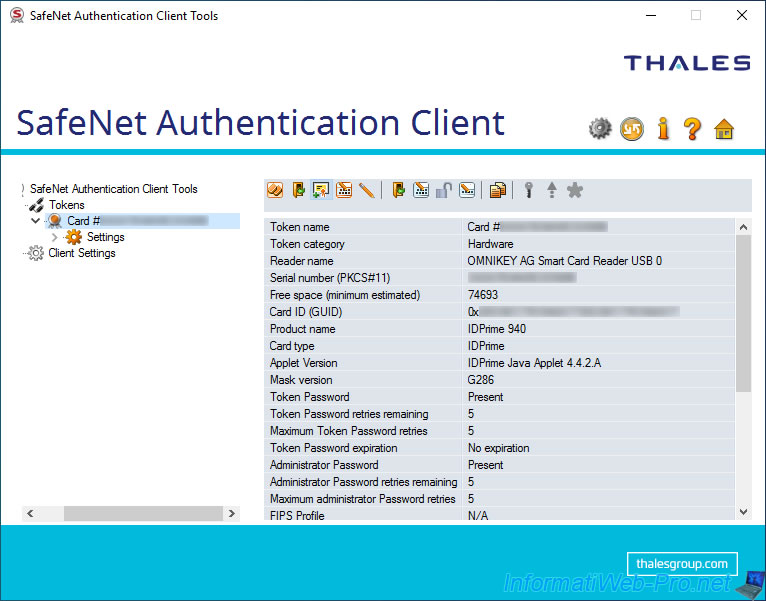
- Card #... : displays a lot of information (as you can see in the image below).
Explanations regarding this information are available above (in step "3.1. View token / smartcard information (View Token Info)" of this tutorial). - User certificates : displays the list of user certificates that you have stored (enrolled) on your token / smartcard.
- Settings : allows you to configure the security settings (size of the PIN code, complexity thereof, ...) for this token / smart card, as well as for its PIN code and digital signature PUK (Digital Signature PIN / PUK).
- Client Settings : allows you to configure the same settings regarding password quality, as well as other system settings.
When you select a token / smartcard, you can see a toolbar (at the top) with several icons :
- Initialize Token : used to initialize a token / smart card.
Which allows you to erase the data of this one, then to reset the name, the user and administrator password (optional, but recommended), ...
This also allows you to use the settings defined by your company.
Important : we strongly recommend that you also set an administrator password (administrator PIN) when initializing the token / smart card, as this will allow you to unlock this token / smart card in the event that the user would have reached the maximum number of failed attempts for the user password (user PIN). - Log On to Token : allows you to manually log in as a user to make changes to the content of your token / smartcard. This will temporarily allow you, for example, to add certificates without having to retype your user password (user PIN code).
Once logged in, the option will be changed to "Log Off from Token" to allow you to log out without having to close this "SafeNet Authentication Client (SAC)". - Import Certificate : allows you to manually import a certificate on your token / smart card from the certificate store of your computer / server or from a file (format : .pfx, .p12 or .cer).
- Change Password : allows you to change the user password (user PIN code) of your token / smart card.
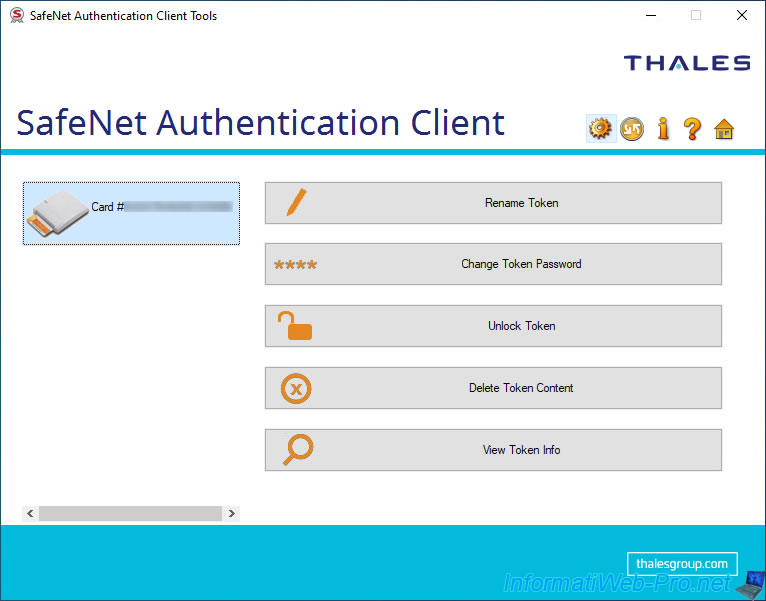
- Rename Token : rename your token / smartcard
- Log On as Administrator : allows you to manually log in as an administrator to unlock the token / smart card and modify certain data on it.
- Change Administrator Password : allows you to change the administrator password (administrator PIN) of the token / smart card.
- Unlock Token : unlocks this token / smart card.
- Set Token Password : allows you as an administrator to set a new user password (user PIN) on this token / smartcard to unlock it.
- Copy to Clipboard : allows you to copy all the data in the table displayed below to the clipboard.
Then, you just need to paste this text into notepad (for example). - Change Digital Signature PIN : allows you to change the digital signature PIN (if you know the current digital signature PIN)
- Change Digital Signature PUK : allows you to change the digital signature PUK code.
- Set Digital Signature PIN : allows you to change the digital signature PIN code using the digital signature PUK code.
This allows you to change this PIN code if you have forgotten it.
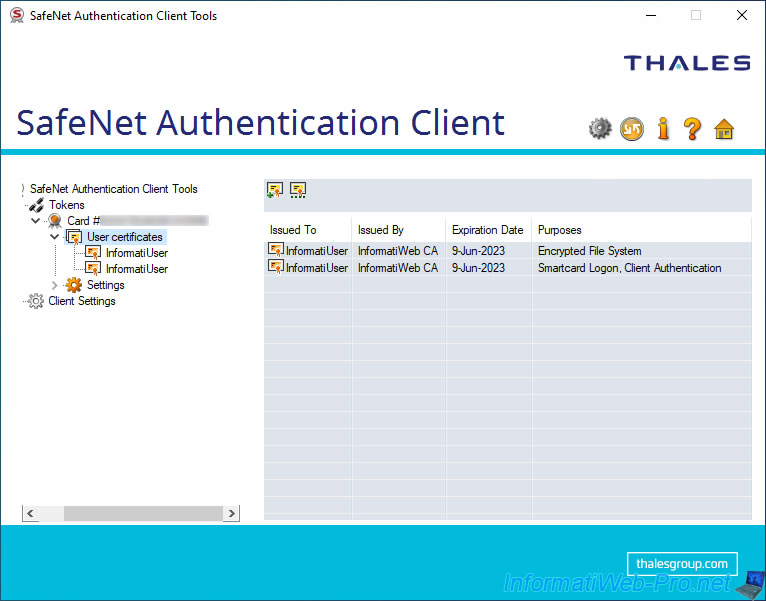
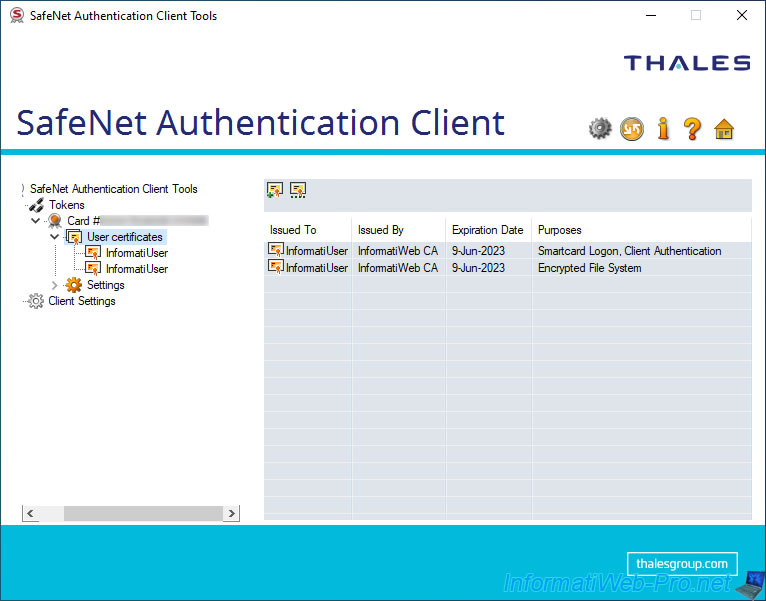
3.2.1. User certificates
If at least one user certificate is on your smart card, a "User certificates" section will appear on the left.
In this section, you will see the list of certificates present on your smart card with :
- Issued To : the name of the user to whom it was issued.
- Issued By : the name of the certification authority that issued this certificate.
- Expiration Date : the expiry date of this certificate.
- Purposes : the policies for applying this certificate.
To display the certificate using the Windows interface (Server), double-click on the desired certificate.

The desired certificate appears.
Typically, you will store at least one user certificate based on the "Smartcard Logon" certificate template for the user to be able to login by smart card to a computer or server in your company.
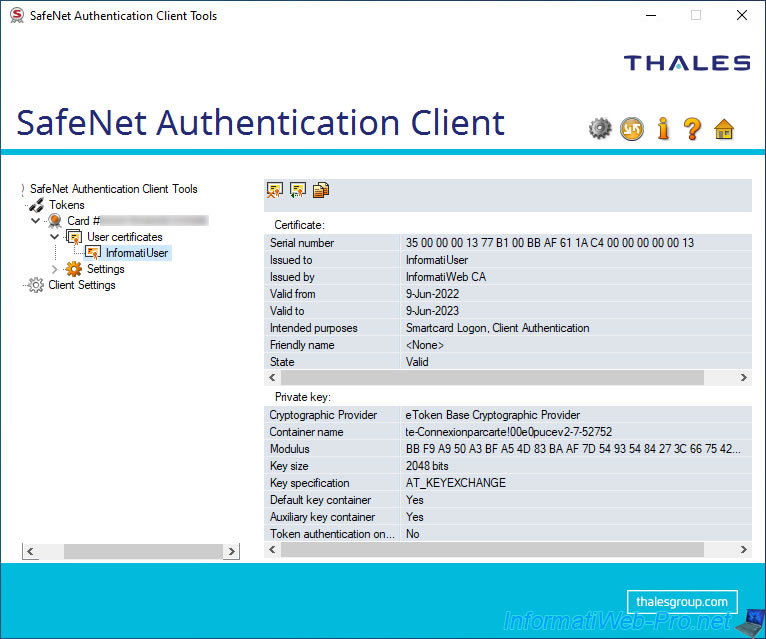
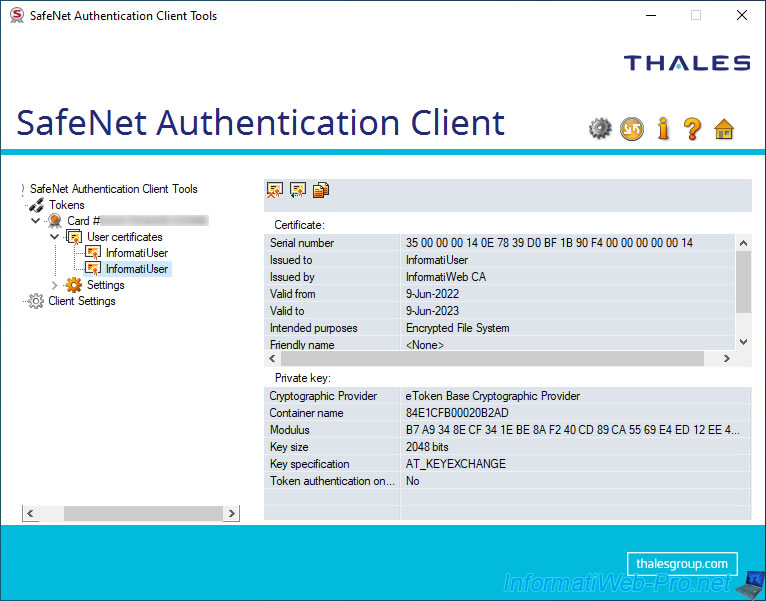
If you select the desired certificate on the left, SafeNet Authentication Client (SAC) will show you some information about it and its associated private key.
For the certificate, you will find :
- Serial number : the serial number present in this certificate.
- Issued to : the user to whom this certificate was issued.
- Issued by : the certification authority that issued this certificate.
- Valid from : the date of issue (creation) of this certificate.
- Valid to : the expiry date of this certificate.
- Intended purposes : the application policies of this certificate.
- Friendly name : the friendly name defined in this certificate (if there is one) or "<None>" otherwise.
- State : indicates whether the certificate is valid or not.
For the private key associated with this certificate, you will find :
- Cryptographic Provider : the cryptographic service provider used.
- Container name : the name of the certificate template used when issuing the certificate.
- Modulus : integer name defining the size of the RSA key to use.
Usually this is a very large number (the size of which is shown below). - Key size : used key size.
- Key specification : this identifies how the key can be used.
- Default key container : indicates whether the default key container is used or not.
- Auxiliary key container : indicates whether the auxiliary key container is used or not.
- Token authentication on application request : indicates whether the new RSA private keys will be protected by the token/smartcard password or not.
In the toolbar at the top, you will find several icons allowing you to :
- Delete Certificate : remove this certificate from your token / smart card.
Warning : this will also delete this certificate and its associated private key in the "Personal" certificate store of your computer / server without asking you. - Export Certificate : export only the certificate in ".cer" format.
Warning : even if the private key is present on your token / smart card, it will not be exported. Hence the fact that SAC uses the ".cer" format. - Copy to Clipboard : allows you to copy the information about the certificate and its private key (visible here) to the clipboard.
Then, you can paste this text into notepad (for example).
3.2.2. Manually import a certificate to your token/smartcard from your computer/server's certificate store
Although you can automatically enroll a smart card login certificate using the Windows (Server) "mmc" console, you can also manually add certificates to your smart card from the SafeNet Authentication Client (SAC).
Indeed, a smart card is not only used for connection to a computer or server.
It can also contain several certificates of different types. This allows a user to transport their own certificates securely without them being lost when formatting a computer in your company (for example).
To import a certificate on your token / smart card, select your token / smart card on the left, then click on the 3rd icon (Import Certificate).
If at least one user certificate is on your token / smart card, you can also go to the "User certificates" section (on the left) and click on the 1st icon (Import Certificate) on the right.

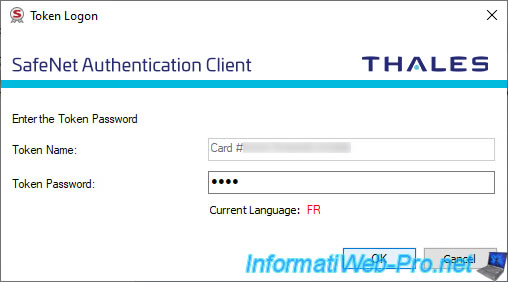
Indicate the user password (user PIN code) of your token / smart card (if SAC asks you for it).
By default, this password is "0000" for IDPrime smart cards and "1234567890" in most cases for SafeNet eTokens.
Note : once the password has been validated, SAC will remain logged in as a user on this token / smart card.
To log out without closing SAC, all you have to do is select your token / smartcard (on the left), then click on the 2nd icon (Log Off from Token).
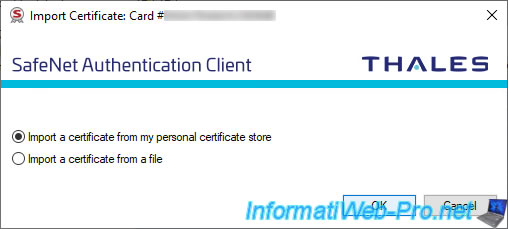
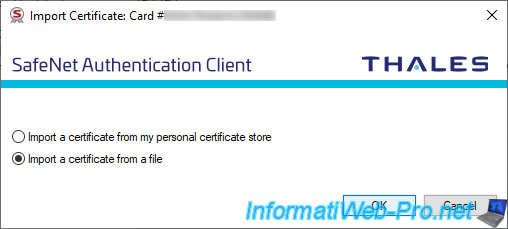
As you can see, SafeNet Authentication Client (SAC) allows you to :
- Import a certificate from my personel certificate store : import a certificate from the "Personal" certificate store of the computer or server where you are currently located.
- Import a certificat from a file : import a certificate from a file (pfx, p12 or cer).
Select the "Import a certificate from my personel certificate store" option.
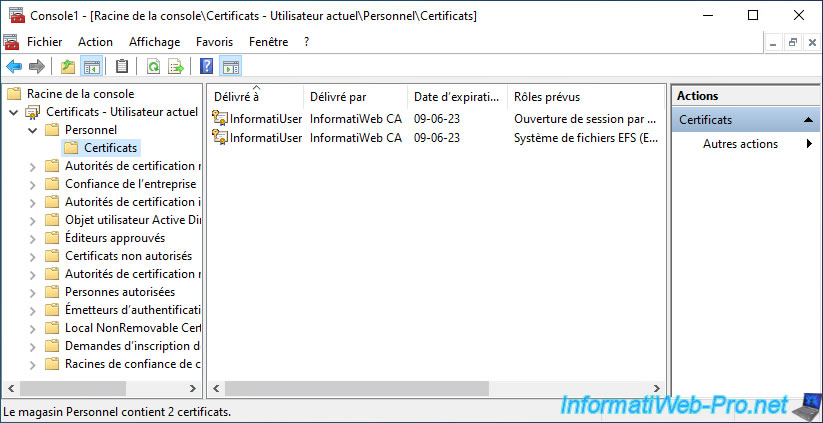
In our case, our "InformatiUser" user has 2 certificates :
- the 1st allows him to connect to a computer or a server of our company with his smart card.
The intended role is "Smart Card Logon". - the 2nd allows it to encrypt files thanks to the EFS file system natively supported by Windows (Server).
The intended role is "Encrypting File System" (EFS).
The user certificate(s) available in your "Personal" certificate store appear.
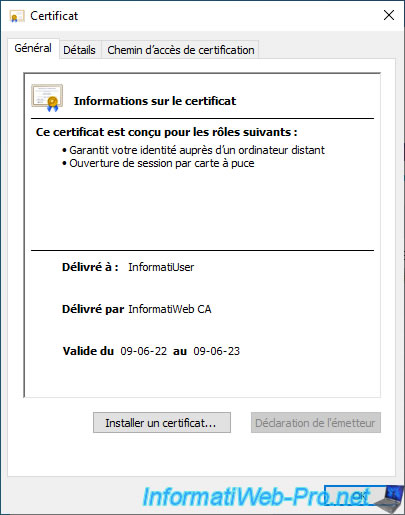
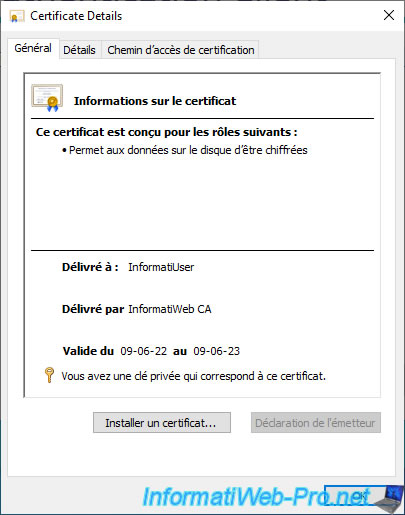
To see more information about the proposed certificate, click "Click here to view certificate properties".
In our case, we can see that the certificate displayed by SAC corresponds to the one allowing the data on the disk to be encrypted.
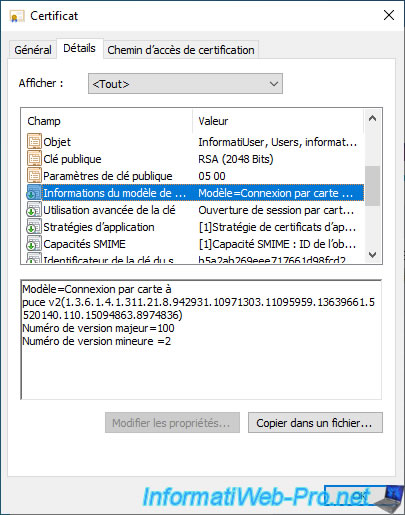
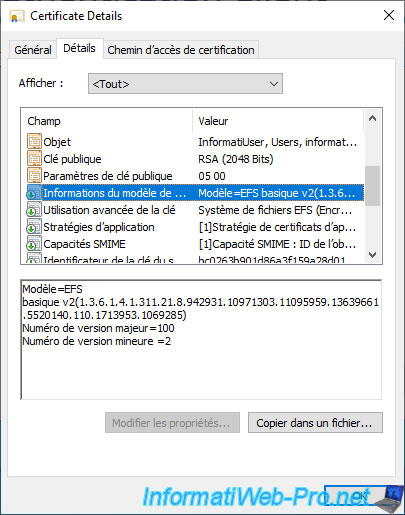
If we go to the "Details" tab and select the "Certificate Template Information" field, we can see that this certificate is based on the "Basic EFS" certificate template.
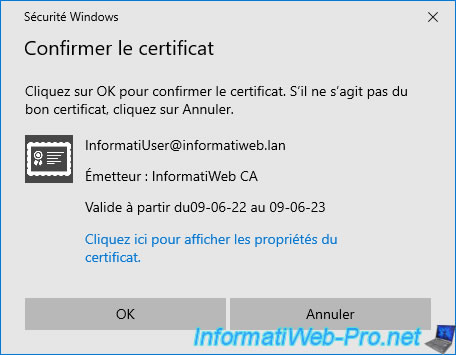
Click OK in the "Confirm Certificate" window to select this certificate.
The "Certificate was imported successfully" message appears.
The imported certificate appears in the "User certificates" section of the SafeNet Authentication Client (SAC).
3.2.3. Manually import a certificate on your token / smart card from a file (.pfx, .p12 or .cer)
Thanks to SafeNet Authentication Client, you can also manually import a certificate on your token / smart card from a file (.pfx, .p12 or .cer).
To do this, click on the "Import Certificate" icon (visible by selecting your token / smart card, as well as in the "User certificates" section).

Select the "Import a certificate from a file" option to import a certificate from a file and click OK.
Note : if the "token password" is requested, specify the user password of your token / smart card.
By default, this is "0000" for IDPrime smart cards and "1234567890" for SafeNet eTokens.
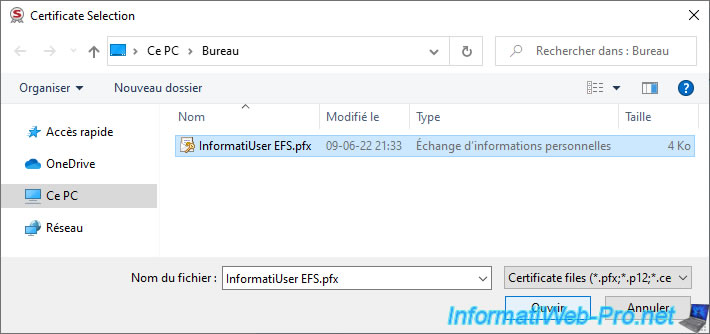
Select the desired certificate file and click Open.
Note : supported formats are : .pfx, .p12 and .cer.
Specify the password protecting the private key present in your PFX or P12 certificate, then click OK.
Note : for ".cer" certificates, this will not be displayed since there is no private key and therefore no password to protect it.

The "Certificate was imported successfully" message appears.
The desired certificate has been imported.
If you select the desired certificate on the left, you can get some information about it.
Share this tutorial
To see also
-

Articles 9/8/2023
What is encryption and how does it work ?
-
Windows Server 12/29/2023
WS 2016 - AD CS - Backup and restore a certificate authority (CA)
-

Windows Server 1/19/2024
WS 2016 - AD CS - Buy smart cards and log in via them
-
Windows Server 1/5/2024
WS 2016 - AD CS - Create a recovery agent to recover certificates
No comment