Installation and overview of the SafeNet Authentication Client (SAC) middleware to manage your smart cards
- Articles
- 26 January 2024 at 09:57 UTC
-

- 3/3
3.2.4. Manually import a certification authority (CA) certificate to your token/smartcard
With SafeNet Authentication Client (SAC), you can also store CA certificates on your token / smartcard.
This makes it easier to verify the certificates on your token / smart card, as well as those used in your company.
To do this, select your token / smart card (on the left) or go to the "User certificates" section (if present) and click on the "Import Certificate" icon (at the top).
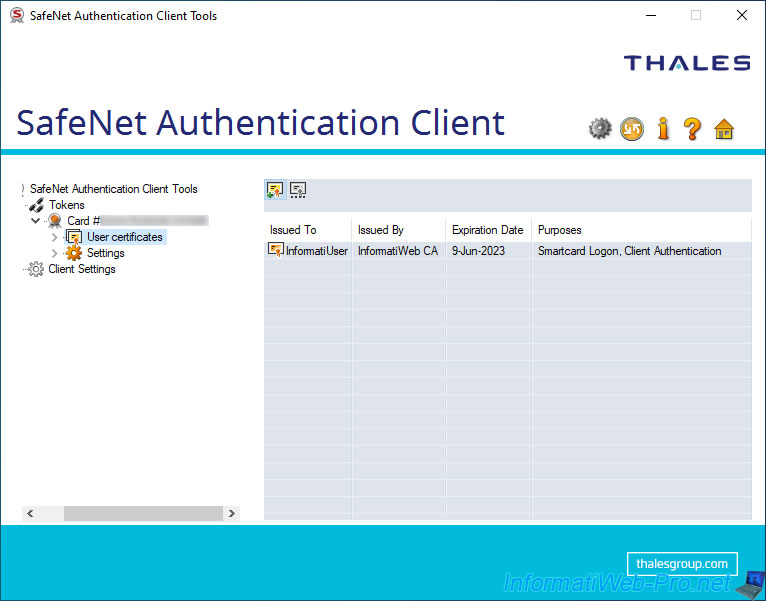
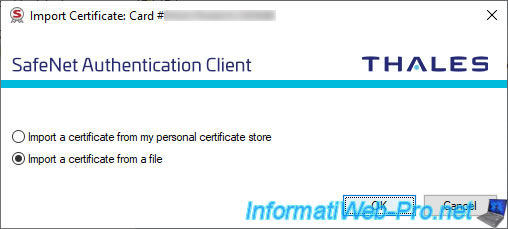
Choose whether you want to import the public certificate (".cer" format) of your certification authority from the certificate store of your computer or server or from a file.
In our case, we are going to import it to our smart card from a file. So, we select "Import a certificate from a file".
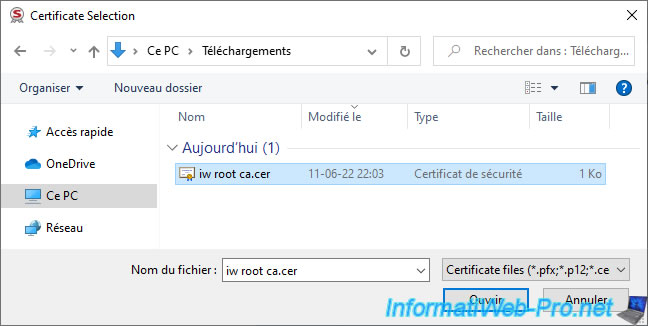
Select your CA's public certificate.
In our case, we had previously exported it in ".cer" format.
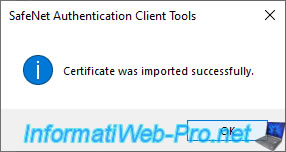
Wait a few seconds while this certificate is writed on your token / smart card, then the message "Certificate was imported successfully" will appear.
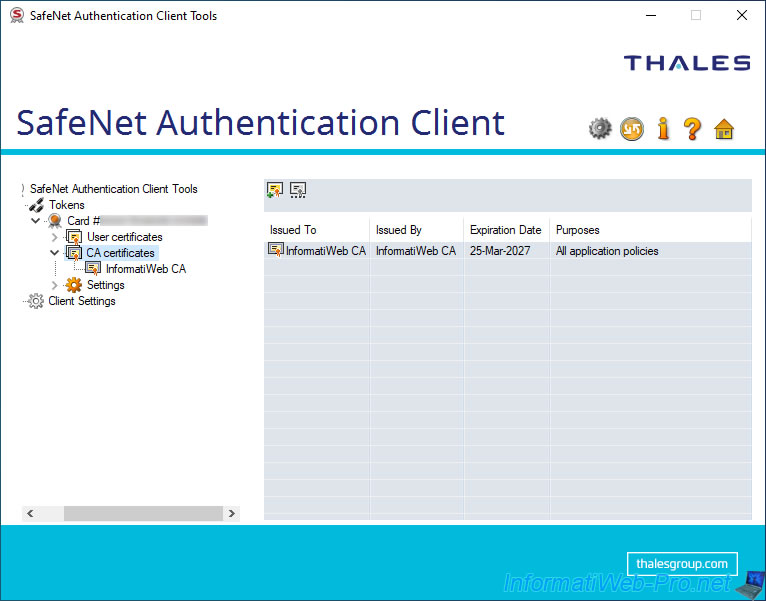
Once your CA certificate is imported, a new "CA certificates" section.
If you select this "CA certificates" section, you will see the list of certification authority (CA) certificates present on your token / smart card with :
- Issued To : the name of the certification authority to which this certificate was issued.
- Issued By : the name of the CA that issued this CA certificate.
In the case of a root certification authority, the name is identical in the 2 columns (Issued To / Issued By).
But not in the case of a secondary CA since the certificate of this CA will have been issued by a parent CA (root or secondary). - Expiration Date : the expiration date of this CA certificate.
- Purposes : the application policies of this certificate.
In the case of a CA certificate, you will see the value "All application policies".
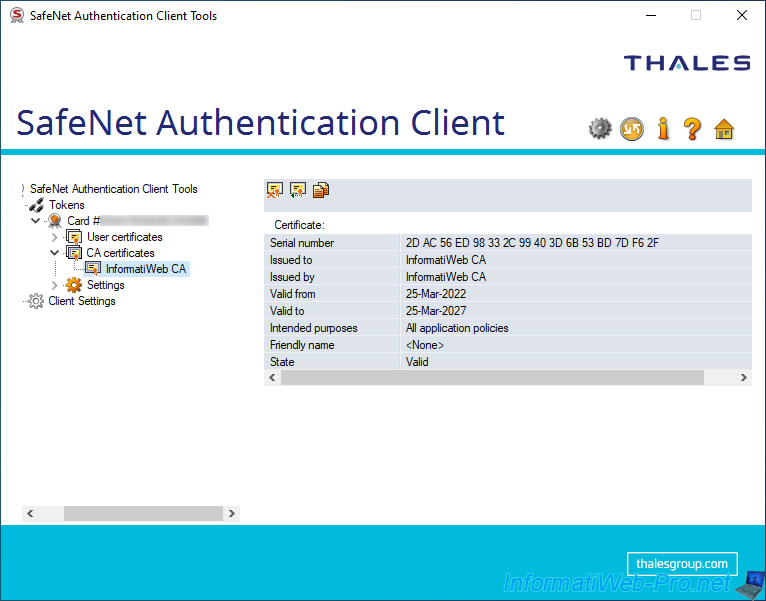
If you select this CA certificate (on the left), SafeNet Authentication Client (SAC) will show you some information about it :
- Serial number : the serial number present in this certificate.
- Issued to : the name of the certification authority that issued this certificate.
- Issued by : the name of the certification authority to which this certificate was issued.
- Valid from : the date of issue of this certificate.
- Valid to : the expiry date of this certificate.
- Intended purposes : the application policies of this certificate.
- Friendly name : the friendly name defined in this certificate (if present).
- State : indicates whether this certificate is valid or not.
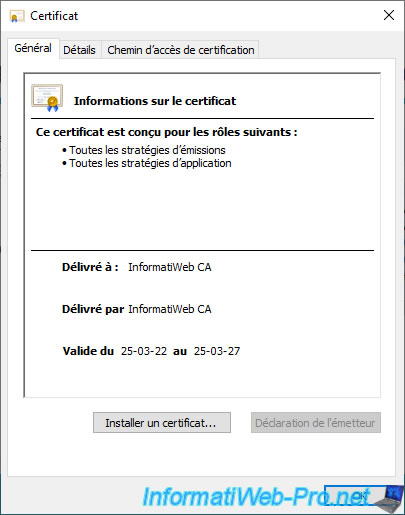
If you double-click on the certificate displayed by SafeNet Authentication Client (SAC), you will see it with the usual Windows interface.
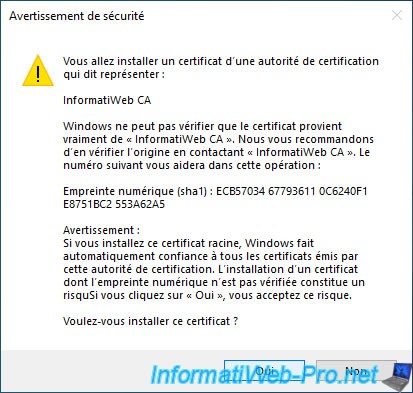
Note that as long as you store CA certificates on your token/smartcard, SafeNet Authentication Client (SAC) is configured to automatically import them into your computer's or server's certificate store when you connect your token (or that you insert your smart card into the smart card reader).
Which will cause a security warning to appear if the CA certificate is not yet part of the trusted CAs of your computer or server.
In this case, you will only have to click on "Yes" to confirm the import of this certificate into the certificate store of your computer or server.
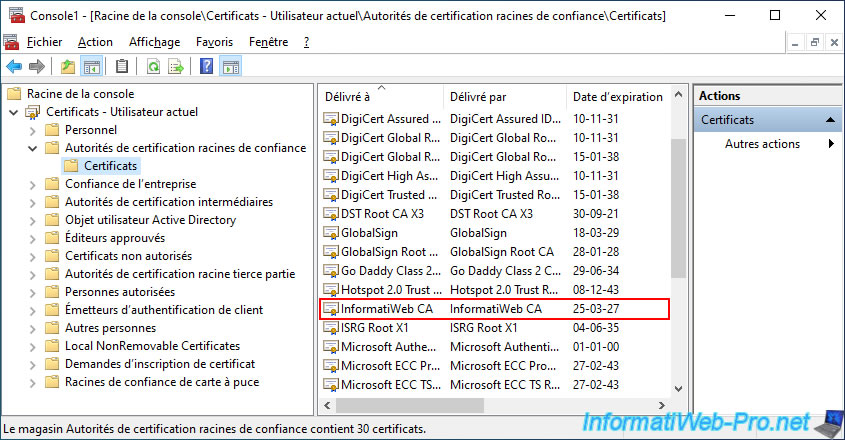
As expected, your CA certificate is now one of the trusted CAs for the current user.
3.2.5. Delete a certificate stored on your token / smart card
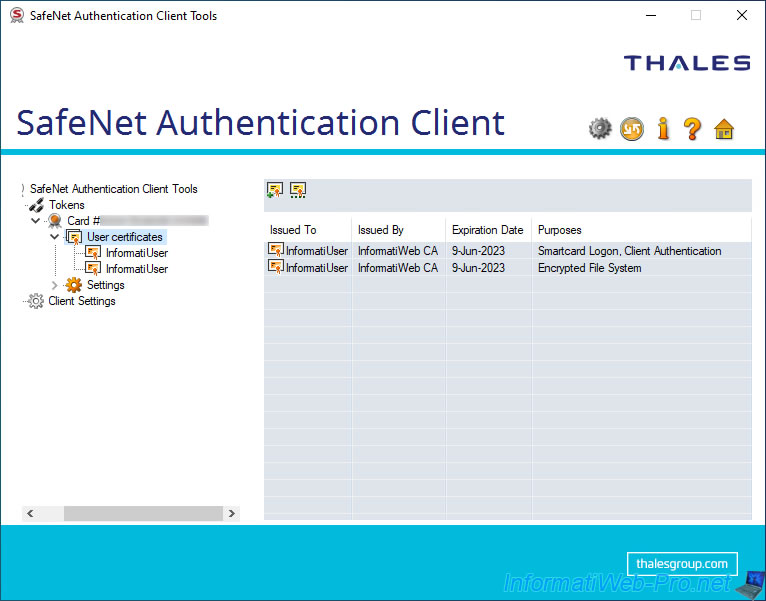
As you can see, in our case, we have 2 user certificates on our smart card :
- 1 for smart card logon
- 1 for file encryption via EFS
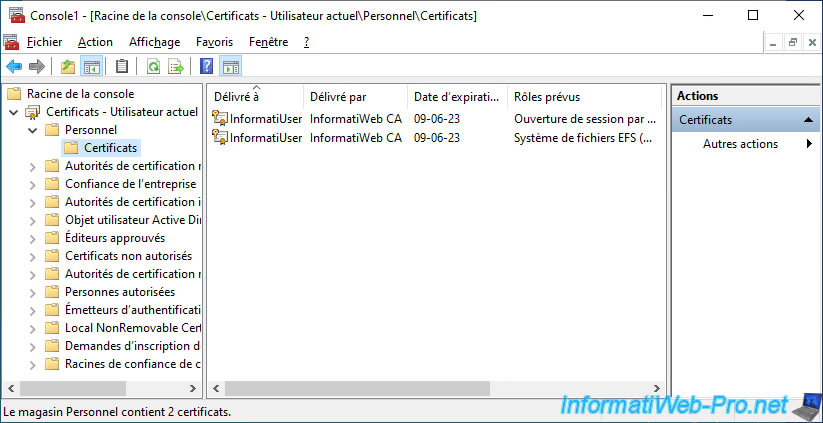
If we look at the contents of our computer's certificate store, we can see that we also have these same certificates.
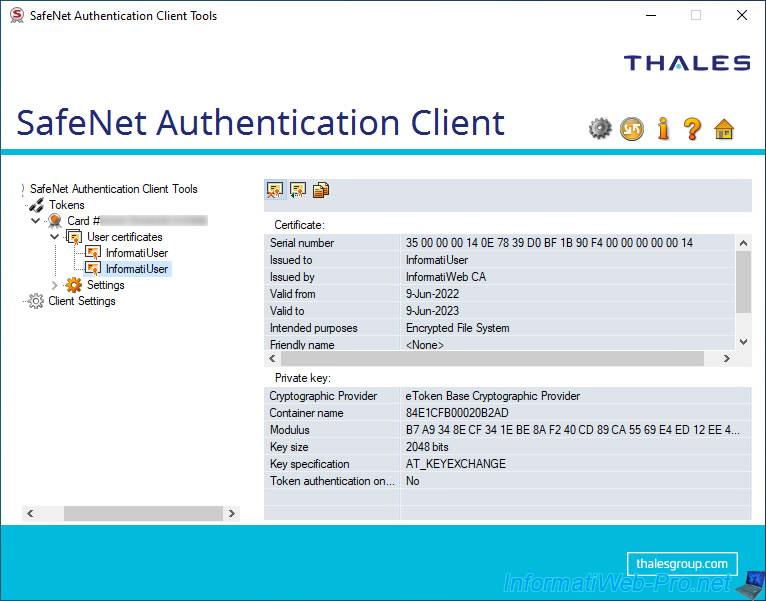
To delete a certificate from your token / smart card, select this certificate on the left and click on the 1st icon (Delete Certificate) on the right.
Warning : when you delete a certificate from your token / smartcard from SafeNet Authentication Client (SAC), the corresponding certificate present in the "Personal" certificate store of your computer or server will also be deleted transparently without SafeNet Authentication Client (SAC) notifies you.
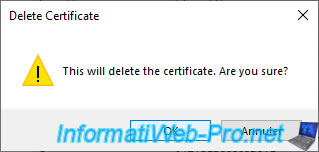
The "This will delete the certificate. Are you sure?" warning appears.
Click OK.
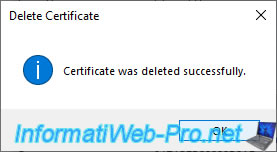
The "Certificate was deleted successfully" message appears.
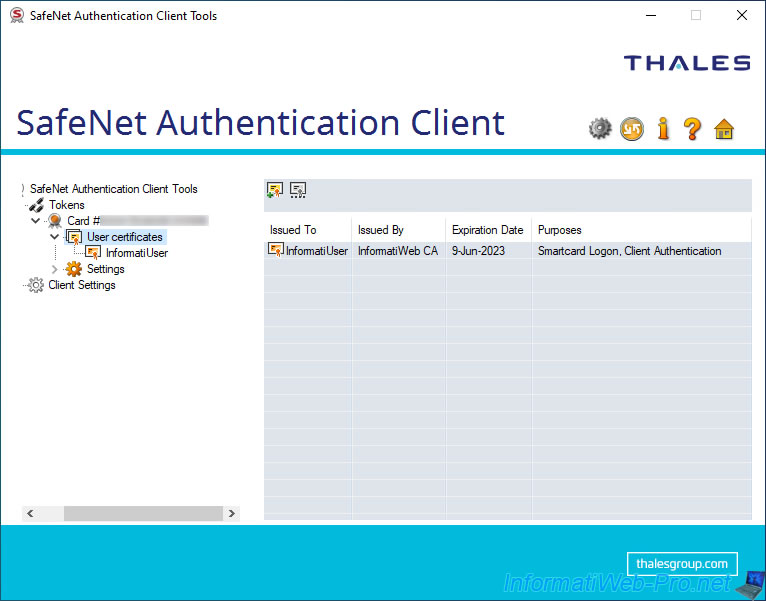
The deleted certificate disappears from the list of certificates of your token / smart card.
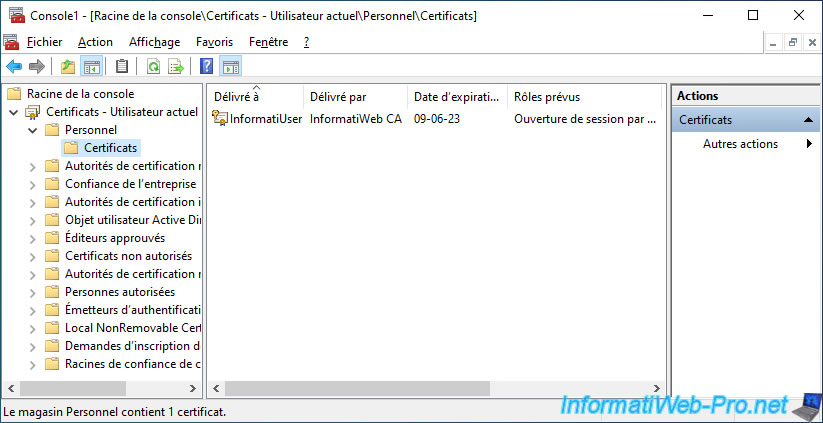
Important : as you can see, the corresponding certificate has also been transparently deleted from the "Personal" certificate store of your computer / server.
Which means you have also lost the private key associated with this certificate. Unless you have enabled certificate archiving on your certification authority (which is not the case by default). (TUTO ad-cs-agent-recup)
3.2.6. Settings regarding the different PIN codes
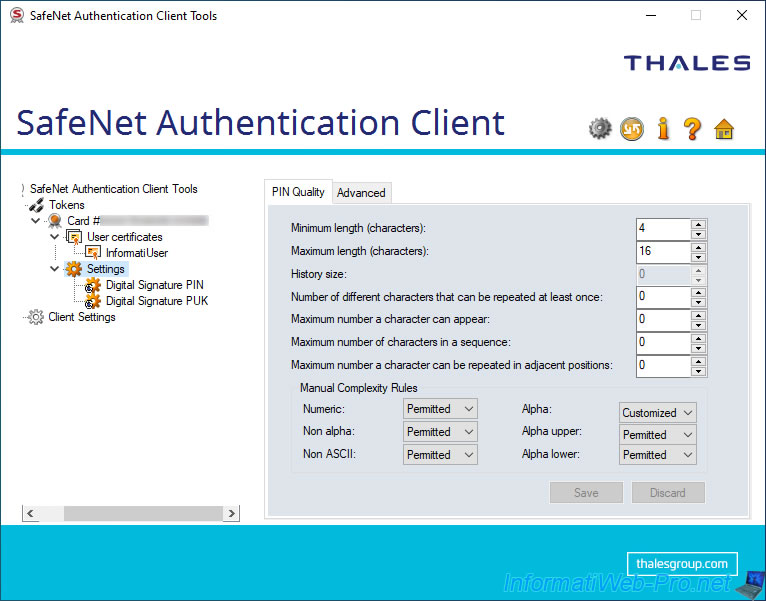
In the "Settings" section of the SafeNet Authentication Client, if you select the "PIN Quality" tab, you will be able to :
- Minimum length (characters) : minimum PIN code size.
This value must be between 4 and 64 for the local PIN code and 4 to 16 for the global PIN code. - Maximum length (characters) : maximum PIN code size.
The same restrictions apply and the value indicated here must obviously be equal to or greater than the minimum size indicated previously. - History size : number of old PIN codes that will be stored in memory by your token / smart card to prevent the user from reusing the same one too often when changing their PIN code.
This value must be between 0 (no history) and 10. - Number of different characters that can be repeated at least once : the number of different characters that can be repeated at least once in the PIN code.
- Maximum number of times a character can appear : maximum number of times a character can appear in the PIN code.
- Maximum number of characters in a sequence : maximum length of character sequences.
- Maximum number of times a character can be repeated in adjacent positions : maximum number of times characters can be adjacent.
- Manual Complexity Rules : allows you to customize PIN code complexity rules.
- Numeric : numbers.
- Non alpha : characters that are not letters. Which allows special characters, for example.
- Non ASCII : characters that are not ASCII characters. However, this can potentially be a problem since these are not "normal" (usual) characters.
- Alpha : letters from A to Z.
- Alpha upper : capital letters.
- Alpha upper : lowercase letters.
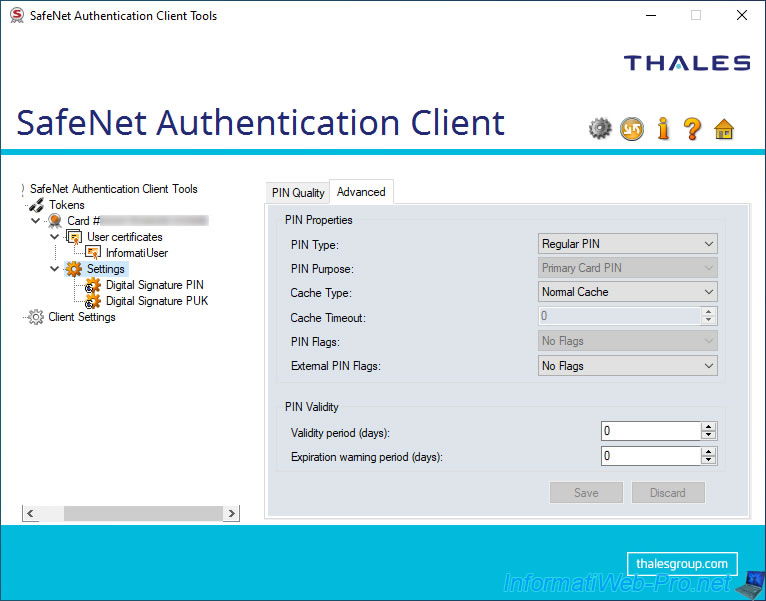
In the "Advanced" tab of the "Settings" section, you can configure settings concerning the properties (PIN Properties) and the validity (PIN Validity) of the PIN code for this token / smart card :
- PIN Type : "Regular PIN" allows you to specify the PIN code using the keyboard and "External PIN" allows you to specify it using an external keyboard (eg that of your card reader, if possible).
- PIN Purpose : indicates what the purpose of the PIN code is (for information only).
In this case : Primary Card PIN. Meaning that these settings regarding the master PIN of this smart card. - Cache Type : allows you to choose which type of cache to use.
Possible values : Normal Cache, Timed Cache (Minidriver), No Cache (Minidriver), Always Prompt. - Cache timeout : if you select "Timed Cache (Minidriver)", this box will enable and allow you to set the cache timeout.
- PIN Flags : used for backward compatibility reasons only.
Possible values : No Flags and Required Security Entry. - External PIN Flags : allows you to choose how the PIN code can be specified (via your keyboard or via that of the smart card reader used).
- Validity period (days) : duration in days during which the PIN code is valid. 0 = no expiration.
Then, it will need to be changed. This makes it possible to force the user to change his PIN code regularly for security reasons.
You can also improve the security by also using the "History" setting available in the "PIN Quality" tab to prevent the user from reusing the same PIN codes too often. - Expiration warning period (days) : set the number of days before PIN expiration that a warning will be displayed about future PIN expiration.
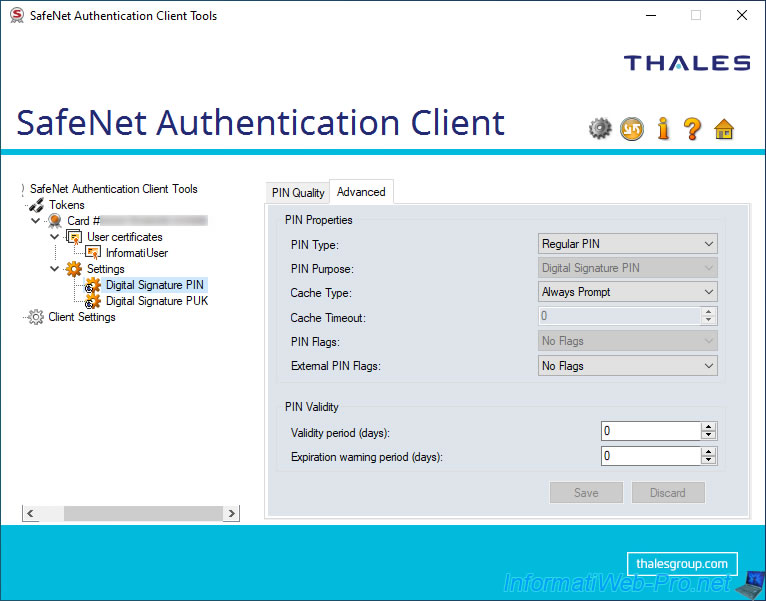
If you go to the "Settings -> Digital Signature PIN" section, you will find exactly the same settings with the same 2 tabs.
Except that this time, the purpose of the PIN code (PIN Purpose) displayed will be : Digital Signature PIN.
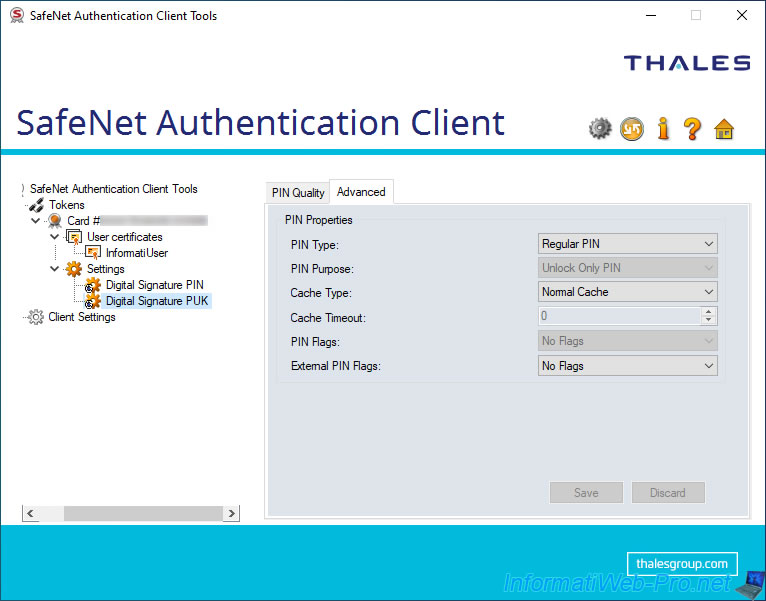
If you go to the "Settings -> Digital Signature PUK" section, you will find almost the same settings with the same 2 tabs.
Except this time, the purpose of the displayed PIN (PIN Purpose) will be "Unlock Only PIN" and the "PIN Validity" section will be gone.
If you go to the "Client Settings", you can again modify settings concerning the quality of passwords, as well as advanced settings.
However, in this case, the modified settings will be those of the client (SafeNet Authentication Client / SAC) and not those of your token / smart card.
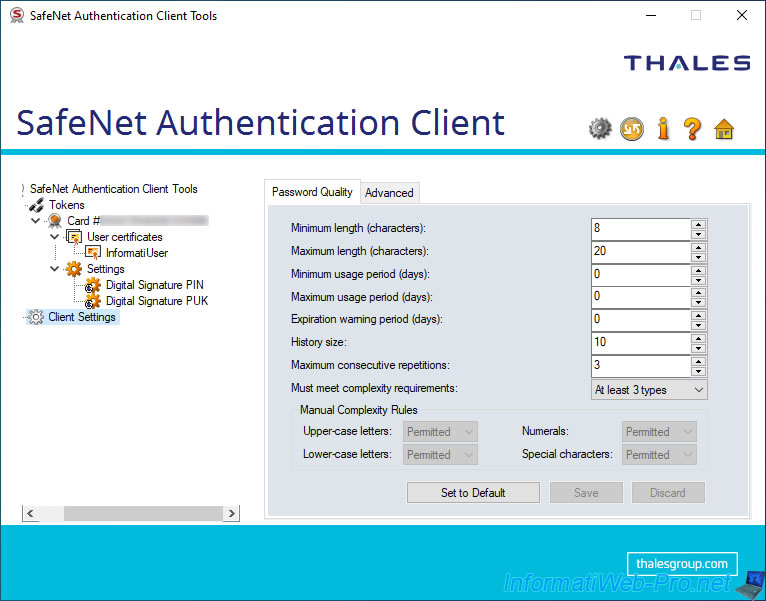
In the "Password Quality" tab, you can configure :
- Minimum length (characters) : minimum password size.
Default : 6 characters. - Maximum length (characters) : maximum password size.
Default : 20 characters. - Minimum usage period (days) : minimum time a password must be used before it can be changed.
- Maximum usage period (days) : maximum length of time a password can be valid.
Then, it will need to be changed. - Expiration warning period (days) : delay before password expiration for displaying a warning about the upcoming password expiration.
- History size : number of old passwords that will be kept in memory to prevent the user from reusing a recently used password when it needs to be changed.
- Maximumm consecutive repetitions : maximum number of characters that can be repeated in the password.
- Must meet complexity requirements : define the desired complexity prerequisite (at least 2 or 3 complexity rules, for example).
- Manual Complexity Rules : if you select "Manual" for the previous setting (Must meet complexity requirements), you can manually manage the complexity required for the password :
- Upper-case letters : capital letters.
- Lower-case letters : lowercase.
- Numerals : numbers.
- Special characteres : special characters.
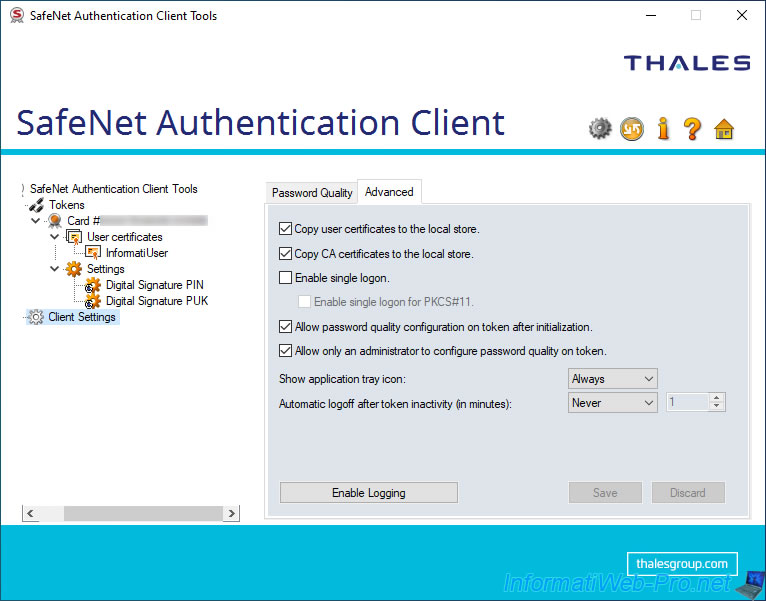
In the "Advanced" tab, you can configure the advanced settings of this "SafeNet Authentication Client" :
- Copy user certificates to the local store : if this option is enabled, the user certificates present on your token / smart card will be automatically copied to the "Personal" certificate store of your computer or server when you connect your token / smart card.
This allows you to always benefit from your certificates, even if you disconnect your token / smart card. - Copy CA certificates to the local store : same as the previous option, but for CA certificates.
Indeed, you can also add the public certificate of your certification authority so that the validity of your certificates (as well as those used in your company) is easily verified.
However, note that a warning will appear when attempting to automatically add the CA certificate to the appropriate certificate store on your computer or server. - Enable single logon : enabling single sign-on allows the user to access multiple applications by providing their user password (user PIN) only once for their session.
- Enable single logon for PKCS#11 : if above single sign-on is enabled, you can also enable single sign-on for PKCS#11 encryption.
- Allow password quality configuration on token after initialization : indicates that the configuration regarding the quality of the password (PIN code) can be modified after the initialization of the token / smartcard.
- Allow only an administrator to configure password quality on token : if enabled, it indicates that only the administrator will be able to change the password quality settings on the token / smartcard and not the user.
- Show application tray icon : allows you to always or never display the SafeNet Authentication Client (SAC) icon in the taskbar.
- Automatic logoff after token inactivity (in minutes) : allows you to automatically log out of the token/smartcard after a certain idle time in minutes. After this period, SAC will ask you again for your user password (user PIN code) if it's required to perform the desired operation (modification of a setting, import of a certificate, ...).
- Enable Logging : allows you to keep a history of operations performed via SafeNet Authentication Client.
On Windows, the log file path is "C:\WINDOWS\Temp\eToken.log".
3.3. About SafeNet Authentication Client (SAC)
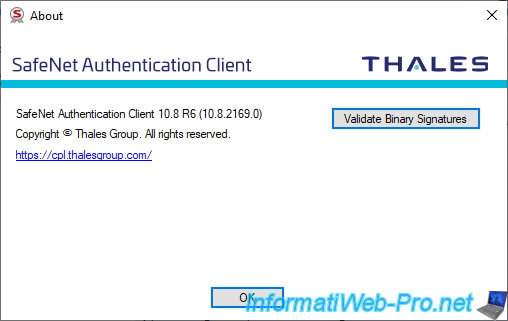
If you click on the "i" icon (top right), you will be able to see the name and version of SafeNet Authentication Client, as well as the address of the official Thales (formerly Gemalto) website.
3.4. View SafeNet Authentication Client Help
By clicking on the "?" (top right), SafeNet Authentication Client Help will appear.
As you can see, this is a manual in PDF format.
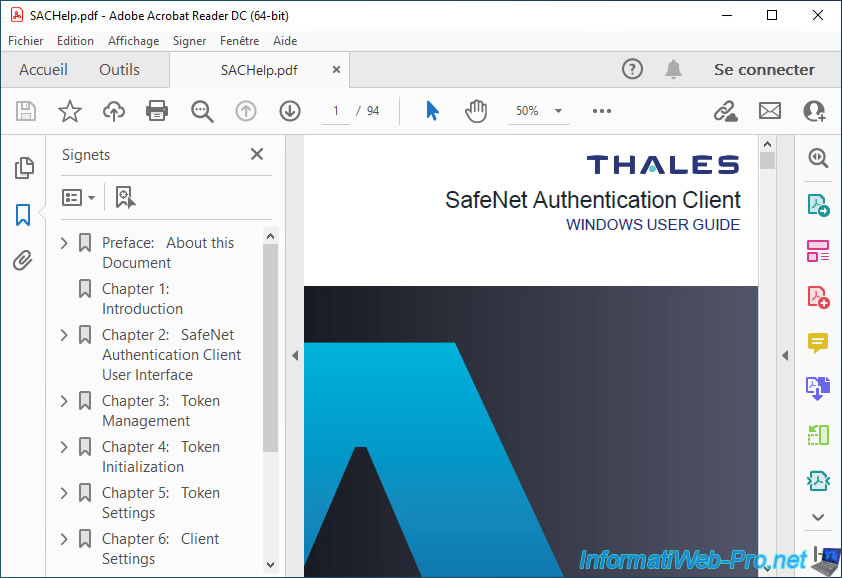
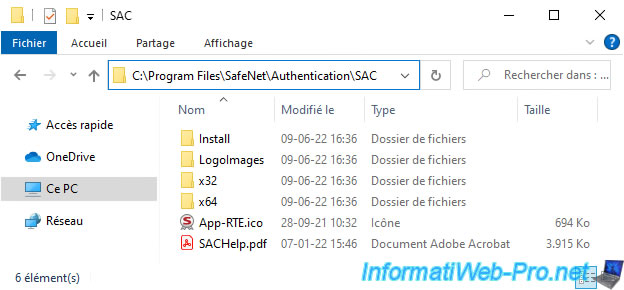
In this case, it's the "SACHelp.pdf" file found in the "C:\Program Files\SafeNet\Authentication\SAC" folder (following the installation of "SafeNet Authentication Client".
3.5. Go to the official Thales website
If you click on the house icon (top right), you will be able to access the official Thales website.

Share this tutorial
To see also
-
Articles 9/8/2023
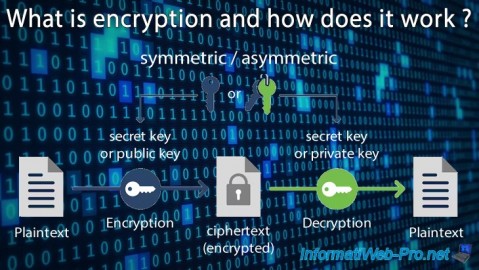
What is encryption and how does it work ?
-
Windows Server 12/29/2023
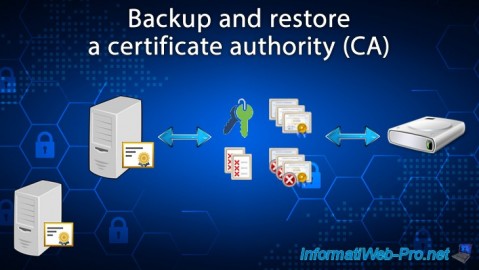
WS 2016 - AD CS - Backup and restore a certificate authority (CA)
-

Windows Server 1/19/2024
WS 2016 - AD CS - Buy smart cards and log in via them
-
Windows Server 1/5/2024
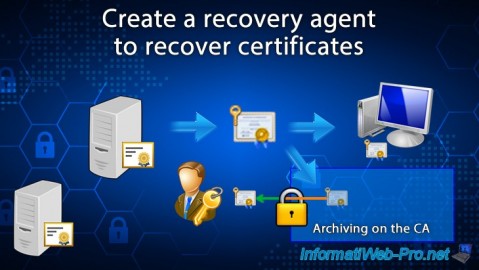
WS 2016 - AD CS - Create a recovery agent to recover certificates

No comment