- VMware
- 23 February 2024 at 08:47 UTC
-


When you want to manage multiple VMware ESXi hypervisors in an enterprise, you link them to a VMware vCenter Server (VCSA).
In production, you should install VMware VCSA (vCenter Server Appliance) on a VMware ESXi hypervisor.
However, in the case of a test environment (for educational purposes for example), you could run VMware VCSA (vCenter Server Appliance) on VMware Workstation Pro if that suits you.
Important : this is not officially supported by VMware, although it will work fine from a technical point of view.
So you should not use this technique in a production environment.
Among the functional techniques, you will find the one below which consists of deploying VMware VCSA on a VMware ESXi hypervisor, then transferring the deployed and configured virtual machine to your computer on which VMware Workstation Pro is installed.
Warning : for this technique to work correctly, your computer must be able to access the same physical network as the one to which the VCSA virtual machine (or "VMware vCenter Server Appliance") was connected.
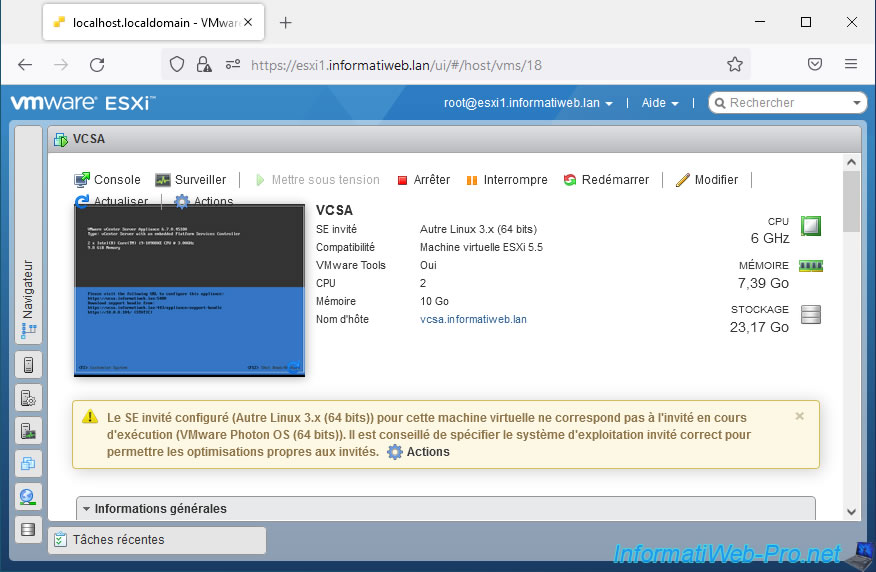
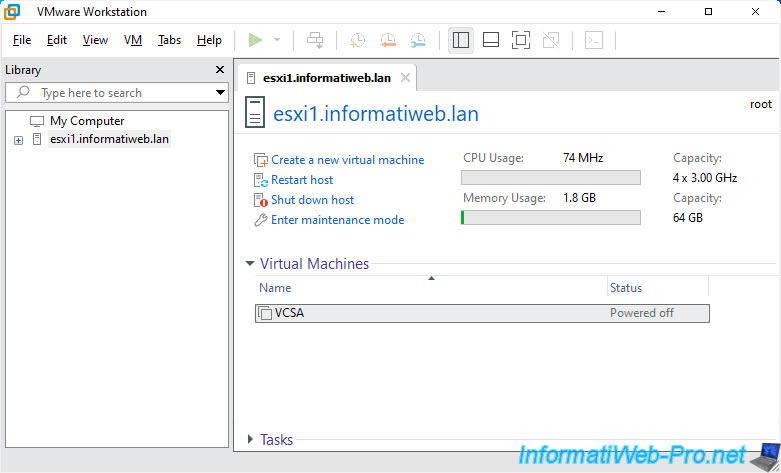
As you can see, in our case our VMware vCenter Server Appliance virtual machine is called "VCSA" and it is located on our hypervisor "esxi1.informatiweb.lan".
Before transferring this virtual machine, you obviously need to shut it down. Which means your VMware vCenter Server will be temporarily inaccessible.
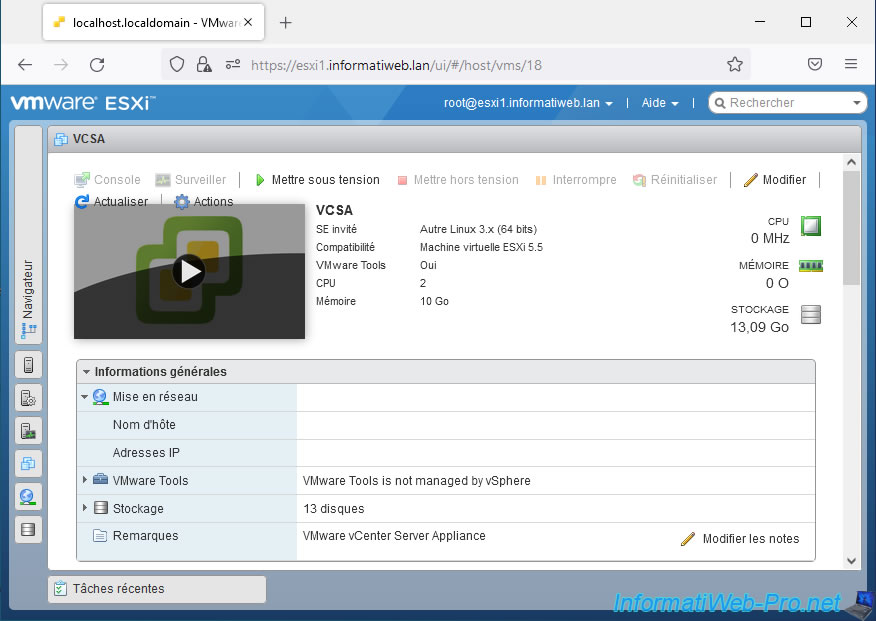
The "VCSA" virtual machine is stopped.
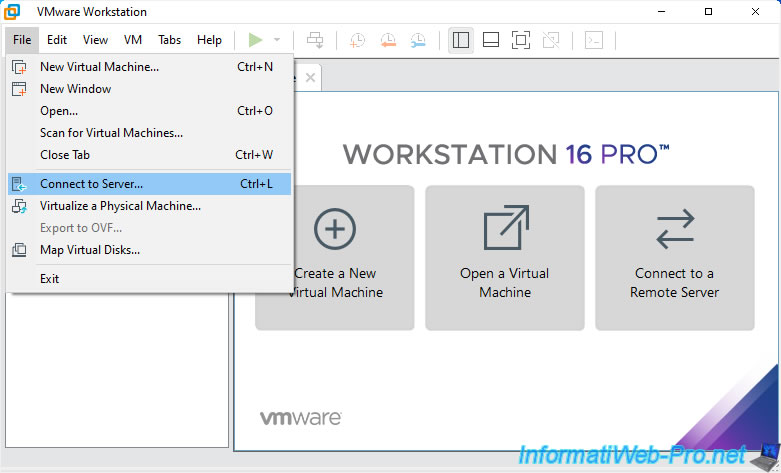
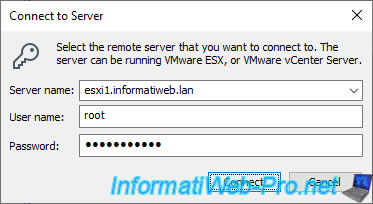
Open VMware Workstation Pro on your computer and click: File -> Connect to Server.
Specify:
- Server name: the domain name or IP address of the VMware ESXi hypervisor where your "VCSA" or "VMware vCenter Server Appliance" virtual machine is located.
- User name: the name of a user authorized to access this virtual machine.
In our case, we will use the “root” user account of our VMware ESXi hypervisor. - Password: the password for the user account specified above.
Next, click Connect.
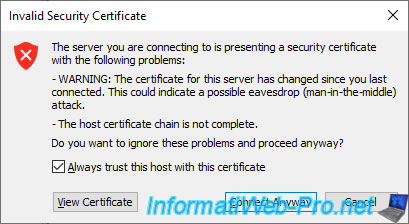
Ignore the "Invalid Security Certificate" warning if it appears by checking the "Always trust this host with this certificate" box and then clicking Connect Anyway.
The list of virtual machines present on your VMware ESXi hypervisor appears, double-click on your “VCSA” virtual machine.
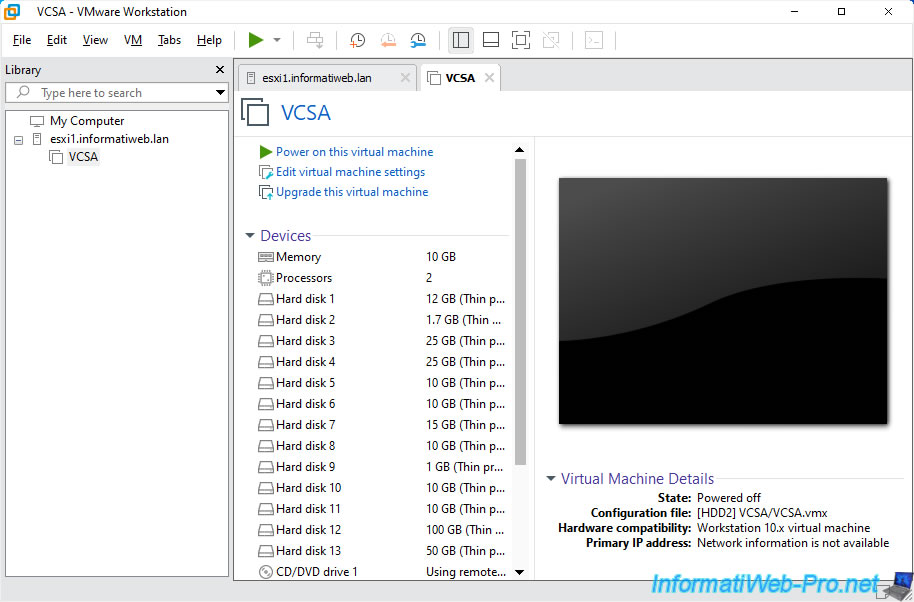
Your "VCSA" virtual machine appears with many virtual hard disks.
Which is normal.
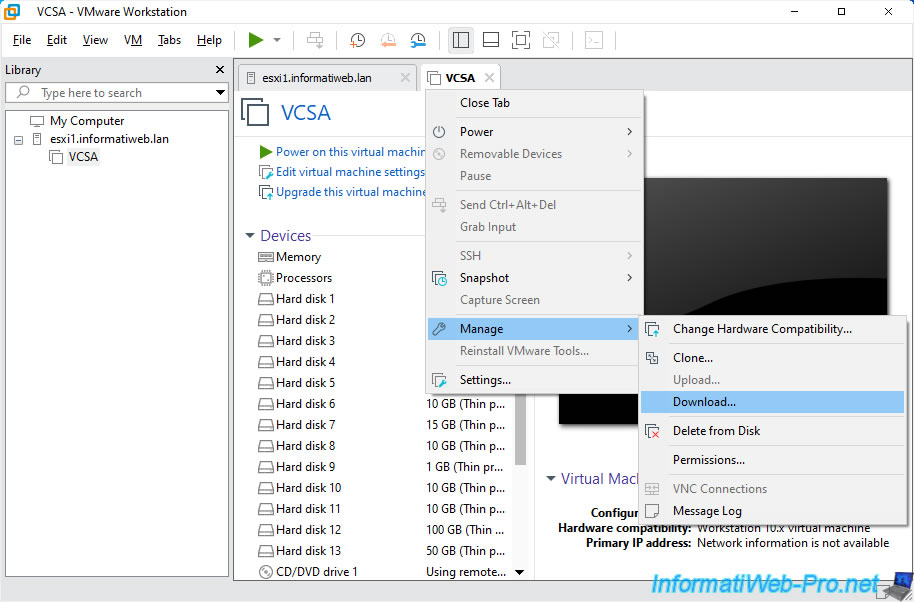
Right-click on the tab name "VCSA" and click: Manage -> Download.
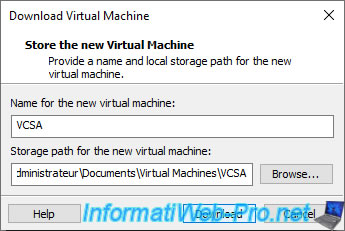
Indicate under what name you want to store this VCSA virtual machine on your computer, as well as where.
Then, click Download.
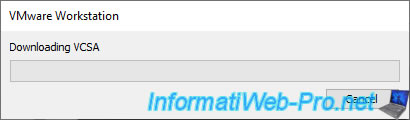
Wait while the VCSA virtual machine downloads from your VMware ESXi hypervisor to your computer.
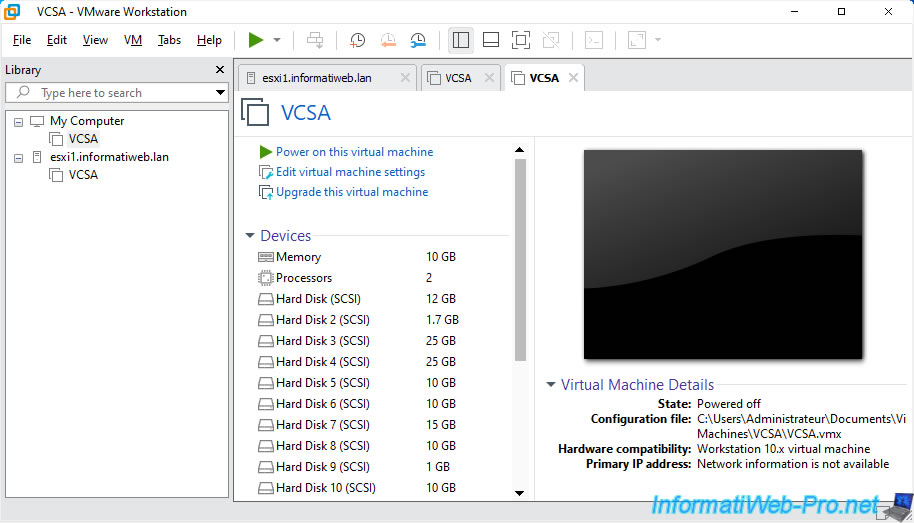
Once the download of this virtual machine is complete, your local copy of this virtual machine will be opened automatically by VMware Workstation Pro.
As you can see in the "Configuration file" line (below the black rectangle), it is stored on your local hard drive.
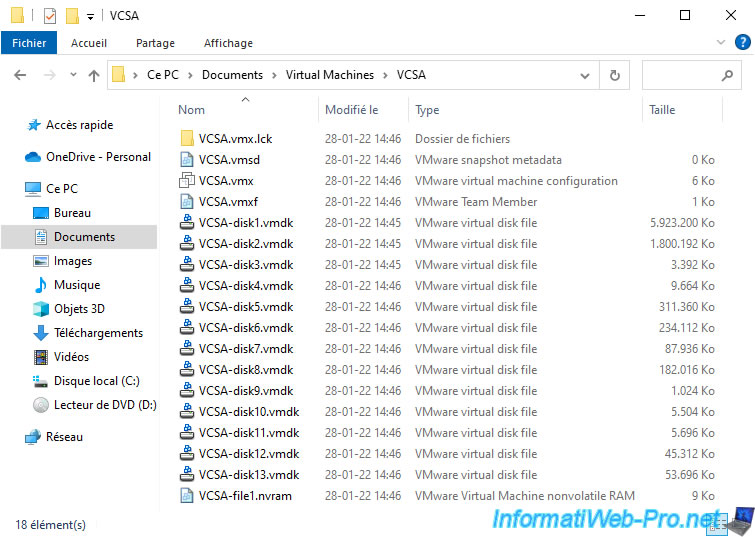
If you go to the folder of this virtual machine "VCSA", you will find the usual files and folders:
- the "VCSA.vmx.lck" folder: a lock folder used temporarily as long as this virtual machine is open in VMware Workstation Pro.
- VCSA.vmsd: a file containing the list of snapshots created on this virtual machine (if any). Otherwise, this file is empty.
- VCSA.vmx: the configuration file for your virtual machine.
- VCSA.vmxf: an additional configuration file for your virtual machine.
- VCSA-diskX.vmdk: one file per virtual hard disk used by this VCSA virtual machine.
- VCSA-file1.nvram: this file contains the current BIOS / firmware configuration of this virtual machine.
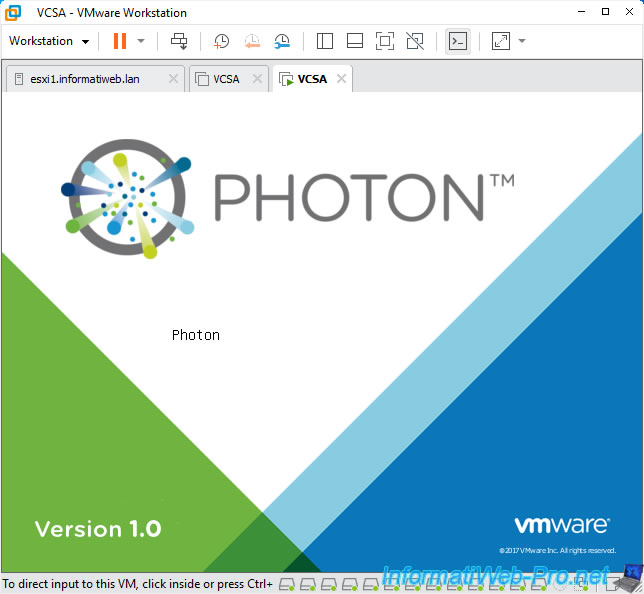
Start your VCSA virtual machine on VMware Workstation Pro and you will see the “VMware Photon” splash screen appear as expected.
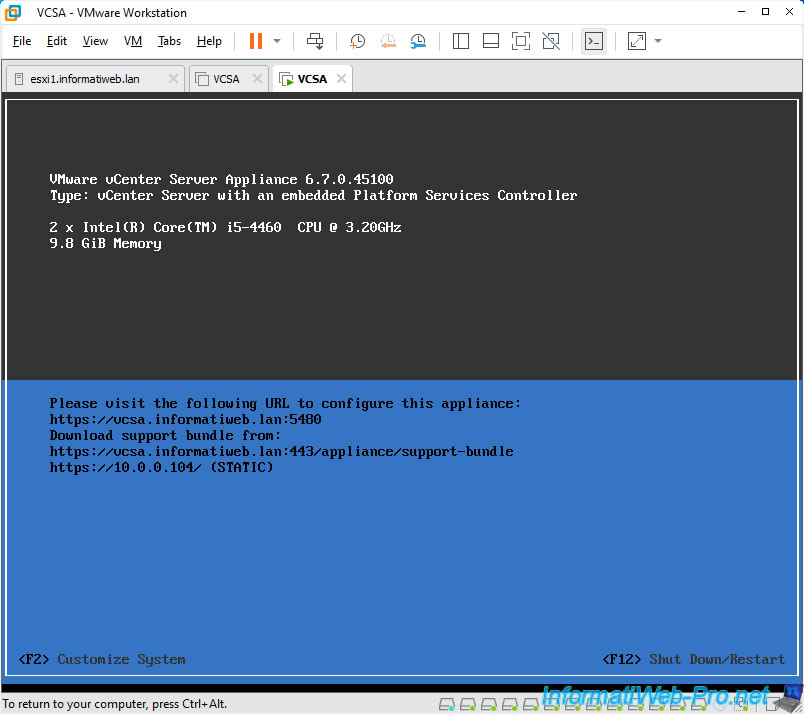
Once this VCSA virtual machine is finished booting, you will see that VCSA is running without any issues on VMware Workstation Pro.
Warning : as a reminder, although this works, it is not officially supported by VMware.
You will therefore not be able to benefit from VMware support if you use VCSA on VMware Workstation Pro.
Share this tutorial
To see also
-
VMware 3/13/2024
VMware ESXi 6.7 - Synchronize the clock of ESXi hosts from a time server (NTP)
-
VMware 3/8/2024
VMware ESXi 6.7 - Synchronize the clock of VCSA from a time server (NTP)
-
VMware 7/31/2024
VMware vSphere 6.7 - Add an Active Directory identity source
-
VMware 5/22/2024
VMware vSphere 6.7 - Change default console
You must be logged in to post a comment