- VMware
- 19 April 2024 at 08:20 UTC
-


When you create a datastore on a physical disk (whether it's a hard drive, an SSD, or even an iSCSI LUN), it is possible to extend it across the rest of the disk. available space on this disk if you wish.
However, you will see that, by default, VMware vCenter Server (VCSA) applies filters. Which complicates this operation.
- Create a VMFS datastore
- Cannot extend a default datastore
- Disable filters blocking the extension of a datastore
- Increase the capacity of a datastore on the same physical disk
1. Create a VMFS datastore
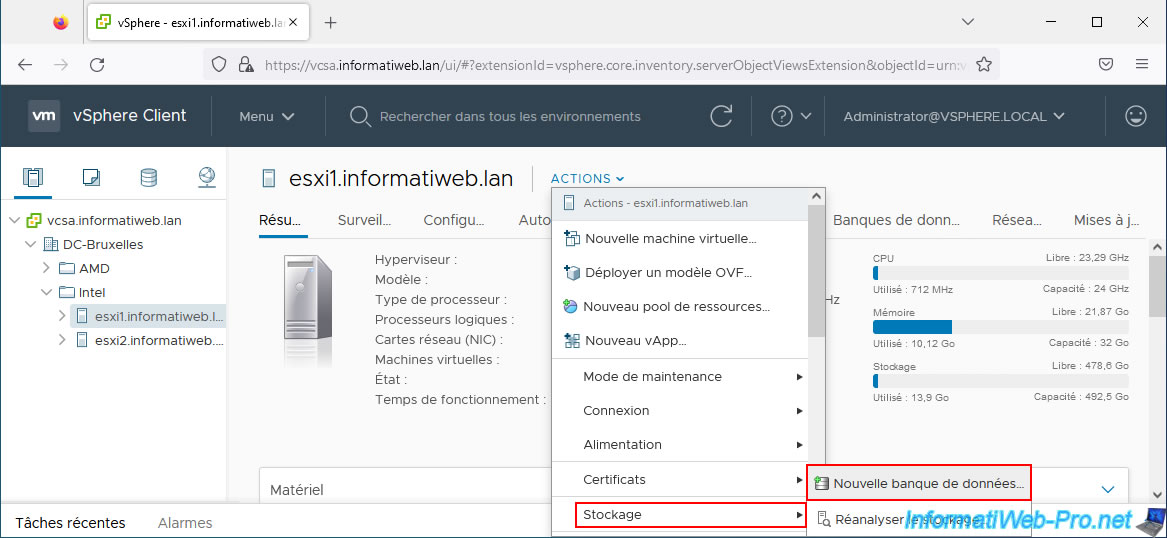
To get started, select your VMware ESXi host and click: Actions -> Storage -> New Datastore.
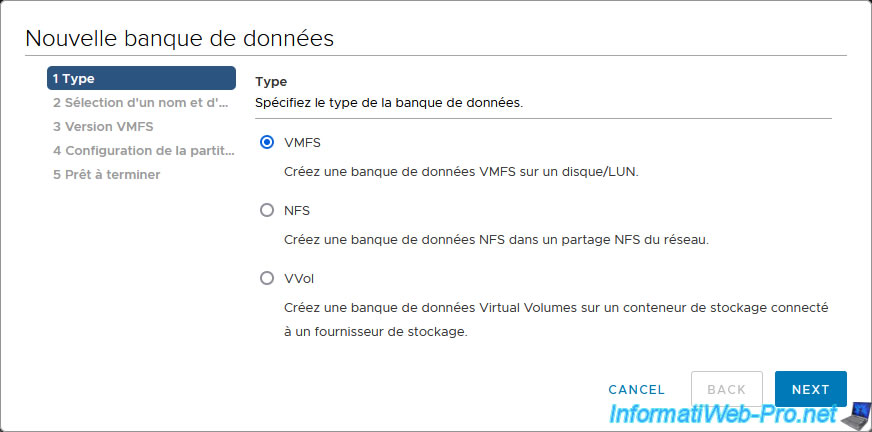
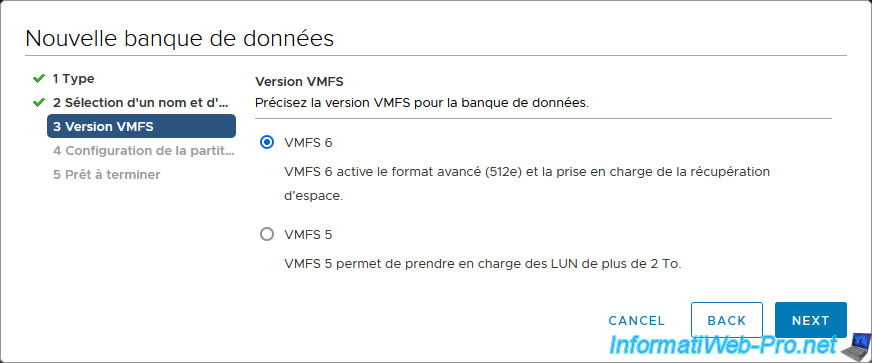
In the "New Datastore" wizard, leave the "VMFS" type selected by default and click Next.
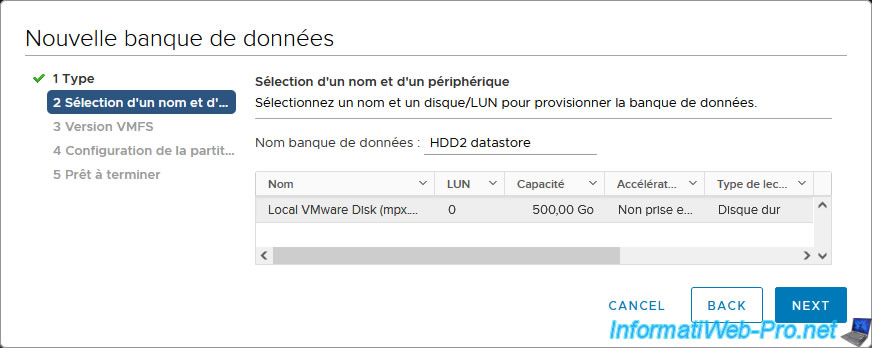
Provide a name for your datastore, select the desired physical disk and click Next.
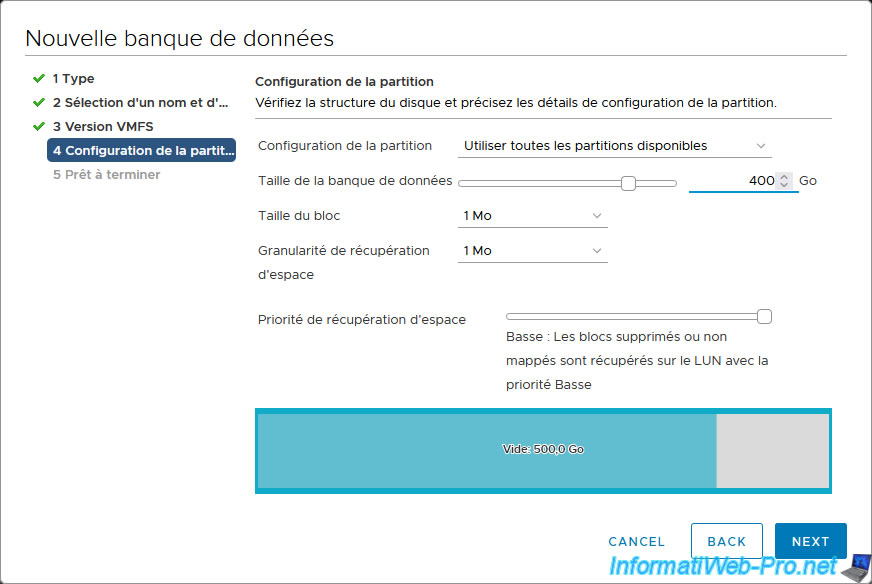
Click Next.
For this tutorial, we set the database size to "400 GB".
Which leaves 100 GB free on the physical disk (as you can see at the bottom).
Click Finish.
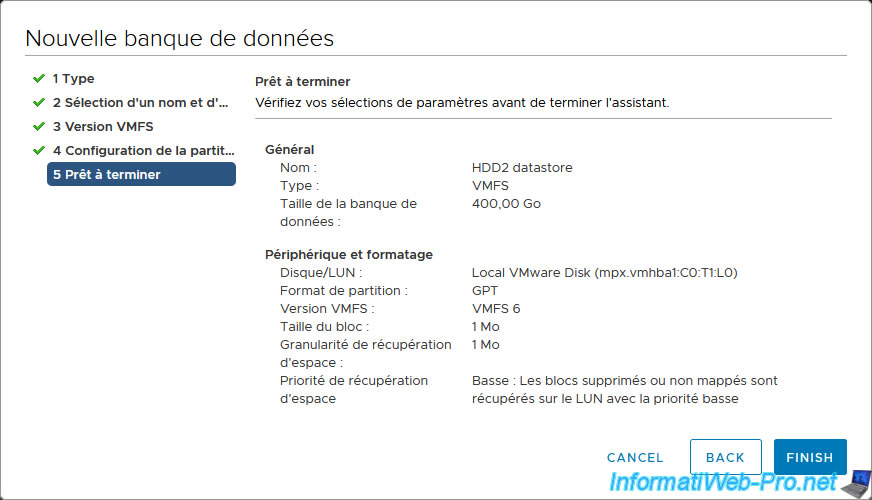
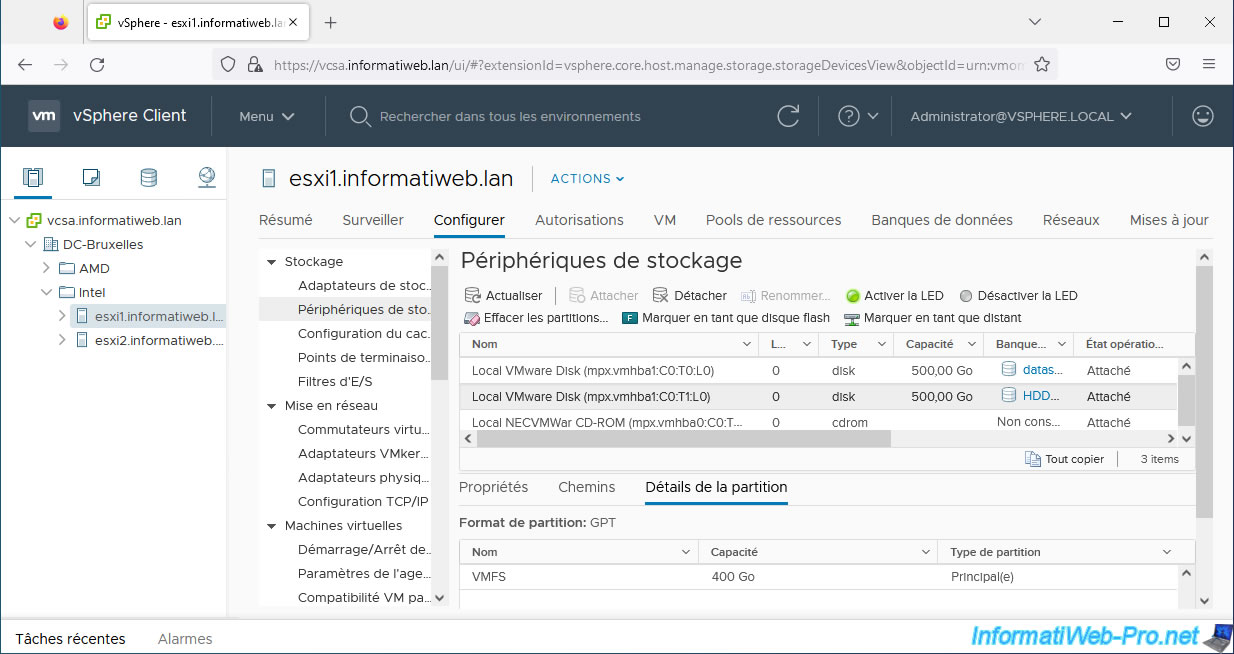
The datastore has been created.
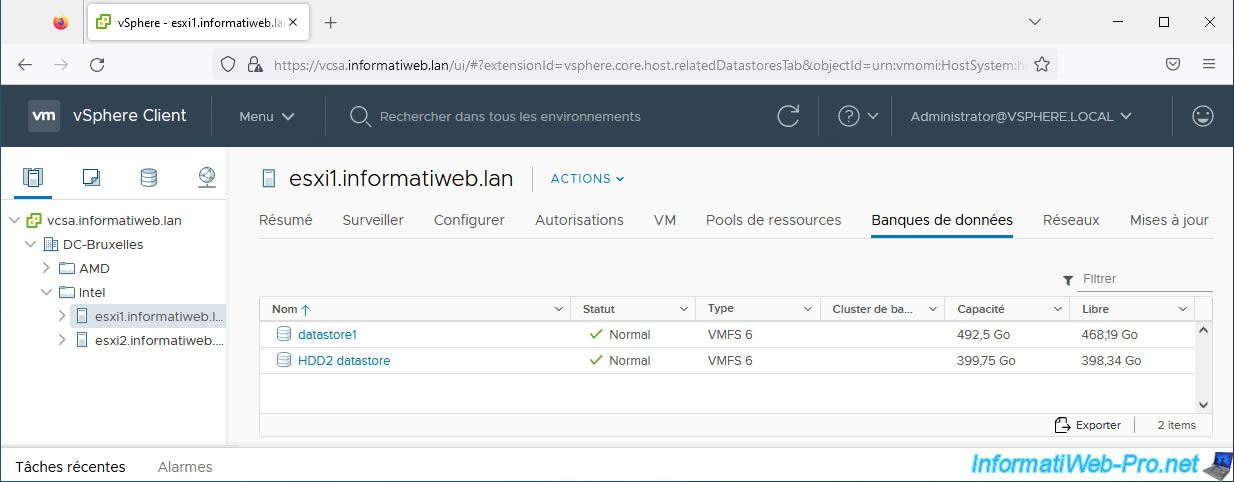
As you can see in the storage devices of the VMware ESXi host, the VMFS partition has a capacity of 400 GB while the physical disk has a capacity of 500 GB.
2. Cannot extend a default datastore
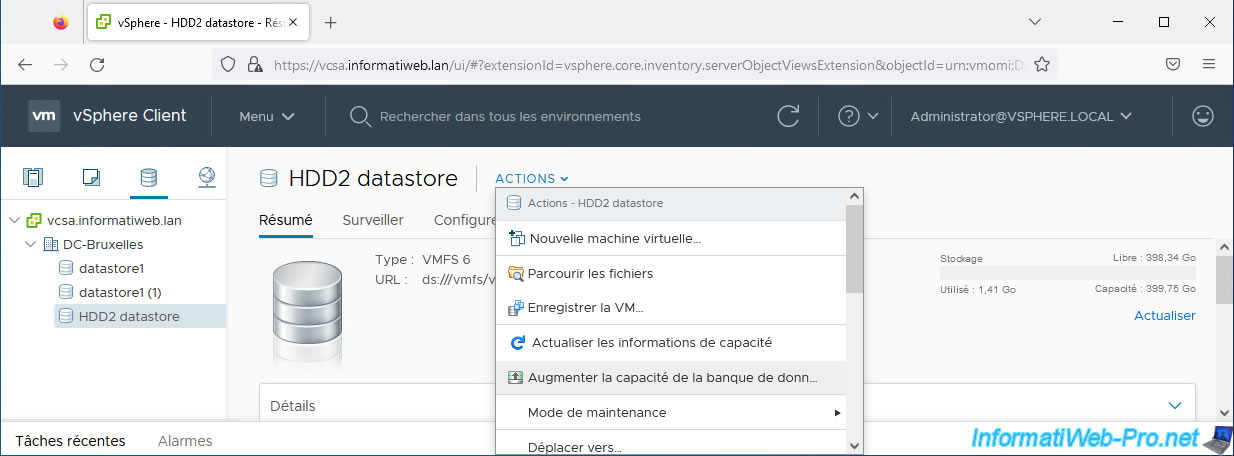
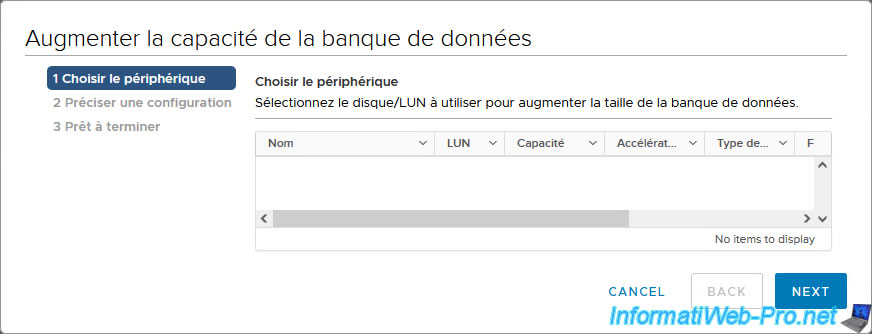
To try to expand your databank to also use the 100 GB of free remaining on the physical disk used by this datastore, select it and click on: Actions -> Increase Datastore Capacity.
But, as you can see in the "Increase Datastore Capacity" wizard, the disk with 100 GB free does not appear in the list.
Indeed, by default, VMware vCenter Server (VCSA) applies filters to help you avoid data corruption.
However, it is possible to deactivate these filters if you wish.
Source: Turn Off Storage Filters - VMware Docs.
Note that you can also override this restriction without changing the VMware vCenter Server (VCSA) configuration by using the web interface of your VMware ESXi host.
As explained in our tutorial: Expanding a datastore (on the same hard disk) on VMware ESXi 6.7.
However, this is only possible if lockdown mode is not enabled on this host.
3. Disable filters blocking the extension of a datastore
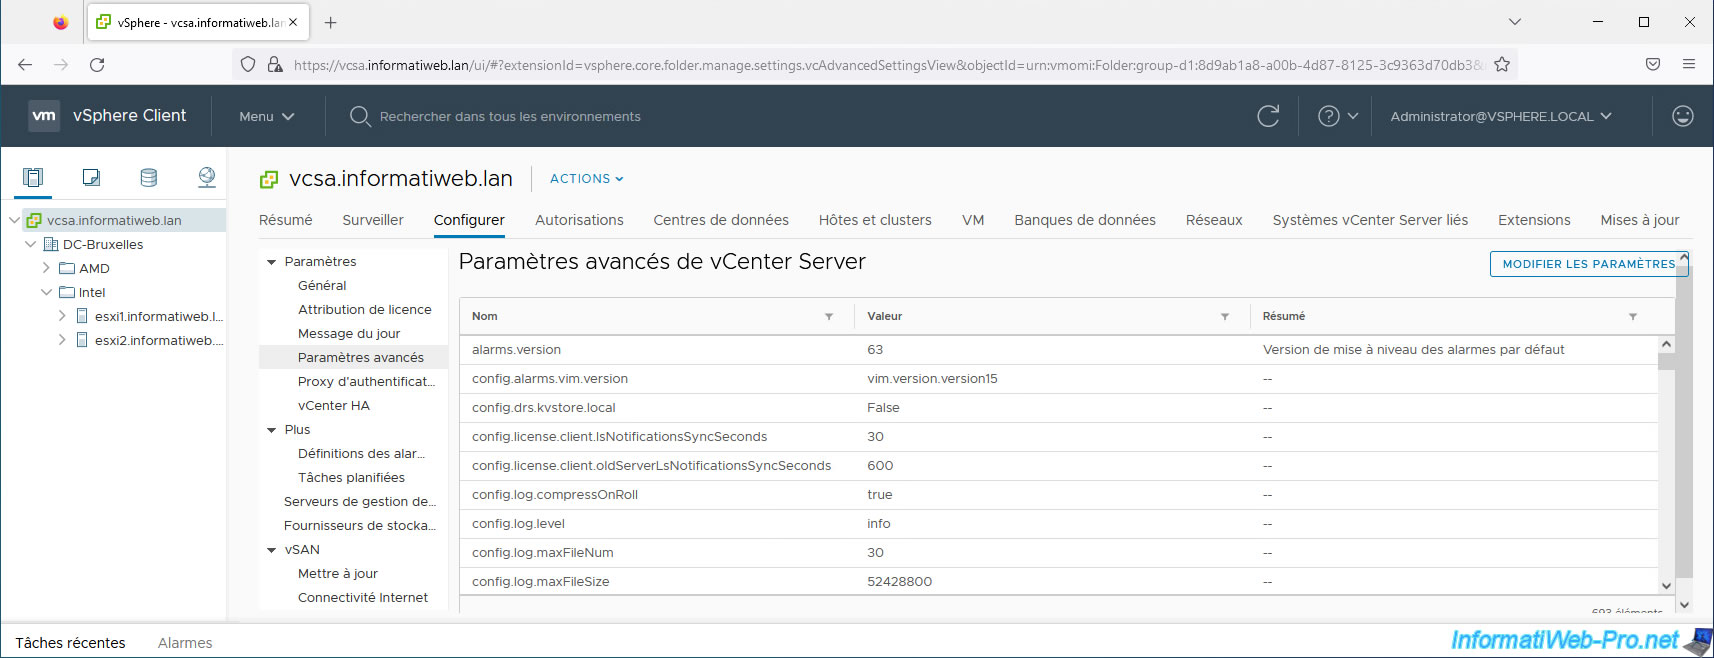
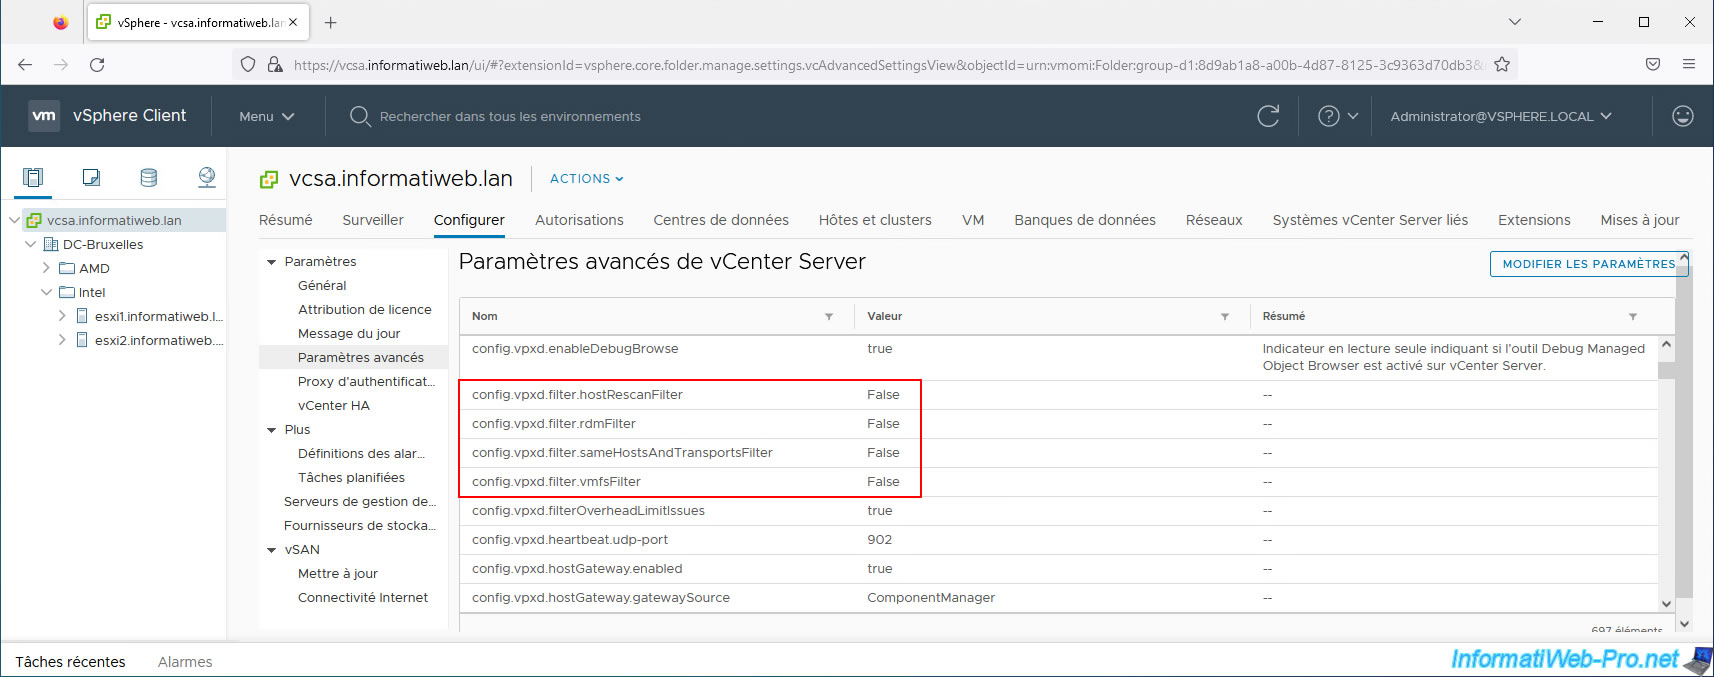
To disable the filters applied by VMware vCenter Server, select the "VMware vCenter Server (VCSA)" instance, then go to: Configure -> Settings -> Advanced Settings.
Then click on the button: Edit settings.
A “Edit Advanced vCenter Server Settings” window appears.
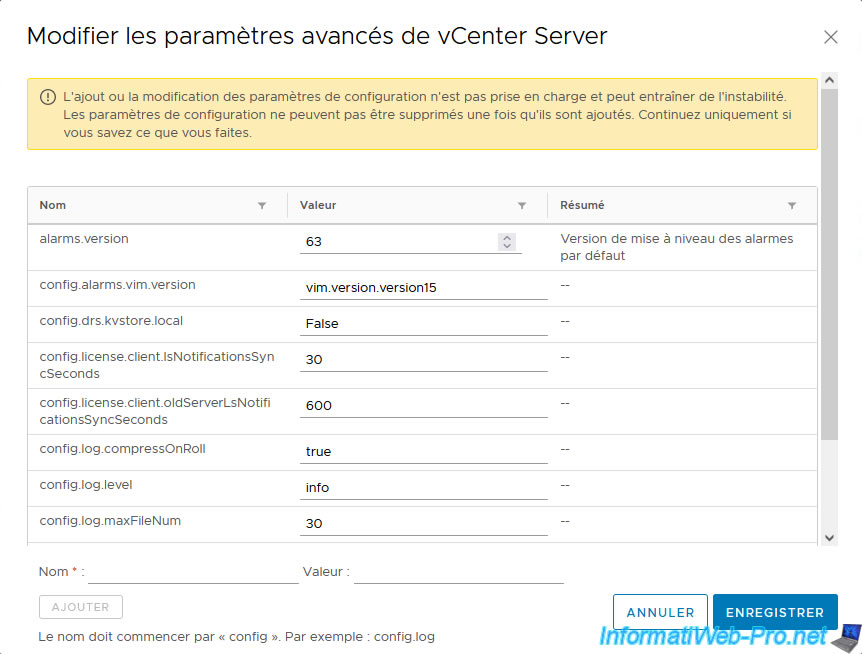
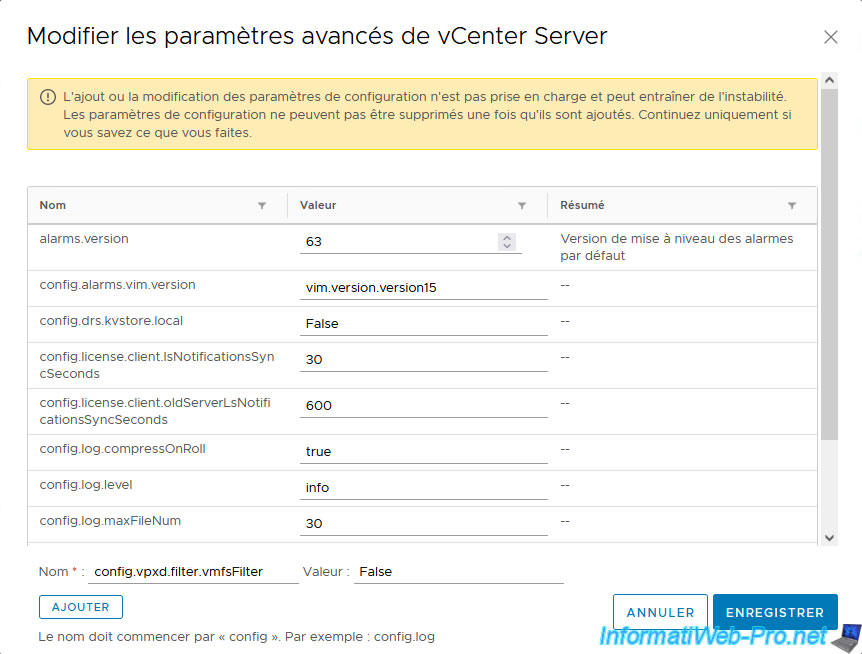
Indicate the following settings one by one by clicking on "Add" after each setting:
- config.vpxd.filter.vmfsFilter : False
- config.vpxd.filter.rdmFilter : False
- config.vpxd.filter.sameHostsAndTransportsFilter : False
- config.vpxd.filter.hostRescanFilter : False
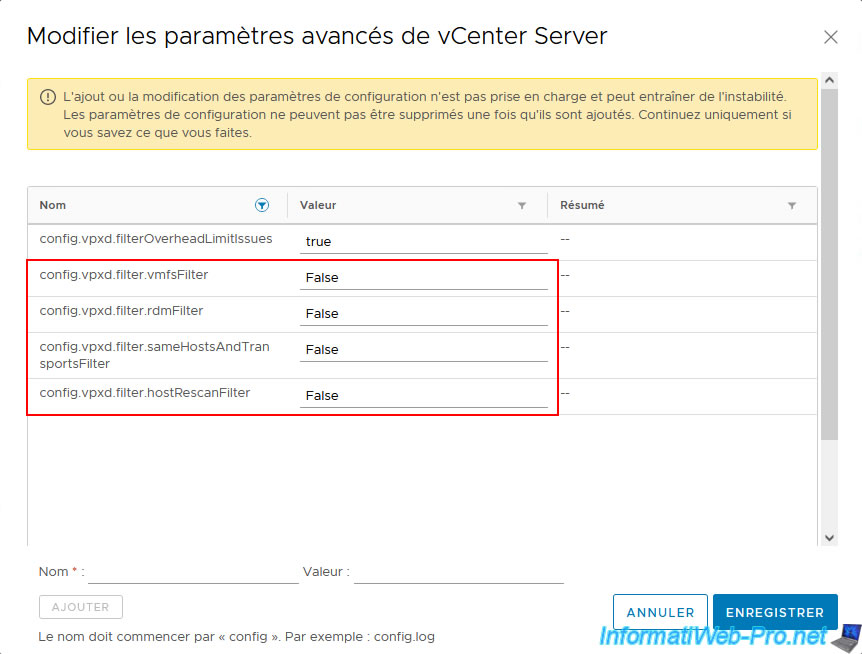
To verify that you have correctly added the settings mentioned above, click on the funnel icon located to the right of the "Name" column and type "config.vpxd.filter".
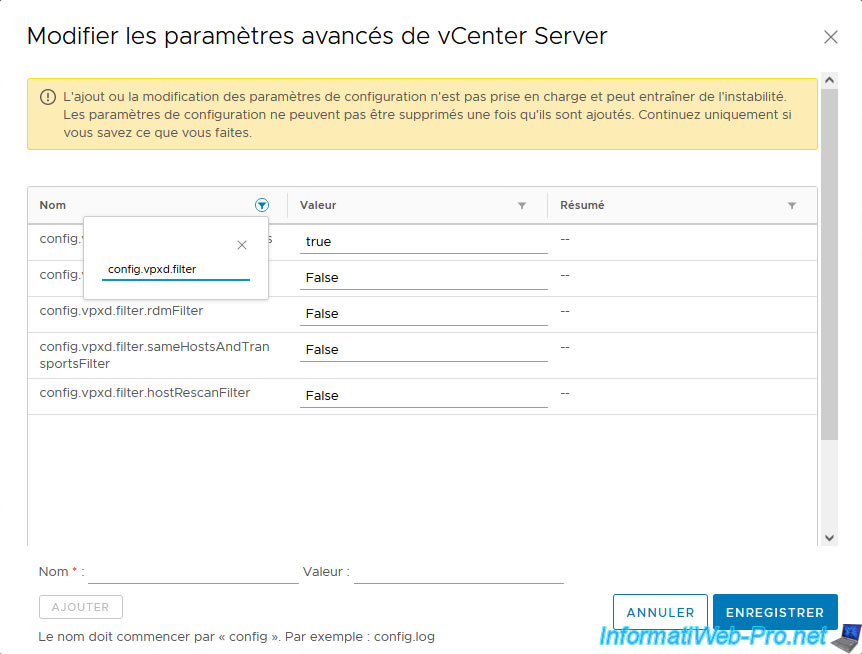
This is displayed.
Click: Save.
Filters have been disabled.
Note that it is not necessary to restart the vCenter server.
4. Increase the capacity of a datastore on the same physical disk
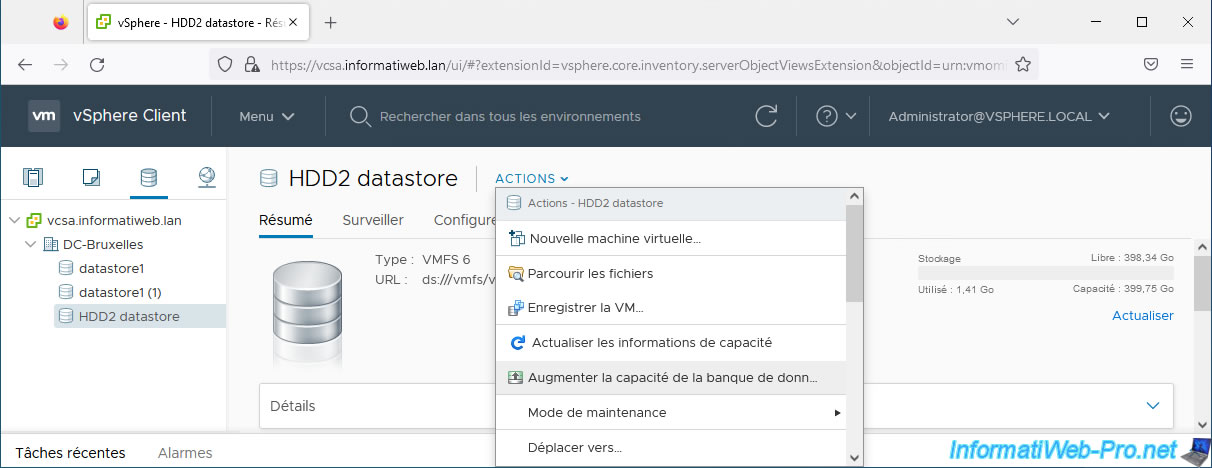
Select your datastore and click: Actions -> Increase Datastore Capacity.
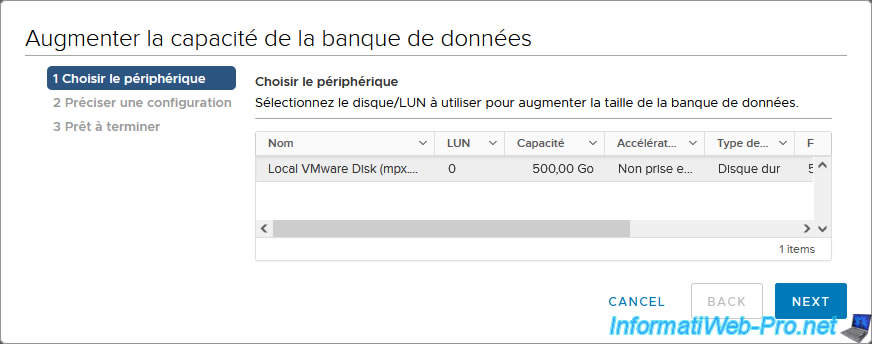
Now, in the “Increase Datastore Capacity” wizard, you will see your physical disk appear.
In our case we see our 500 GB physical disk where 100 GB of free space remains.
Select this disk and click Next.
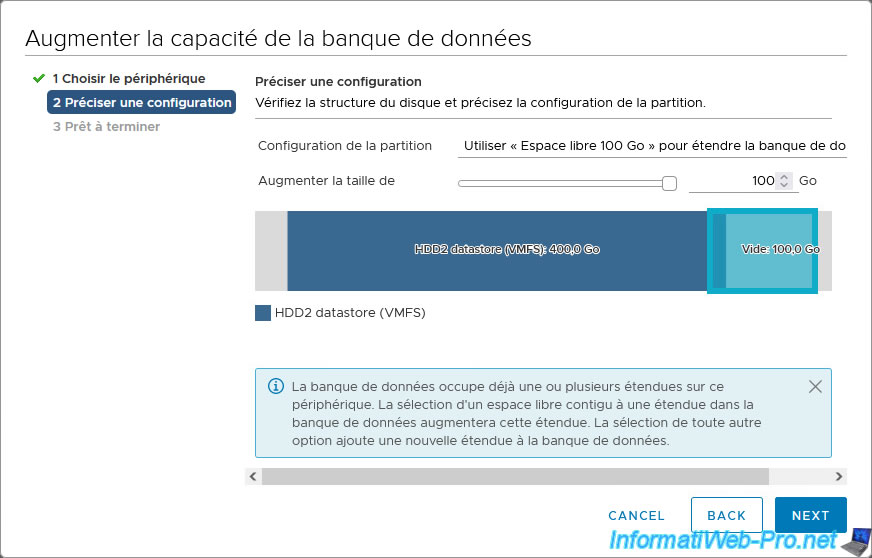
By default, the wizard will use the remaining free space to expand the datastore on it.
Just click Next.
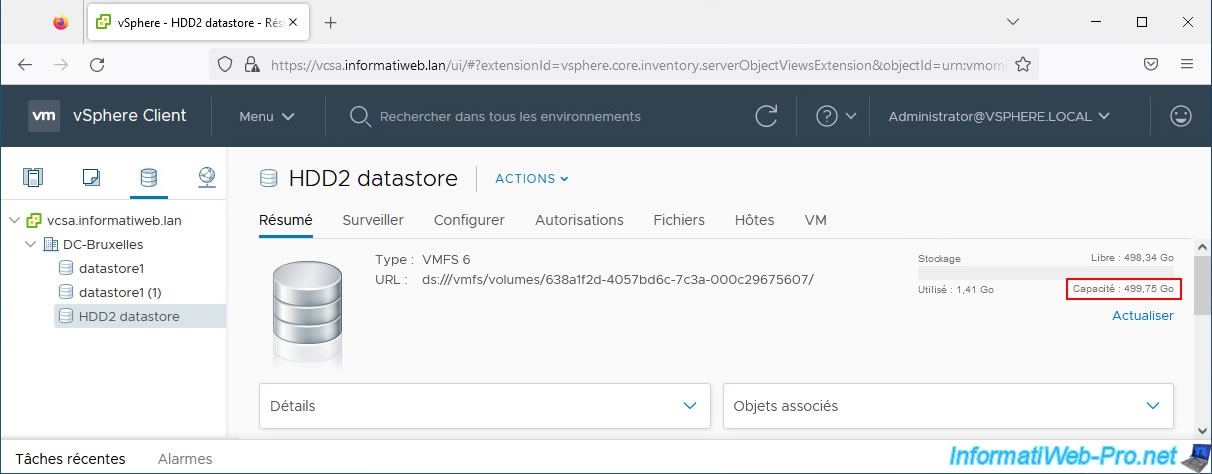
Click Finish.
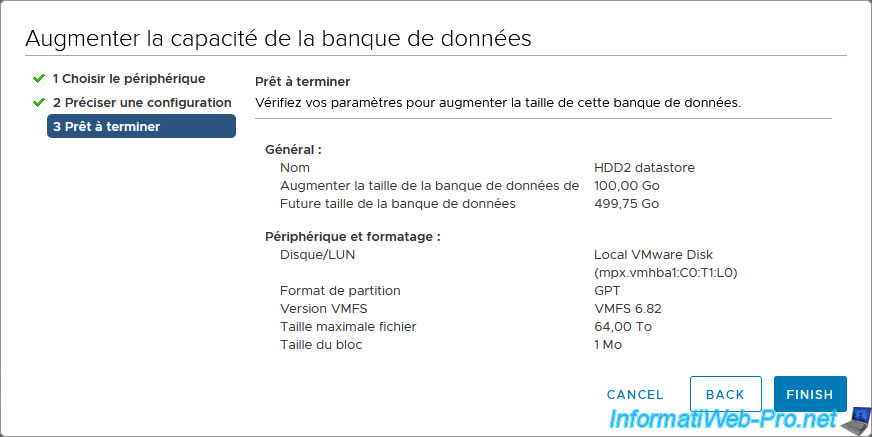
As you can see, our datastore now has a capacity of 500 GB instead of 400 GB.
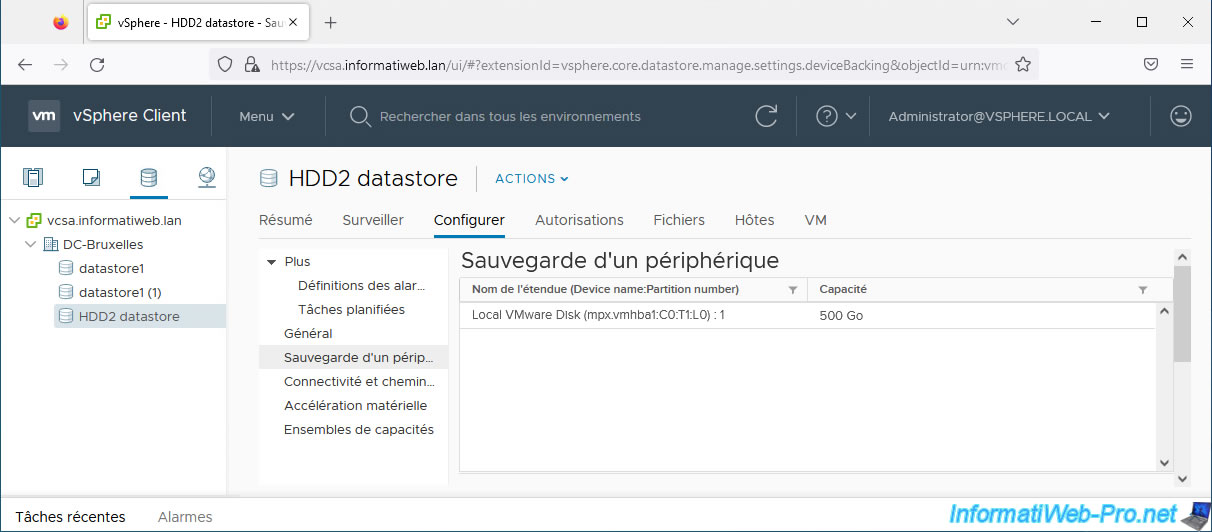
If you go to "Configure -> Device Backing", you will see that only the 500 GB physical disk is used.
Share this tutorial
To see also
-

VMware 5/15/2024
VMware vSphere 6.7 - Add a physical disk to host
-

VMware 9/27/2024
VMware vSphere 6.7 - Array integration APIs (VAAI)
-

VMware 9/6/2024
VMware vSphere 6.7 - Configure port binding (iSCSI traffic)
-

VMware 6/13/2024
VMware vSphere 6.7 - Configure Virtual Flash (SSD cache)
You must be logged in to post a comment