- VMware
- 10 May 2024 at 11:08 UTC
-


When you use a virtual machine under Linux, its virtual hard disk gradually fills up with the data you store there, but also with log files (log files).
One day, you will therefore have to extend its virtual hard disk, but also its file system.
Although this is more or less simple (depending on your knowledge of Linux), it becomes more complicated when Linux is installed in LVM mode.
Indeed, LVM mode does not use a classic partition system, but a combination of physical disks (PV), volume groups (VG) and logical volumes (LV).
So there will be more information to update.
- Linux installed in LVM mode
- Current virtual hard disk size
- Extend virtual hard disk
- Extend virtual hard disk file system on Linux
1. Linux installed in LVM mode
For example, when installing Ubuntu, you will have the option to install Ubuntu in normal mode (with partitions) or access advanced features to use LVM mode (if you want).
What we did for this tutorial.
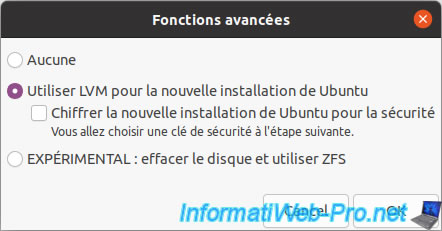
As indicated by the Ubuntu installation wizard, a volume group (VG) that will be created will be "vgubuntu" and in particular there will be a logical volume (VL) named root (which under Linux will appear as "vgubuntu -root").
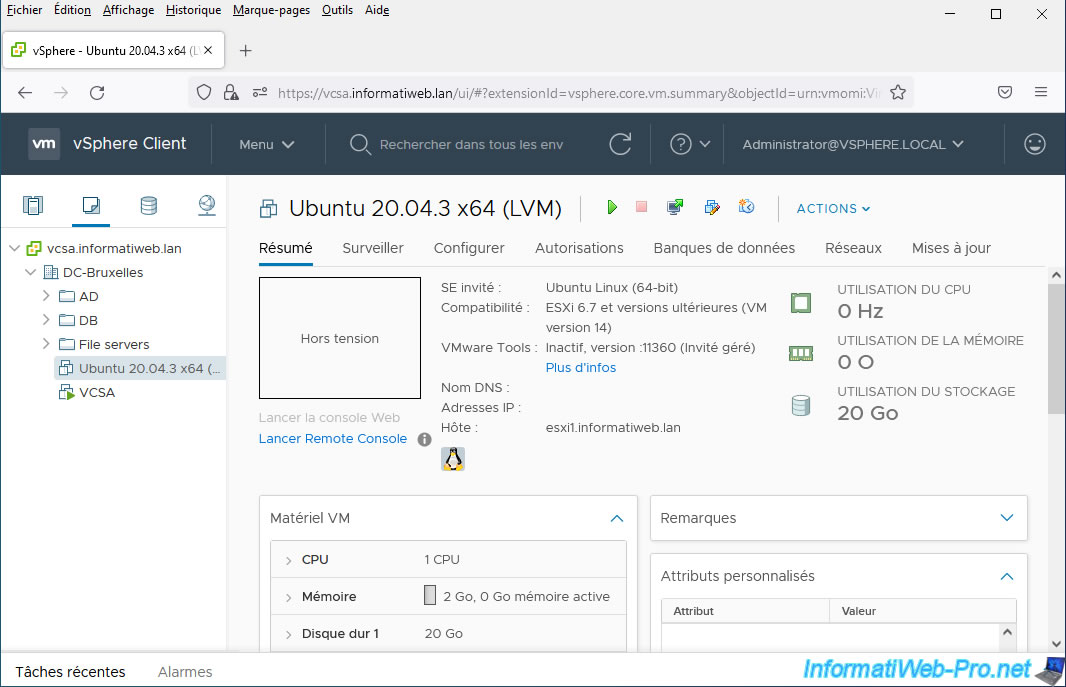
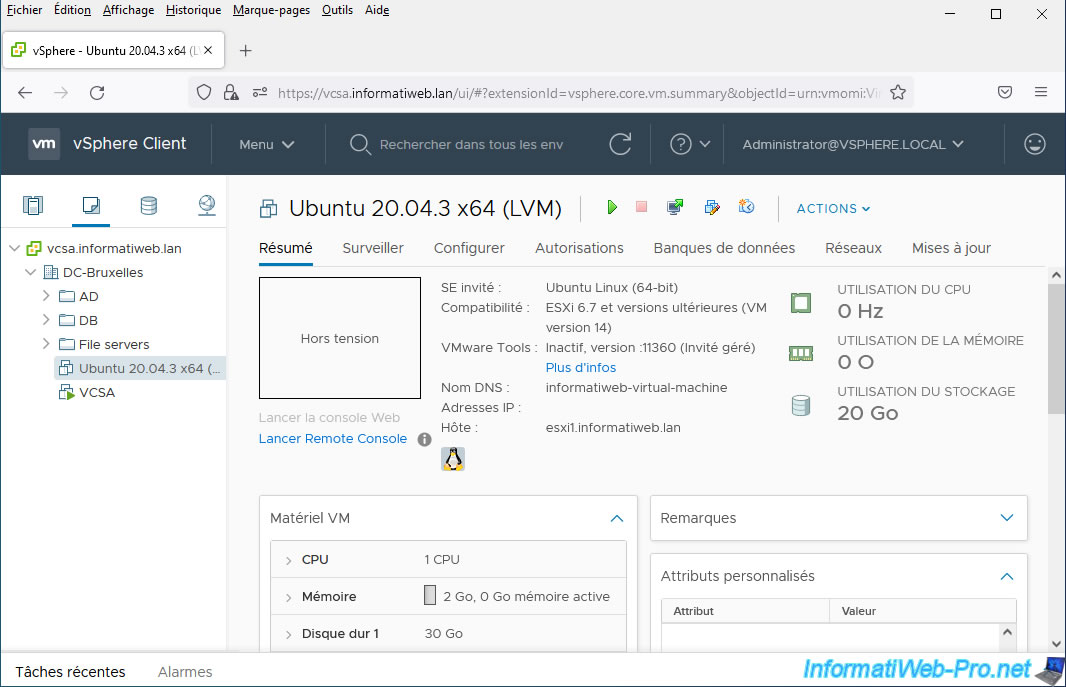
2. Current virtual hard disk size
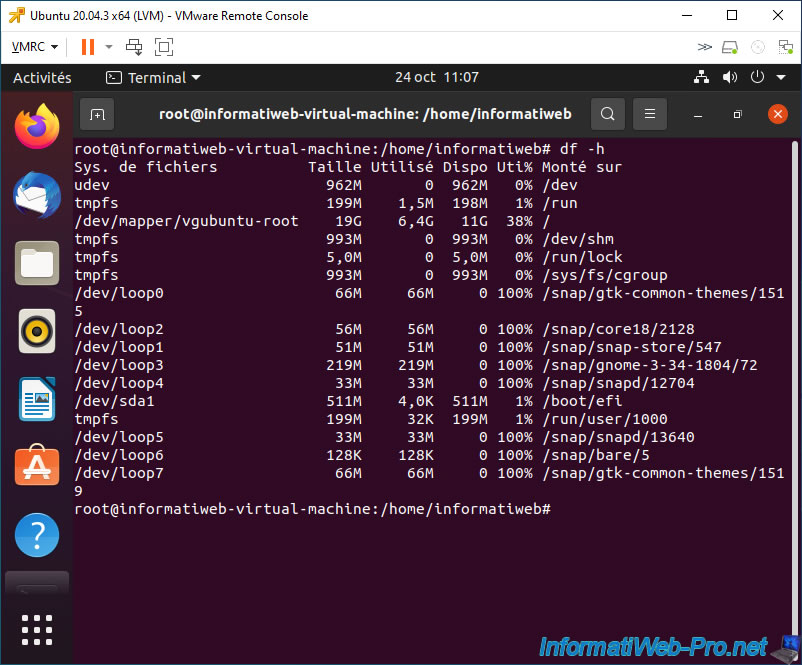
As you can see, currently the virtual hard disk of our Linux virtual machine installed in LVM mode has a size of 20 GB.
To view it from your Linux distribution's terminal, use the command:
Bash
df -h
As you can see, the logical volume "/dev/mapper/vgubuntu-root" is 19 GB in size.
Note: on an installation of Ubuntu WITHOUT LVM, the root mount point "/" would correspond by default to the "sda5" partition (/dev/sda5).
3. Extend virtual hard disk
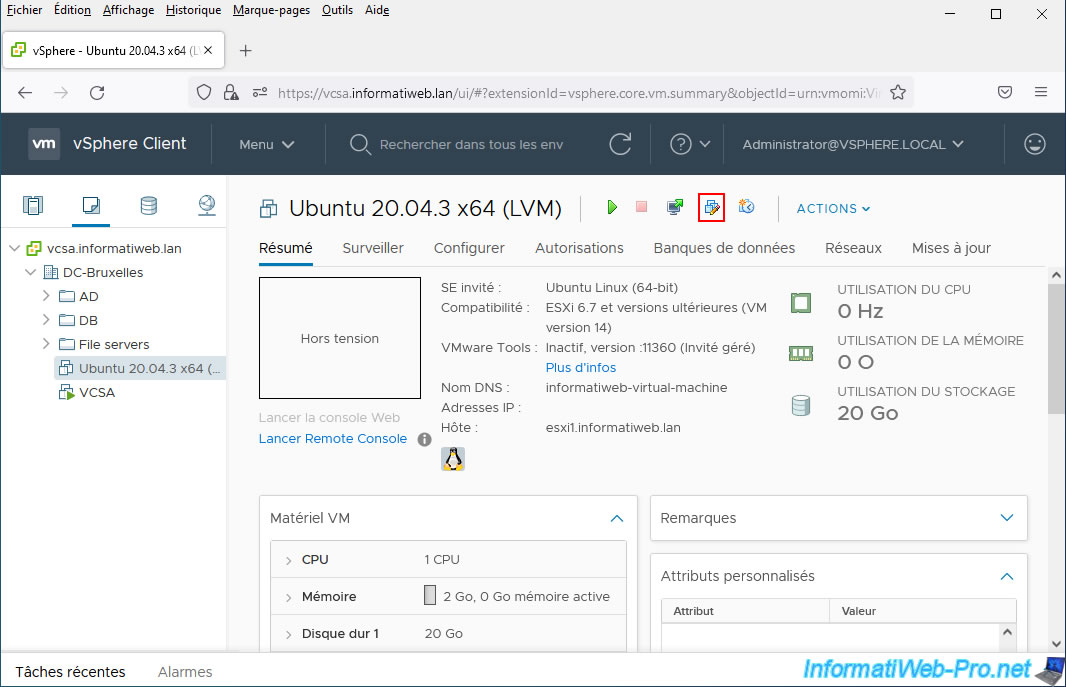
To extend the virtual hard disk of your Linux virtual machine, turn it off, then click on the icon: Edit Settings.
At the moment our virtual hard drive is 20 GB in size.
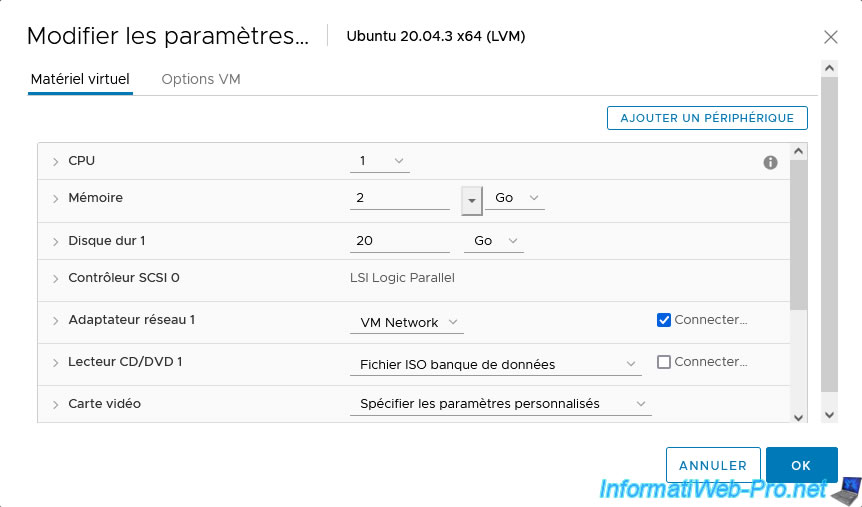
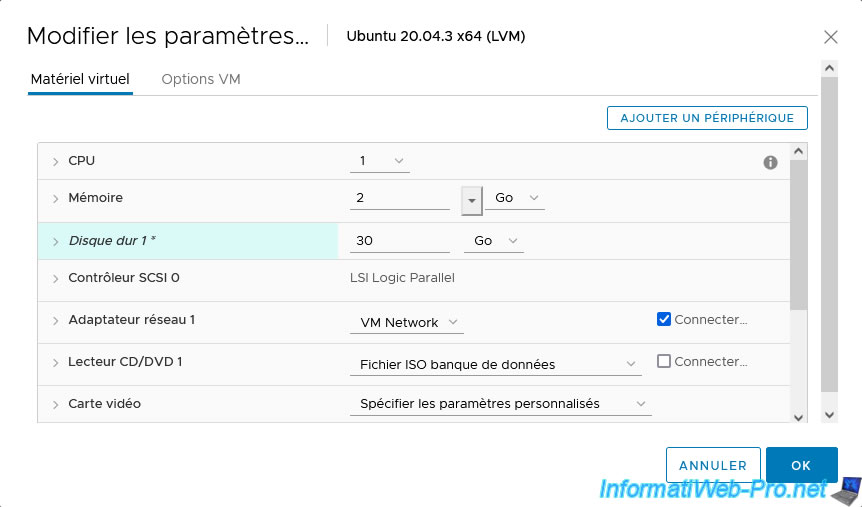
In our case, we increase it to 30 GB and then click OK.
Note that you cannot reduce the size of a virtual hard disk.
If you attempt to do this, you will see the following: Enter disk capacity which is larger than its original capacity.
![]()
As you can see in the VM hardware of this Linux virtual machine, its virtual hard disk is now 30 GB in size.
Start the Linux virtual machine and launch a terminal.
Get root rights:
Bash
sudo su
Then, list the mount points available in your virtual machine.
Bash
df -h
As you can see, the storage space added by expanding the virtual machine's virtual hard disk does not appear.
Plain Text
Filesystem         Size    Used Avail Use% Mounted on
...
/dev/sda5           20G    6,5G   12G  36% /
...
/dev/sda1          511M    4,0K  511M   1% /boot/efi
4. Extend virtual hard disk file system on Linux
To extend the file system from the guest operating system of your virtual machine, you will need to list the available disks using the command:
Bash
fdisk -l
In the long result displayed, you will find this:
- the 1st virtual hard disk of your virtual machine: /dev/sda.
- its size: 30 GiB.
- the list of partitions present on this "sda" disk: sda1, sda2 and sda5.
- the logical volume "root" of the volume group "vgubuntu" and whose path is: /dev/mapper/vgubuntu-root.
As you can see, the partition "/dev/sda5" is of type "LVM Linux" (whose corresponding partition id is "8e").
Plain Text
Disk /dev/sda: 30 GB, 32212254720 bytes, 62914560 sectors
Disk model: Virtual disk
Units: sectors of 1 * 512 = 512 bytes
Sector size (logical/physical): 512 bytes / 512 bytes
I/O size (minimum/optimal): 512 bytes / 512 bytes
Disklabel type: dos
Disk identifier: 0x126776c7

Device       Boot       Start      End  Sectors   Size Id Type
/dev/sda1    *           2048  1050623  1048576   512M  b W95 FAT32
/dev/sda2             1052670 41940991 40888322  19,5G  5 Extended
/dev/sda5             1052672 41940991 40888320  19,5G 8e LVM Linux


Disk /dev/mapper/vgubuntu-root: 18,52 GB, 19872612352 bytes, 38813696 sectors
Units: sectors of 1 * 512 = 512 bytes
Sector size (logical/physical): 512 bytes / 512 bytes
I/O size (minimum/optimal): 512 bytes / 512 bytes
Now that you know the name and path of your 1st virtual hard disk, you can use fdisk to modify its partition table.
Bash
fdisk /dev/sda
Which will display this:
Plain Text
Welcome to fdisk (util-linux 2.34).
Changes will remain in memory only, until you decide to write them.
Be careful before using the write command.

Command (m for help) :
Type "p" to display the partition table of the hard drive selected via the previous command.
Plain Text
p
Information about your "sda" hard drive and its partition table appears:
Plain Text
Disk /dev/sda: 30 GB, 32212254720 bytes, 62914560 secteurs
Disk model: Virtual disk
Units: sectors of 1 * 512 = 512 bytes
Sector size (logical/physical): 512 bytes / 512 bytes
I/O size (minimum/optimal): 512 bytes / 512 bytes
Disklabel type: dos
Disk identifier: 0x126776c7

Device       Boot       Start      End  Sectors   Size Id Type
/dev/sda1    *           2048  1050623  1048576   512M  b W95 FAT32
/dev/sda2             1052670 41940991 40888322  19,5G  5 Extended
/dev/sda5             1052672 41940991 40888320  19,5G 8e LVM Linux

Command (m for help) :
Type "n" to create a new partition.
Plain Text
n
Type "p" to create a new primary partition.
Plain Text
Partition type
p primary (1 primary, 1 extended, 2 free)
l logic (numbered from 5)
Select (p by default): p
Specify a free partition number.
In our case, we will use number 3 (which is proposed by default in our case):
Plain Text
Partition number (3,4, 3 by default): 3
Leave the default values for the position of the first and last sector of the new partition to use all unused space on this virtual hard disk.
To do this, do not indicate anything and press Enter twice to validate the default values.
Plain Text
First sector (41940992-62914559, 41940992 by default) :
Last sector, +/-sectors or +/-size{K,M,G,T,P} (41940992-62914559, 62914559 by default) :
This message will appear:
Plain Text
A new partition 3 of type "Linux" and size 10 GiB has been created.
Since Linux was installed in LVM mode, we need to change the type of this partition so that it is recognized as an "LVM Linux" type partition.
To do this, use the "t" command.
Plain Text
Command (m for help) : t
Indicate the partition number to modify.
In our case, partition #3 that we just created.
Plain Text
Partition number (1-3.5, 5 by default): 3
Next, change the partition type to "LVM Linux" by specifying the corresponding hexadecimal code: 8e.
Plain Text
Hexa code (type L to display all codes): 8e
Which will display this:
Plain Text
Partition type "Linux" changed to "Linux LVM".
Finally, write the changes made to the hard drive using the "w" command:
Plain Text
Command (m for help) : w
Which will display this:
Plain Text
The partition table has been corrupted.
Disk synchronization.
List the disks present in your virtual machine again.
Bash
fdisk -l
As you can see, a new partition "sda3" is present on your 1st virtual hard disk (sda).
In our case, this partition has a size of 10 GB (which corresponds to the disk space added to our virtual hard disk).
However, at the moment, the LVM logical volume "vgubuntu-root" is not yet using this disk space.
Plain Text
Disk /dev/sda: 30 GB, 32212254720 bytes, 62914560 sectors
Disk model: Virtual disk
Units = sectors of 1 * 512 = 512 bytes
Sector size (logical/physical): 512 bytes / 512 bytes
I/O size (minimum/optimal): 512 bytes / 512 bytes
Disklabel type: dos
Disk identifier: 0x126776c7

Device       Boot        Start      End  Sectors   Size Id Type
/dev/sda1    *            2048  1050623  1048576   512M  b W95 FAT32
/dev/sda2              1052670 41940991 40888322  19,5G  5 Extended
/dev/sda3             41940992 62914559 20973568    10G 8e LVM Linux
/dev/sda5              1052672 41940991 40888320  19,5G 8e LVM Linux

Partition table entries are not in disk order.


Disk /dev/mapper/vgubuntu-root: 18,52 GiB, 19872612352 bytes, 38813696 sectors
Units = secteur de 1 * 512 = 512 bytes
Sector size (logical/physical) : 512 bytes / 512 bytes
I/O size (minimum/optimal) : 512 bytes / 512 bytes
To be able to use this additional LVM storage space, you will need to first create a new LVM physical disk on the "sda3" partition you just created.
To do this, type the command:
Bash
pvcreate /dev/sda3
To find out the name of the volume group you need to extend, use the command:
Bash
vgdisplay
Which will display this:
Plain Text
  --- Volume group ---
  VG Name               vgubuntu
  System ID
  Format                lvm2
  Metadata Areas        1
  Metadata Sequence No  3
  VG Access             read/write
  VG Status             resizable
  MAX LV                0
  Cur LV                2
  Open LV               2
  Max PV                0
  Cur PV                1
  Act PV                1
  VG Size               <19,50 GiB
  PE Size               4,00 MiB
  Total PE              4991
  Alloc PE / Size       4982 / 19,46 GiB
  Free  PE / Size       9 / 36,00 MiB
  VG UUID               O25Ry2-vCjb-sjKN-Q83y-AJFk-yMWX-mxSh6X
Now you know that the volume group (VG) you need to extend is called "vgubuntu".
Extend this "vgubuntu" volume group onto the previously created "sda3" partition.
Bash
vgextend vgubuntu /dev/sda3
Plain Text
Volume group "vgubuntu" successfully extended
Next, view the free space on this "vgubuntu" volume group:
Bash
vgdisplay vgubuntu | grep "Free"
In our case, we can see that there is less than 10.04 GB of free space on it (after extending it to the "sda3" partition).
Plain Text
Free PE / Size 2569 / <10,04 GiB
Now that you know how much free space is available on this volume group, you can extend the "root" logical volume (LV) located there.
Note that its path is displayed in the output previously displayed by the "fdisk -l" command.
Since the "<" sign is present in front of the size of the free space (Free) displayed by the previous command, we used a slightly lower value.
Namely: 10.03 GiB.
To expand the LVM logical volume "vgubuntu-root" by 10.03 GiB, use the following command.
If we had specified "+10.04GiB", the error "Insufficient free space..." would have occurred.
Bash
lvextend -L+10,03GiB /dev/mapper/vgubuntu-root
If the value specified in the command above is less than or equal to the free space available on your volume group (VG), this will be displayed:
Plain Text
Rounding size to boundary between physical extents: 10,03 GiB.
Size of logical volume vgubuntu/root changed from <18,51 GiB (4738 extents) to <28,54 GiB (7306 extents).
Logical volume vgubuntu/root successfully resized.
Otherwise, this error will appear.
In this case, specify a slightly lower value.
Plain Text
Insufficient free space: xxxx extents needed, but only xxxx available.
Otherwise, this error will appear.
In this case, specify a slightly lower value.
Bash
vgdisplay vgubuntu | grep "Free"
In our case, we have: 4 MB left.
Plain Text
Free PE / Size 1 / 4,00 MiB
We can therefore extend our logical volume "vgubuntu-root" again by 4 MiB.
Bash
lvextend -L+4M /dev/mapper/vgubuntu-root
Plain Text
Size of logical volume vgubuntu/root changed from <28,54 GiB (7306 extents) to 28,54 GiB (7307 extents).
Logical volume vgubuntu/root successfully resized.
Now there is no free space left on your volume group ("vgubuntu" in our case).
To check this, use the command:
Bash
vgdisplay vgubuntu | grep "Free"
Plain Text
Free PE / Size 0 / 0
Finally, to be able to use the disk space that you have just added to your logical volume ("vgubuntu-root" in our case), you will need to extend its file system using the command:
Bash
resize2fs /dev/mapper/vgubuntu-root
Plain Text
resize2fs 1.45.5 (07-Jan-2020)
Filesystem at /dev/mapper/vgubuntu-root is mounted on / ; on-line resizing required
old_desc_blocks = 3, new_desc_blocks = 4
The file system on /dev/mapper/vgubuntu-root is now 7482368 blocks (4k) long.
To verify that the added disk space is available, use the command:
Bash
df -h
As you can see, the size of our "vgubuntu-root" logical volume is now 28 GB instead of 19 GB.
Plain Text
Filesystem                  Size    Used Avail Use% Moounted on
...
/dev/mapper/vgubuntu-root    28G    6,5G   21G  25% /
...
Info: this tutorial is based on the official procedure available in the VMware knowledge base: Extending a logical volume in a virtual machine running Red Hat or Cent OS.
Share this tutorial
To see also
-

VMware 5/15/2024
VMware vSphere 6.7 - Add a physical disk to host
-

VMware 9/27/2024
VMware vSphere 6.7 - Array integration APIs (VAAI)
-

VMware 9/6/2024
VMware vSphere 6.7 - Configure port binding (iSCSI traffic)
-

VMware 6/13/2024
VMware vSphere 6.7 - Configure Virtual Flash (SSD cache)
You must be logged in to post a comment