Export and import vApps from the vSphere Client or via OVF Tool on VMware vSphere 6.7
- VMware
- 18 December 2024 at 14:45 UTC
-

- 2/2

4. Export a vApp in OVF format from the command line (using VMware OVF Tool)
Download the VMware OVF Tool (if you haven't already) and learn how to use it by referring to our tutorial "VMware vSphere 6.7 - Export and import VMs via VMware OVF Tool" (if necessary).
Next, open a command prompt (cmd.exe) as administrator.
To begin, move to the folder where the "ovftool.exe" program is located:
Batch
cd C:\Users\Administrator\Downloads\VMware-ovftool-4.4.3-18663434-win.x86_64\ovftool
Then you can get information about your vApp using the command below.
Which also allows you to check if the path to your vApp is correct.
Otherwise, ovftool will help you find the correct path.
Explanation of the parameters used:
- --noSSLVerify: disables checking the validity of the SSL certificate.
This is necessary if you want to connect to a server using its IP address instead of its domain name or when the certificate used is a self-signed certificate. - vi://10.0.0.104/: allows you to connect to the desired VMware vCenter Server using its IP address or domain name.
- DC-Brussels: path to the desired vApp. In our case, "DC-Brussels" corresponds to the data center in which this vApp is located in the inventory of our VMware vCenter Server.
- vm: virtual folder containing all the virtual machines and vApps present in the data center specified previously.
- RDS_vApp: the name of the vApp you want to export.
Batch
ovftool.exe --noSSLVerify "vi://10.0.0.104/DC-Brussels/vm/RDS_vApp"
Provide your username and password to log in to your VMware vCenter Server.
Plain Text
Enter login information for source vi://10.0.0.104/
Username:
Once the correct identifiers have been entered, information concerning your vApp, as well as the virtual machines located there, will appear:
Plain Text
Enter login information for source vi://10.0.0.104/
Username: administrator@vsphere.local
Password: ***********
OVF version:   1.0
VirtualApp:    true
Name:          RDS_vApp

...

Virtual Machines:
  Name:               WS 2016 - RDS
  Operating System:   windows9server64guest
  Virtual Hardware:
    Families:         vmx-14
    Number of CPUs:   2
    Cores per socket: 2
    Memory:           4.00 GB

...

  Name:               WS 2016 - AD
  Operating System:   windows9server64guest
  Virtual Hardware:
    Families:         vmx-14
    Number of CPUs:   2
    Cores per socket: 2
    Memory:           4.00 GB

...
To export this vApp in OVF format from your VMware vCenter Server (VCSA) to your computer, use the command below.
Explanation of the parameters of this command:
- --noSSLVerify: disables checking the validity of the SSL certificate.
- "vi://10.0.0.104/DC-Brussels/vm/RDS_vApp": targets the vApp object to export.
- "C:\Users\Administrator\Downloads\RDS_vApp.ovf": allows you to indicate where and under what name the vApp will be exported in OVF format (if the file extension used is ".ovf") or OVA (if you use the extension ".ova").
Batch
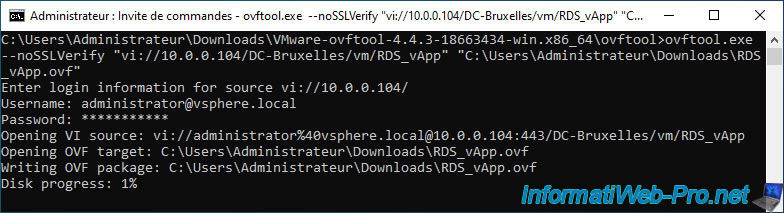
ovftool.exe --noSSLVerify "vi://10.0.0.104/DC-Brussels/vm/RDS_vApp" "C:\Users\Administrator\Downloads\RDS_vApp.ovf"
Enter your vCenter Server credentials again and this will appear:
Plain Text
Enter login information for source vi://10.0.0.104/
Username: administrator@vsphere.local
Password: ***********
Opening VI source: vi://administrator%40vsphere.local@10.0.0.104:443/DC-Bruxelles/vm/RDS_vApp
Opening OVF target: C:\Users\Administrator\Downloads\RDS_vApp.ovf
Writing OVF package: C:\Users\Administrator\Downloads\RDS_vApp.ovf
Disk progress: 1%
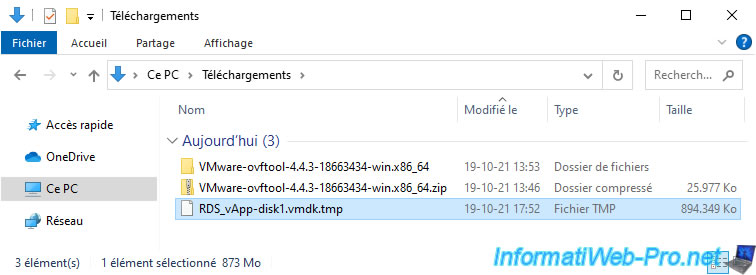
If you look on your computer's hard drive, you will see that a ".vmdk.tmp" file is being downloaded.
Which corresponds to the download of one of the virtual hard disks of this vApp (or more precisely that of one of its VMs).
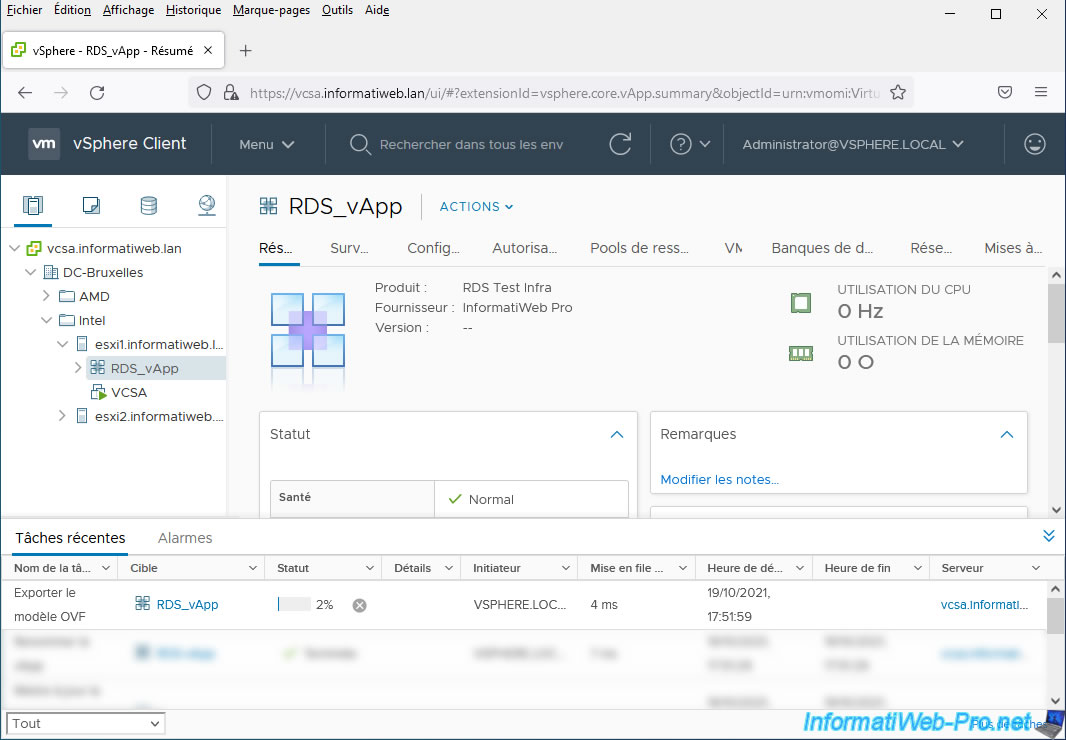
If you look in the recent tasks visible from the "vSphere Client" web interface, you will see that an "Export OVF Template" task is running for the vApp you are exporting from this server VMware vCenter Server using the VMware OVF Tool (ovftool).
Once the export of the vApp in OVF / OVA format is complete, this will be displayed:
Plain Text
Transfer Completed
Completed successfully
![]()
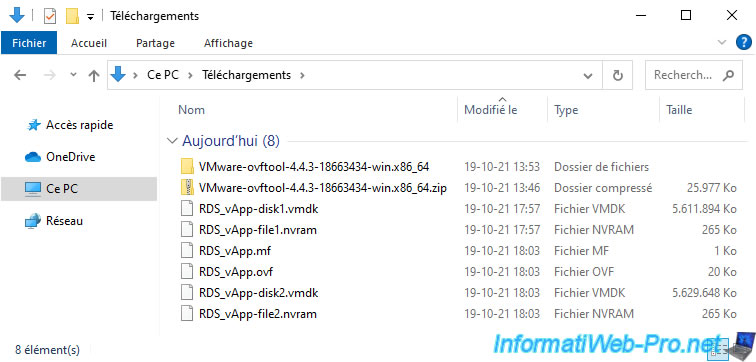
If you exported your vApp in OVF format, you will have:
- ".vmdk" files: virtual hard disks of the virtual machines present in the exported vApp.
- ".nvram" files: BIOS / EFI firmware configuration of these virtual machines
- a ".mf" file: manifest file used to check the integrity of the exported files
- an ".ovf" file: configuration file in OVF format for this vApp (and its virtual machines)
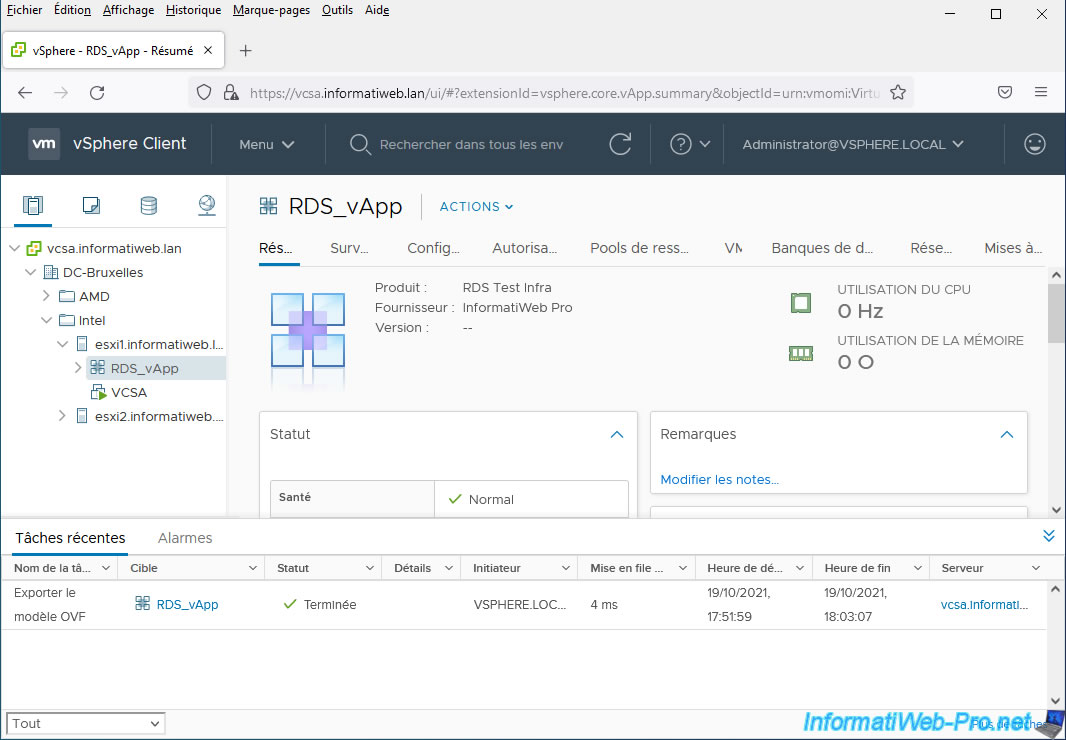
If you look from the vSphere Client, you will be able to see that the "Export OVF Template" task has completed.
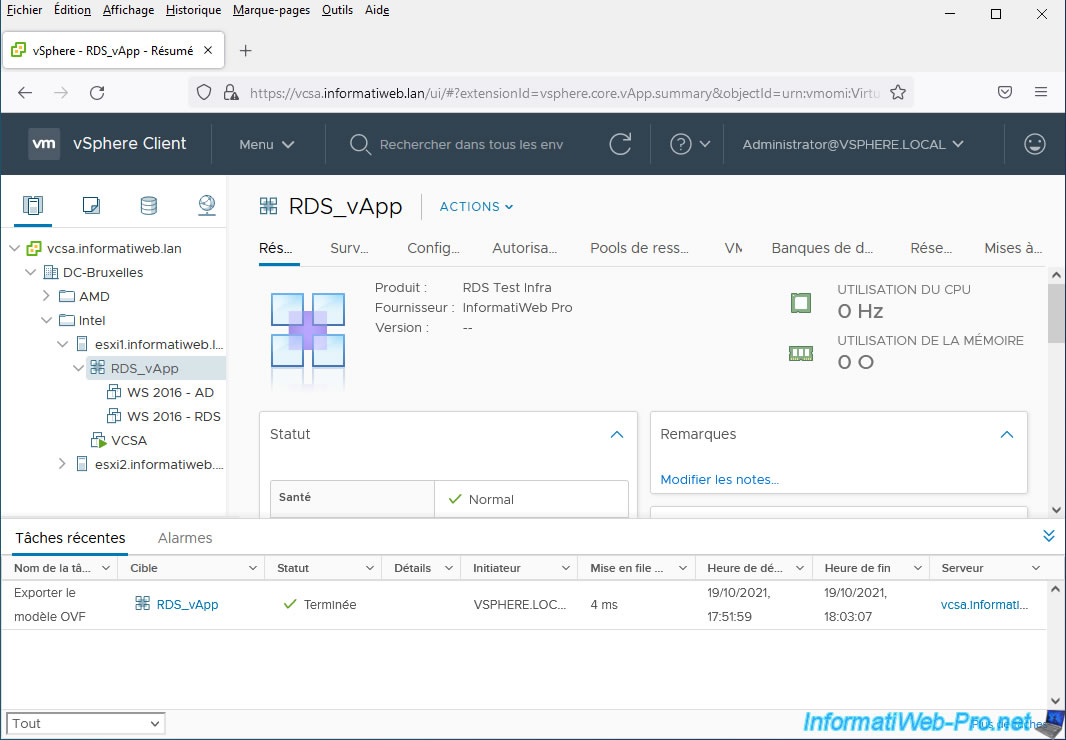
If you deploy the node corresponding to this vApp, you will be able to see that the virtual machines for it are located there.
5. Import a vApp in OVF format from the command line (using VMware OVF Tool)
To import a vApp in OVF or OVA format to your VMware vCenter Server, use the command below.
Explanation of the parameters of this command:
- --noSSLVerify: disables checking the validity of the SSL certificate.
- -ds="HDD2": datastore where the vApp should be created.
- -n="RDS_vApp Bis": name under which this vApp should appear in the inventory of your VMware vCenter Server.
- "C:\Users\Administrator\Downloads\RDS_vApp.ovf": path to the OVF or OVA file of the vApp you want to import.
- "vi://10.0.0.104/DC-Brussels/host/Intel/esxi1.informatiweb.lan": targets the host object (VMware ESXi) which will be used when you want to start your vApp.
In our case, our VMware ESXi host is named "esxi1.informatiweb.lan" and is located in the "Intel" folder in the "Hosts and Clusters" tab of our VMware vCenter Server inventory.
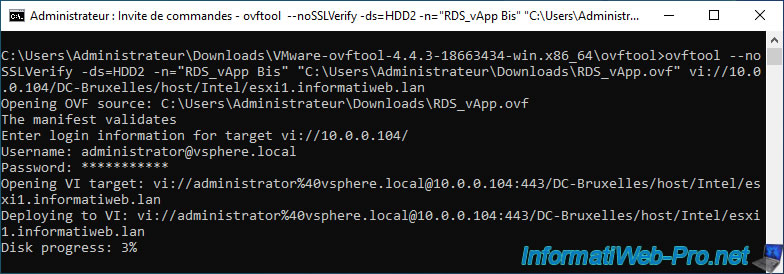
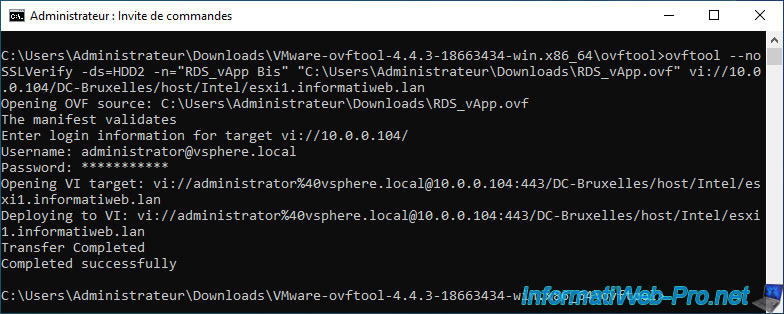
Batch
ovftool --noSSLVerify -ds=HDD2 -n="RDS_vApp Bis" "C:\Users\Administrator\Downloads\RDS_vApp.ovf" vi://10.0.0.104/DC-Brussels/host/Intel/esxi1.informatiweb.lan
Plain Text
Enter login information for source vi://10.0.0.104/
Username:
As before, provide your vCenter Server credentials and this will be displayed.
Plain Text
Opening OVF source: C:\Users\Administrator\Downloads\RDS_vApp.ovf
The manifest validates
Enter login information for target vi://10.0.0.104/
Username: administrator@vsphere.local
Password: ***********
Opening VI target: vi://administrator%40vsphere.local@10.0.0.104:443/DC-Brussels/host/Intel/esxi1.informatiweb.lan
Deploying to VI: vi://administrator%40vsphere.local@10.0.0.104:443/DC-Brussels/host/Intel/esxi1.informatiweb.lan
Disk progress: 4%
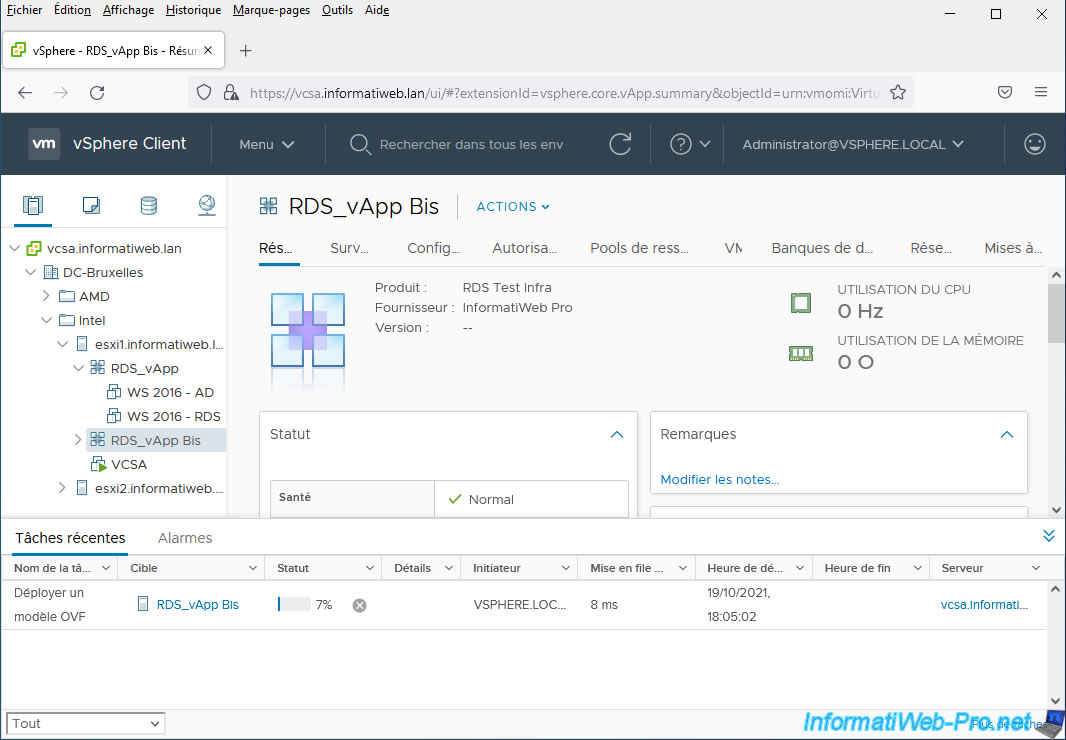
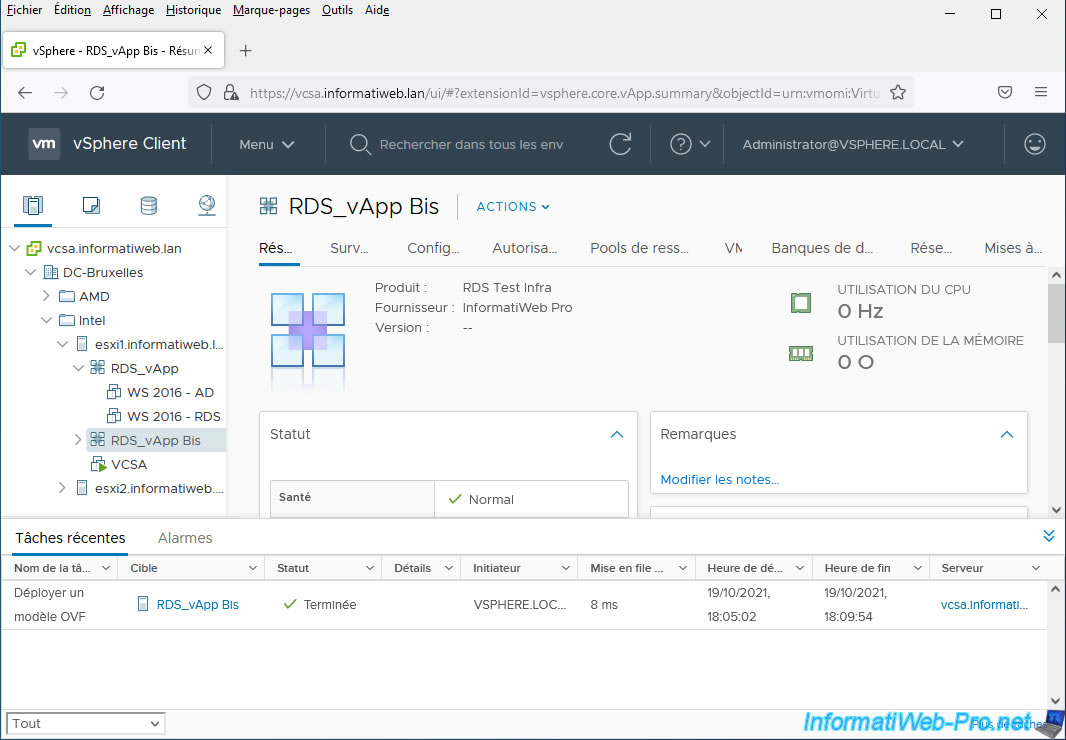
If you look in the vSphere Client recent tasks, you will see that a "Deploy OVF Template" task is running for your new (importing) vApp.
Once the import is complete, this will be displayed:
Plain Text
Transfer Completed
Completed successfully
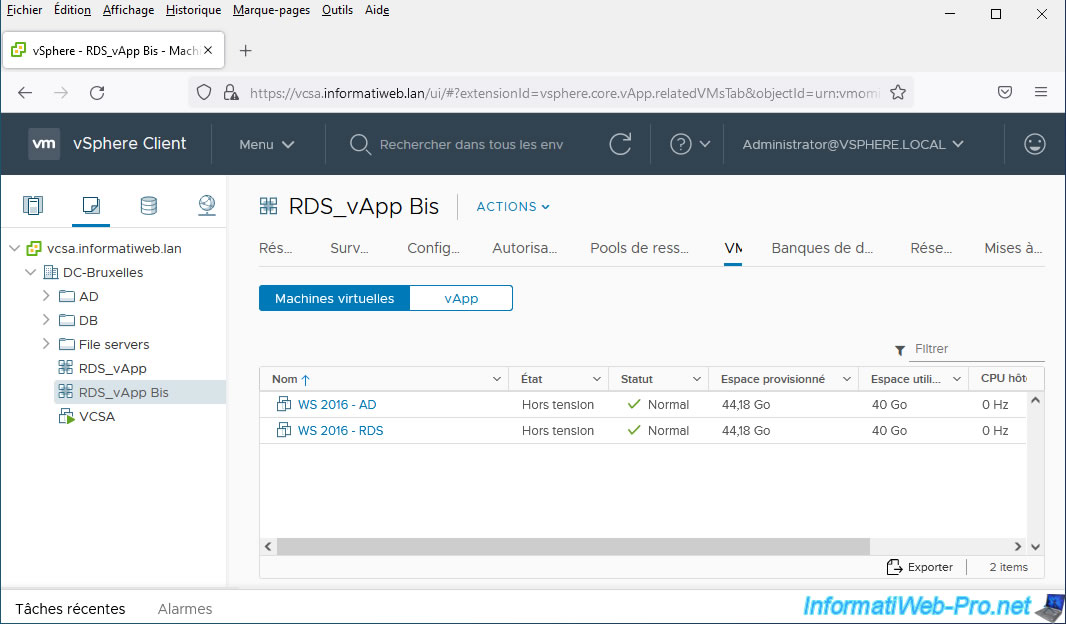
In the "vSphere Client" web interface of your VMware vCenter Server, you will see that the "Deploy an OVF template" task completed correctly on the first try.
If you select your new vApp, you will also see that the information (Product and Vendor) has been exported and imported (if applicable) via the OVF format.
If you deploy the node corresponding to this new vApp, you will see that the virtual machines have been imported into this new vApp without any problem.
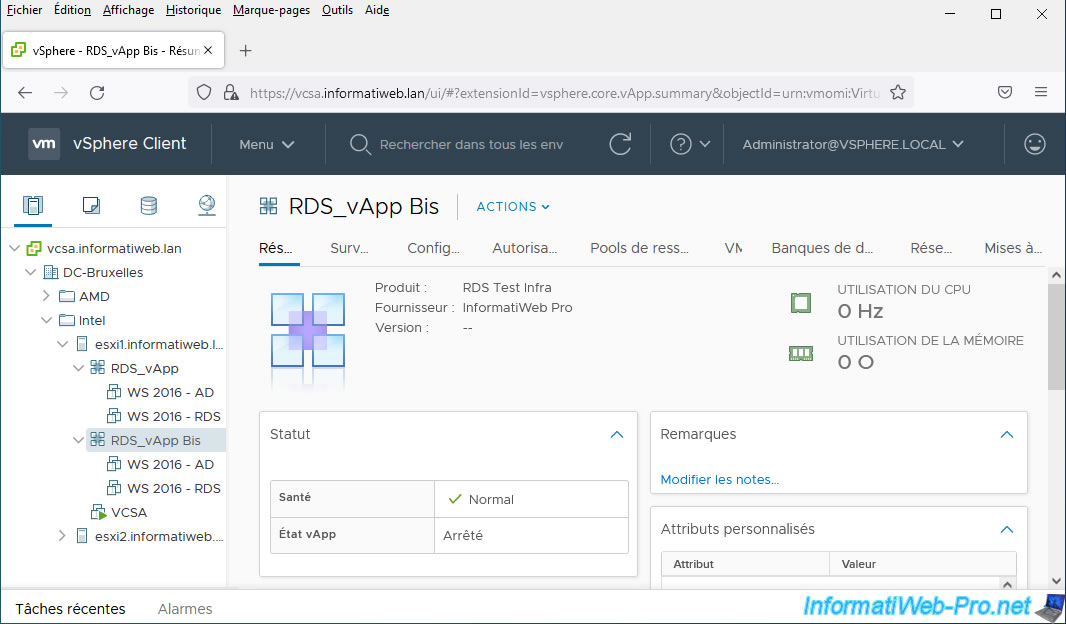
If you wish, you can also access this new vApp from the "VMs and Templates" tab of your VMware vCenter Server.
Share this tutorial
To see also
-

VMware 12/20/2024
VMware vSphere 6.7 - Clone vApps
-
VMware 10/4/2024
VMware vSphere 6.7 - Clone virtual machines
-
VMware 10/9/2024
VMware vSphere 6.7 - Clone virtual machines to a content library
-
VMware 10/11/2024
VMware vSphere 6.7 - Convert a Hyper-V virtual machine to a VMware VM
No comment