Enable Jumbo frame support on VMware vSphere 6.7
- VMware
- 23 August 2024 at 07:11 UTC
-

- 2/2

3. Configure the virtual network of your VMware ESXi hypervisor
So that Jumbo frames can pass from one virtual machine to another (via the virtual network of your VMware ESXi hypervisor), it is important that support for Jumbo frames is enabled end-to-end.
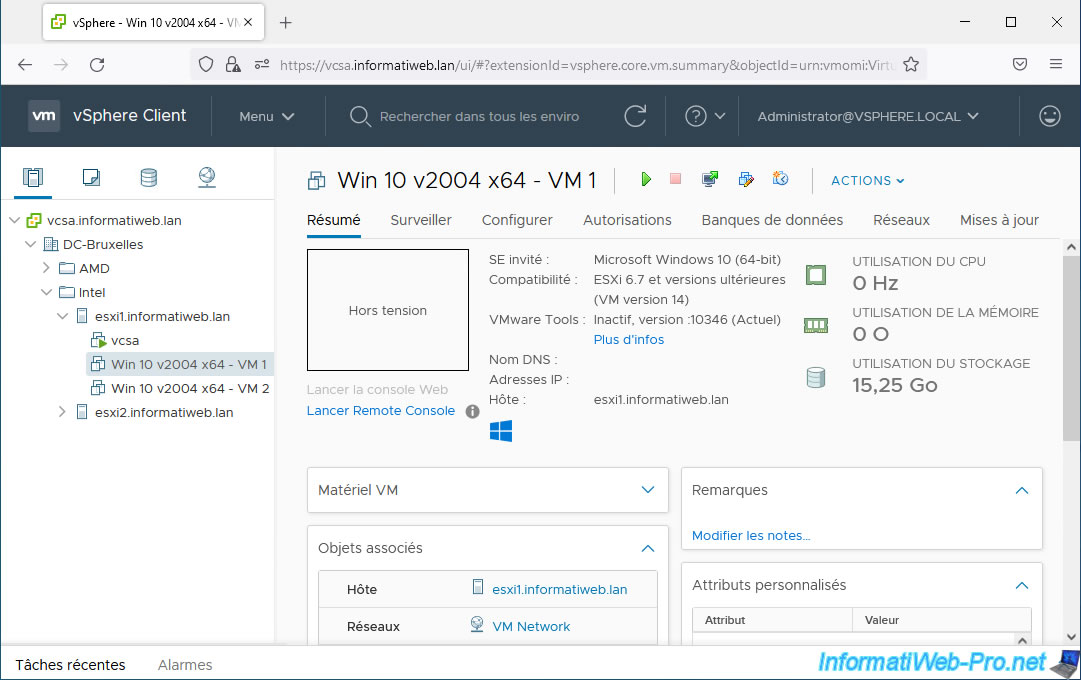
As you will have understood, for this tutorial, we will use 2 virtual machines under Windows 10 on the same VMware ESXi hypervisor.
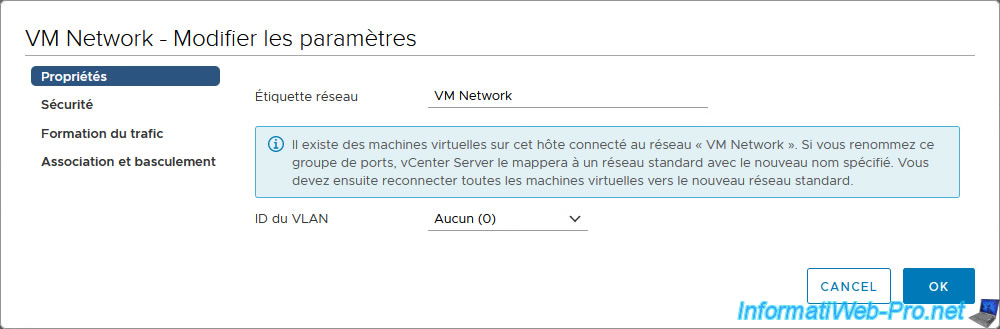
Select your VMware ESXi hypervisor and go to "Configure -> Networking -> Virtual switches" and edit the port group settings (default: VM Network) where your virtual machines are connected.
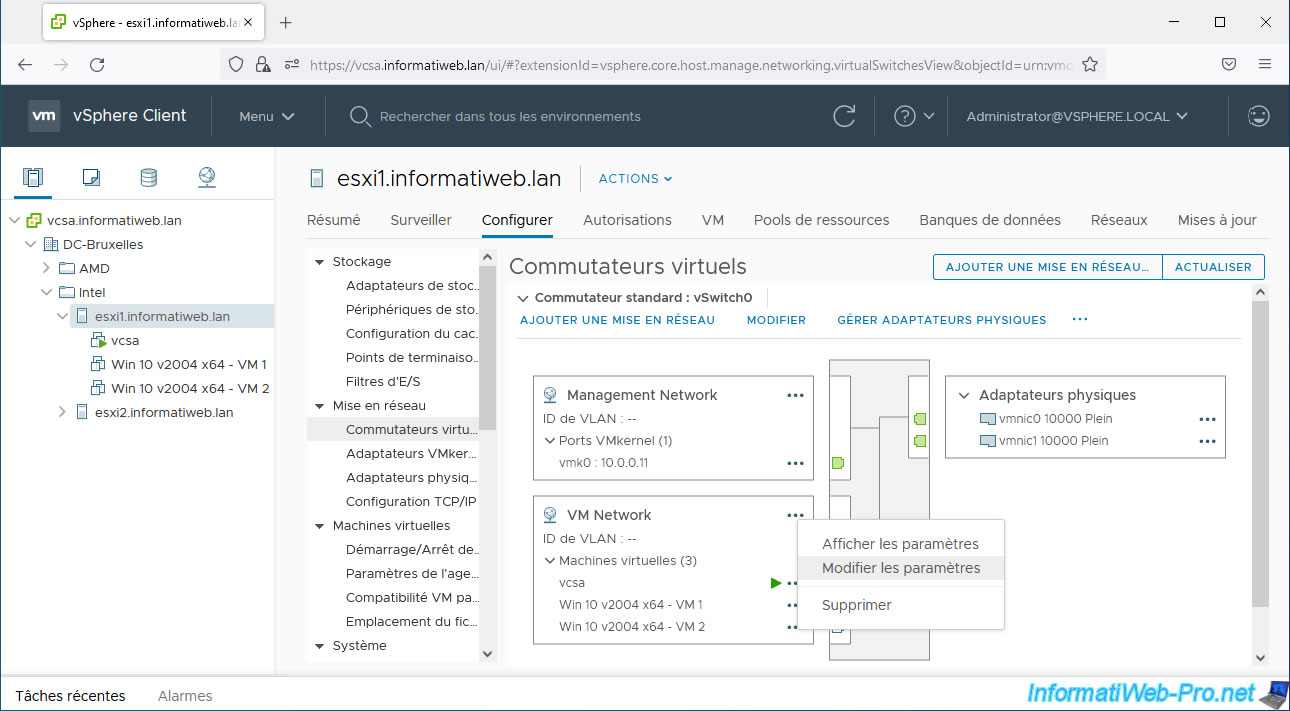
As you can see, there is no MTU set on the port groups.
There is therefore no modification to be made to these.
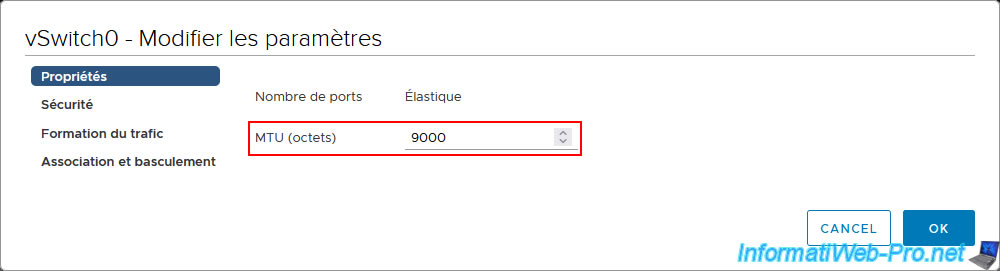
Click the "Edit" link for the affected virtual switch.
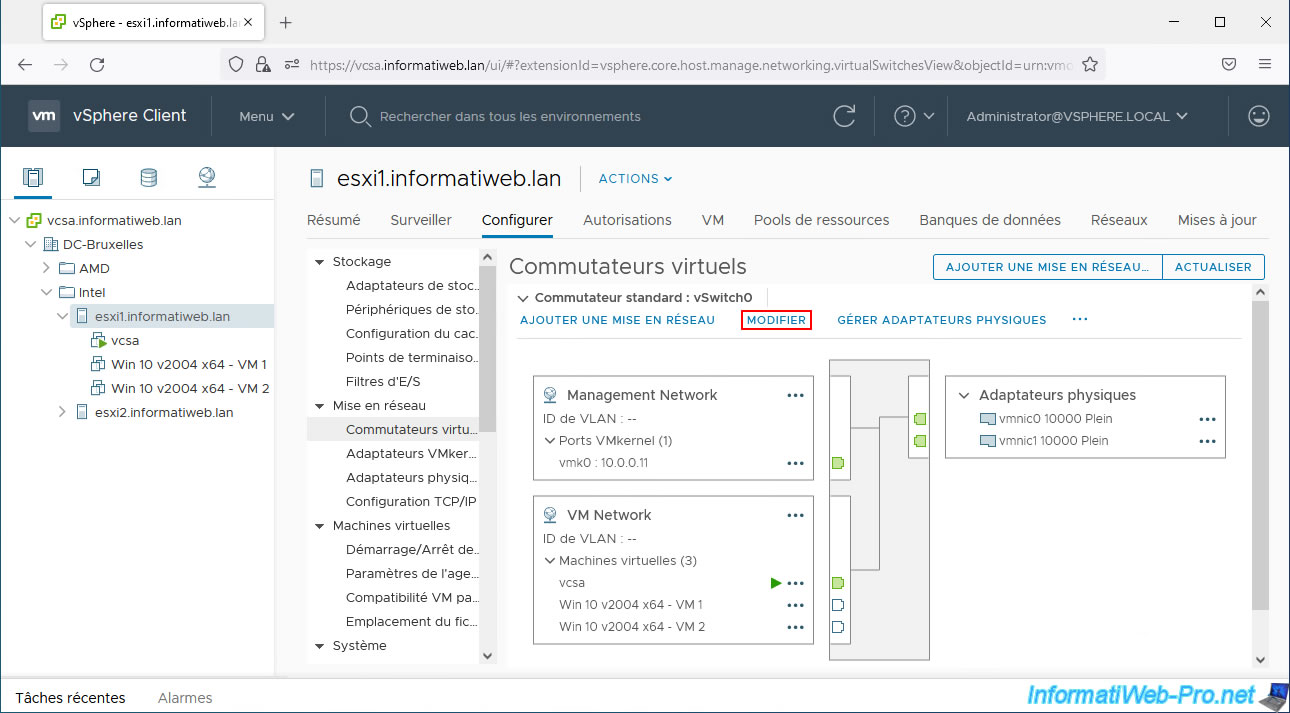
For Jumbo frames to pass through your virtual switch (vSwitch), you must set an MTU of 9000 bytes.
Note that changing the MTU on your virtual switch may cause errors to appear temporarily:
- Lost network connectivity.
- Loss of uplink redundancy.
Ignore these errors. These will not appear again since the problem only lasted for a second (when changing the MTU).
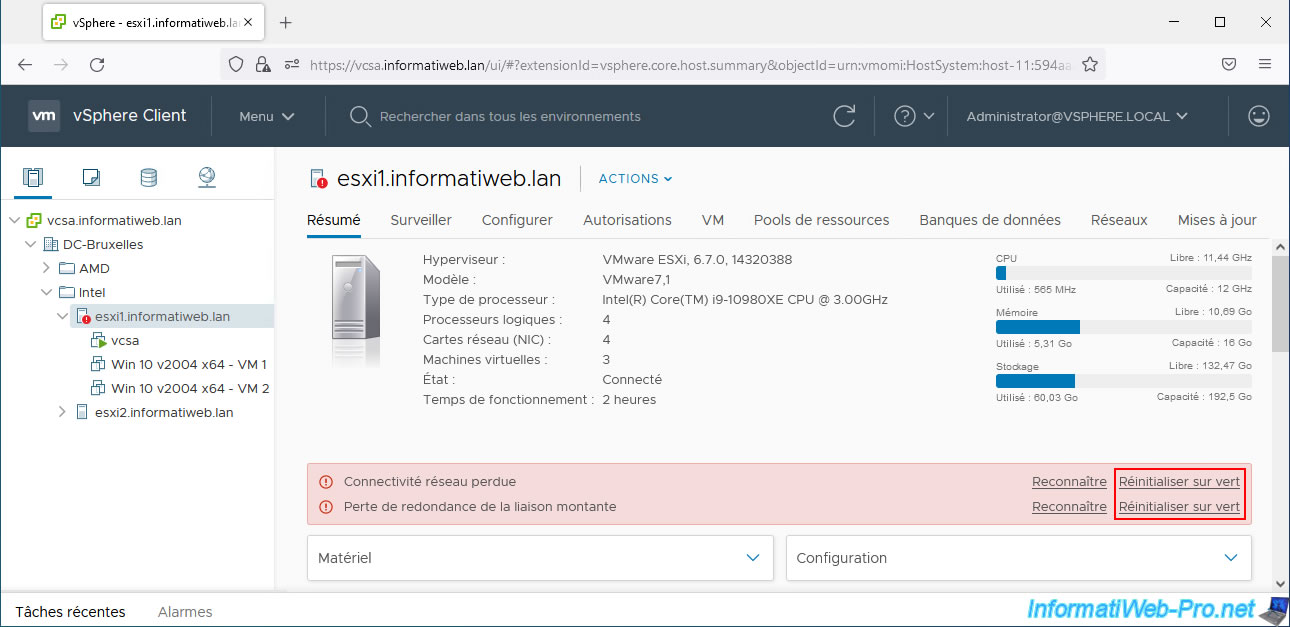
The errors are gone.

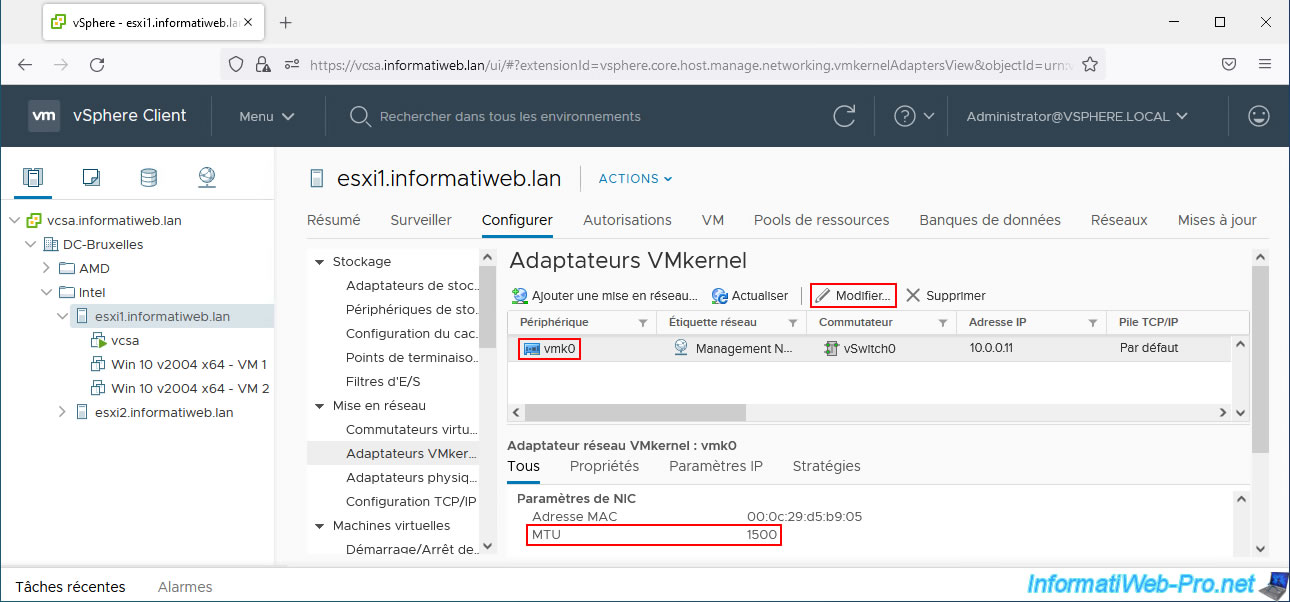
Note that if you want to use Jumbo Frames for network traffic related to your VMware ESXi host (as is the case with migrating virtual machines via vMotion), you will also need to change the MTU on the desired VMkernel adapter.
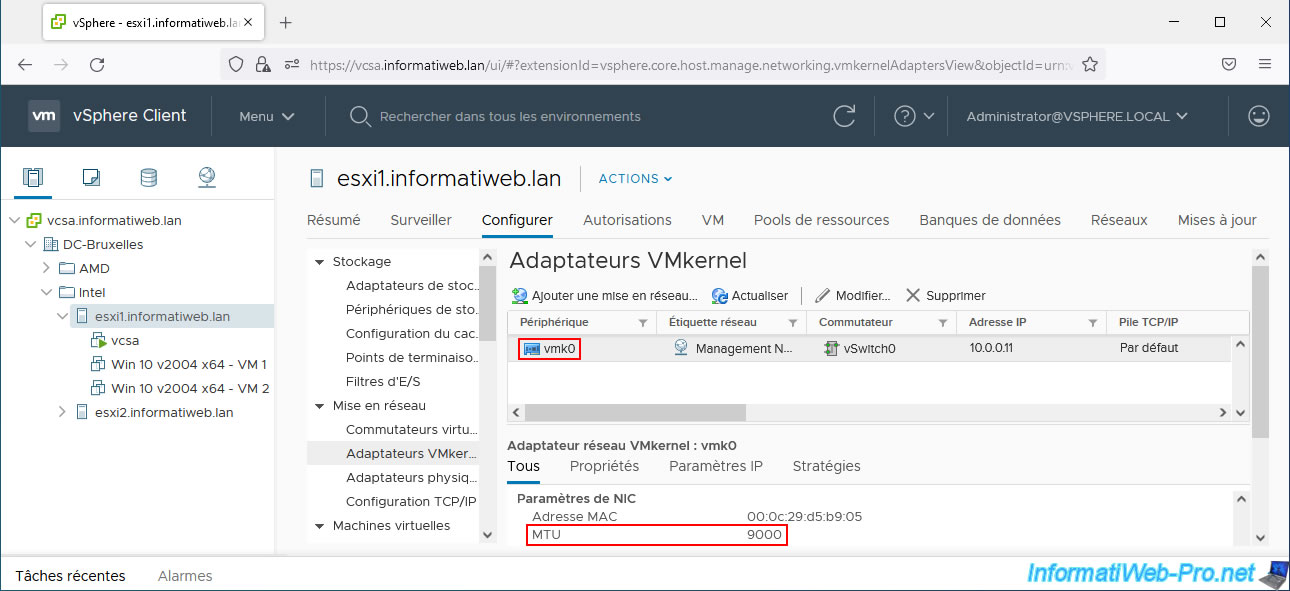
To do this, go to "Configure -> Networking -> VMkernel adapters", select the desired VMkernel adapter and click: Edit.
Note: as you can see, for the moment, its MTU is still 1500.
For this VMkernel adapter to support Jumbo frames, set it to an MTU of 9000 bytes.
Note: use an MTU of 9000 only if you need Jumbo frame support on this VMkernel adapter.
Indeed, a VMkernel adapter can work without problem (without Jumbo frame support) with an MTU of 1500 (bytes) even if the MTU of the virtual switch (vSwitch) concerned has been changed to "9000".
However, the reverse is not possible. If you want to set an MTU of 9000 on a VMkernel adapter, you must first set an MTU of 9000 on the relevant virtual switch (vSwitch).
Source : Enabling Jumbo Frames on virtual switches.
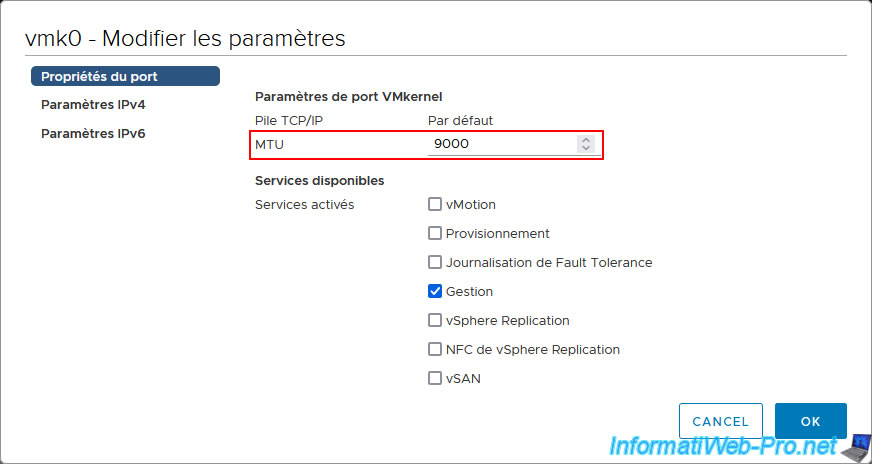
Now, the MTU of this VMkernel adapter is 9000.
4. Enable Jumbo frame support on Windows (guest OS)
Now that the virtual network of your VMware ESXi hypervisor is configured with an MTU of 9000 bytes and that your virtual machines use a "VMXNET 3" paravirtual network card (which supports Jumbo frames), you must enable support for Jumbo frames in their settings.
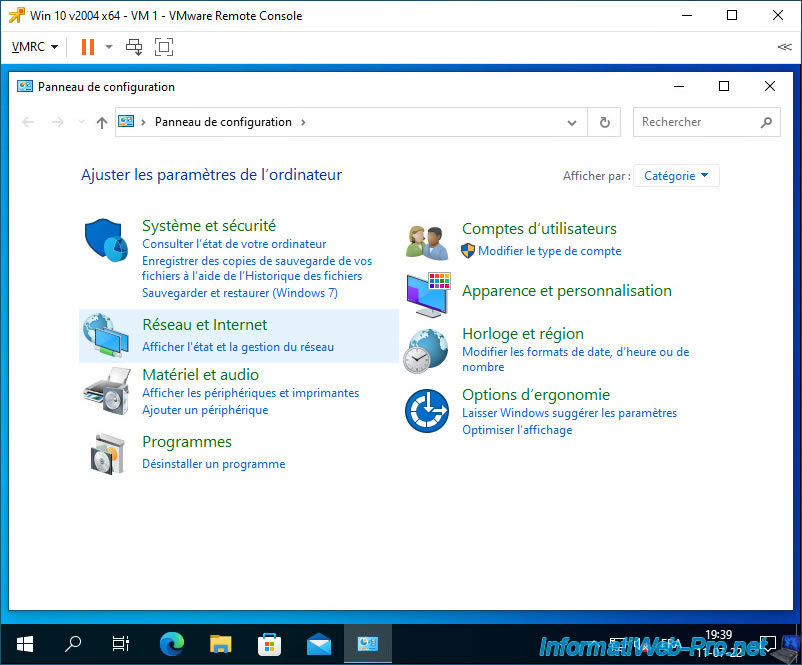
To do this, in Windows, open the control panel and go to: Network and Internet.
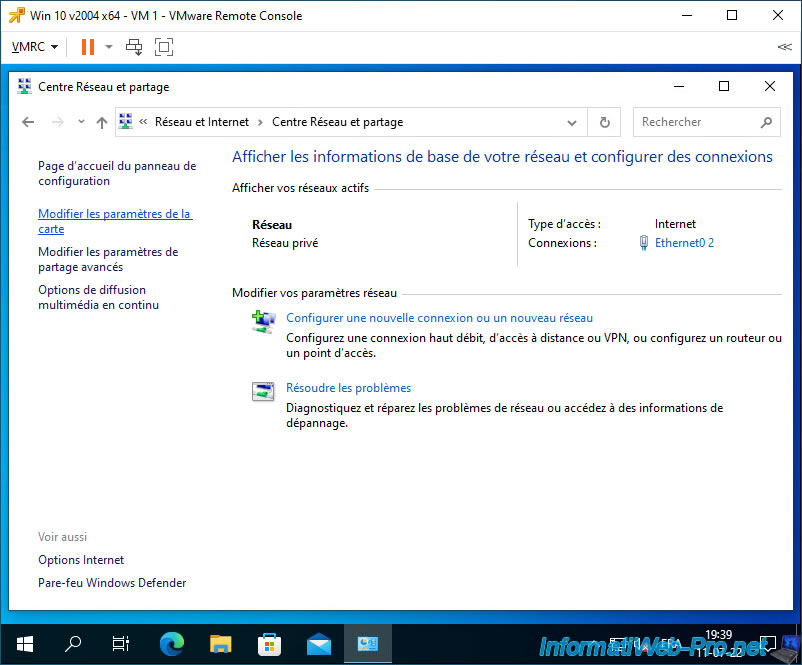
Go to: Network and Sharing Center.

Click: Change adapter settings.
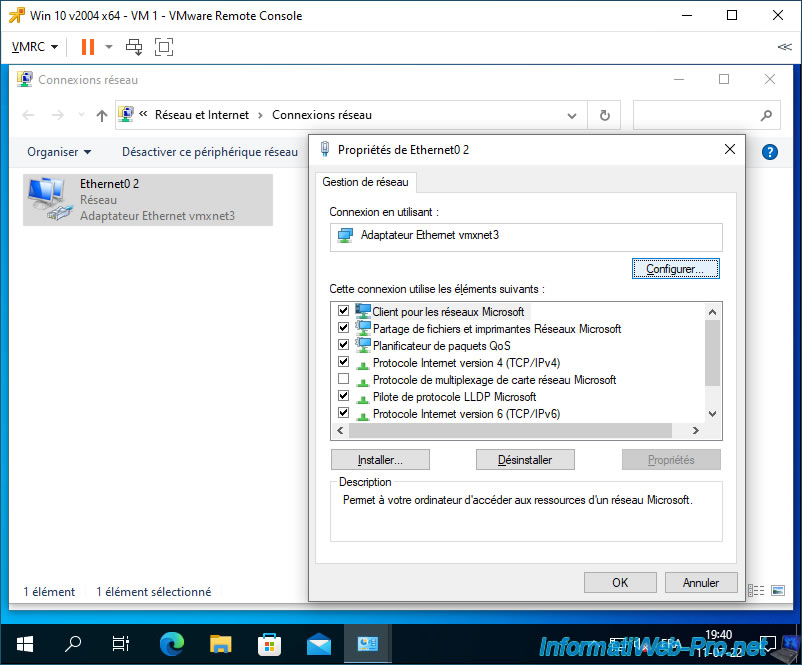
Right-click "Properties" on your vmxnet3 Ethernet adapter.
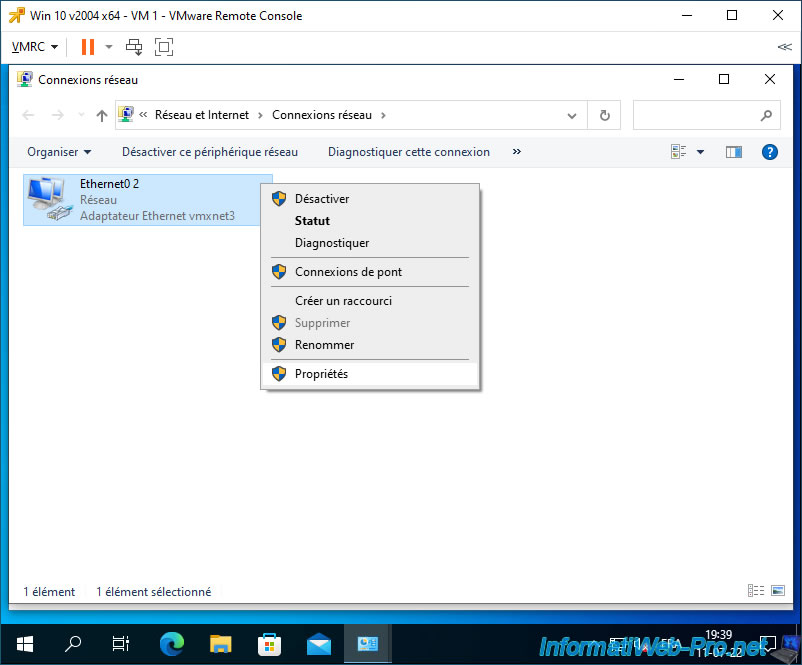
In the "Ethernet0 2 Properties" window that appears, click on: Configure.
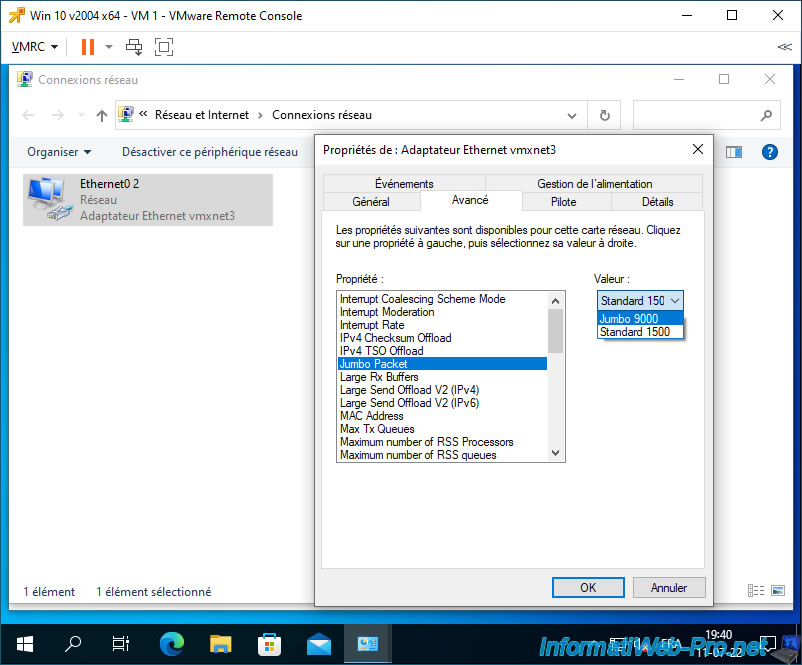
In the "vmxnet3 Ethernet Adapter Properties" window that appears, go to the "Advanced" tab, select the "Jumbo Packet" property and select the "Jumbo 9000" value.
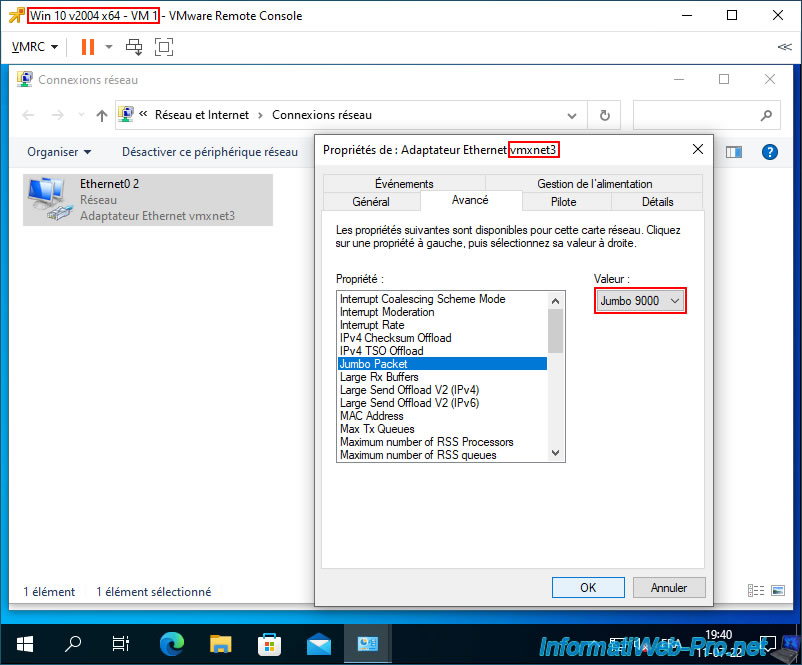
Once the "Jumbo 9000" value is selected, click OK.
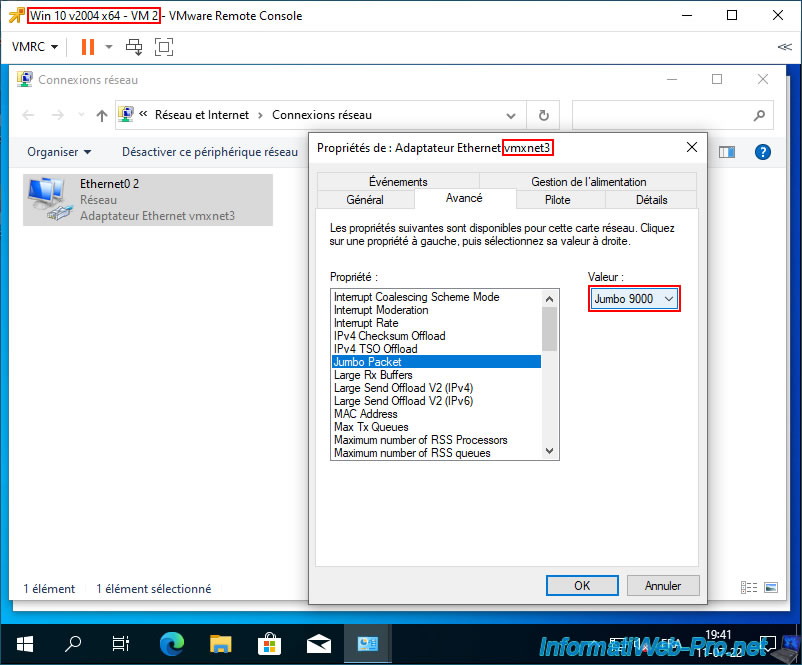
Also enable jumbo frame support on the vmxnet3 Ethernet adapter of the destination virtual machine.
5. Network test to verify that Jumbo frame support is correctly enabled
Now that everything is configured correctly to support Jumbo frames, test the network connection between your 2 virtual machines with a simple "ping".
Batch
ping 10.0.0.23
If the test passes, you will get a result like below.
Otherwise, verify that your virtual machines are using a private (home) network, a domain network, or that ping (ICMP) is allowed in incoming traffic from the destination machine (VM 2 in our case).
Plain Text
Pinging 10.0.0.23 with 32 bytes of data:
Reply from 10.0.0.23: bytes=32 time<1ms TTL=128
Reply from 10.0.0.23: bytes=32 time<1ms TTL=128
Reply from 10.0.0.23: bytes=32 time<1ms TTL=128
Reply from 10.0.0.23: bytes=32 time<1ms TTL=128

Ping statistics for 10.0.0.23:
    Packets: Sent = 4, Received = 4, Lost = 0 (0% loss),
Approximate round trip times in mili-seconds:
    Minimum = 0ms, Maximum = 0ms, Average = 0ms
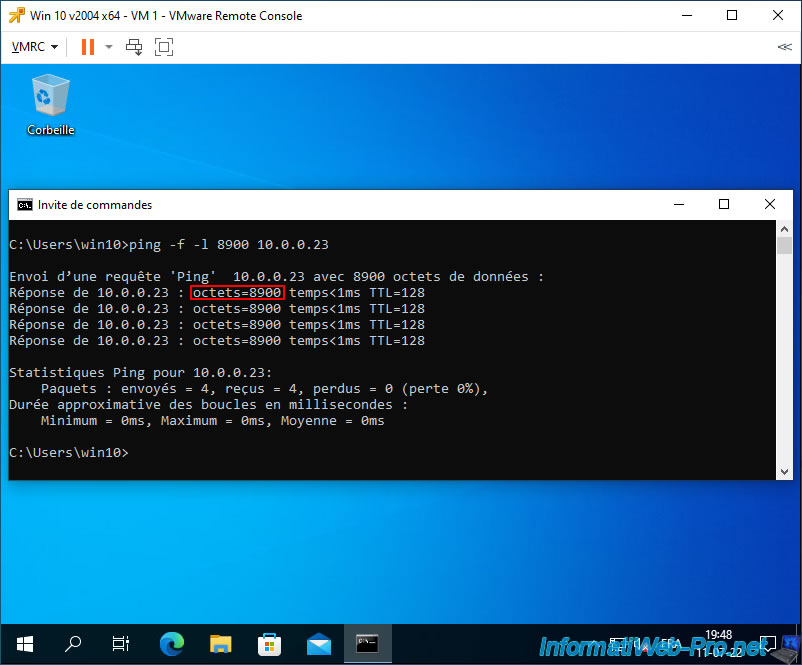
If the above test was successful, you can test Jumbo frame support by attempting to send 8900 byte packets to your destination machine.
To do this, use the command below.
- -f: indicates that packets of 8900 bytes should not be fragmented.
This ensures that the packets sent will not be fragmented (cut up) by a switch or other. - -l 8900: indicates that network packets with 8900 bytes should be sent.
Note that each network packet contains headers (such as: the source and destination IP addresses) and that the packet will therefore be a little larger than 8900 bytes in this case.
However, the size will remain less than 9000 bytes, so the packets will pass correctly through the network.
Batch
ping -f -l 8900 10.0.0.23
Plain Text
Pinging 10.0.0.23 with 8900 bytes of data:
Reply from 10.0.0.23: bytes=8900 time<1ms TTL=128
Reply from 10.0.0.23: bytes=8900 time<1ms TTL=128
Reply from 10.0.0.23: bytes=8900 time<1ms TTL=128
Reply from 10.0.0.23: bytes=8900 time<1ms TTL=128

Ping statistics for 10.0.0.23:
    Packets: Sent = 4, Received = 4, Lost = 0 (0% loss),
Approximate round trip times in mili-seconds:
    Minimum = 0ms, Maximum = 0ms, Average = 0ms
If you have not enabled jumbo frame support on the network adapter of the source virtual machine (the one where you are pinging), you will get this error:
Plain Text
Packet needs to be fragmented but DF set.
...
Packets: sent = 4, received = 0, lost = 4 (100% loss)
If you try to send jumbo frames to a virtual machine that does not support them, you will get this error:
Plain Text
Request timed out.
...
Packets: sent = 4, received = 0, lost = 4 (100% loss)
Note that you cannot send packets with 9000 bytes of data.
Indeed, given that a packet also contains headers (such as the source IP address, the destination IP address, ...), the final size of the packet will obviously be greater than 9000 bytes.
Batch
ping -f -l 9000 10.0.0.23
What will cause this error:
Plain Text
Pinging 10.0.0.23 with 9000 bytes of data:
Packet needs to be fragmented but DF set.
Packet needs to be fragmented but DF set.
Packet needs to be fragmented but DF set.
Packet needs to be fragmented but DF set.

Ping statistics for 10.0.0.23:
    Packets: Sent = 4, Received = 0, Lost = 4 (100% loss)
Share this tutorial
To see also
-
VMware 8/21/2024
VMware vSphere 6.7 - Add a VMkernel interface
-

VMware 8/2/2024
VMware vSphere 6.7 - Collect logs with SexiLog
-
VMware 8/9/2024
VMware vSphere 6.7 - Collect logs with VMware Aria Operations for Logs
-

VMware 1/10/2025
VMware vSphere 6.7 - Create a LACP link (LAG)
No comment