Create a published content library (so that resources are accessible remotely) on VMware vSphere 6.7
- VMware
- 06 December 2024 at 12:11 UTC
-

- 4/5

5. Create a virtual machine and install the guest OS from a remote ISO file
If you wish, you can create a new virtual machine and install its guest operating system using an ISO file present in the subscribed library.
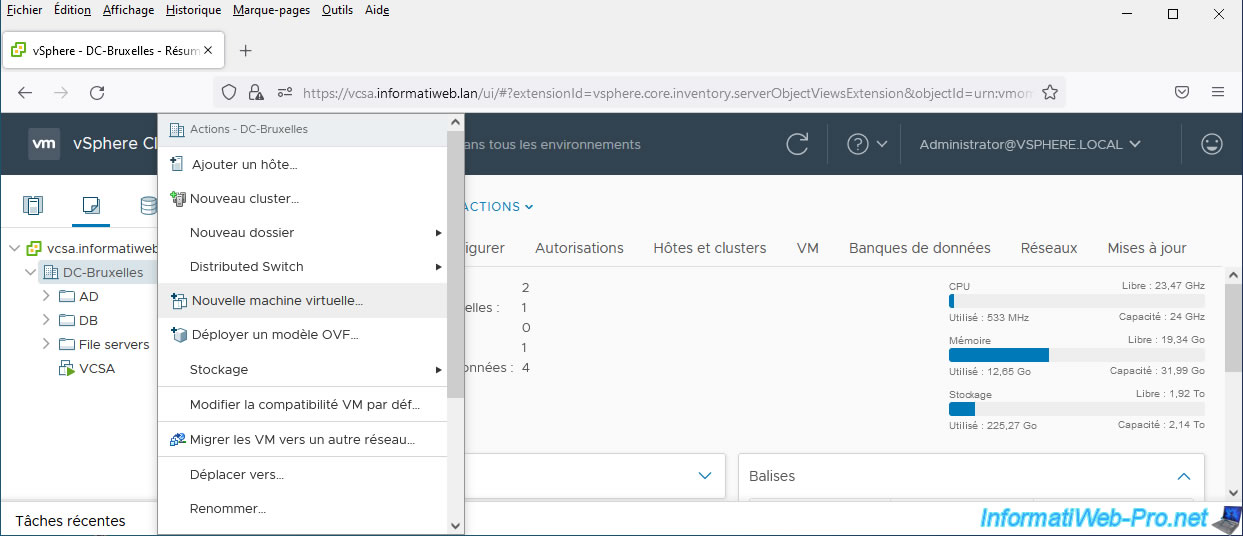
To do this, go to the "VM and Templates" tab and right-click "New Virtual Machine" on the location where you want to create your new virtual machine.
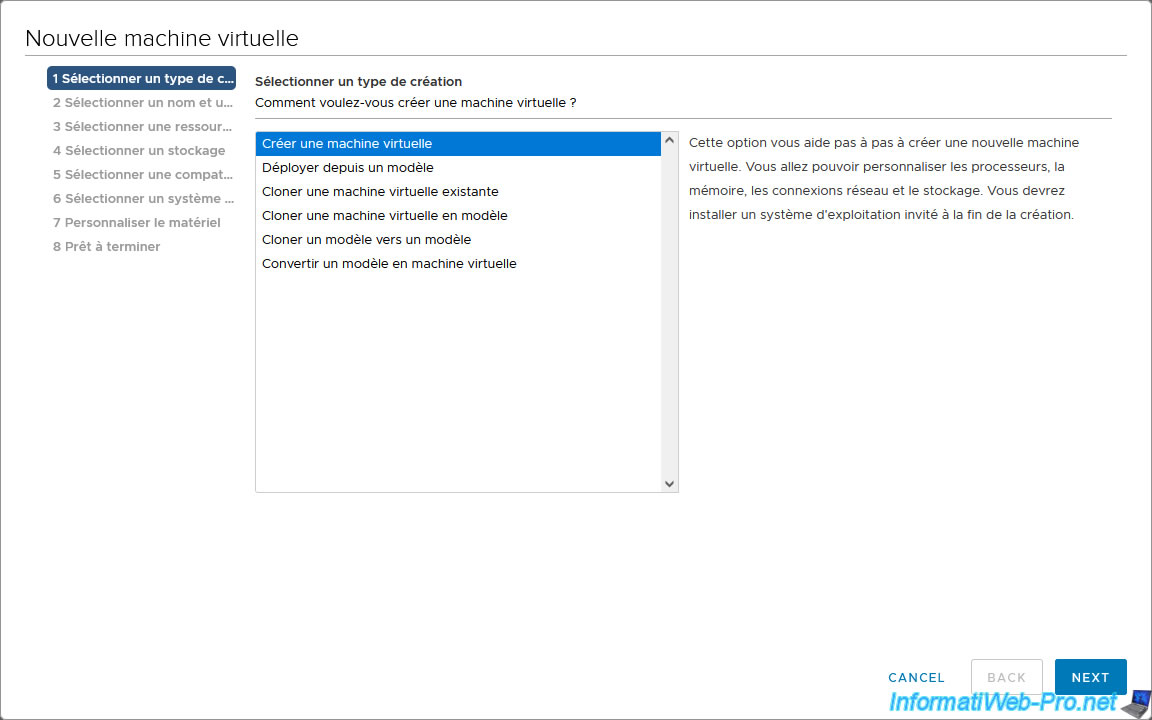
In the "New Virtual Machine" wizard that appears, select “Create a new virtual machine”.
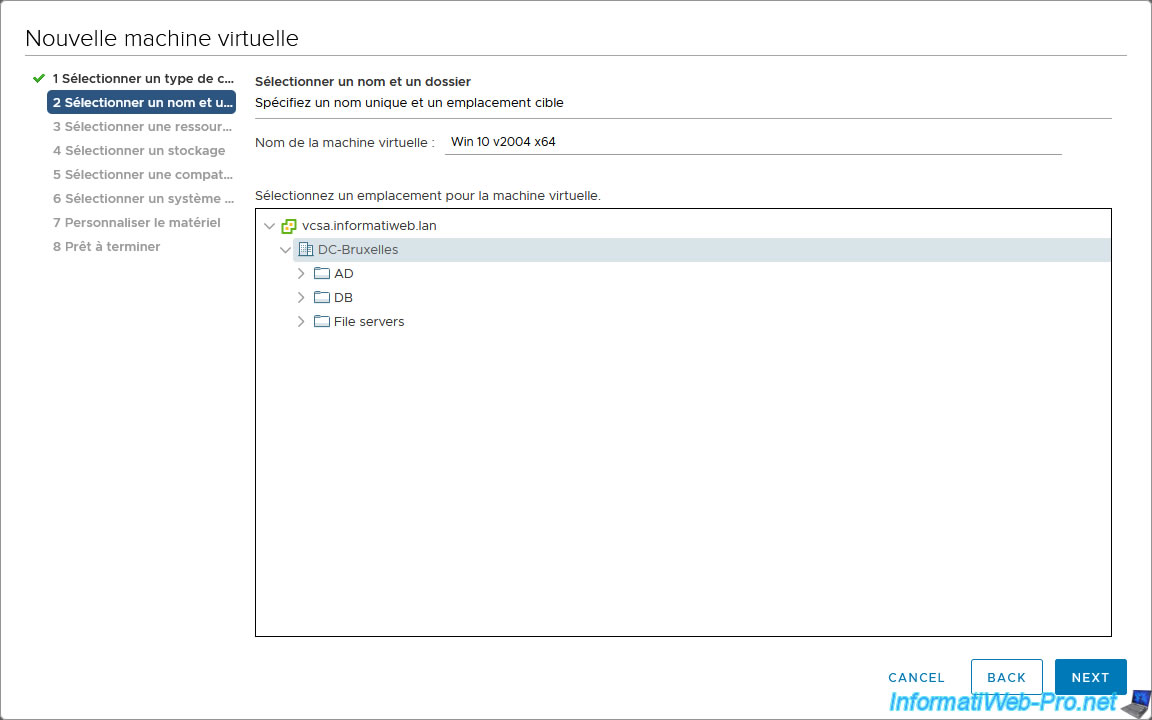
Provide a name for this new virtual machine and select where you want to add it.
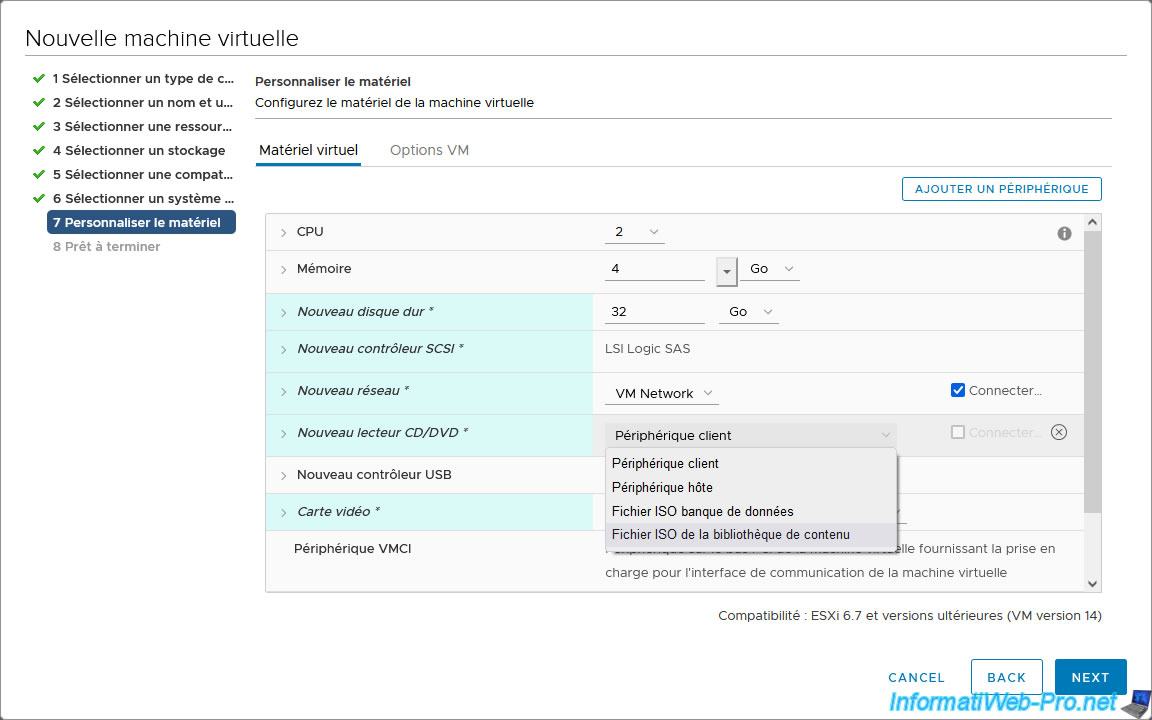
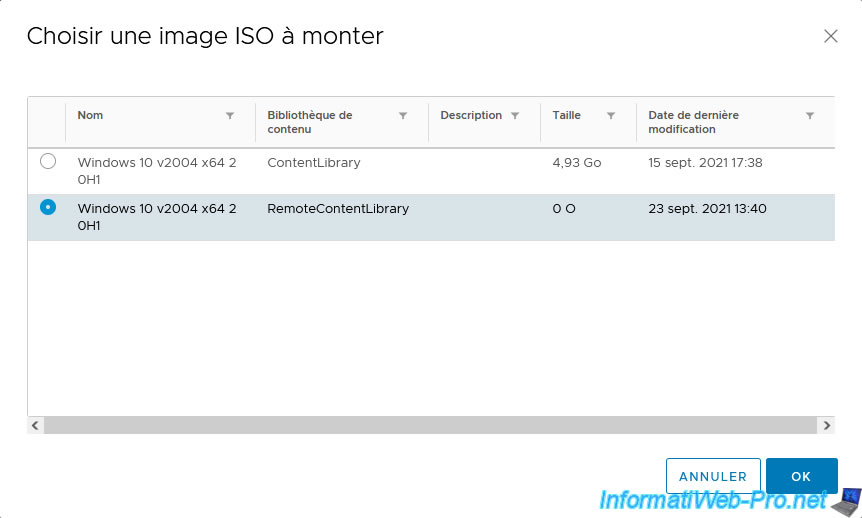
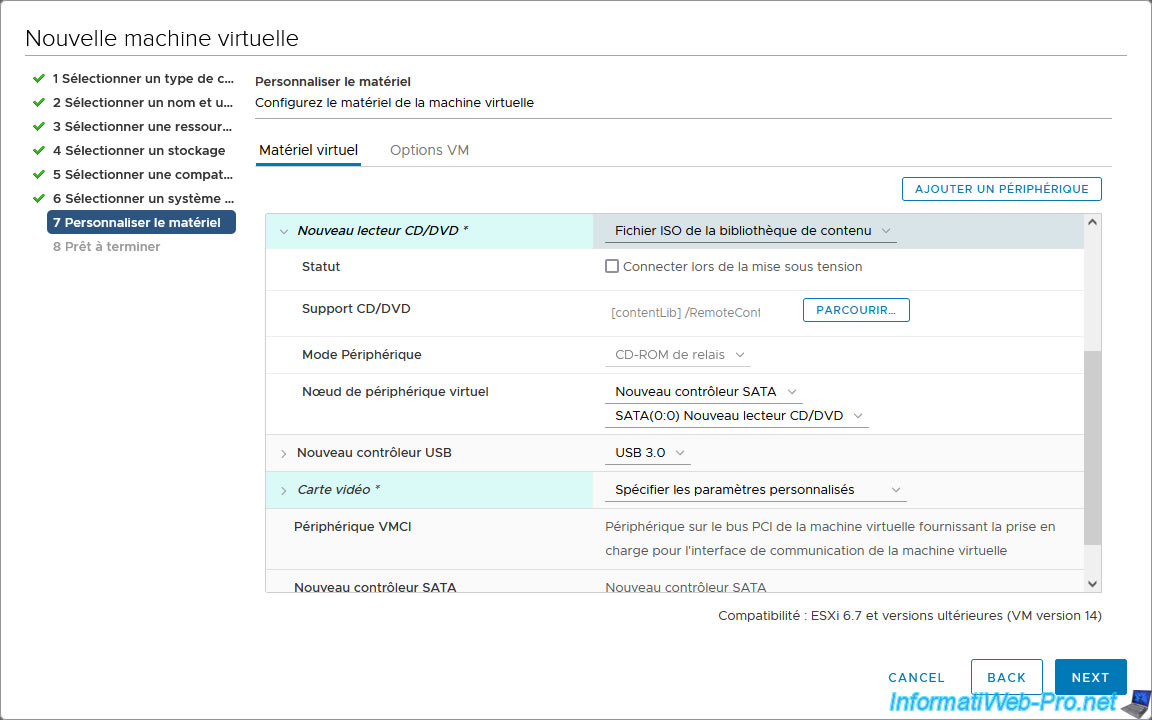
In the "Customize hardware" step, select "Content Library ISO File" for the virtual CD/DVD drive.
As you can see, the ISO file in your subscribed content library appears with a size of 0 bytes.
Select it and click OK.
Wait about ten seconds.
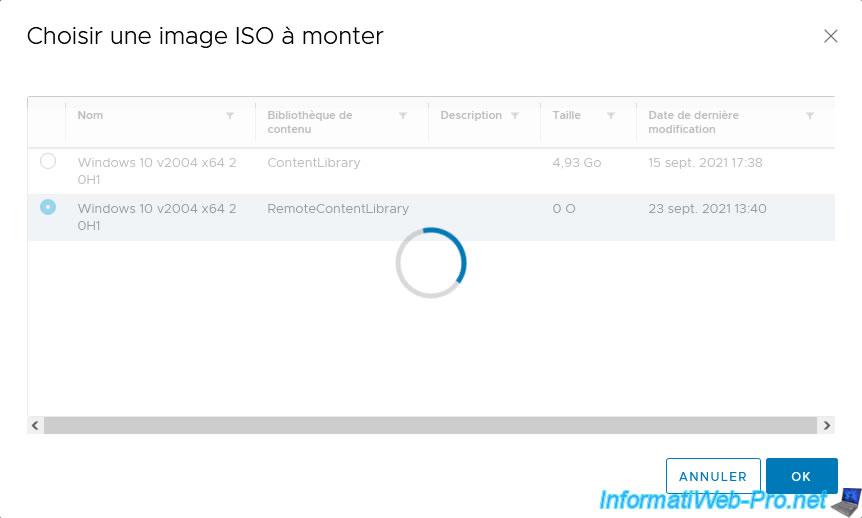
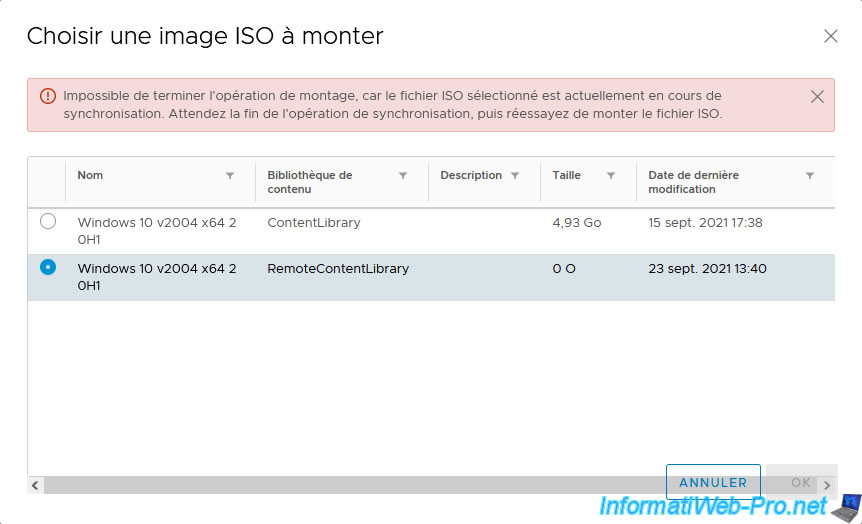
Given that this element had not yet been synchronized (hence its size of 0 bytes), an error will be displayed temporarily:
Unable to complete the mount operation because the selected ISO file is currently being synced. Wait for the sync operation to complete, then try to mount the ISO file again.
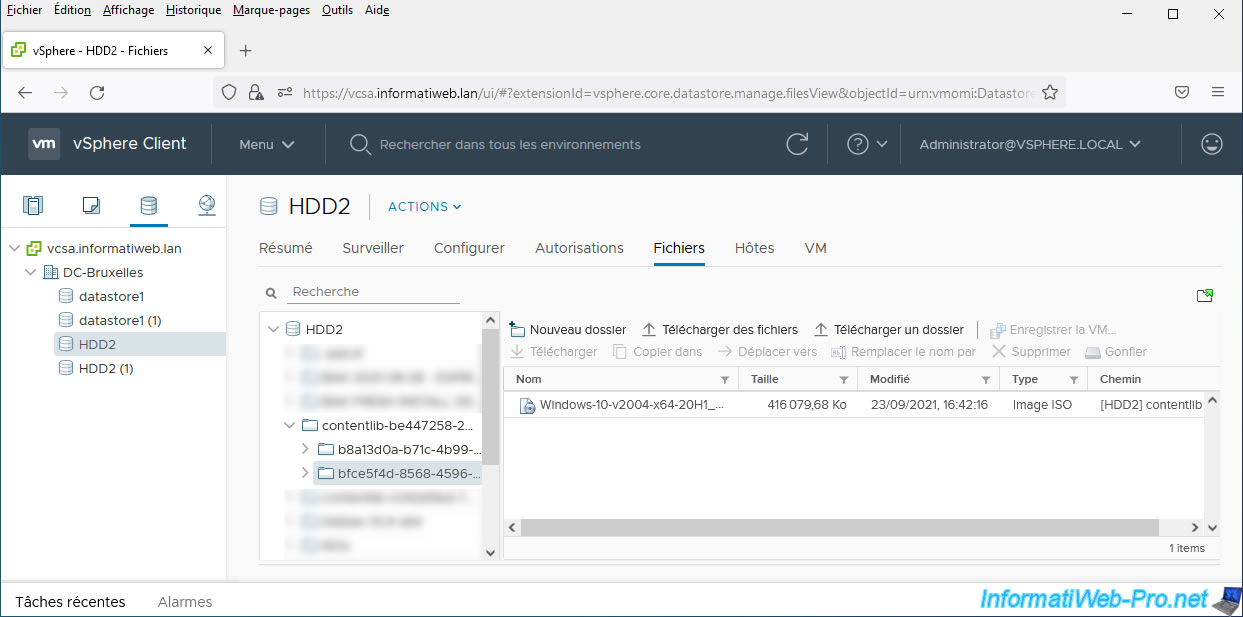
To view the download progress of the desired ISO file, go to your VMware vCenter Server storage.

As you can see, the size of it increases.
When its size stops increasing, the download will be complete.
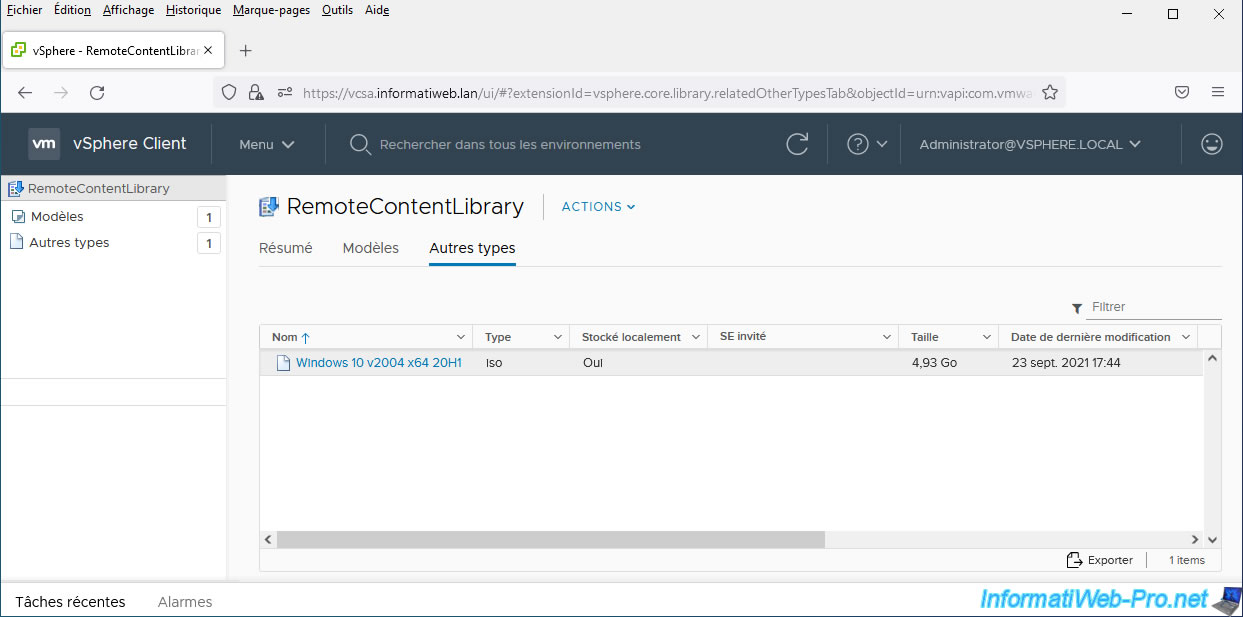
To check if an item is still downloading, you can also go to the "Other Types" tab in your subscribed content library.
As long as the size is 0 bytes, it is still downloading.
Once the item has finished downloading, its correct size will appear.
Once the desired ISO file has finished syncing, click "Browse" to open the ISO file selection window again.

In the "Choose an ISO image to mount" window that appears again, select the ISO file that you just synchronized indirectly and click OK.
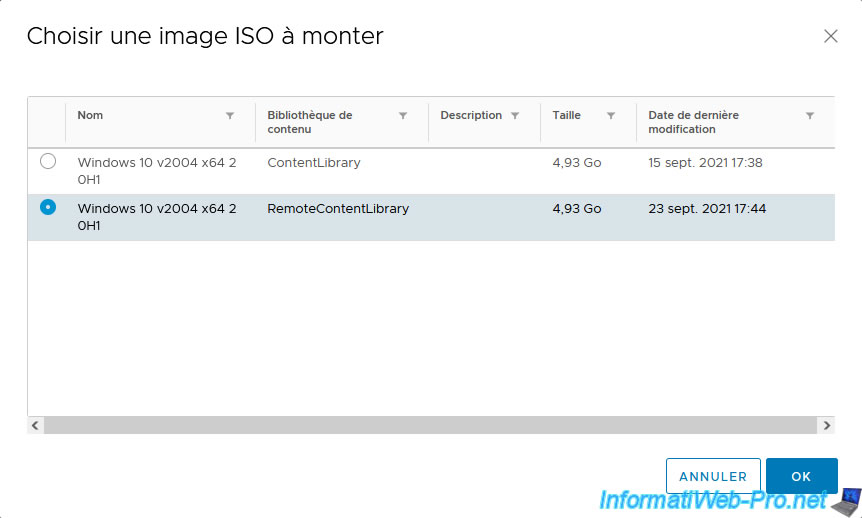
This time, the operation was successful.
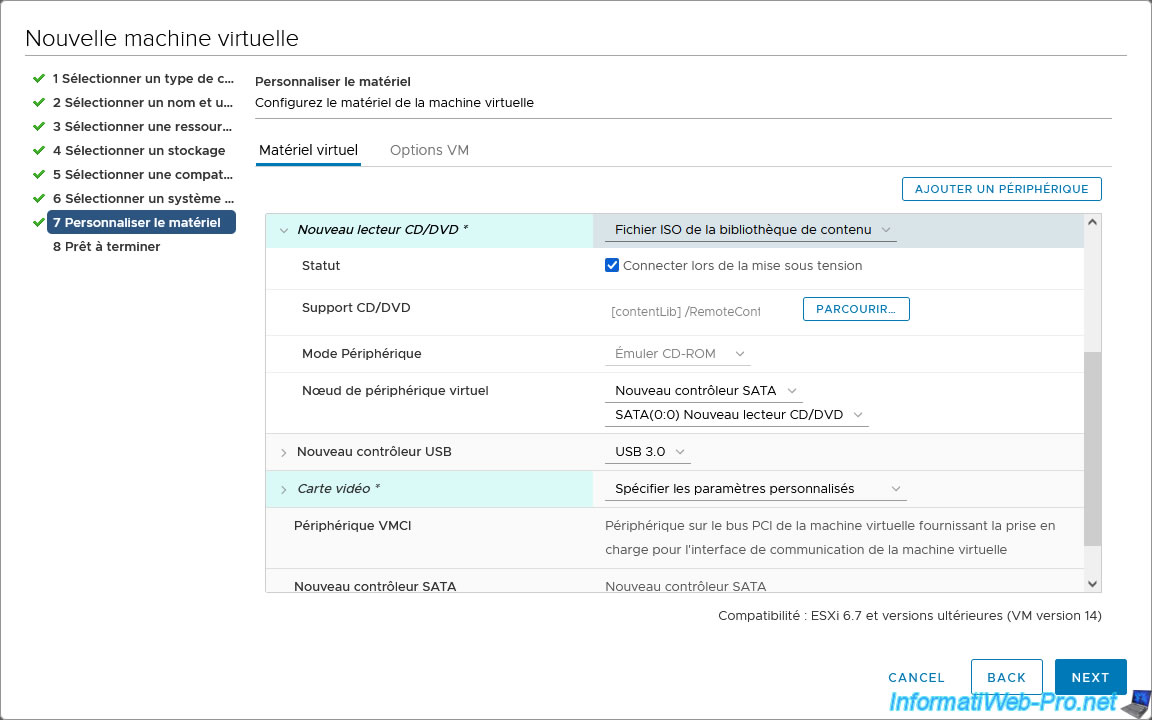
Make sure to check the "Connect At Power On" box for this CD/DVD drive so that the selected ISO file is automatically inserted into the virtual CD/DVD drive of this virtual machine.
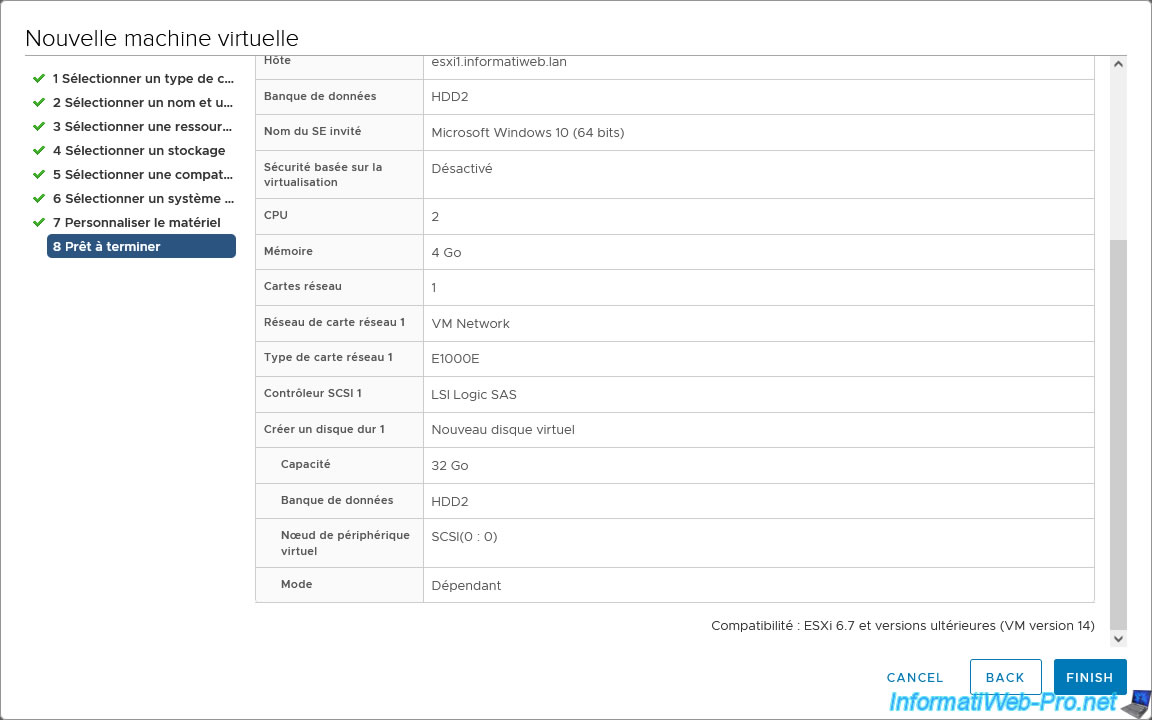
A summary of your virtual machine configuration appears.
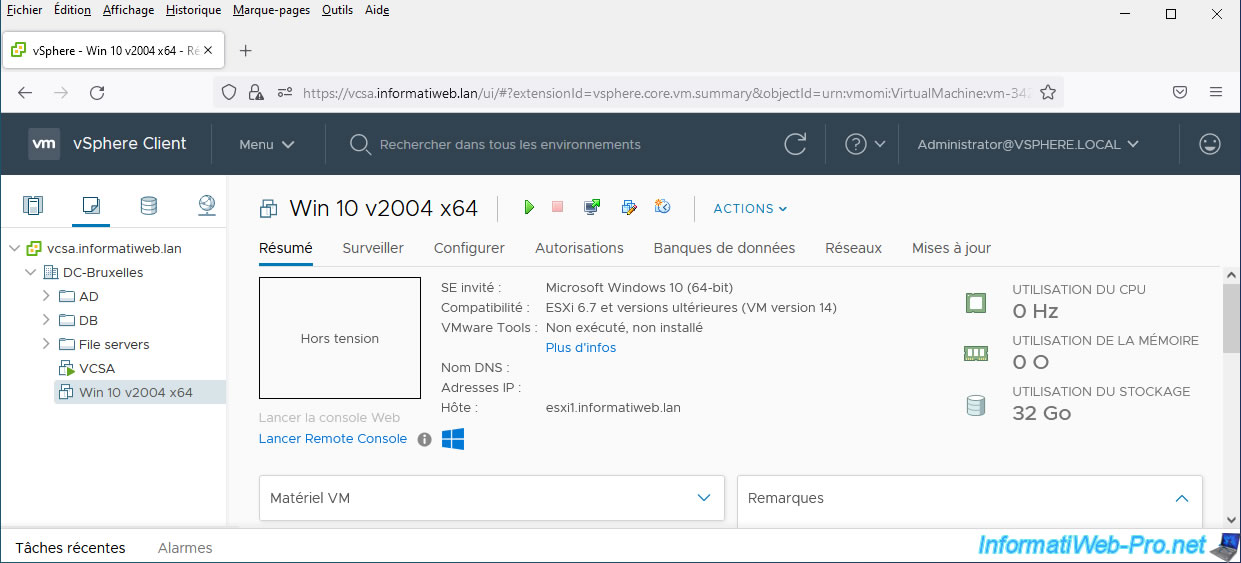
Your new virtual machine appears.
Share this tutorial
To see also
-

VMware 5/15/2024
VMware vSphere 6.7 - Add a physical disk to host
-

VMware 9/27/2024
VMware vSphere 6.7 - Array integration APIs (VAAI)
-

VMware 9/6/2024
VMware vSphere 6.7 - Configure port binding (iSCSI traffic)
-

VMware 6/13/2024
VMware vSphere 6.7 - Configure Virtual Flash (SSD cache)
No comment