Create a published content library (so that resources are accessible remotely) on VMware vSphere 6.7
- VMware
- 06 December 2024 at 12:11 UTC
-

- 3/5

4. Deploy a remote OVF template using your subscribed content library
Go to your subscribed content library page.
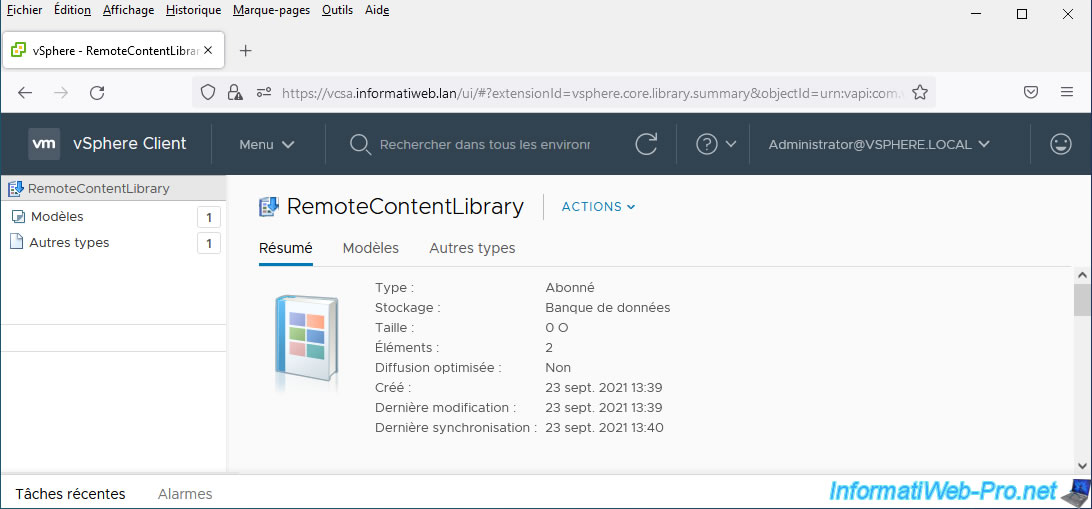
Then go to the "Templates" tab there.
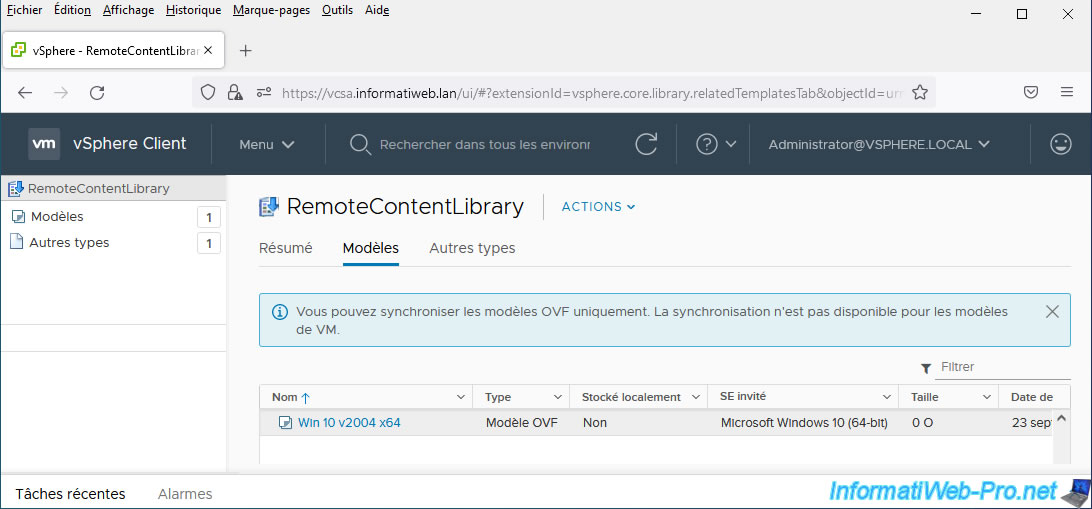
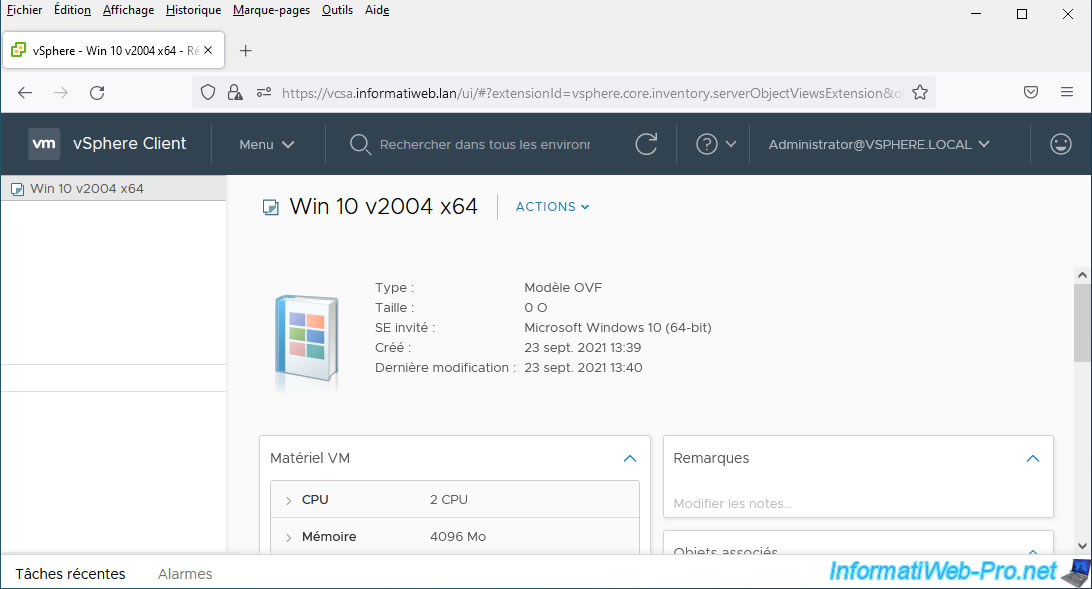
Click the name of the OVF template that you want to deploy on your VMware vCenter Server.
Then click: Actions -> New VM from This Template.
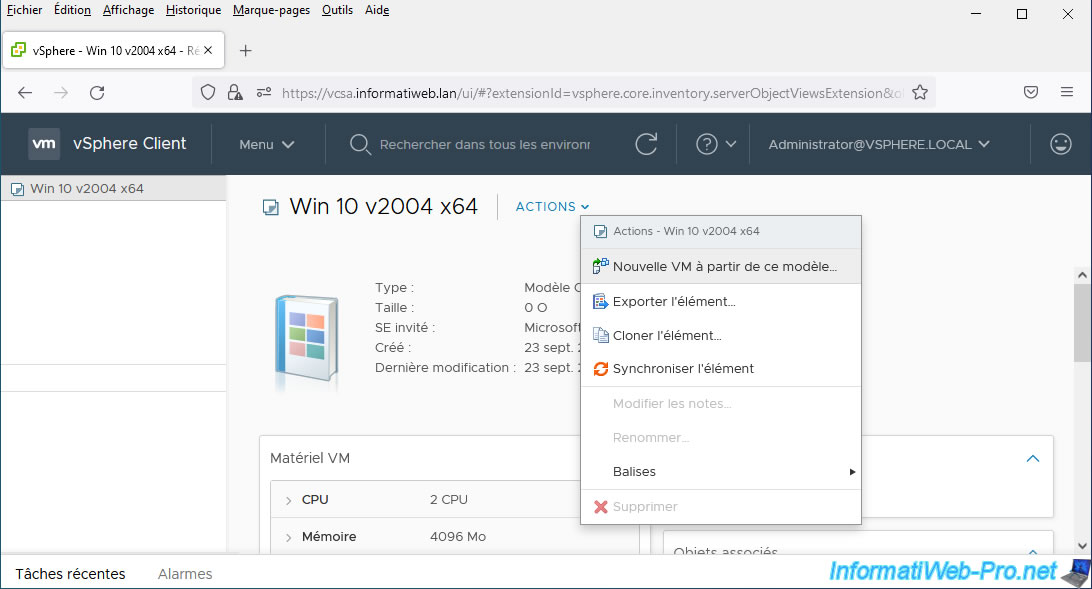
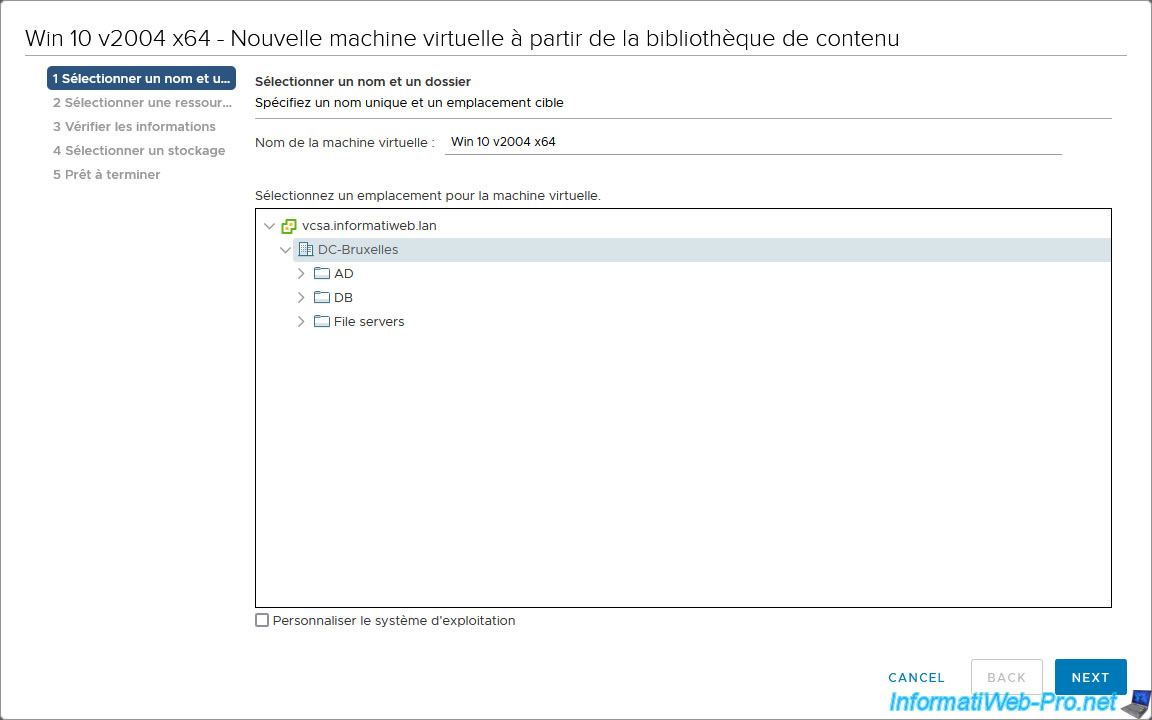
The "New virtual machine from content library" wizard appears.
Specify a name for the virtual machine to create. By default, the name is that of the OVF template used.
Next, select the location where you want to add this new virtual machine.
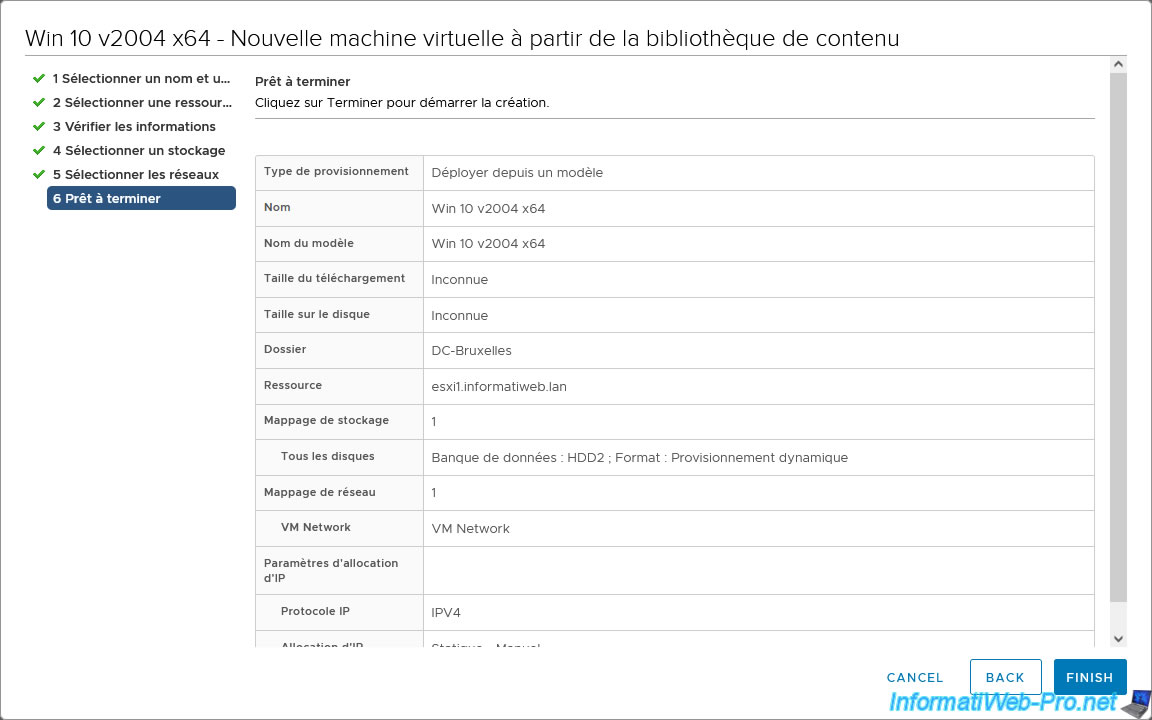
The following steps are those of a classic OVF deployment with the selection of the calculation resource to use, the selection of the datastore where you wish to store it, etc.
Finally, a summary of the OVF deployment will be displayed.
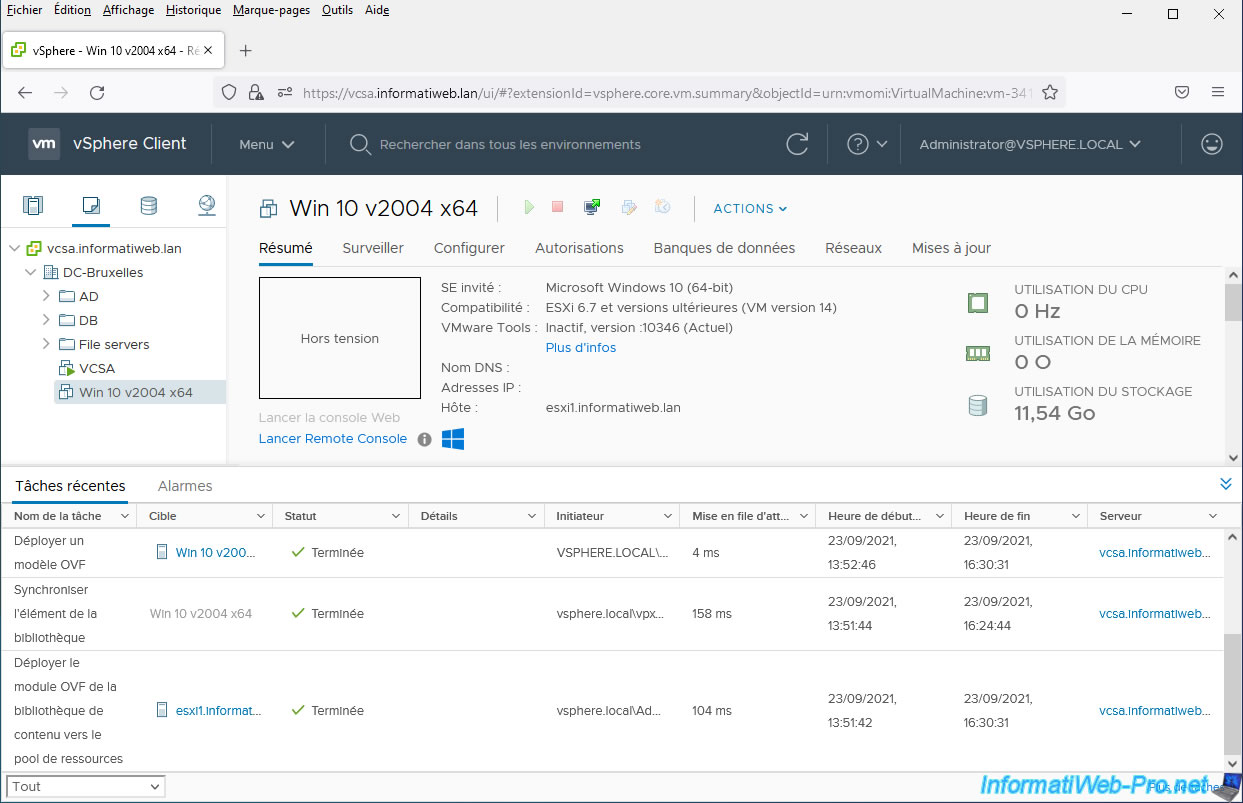
To see your new virtual machine (being deployed), click on "vSphere Client", then on: VMs and Templates.
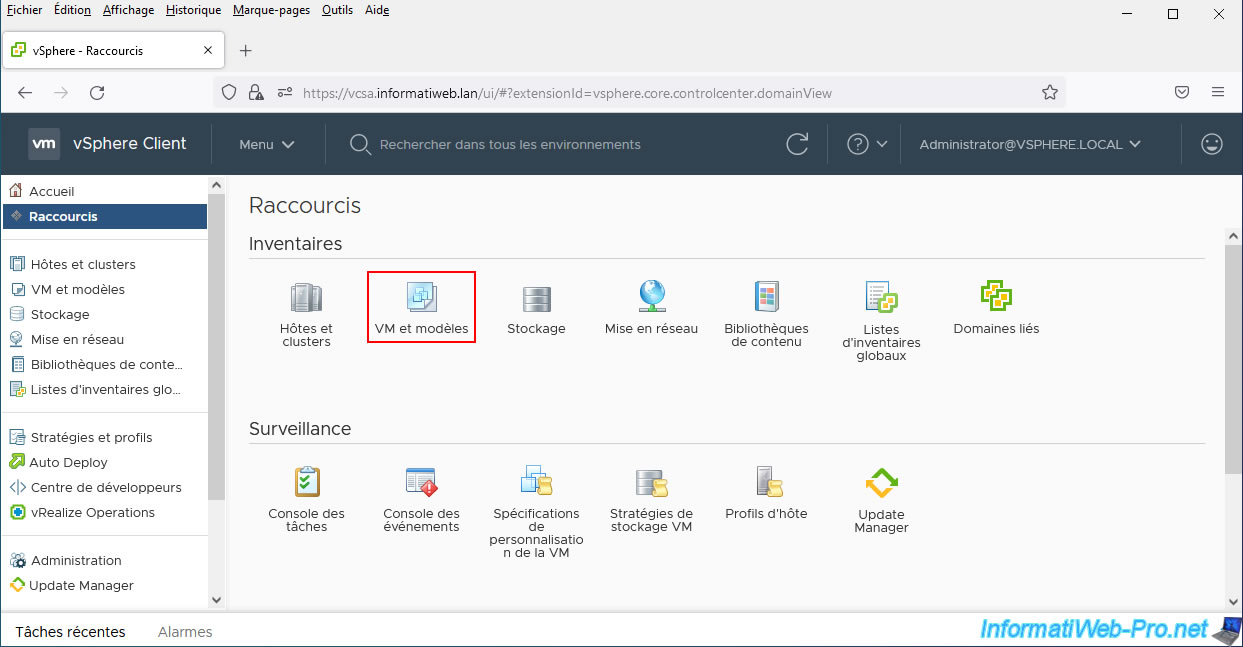
Several tasks will appear in the recent tasks list:
- Extract the contents of a library item
- Deploy an OVF template
- Synchronize library item
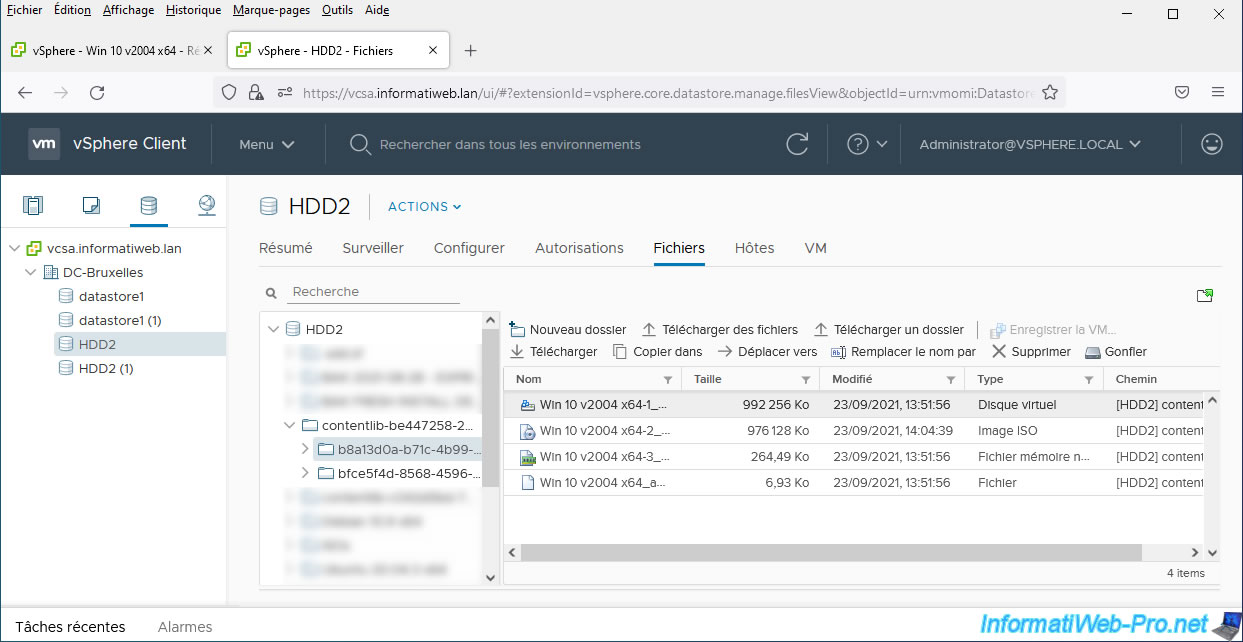
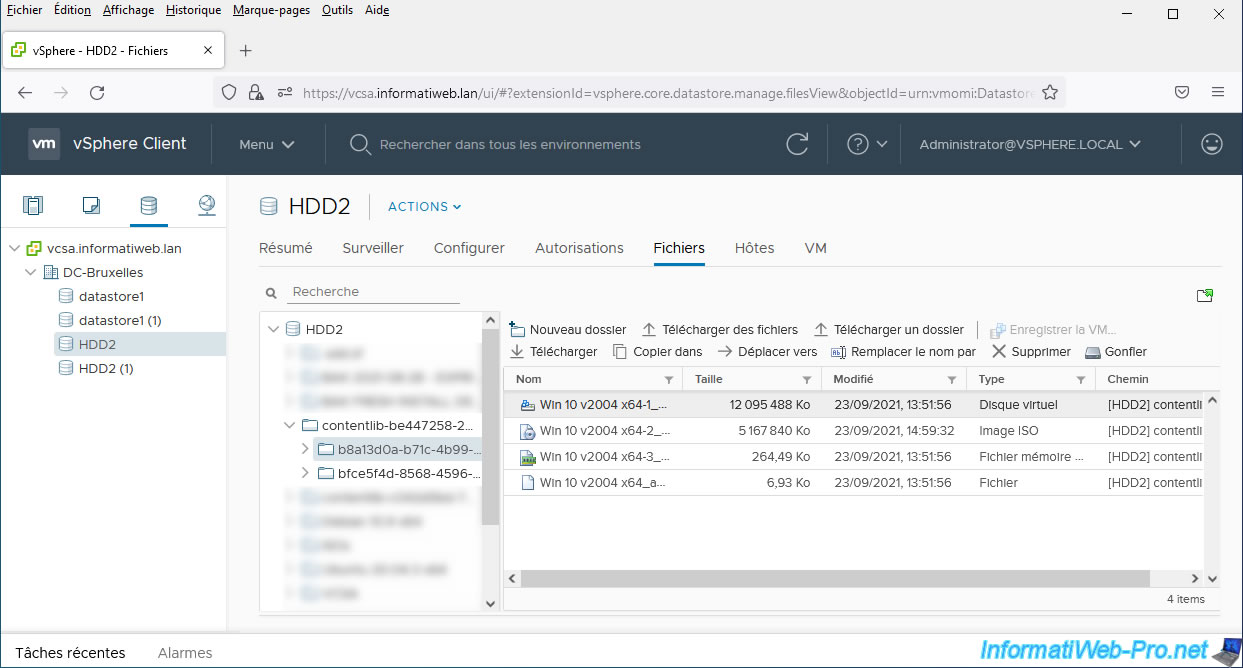
If you look in your VMware vCenter Server storage, you will find a "contentlib-..." folder corresponding to your subscribed content library.
In this "contentlib-..." folder you will find a subfolder (with a unique name) for each item in your subscribed content library.
Empty folders correspond to items that have not yet been synchronized. The contents of these items are currently empty in the subscribed content library.
In one of these folders, you will find the files making up the OVF template being synchronized.
The synchronization was started automatically by your VMware vCenter Server because you are trying to deploy an OVF template whose content has not yet been synchronized from the published content library.

If you select another folder and then select that subfolder again, you will see that the size of these files has changed.
Which shows you that these files are downloading in the background.
If you accidentally refresh your VMware vCenter Server page, current tasks will disappear from recent tasks.
However, you can find some of these tasks by selecting your VMware vCenter Server (in our case: vcsa.informatiweb.lan), then going to: Monitor -> Tasks and Events -> Tasks.
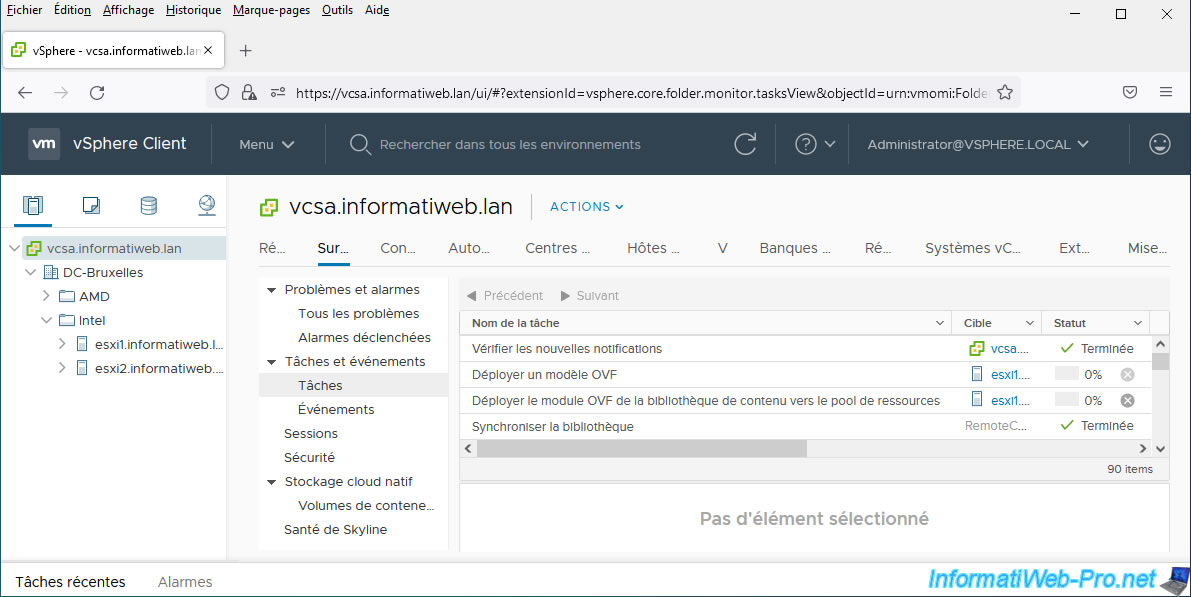
The 1st task that will complete will be: Extract the contents of a library item.
Wait while the "Transfer one or more files" task runs.
![]()
In parallel, 2 tasks concerning the OVF deployment will be executed:
- Deploy an OVF template
- Deploy OVF template from content library to resource pool
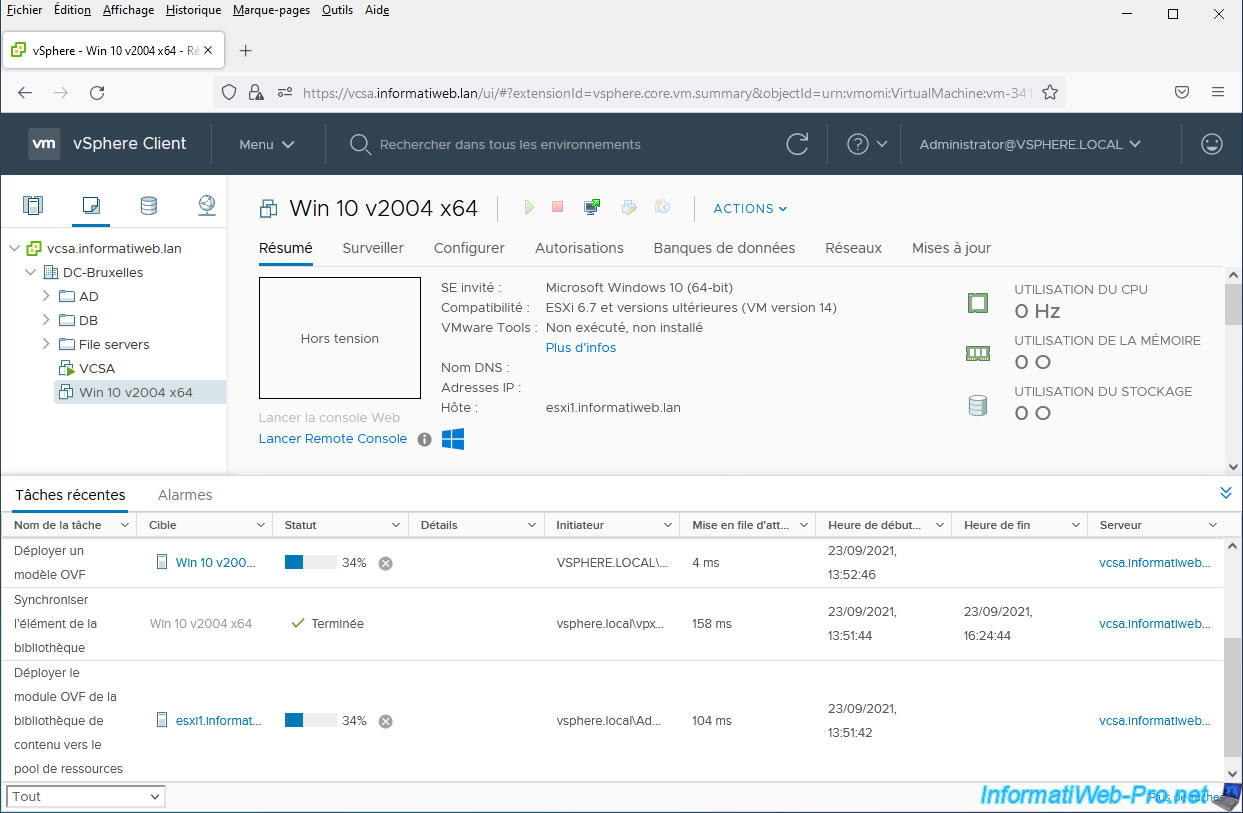
Once the desired remote OVF template files are uploaded, the "Transfer File(s)" task will be completed.
![]()
On the other hand, the OVF deployment will continue with the 2 previous tasks:
- Deploy an OVF template
- Deploy OVF template from content library to resource pool
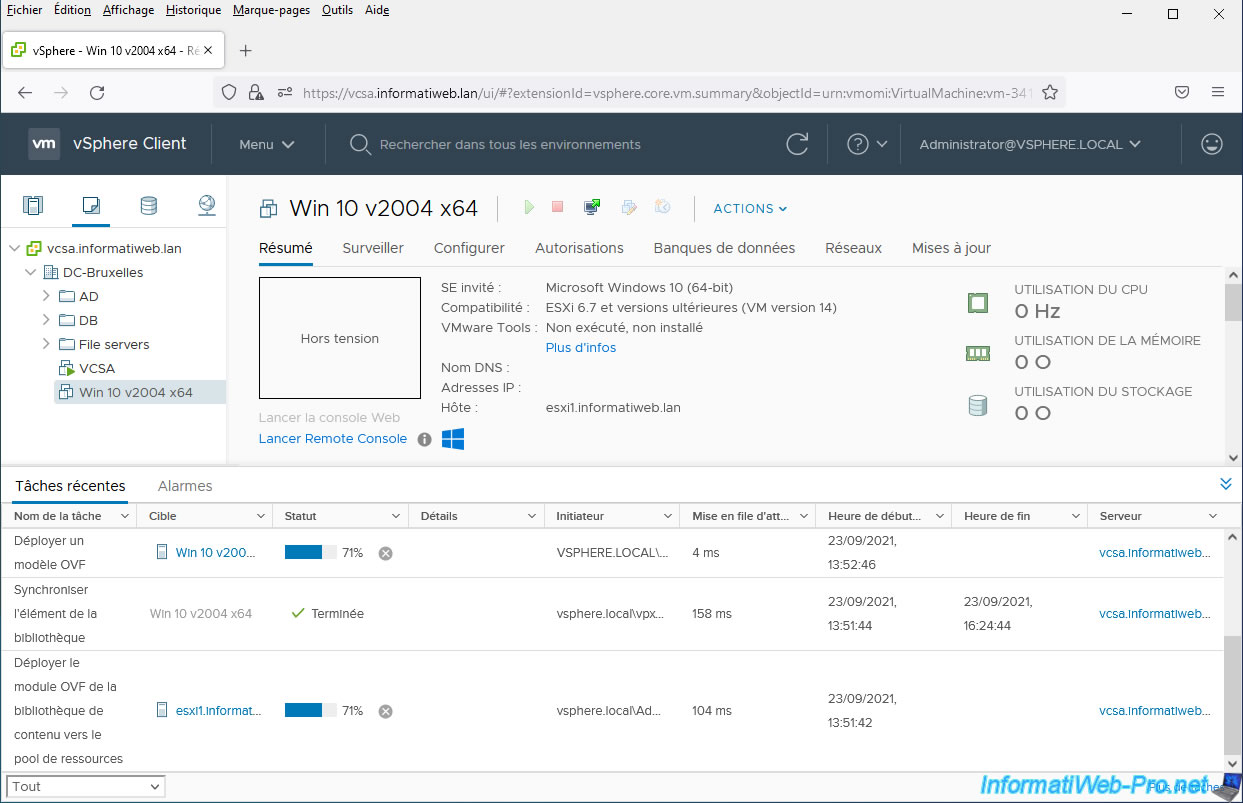
Once the deployment of your new virtual machine from this OVF template is complete, the 2 tasks mentioned above will be completed.
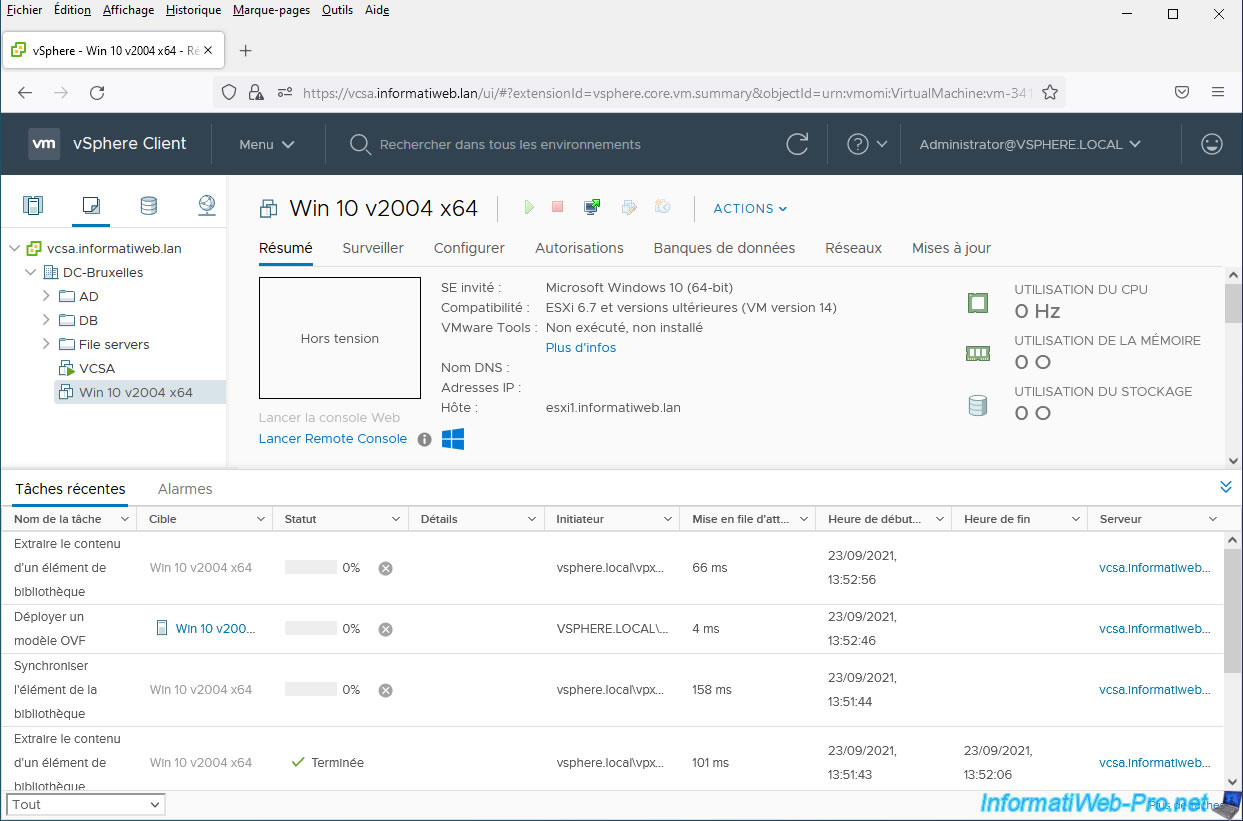
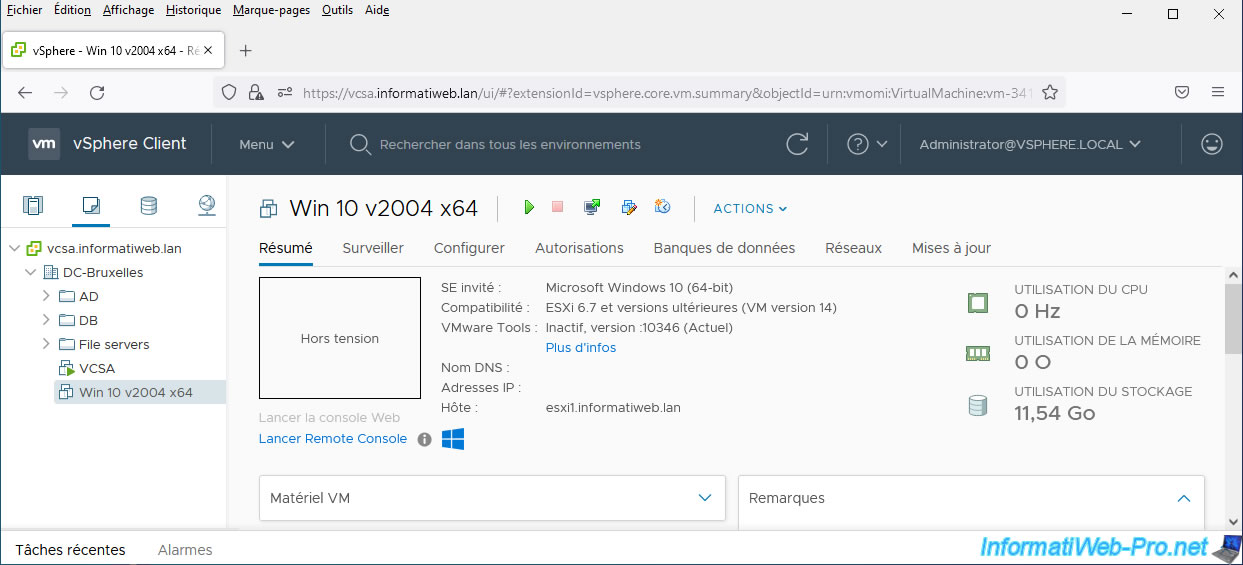
Your new virtual machine is deployed.
If you return to the "Templates" tab of your subscribed content library, you will see that the size of the OVF template you just deployed has increased and now matches its actual size.
Note that you could also manually sync an item from this subscribed content library as explained in step 7 of this tutorial.

If you look in your VMware vCenter Server storage, you will see that the contents of this item are now available locally.
Share this tutorial
To see also
-

VMware 5/15/2024
VMware vSphere 6.7 - Add a physical disk to host
-

VMware 9/27/2024
VMware vSphere 6.7 - Array integration APIs (VAAI)
-

VMware 9/6/2024
VMware vSphere 6.7 - Configure port binding (iSCSI traffic)
-

VMware 6/13/2024
VMware vSphere 6.7 - Configure Virtual Flash (SSD cache)
No comment