Create a NFS 4.1 datastore on VMware vSphere 6.7
- VMware
- 19 September 2024 at 08:44 UTC
-

- 2/3
7. Create an NFS 4.1 share on Windows Server 2016
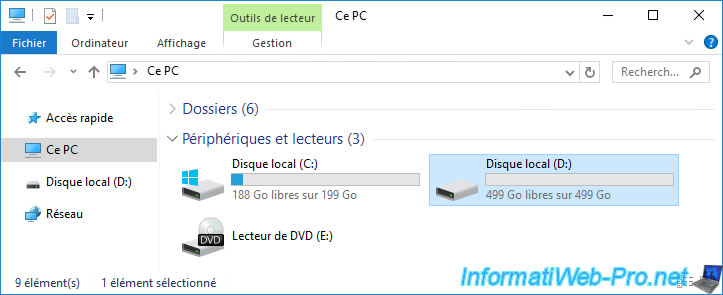
For this tutorial, we added a 500 GB hard drive to our NFS server.
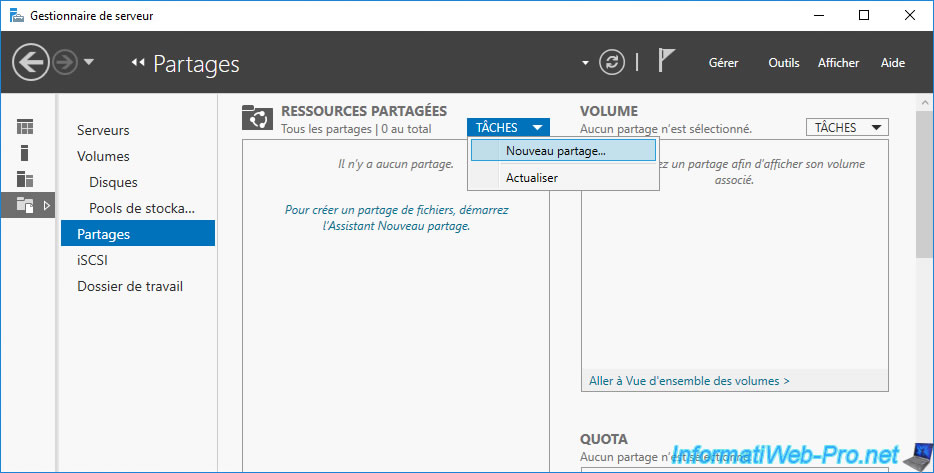
In the "Sharing" section, click: Tasks -> New share.
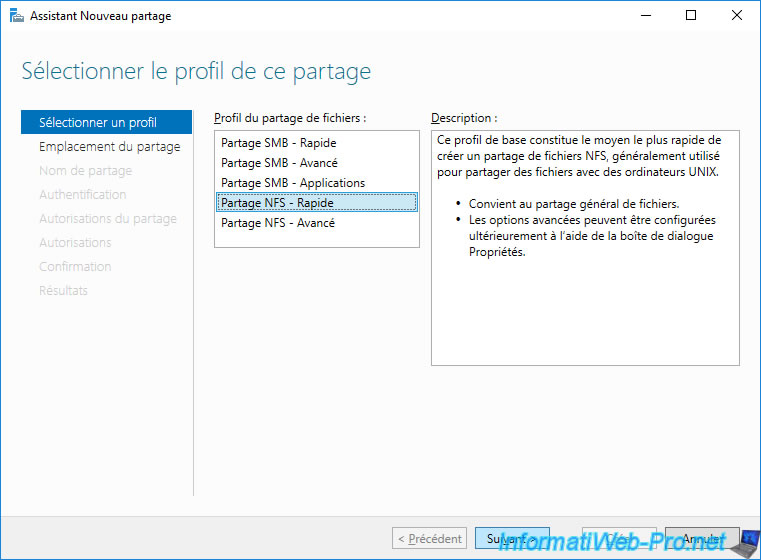
In the "New Share" wizard that appears, select "NFS Share - Quick" and click Next.
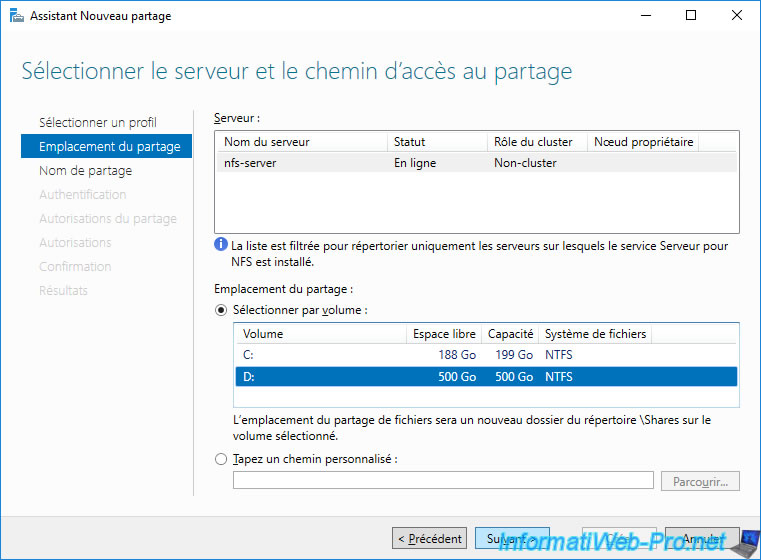
Select the desired volume (in our case: volume "D").
Note: to use a folder instead of a volume (partition), select "Type a custom path" and click "Browse" to select the desired folder.
Provide a name for your NFS share.
Note: if you selected a volume (partition) in the previous step, a "Shares" folder will be automatically created at its root and a subfolder will be created in it with the name of the share indicated in this step .
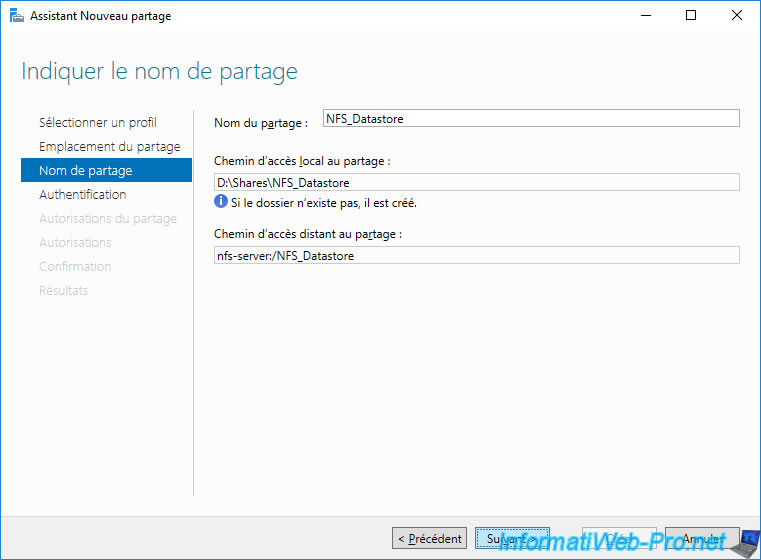
As previously noted, NFS 4.1 allows the use of Kerberos authentication. Which was not the case before with NFS 3.
To create an NFS 4.1 share under Windows Server, you must therefore activate the Kerberos v5 authentications available in the "Specify authentication methods" step:
- Kerberos v5 authentication [Krb5]
- Kerberos v5 authentication and integrity (Krb5i)
- Kerberos v5 authentication and privacy (Krb5p)
Note that VMware vSphere 6.7 only offers the first 2 options (krb5 and krb5i) when creating an NFS 4.1 datastore.
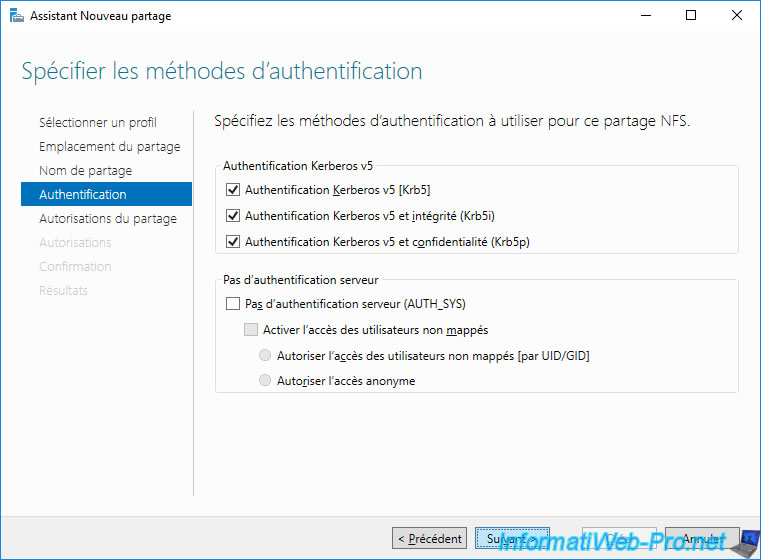
In order for your VMware ESXi host to connect to your NFS server to access this NFS share, you must authorize its IP address.
Indeed, by default, all access is denied.
To do this, in the "Specify the share permissions" step, click Add.
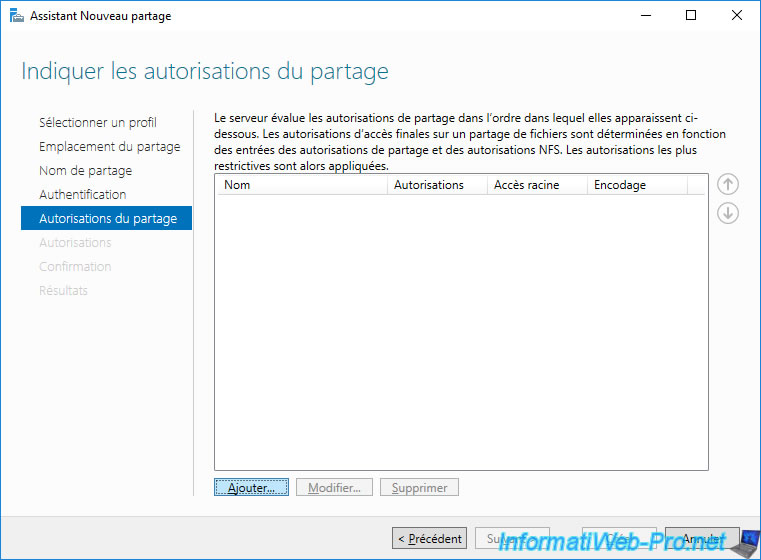
In the "Add Permissions" window that appears, select "Host" and provide the IP address of your VMware ESXi host.
Then select "Share permissions: Read / Write" and click: Add.
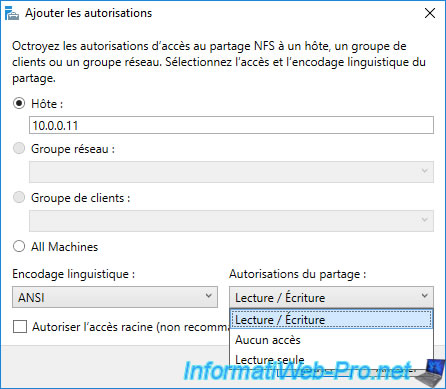
Also add the IP address of other hosts where you want to add the same NFS datastore (from the same NFS share).
Then click: Next.
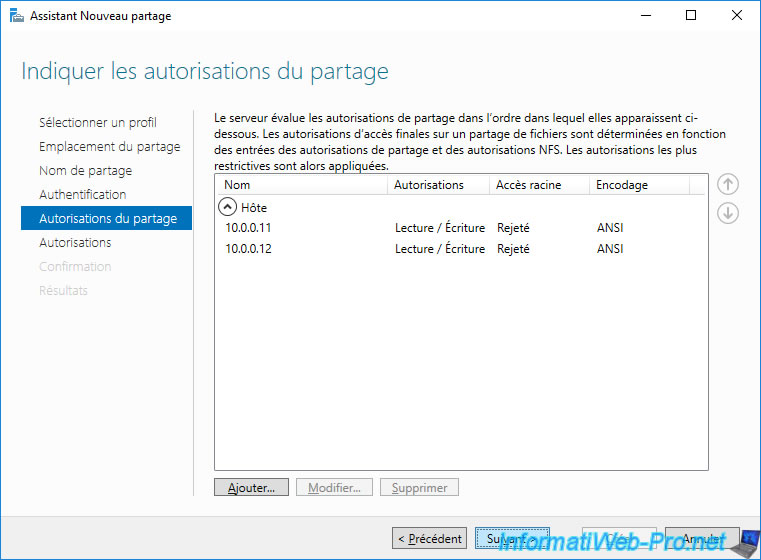
Before you can manage files on this NFS share from your VMware ESXi host, you must add the user specified previously in the "NFS Kerberos credentials" section.
To do this, click: Customize permissions.
Note that the permissions shown here are the NTFS permissions set by default for the folder previously selected for creating this NFS share.
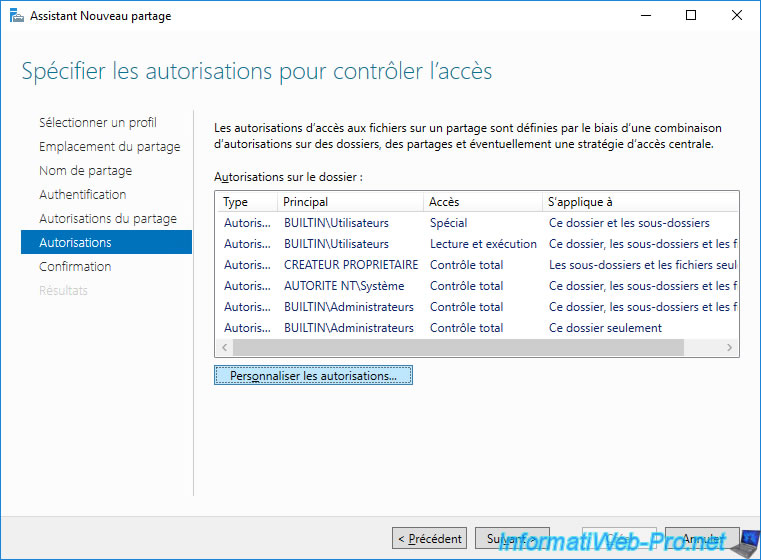
In the "Advanced Security Settings for [NFS share name]" window that appears, click Add.
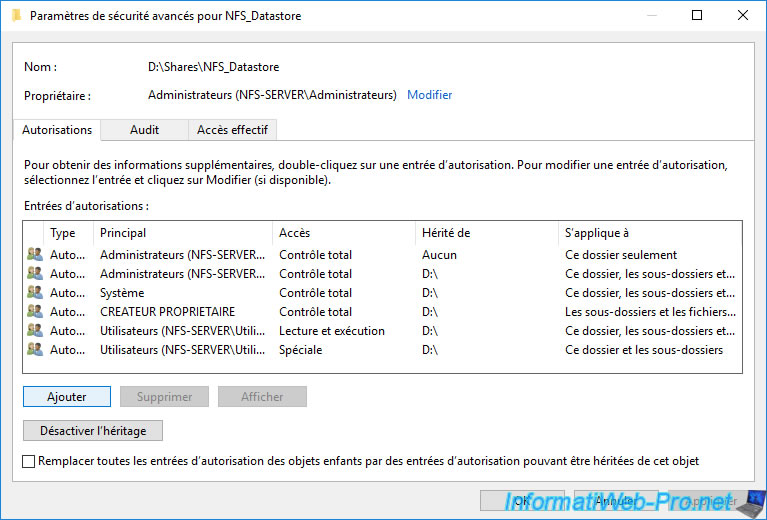
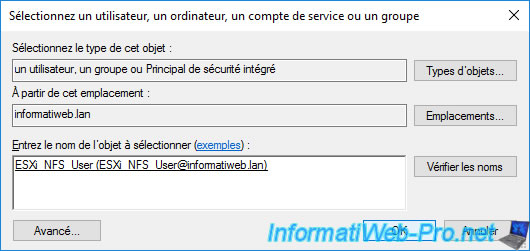
In the "Select a principal" window that appears, click: Select a principal.
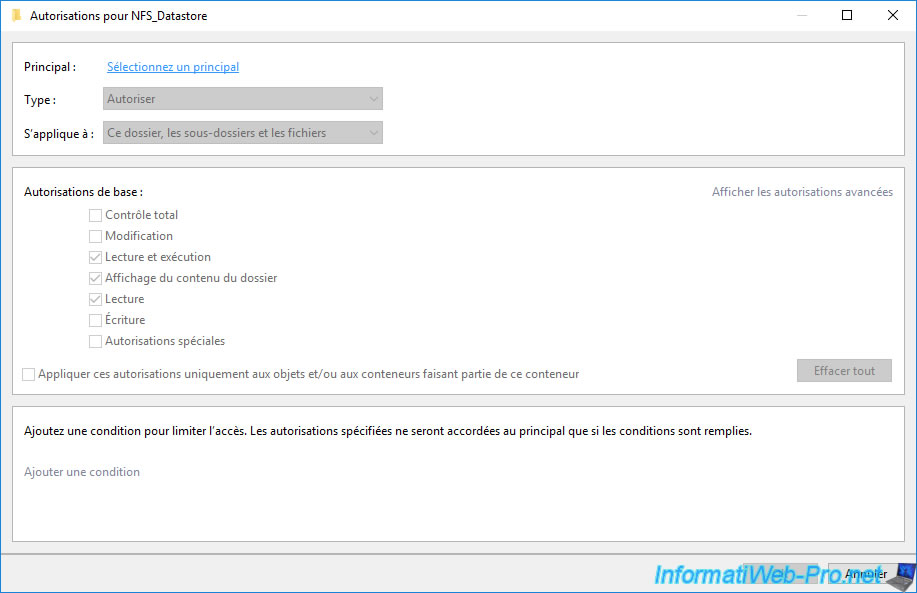
Provide the name of the Active Directory user used for NFS Kerberos authentication from your VMware ESXi host and click OK.
Grant it "Full control" permission and click OK.
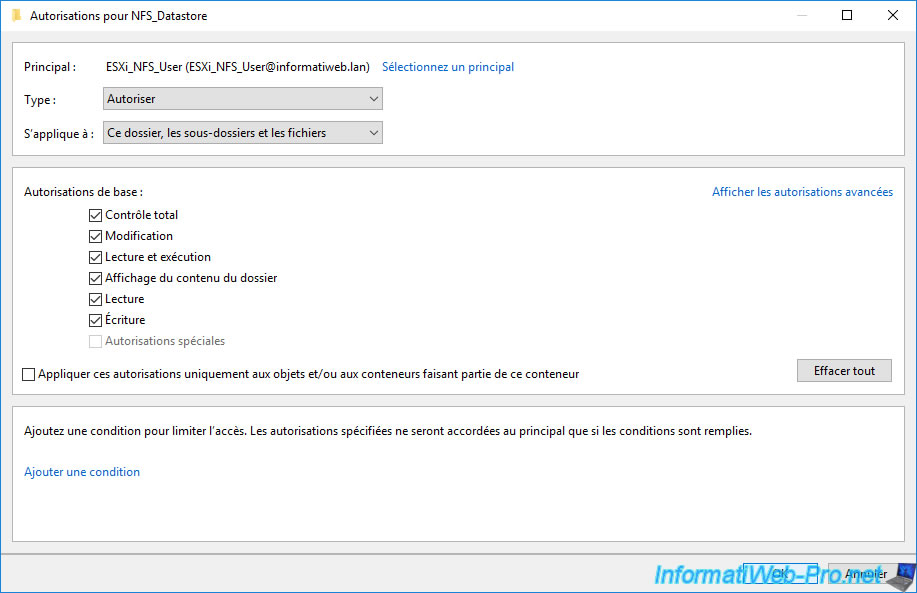
The desired user appears in the list.
Click OK.
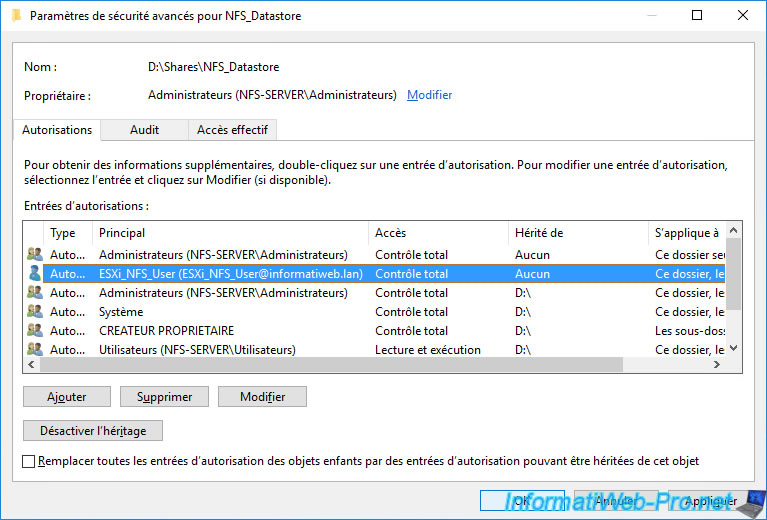
The desired user appears again in the list.
Click Next.
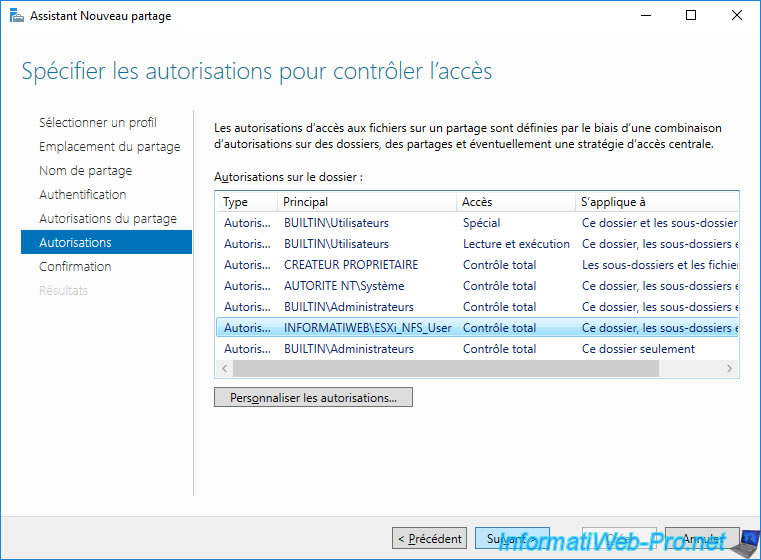
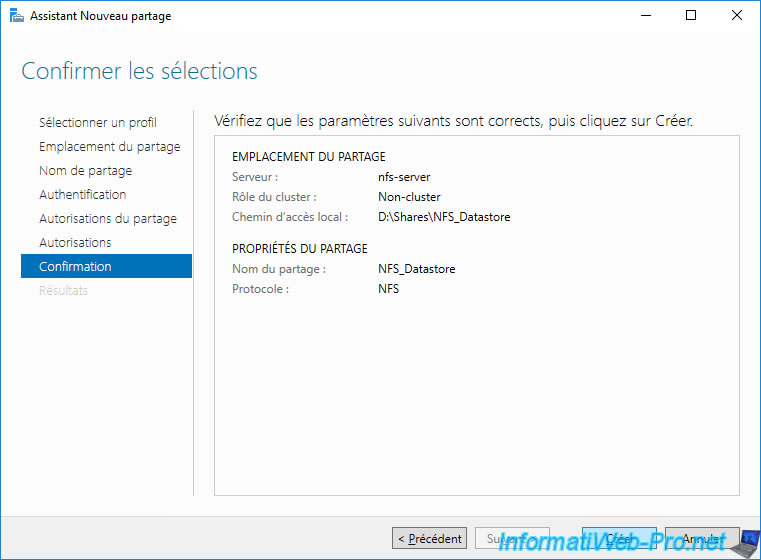
A summary of your NFS share configuration appears.
Click Create.
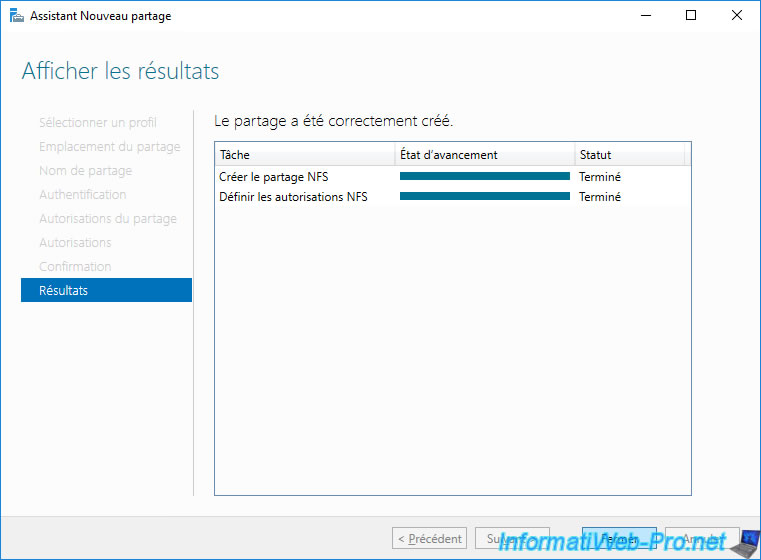
Click Close.
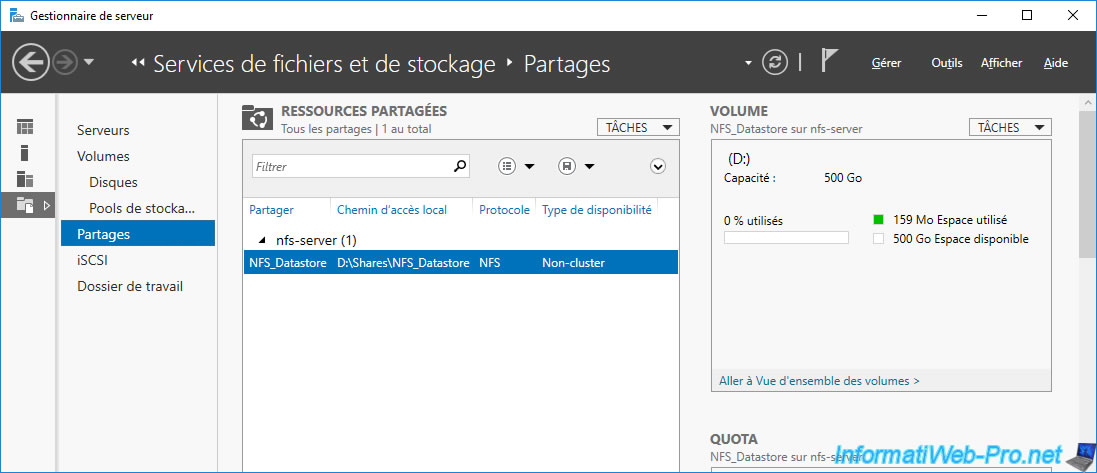
The desired NFS share appears.
Share this tutorial
To see also
-

VMware 5/15/2024
VMware vSphere 6.7 - Add a physical disk to host
-

VMware 9/27/2024
VMware vSphere 6.7 - Array integration APIs (VAAI)
-
VMware 9/6/2024
VMware vSphere 6.7 - Configure port binding (iSCSI traffic)
-
VMware 6/13/2024
VMware vSphere 6.7 - Configure Virtual Flash (SSD cache)

No comment