Manage roles, users and permissions on VMware ESXi 7.0 and 6.7
- VMware
- 04 June 2024 at 15:13 UTC
-

- 2/2

3. Manage permissions on different objects
Now that you have created the roles (privilege groups) and users you want, all you have to do is link them to the objects you want your users to access.
As you will see below, you will be able to manage permissions for different types of objects :
- host (VMware ESXi hypervisor)
- virtual machines
- storage (datastores)
- networking (port groups)
3.1. Manage permissions for the host
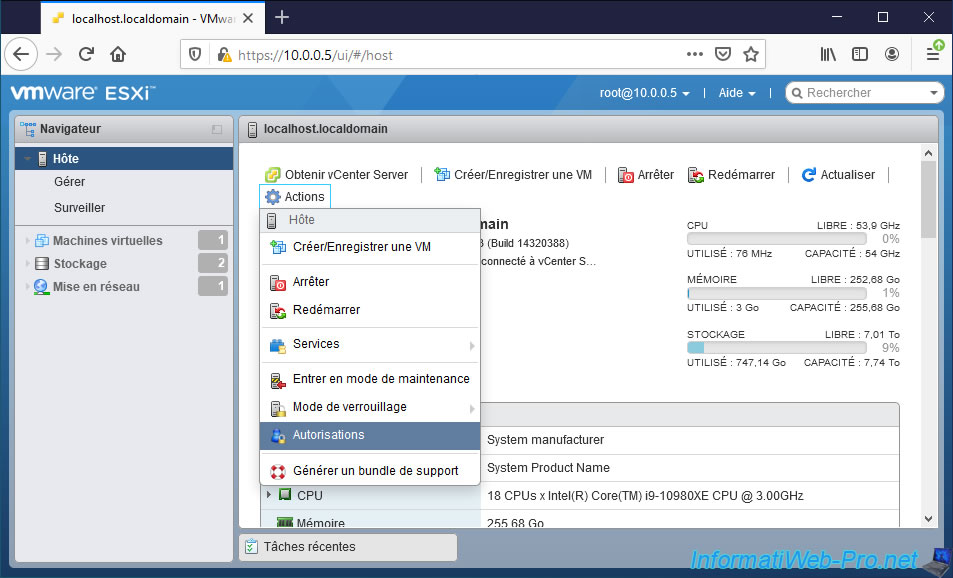
To assign permissions on your entire hypervisor (if the privileges granted allow it), go to "Host" and click on : Actions -> Permissions.
Small shortcut : you can also right click on the "Host" item in the left menu and click on "Permissions".

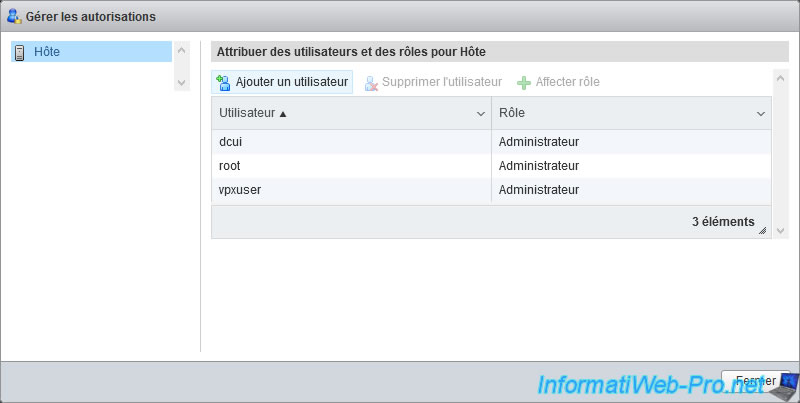
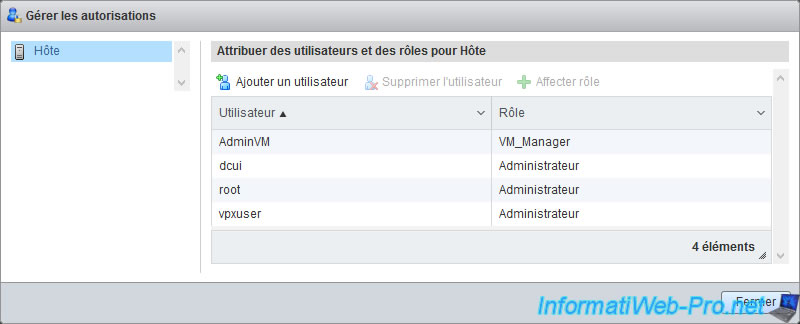
As you can see, the "Manage permissions" window that appears will allow you to assign users and roles for the host.
By default, 3 users already have all rights (thanks to the Administrator role) on the host :
- dcui : corresponds to the console of the same name (DCUI) visible on the screen connected to your server (if applicable). Otherwise, you can also access it remotely by launching the "dcui" program from an SSH session.
- root : user account created when installing your hypervisor and which you are most likely using right now if you are learning rights management with VMware ESXi.
- vpxuser : user account used by vCenter Server to manage this host remotely to, for example, edit the configuration of a virtual machine, move it, ...
For more information about this "vpxuser" account, refer to the "vpxuser Privileges" page of the official VMware documentation.

3.2. Manage permissions for virtual machines
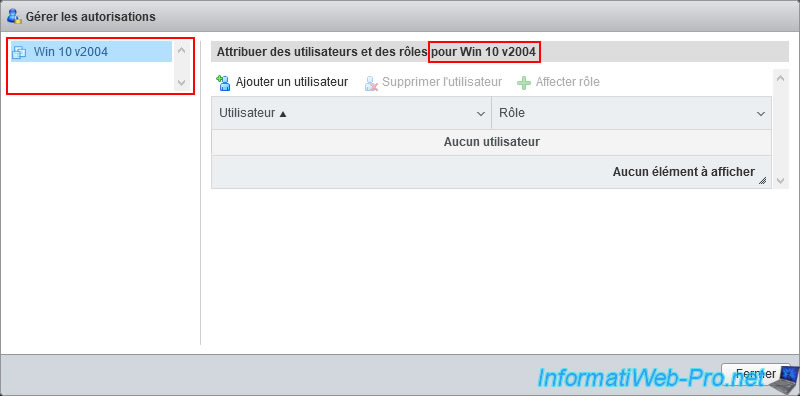
If you want some users to be able to manage only a specific virtual machine, navigate to it and click : Actions -> Permissions.
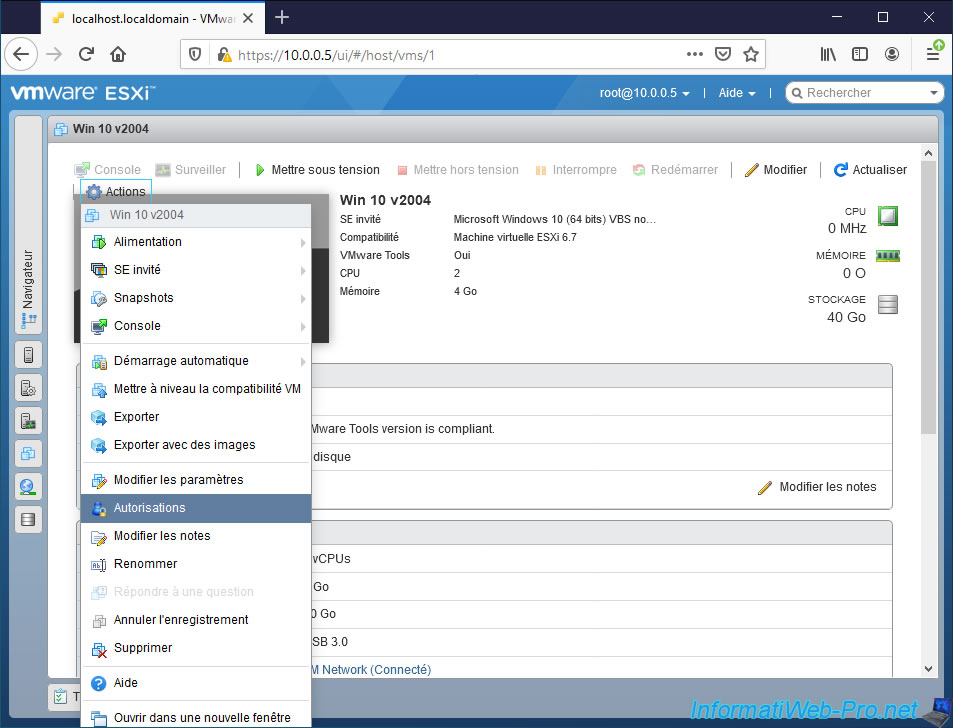
As you can see, this time, the "Manage Permissions" window allows you to assign users and roles for the desired virtual machine.
3.3. Manage permissions for datastores
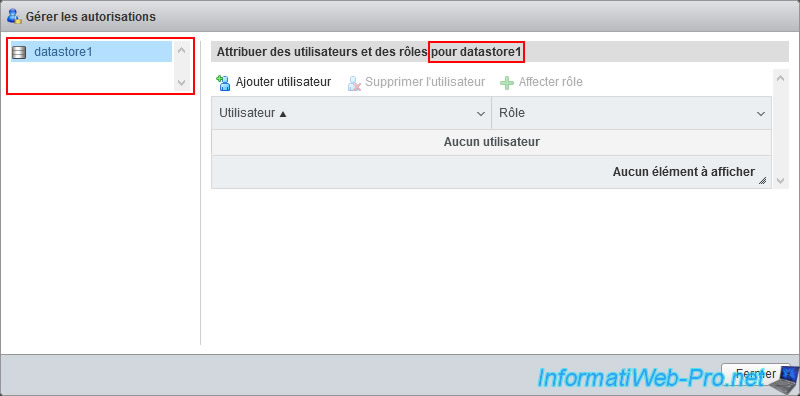
To allow some users to access and manage a specific datastore, navigate to it and click again on : Actions -> Permissions.

This time, the "Manage permissions" window that appears will allow you to manage the permissions for the desired datastore.
3.4. Manage permissions for port groups
To allow specific users to manage the networking of your virtual machines or the VMware ESXi hypervisor itself, open the page of the desired port group and click : Actions -> Permissions.
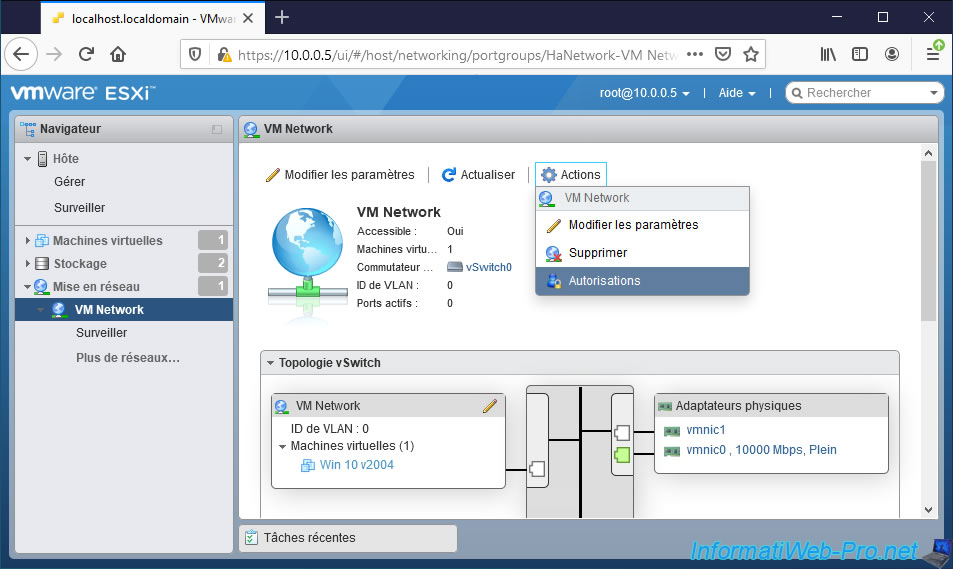
This time, you will be able to manage the permissions for the desired port group.
In this case, the "VM Network" port group used by default by your virtual machines.

4. Grant privileges to users on objects through roles
For this tutorial, we'll be managing permissions directly on the hypervisor, rather than on a child object.
However, the object on which you configure permissions will depend on what you want to do in your case.
In short, in our case, we go to "Host", then we click on : Actions -> Permissions.
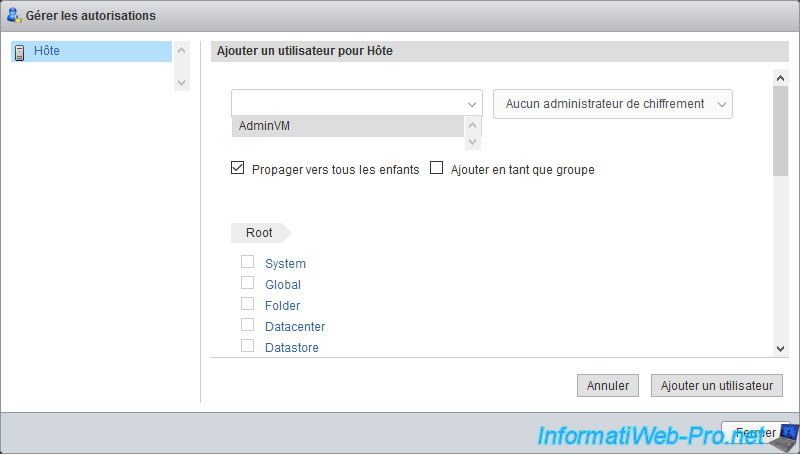
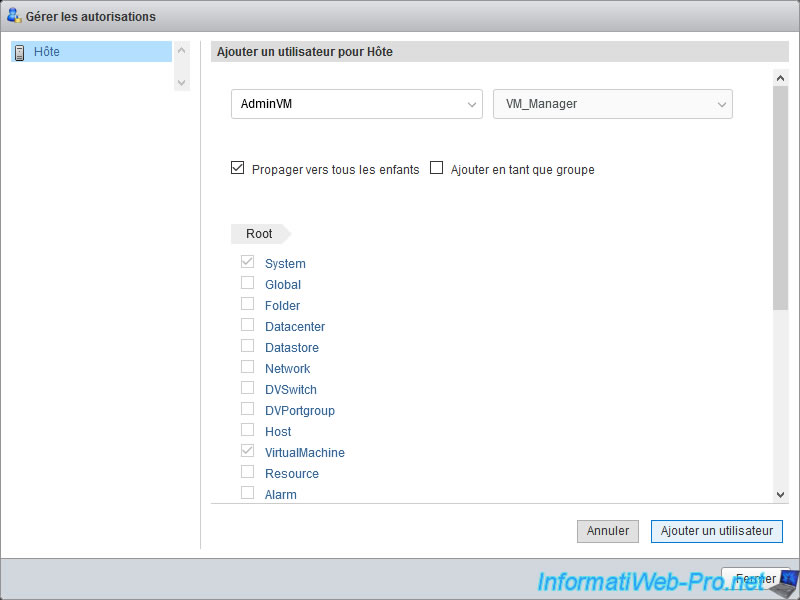
In the "Manage permissions" window that appears, click : Add user.
Then, at the top left, select the user to whom you want to grant privileges on this object.
In our case, our "AdminVM" user.
Note that by default, the privileges granted on this object for this user will also be propagated to child objects thanks to the "Propagate to all children" box checked by default.
Depending on the privileges that will be granted by the role you select on the right, this user may or may not be able to perform specific actions on child objects as well.
For the "Add as group" option, this only concerns the assignment of privileges to an Active Directory group, in the event that your VMware ESXi hypervisor is linked to an Active Directory domain.
In the list on the right, select the role to use for this user on this object.
In our case, our "VM_Manager" role.
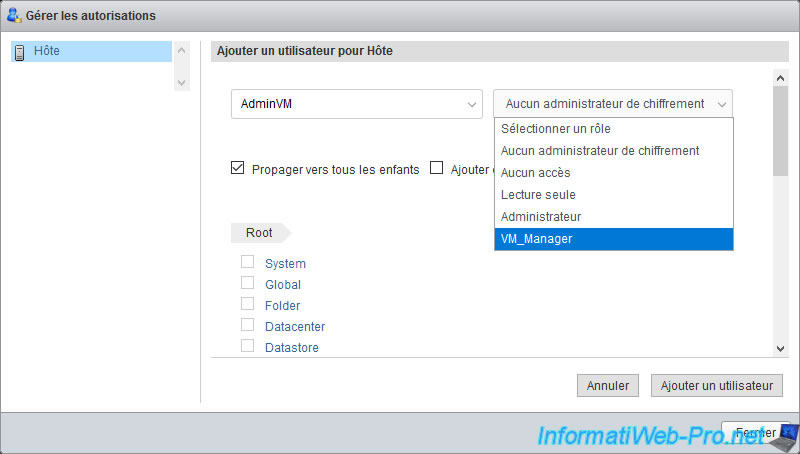
Once the desired role has been selected, you will see the list of privileges that will be granted to it on this object.
Warning : to add this permission, you will have to click on the "Add user" button and not on the "Close" button located just below.
Our "AdminVM" user appears in the permissions list with our "VM_Manager" role.
5. Test configured permissions
To test if permissions are configured correctly for your users, sign in with one of them.
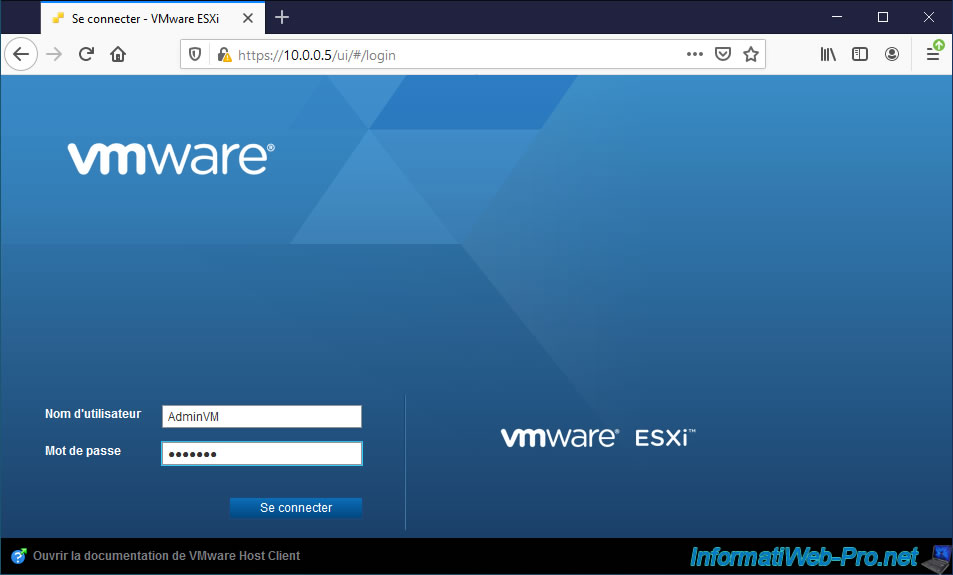
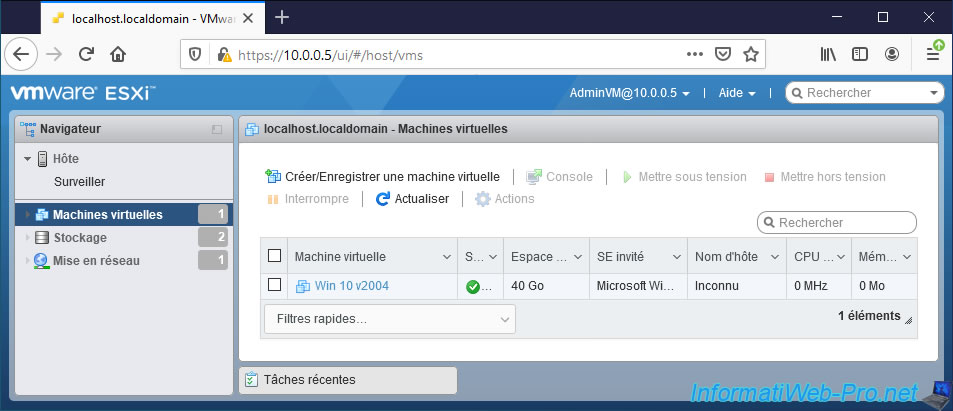
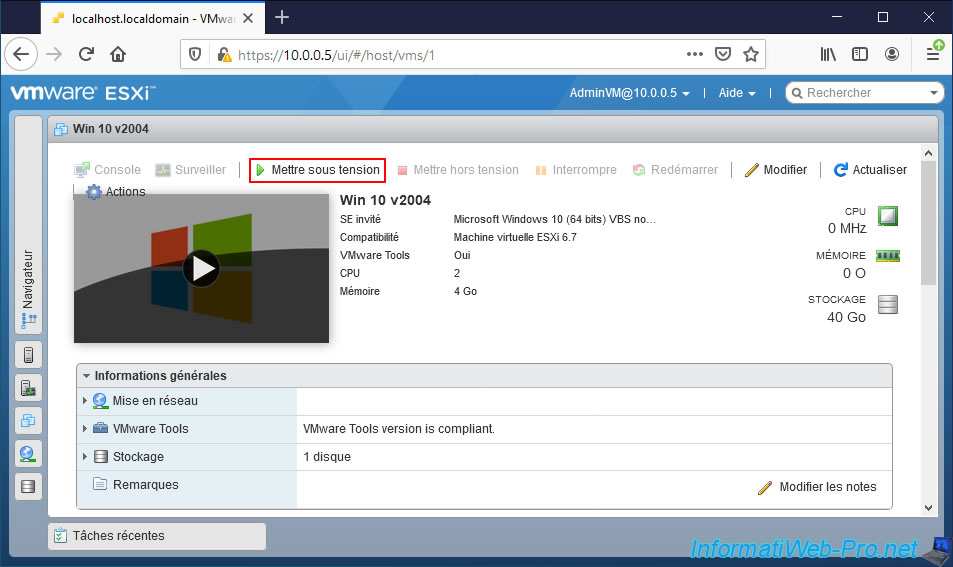
As you can see at the top right, you are logged in with the desired user and not as root.
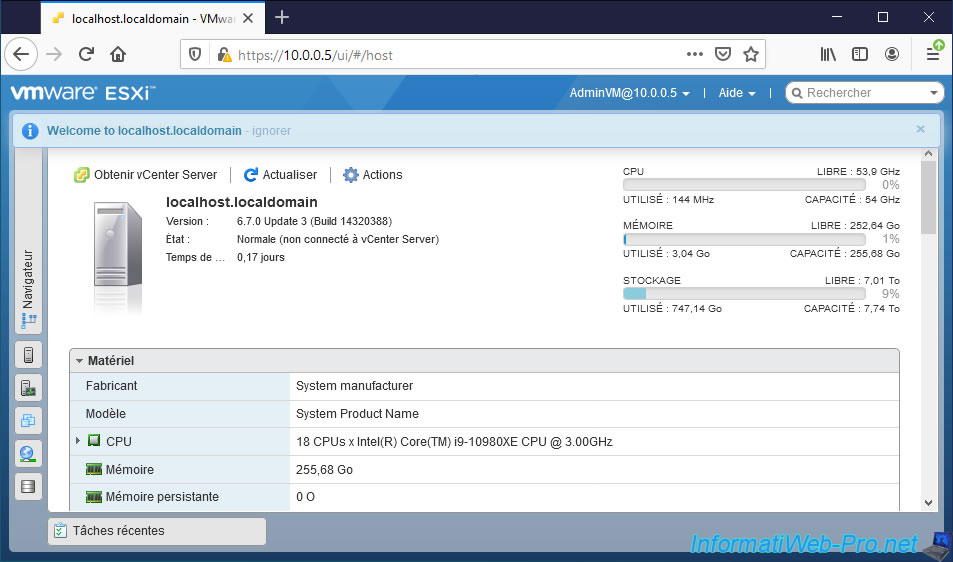
In our case, this user can see the list of virtual machines.
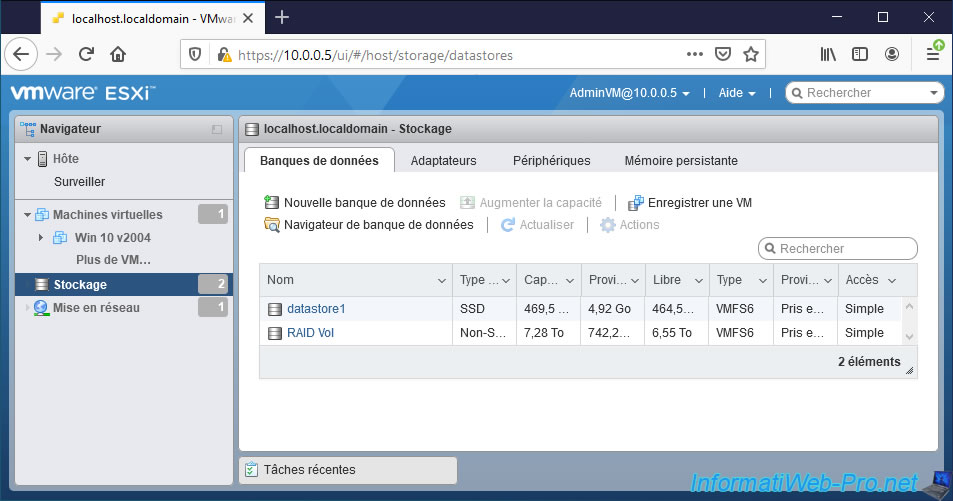
He can also see the list of datastores present on your VMware ESXi hypervisor.
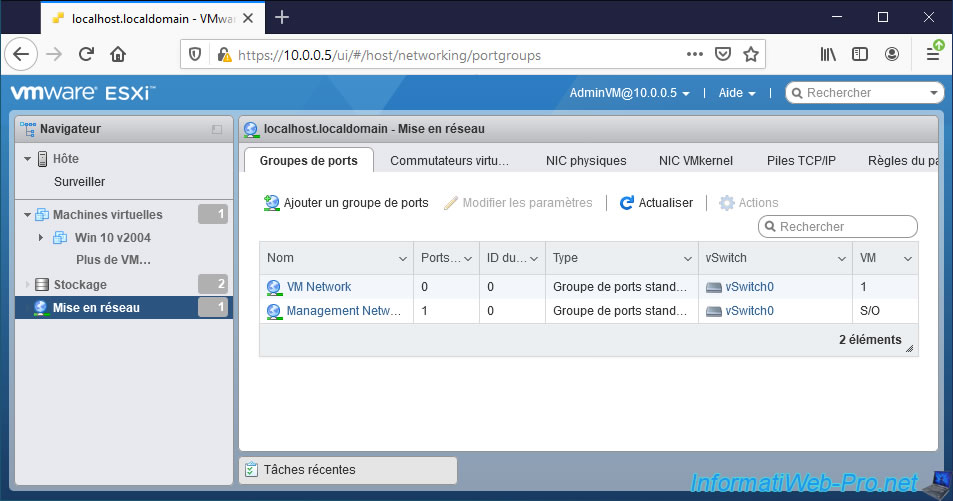
As well as the list of port groups (VM Network, Management Network, ...) configured on it.
If you are wondering why the user can see so much information about the host (and other components of VMware ESXi) despite having only granted privileges for virtual machines, look at the privileges of the role assigned for that user on the desired object.
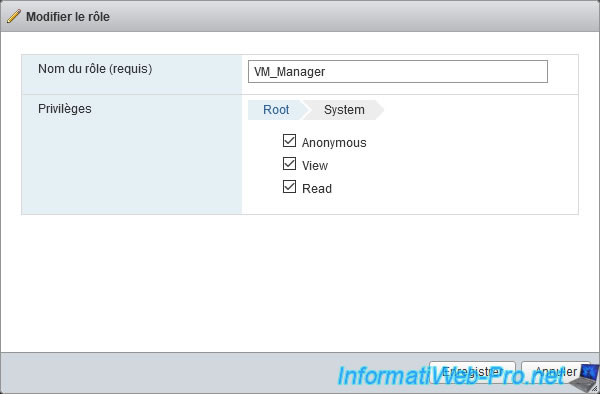
As you can see, VMware ESXi automatically added the "System" section of privileges back to the role you created. This allows the user to view system information, even if he can't edit them.
If you want to limit this visibility, you just need to set the permissions of this user on a specific object rather than on the host itself as is the case in this tutorial.
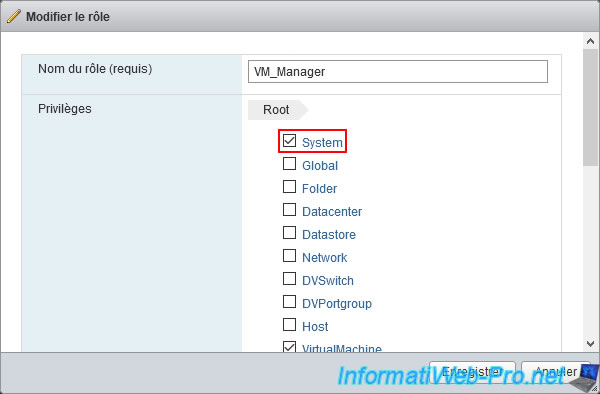
As you can see, the "System" category of privileges only allows to obtain a view and read right.
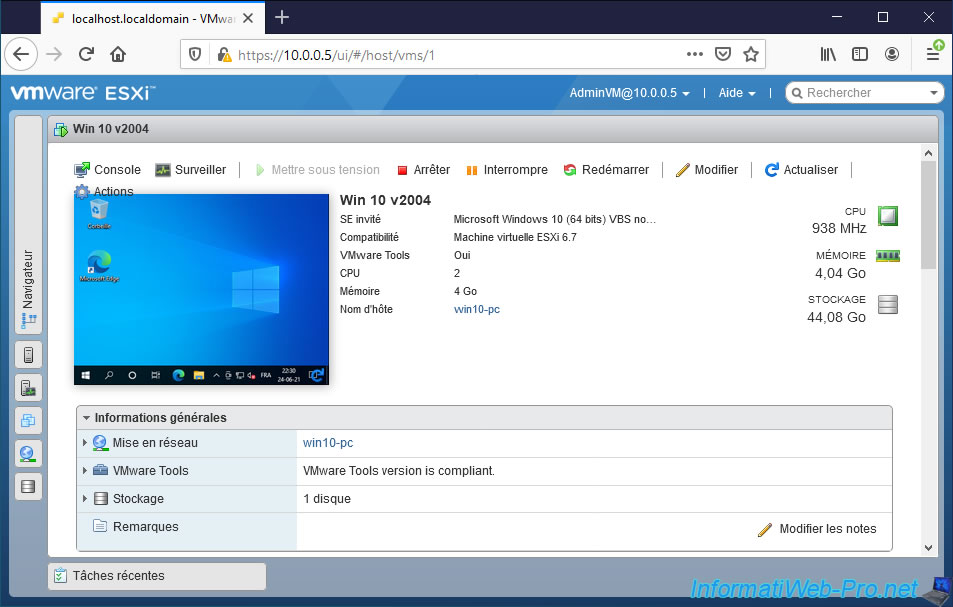
In our case, the user can manage the virtual machines and he can therefore start one if he wishes.
The desired virtual machine has started.
Share this tutorial
To see also
-

VMware 5/25/2022
VMware ESXi 6.0 - Install the VMware Host Client web client
-

VMware 5/27/2022
VMware ESXi 6.5 - Add a network driver in the installation ISO
-

VMware 1/27/2023
VMware ESXi 6.7 - Enable virtualization-based security (VBS)
-

VMware 12/2/2022
VMware ESXi 6.7 - Install and use the VMRC console on Linux
No comment