Create a Disaster Recovery environment with Citrix XenServer 6.5
- Citrix
- Citrix XenServer
- 21 May 2017 at 14:40 UTC
-

- 2/2
5. Restore virtual machines to the failover environment
For your virtual machines to be accessible from the backup XenServer environment, you will need to connect this backup environment to your 2nd iSCSI server.
So, the iSCSI server that contains the copy of the data (the virtual hard disks and the metadata of your VM).
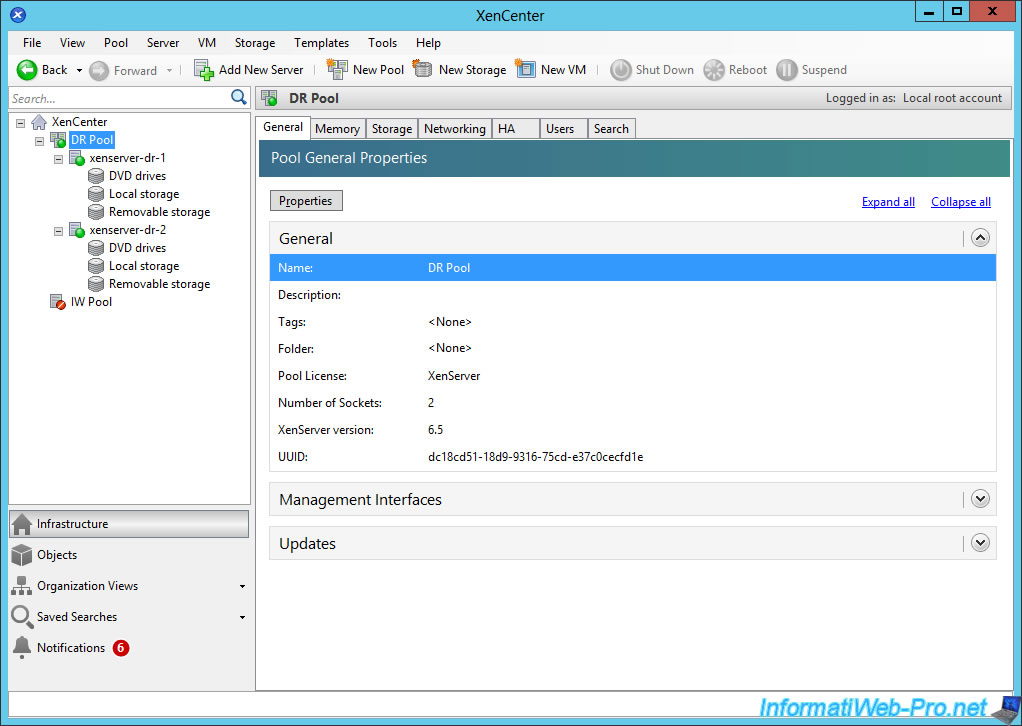
Since we have a copy of the data on our 2nd iSCSI server, we will add it to our backup server pool.
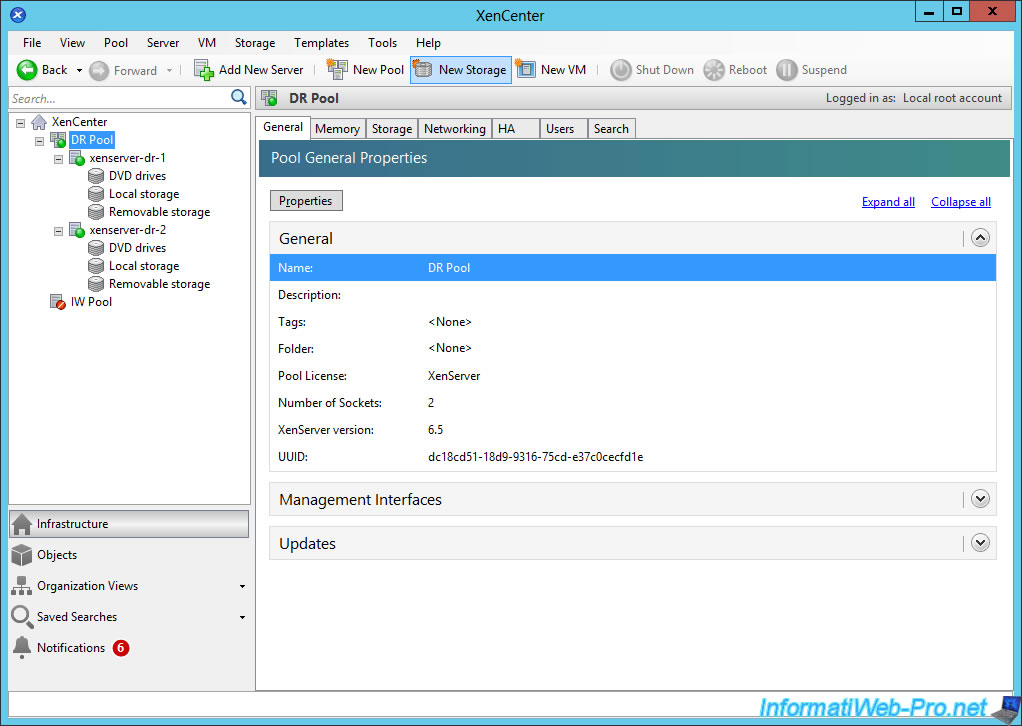
To do this, select the backup pool (DR) and click "New Storage".
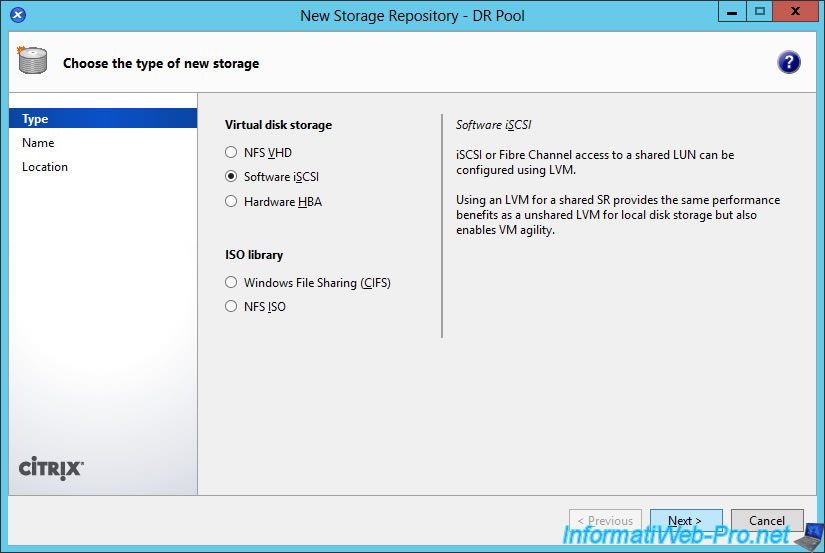
Select : Software iSCSI
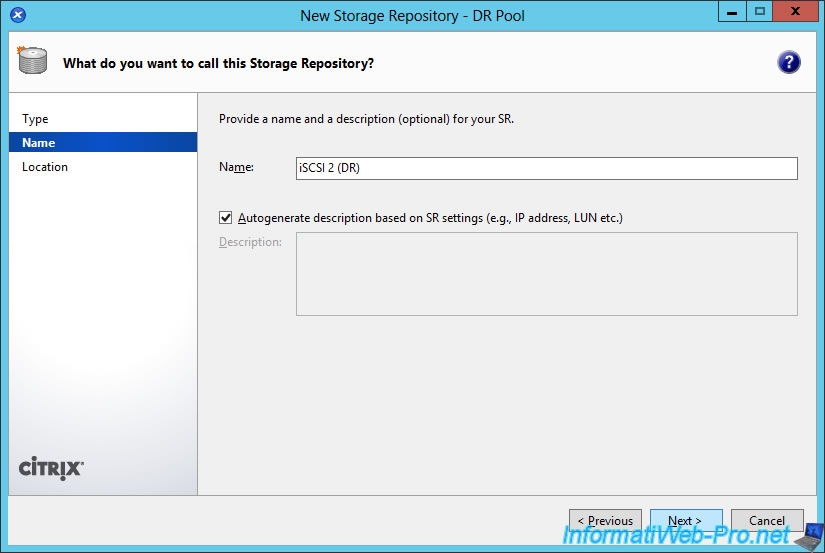
Specify a name for this shared storage.
And choose the LUN where the virtual disks and metadata created by Disaster Recovery are stored.
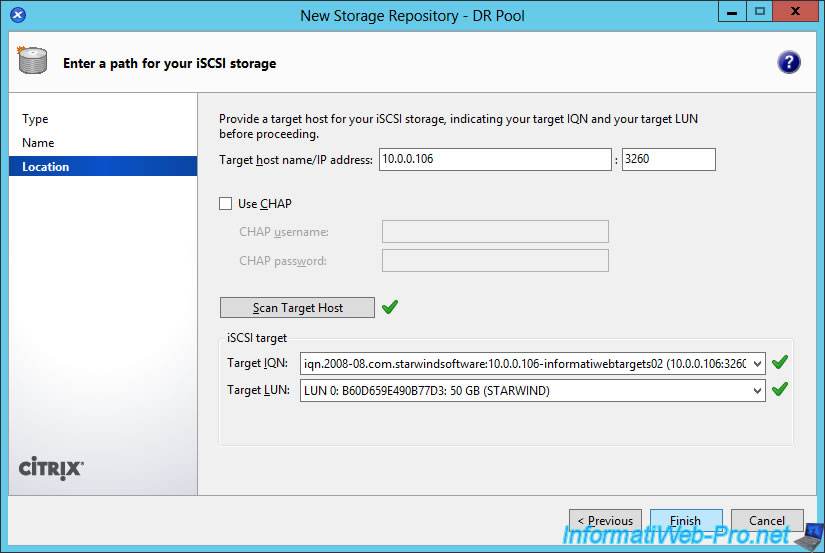
XenCenter will scan the selected LUN.

And it will detect the presence of a Citrix storage.
Click "Reattach".
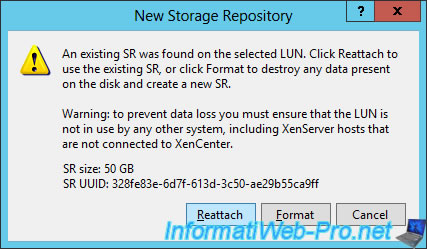
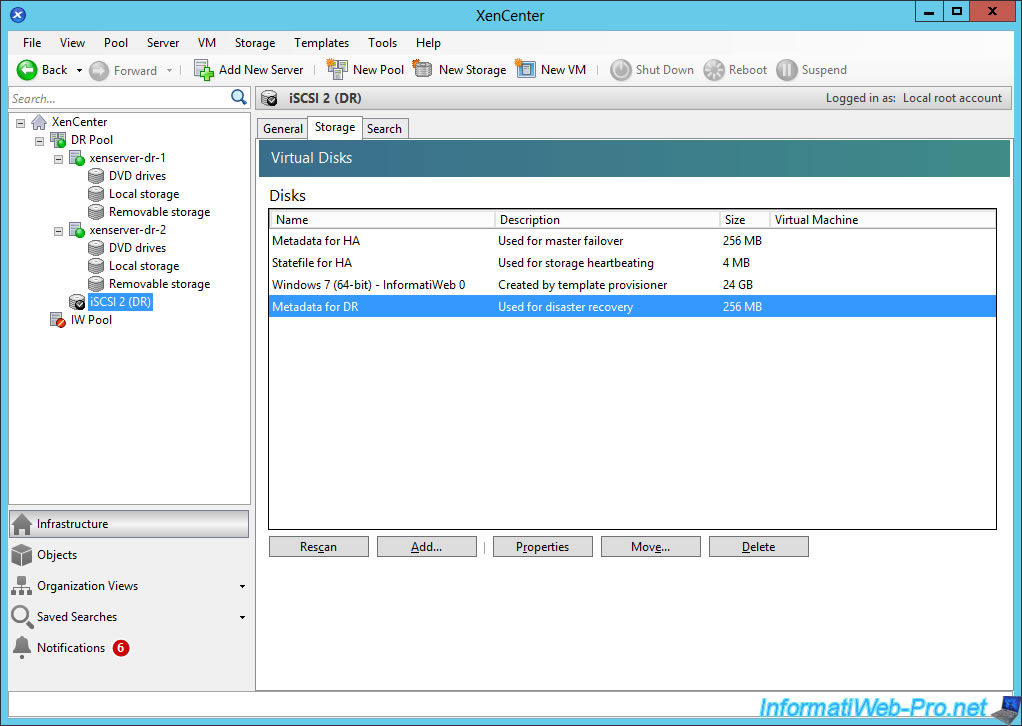
XenCenter connects your shared storage to the servers in the pool.

If you look at the contents of the iSCSI storage, you will see that it contains a virtual disk : Metadata for DR.
This is the file created when you activated the option in : Pool -> Disaster Recovery -> Configure.
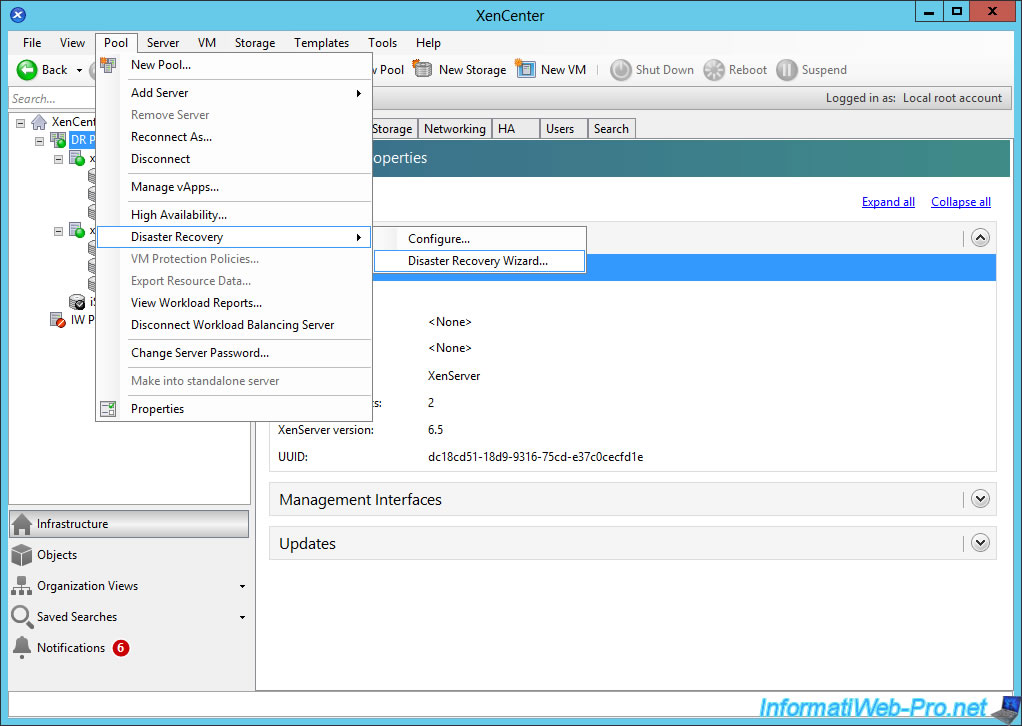
To restart your VMs on your backup servers, you must first retrieve their configuration.
To do this, select your backup pool and go to : Pool -> Disaster Recovery -> Disaster Recovery Wizard.
As indicated by this wizard, the Failover option allows you to restore vApps and virtual machines to your backup environment (DR).
Choose Failover and click Next.
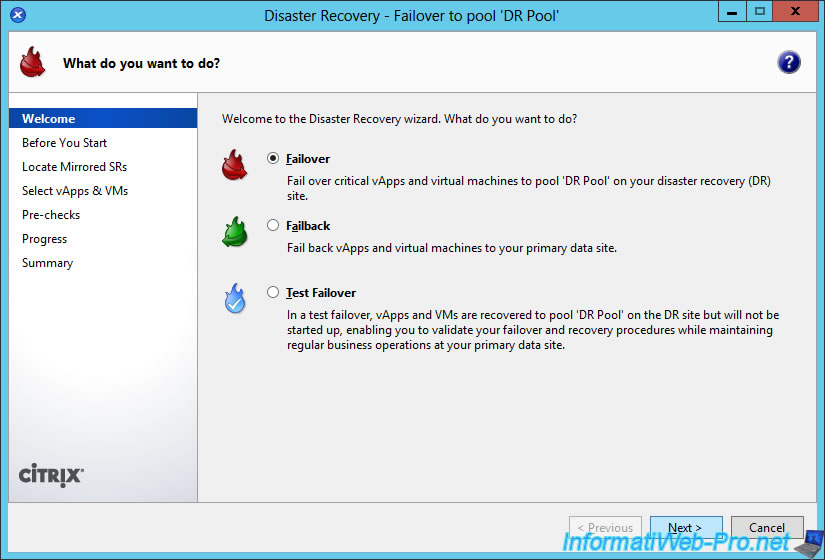
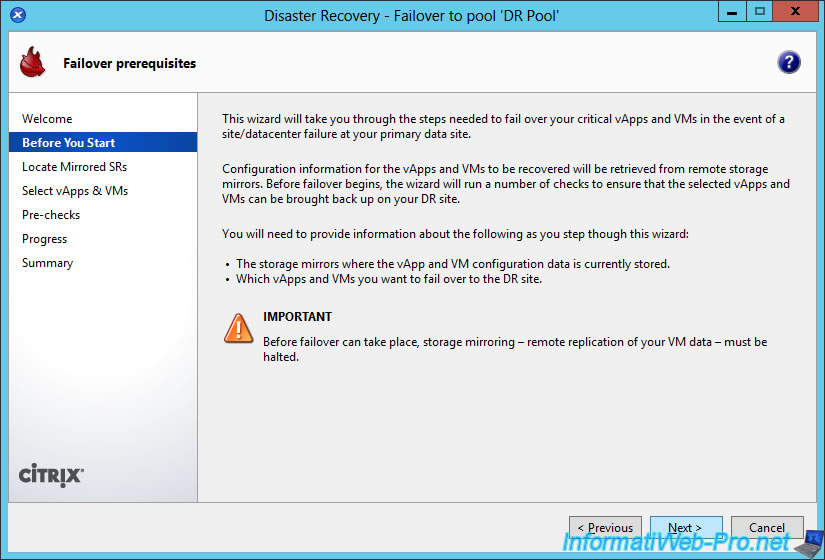
As indicated by this wizard, you will need to provide :
- the storage server that contains the copy of the vApps and virtual machine (VM) configuration.
- which vApps and which virtual machines you want to run on your backup environment.
Warning : As mentioned before, before you can start the failover process, you must first disable shared storage replication containing this information (configuration of vApps and VMs). That's why we had disabled it beforehand.
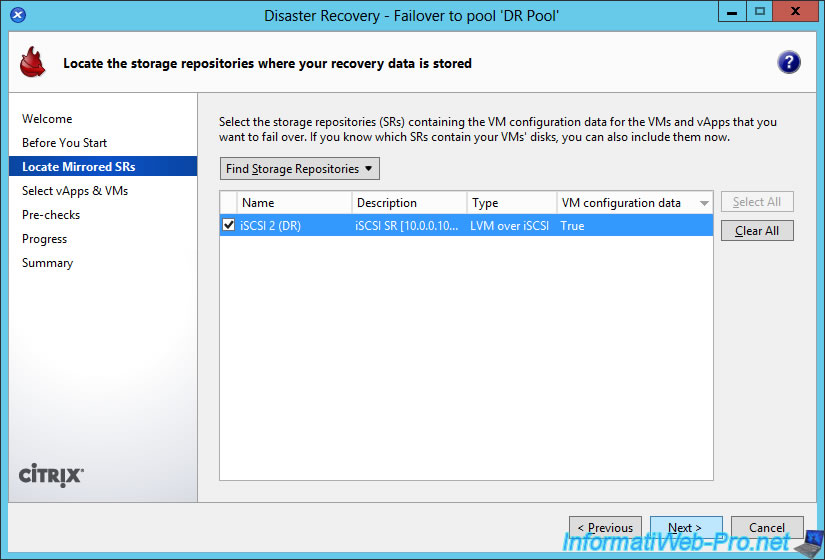
If Disaster Recovery was enabled on the primary pool, then the wizard will detect the necessary data and a line will be displayed.
Check the box and click Next.
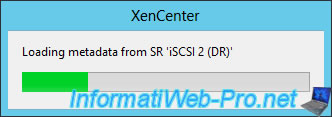
The wizard will load the metadata from your shared storage.
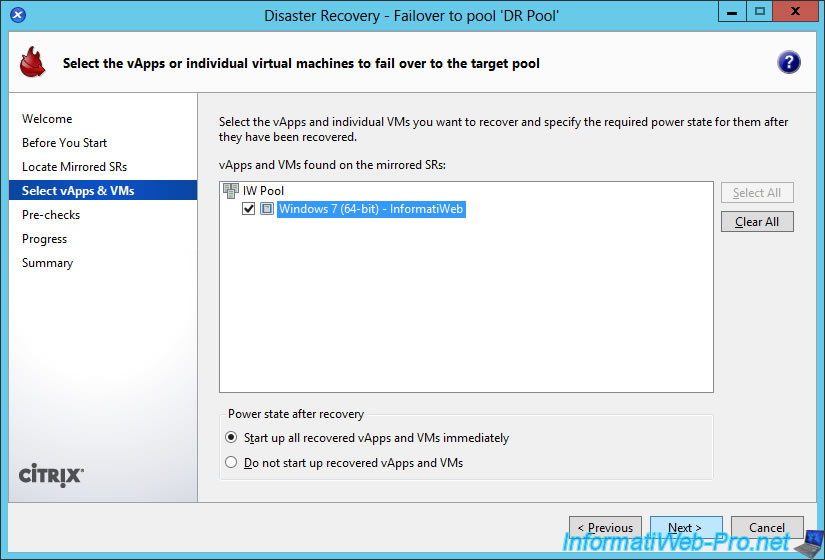
The list of vApps and VMs that were present on the main pool will be displayed here.
Select the vApps and VMs that you want to restart on the backup environment and click Next.
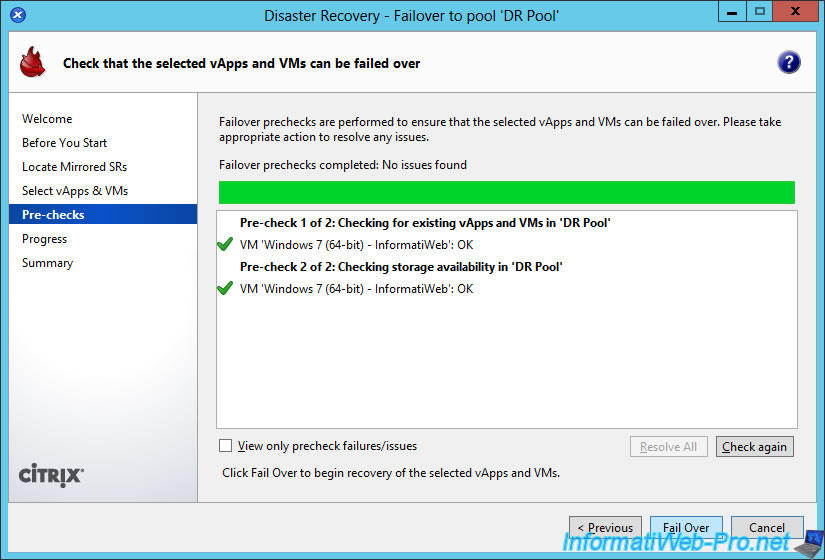
To begin, the wizard will verify that the restoration can be performed.
Wait, then click Fail Over.
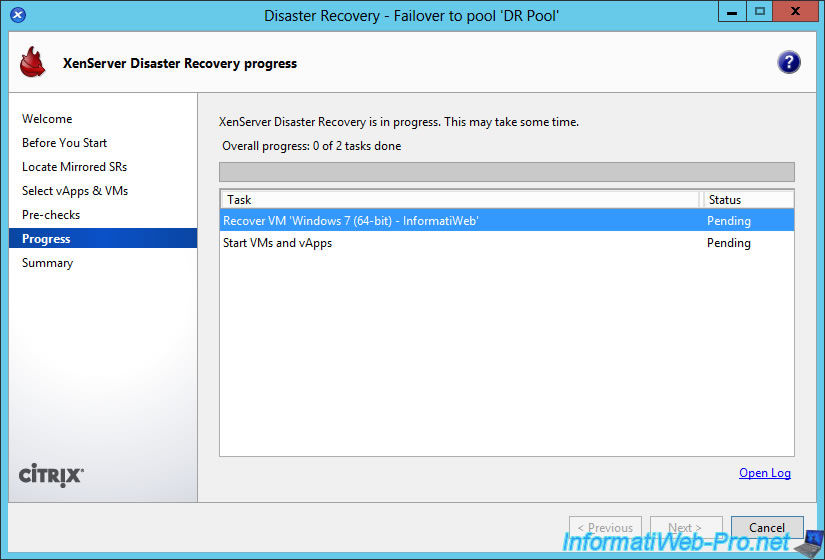
Then, the wizard will retrieve the configuration of the different vApps and VMs, and then launch them in the correct order (respecting the order of the vApps, if you had one).
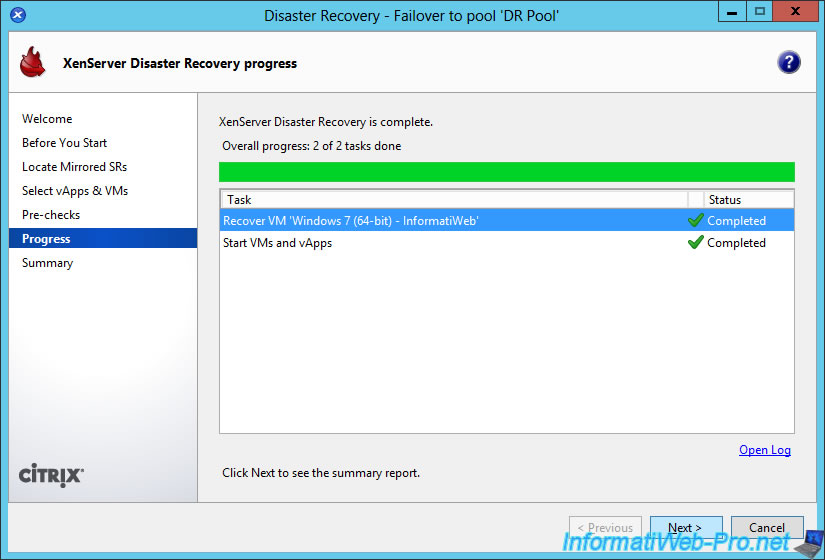
When the recovery proccess and launch of the VMs are complete, click Next.
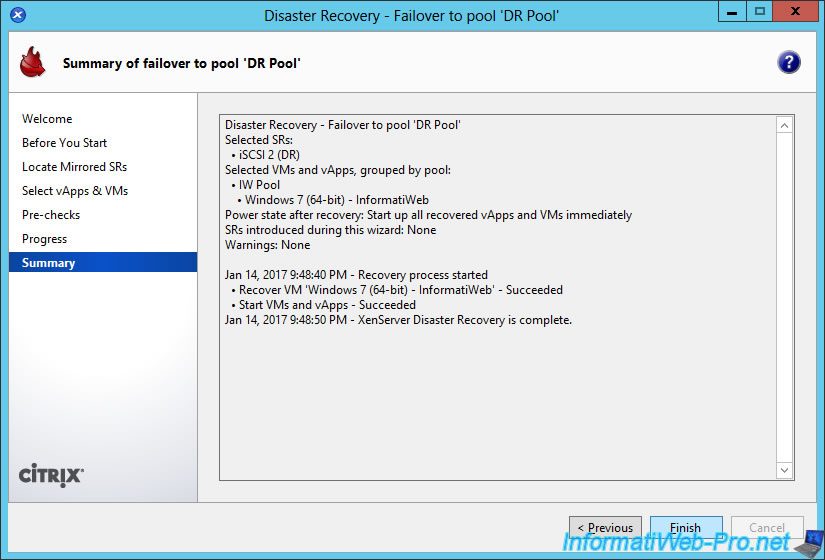
A summary will be displayed.
Click Finish.
As you can see, our VM is now running on our backup pool (DR).
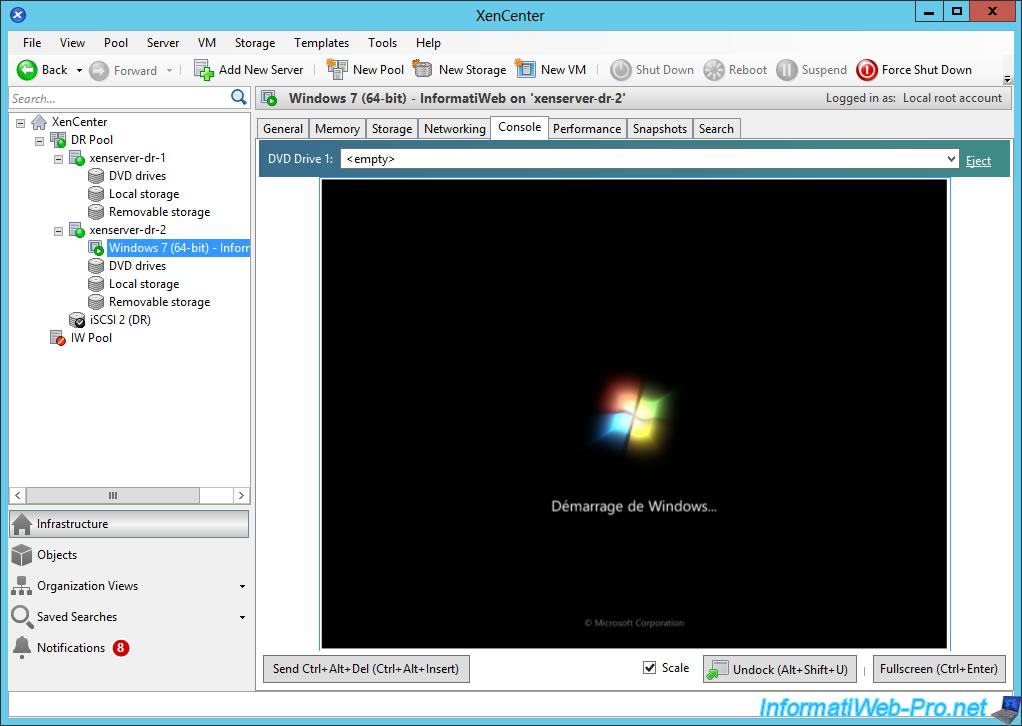
At the moment, the recovered virtual machines work very well on the backup environment.
However, if you change the configuration of a vApp or a virtual machine, these changes will not be reflected on the primary environment.
To do this, simply re-enable metadata replication on the 2nd iSCSI server.
As earlier, go to : Pool -> Disaster Recovery -> Configure.
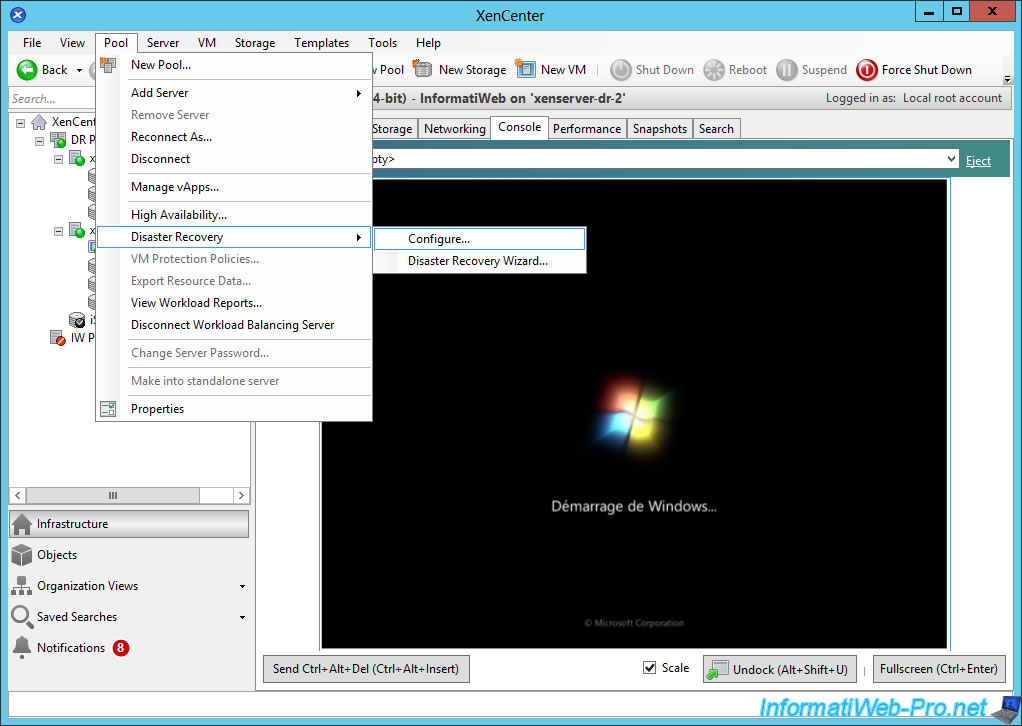
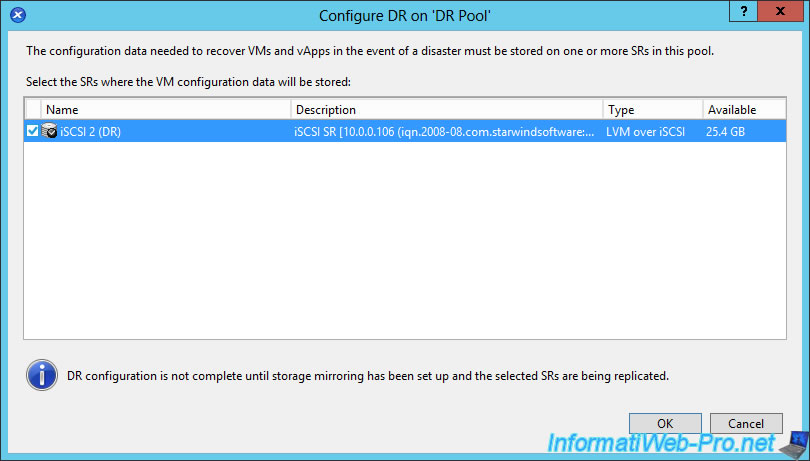
Then, check the box to enable metadata replication on this shared storage.
To prove that it works, we have changed the name of our virtual machine to add : UPDATED.
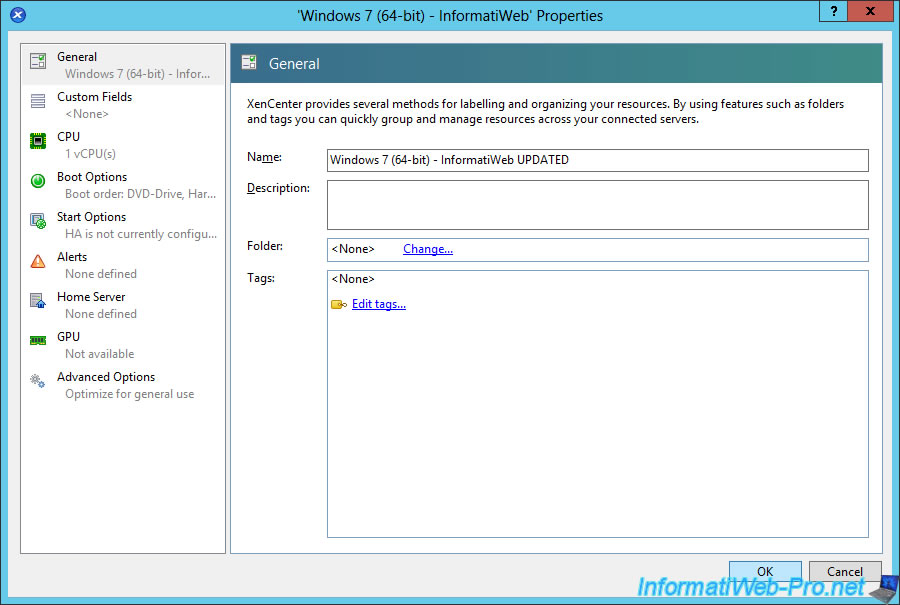
Now, our virtual machine has a slightly different name.
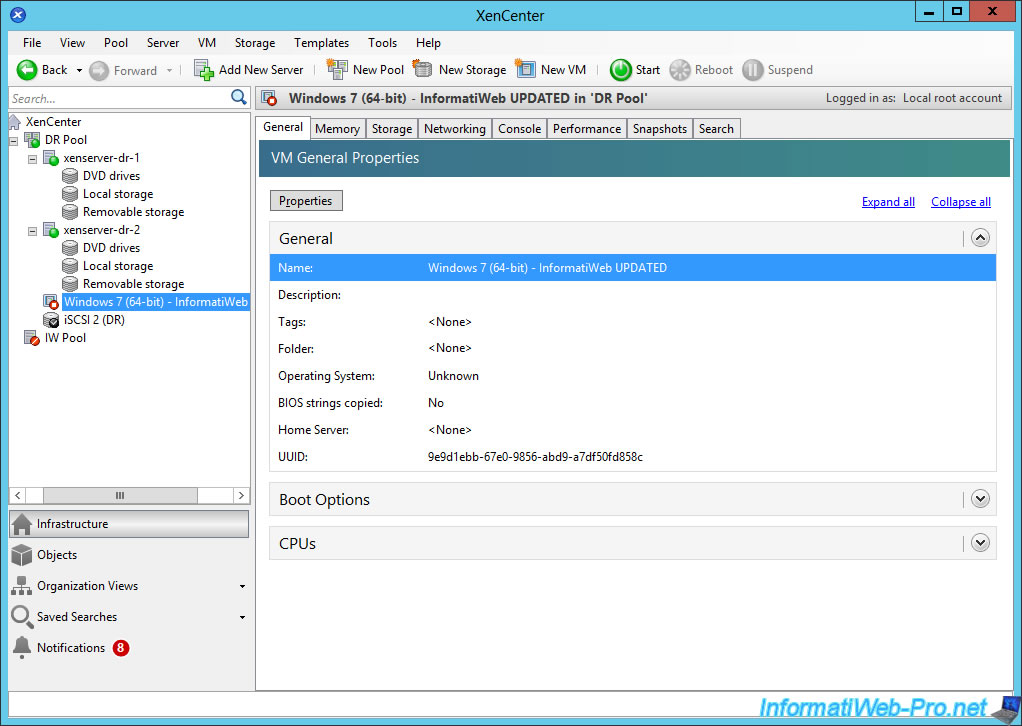
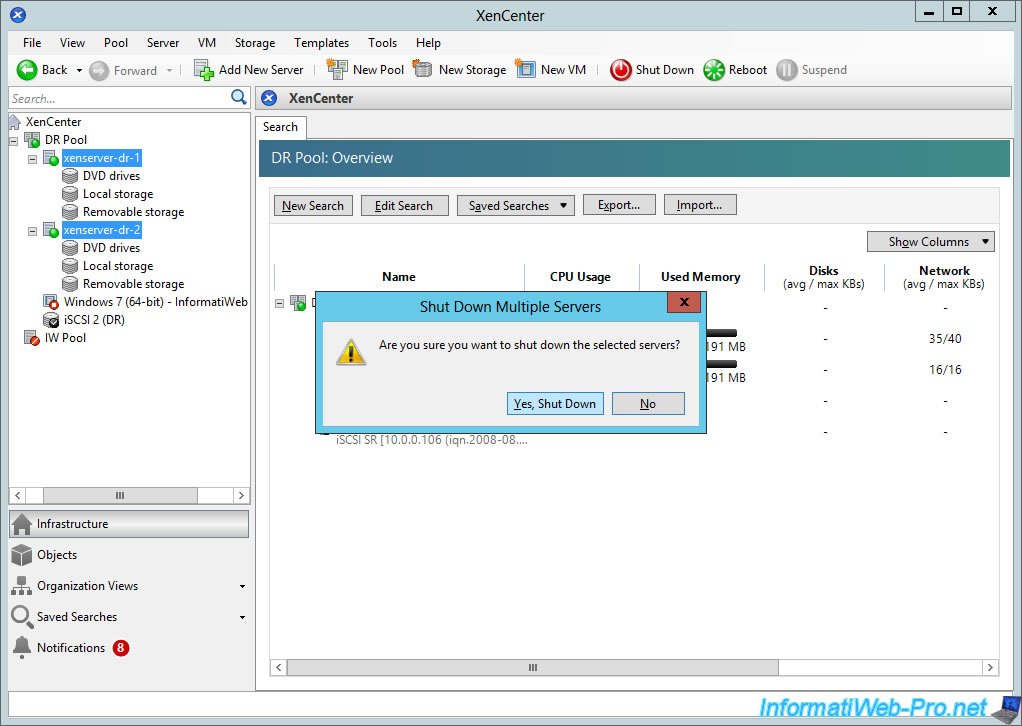
Let's say our main server pool is no longer down.
We no longer need our backup environment, so we shut down these servers.
6. Reactivate shared storage data replication
Now that our main pool is no longer down, we will be able to restore our virtual machines to it.
To do this, we will replicate the backup iSCSI server data (the 2nd server) to the primary iSCSI server (the 1st server).
Because the virtual disk is still present on the primary iSCSI server, we must first delete it.
To do this, delete the folder that contains this virtual disk on the primary iSCSI server.
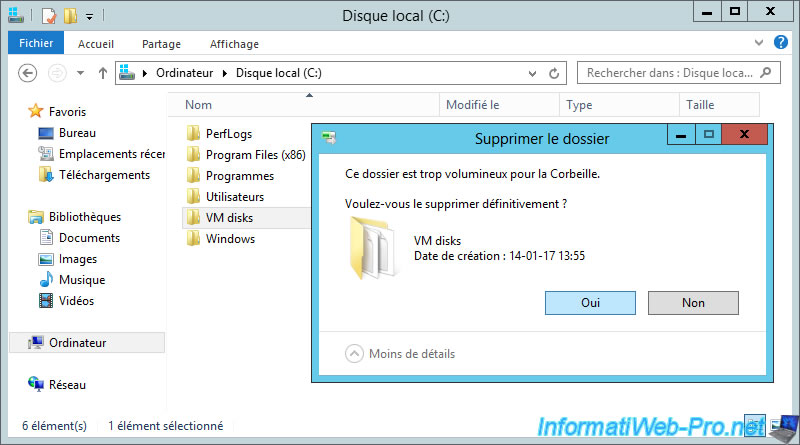
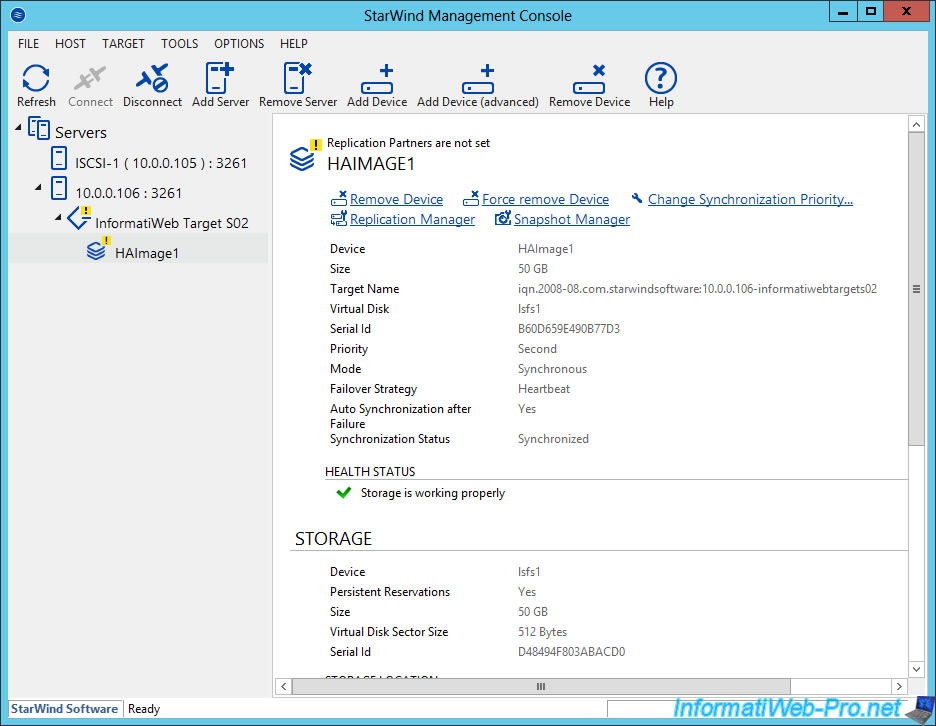
As you can see, iSCSI server data replication is currently disabled.
Select the virtual disk (HAImage1 in the image below) and click Replication Manager.
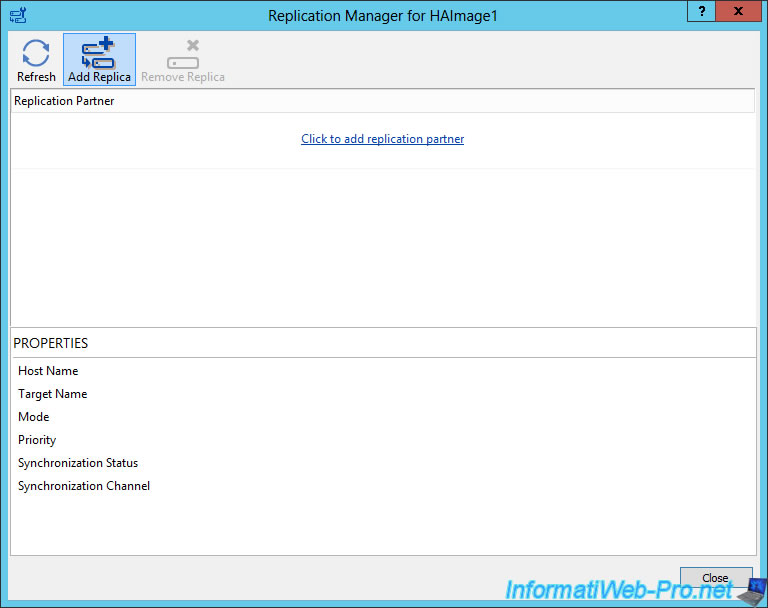
Then, click Add Replica.
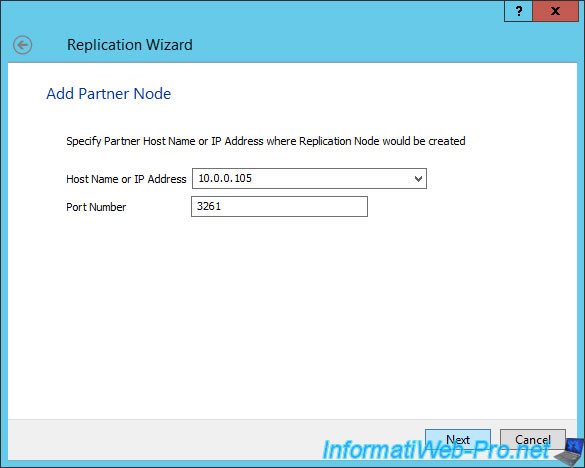
Specify the IP address of the 1st iSCSI server.
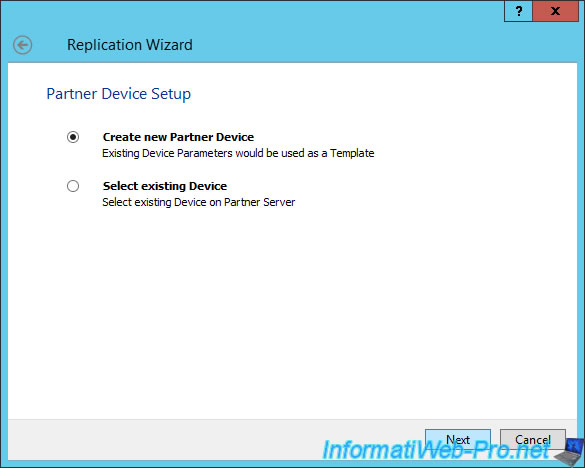
Select : Create new Partner Device.
Click "Modify Target Name".
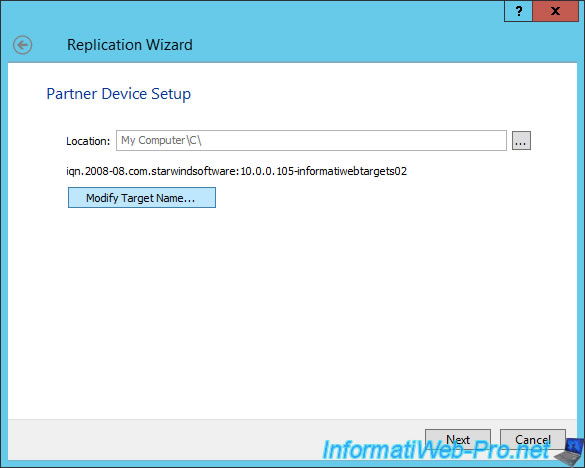
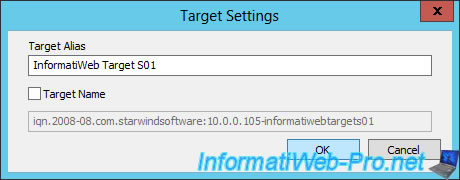
And specify that it's the server 1.
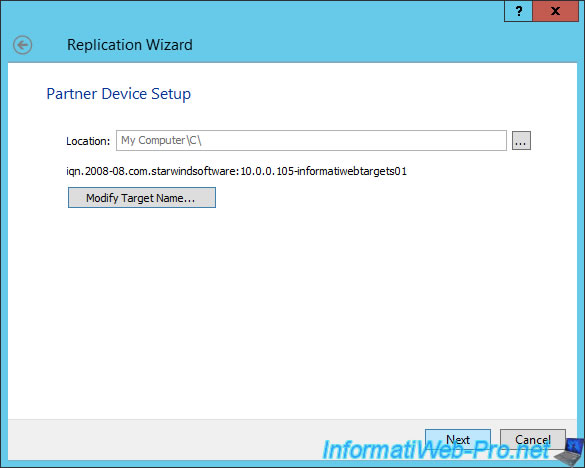
Indeed, we are on server 2 and the partner server will be server 1.
Now, click Next.
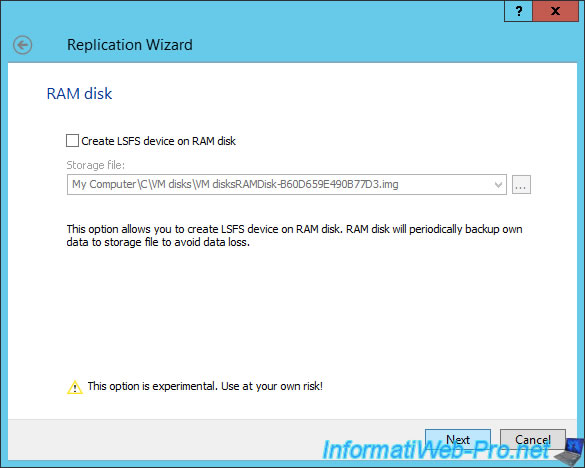
Ignore this feature, because it's experimental and therefore risky.
Click : Change Network Settings.
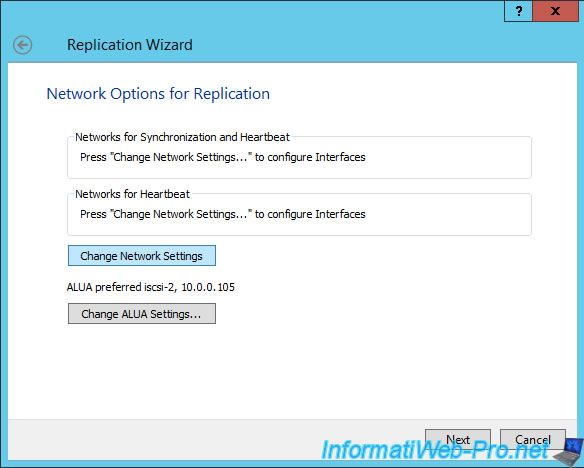
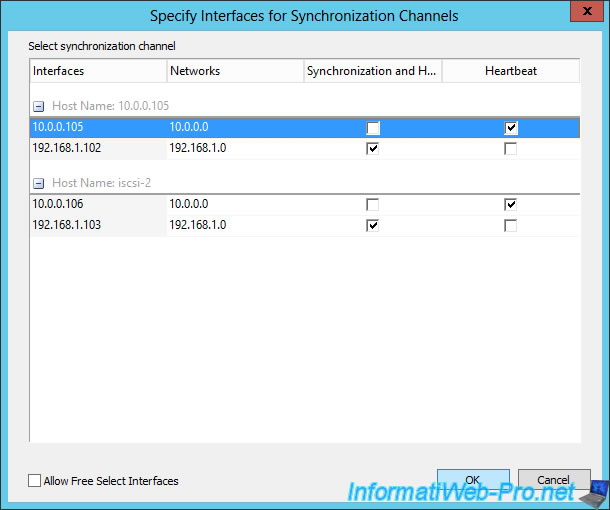
And choose :
- the dedicated network for the synchronization and the Heartbeat
- and the "public" network for the heartbeat
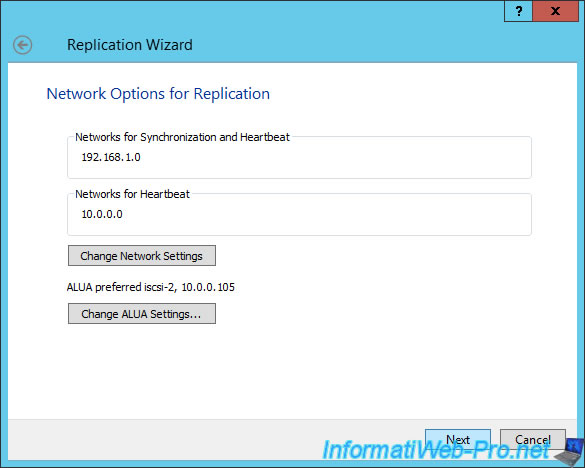
Then, click Next.
Finally, click Create Replica.
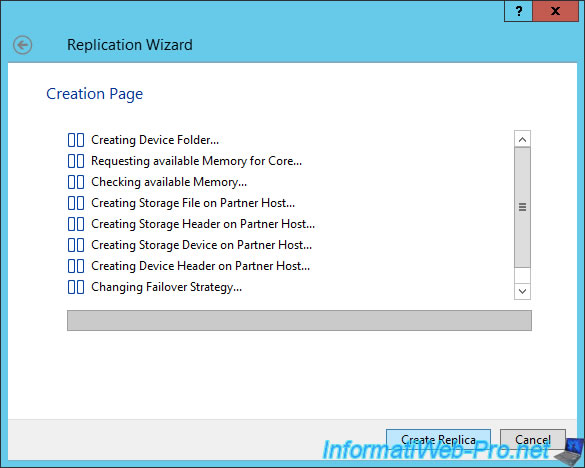
The virtual disk that will contain the replicated data has been created on the 1st iSCSI server.
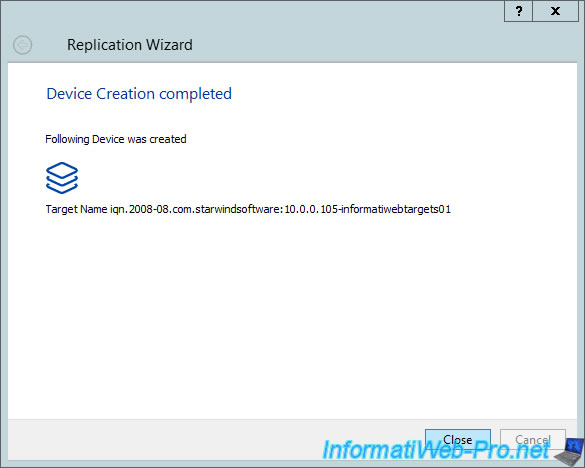
Wait until synchronization is complete.
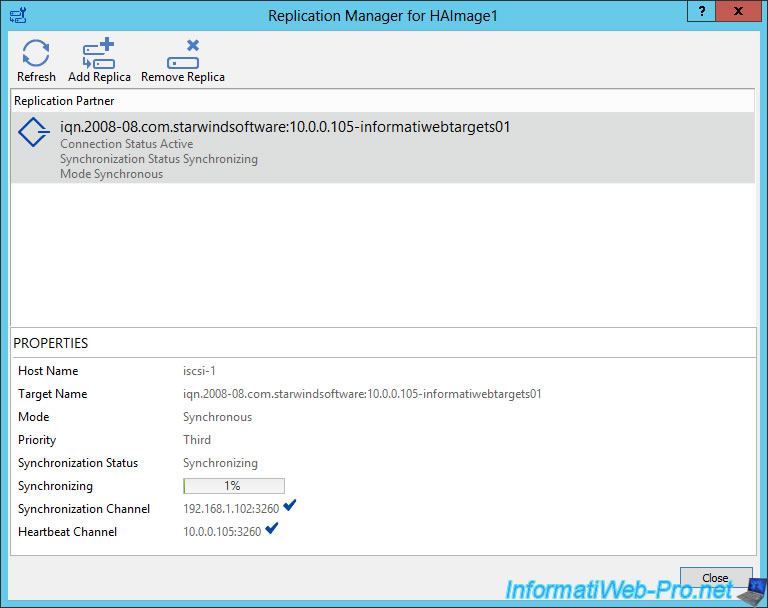
Once synchronization is complete, the status will change to Synchronized.
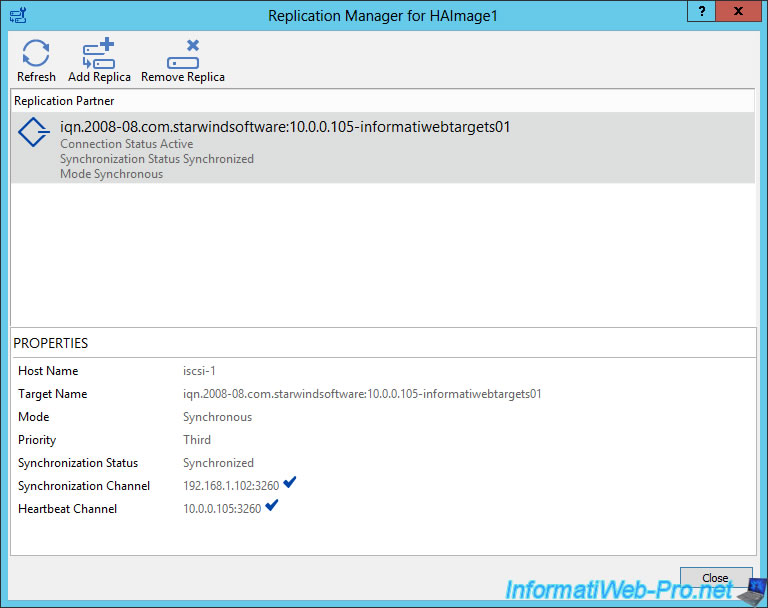
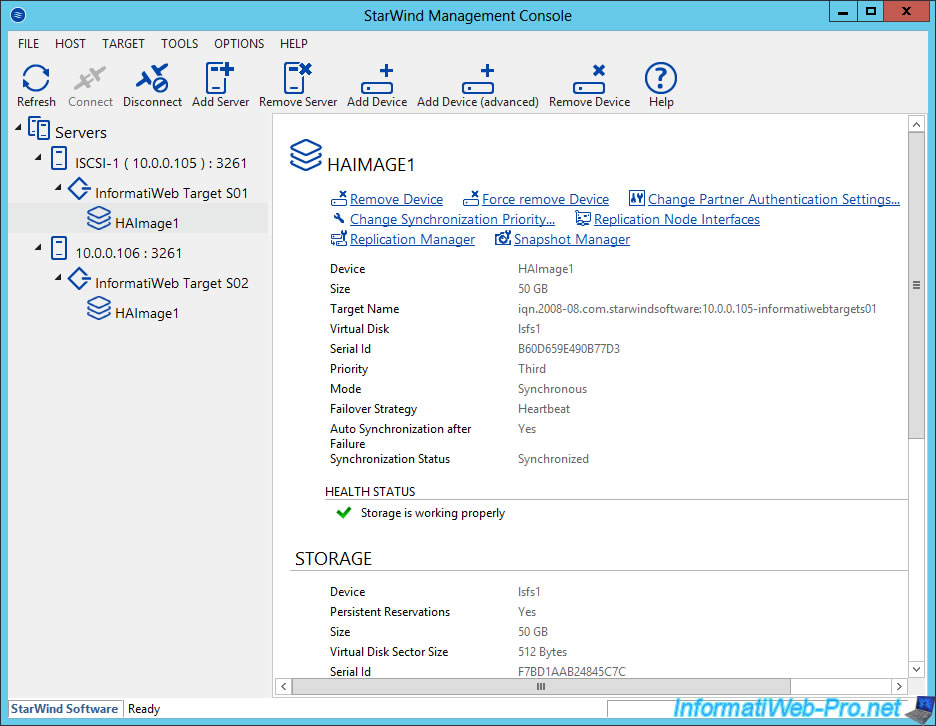
Now, the server 2 is well synchronized with the server 1.
7. Restore virtual machines to the primary environment (failback)
Finally, it will be enough to update the configuration of vApps and VMs on your main environment.
For this, if necessary, repair the shared storage.
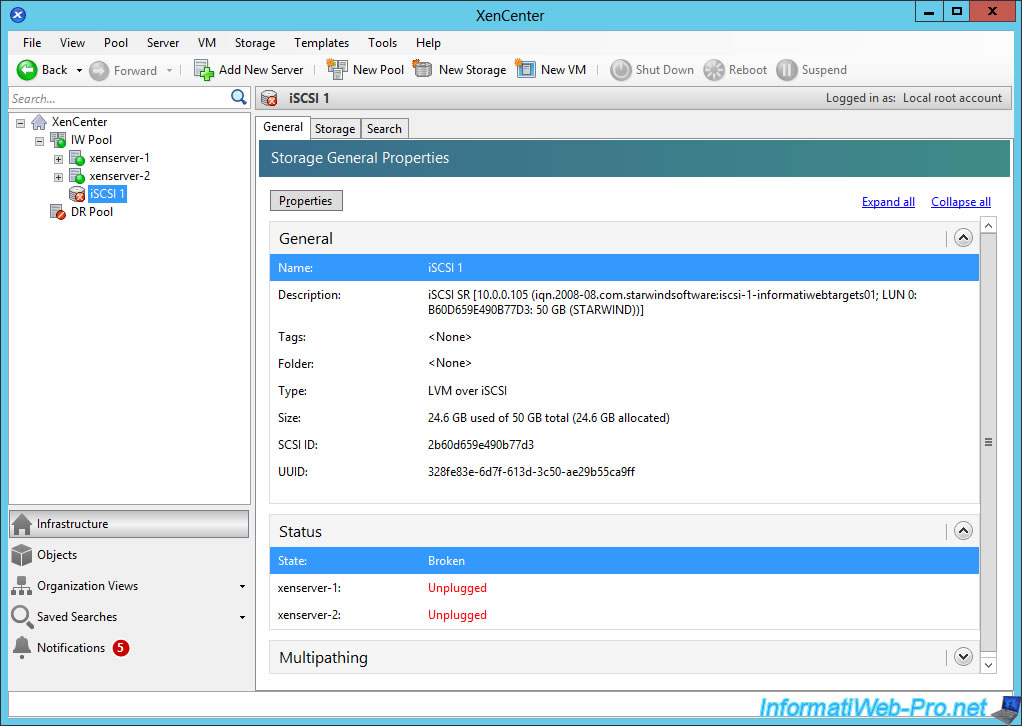
To do this, right-click on it and click on Repair.
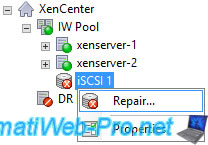
Then, click Repair again.
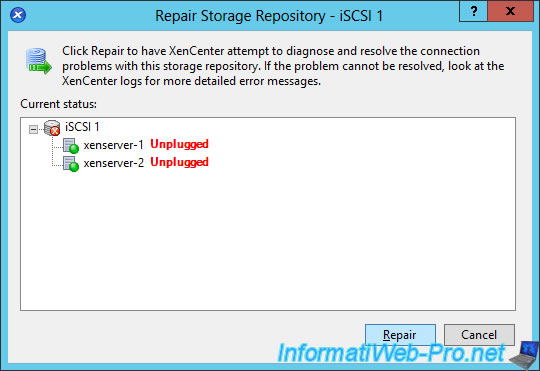
And XenCenter will try to reconnect your shared storage to your 2 XenServer servers.
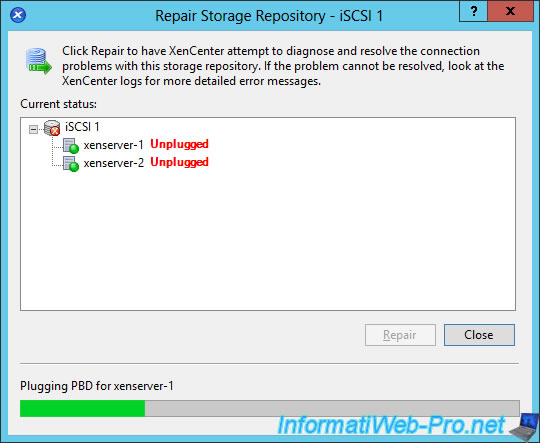
In our case, this failed and XenCenter therefore displayed the error: The storage repository is not available.
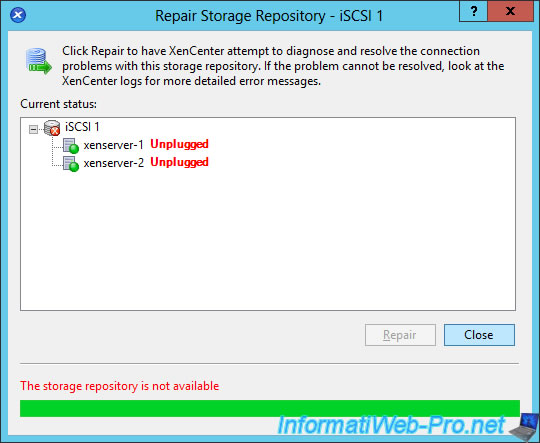
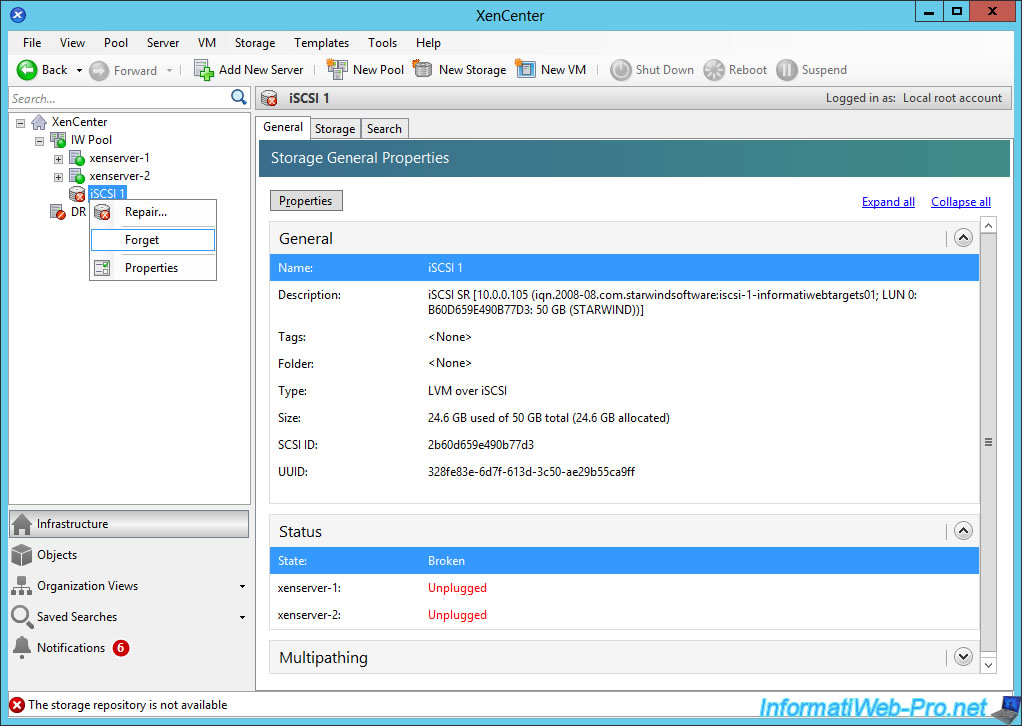
The solution is to detach this shared storage and then to attach it again.
To do this, right-click the shared storage, and then click Forget.
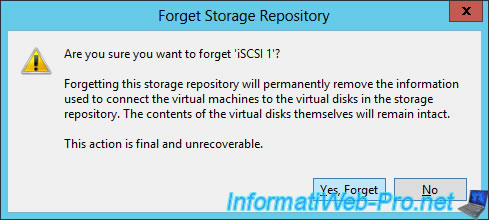
Click : Yes, Forget.
Then, add it again.
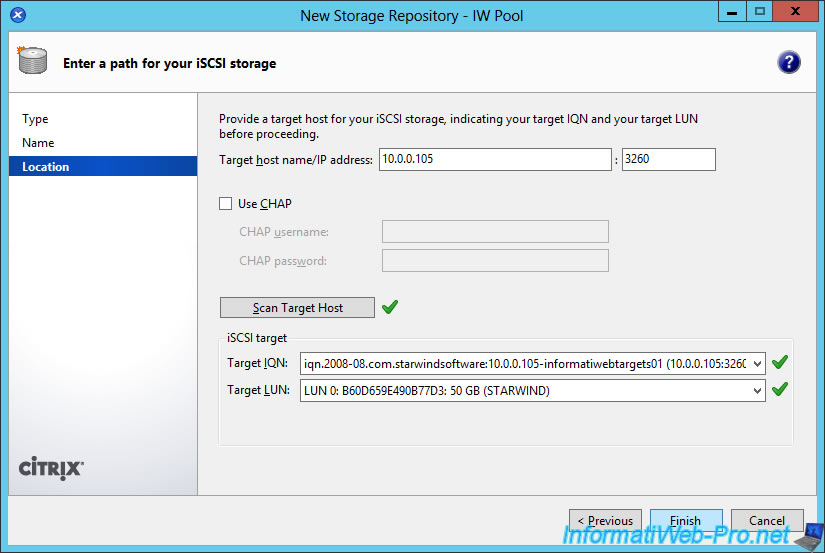
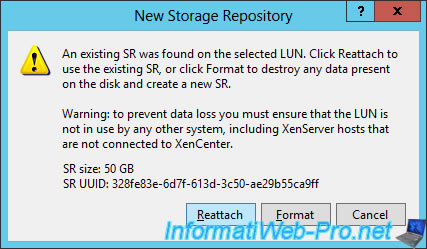
The storage already exists, so click Reattach.
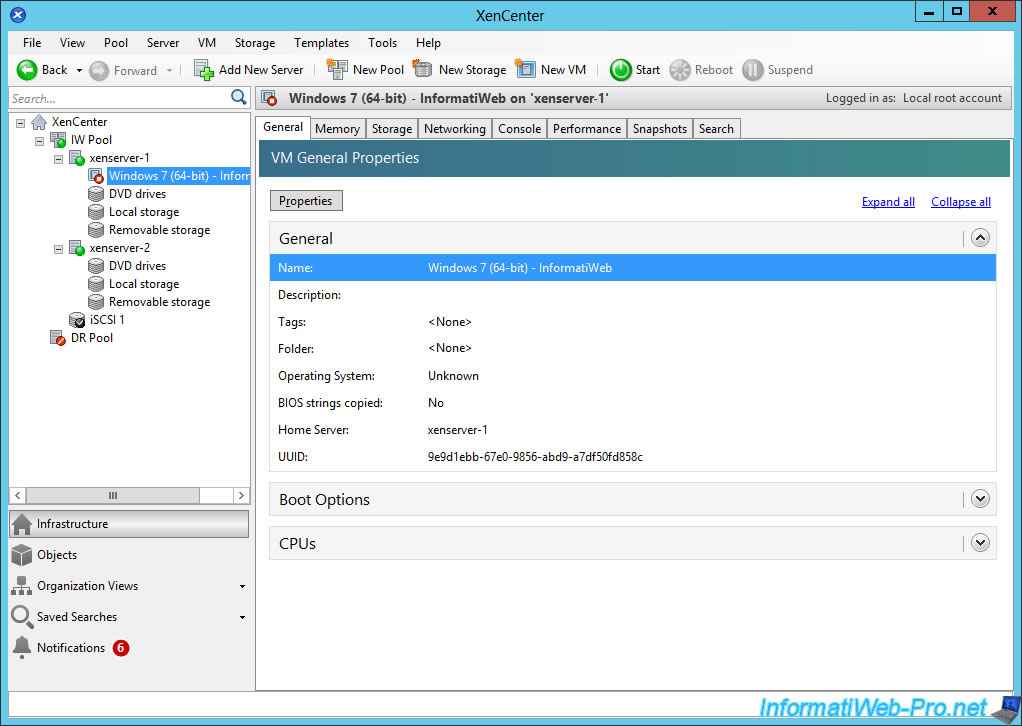
For now, our virtual machine always has the old name.
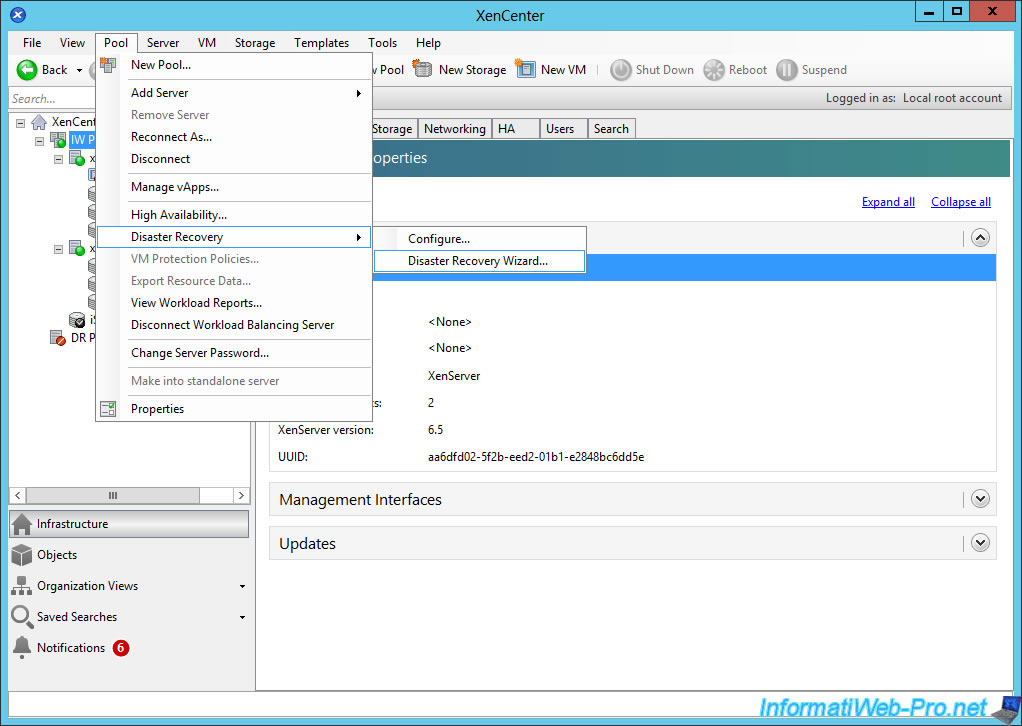
Go to : Pool -> Disaster Recovery -> Disaster Recovery Wizard.
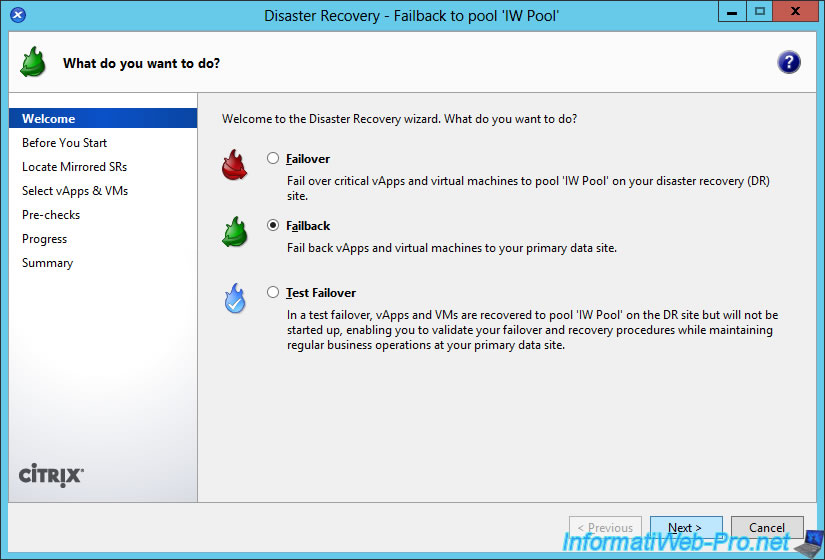
As indicated by the wizard, to recover your virtual machines on your primary environment, you must use the option : Failback.
Select Failback and click Next.
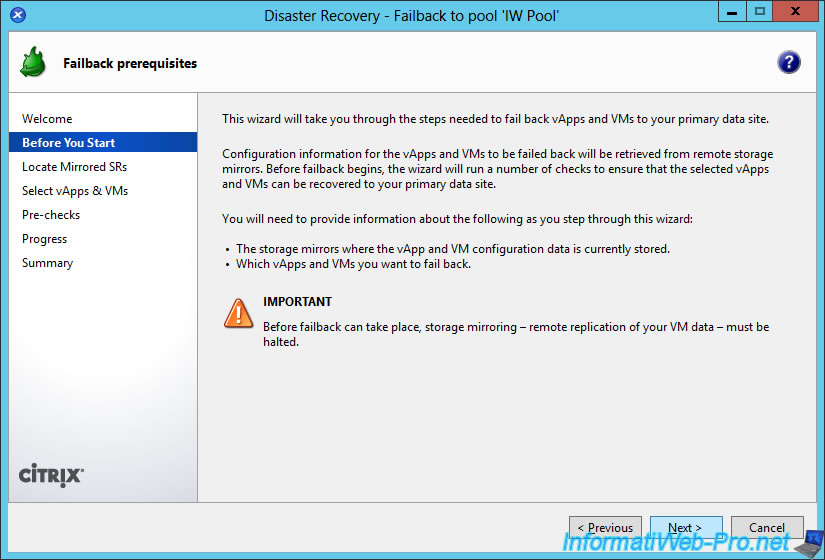
As with the failover option, the wizard tells you that you will need shared storage containing the metadata, and that you must disable shared storage data replication before you run failback.
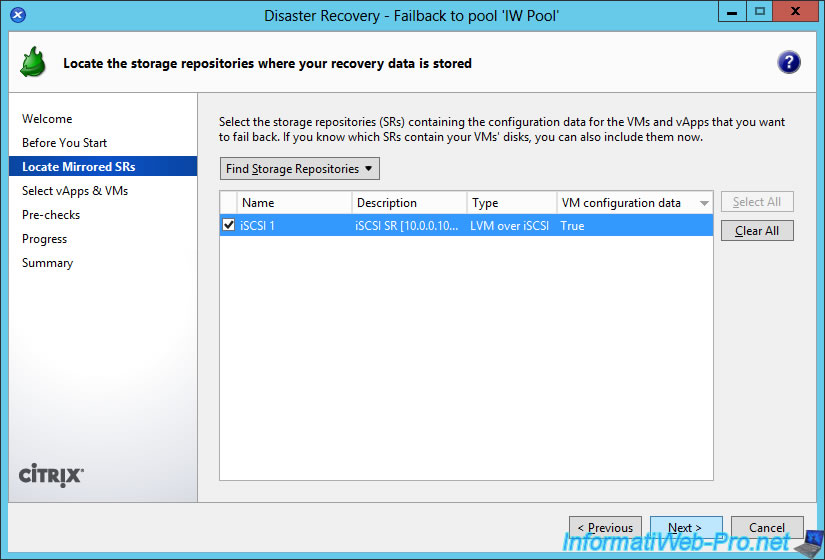
Select the shared storage that contains these metadata.
In this case, the 1st iSCSI server.
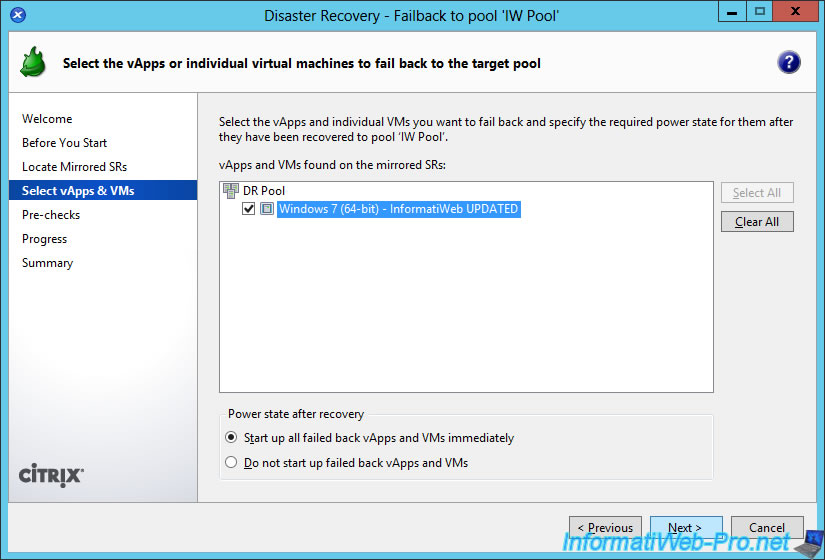
The wizard loads metadata from available storage on your iSCSI server.

The wizard displays a list of vApps and virtual machines that you can retrieve.
As you can see, it finds our virtual machine with the word "UPDATED".
This proves that the modification of the configuration of our virtual machine has been saved on our iSCSI server.
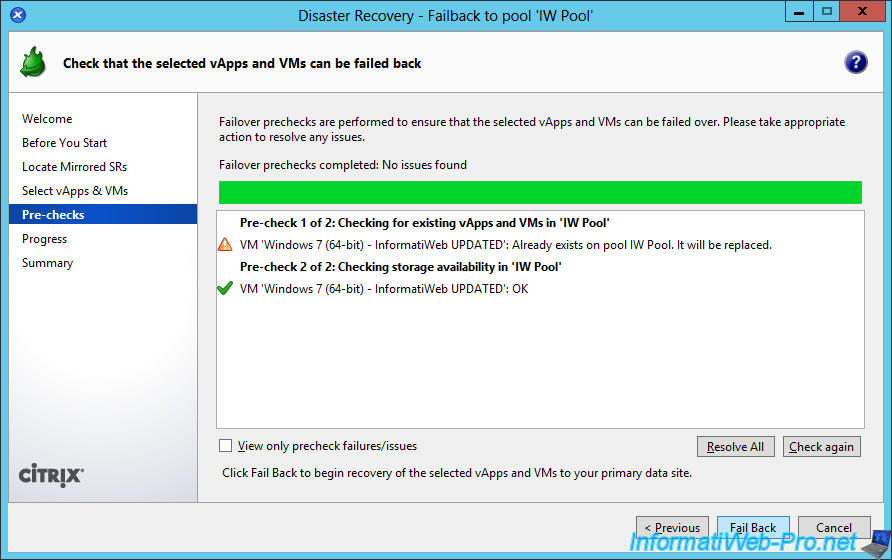
The wizard performs these checks and detects that our virtual machine already exists on our primary pool.
Indeed, it still has the same UUID, even though we changed its name.
Click Fail Back.
The wizard retrieves the new configuration of your vApps and virtual machines. Then, he will try to launch them.
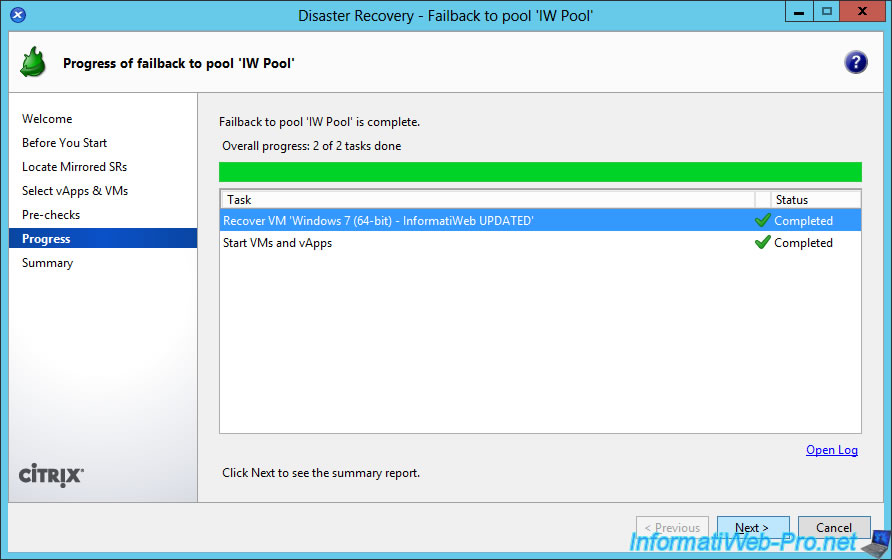
Finally, the wizard will display a summary.
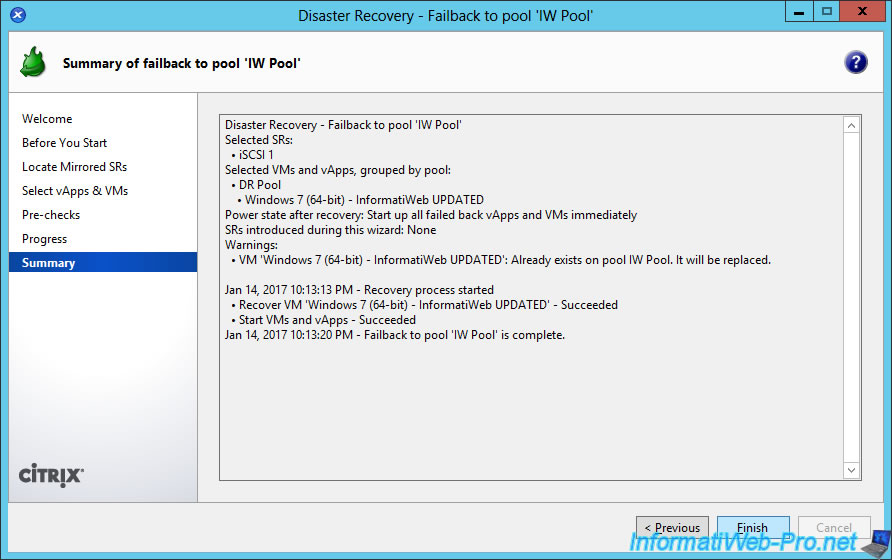
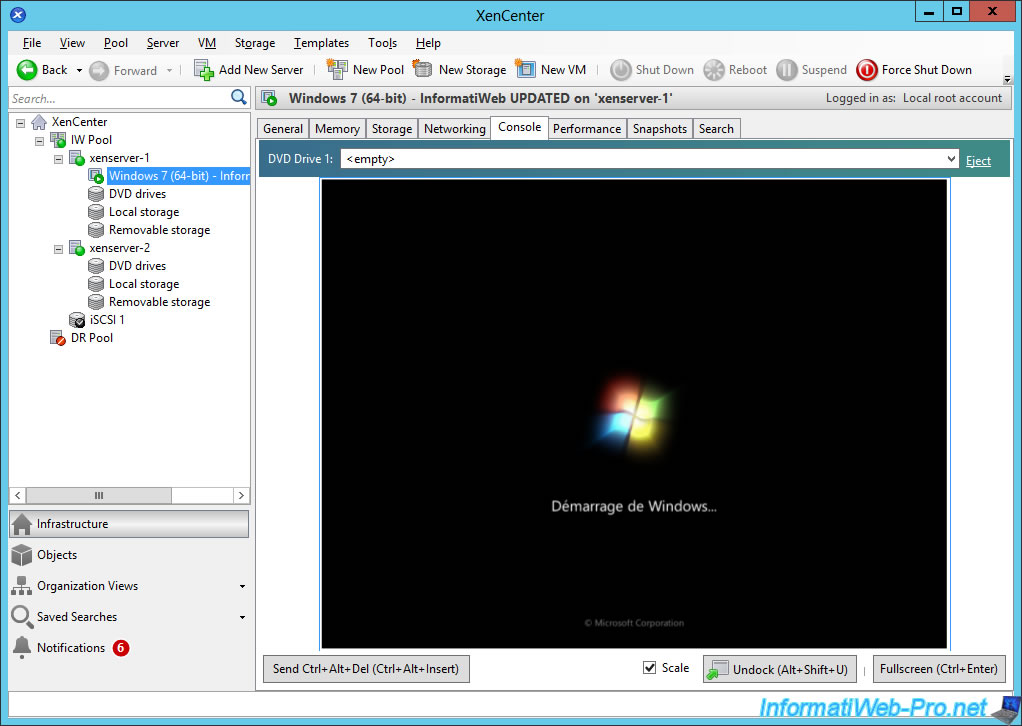
Our virtual machine restarts without any problem and with its new name on our main pool.
Share this tutorial
To see also
-
Citrix 11/25/2015
Citrix XenServer 6.5 - PCI passthrough
-
Citrix 10/27/2016
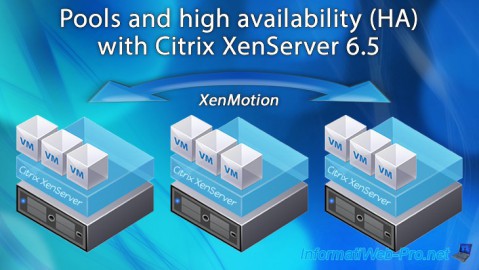
Citrix XenServer 6.5 - Pools and high availability (HA)
-
Citrix 4/30/2015
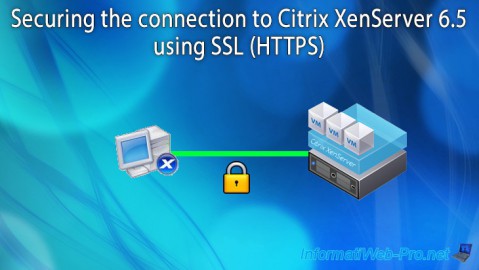
Citrix XenServer 6.5 - Secure the connection using SSL (HTTPS)
-
Citrix 6/13/2017
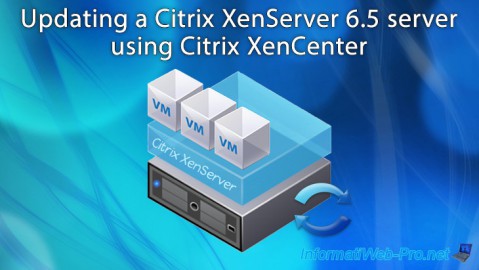
Citrix XenServer 6.5 - Updating the server

No comment