- Citrix
- Citrix XenServer
- 13 June 2017 at 11:25 UTC
-

For versions prior to XenServer 6.5, Citrix did not allow you to automatically install updates with a graphical interface (XenCenter) if you had the free version of XenServer.
Indeed, this feature was reserved for people who chose to pay for Citrix support for XenServer
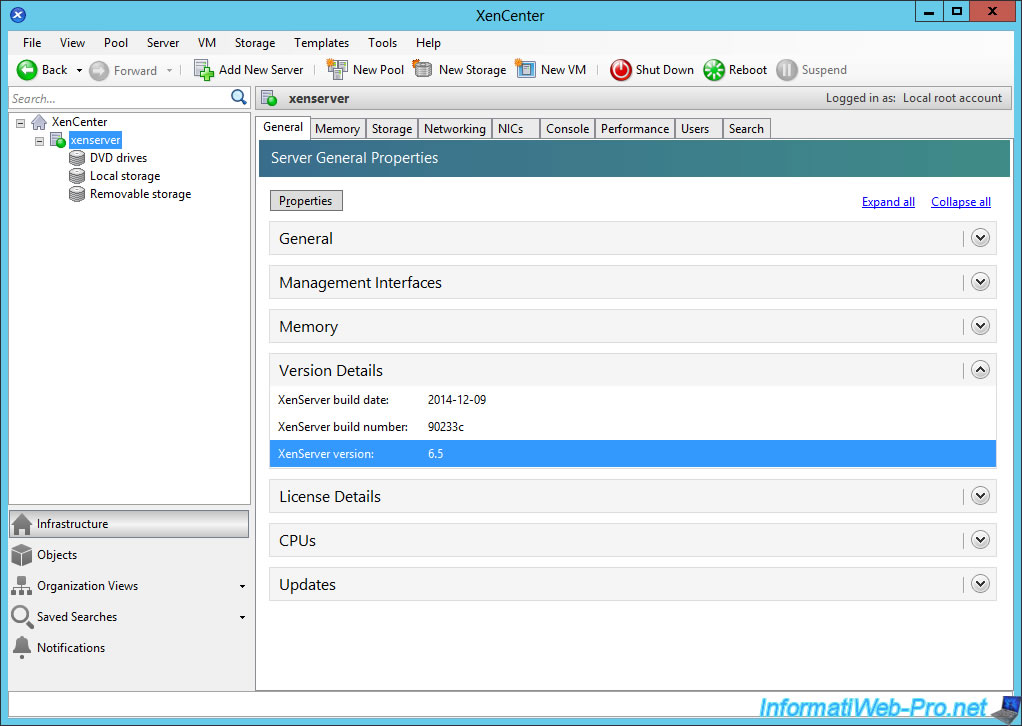
Now, since version 6.5 of XenServer, you will no longer need the command line for updates, as you will be able to download and install them easily from the XenCenter GUI.
Warning : If the XenServer server you want to update is in a servers pool, you will need to install each update on all the servers in the pool.
This is because all servers in a pool of XenServer servers must have the same version and the same updates applied.
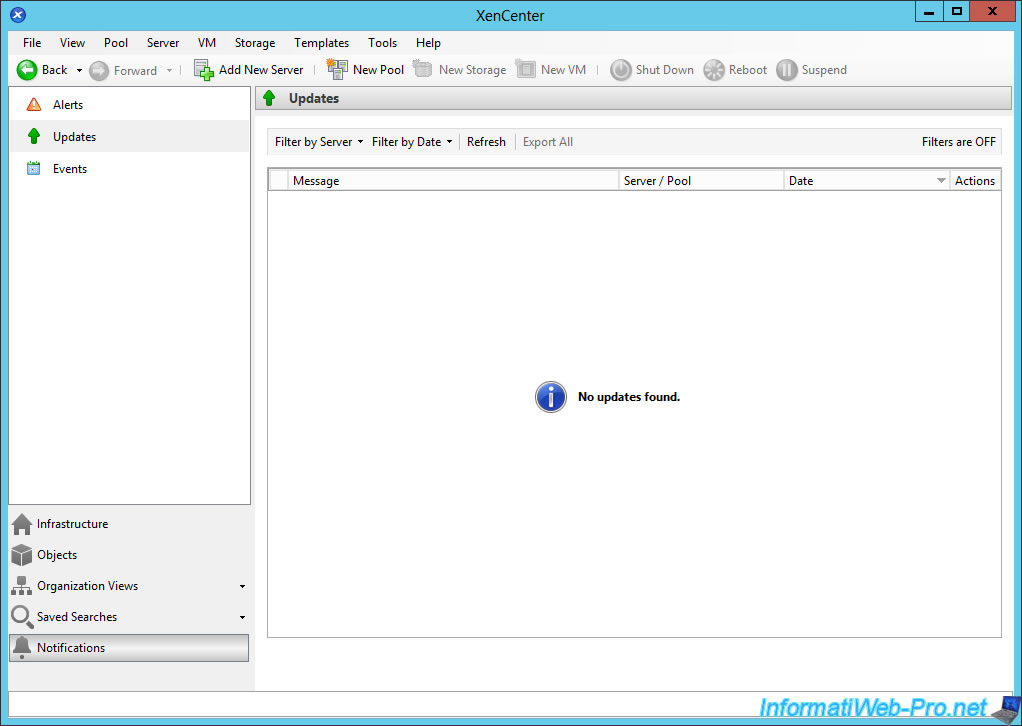
First, go to "Notifications" (at bottom left).
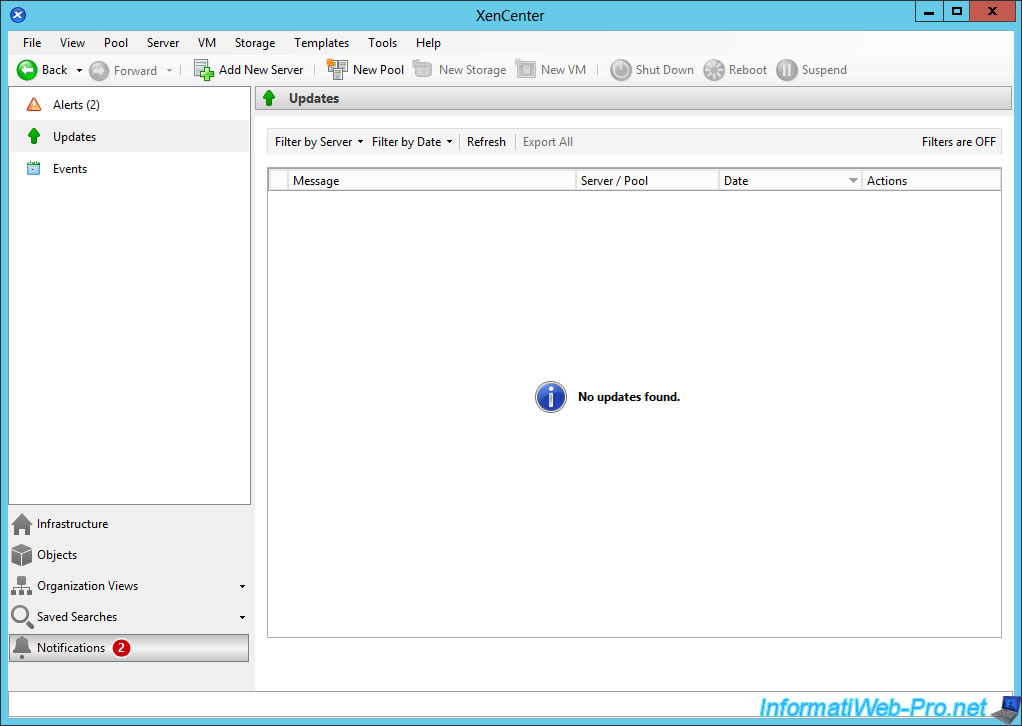
At this time, no updates are displayed.
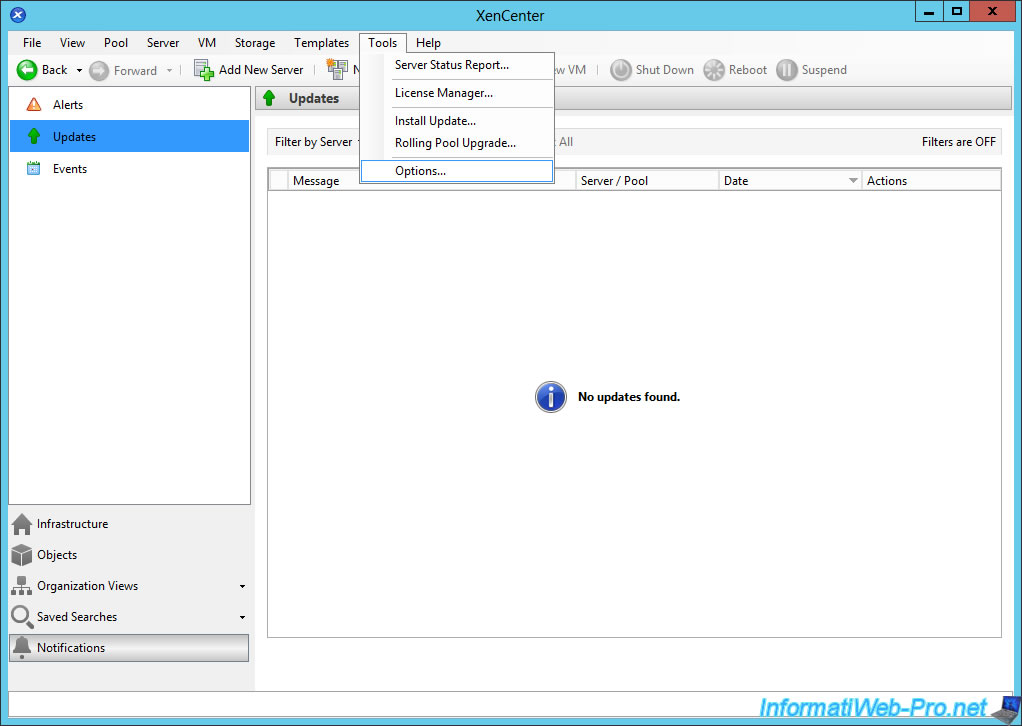
To verify that XenCenter is configured to automatically check for XenCenter and XenServer updates, go to : Tools -> Options.
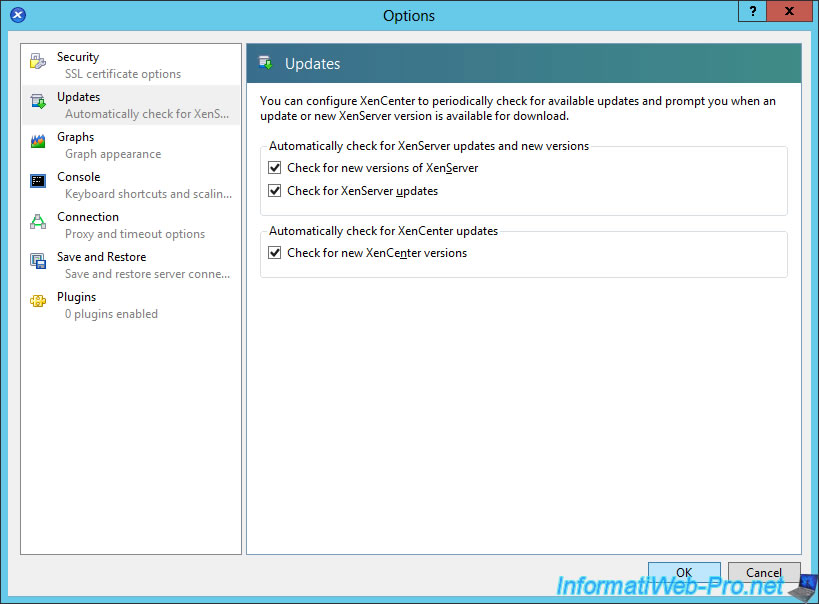
Then, in the "Updates" section, make sure that all boxes are checked.
Then, at the top of the list, click "Refresh" to find the available updates for your XenServer server(s).
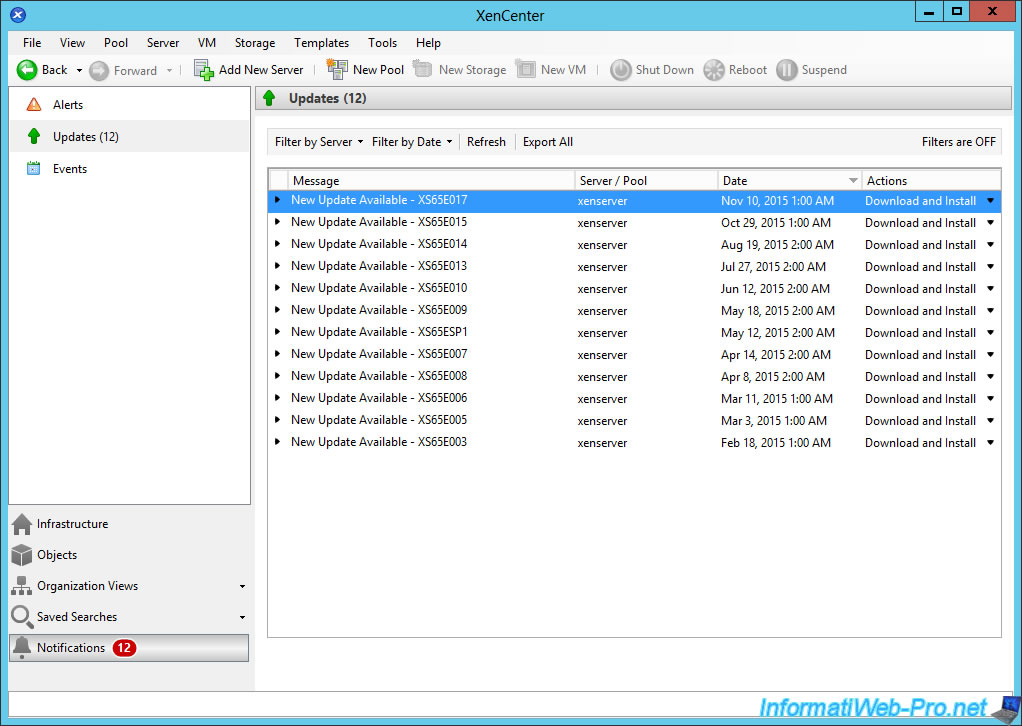
Click "Download and Install" for each update.
Note : as you can see, since XenServer version 6.5, XenCenter will allow you to automatically install these updates from its graphical interface (GUI).
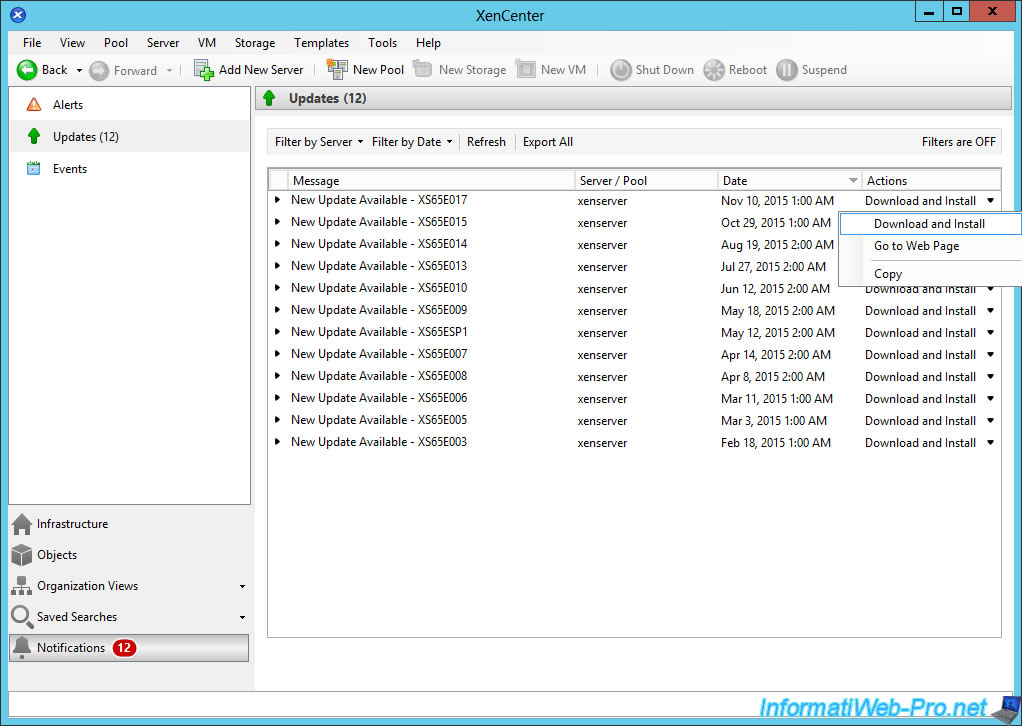
XenCenter downloads the desired update.

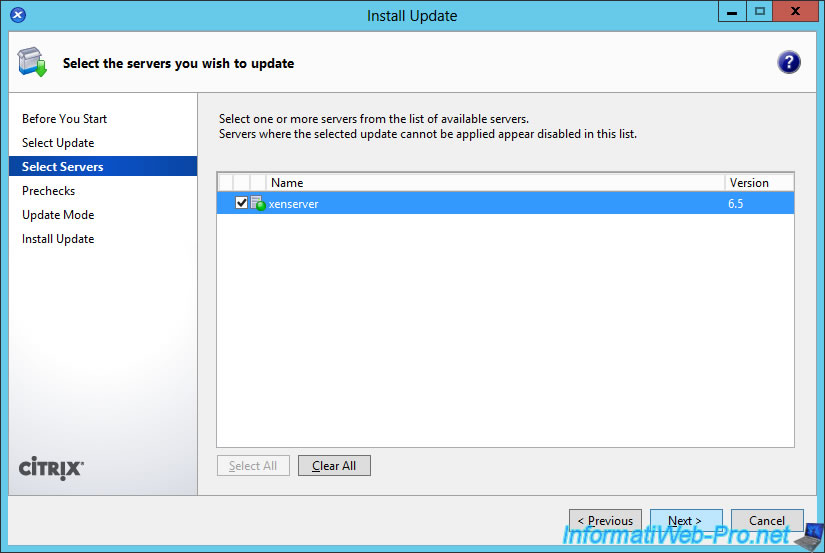
Then, an "Install Update" wizard will appear.
Select your XenServer server if necessary, then click Next.
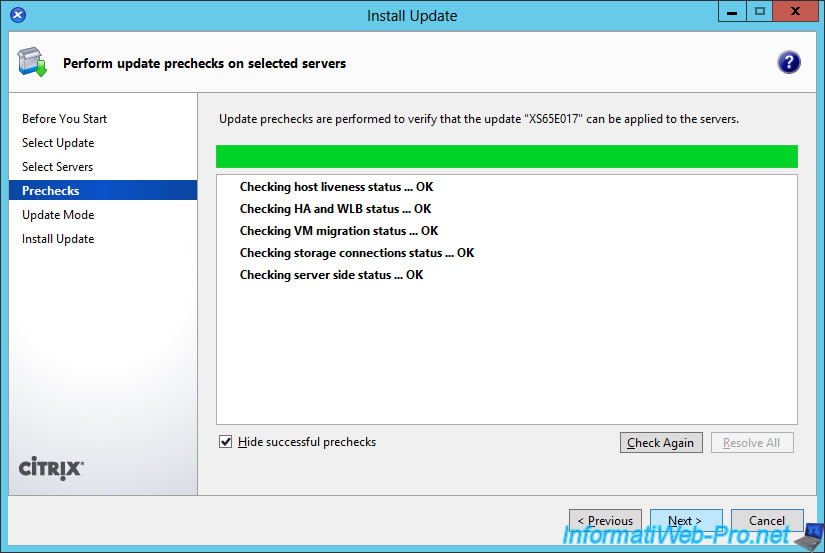
XenCenter does some checks to make sure that he can install this update on the desired server(s).
When the tests are complete, click Next.
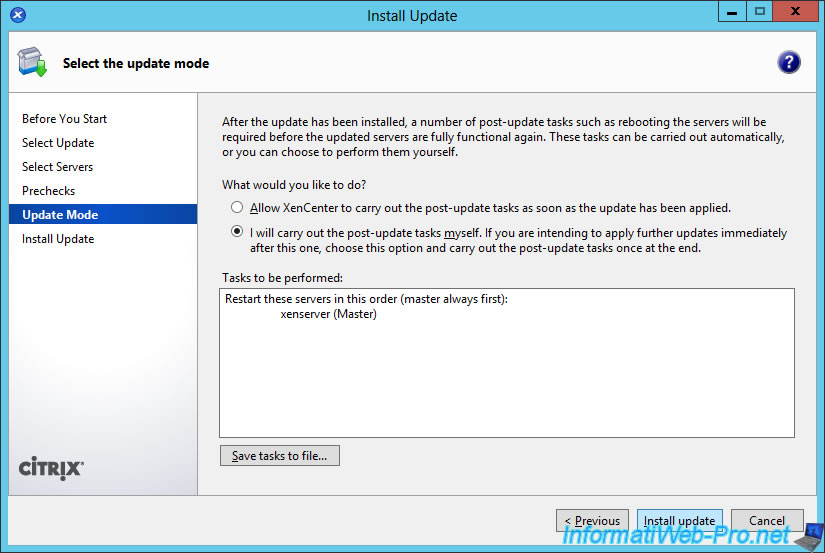
As we have several updates to install, we select the option "I will carry out the post-update tasks myself ....".
Then, we click on "Install Update".
Note : as you have noticed, we will need to restart our XenServer server after installing the desired updates.
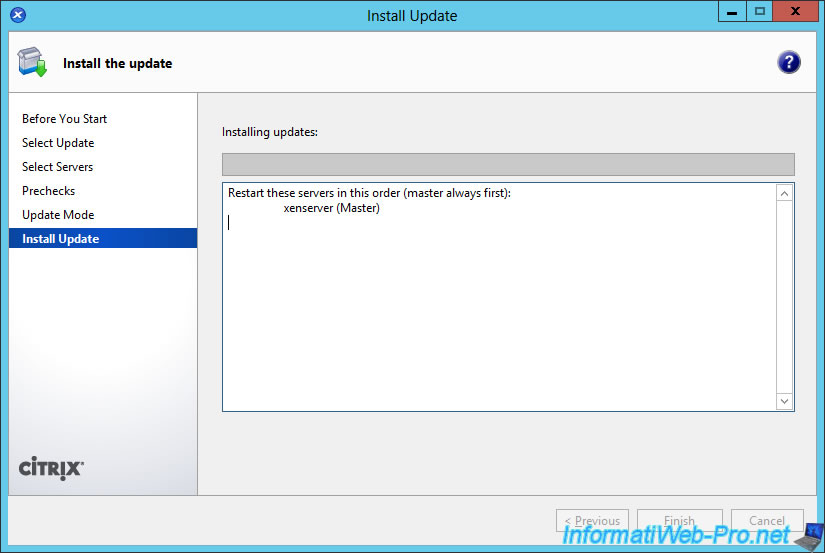
The wizard installs the update on the previously selected server(s).
When the installation is complete, click Finish.
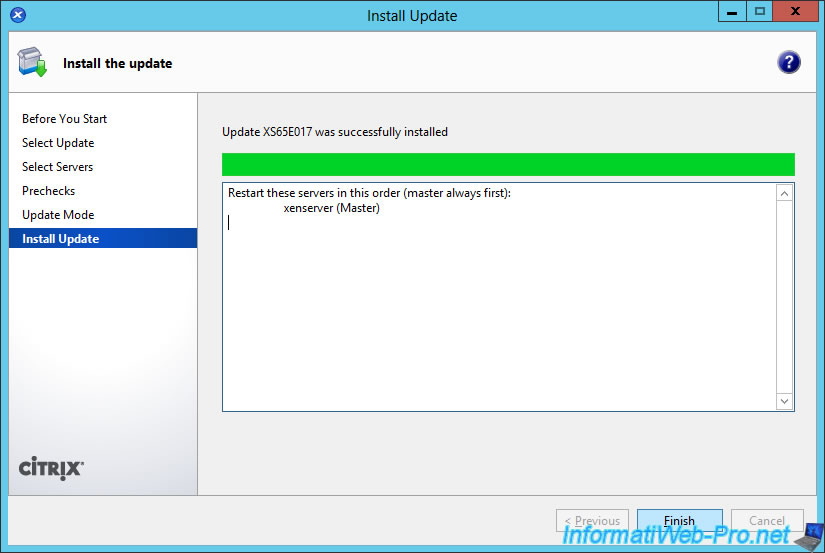
Keep installing updates one by one with XenCenter.
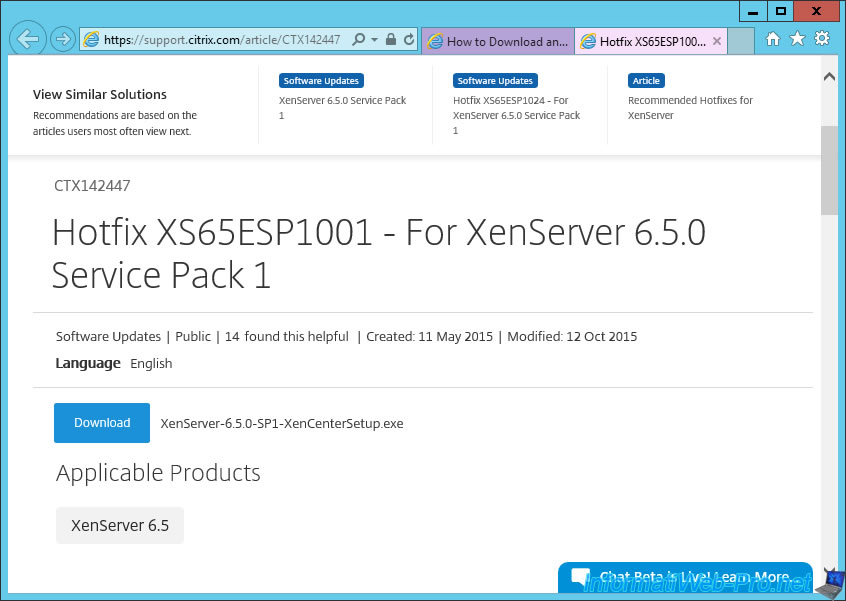
Later, you will see that XenCenter may offer service packs (if they were not present in the XenServer iso downloaded from Citrix).
In our case, we had installed the base version of XenServer. XenCenter therefore proposes the Service Pack 1 (SP1) of XenServer 6.5.
The download and installation will take place exactly as previous updates.
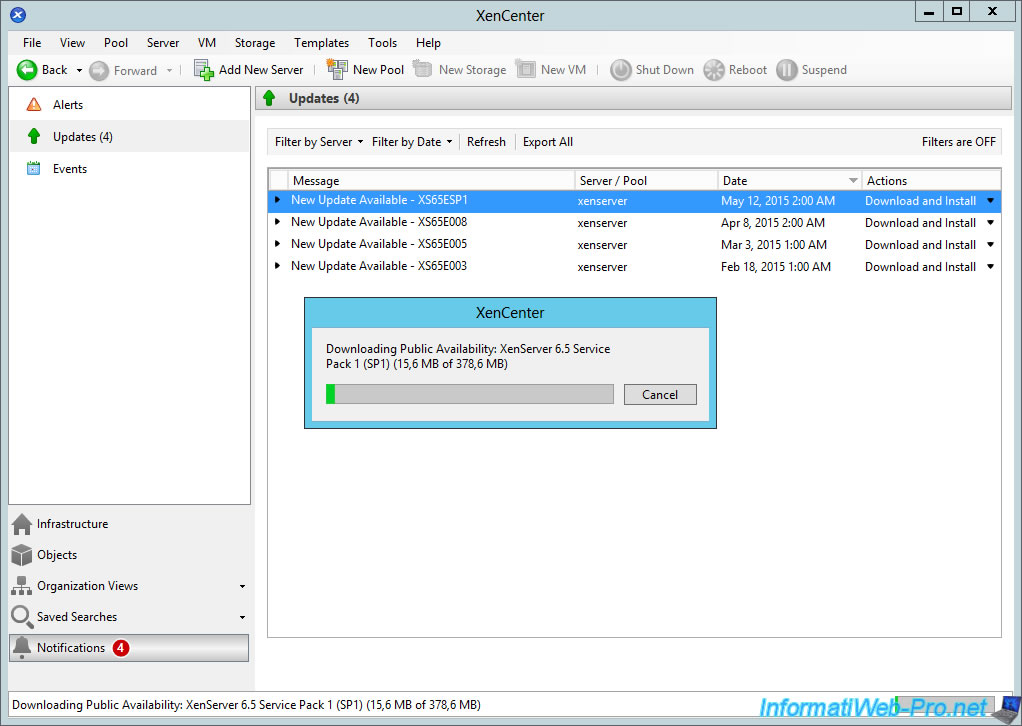
After installing the SP1, XenCenter will provide updates that are published after this SP1.
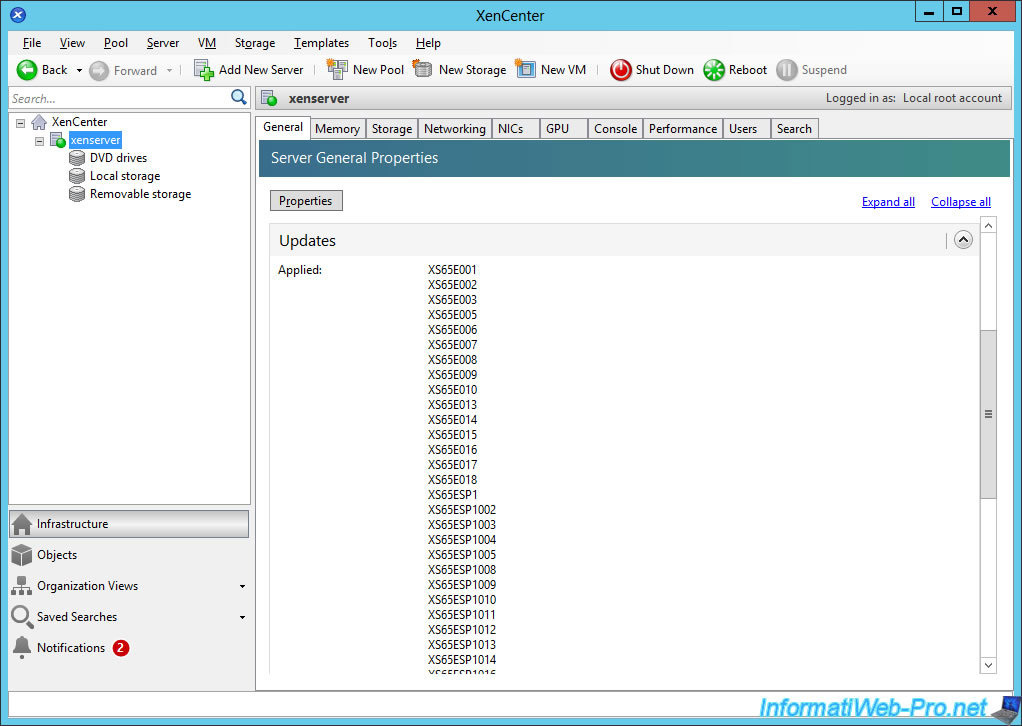
Hence the prefix "XS65ESP1" of the proposed updates.
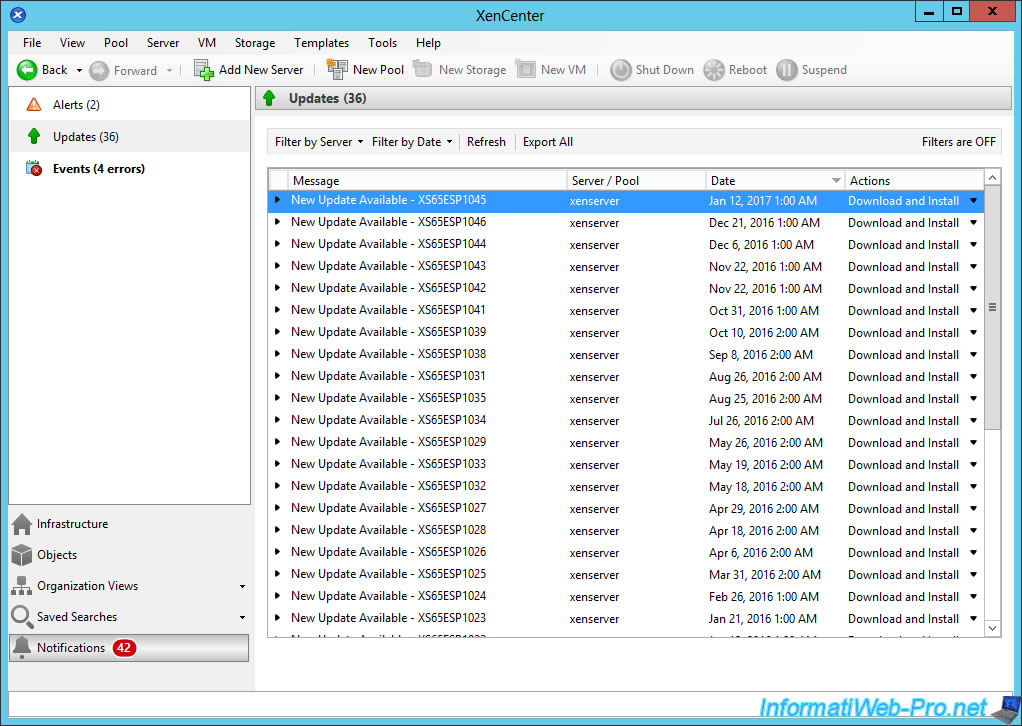
Continue installing these updates one by one and you'll end up installing them all.
In the "Alerts" section, you may find new versions of XenCenter.
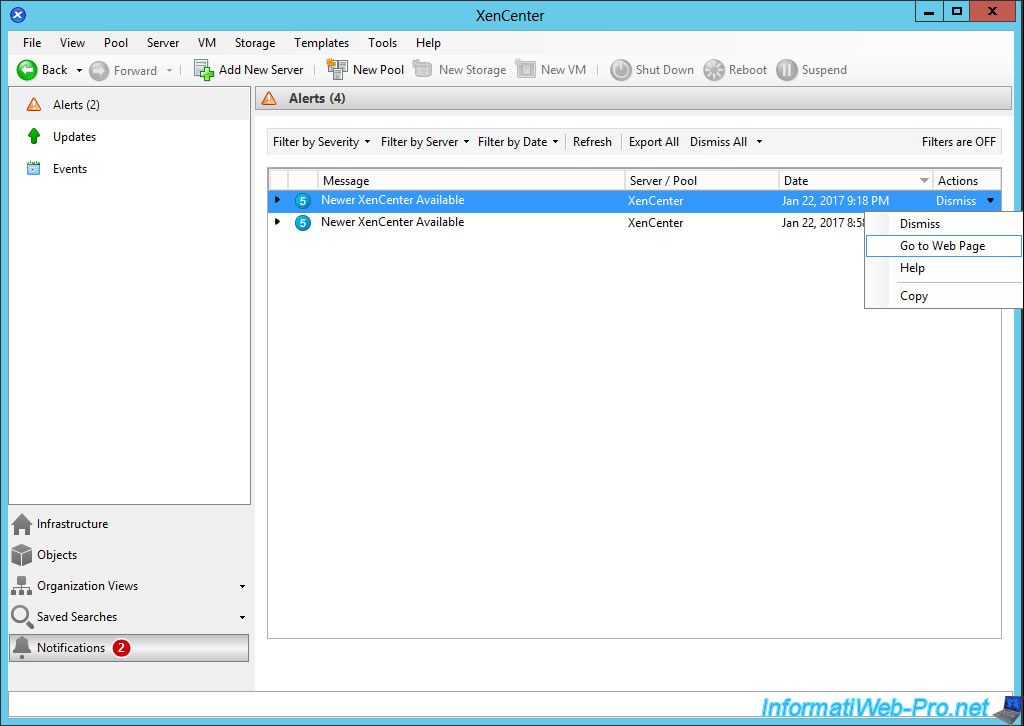
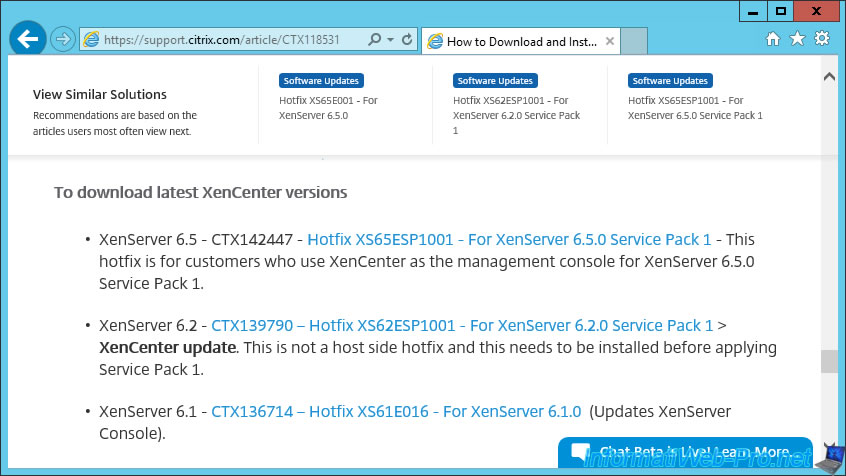
For these updates, you will be redirected to the Citrix site.
Finally, to know the complete list of updates that have been installed on your XenServer server, simply select your XenServer server and look in the "Updates" section.
This list will allow you to install the same updates on your other servers and to put them back in the same pool (if necessary).
Finally, don't forget to restart your server after installing all updates.
Share this tutorial
To see also
-
Citrix 6/21/2017
Citrix XenServer 6.5 - Active Directory authentication
-
Citrix 5/21/2017
Citrix XenServer 6.5 - Disaster Recovery
-
Citrix 10/27/2016
Citrix XenServer 6.5 - Pools and high availability (HA)
-

Citrix 5/21/2016
Citrix XenServer 6.5 - VGA passthrough

You must be logged in to post a comment