Install, configure and update Citrix XenServer 6.2
- Citrix
- Citrix XenServer
- 13 March 2015 at 10:51 UTC
-

- 3/4
8. Share a Folder under Windows 7
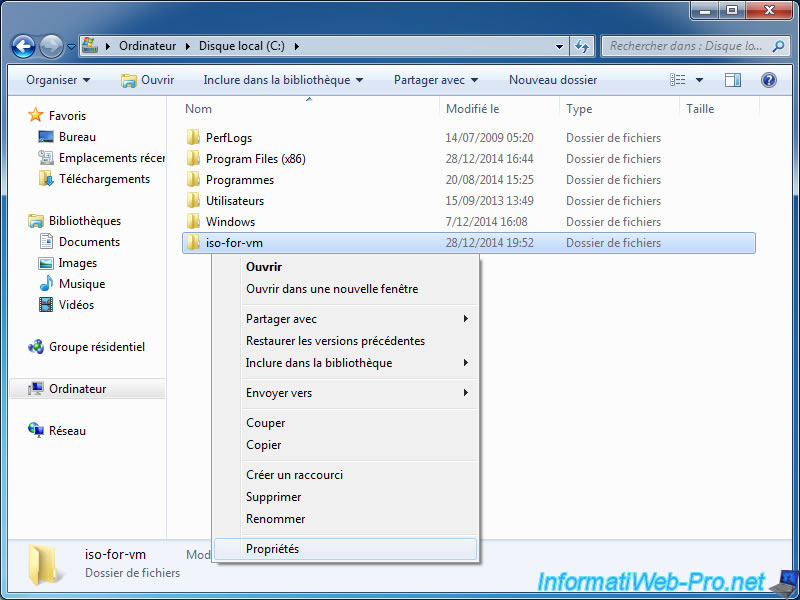
To send our iso files on our server, we will use a Windows shared folder. To do this, create a folder on a computer that is on the same network as your server and share this folder.
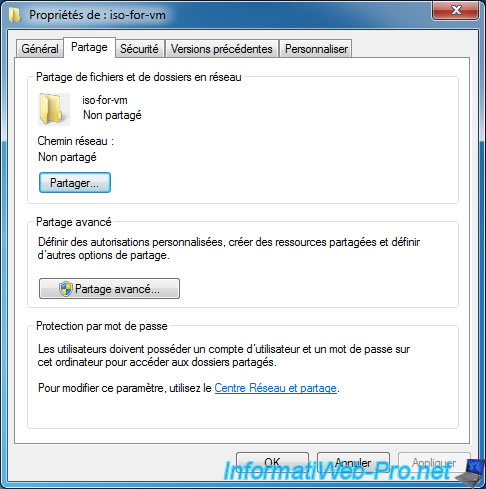
Go to the "Sharing" tab and click on "Share".
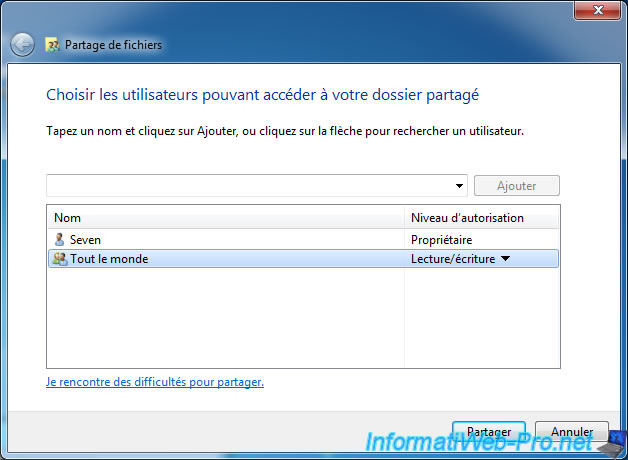
Add the "Everyone" group in the list.
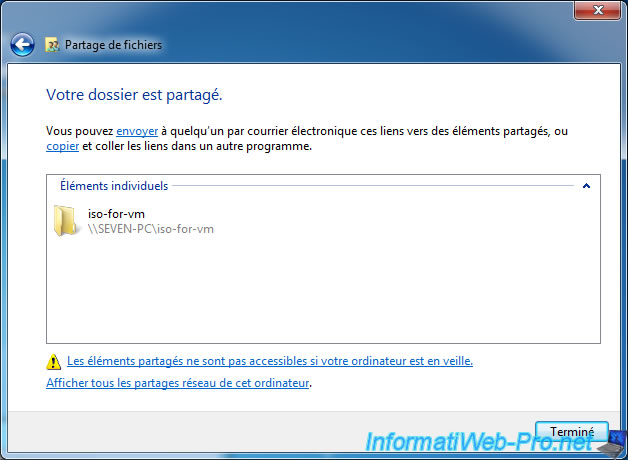
Your folder is shared.
Note : The displayed warning regarding the sleep of your computer. If this warning appears, click on it and select "Never" in the 2 lists displayed.
9. Adding the shared folder in the server storage spaces
So that the server can access your shared folder, you must add it as a "Windows CIFS Sharing" storage.
To do this, select the server and click "New Storage".
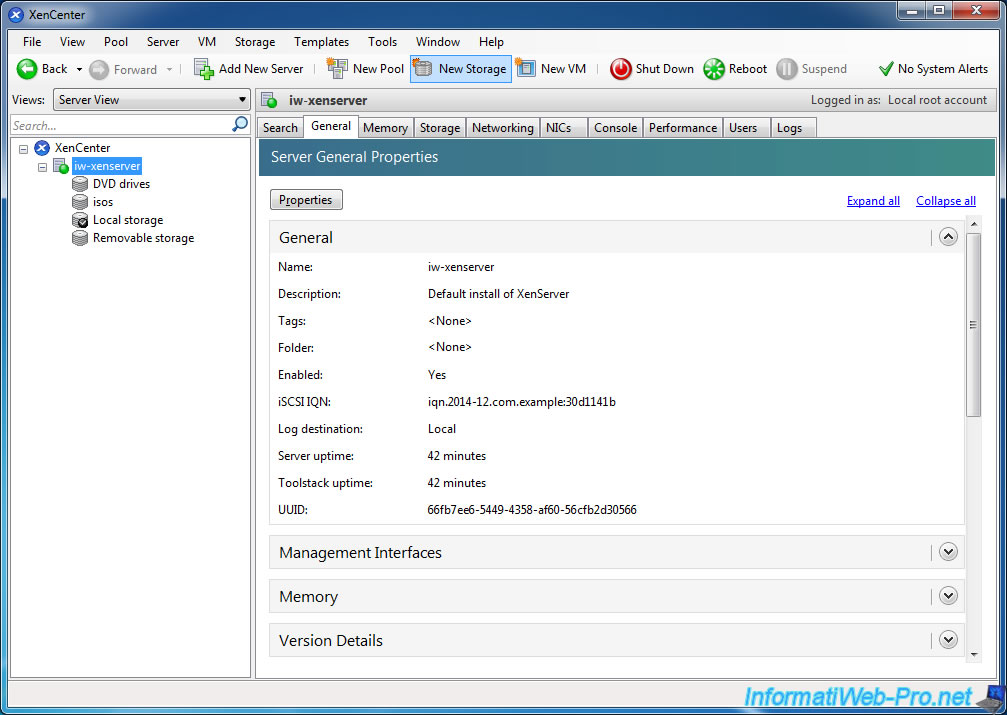
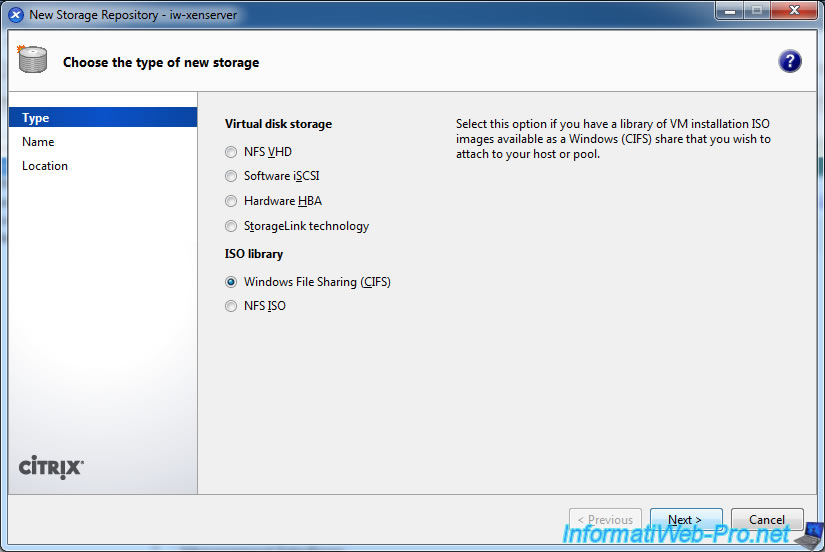
Select "Windows File Sharing (CIFS)".
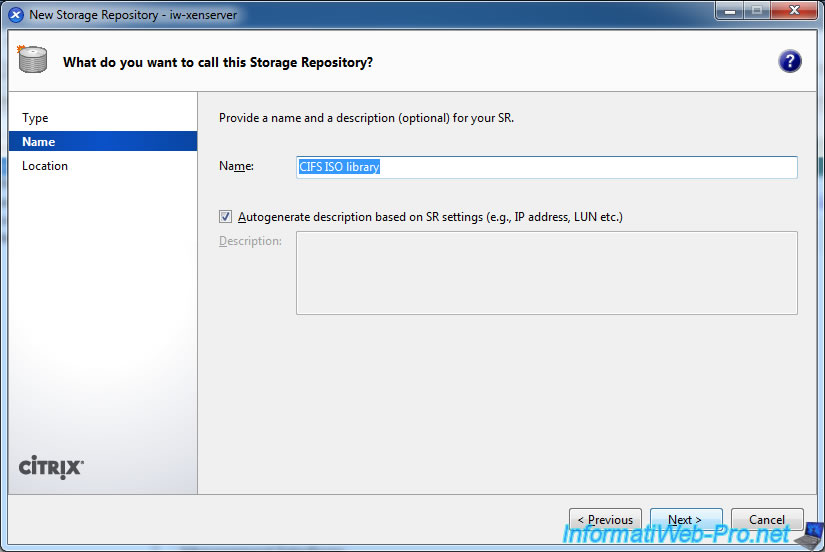
Enter a name if you wish.
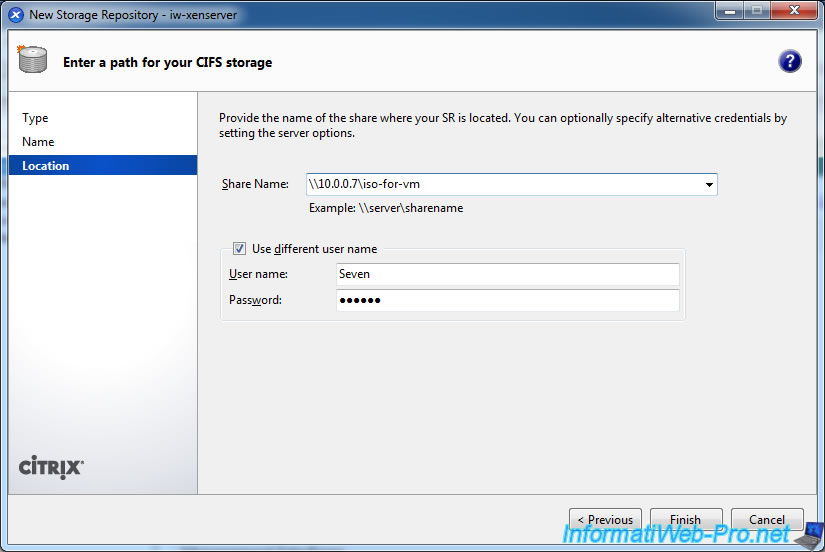
Specify the path to the shared folder and credentials to connect to it.
Note : In Windows 7, it is mandatory to put a password for one of your Windows accounts to access your shared folders.
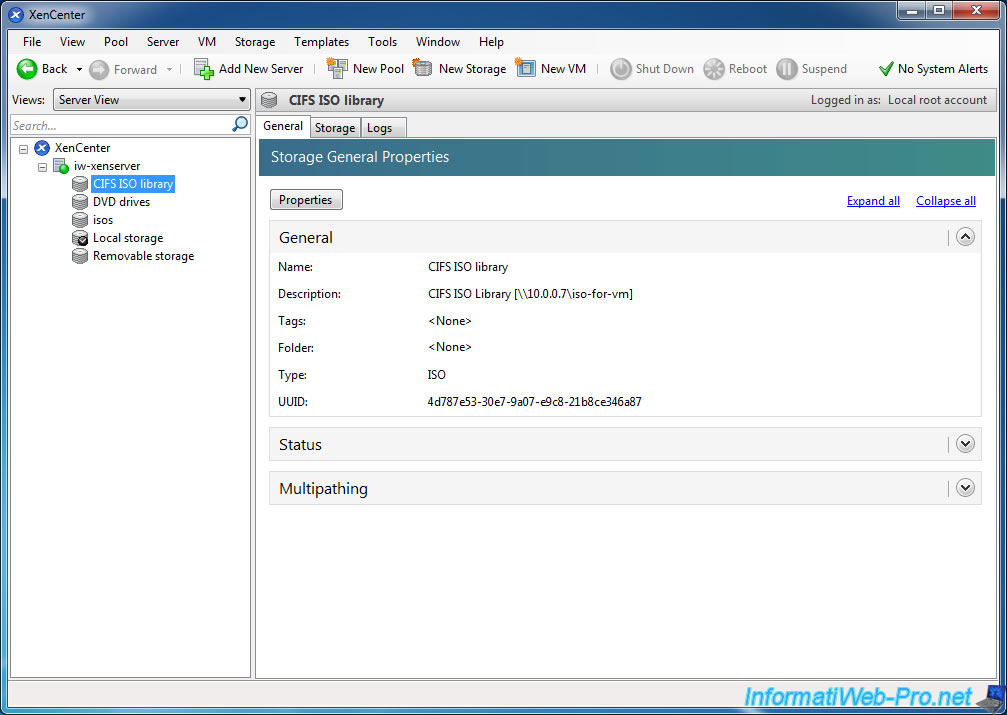
If all goes well, the Windows share will appear.
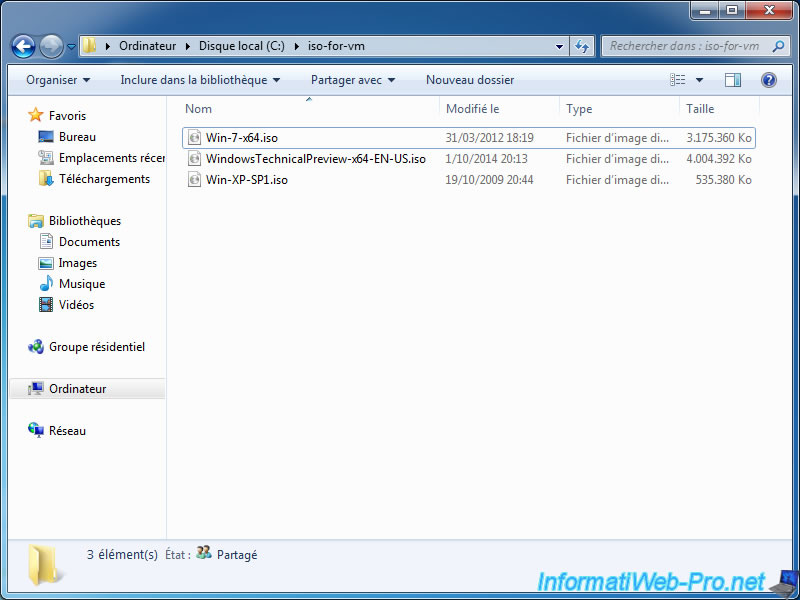
Copy the iso files that you want in the folder that you have shared.
10. Exporting a virtual machine (create a "Virtual Applicance")
Then, we'll show you how to export a virtual machine to import it into any other server "XenServer".
In our case, we will export our NFS server to reimport it in case of problems with it.
Note : A virtual machine exported from the server is called a "Virtual Appliance". Which is totally different from the vApp.
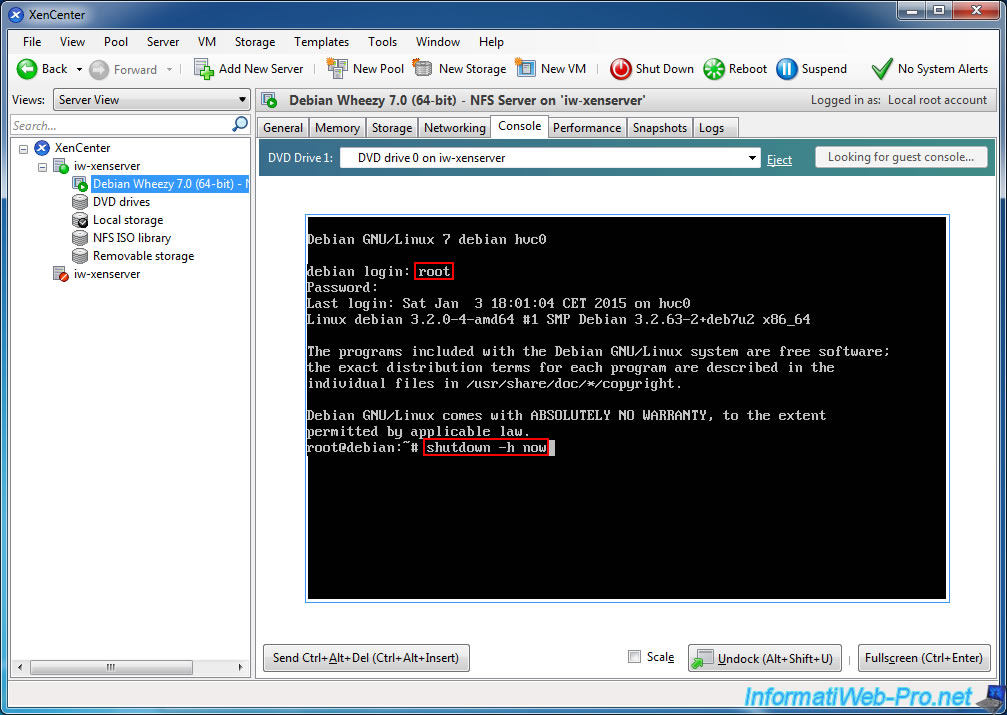
First, stop the Debian virtual machine. To do this, select "Debian NFS Server ..." and go to the "Console" tab. Log in as root and type this command : "shutdown -h now".
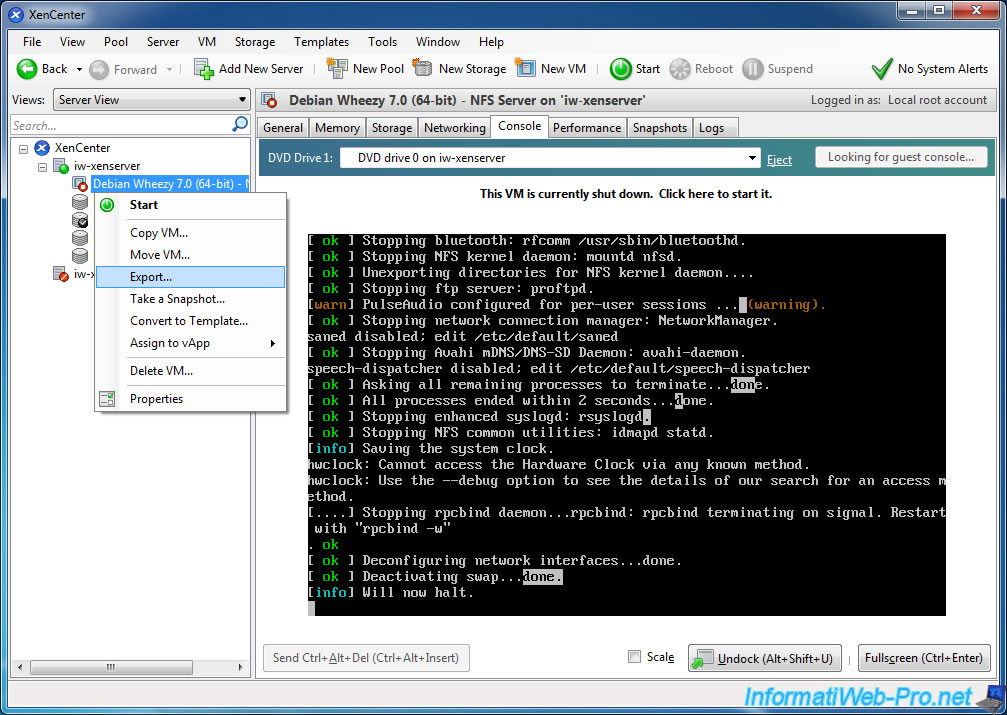
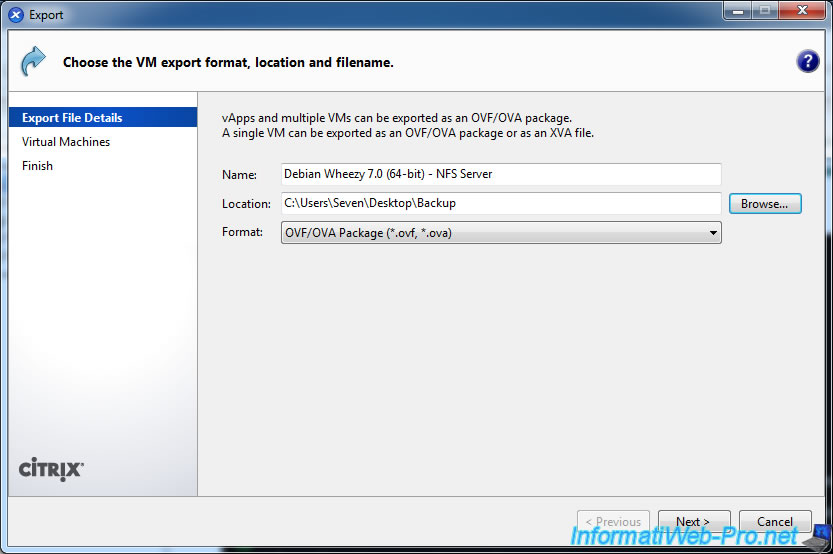
Once stopped, right-click on the virtual machine and click "Export".
Choose the "OVF / OVA Package ..." format.
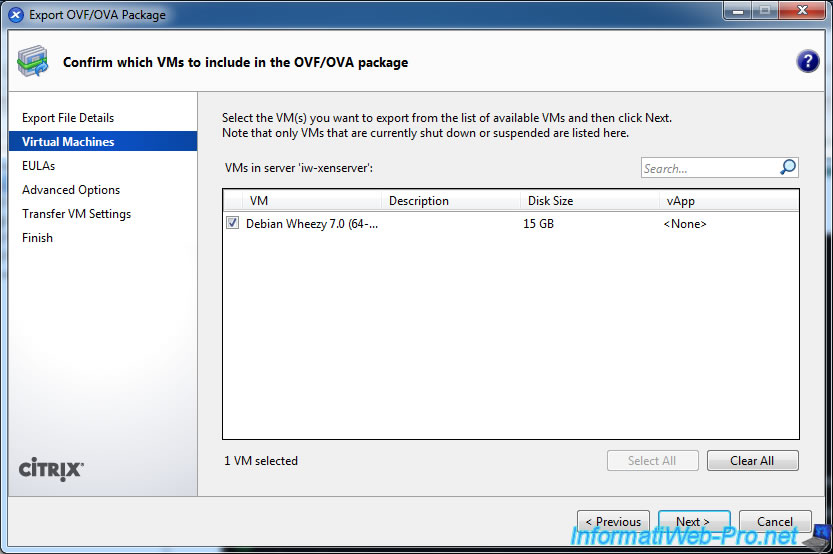
Select the virtual machine to include in the OVF / OVA package.
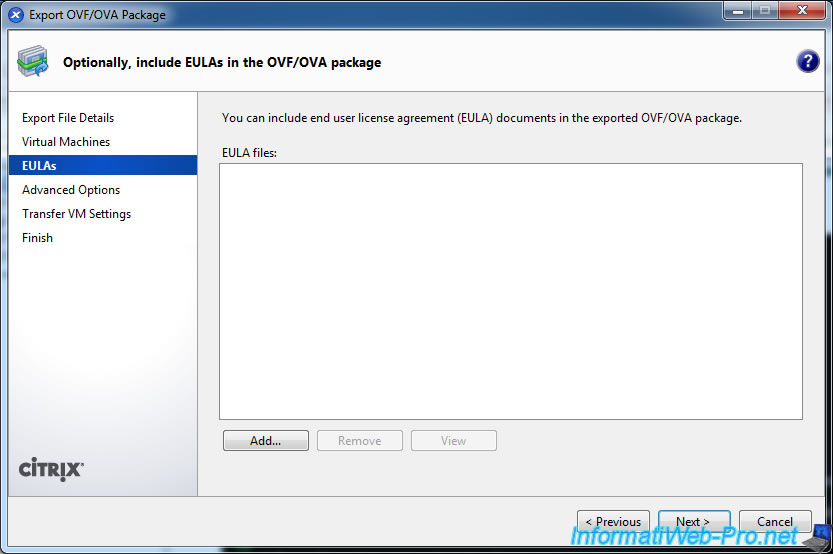
Include license information if you wish.
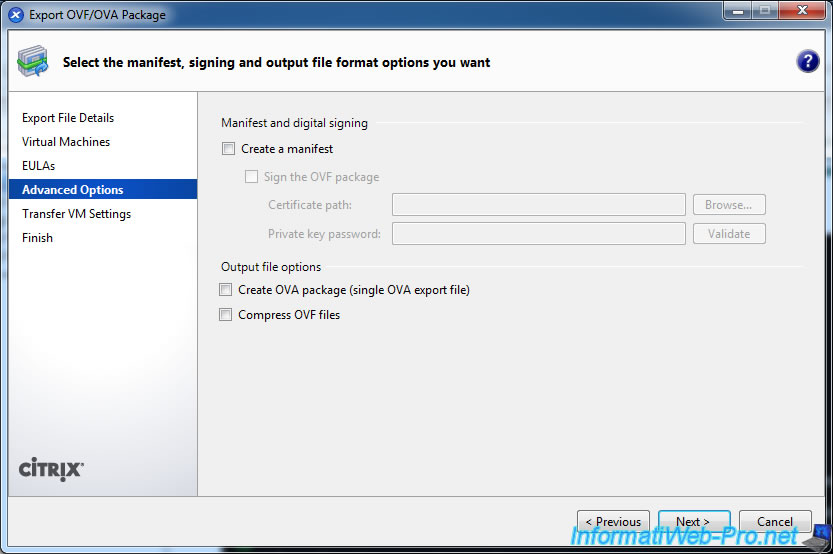
Sign the package if you wish. In particular to detect any subsequent changes made to the exported files.
Leave the default network configuration.
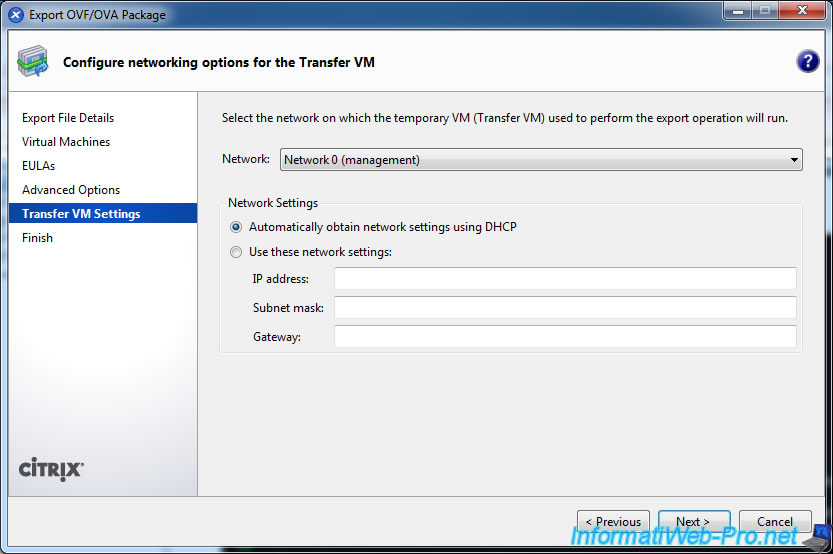
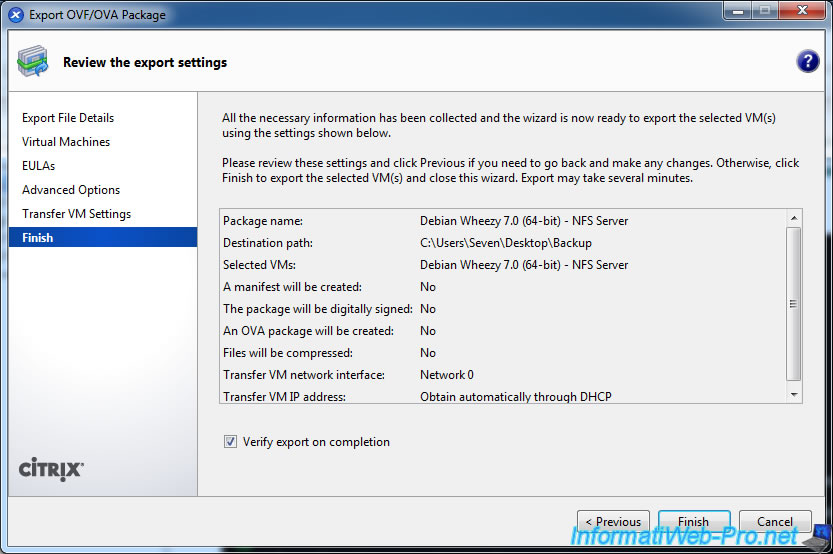
A summary of the export settings appears.
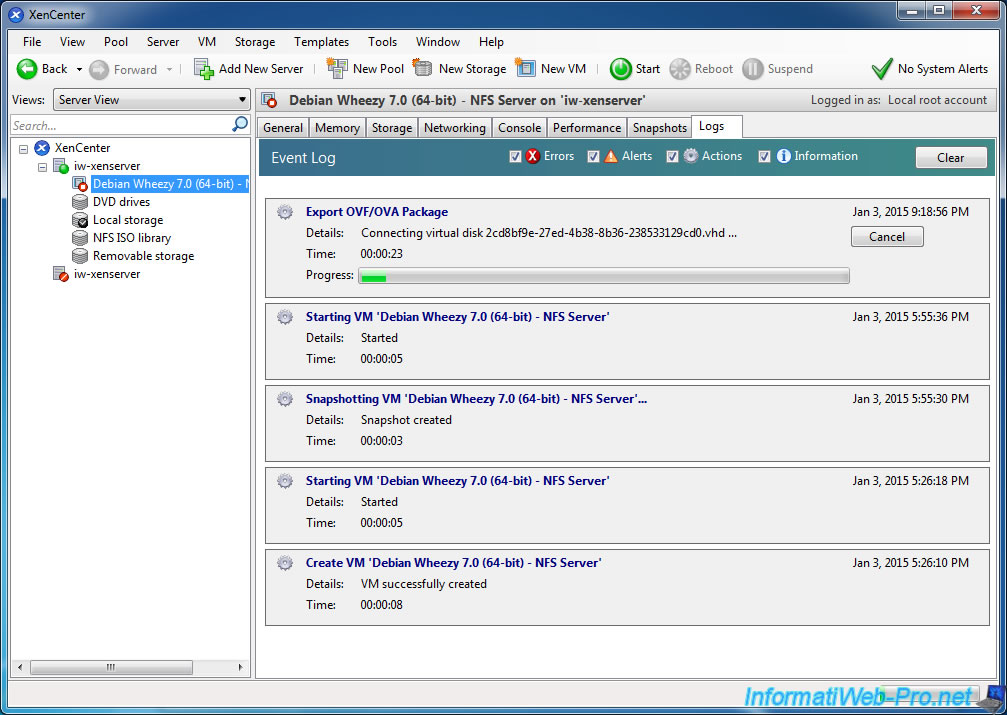
Wait for the export of the virtual machine and its virtual hard disk.
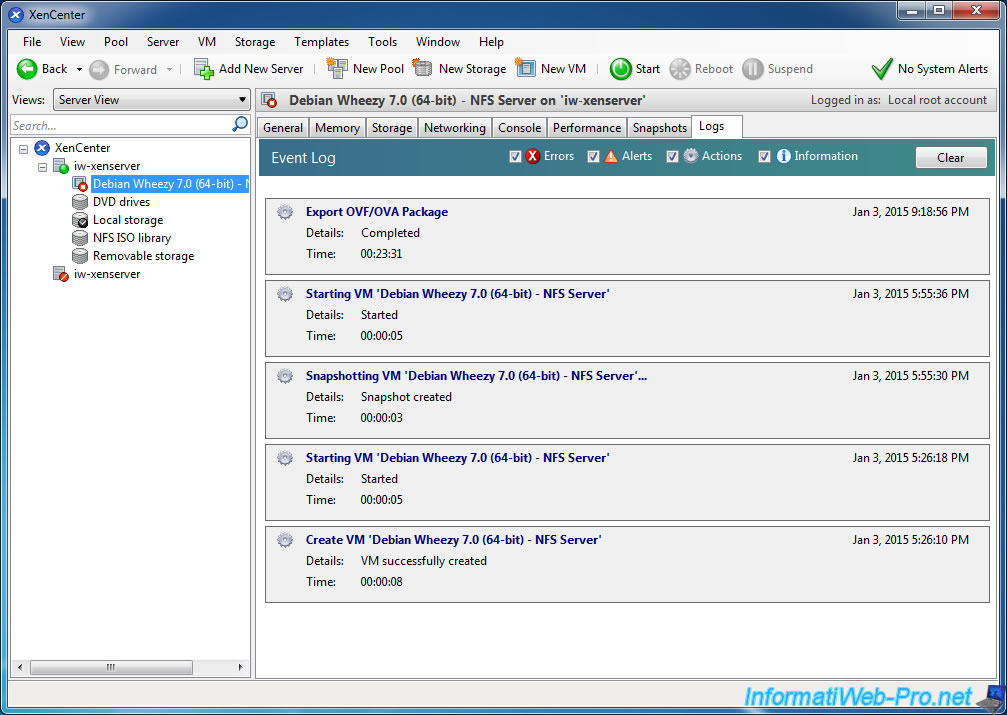
The virtual machine is exported.
In the folder selected during export, you will find the configuration of the machine (OVF) and its virtual hard disk.
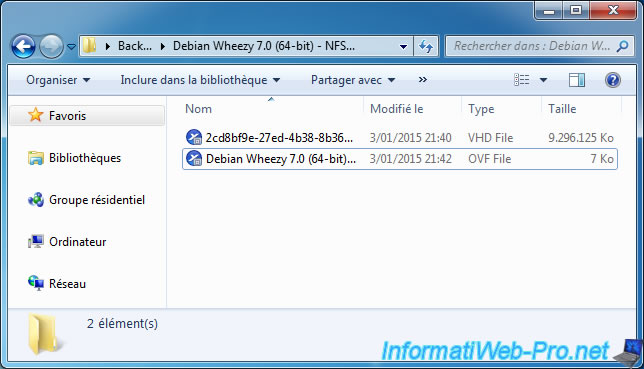
11. Import a virtual machine
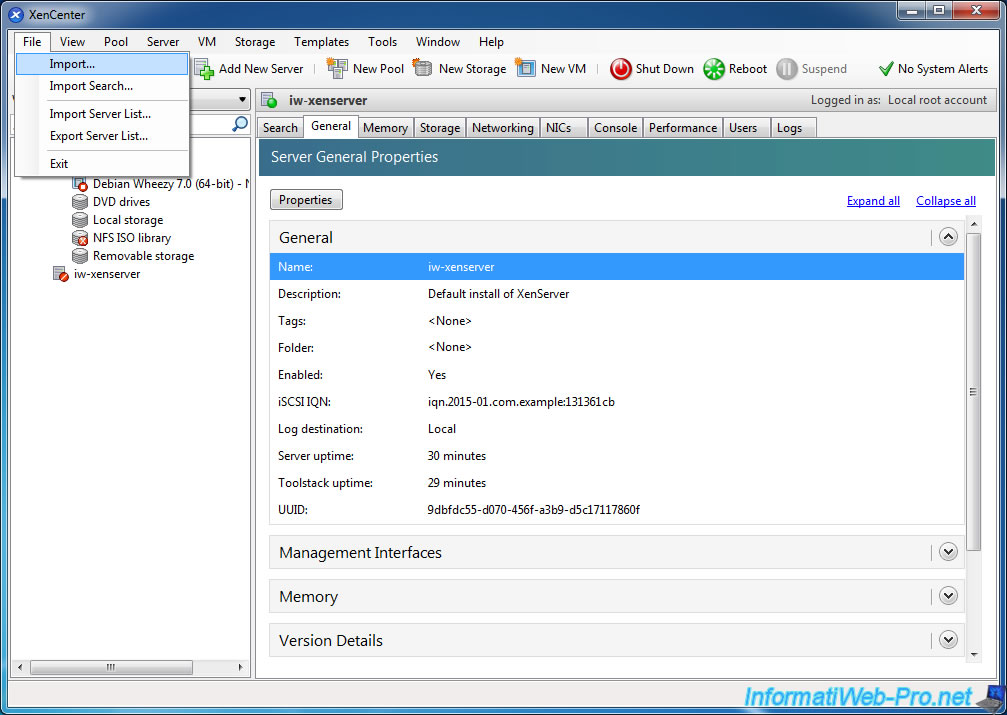
To import a virtual machine, go to : File -> Import.
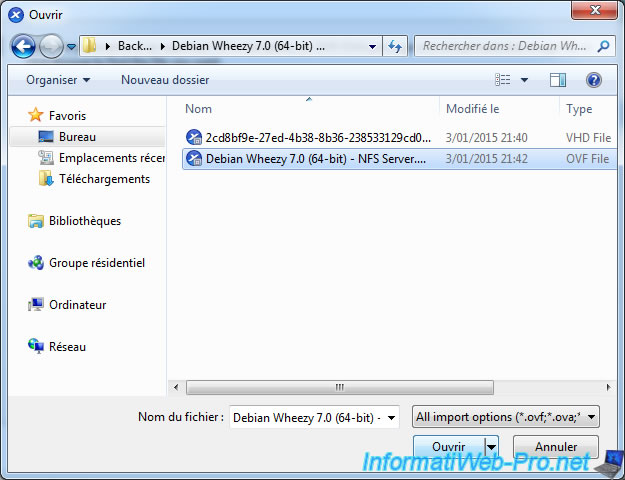
Select the ".ovf" file of the virtual machine.
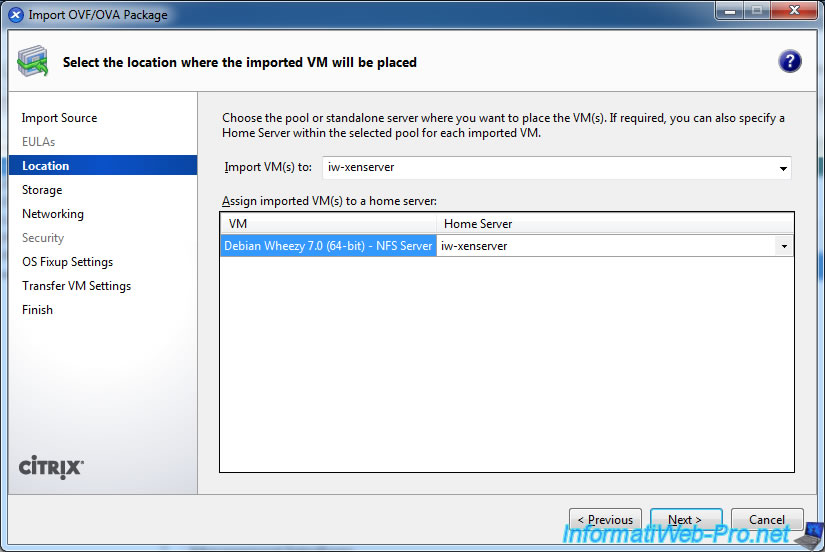
Select the server on which you want to import the virtual machine.
Select the storage space where you want to import the virtual machine.
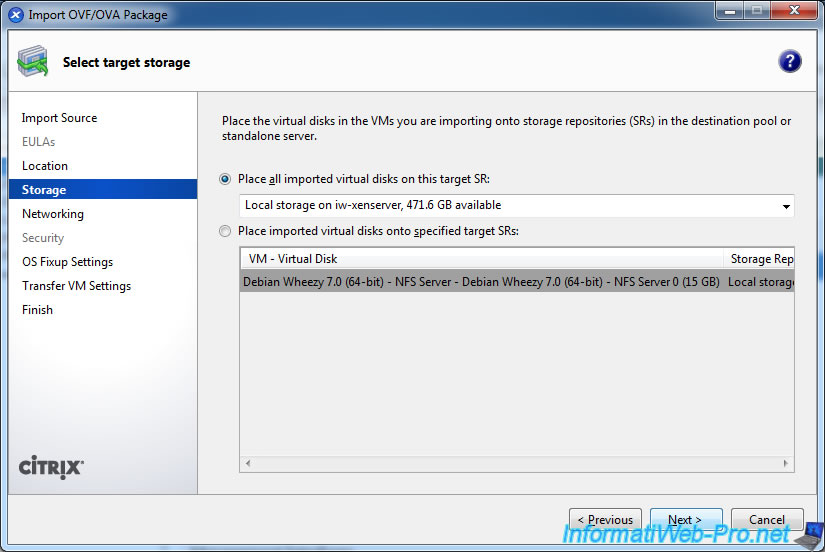
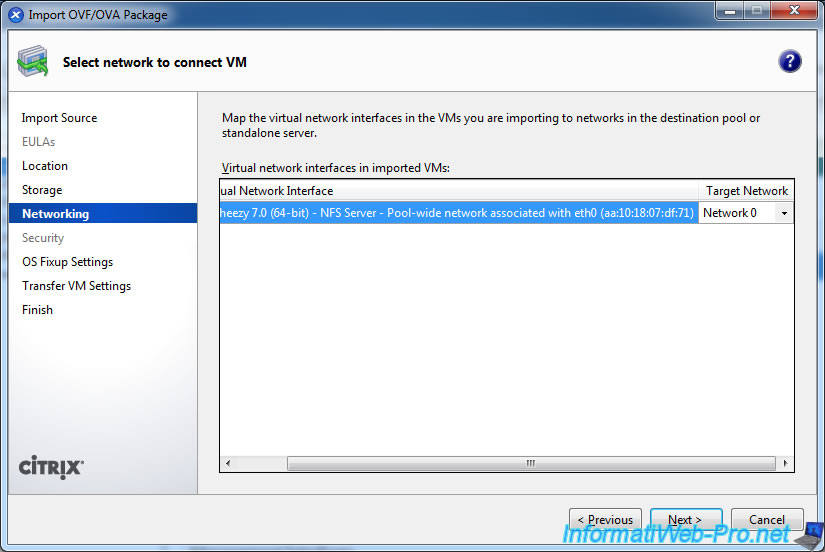
Select the network interface to assign to this VM.
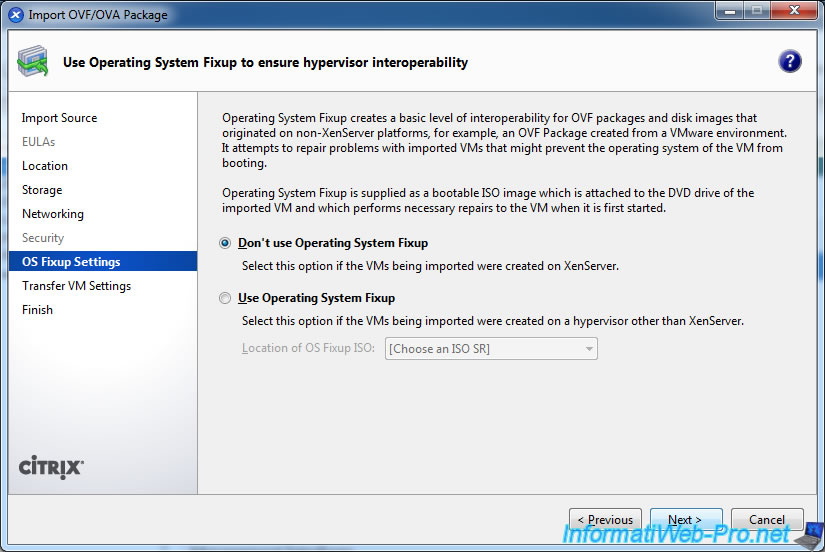
If the virtual machine has been exported from another hypervisor, it's possible to use a Fixup for the operating system installed in the VM to import.
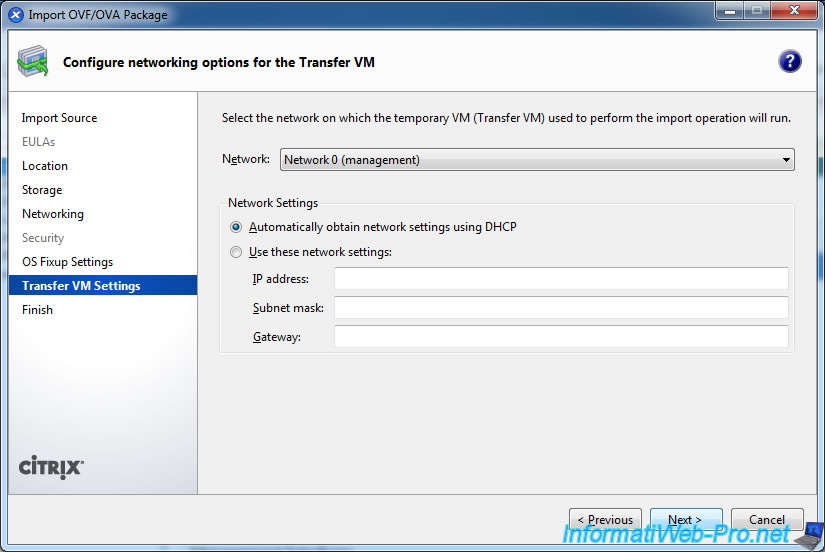
Leave the default network configuration.
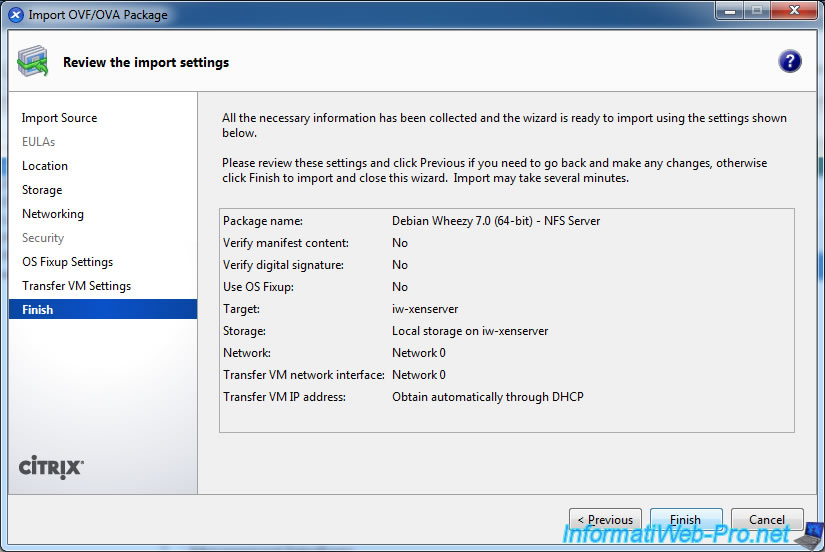
A summary of the VM import settings appears.
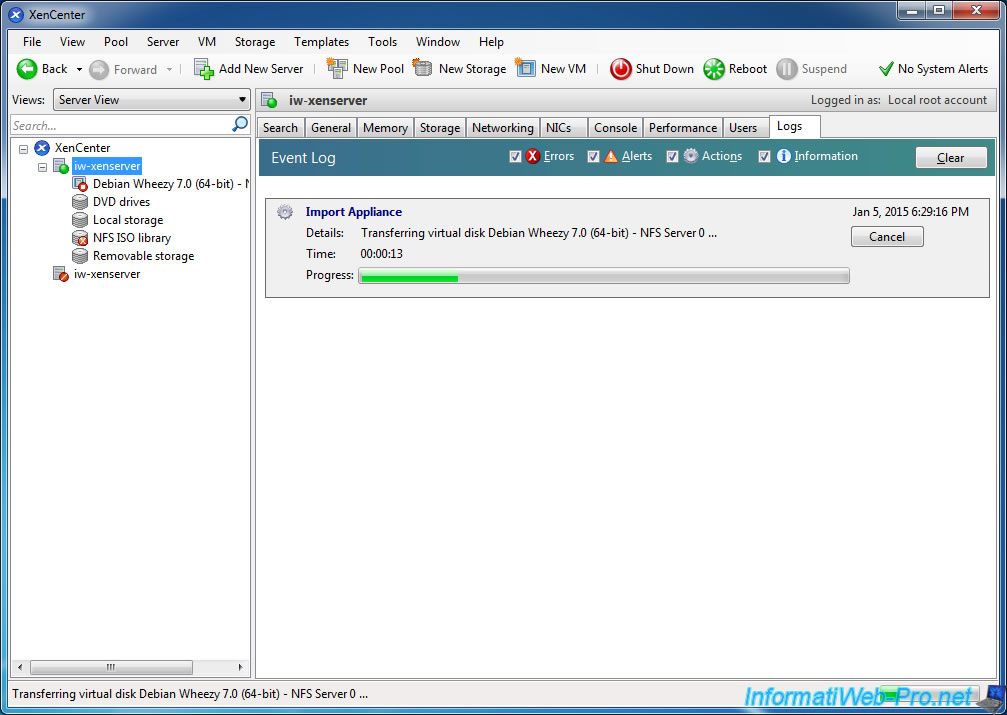
Wait while importing the virtual machine.
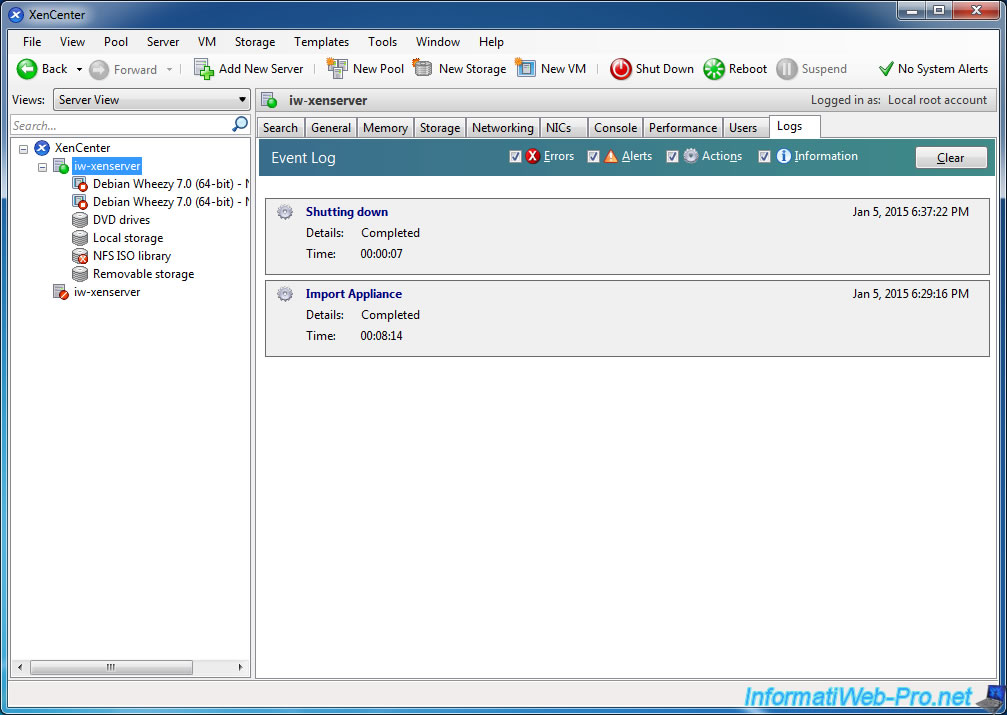
The virtual machine is imported.
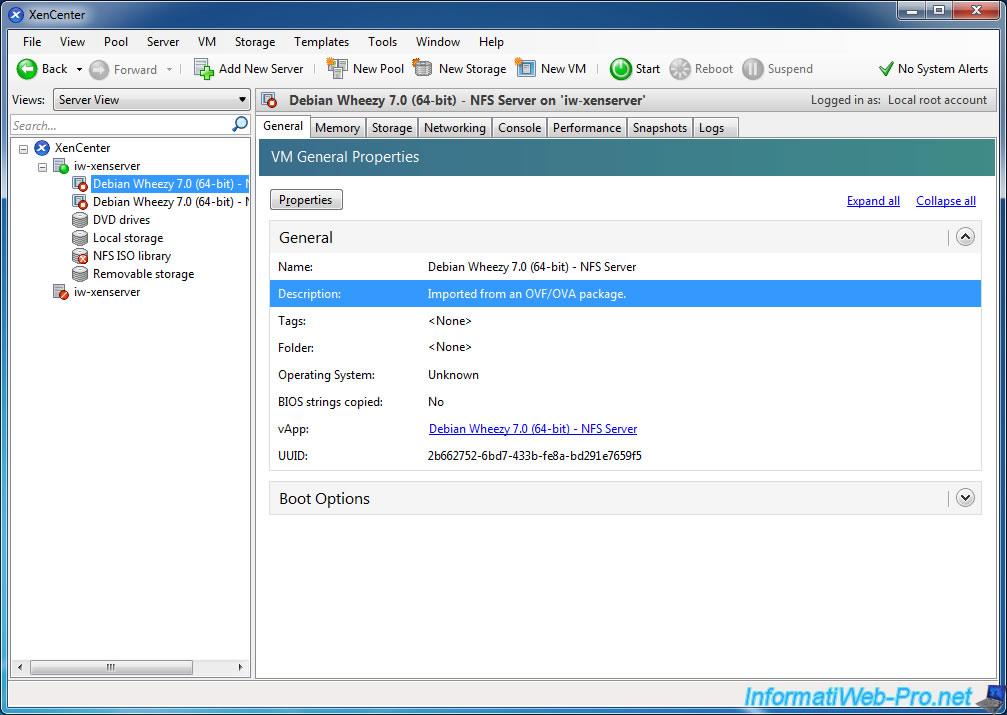
In the the VM description, you'll see the line "Imported from an OVF / OVA package".
Share this tutorial
To see also
-
Citrix 11/25/2015
Citrix XenServer 6.5 - PCI passthrough
-
Citrix 10/27/2016
Citrix XenServer 6.5 - Pools and high availability (HA)
-
Citrix 4/30/2015
Citrix XenServer 6.5 - Secure the connection using SSL (HTTPS)
-
Citrix 6/13/2017
Citrix XenServer 6.5 - Updating the server

No comment