Install, configure and update Citrix XenServer 6.2
- Citrix
- Citrix XenServer
- 13 March 2015 at 10:51 UTC
-

- 2/4

4. Updating the XenServer server
To update your XenServer server, there are two possibilities:
- The command line "xe" which is free
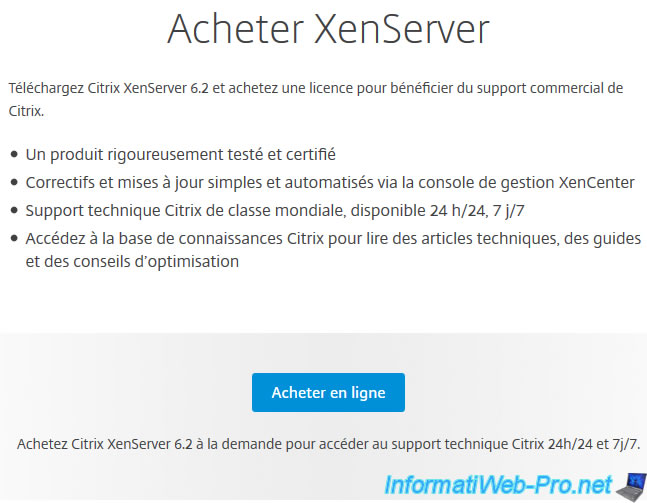
- Use GUI of XenCenter but this possibility is not free. More information on this page : How to Buy XenServer.
To begin, click the message "System Alerts: xx".
To install these updates, start with the bottom one (the oldest, so the first to be installed).

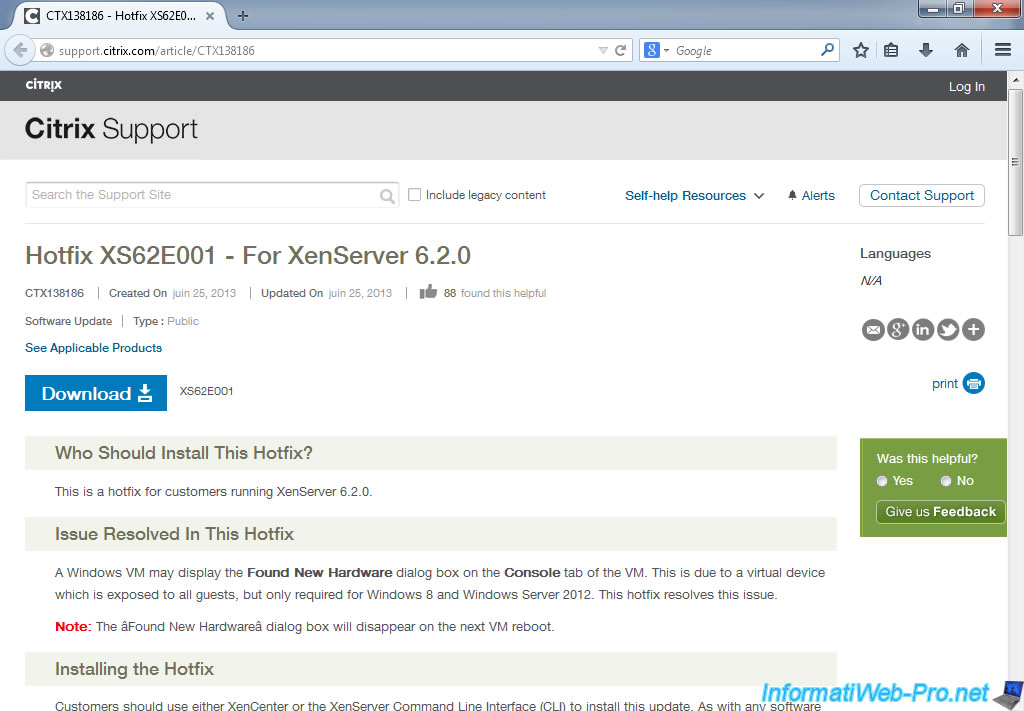
On the page that opens, you will find the download button and the installation instructions.
If you buy a XenServer license, you can update your server by going to the "Tools -> Install Update" menu.
Otherwise, XenCenter will tell you that the update isn't applicable for the selected server (which is false because it's simply a licensing issue).
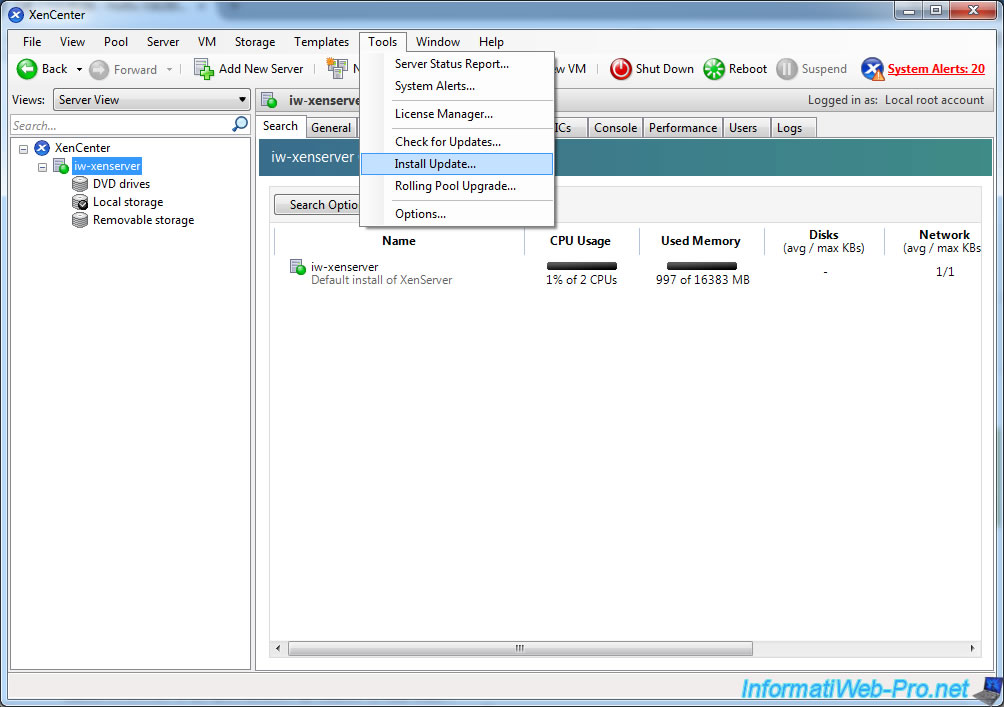
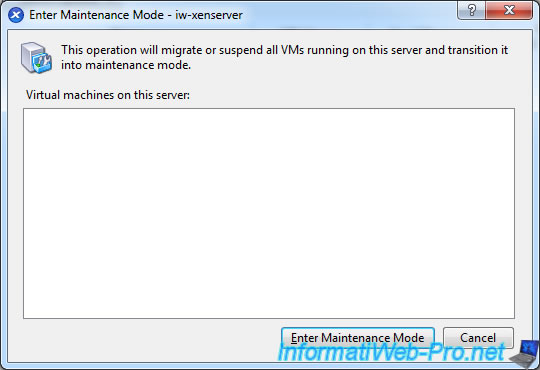
Before installing the downloaded updates, turn on the maintenance mode on your server to avoid errors.
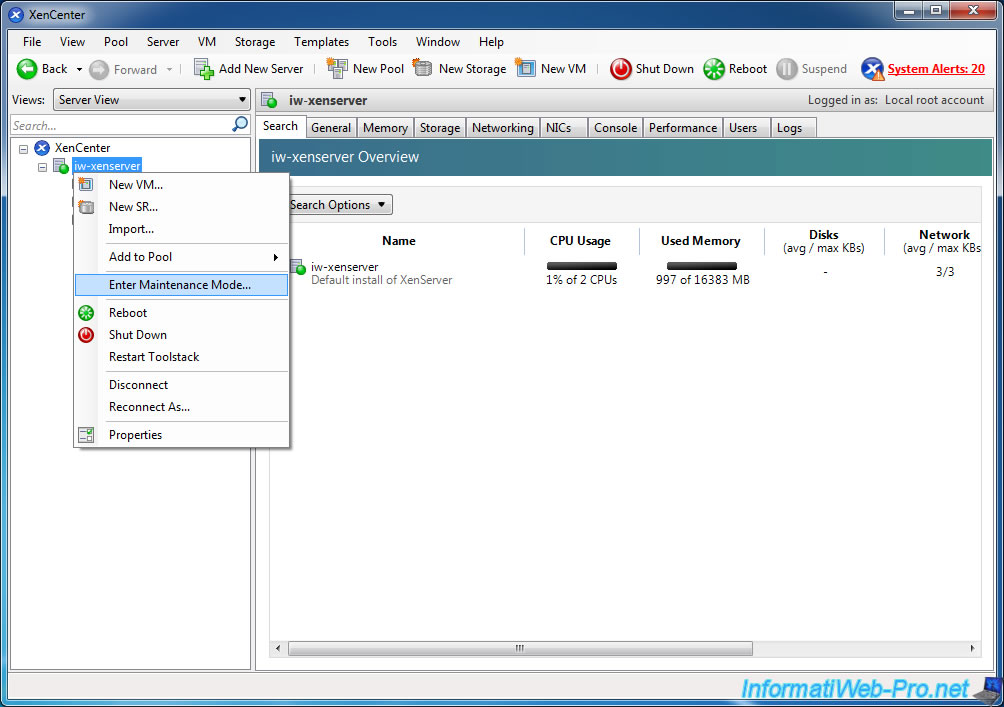
If virtual machines are running at the moment, they will be displayed in this list. In this case, you will need to suspend these VMs to activate the maintenance mode.
Then, click the "Enter Maintenance Mode" button.
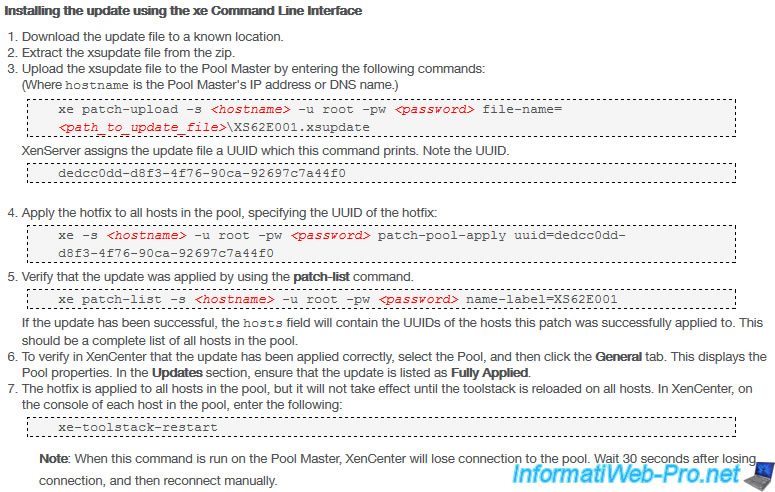
To install an update using the command line (the "xe" program of "XenCenter"), just follow the information shown on the download page.
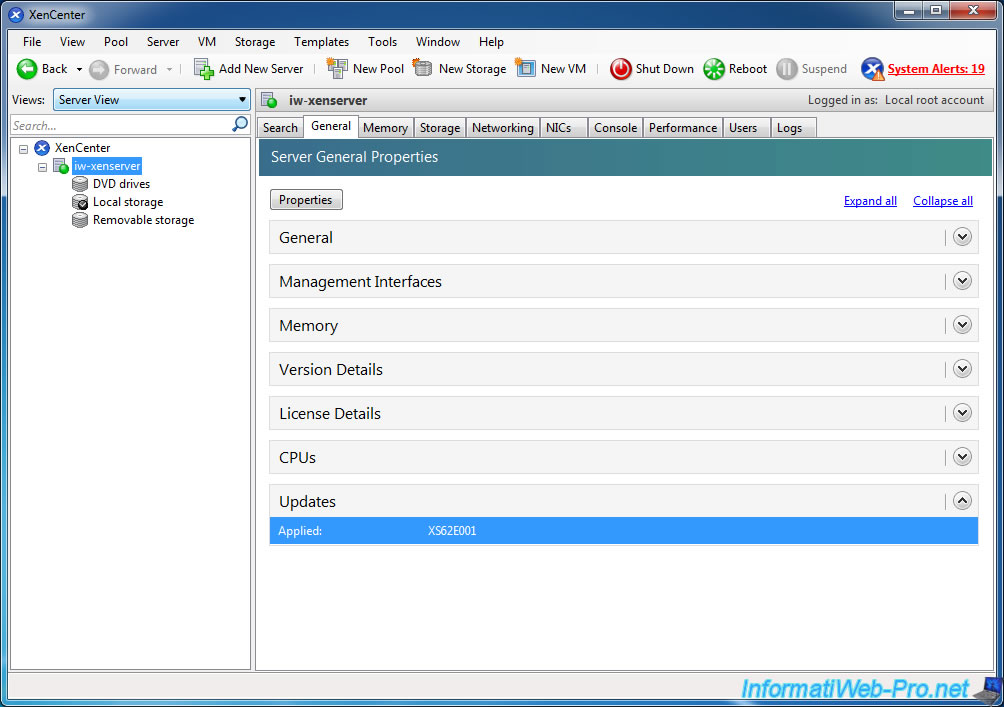
To begin, we will install the "XS62E001" update. (This is the oldest update displayed in the list of available updates)
As shown in the official documentation, download the update by clicking the "Download" button and unzip the downloaded file.
Then, open a command prompt (cmd.exe) and move in the XenCenter folder.
Note : If you have a 32-bit OS, XenCenter will be installed in "C:\Program Files" folder and not in the "C:\Program Files (x86)" folder that doesn't exist on the 32-bit OS.
Batch
cd "C:\Program Files (x86)\Citrix\XenCenter"
Send the patch on your "XenServer" server.
Note :
- "10.0.0.101" is the IP address of the server "XenServer." (You can use the server's domain name if you wish)
- "my_pass" is the password for the root account on the server.
- "C:\Users\InformatiWeb\Downloads\XS62E001\XS62E001.xsupdate" the path of the file "xxx.xsupdate" on your hard drive (client side).
- This command displays the UUID of the patch when sending the patch is complete.
Batch
xe patch-upload -s 10.0.0.101 -u root -pw my_pass file-name=C:\Users\InformatiWeb\Downloads\XS62E001\XS62E001.xsupdate
UUID displayed by the above command :
Plain Text
dedcc0dd-d8f3-4f76-90ca-92697c7a44f0
Apply the update by typing this command.
Note : The UUID is different for each update.
Batch
xe -s 10.0.0.101 -u root -pw my_pass patch-pool-apply uuid=dedcc0dd-d8f3-4f76-90ca-92697c7a44f0
To verify that the patch has been applied, use this command.
Note : Remember to change the name of the update (in this case : XS62E001).
Batch
xe patch-list -s 10.0.0.101 -u root -pw my_pass name-label=XS62E001
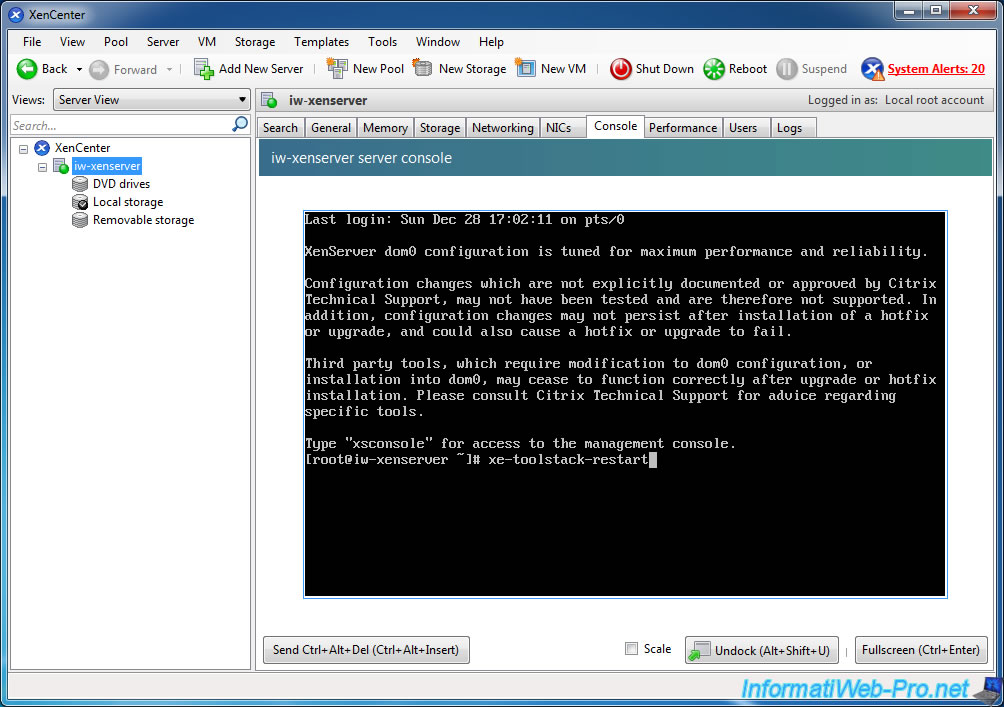
For this first update, you need to reload the stack (toolstack).
Notes :
- Your server will be unavailable for a few seconds.
- You must use this command in your server console (by using XenCenter, for example).
Batch
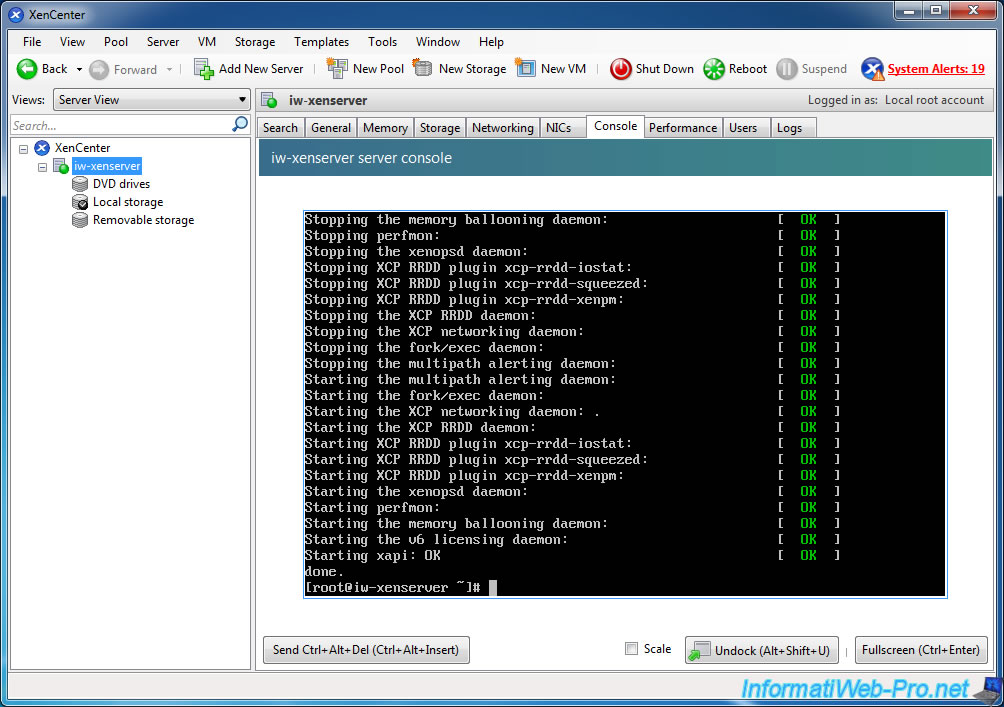
xe-toolstack-restart
Wait 30 seconds and reconnect to the server.
Once reconnected, you will see that the stack has been reloaded.
To verify that the update has been applied, go to : General -> Updates.
To simplify the updates using the command line, we created a batch file that will install the updates faster. (You still have 19 updates to install using the command line)
Indeed, the program will only ask 2 Information :
- The UUID of the patch (displayed by the command "xe patch-upload ..."). Sending the patch to the server can take time. This depends on the size of the patch.
- The name of the update. For example : XS62E001
Note : If you have a 32-bit OS, change the path "C:\Program Files (x86)\Citrix\XenCenter" to "C:\Program Files\Citrix\XenCenter".
To use this batch file, open the Windows Notepad, paste this inside and save it to "make_update.bat". Then, drag the desired "xxx.xsupdate" file on the "make_update.bat" icon.
Batch
@echo off
title Update the Citrix XenServer server
REM The commands used are based on the commands listed on the official page of the patch "XS62E001" from Citrix.
REM Url : https://support.citrix.com/article/CTX138186

REM Enter the IP address of your server or the domain name of the "XenServer" server.
set hostname=10.0.0.101
REM Enter the root password to administer the "XenServer" server.
set password=my_pass

REM We are moving in the "XenCenter" folder (Where the command line program "xe" is located)
cd "C:\Program Files (x86)\Citrix\XenCenter"
echo Sent patch to the server ...
echo UUID :
REM This command displays the UUID of the patch at the end of sending the patch to the server.
xe patch-upload -s %hostname% -u root -pw %password% file-name="%1"
echo Patch sent.

set /p uuid=Please indicate the UUID displayed above, and press Enter.

REM Applies the patch corresponding to the UUID specified by the user.
xe -s %hostname% -u root -pw %password% patch-pool-apply uuid=%uuid%

set /p update_name=What is the name of the update ? (Ex : XS62E001)
REM Verify that the patch has been applied on the server.
xe patch-list -s %hostname% -u root -pw %password% name-label=XS62E002

echo To save changes, look at the end of the Citrix article about this update.
echo The end of this article changes depending on updates.
pause
Once you have finished installing the updates, you will have something like this :
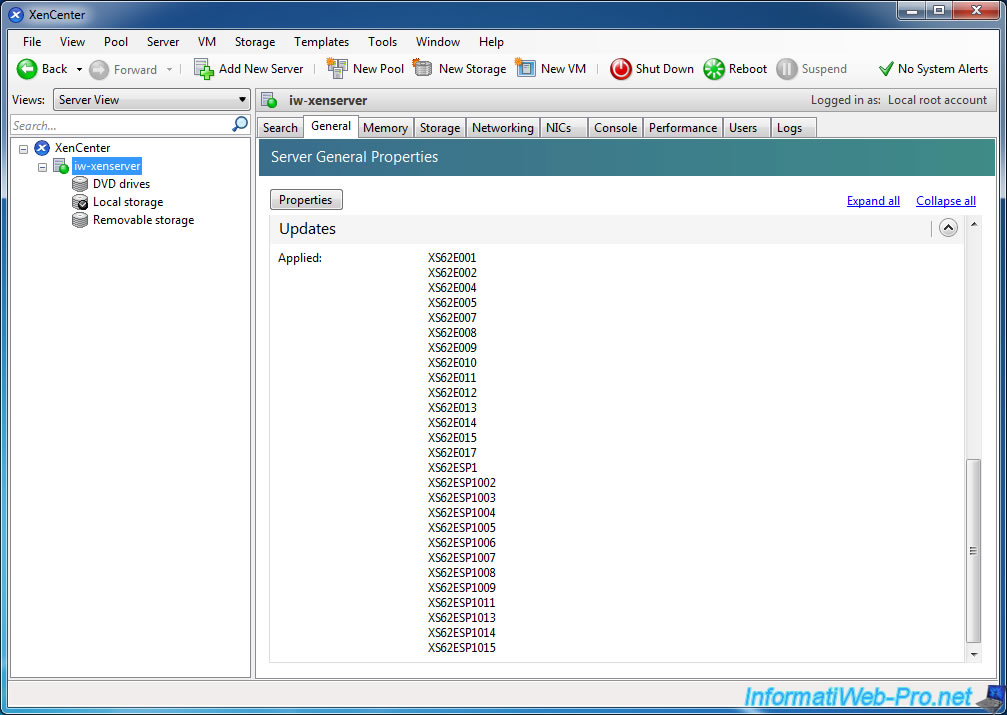
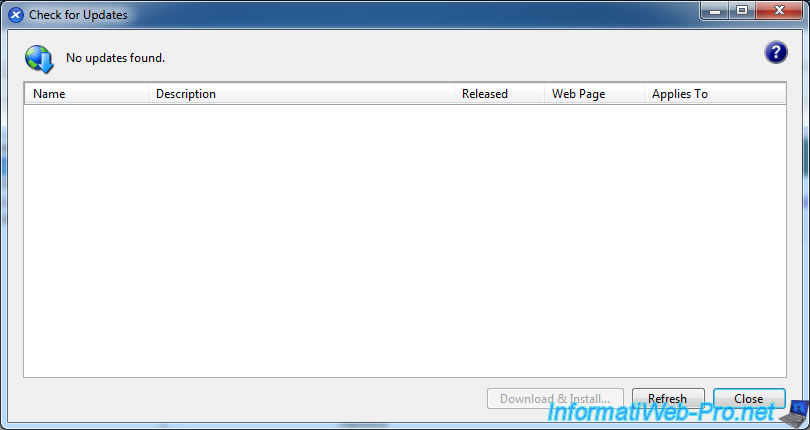
And the update checker will not find more updates.
5. Installing a Linux machine (Debian)
As mentioned at the beginning of the tutorial, Citrix XenServer doesn't offer local storage for iso files. So, we will install a Debian virtual machine that will serve as NFS server.
To do this, click on "New VM".
Note : If you wish, you can use a Microsoft share (named CIFS in XenCenter). To do this, go to step "8. Share a Folder in Win. 7".

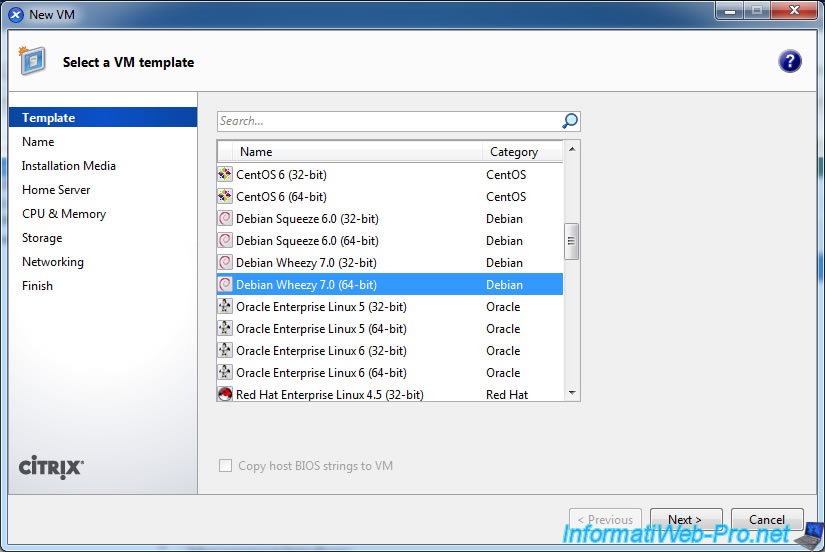
Select the version of Debian that you want to use. In our case "Debian Wheezy 7.0 (64-bit)".
Note : Unlike other virtualization systems, Citrix XenServer will fail to start a 32-bit OS into a 64-bit virtual machine. It's possible on a physical machine, but not with a virtual machine running on Citrix XenServer.
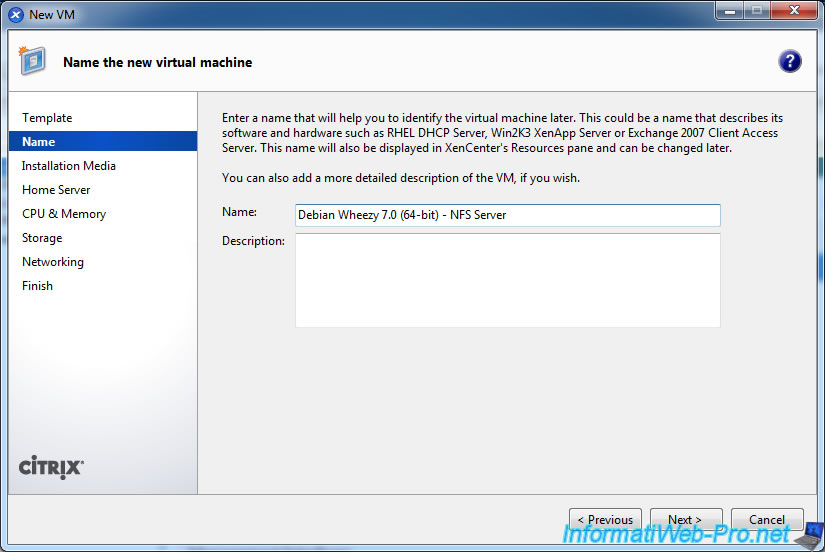
Enter a name for this virtual machine. For example : NFS Server.
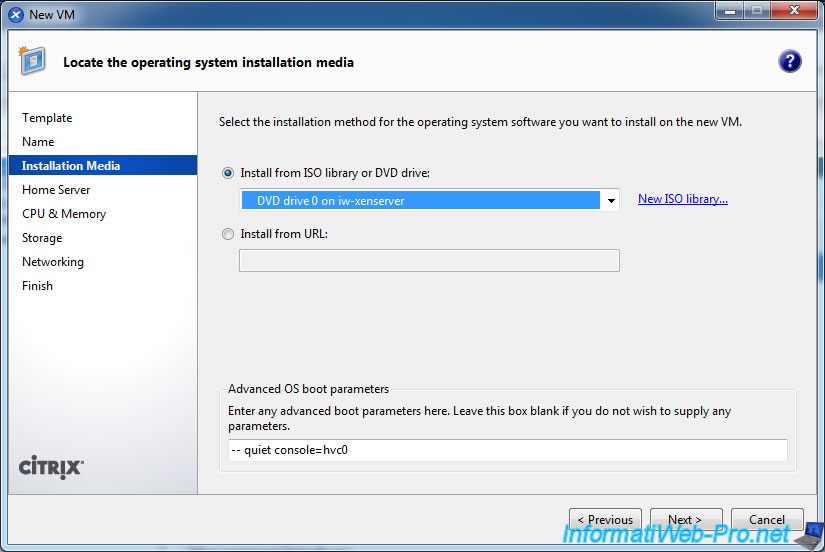
For this first installation, insert the installation CD into the CD/DVD drive of the server and select "DVD drive 0 ...".
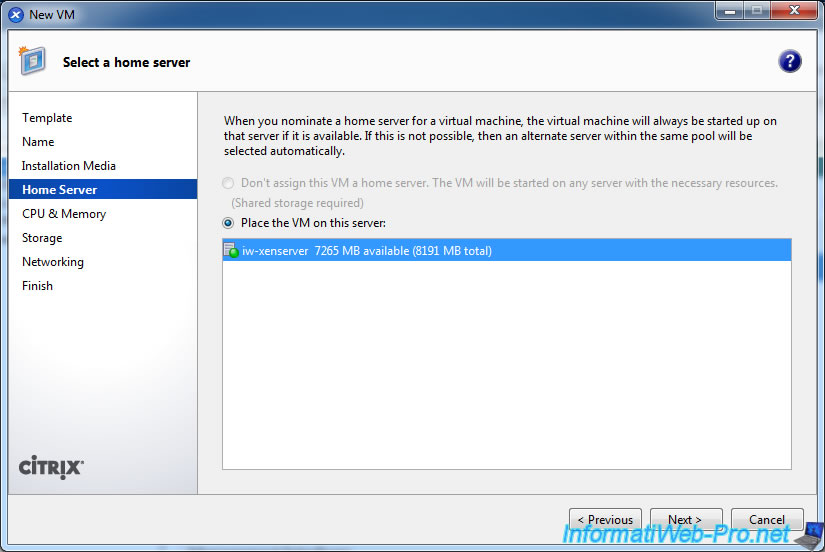
Select the server where you want to install this virtual machine. For now, there is only one.
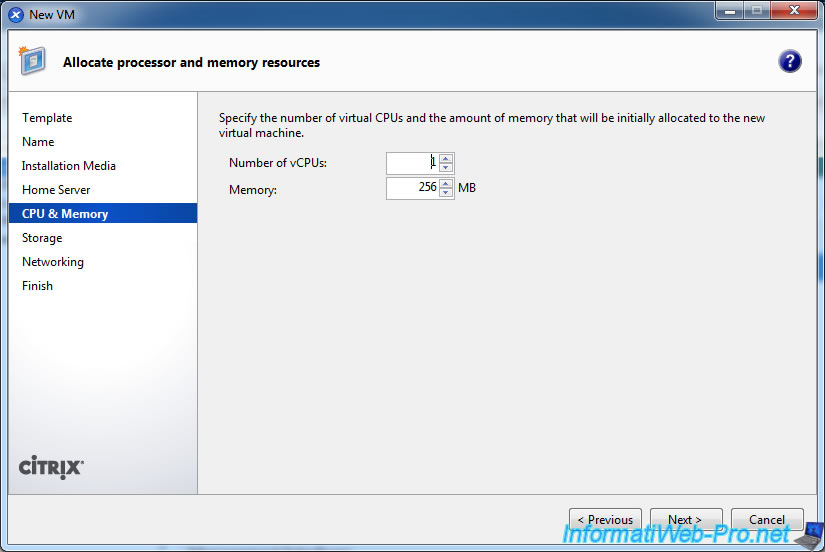
Select the number of virtual CPUs and amount of RAM to allocate for this virtual machine.
Note : Debian is lightweight, this is why it is a good distribution for this stuff.
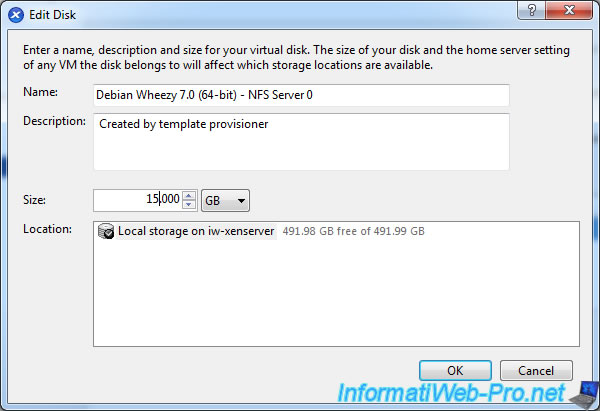
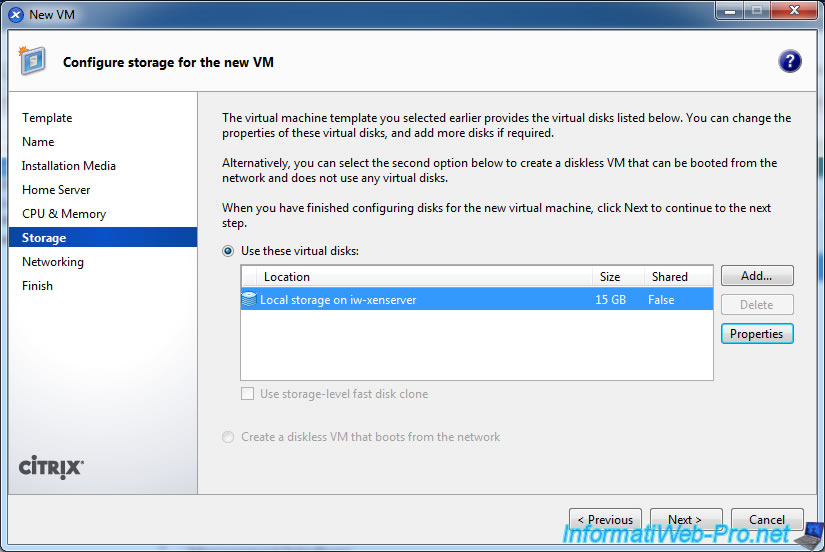
Click "Properties" to change the size of the virtual hard disk.

Provide a sufficient size to copy isos of the various operating systems to install.
Note : In our case, we have indicated a size of 15 GB to avoid wasting time for the "Export / Import Virtual Machine" part that you will see later in the tutorial.
Click "Next".
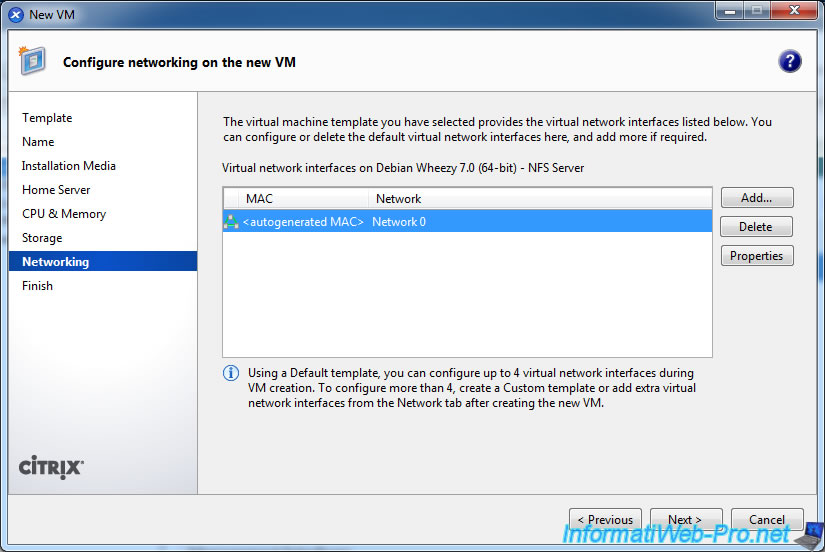
Configure the network card, if necessary.
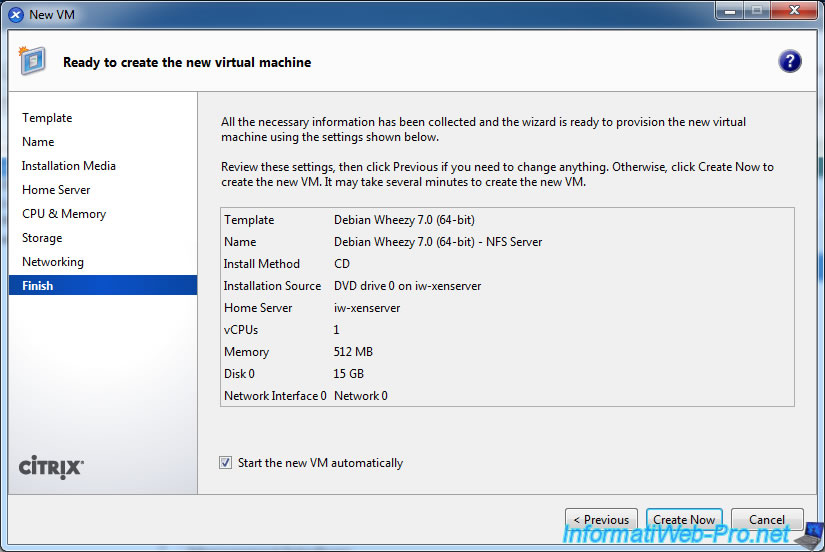
Citrix XenServer shows you a summary of the configuration of your virtual machine.
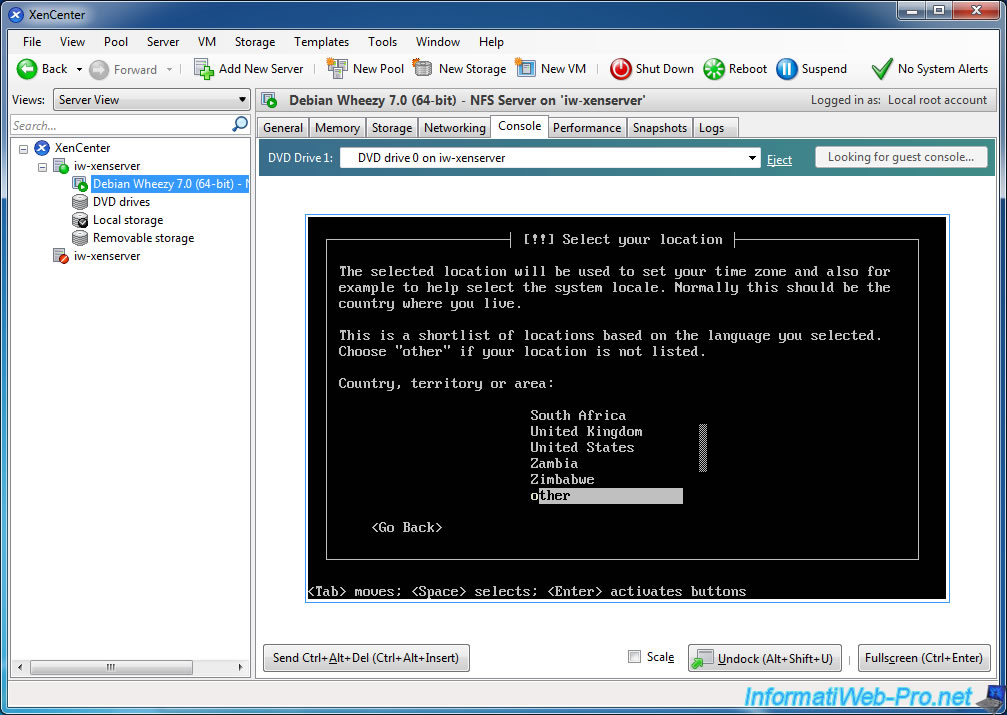
The virtual machine starts on the Debian installation CD (inserted into the CD / DVD drive of the server).

Select "United States".
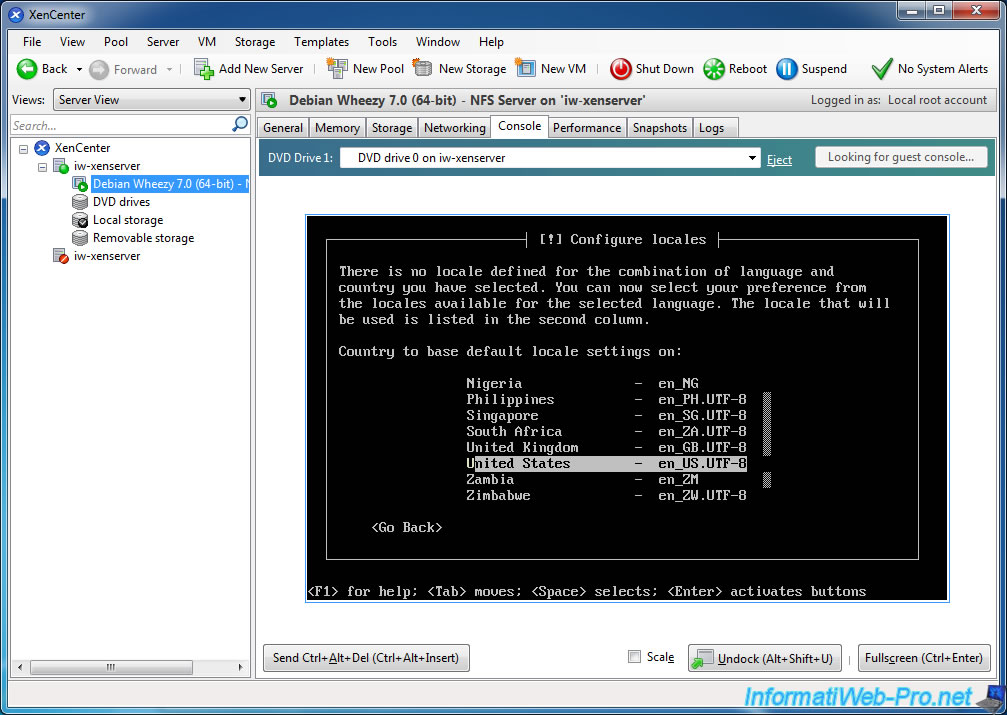
Then, select "United States ...".
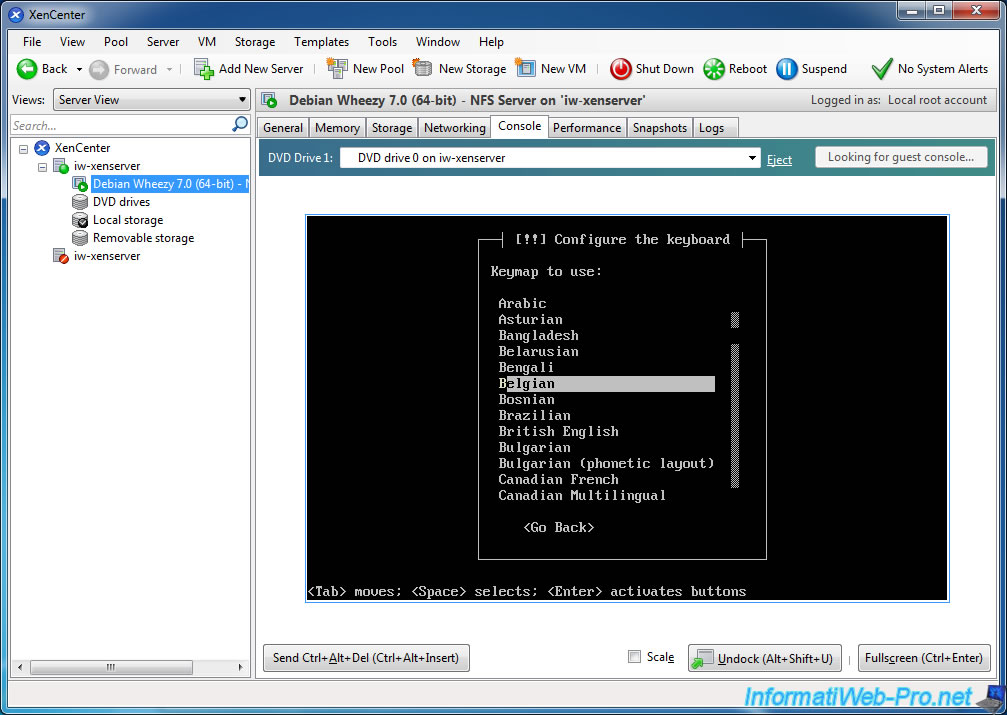
Select "English" for the keyboard layout.
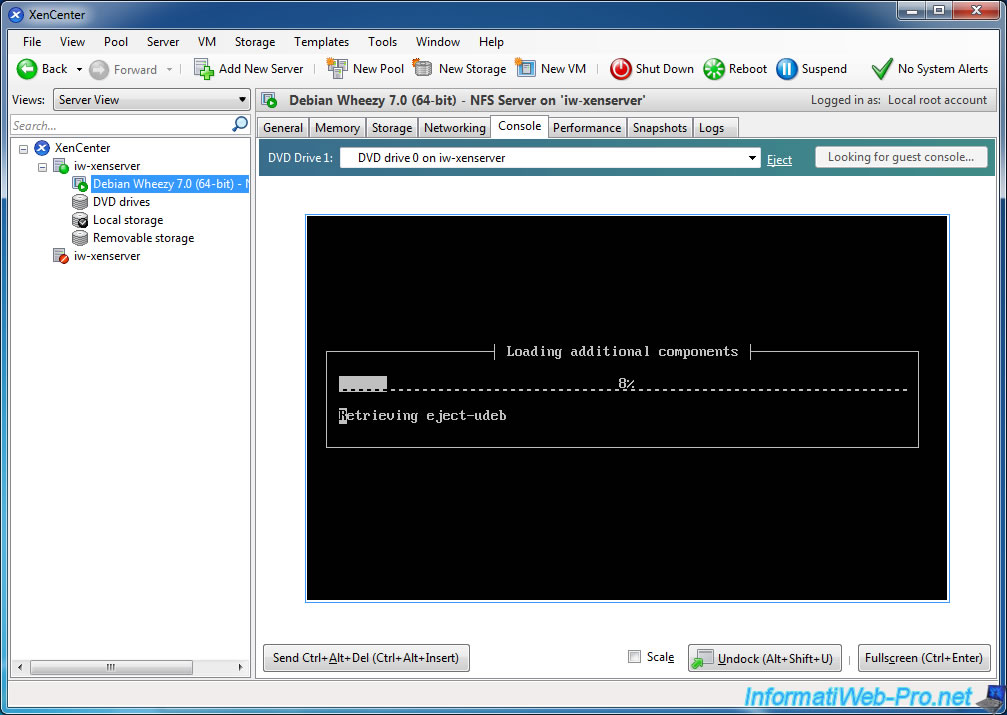
The Debian installation begins.
6. NFS server installation in Linux VM
To install an NFS server on Debian, follow this :
- Debian - Define a private static IP address
- Debian / Ubuntu - Install and configure a NFS server and a NFS client
Once installed, transfer the ".iso" files on your Debian VM.
7. Link the NFS share to XenServer
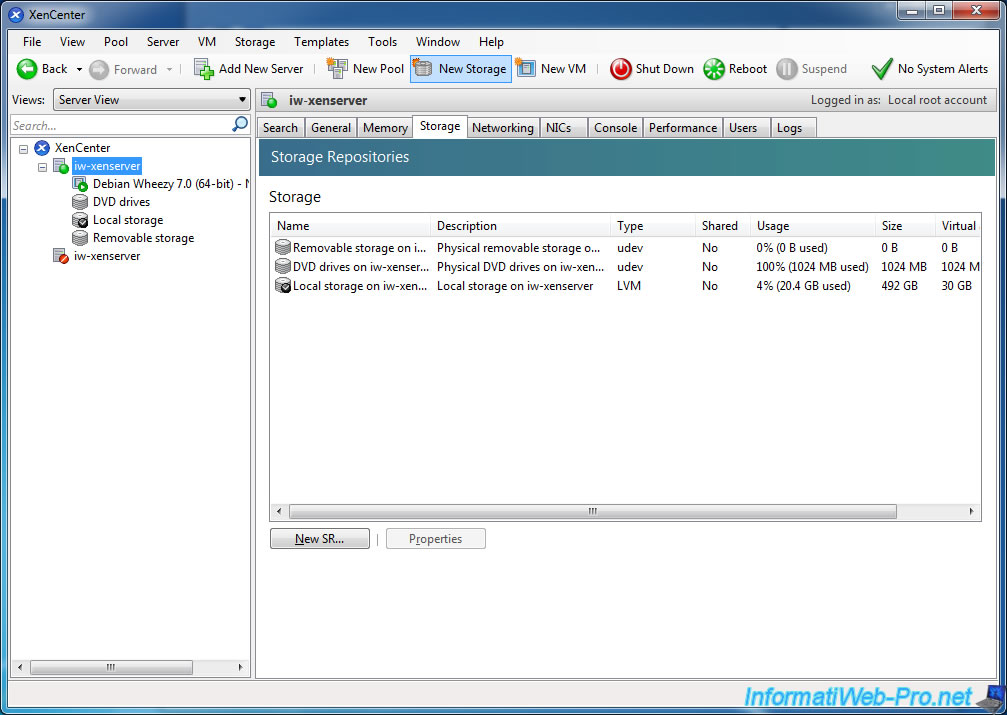
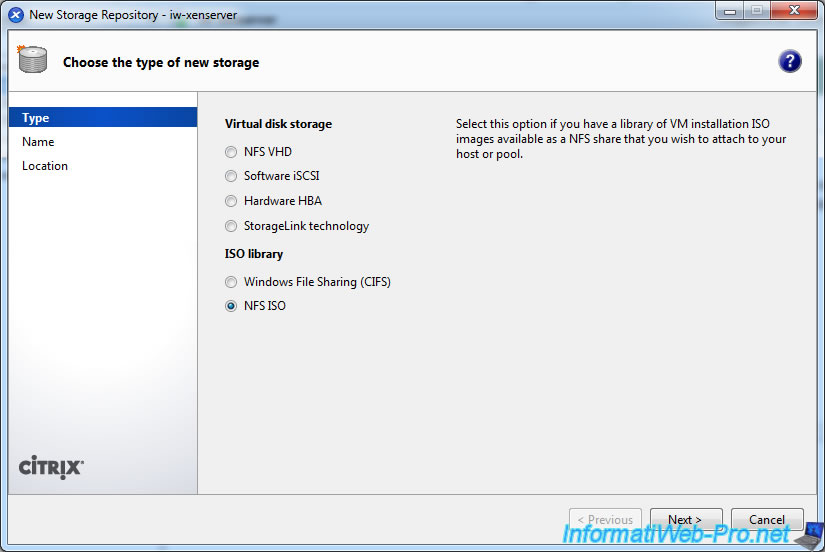
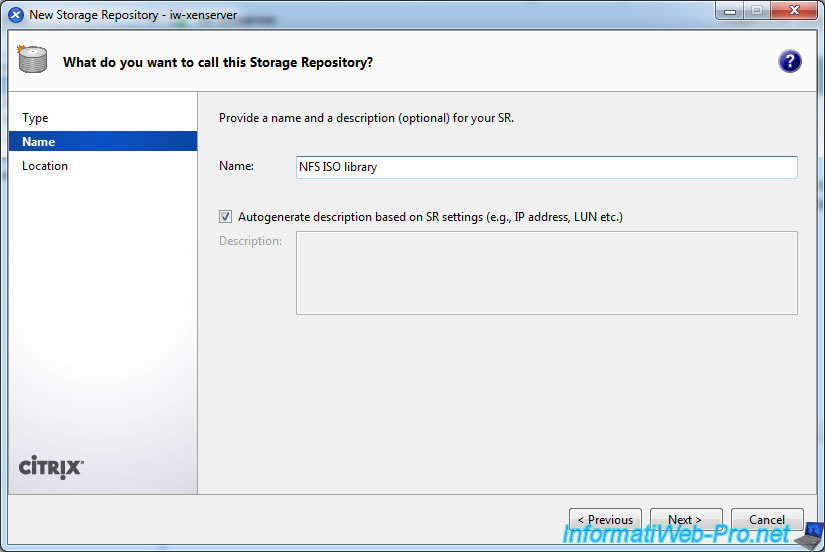
To link the NFS share (of your Debian VM), click "New Storage".
Note : Remember to start the virtual machine that serves as NFS server if you restart your XenServer server (for maintenance or other).
Select "NFS ISO".
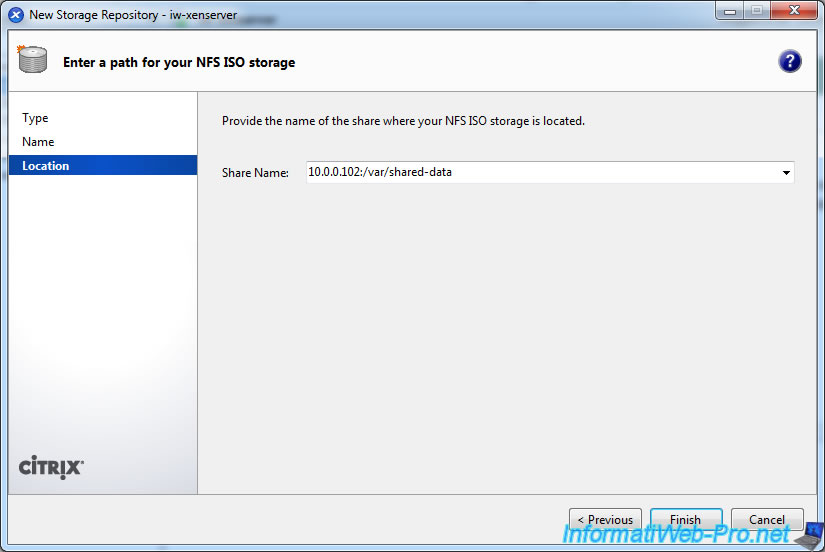
Enter the path to the NFS share.
Note : 10.0.0.102 is the IP address of the virtual machine "Debian NFS Server" and "/var/shared-data" corresponds to the path of the NFS share on the NFS server.
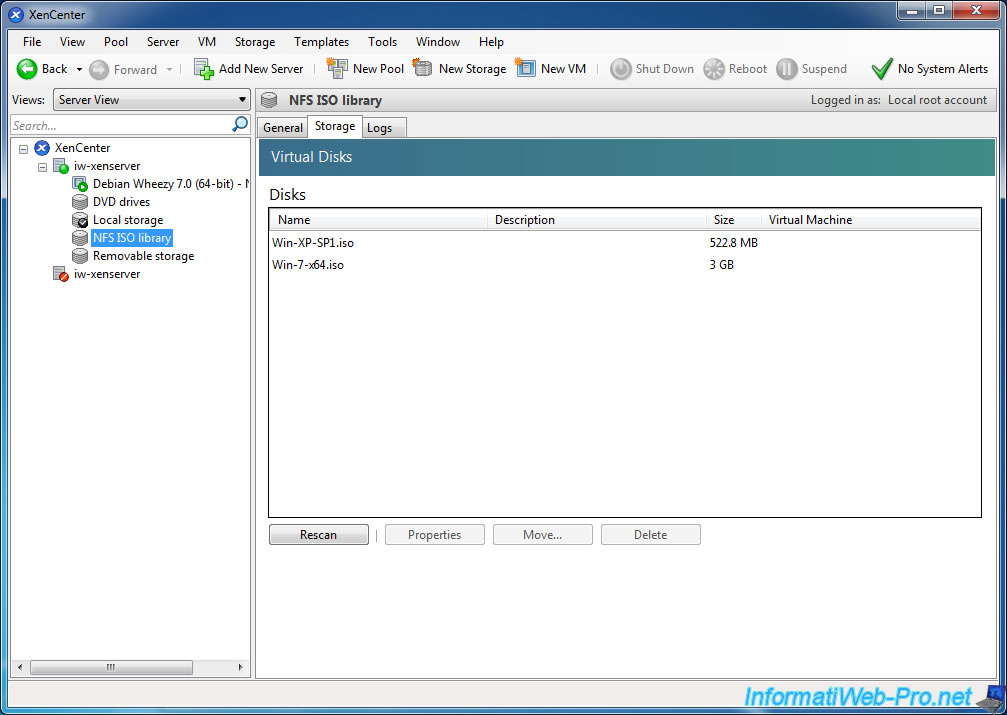
A "NFS ISO library" storage will appear in XenCenter. Click on it and go to the "Storage" tab. Files in this NFS share will be shown in this list.
Share this tutorial
To see also
-
Citrix 5/21/2017
Citrix XenServer 6.5 - Disaster Recovery
-
Citrix 10/27/2016
Citrix XenServer 6.5 - Pools and high availability (HA)
-
Citrix 4/30/2015
Citrix XenServer 6.5 - Secure the connection using SSL (HTTPS)
-
Citrix 5/21/2016
Citrix XenServer 6.5 - VGA passthrough
No comment